How to Combine Silkscreen Printmaking & Photography
Published 7 January 2022 by MPB
Ronan O’Brien @mot_runk from Studio Runk @studiorunk combines photography and silkscreen printmaking to create impressive mixed-media artwork. In this video, he gives us an in-depth walkthrough of his creative process.
My name's Ronan O'Brien, I'm a screen printer and I specialise in photographic silkscreen prints. This is born out of my own photographs that I started printing years ago. I was trying to figure out a way of making it more exciting and really standing out from the printed page. And when I started practising this technique, I realised there was so much play with it. It's making it fun.
The photograph is at the core of what I do, really. So a photograph is delivered to me, and I look at its strengths and see how it will work as a print. During this, I am in conversation with the customer, discussing what they might like from it, and what colours they may want for the print. And so this is an ongoing process whilst I'm creating a print proof.
Today, we've got a photograph that's been sent by a friend, so we'll be running through the whole process from it being a RAW photograph to a finished print for you. So, the first thing I do in the morning, I coat a silkscreen with an aluminium frame with a printing emulsion on both sides.

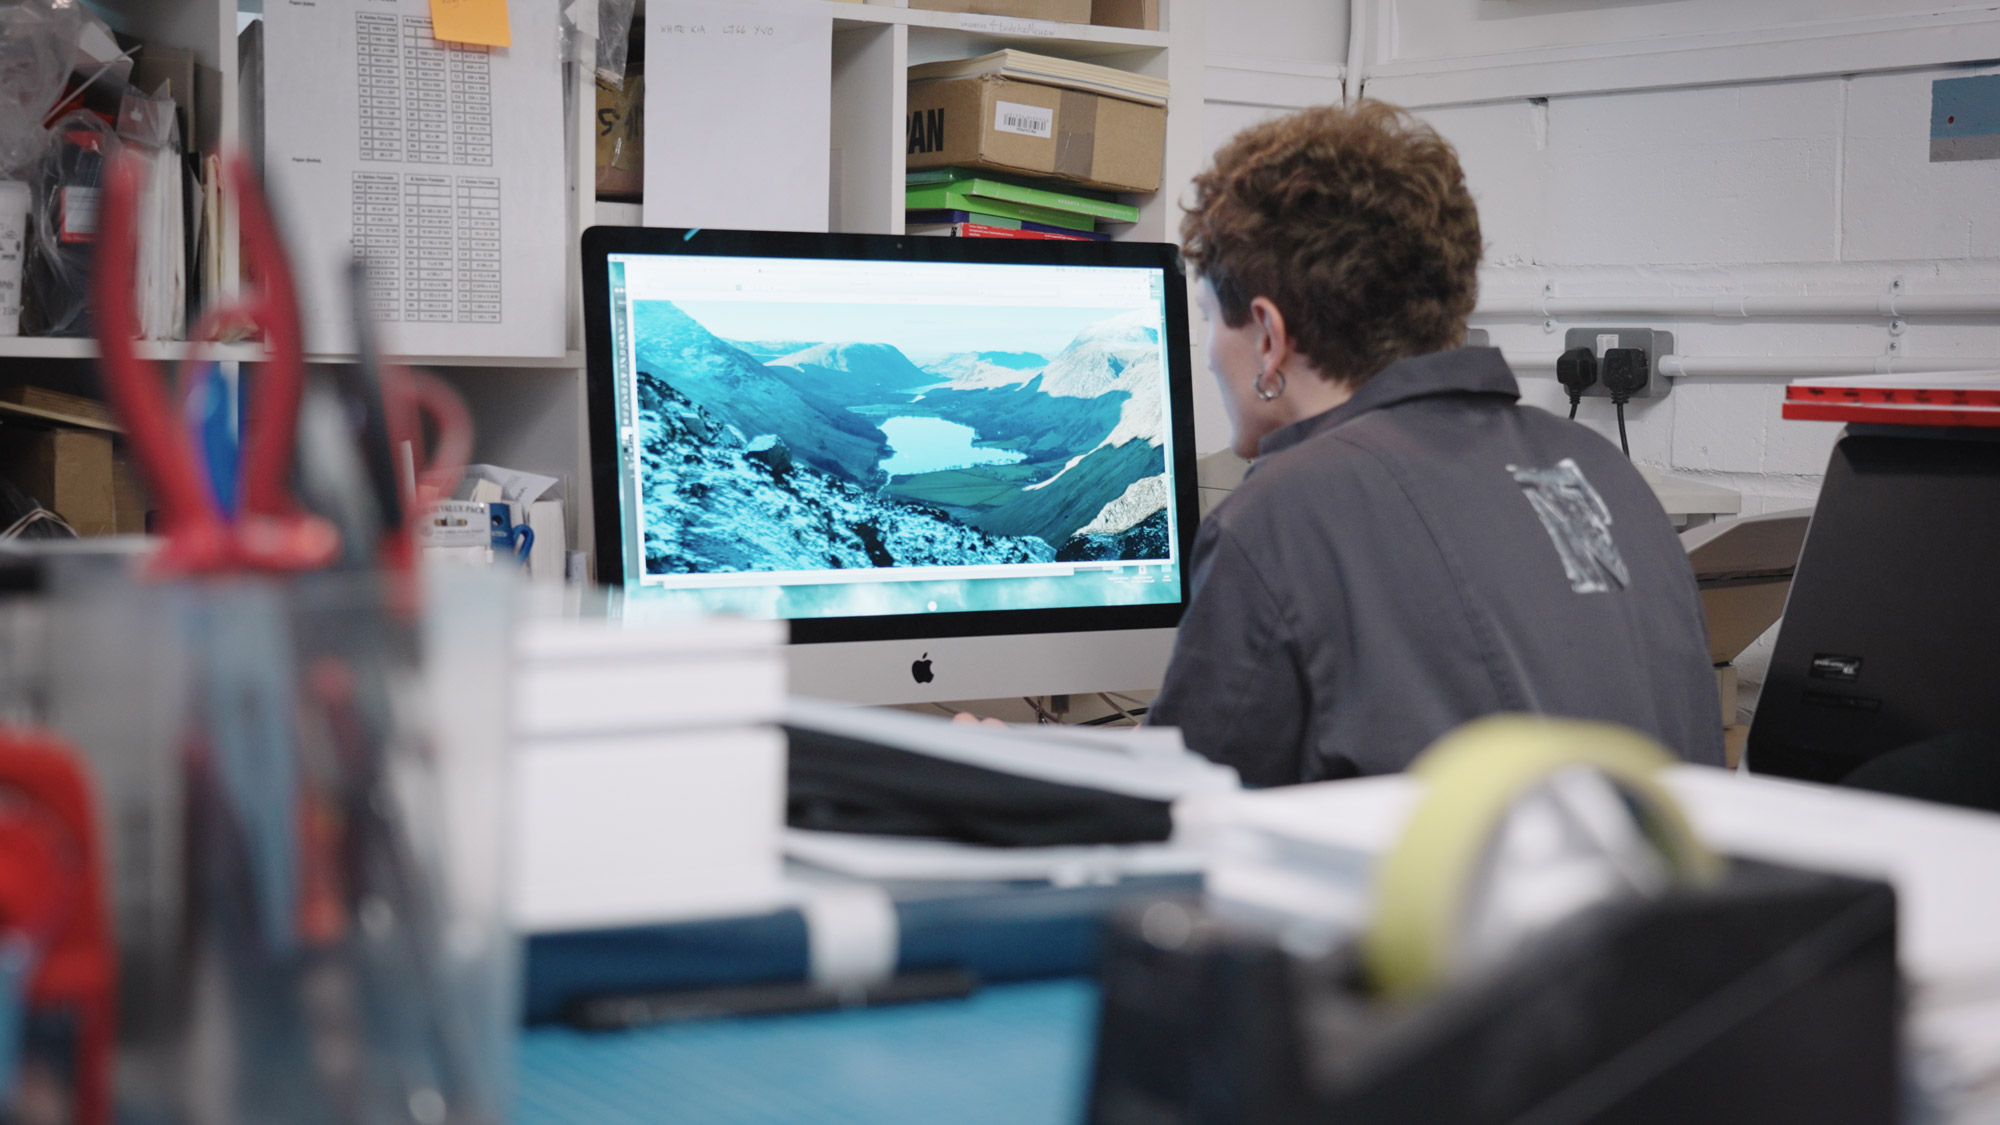
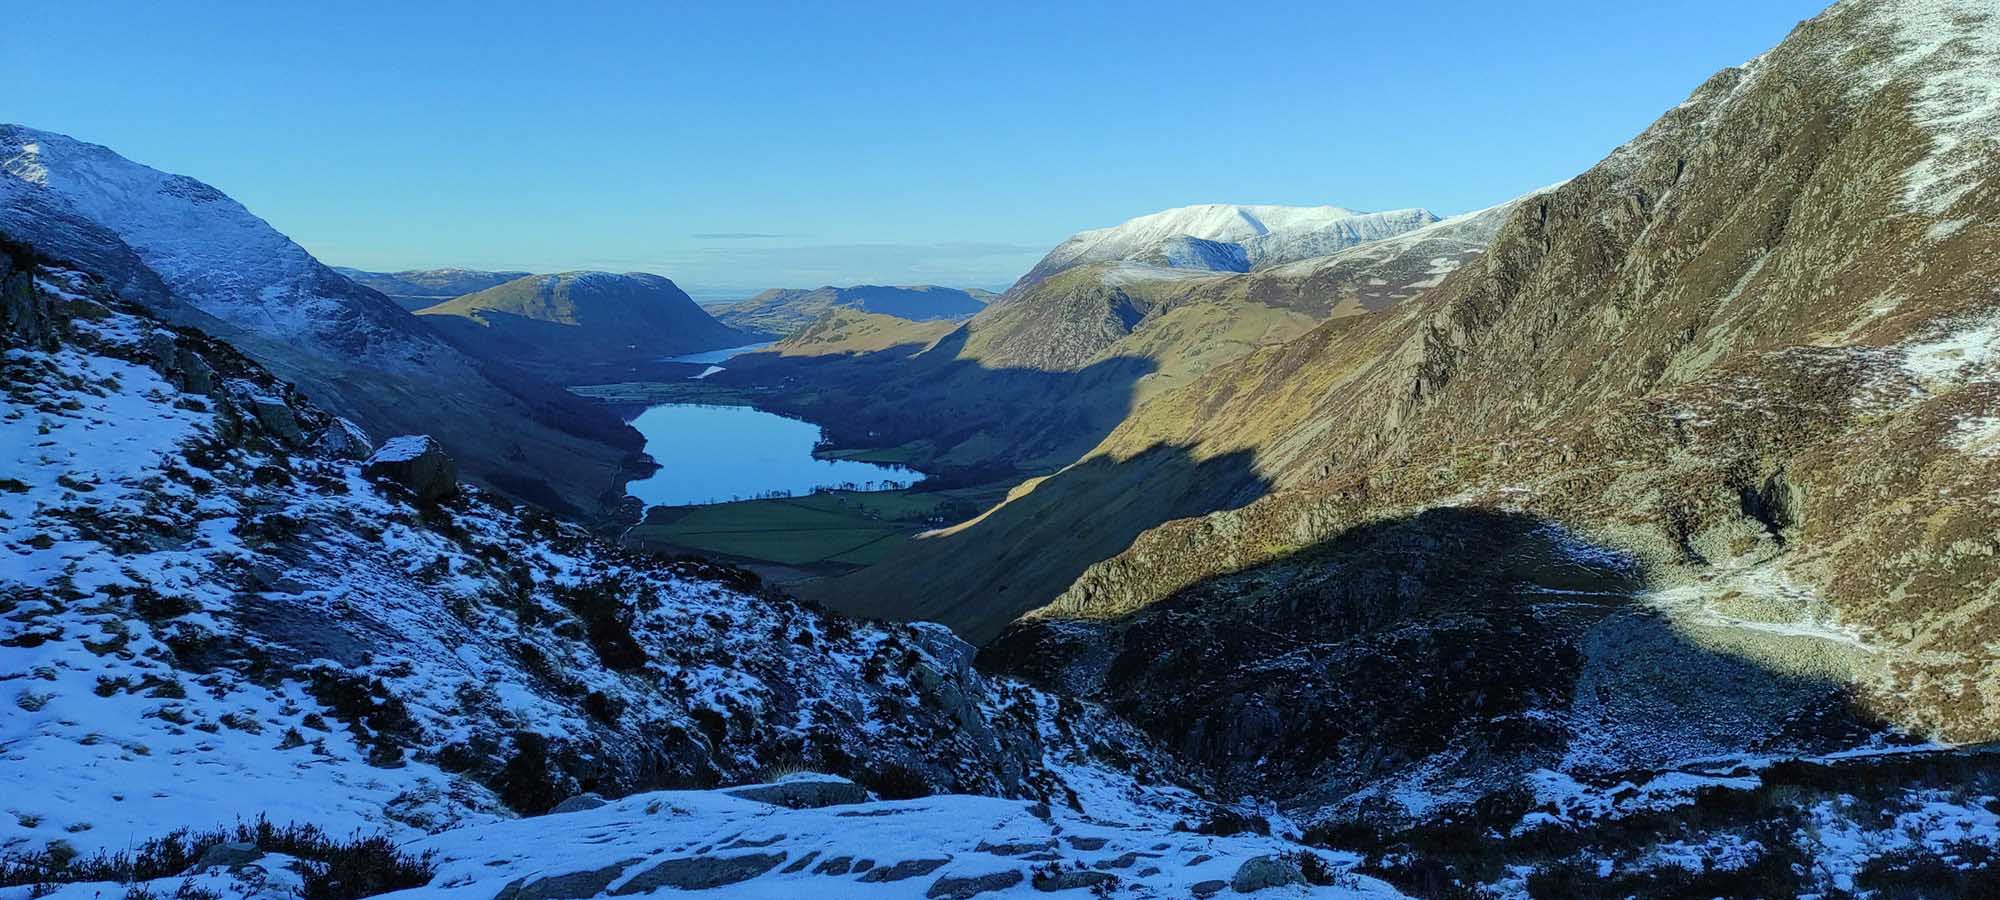
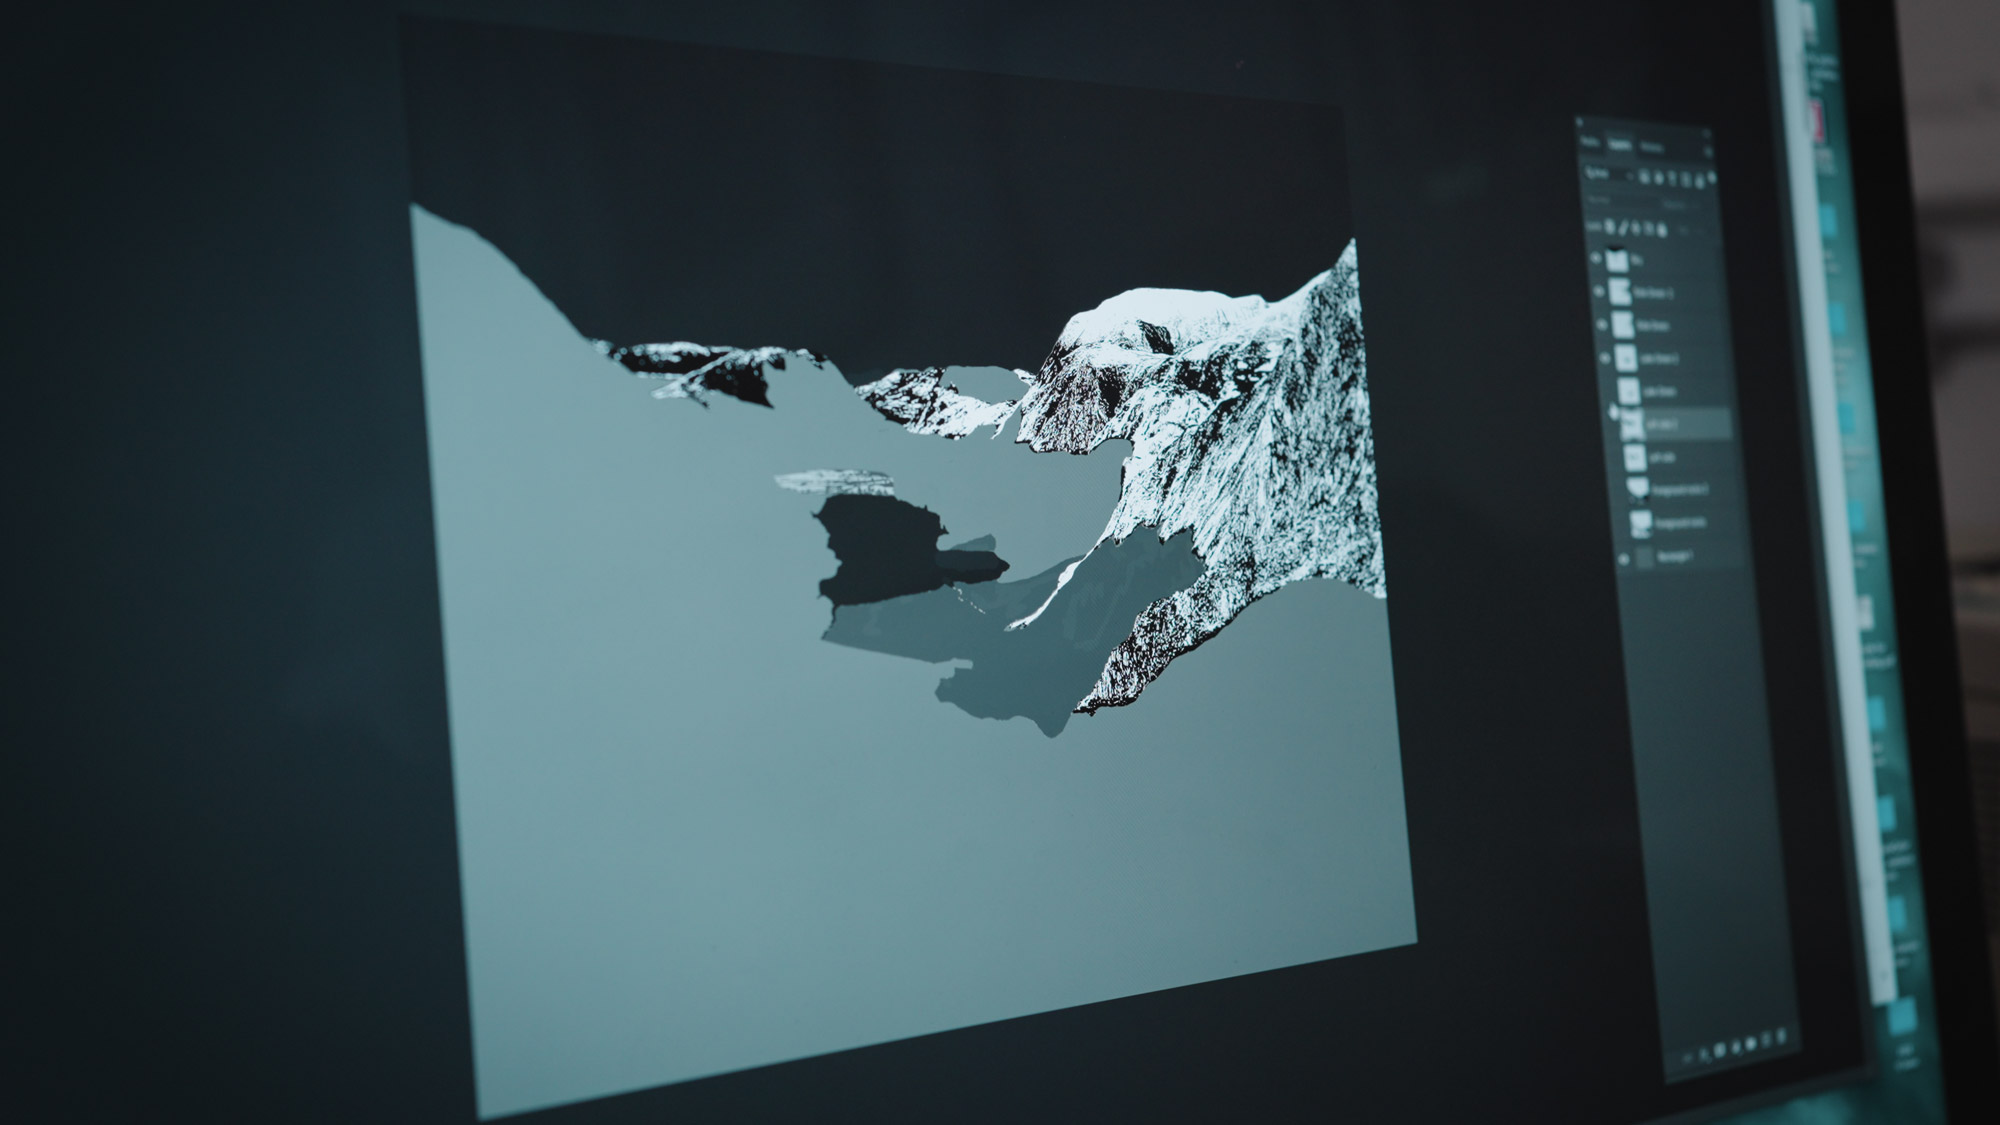
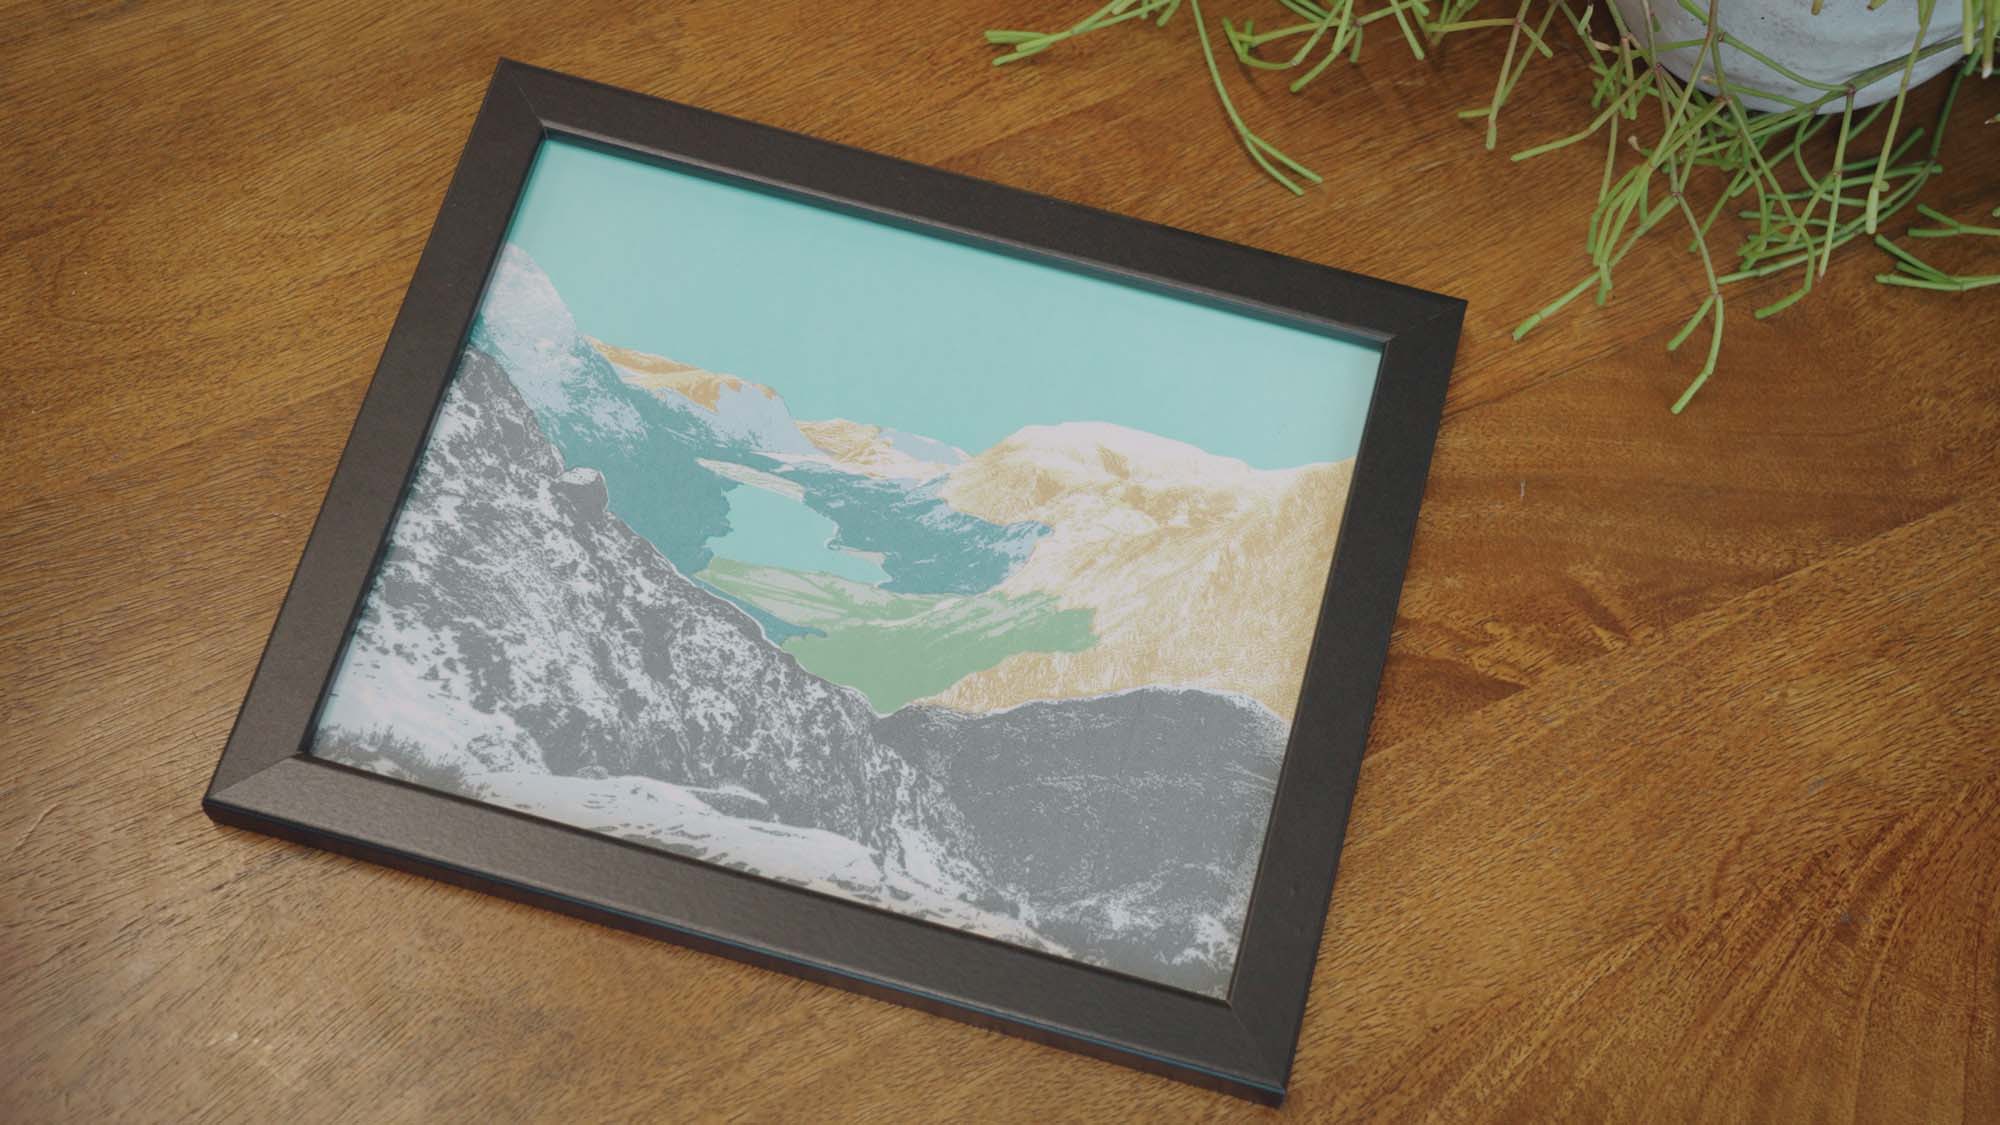
Whilst that is drying, that's time to go onto the computer to get the photograph ready to be printed. So, this photograph is of the Lake District that my friend took. I've separated out the layers individually to be printed. I then print them onto acetate, with an inkjet printer. And with those acetate pieces, they get placed onto the coated screen and exposed in a UV exposure unit.
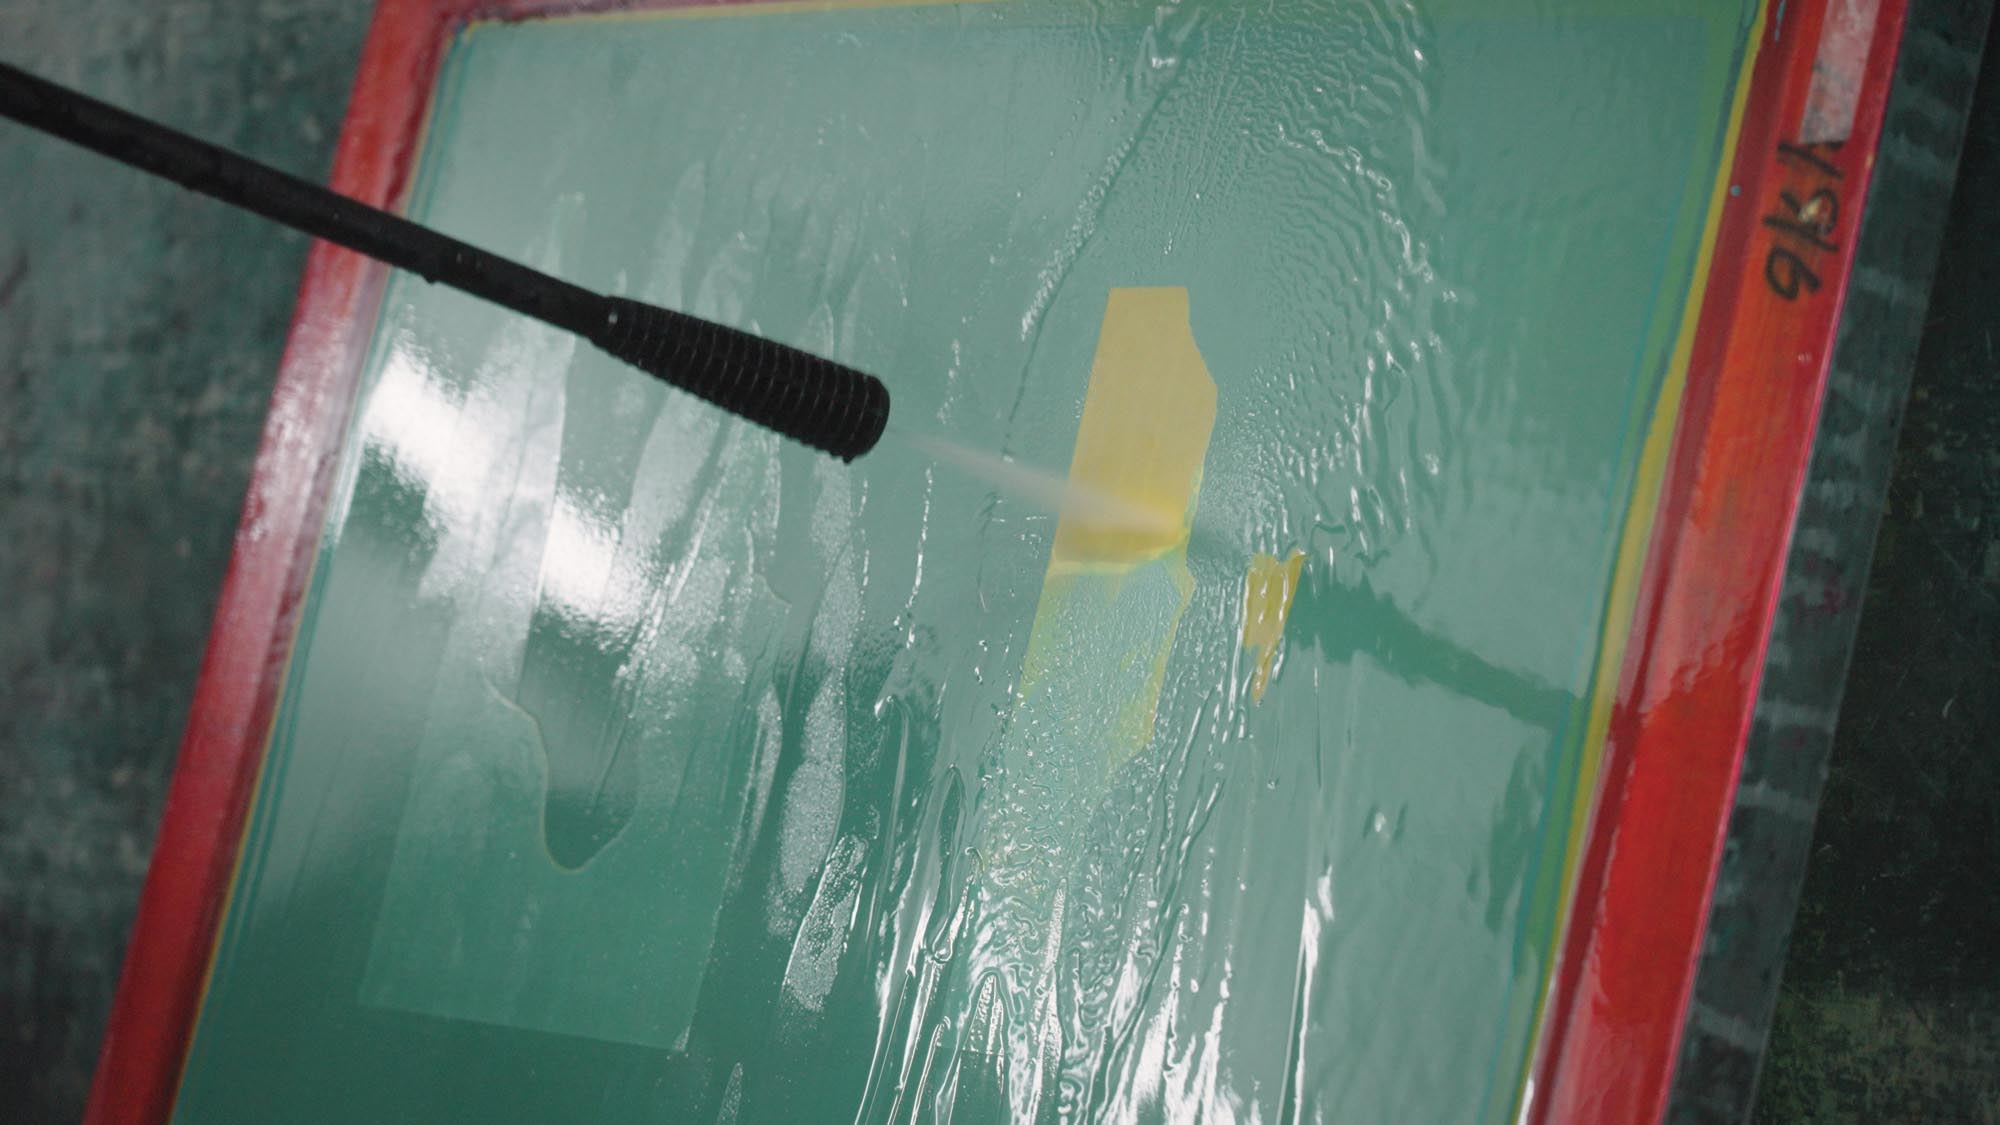
Then, take it to the wash basin, we'll give it a blast for the pressure washer so that the design is revealed.
I then start mixing the paints, because I've got to find the right colours that I want to print with. To begin with, on this print, I'll be printing the sky. So I'm going to go for a nice light blue colour.
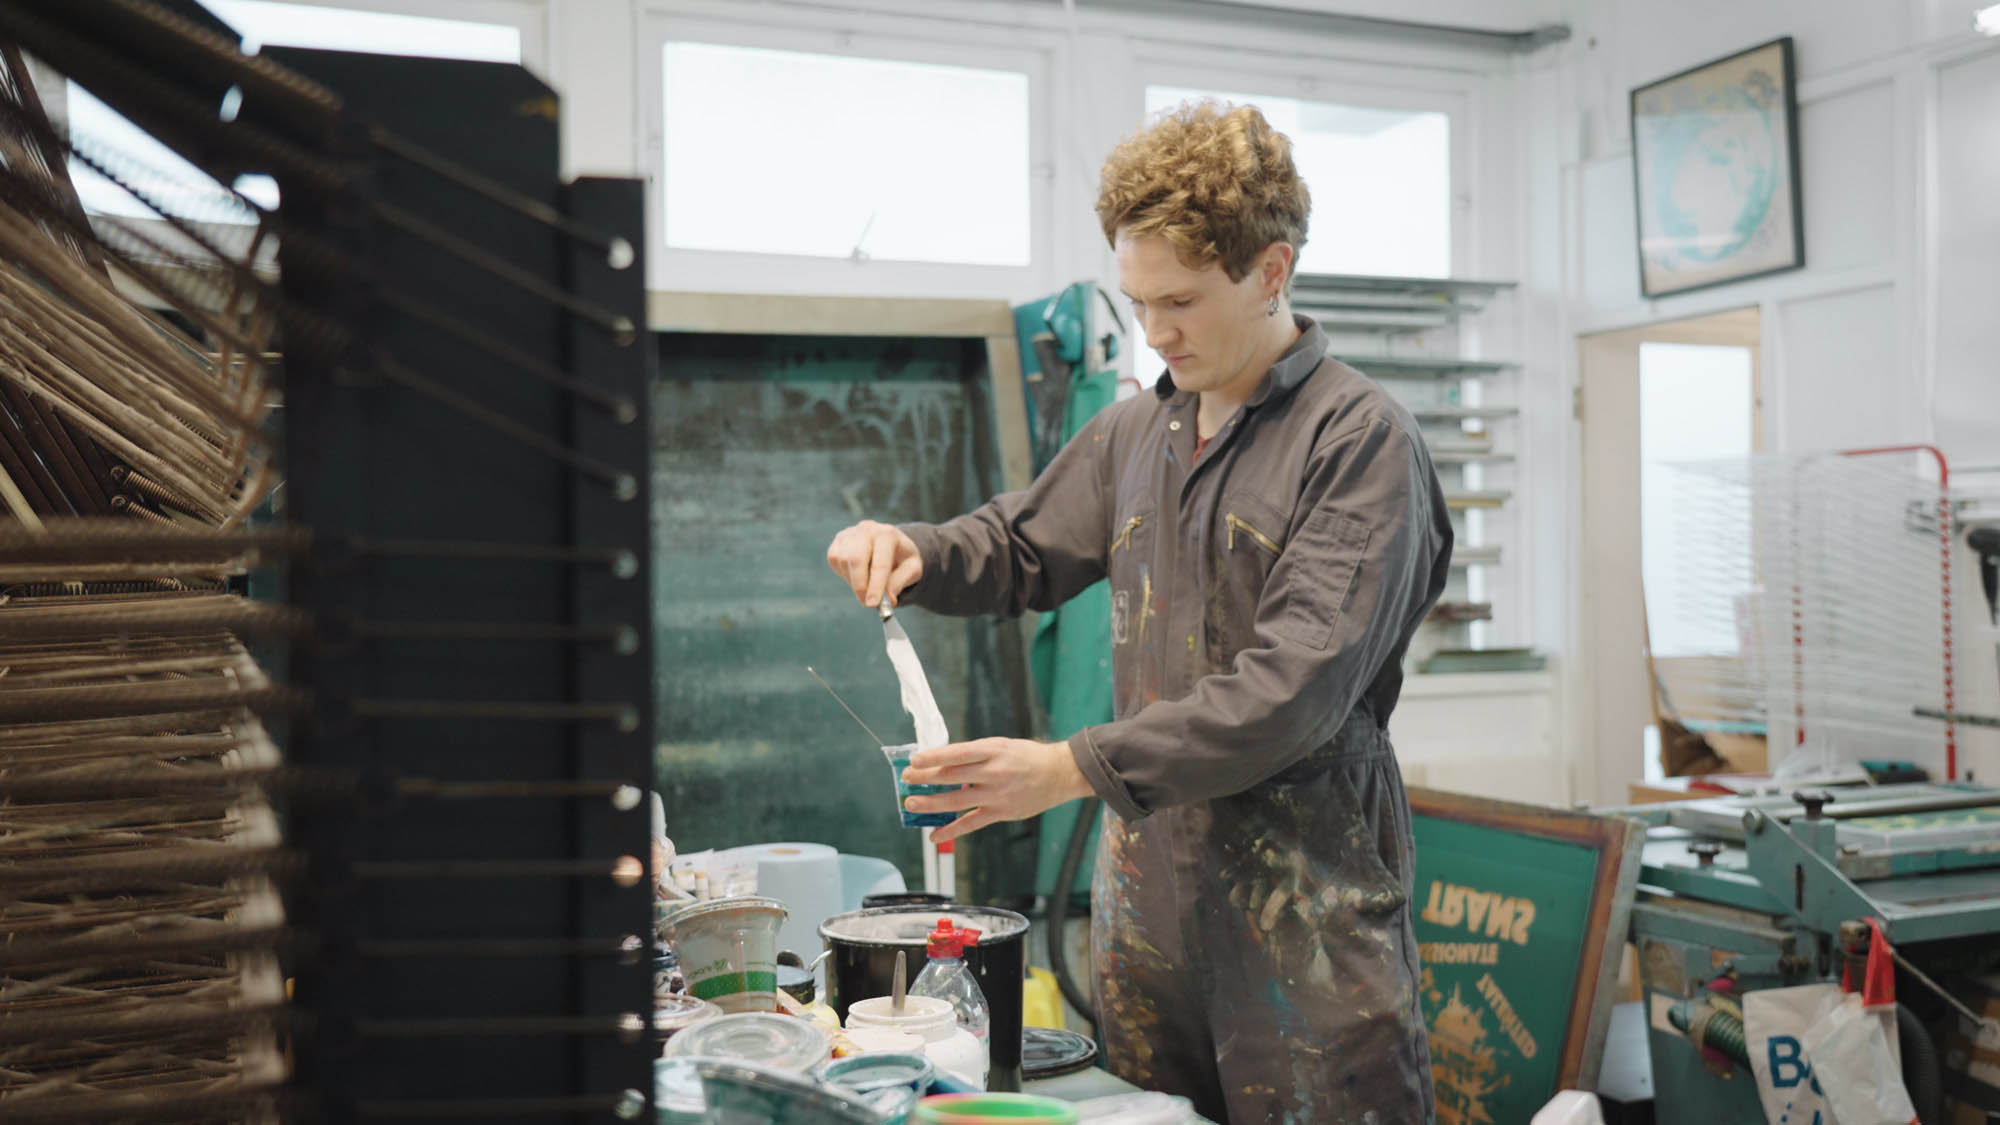
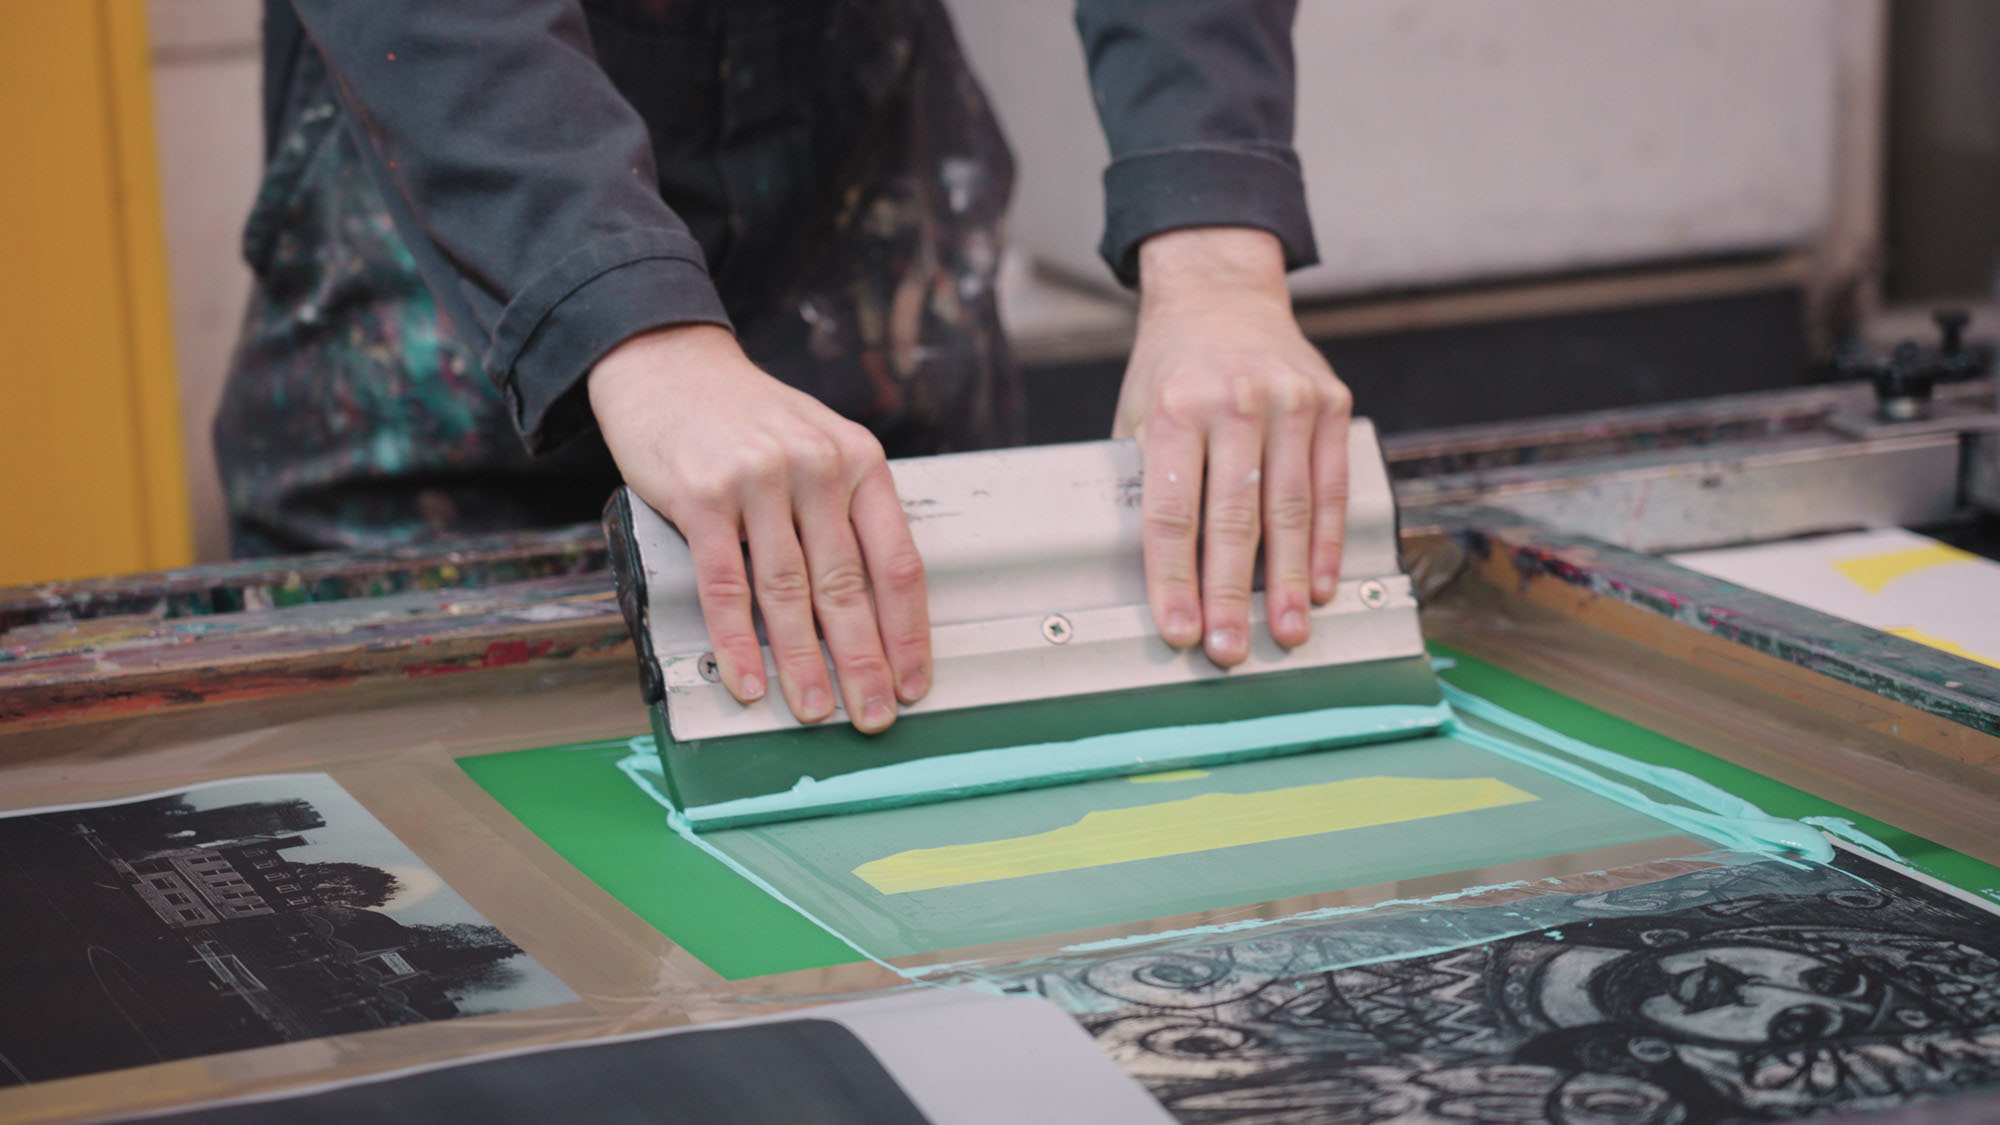
Once the screen has dried, take out the heater and put it on the printing table and then I lay my colour on there.

And using a squeegee, which is just a printing tool, I then apply the acrylic to it, flood the screen and then lower the screen, turn the vacuum on, and then pull through.
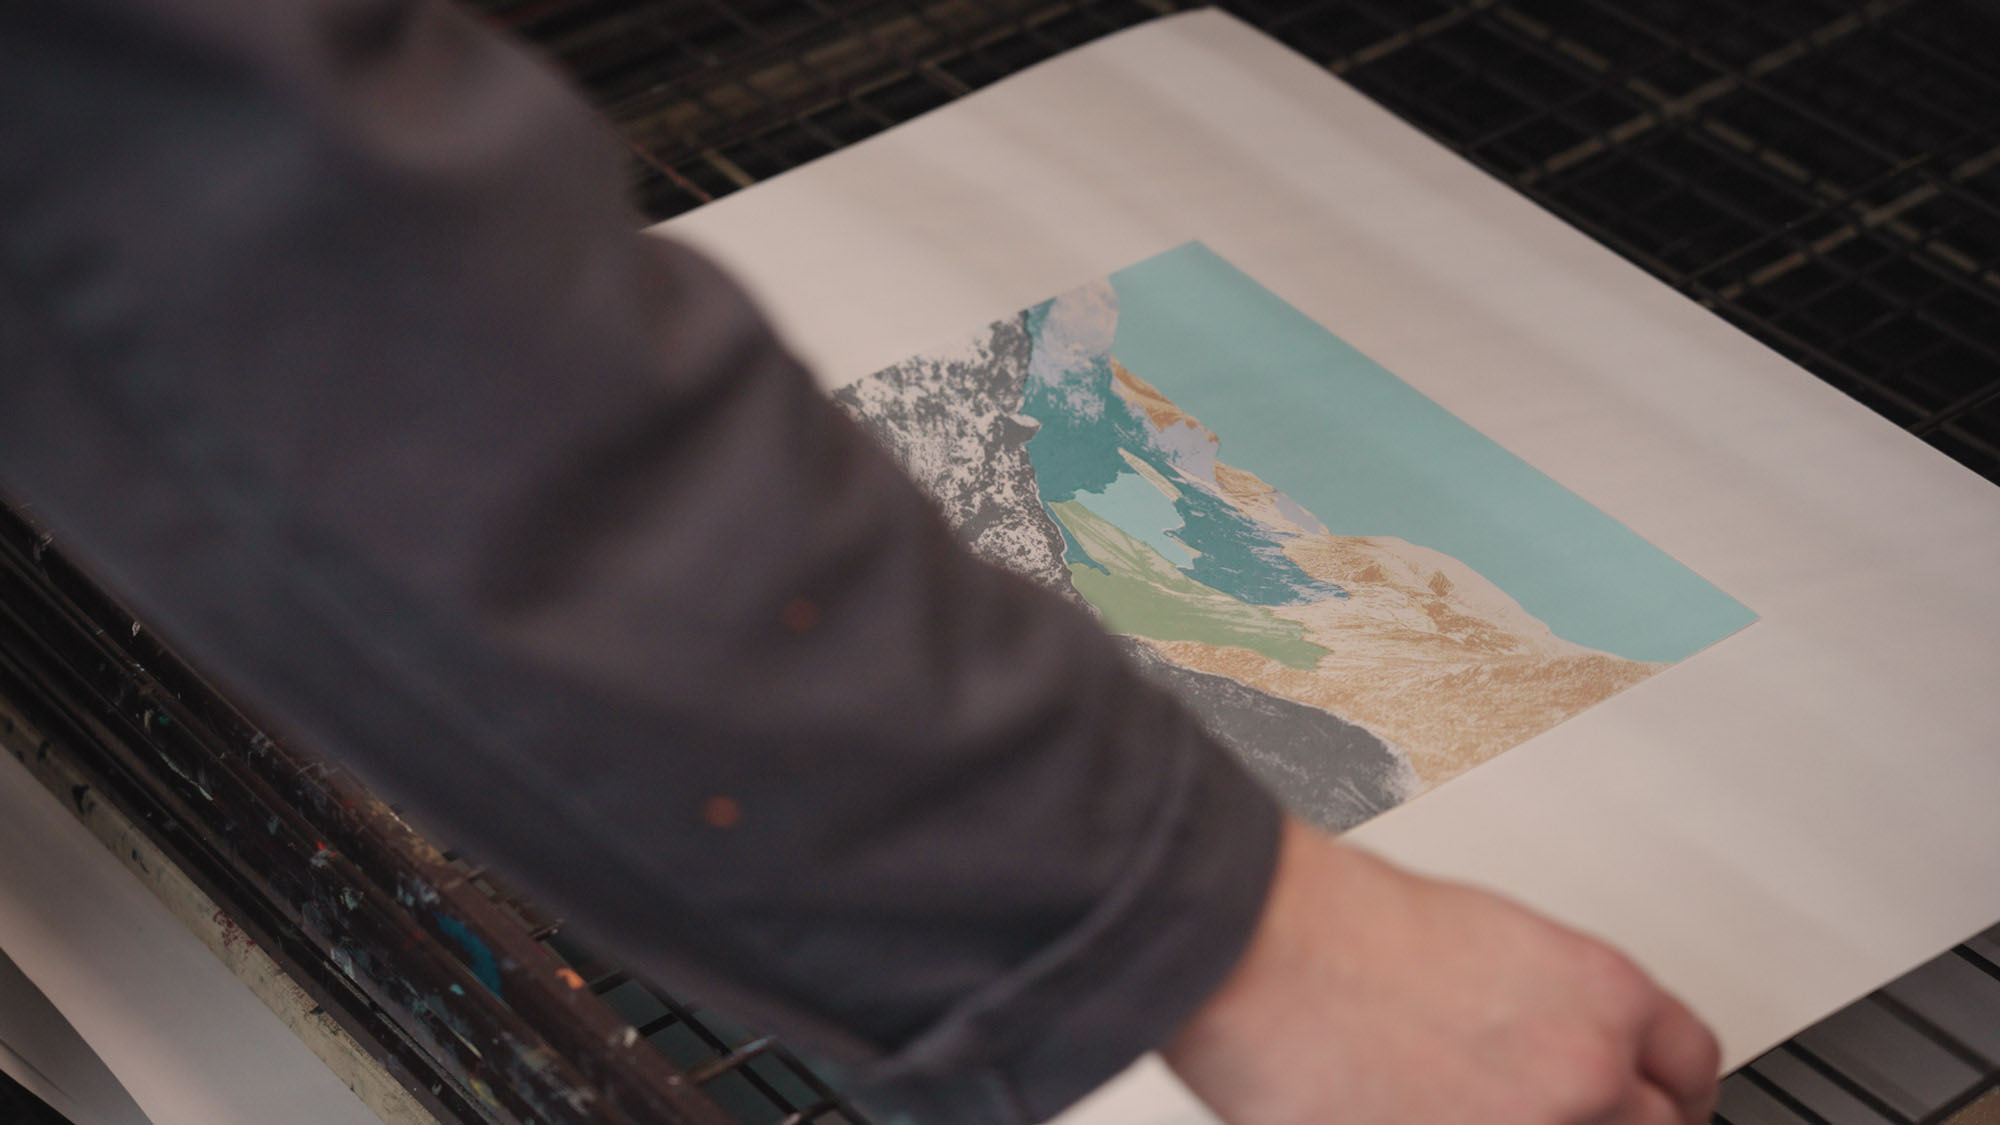
So the first layer is printed, which then gets placed on a drying rack and left to dry for about 15–20 minutes. Once that process has been repeated nine times, the print is finished. And, as you can see, we have a photographic print and that is the finished product.
Thanks, Ronan. If you don’t have any printmaking tools, Studio Runk offers a service to create silkscreen prints from your own photographs. Learn more at studiorunk.com where you can also play with an interactive digital recreation of his process. Read more tips and techniques on the MPB content hub.
You can sell or trade your camera kit to MPB. Get a free instant quote, free insured shipping to MPB, and get paid within days.