How To: Aerial Photography with Chris Burkard
Published 6 August 2025 by MPB
Reaching new heights as a photographer can require doing so literally as well. We can’t help you go airborne, but we can help you snap superior shots once you reach a higher point.
We teamed up with Chris Burkard — an accomplished aerial photographer, explorer, creative director, speaker and author — to help you sharpen your sky-high shots.
Without further ado, let’s explore ways of taking greater shots from greater heights with Chris Burkard’s top aerial photography tips.
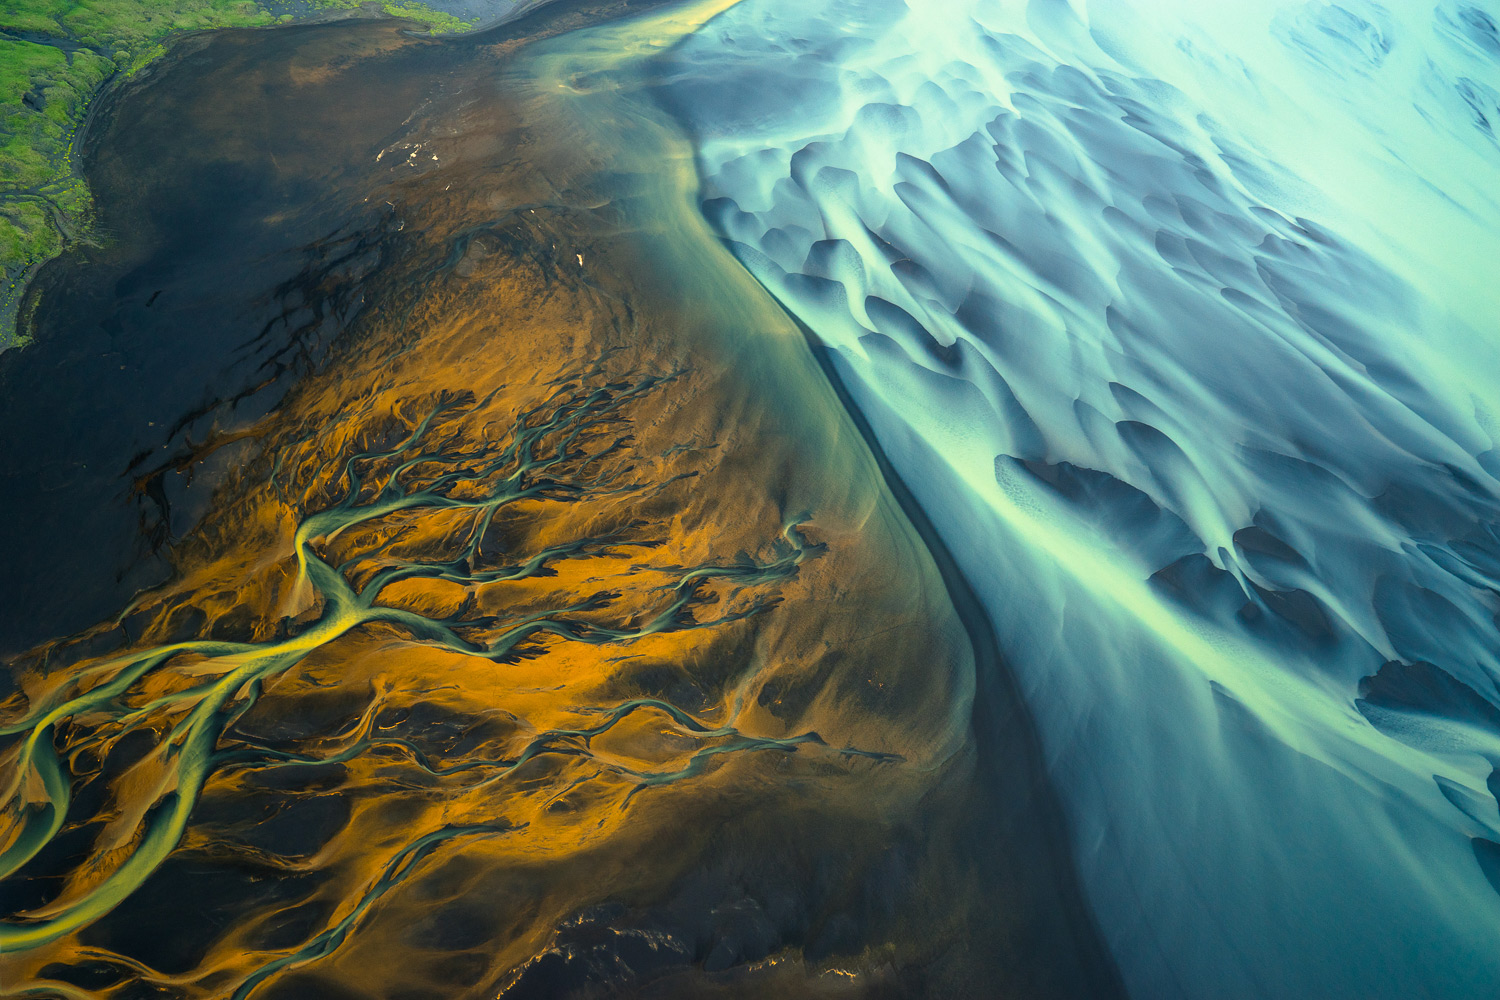
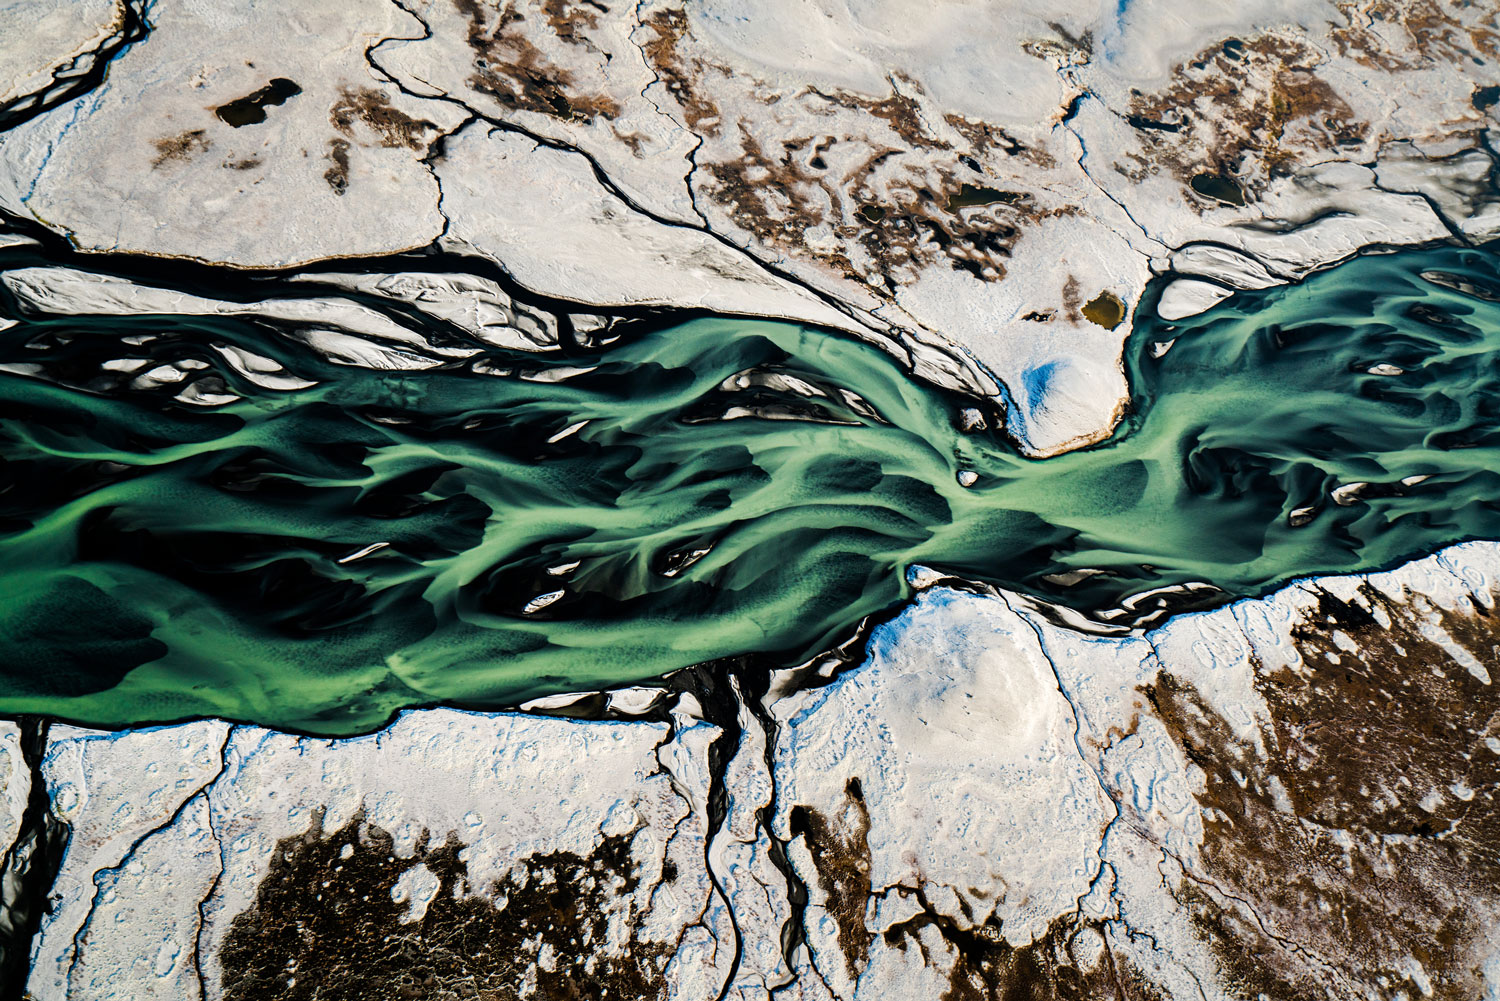
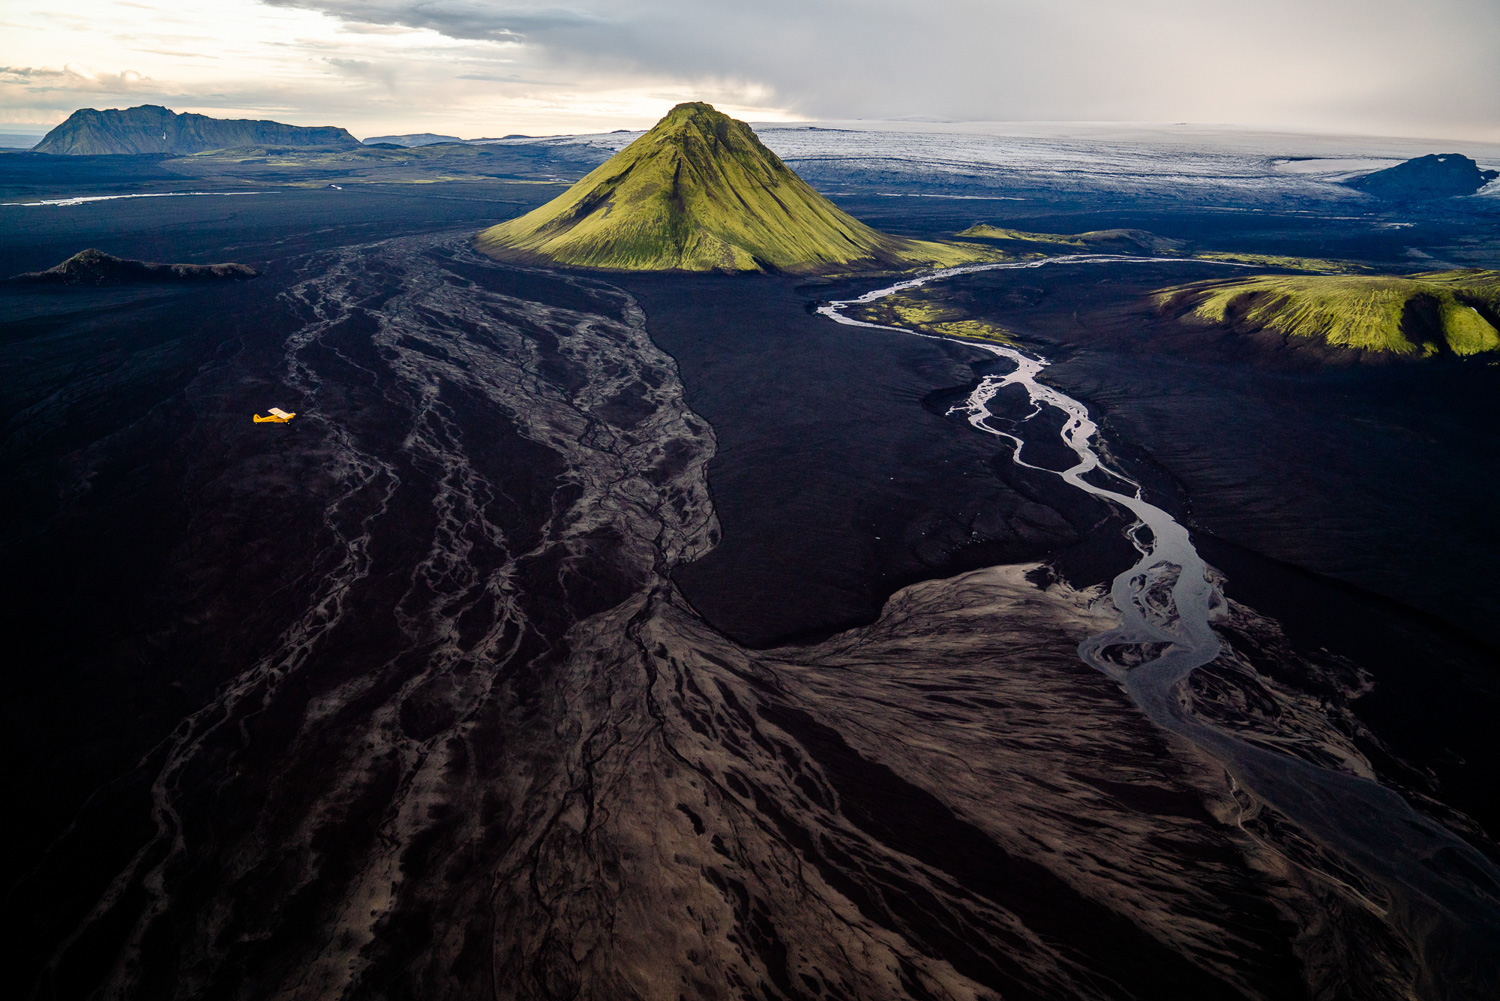
Chris Burkard | Sony ILCE-7RM3 | Sony E 10-18mm f/4 OSS | 16 mm | f/4 | 1/400 sec | ISO 100
Before jumping in, remember to check out the aerial photography video we filmed with Chris. We may be slightly biased, but we’re confident you won’t want to miss it.
https://youtu.be/-G9hjz9gZhw&t=354s?rel=0Gear for Aerial Photography
First and foremost, take Chris’ one-word golden rule of aerial photography into account: simplify.
Pick one camera and one lens to take in the air. Instead of packing multiple lenses and accessories, simplify your setup and utilise settings and features to achieve a variety of shots. The last thing you want is to overpack and miss a photo op while fumbling for the perfect camera and lens pairing.
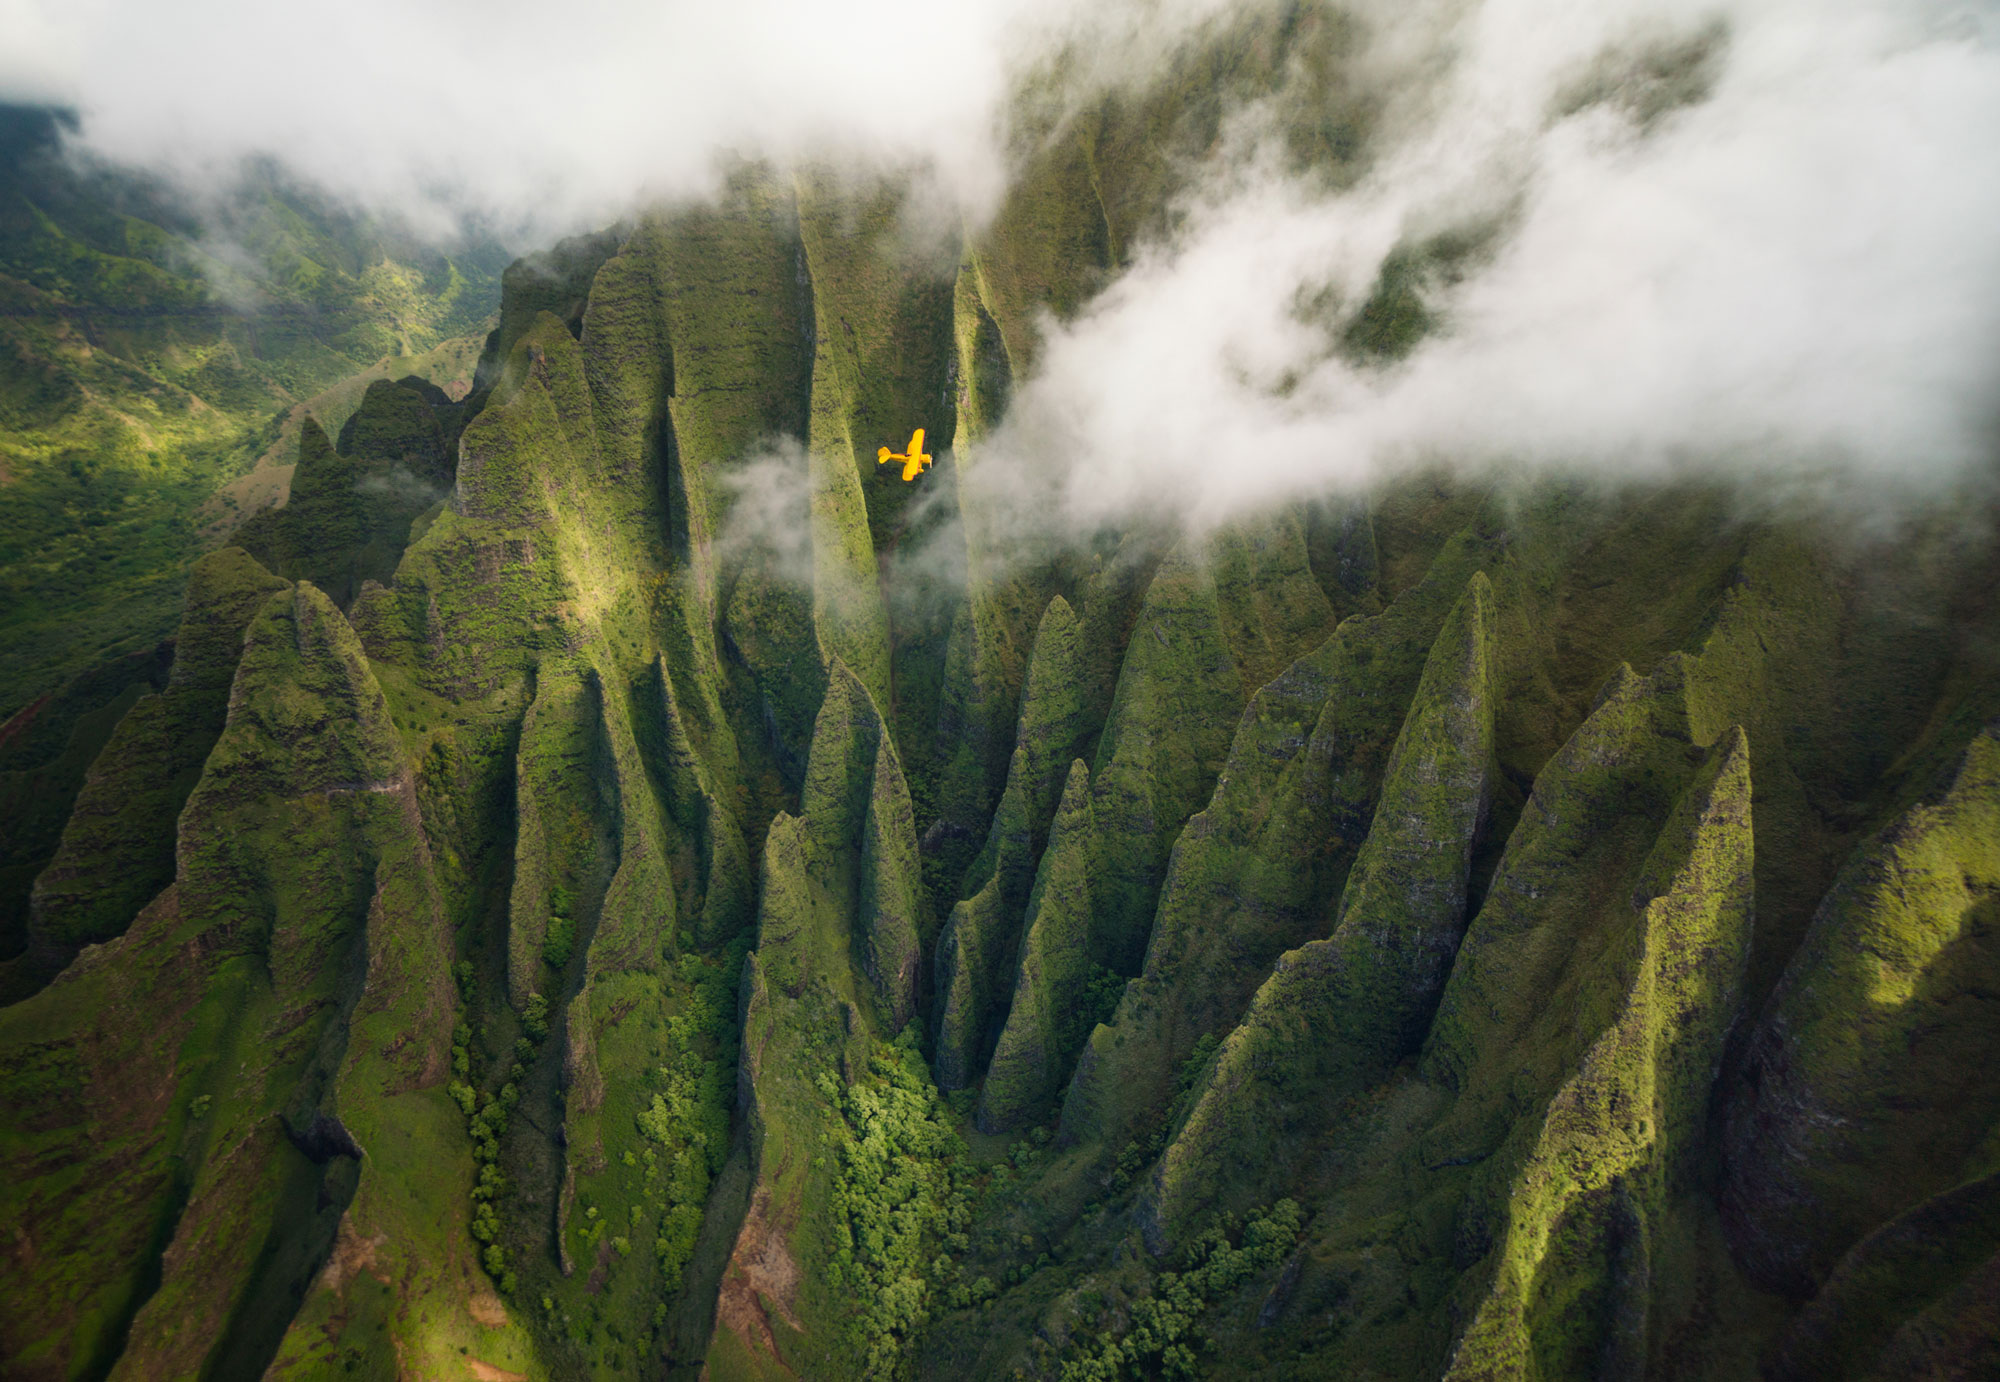
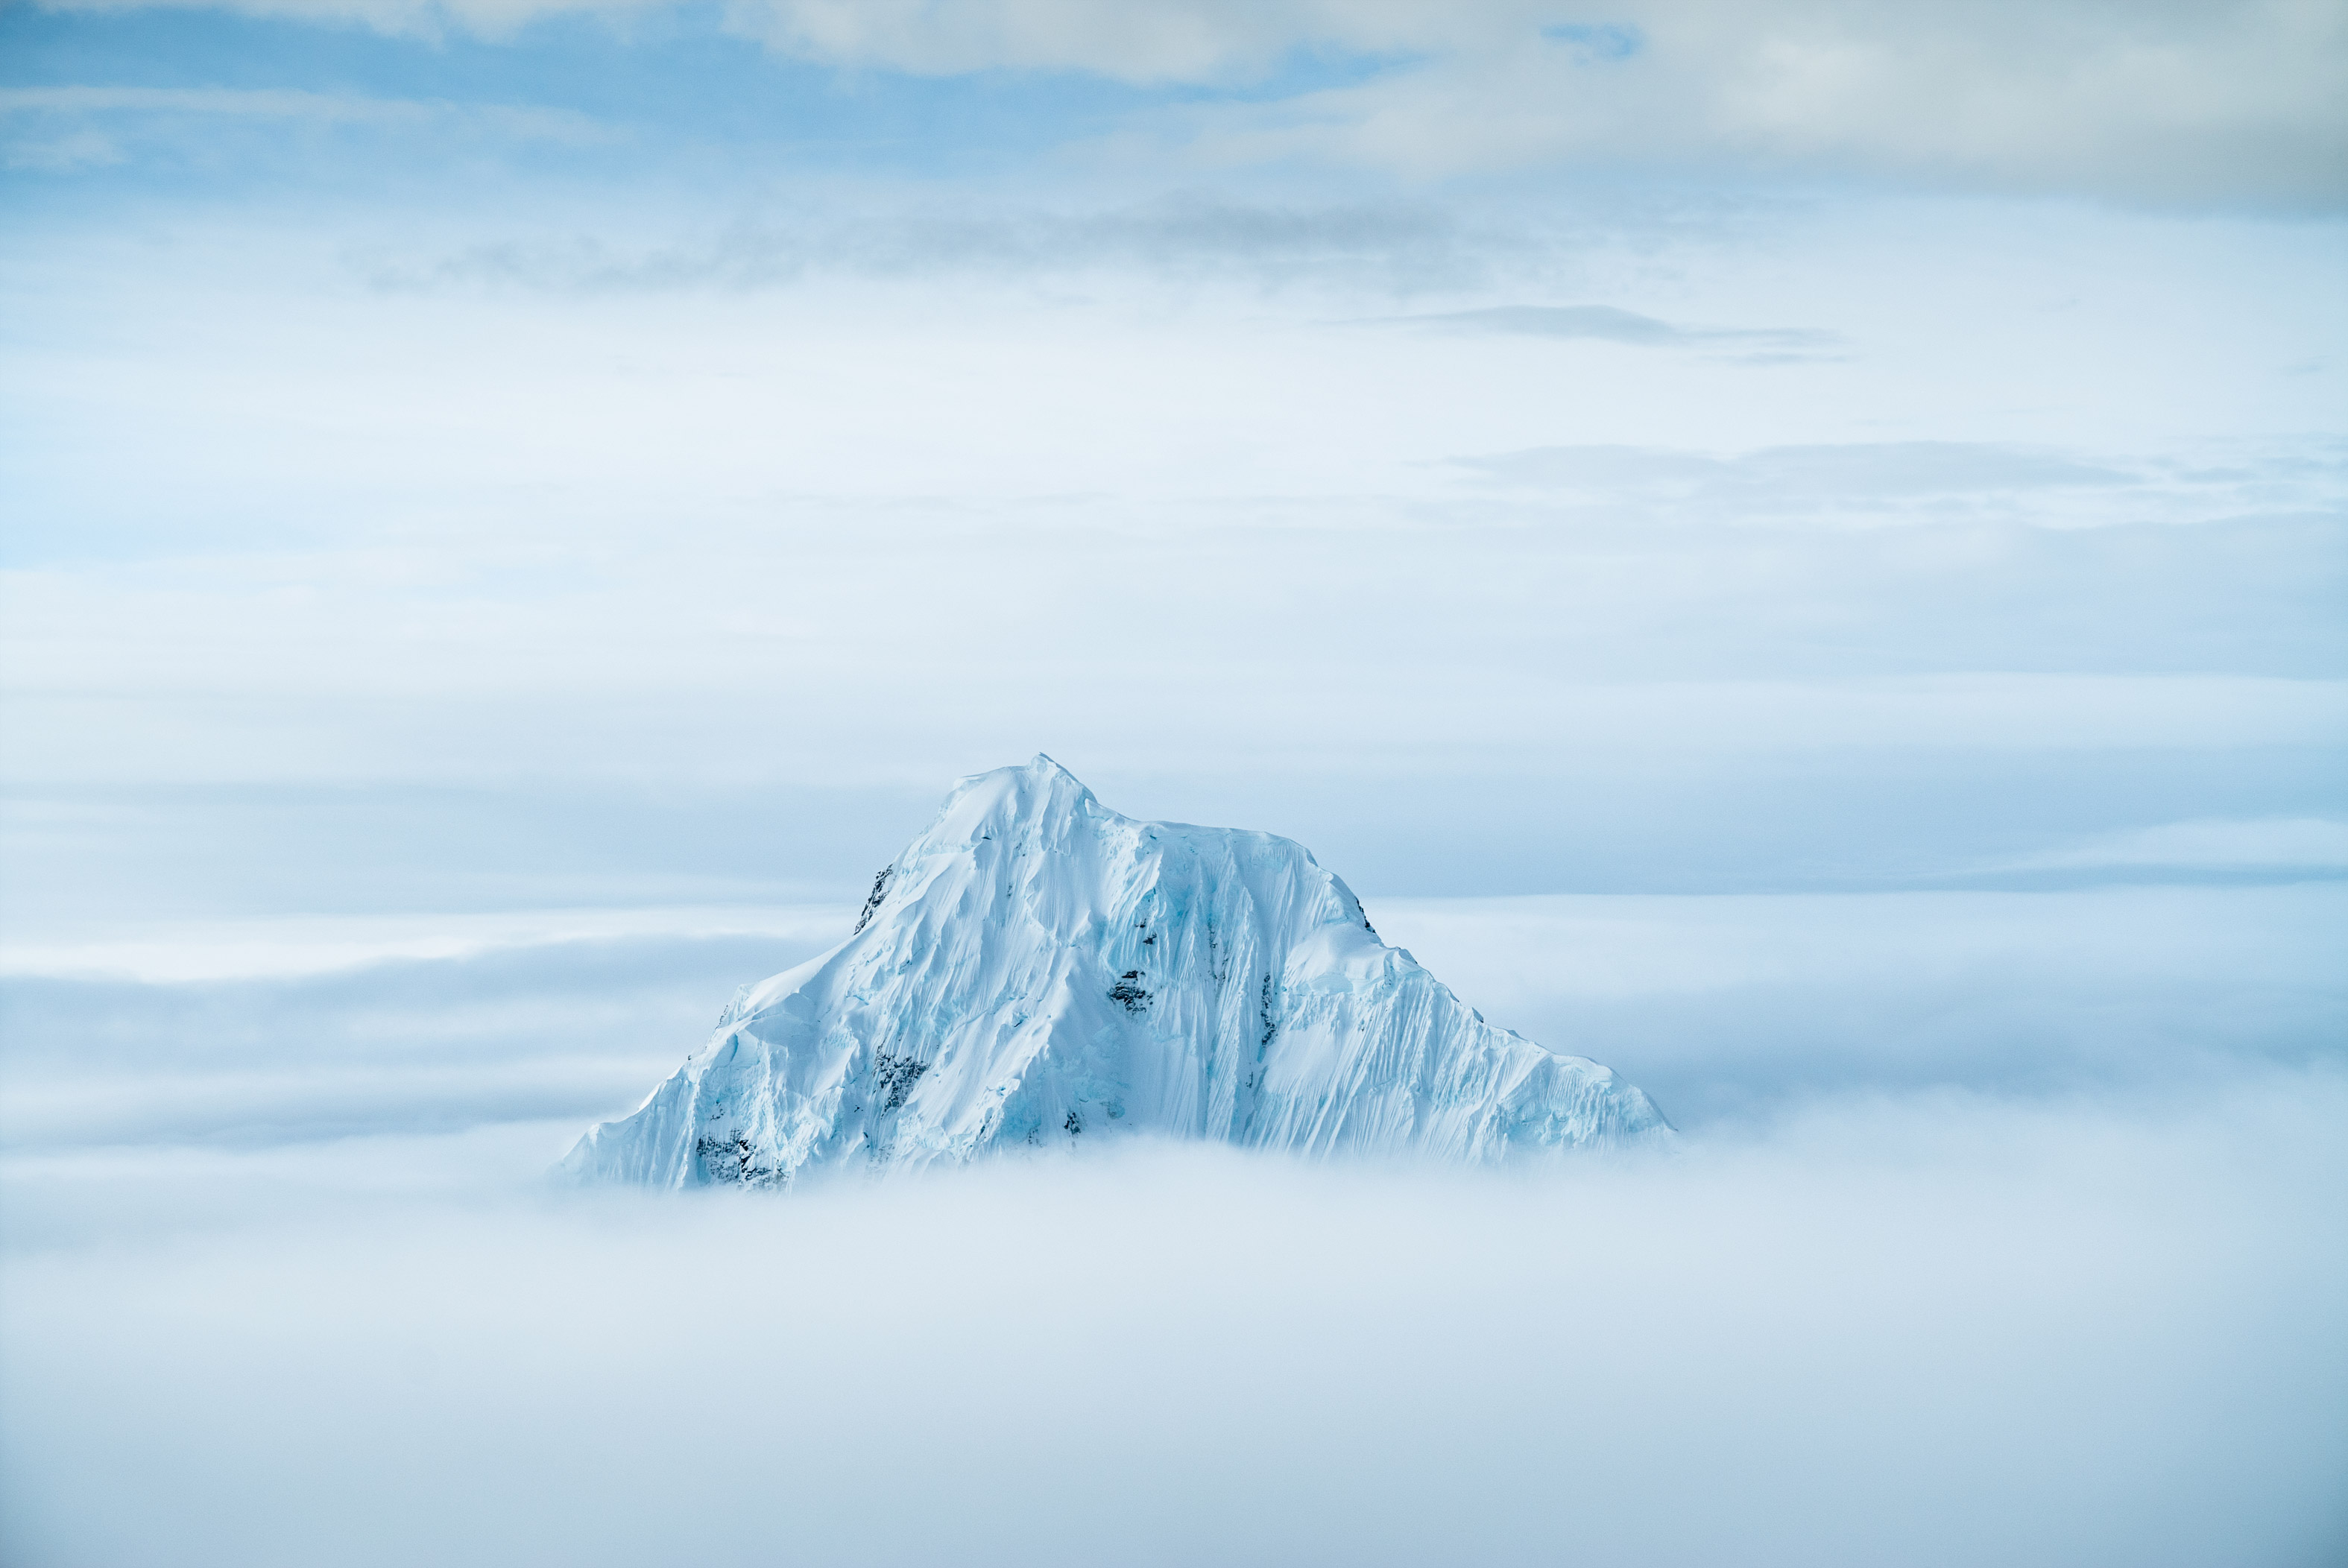
Chris Burkard | Sony ILCE-7M2 | Sony FE 24-70mm f/4 ZA OSS | 37 mm | f/4 | 1/320 sec | ISO 200
Cameras
Luckily, there’s room for flexibility here. While most cameras will get the job done, it’s smart to select one that caters to your specific needs.
A full-frame camera is Chris’ ultimate aerial tool. Chris specifically recommends two Sony standouts: the Sony A1 and the Sony A7R V. (You can read more about these cameras in our article on the top 10 Sony cameras for 2025.)

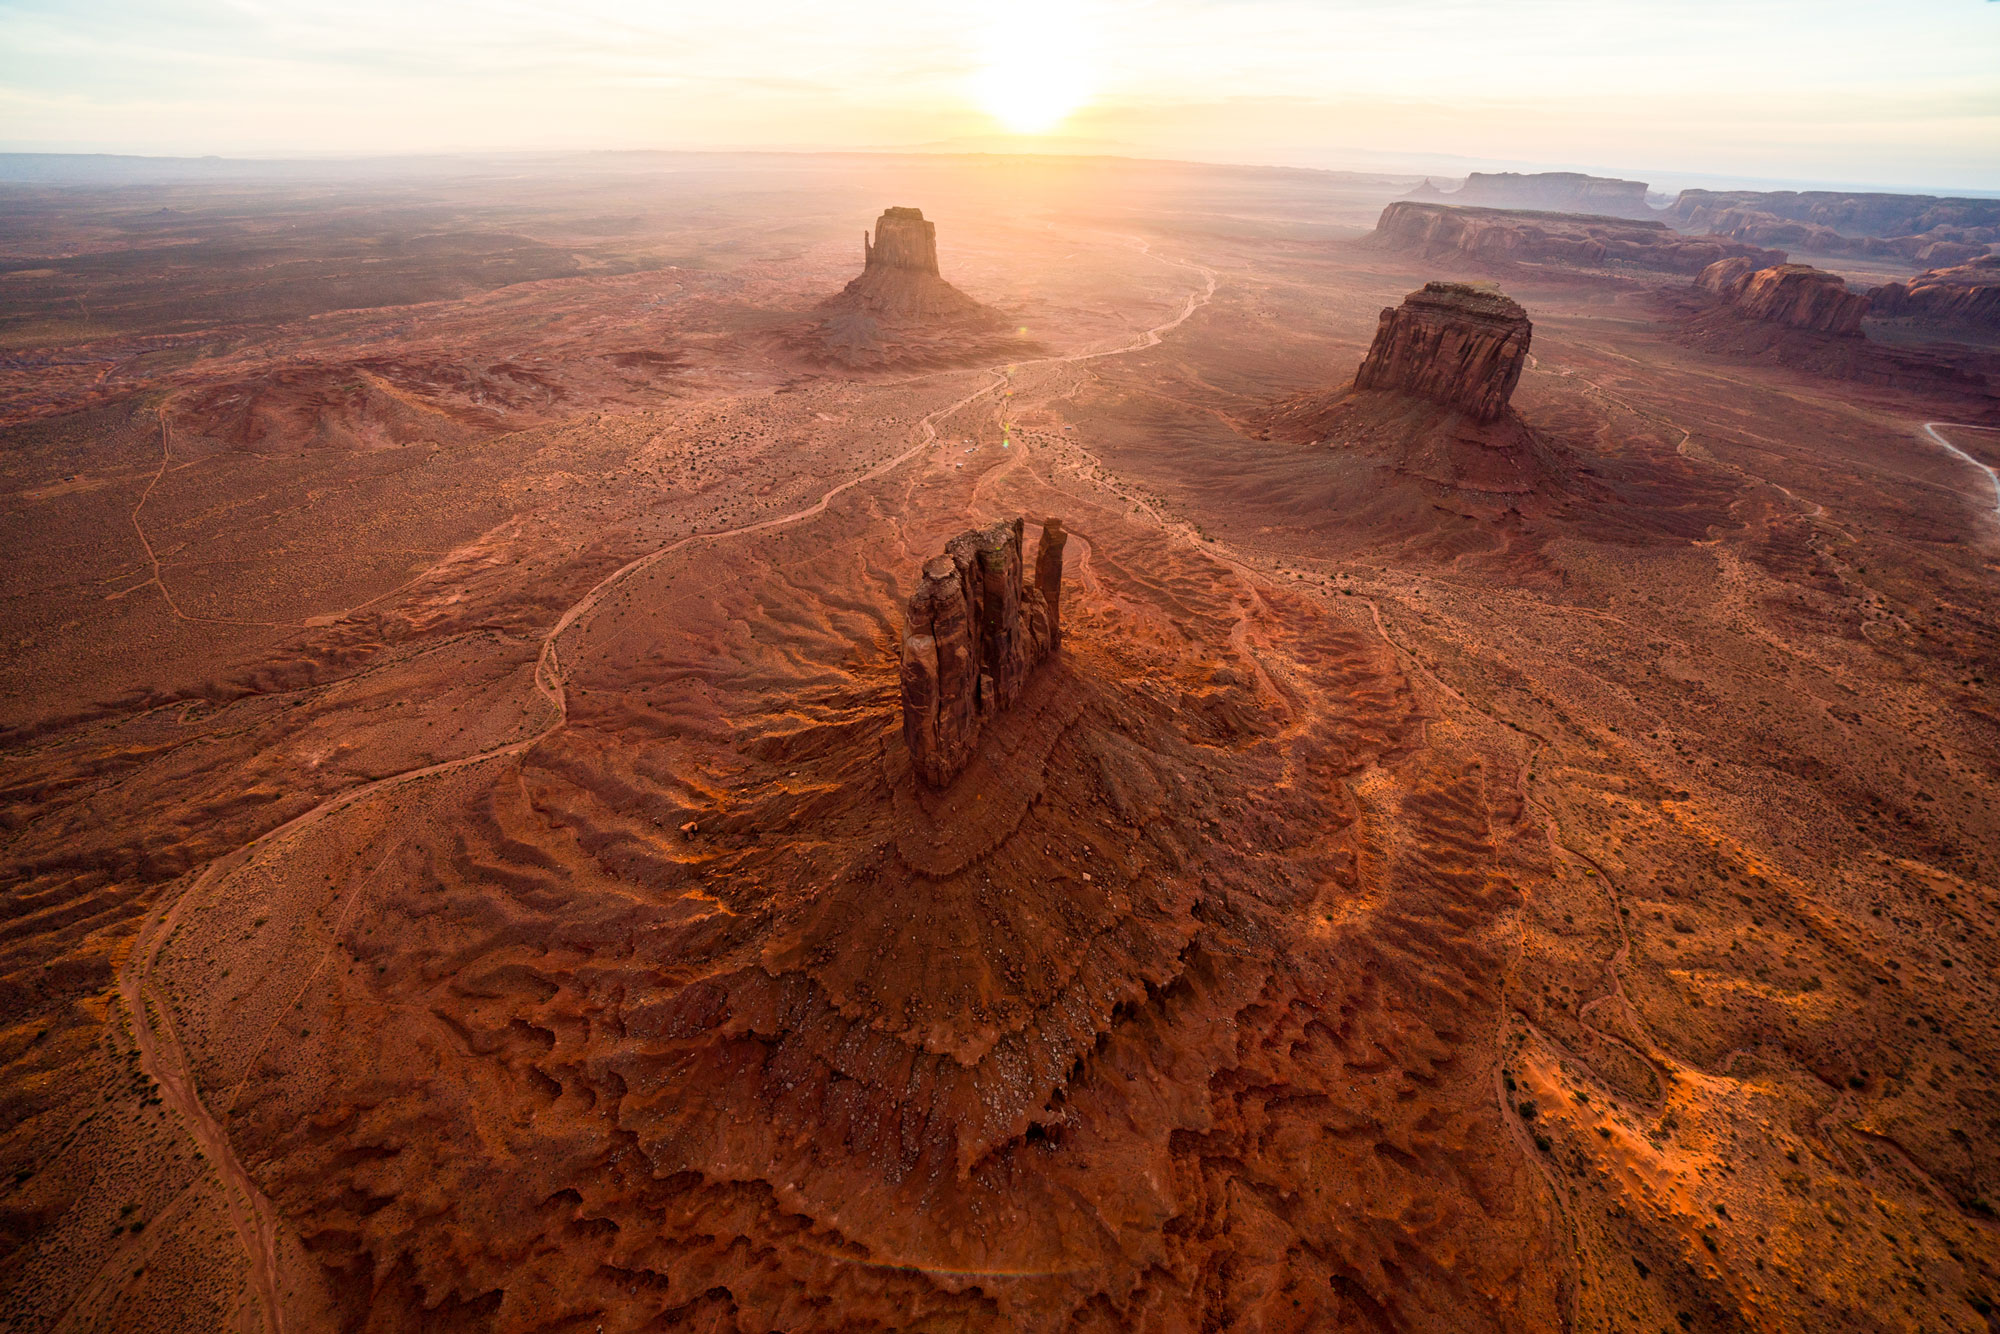
Chris Burkard | Sony ILCE-7RM3 | 24 mm | f/2.8 | 1/320 sec | ISO 100
Sony A1
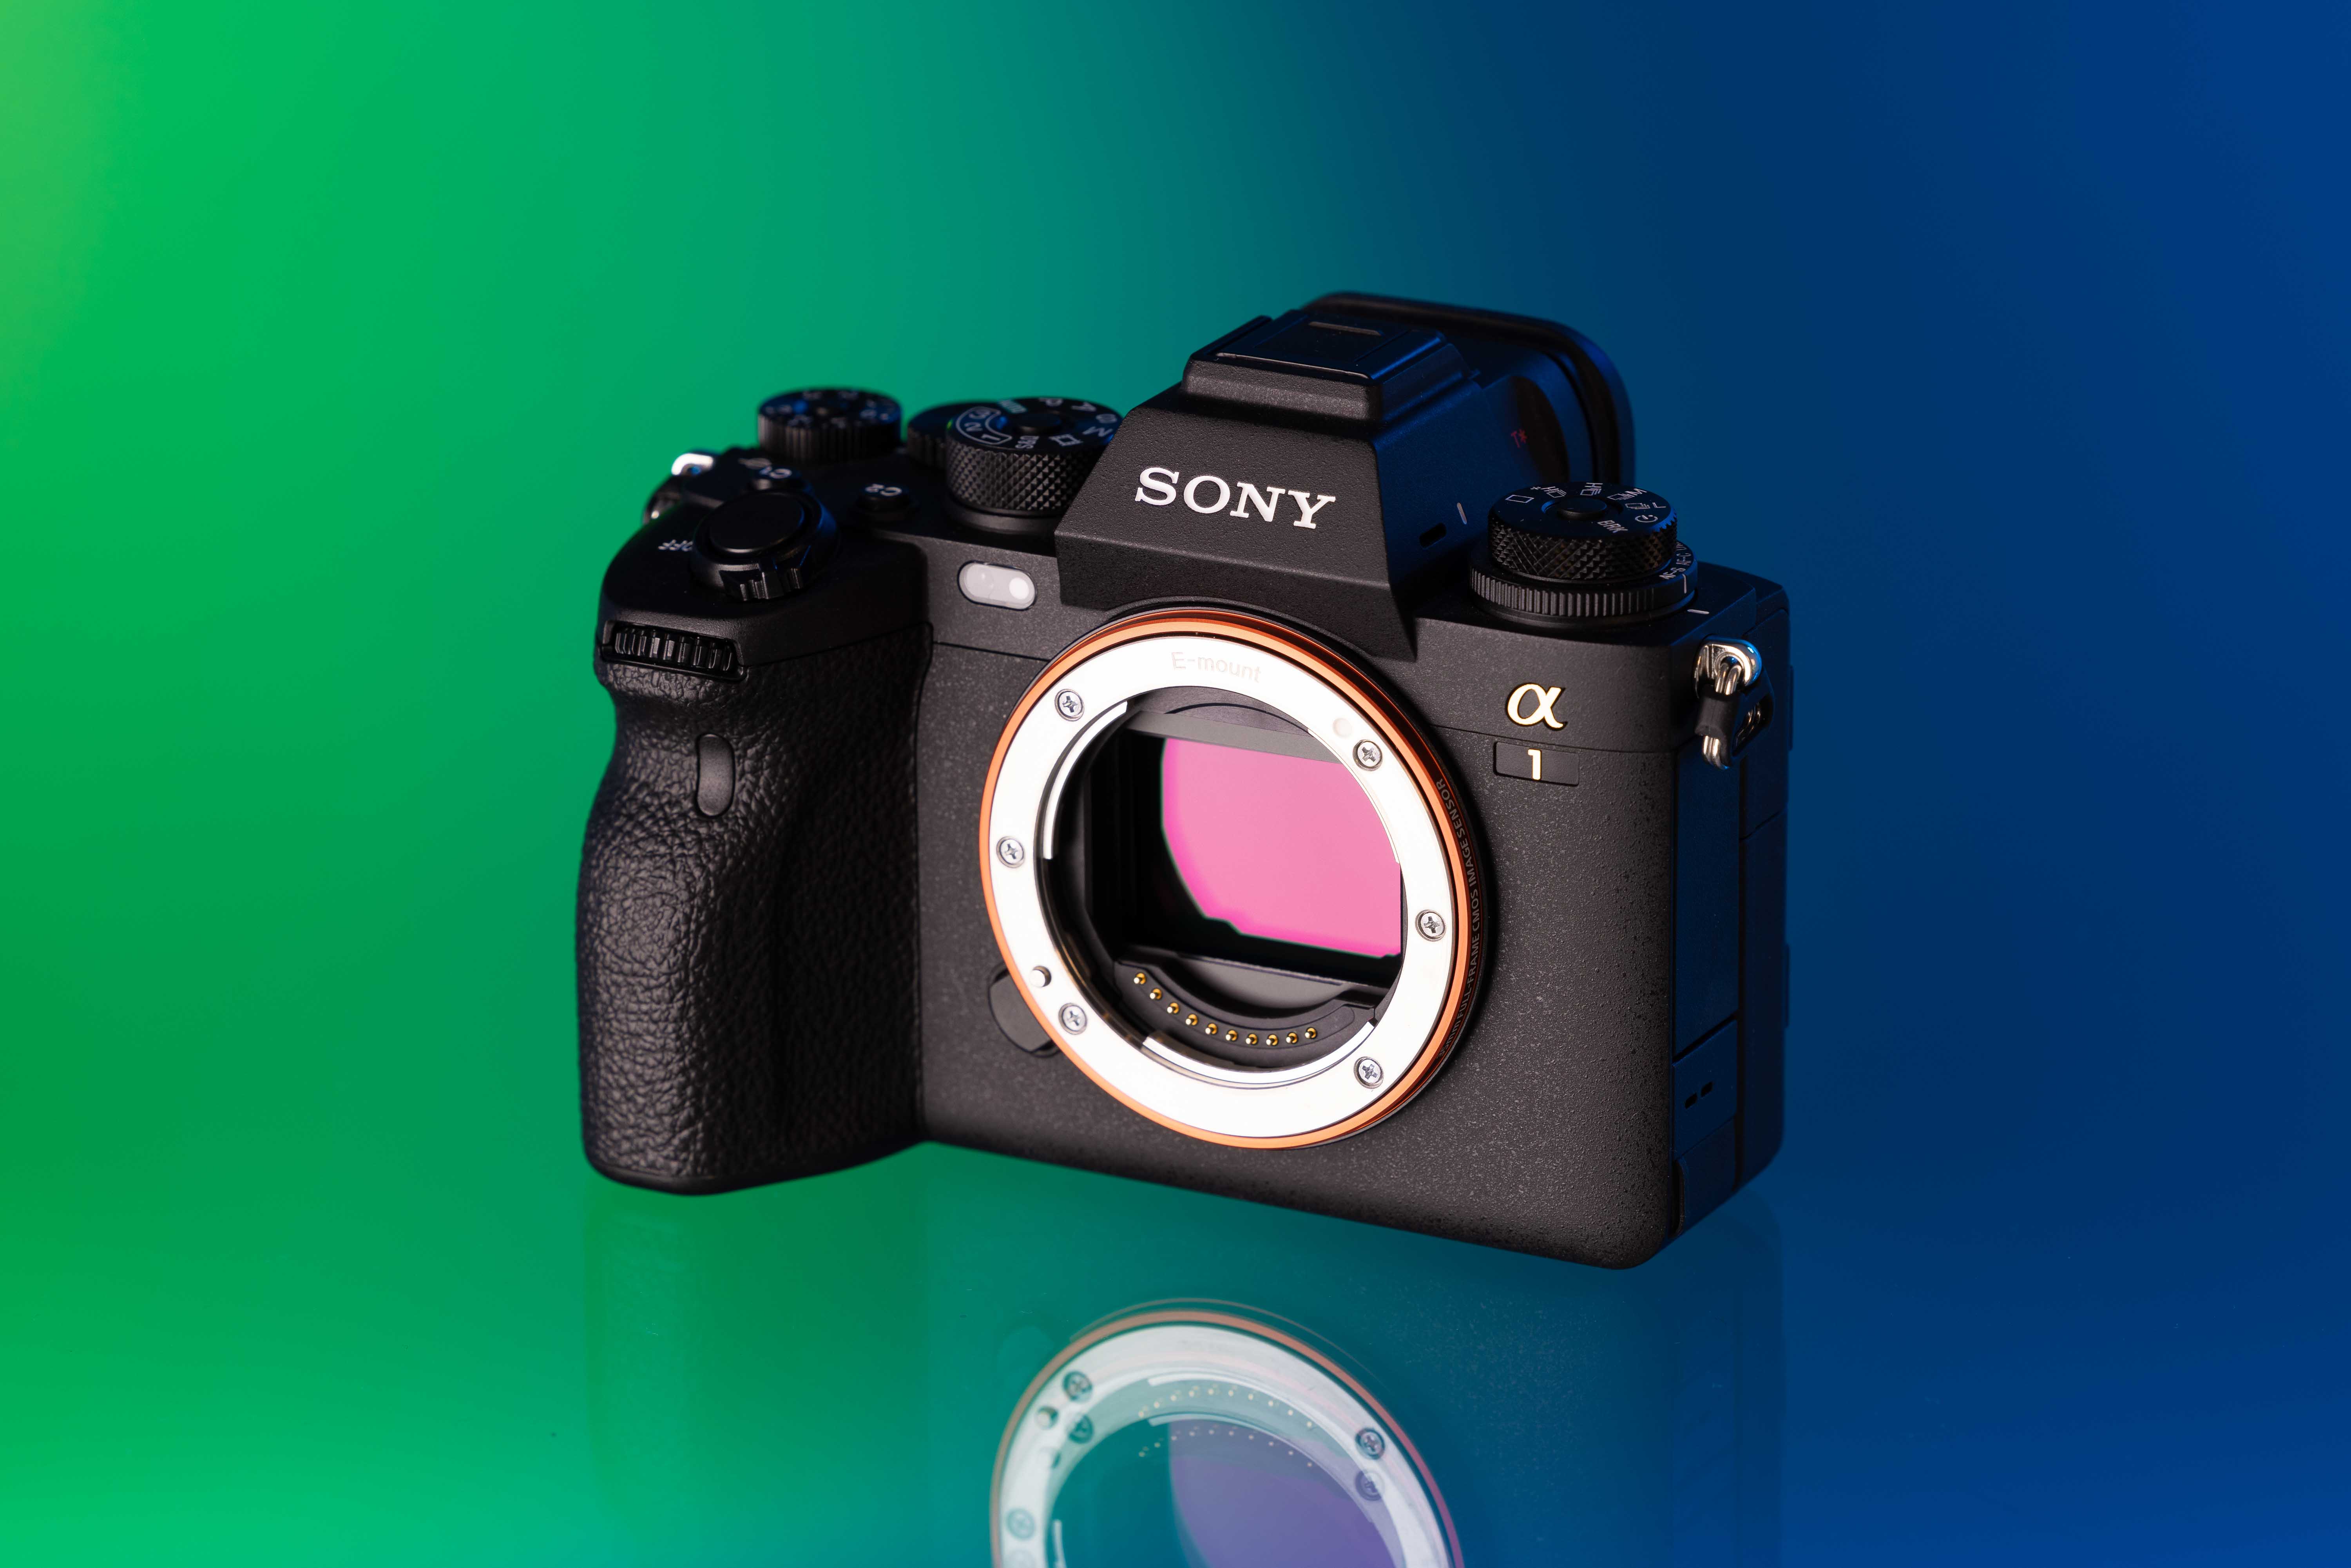
Used Sony A1
Specs
50.1-megapixel full-frame CMOS sensor
5-axis sensor-shift image stabilisation
10fps continuous shooting
The Sony A1 does everything. With 8K video, a 30fps burst rate and a 50-megapixel full-frame sensor, it’s tough to find a better camera at the same cost. Plus, it offers outstanding resolution and full flexibility for cropping and recomposing shots in post.
This photographer-friendly camera makes it simple to adjust settings on the fly, which is especially useful while you fly. Whatever you want to capture from above, the Sony A1 will help you do so in stunning fashion.
Sony A7R V
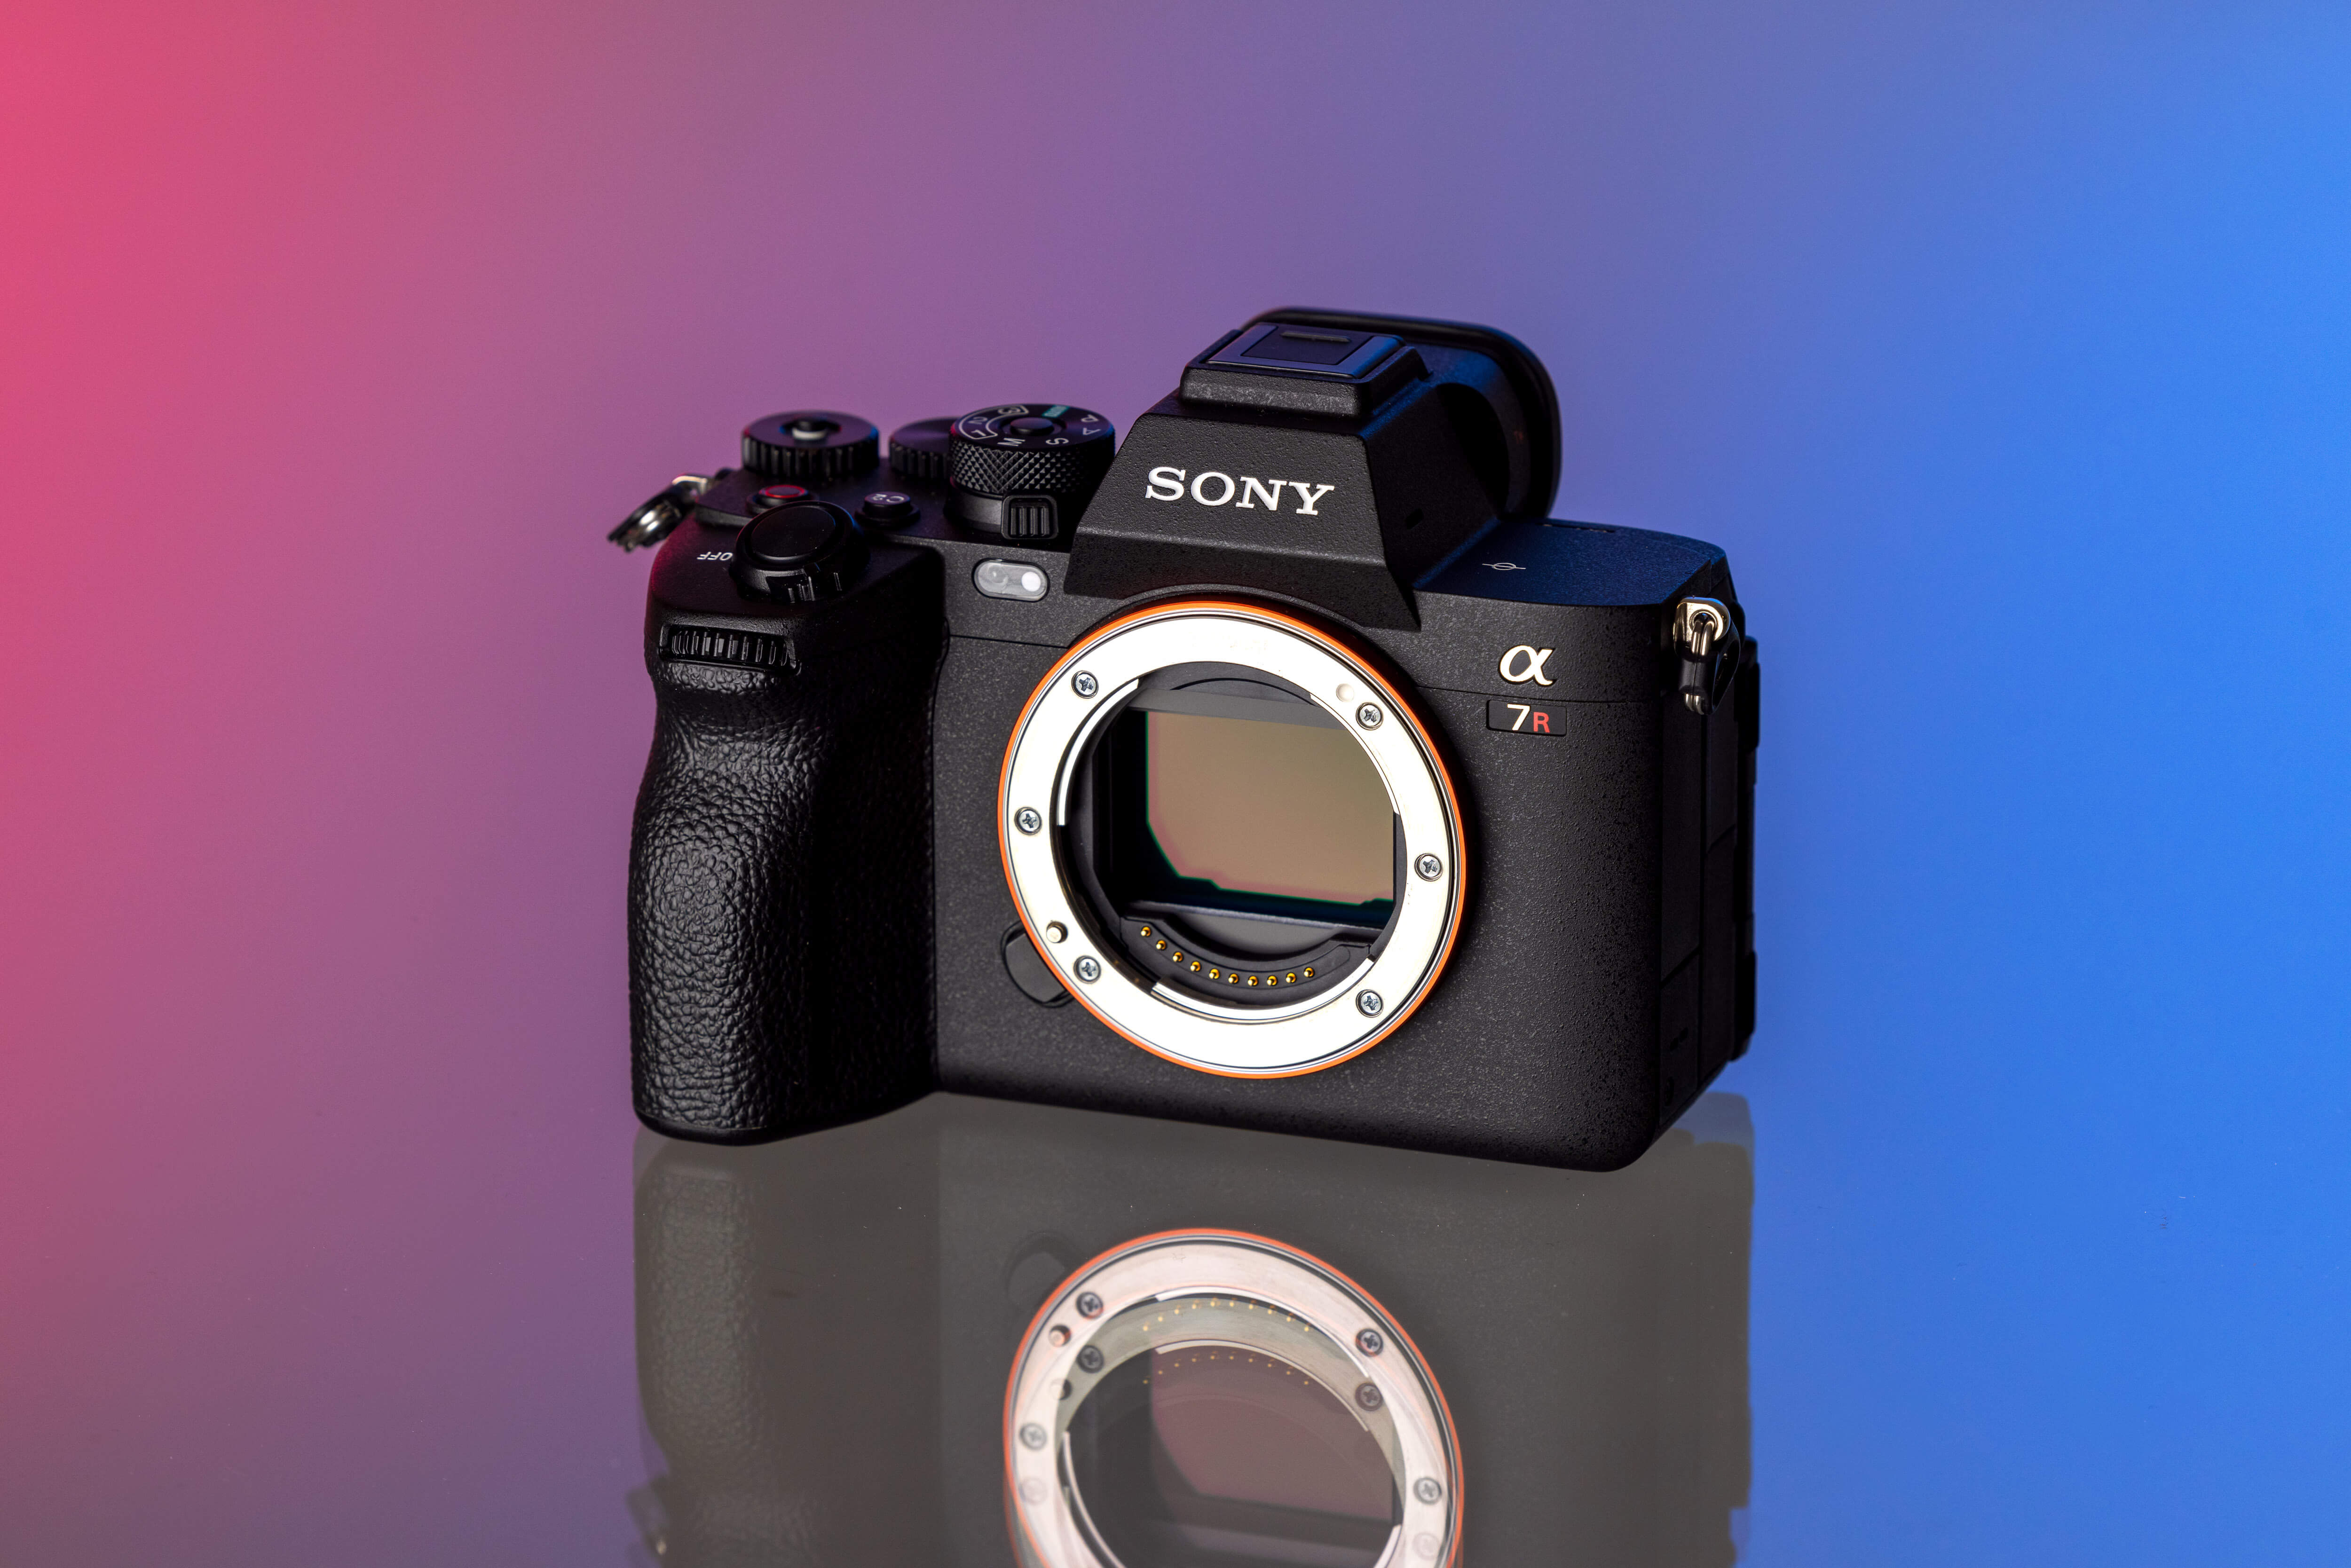
Used Sony A7R V
Specs
61-megapixel full-frame BSI-CMOS sensor
5-axis sensor-shift image stabilisation
10fps continuous shooting
The Sony A7R V captures stunning scenes with its 61-megapixel full-frame sensor. The 5-axis in-body image stabilisation, combined with stabilised lenses, promotes peak performance and prevents camera shake problems.
With premium Zeiss lens compatibility, excellent weather sealing and infrared capabilities, the A7R V is a versatile and reliable choice for pros seeking perfection.
To see how the A7R V fared in the Canadian Rockies, read our article on the Sony A7R V for landscape photography.
Lenses
It’s always easiest to start with one of two lenses: a 70-200mm lens or a 24-70mm lens. These lenses allow you to zoom and capture details from above. If you’re shooting from an aeroplane, you can easily zoom past the blades of the plane that would otherwise block your shot.
For more advanced aerial shooters, try using a wider angle. A 16-35mm lens or a 24-70mm (at the wider end) are tried and true lenses for experienced photographers who can communicate with pilots effectively.
Shooting with a wide-angle lens allows you to capture vast, sweeping landscape shots. Whether you’re shooting a sunset or capturing the countryside, you can do so in stunning fashion with a wide-angle lens.
See our list of the top 6 mirrorless lenses, including both 24-70mm and 70-200mm options.

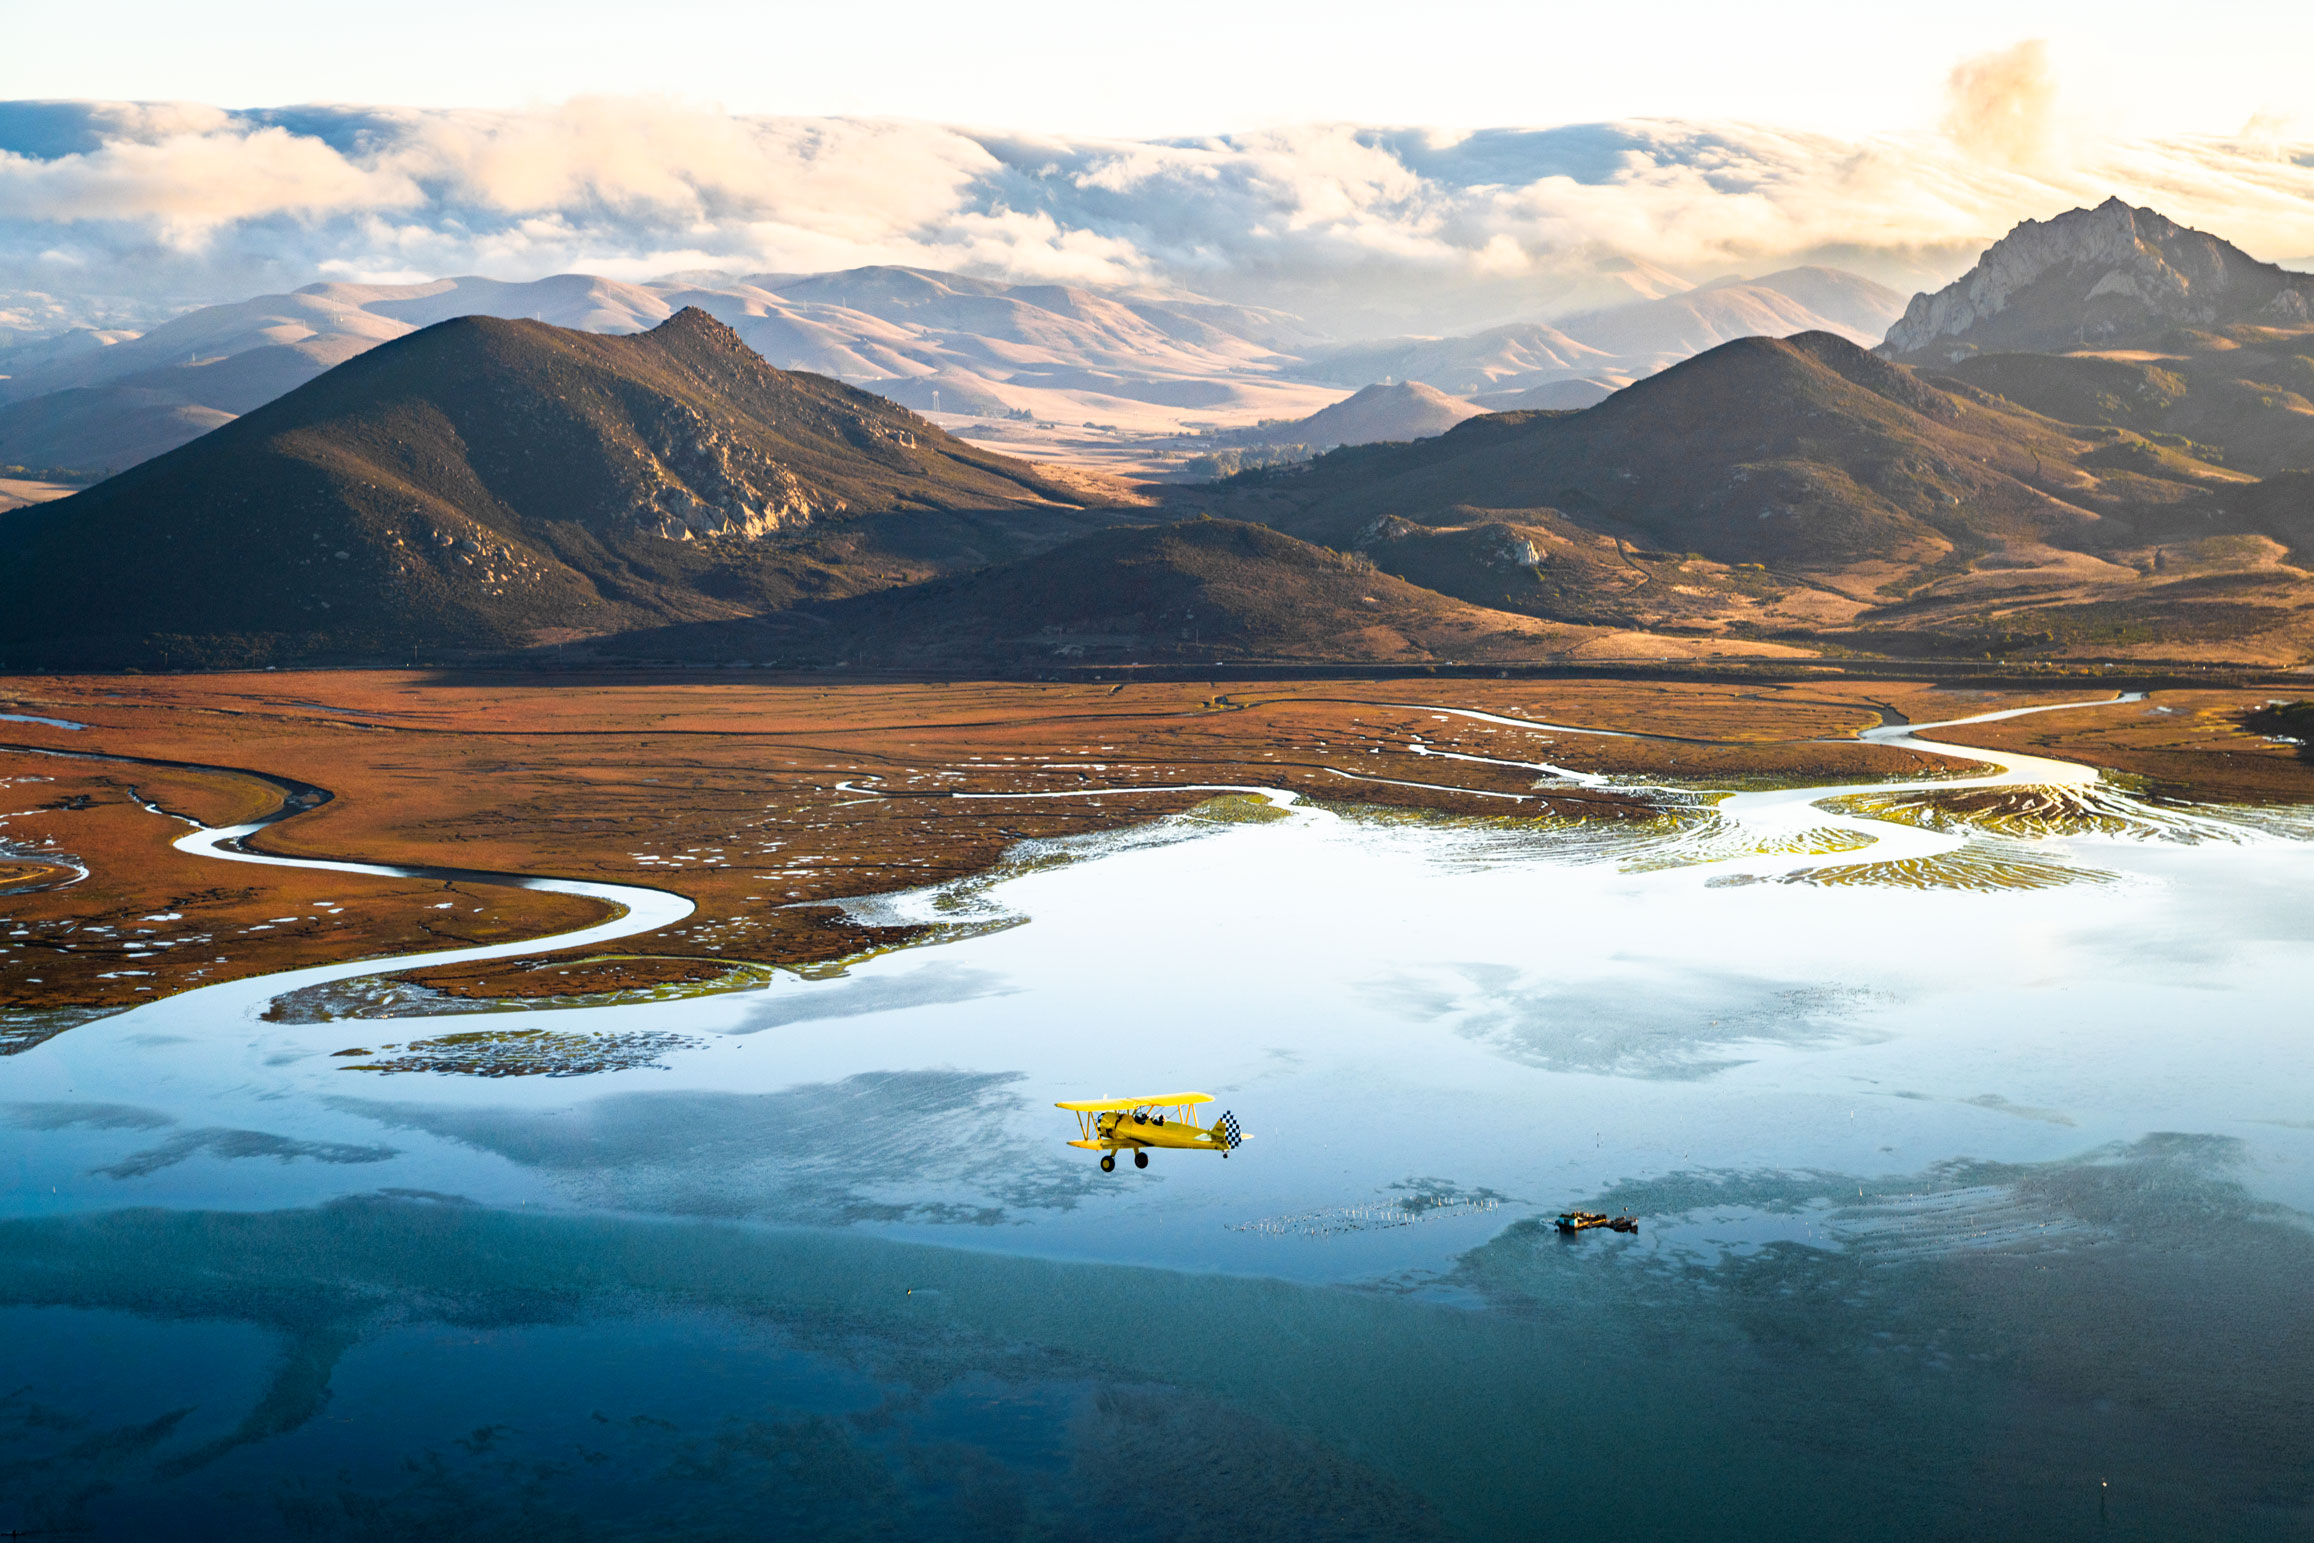
Chris Burkard | Sony ILCE-7RM3 | Sony FE 70-200mm f/2.8 GM OSS | 200 mm | f/2.8 | 1/200 sec | ISO 200
Accessories
If you want to take your aerial shots to the next level, consider picking up a polarising filter. These filters cut reflection and enhance the contrast of clouds on a bright, sunny day.
A circular polariser is fantastic for cutting unwanted highlights and bringing out the best parts of your pictures.
Bring (preferably light) bags and cases that carries a camera and one or two lenses. You’ll still want to pack light, but a bag always helps when you travel with gear. It’s also perfect for packing other useful items like a SD card, batteries, lens cloths and more.
Chris Burkard | Sony ILCE-7RM2 | Sony FE 16-35mm f/4 ZA OSS T* | 35 mm | f/5 | 1/320 sec | ISO 200
Other Must-Have Items
The first crucial item according to Chris Burkard? A jacket — typically a puffy one with an insulated layer. You can take it off mid-flight if necessary, but it’s best to bring one just in case.
Gloves are another must-have. Make sure they allow for finger sensitivity when using your camera and phone.
You’ll also want to have a scarf of sorts. Any piece of fabric that covers your neck and mouth will add a much-needed layer of protection from the cold.
It’s tough to snap aerial shots when blinded by sunlight, so bring a pair of sunglasses when you fly. You’ll want to remove them while shooting, but you’re likely to need them often while in the air.
Chris Burkard | Sony A7R III | Sony FE 12-24mm f/4 G | 12 mm | f/6.3 | 1/160 sec | ISO 160
Camera Settings for Aerial Photography
When shooting aerial photography, it’s crucial to optimise your camera settings for the fast-moving environment and changing light conditions. Here are a few key tips to get the best results:
Shutter Speed: Keep your shutter speed snapper — around 1/1000 of a second or higher to minimise motion blur caused by movement of the aircraft. You may need to increase the shutter speed even more if you're using a longer lens.
Aperture: Use a relatively wide aperture (roughly f/2.8 to f/6.3) to let in more light and maintain focus, especially when depth of field isn’t a major concern.
ISO: Start with a low ISO (200–400) to minimise noise, but don't hesitate to raise it for faster shutter speeds in low-light settings.
Image Stabilization: Enable image stabilisation or vibration reduction if you can, as turbulence can easily affect image sharpness.
Autofocus: Use continuous autofocus to keep moving subjects in focus. If the autofocus struggles, try manual focus set to infinity.
RAW Shooting: Capture footage in RAW format to maximise the detail and dynamic range, which will give you more flexibility in post.
Burst Mode: Set your camera to high-speed continuous shooting to capture multiple frames and raise your odds of snapping sharp shots.
Metering and White Balance: Use evaluative metering for balanced exposures. Leave white balance on auto, especially when shooting RAW.
Chris Burkard | Sony ILCE-7S | Sony FE 70-200mm f/4 G OSS | 70 mm | f/5.6 | 1/1250 sec | ISO 320
Planning and Communication with Pilot
Communication is key — especially when you elevate to thousands of feet in the air.
Ideally, you’ll have a headset so you can communicate with the pilot while airborne. However, you don’t want to overlook the most essential step: preparation.
Remember: preparation is paramount. If you want to achieve a shot from a certain spot, notify your pilot ahead of time and have a clear conversation about what you want to accomplish. Your shoot will go much more smoothly when you and the pilot function as a unit instead of playing your individual roles separately. Explain what you want to shoot, where you want to shoot it and how you want to shoot it. Sharing these three simple nuggets of information will help a pilot (and you) greatly.
Chris Burkard | Sony ILCE-7RM4 | Sony FE 24-70mm f/2.8 GM | 59 mm | f/2.8 | 1/1600 sec | ISO 100
Composition
There aren’t hard and fast rules when it comes to composition, but you can use the following pointers to guide your shoot.
Rule of Thirds: Place key elements, like a mountain peak or a cityscape, off-centre to create a balanced composition. Most cameras have a grid option that helps you align these elements.
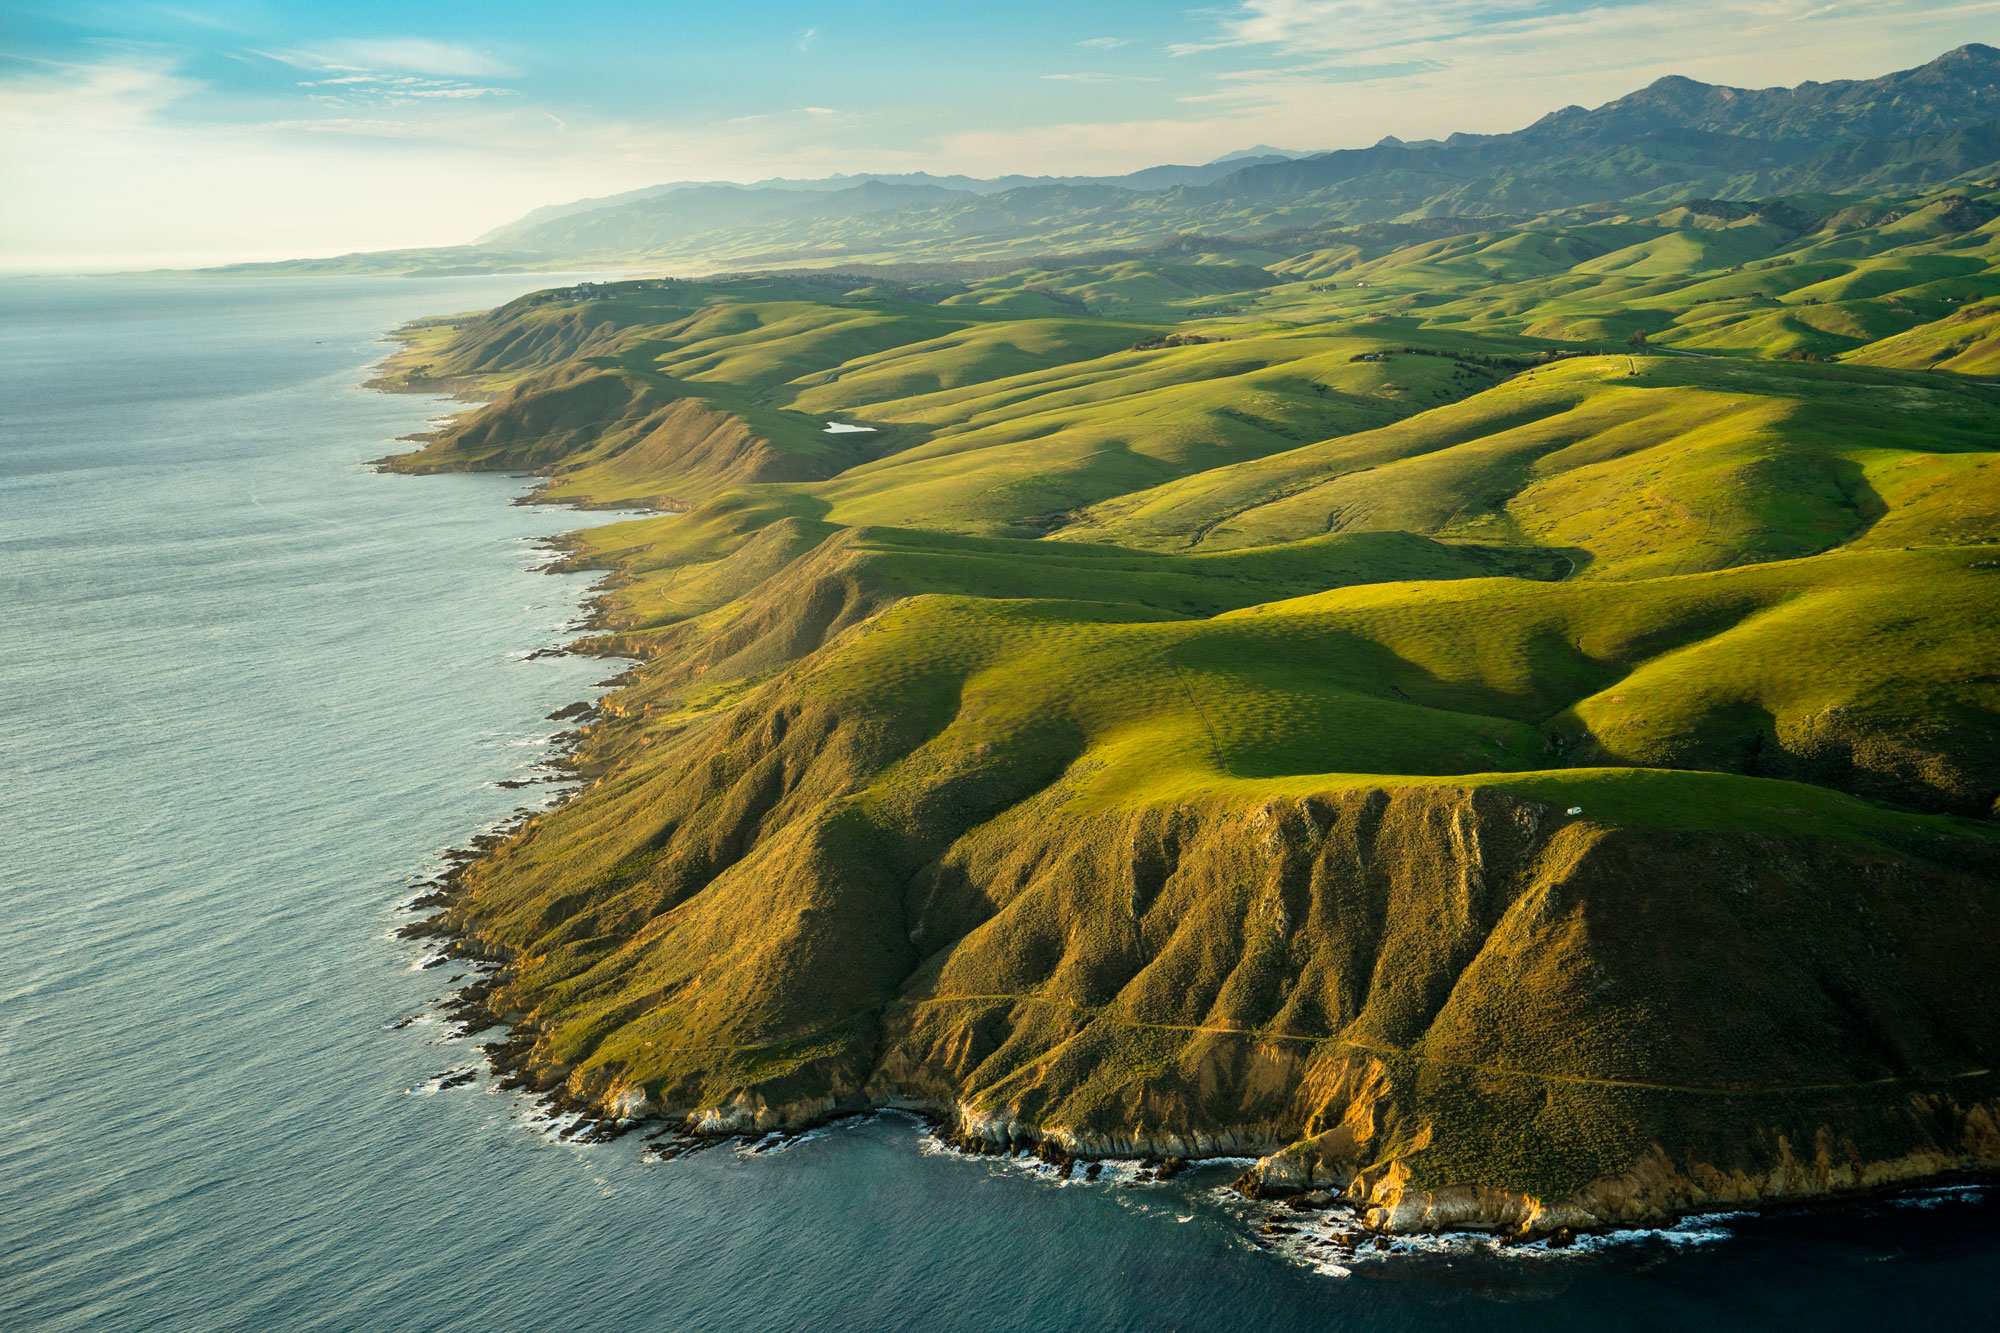
Use Leading Lines: Look for lines — such as rivers or coastlines — in the landscape. These lines guide the viewer’s eye and add depth to the image. Aerial perspectives often emphasise these lines in lovely ways.
Frame Your Subject: Use an element of the landscape to frame another. For example, trees surrounding a circular lake can create a natural frame that adds depth and focus to the shot.
Balance Negative Space: Aerial shots often contain lots of negative space, such as water or sky. Take advantage of this by balancing busy areas with minimal, open areas.
Chris Burkard | Sony ILCE-7RM3 | Sony FE 24-70mm f/2.8 GM | 24 mm | f/2.8 | 1/640 sec | ISO 640
Final Thoughts
Chris Burkard | Sony ILCE-7RM2 | Sony FE 24-70mm f/4 ZA OSS | 51 mm | f/4 | 1/250 sec | ISO 200
You now have the knowledge necessary for a stunning aerial shoot. So, simplify your setup, grab your gear and plan your approach. Remember, your aerial photoshoot will go much more smoothly when you prepare properly and strategise beforehand.
Want more gear for aerial shoots? See how you can upgrade your inventory with first-person view drones. Plus, see us compare DJI Avata vs. Avata 2 FPV drones.
Interested in another aerial photography interview? Read our interview with acclaimed aerial photographer Paul Seibert.
For more tips and techniques, expert interviews and camera gear guides, check out the MPB content hub.