How To: Create Light Painting Photography
Published 13 June 2025 by MPB
Light painting, a technique practised since the dawn of photography, is now mostly associated with moving light sources in front of the lens to ‘paint’ shapes. However, there are other—more complex—applications and uses of light painting that offer plenty more variety to get creative. Here, we take a look at light painting, some classic techniques and some advice to get the most out of your experience.
This article will cover:
The basics of light painting
Lighting conditions
Types of light painting
Camera gear for light painting
Camera settings for light painting
Read on to learn more about light painting and discover the photography of Ian Howorth, Rosa GV, Reuben Wu and Michael Pacheco.
Ian Howorth
The Basics of Light Painting
As an idea, light painting—together with all its applications—can be tricky to grasp. After all, light is the most important thing in photography. Without light, photography can’t exist. However, light painting carries with it more intent. Beyond, for example, the intent of placing lights specifically in a studio photoshoot.
Light painting is about moving light, traditionally combined with a long shutter speed, which allows the light to ‘travel’ across the frame. The motion, direction or trajectory of this light—in combination with the shutter speed—determines its shape, brightness and length.
And equipment: Well, fortunately, that's the simple part. In terms of getting you to experiment, all you need is your existing camera and lens, a tripod, and a torch or portable light source. But more about this later.
Lighting Conditions for Light Painting
To create light painting, you need a dark background. The easiest way to achieve a dark background is by going outside at night. The darkness provides a blank canvas for you to fill with your intentional light.
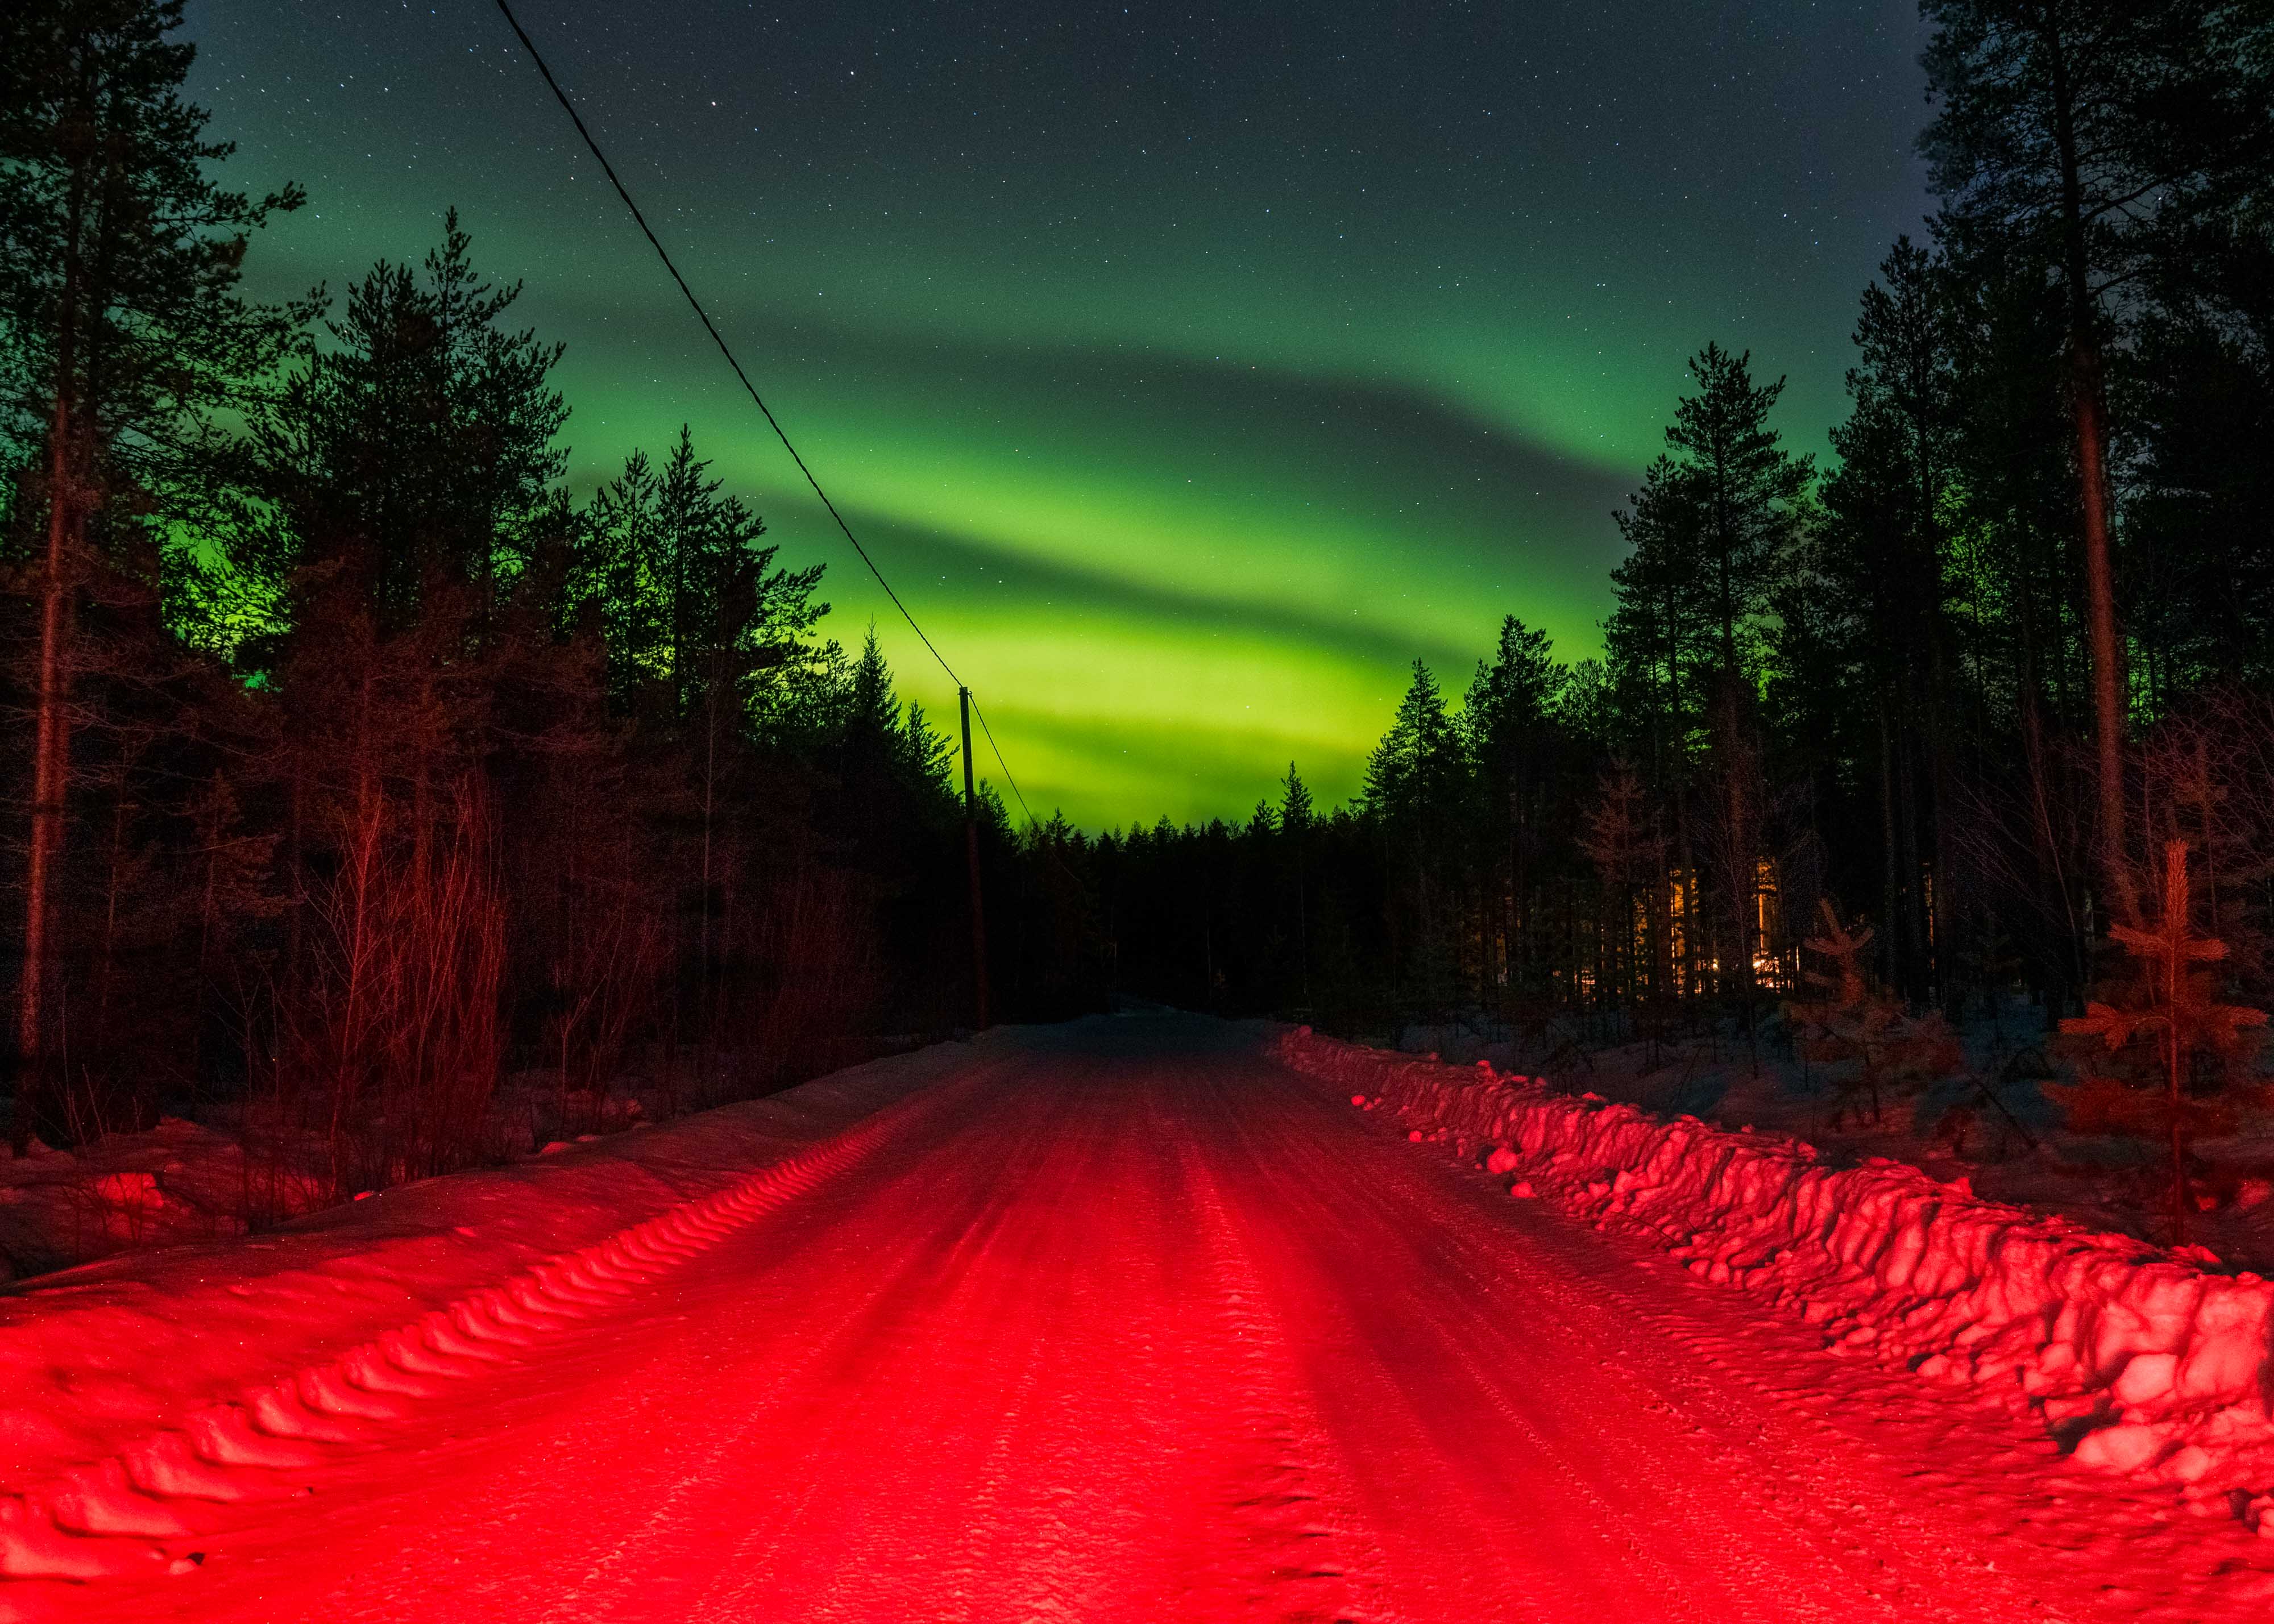
While some prefer the extreme contrast of complete darkness, some might prefer to shoot just after sunset when the sky isn’t completely dark. Creating light painting at dusk can add a bit of colour and dynamism to your light painting image.
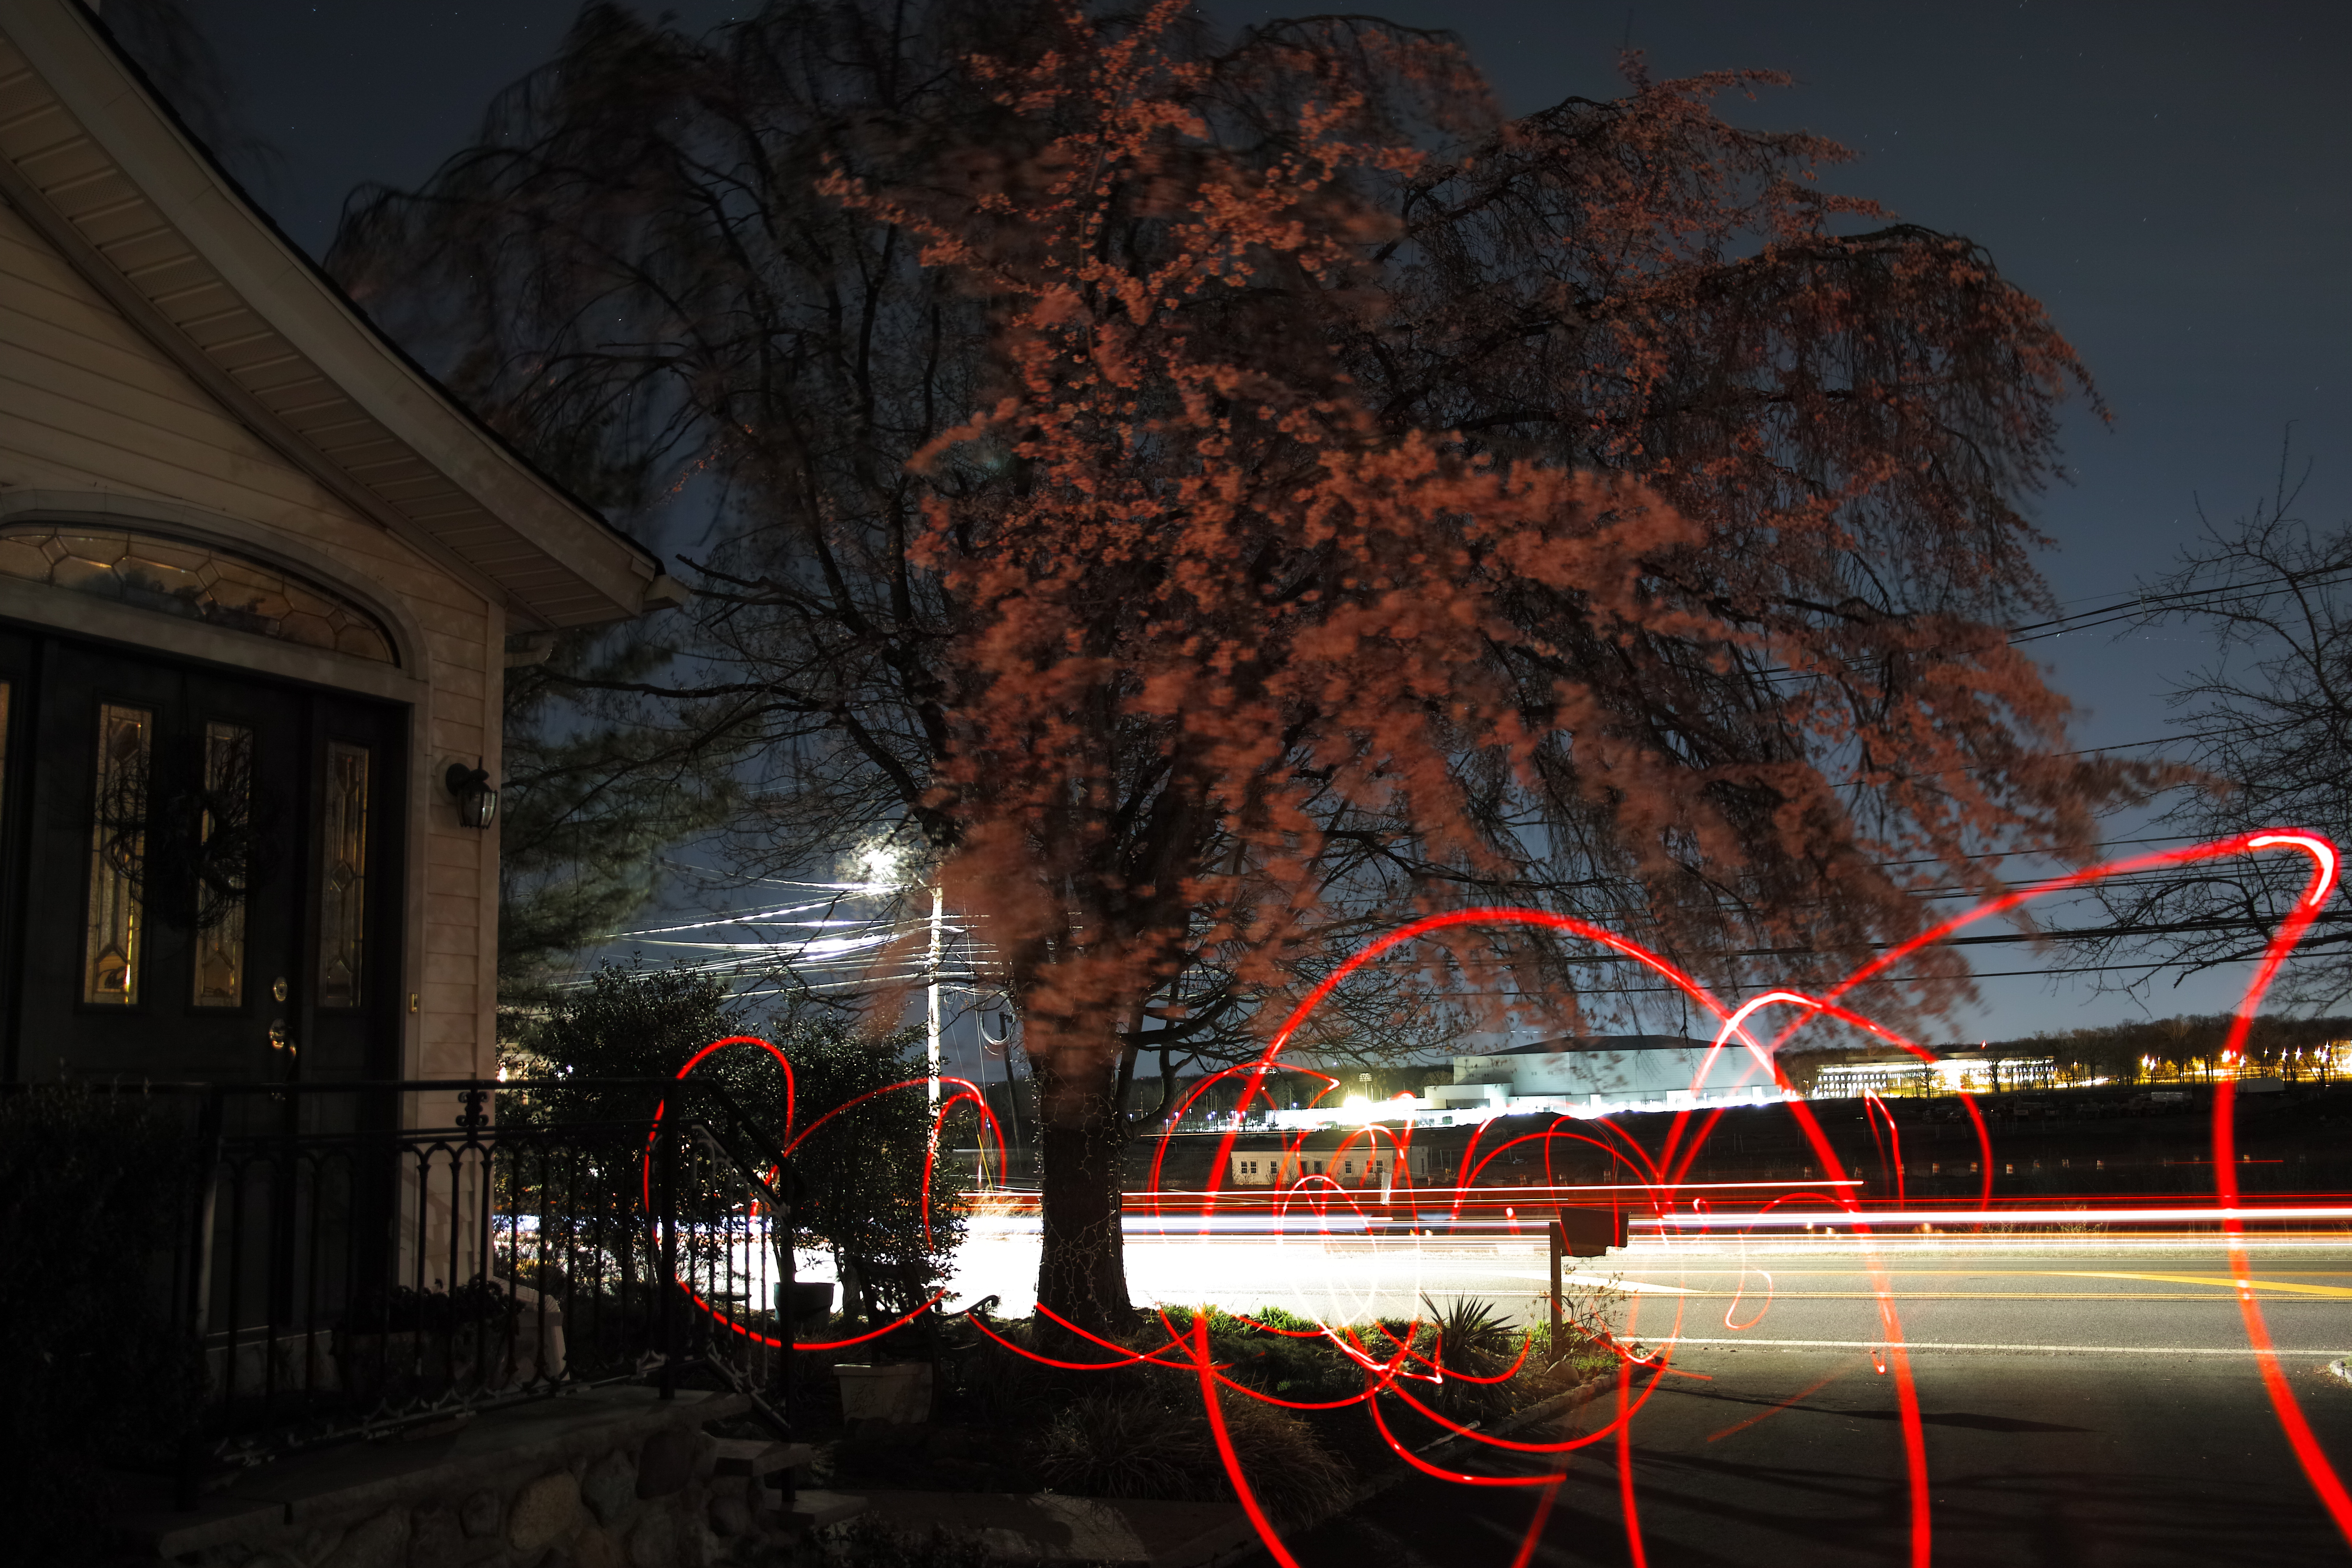
Ian Howorth
Creating light paintings at sunset or dusk, as opposed to complete darkness, can sometimes be frustrating. You have to balance any light, whether it’s natural or added, that you bring into your frame.
If you have complete darkness, then all light added to your frame will come from you. You can easily control your exposure by adding more or less artificial light or reducing or increasing your exposure.
If you have light sources that you can’t control—for example, the sky or street lights—then it’s harder to correctly expose all the light within your frame. And that’s a key element of light painting.
Types of Light Painting
There are a few main types of light painting:
On-camera
Off-camera
Dynamic
An ‘on-camera’ light source means the source of the light is seen by the camera. On-camera light painting often involves someone standing in front of the camera, moving a light source and creating shapes.
With an ‘off camera’ light source, the camera doesn’t see the source of the light illuminating the frame. For example, the person holding the light source might stand outside of the shot—but the light still reaches the subject.
‘Dynamic’ light painting is when the light source stays still. Instead, the camera moves and effectively ‘drags’ the light across the frame.
On-camera Light Painting
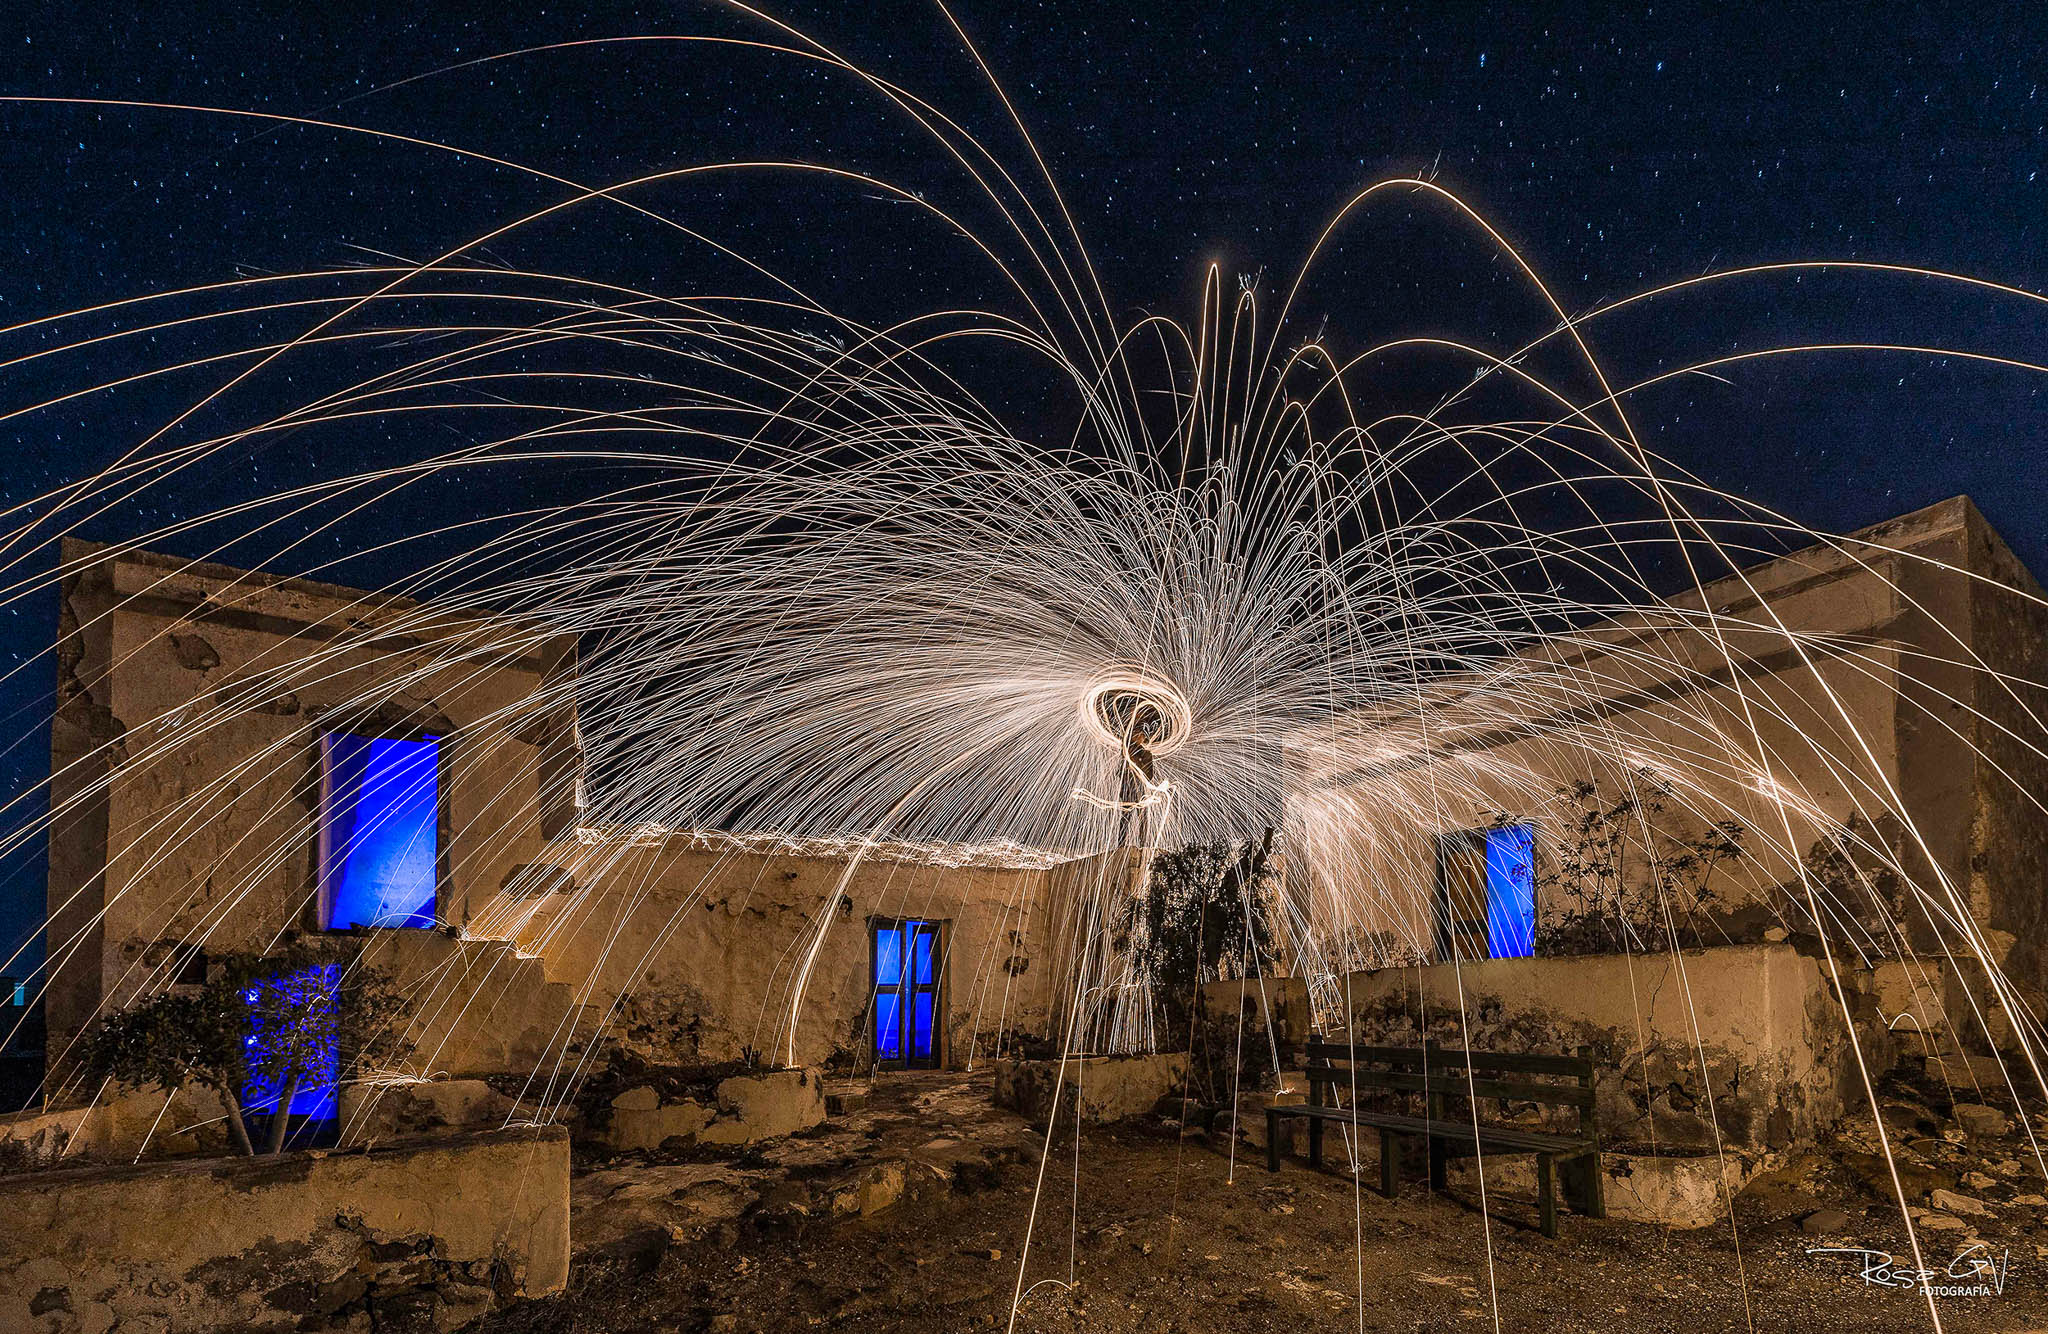
To help explain on-camera light painting, we spoke with photographer Rosa GV, who uses a variety of lights and techniques to create light painting.
Rosa GV
“For the image above, we used fine wire wool, a tripod, a camera, a remote trigger and a flashlight. Once I set up the camera on the tripod, I got into position—dressed in dark clothing—and with pliers, I grabbed a little of the wire wool and set it alight.”
“Once I started to create movement, and saw the sparks flying, I began the exposure using my remote trigger. During the exposure, my friend went into each individual room (in the abandoned house behind me) and popped a flash, with a blue gel over it, to finish the look.”

Rosa GV | Nikon D750 | AF-S 14-24mm f/2.8G IF-ED | 14mm | f/5.6 | 89 sec | ISO 640
“For this image, I used a warm-toned torch to illuminate the inside of the cave. I then placed two torches inside a perspex tube, one with an orange gel and one with a natural white light. One of the flashlights was set to fire intermittently, and the other was constant. At the end of the perspex tube, I inserted a green light sphere.”
“Once the camera is set up on the tripod, I set myself up behind the subject, dressed fully in black clothing, and I begin the exposure with my remote trigger. I began to spin the perspex tube with the torches and green light sphere in a circular motion.”
“Once done, I turned the torches off and set them down. With a long LED tube, I scanned the subject—top to bottom—so they were lit and not silhouetted. Finally, using the warm-toned torch, I quickly lit the inside of the cave.”
“In regards to exposure, it’s best to test what you will need. If you’re doing the entirety of the light painting in a single frame, give yourself enough time to conduct each aspect of lighting. It’ll usually have to be ten seconds or more. If you have a subject in your shot, it’s important for them to be as still as possible to effectively light them and capture them without any blur.”
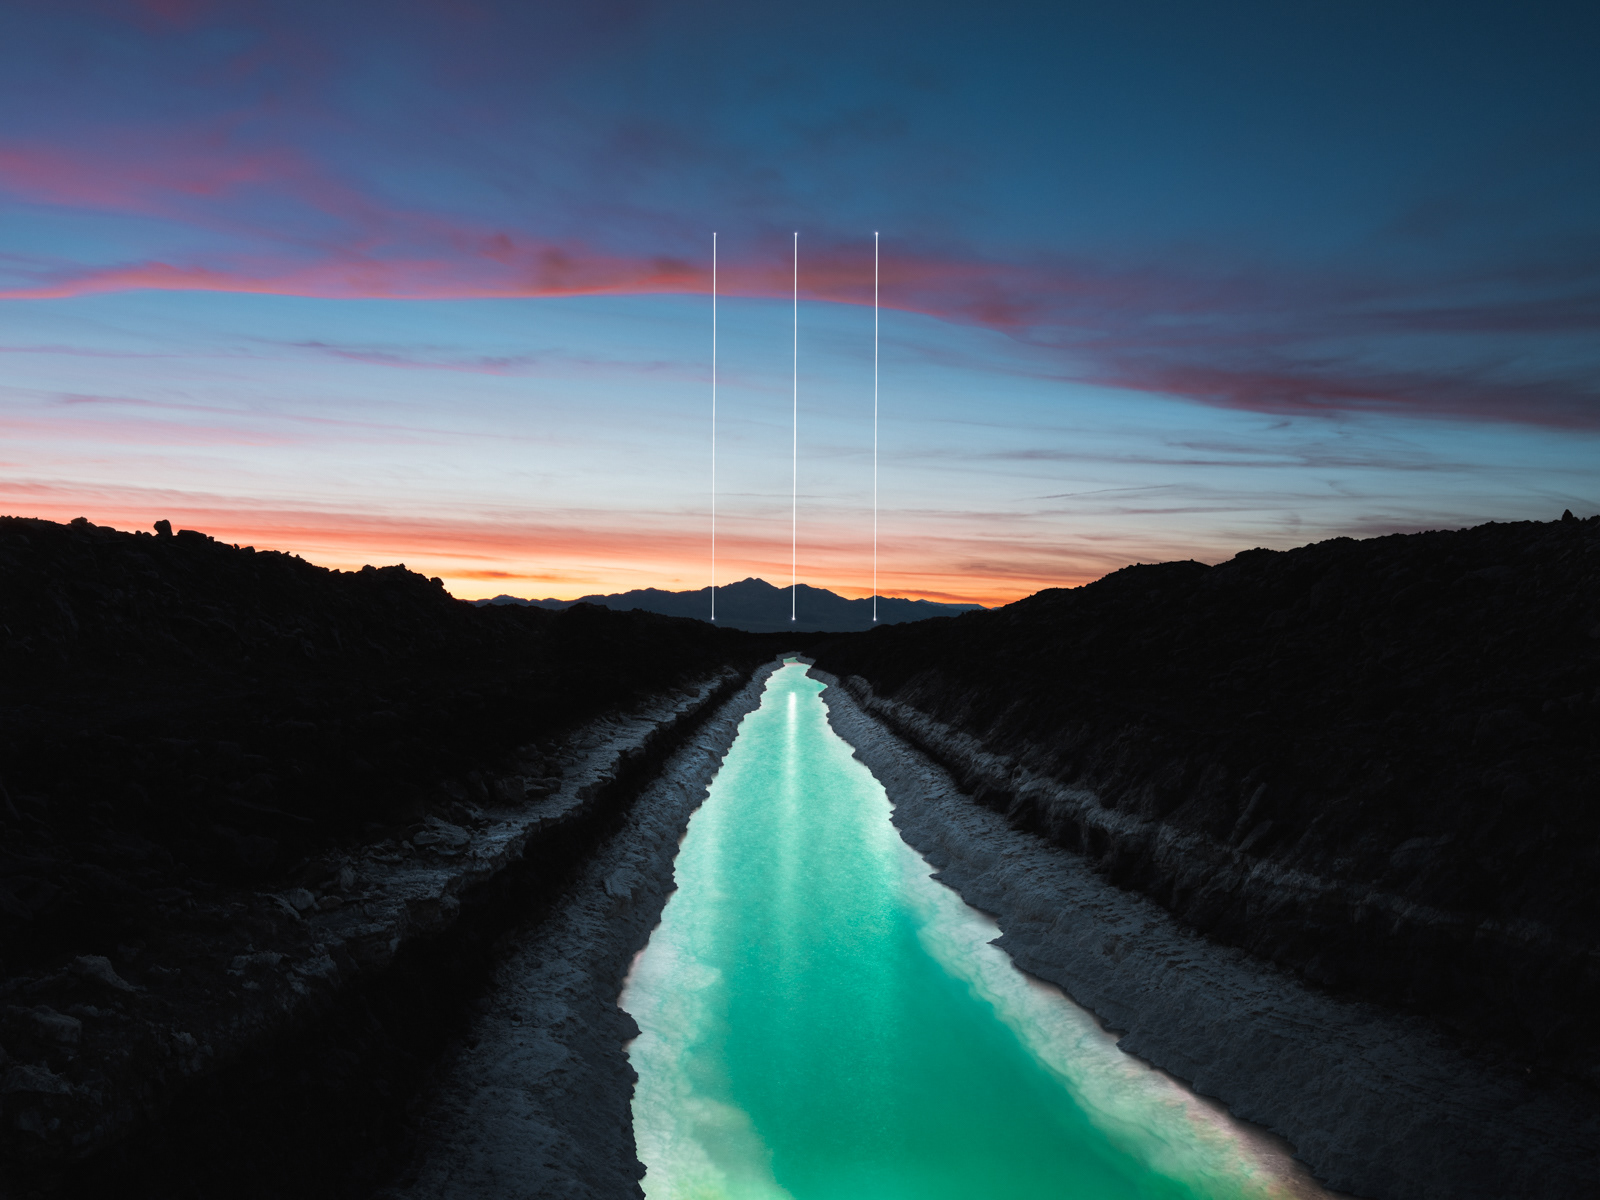
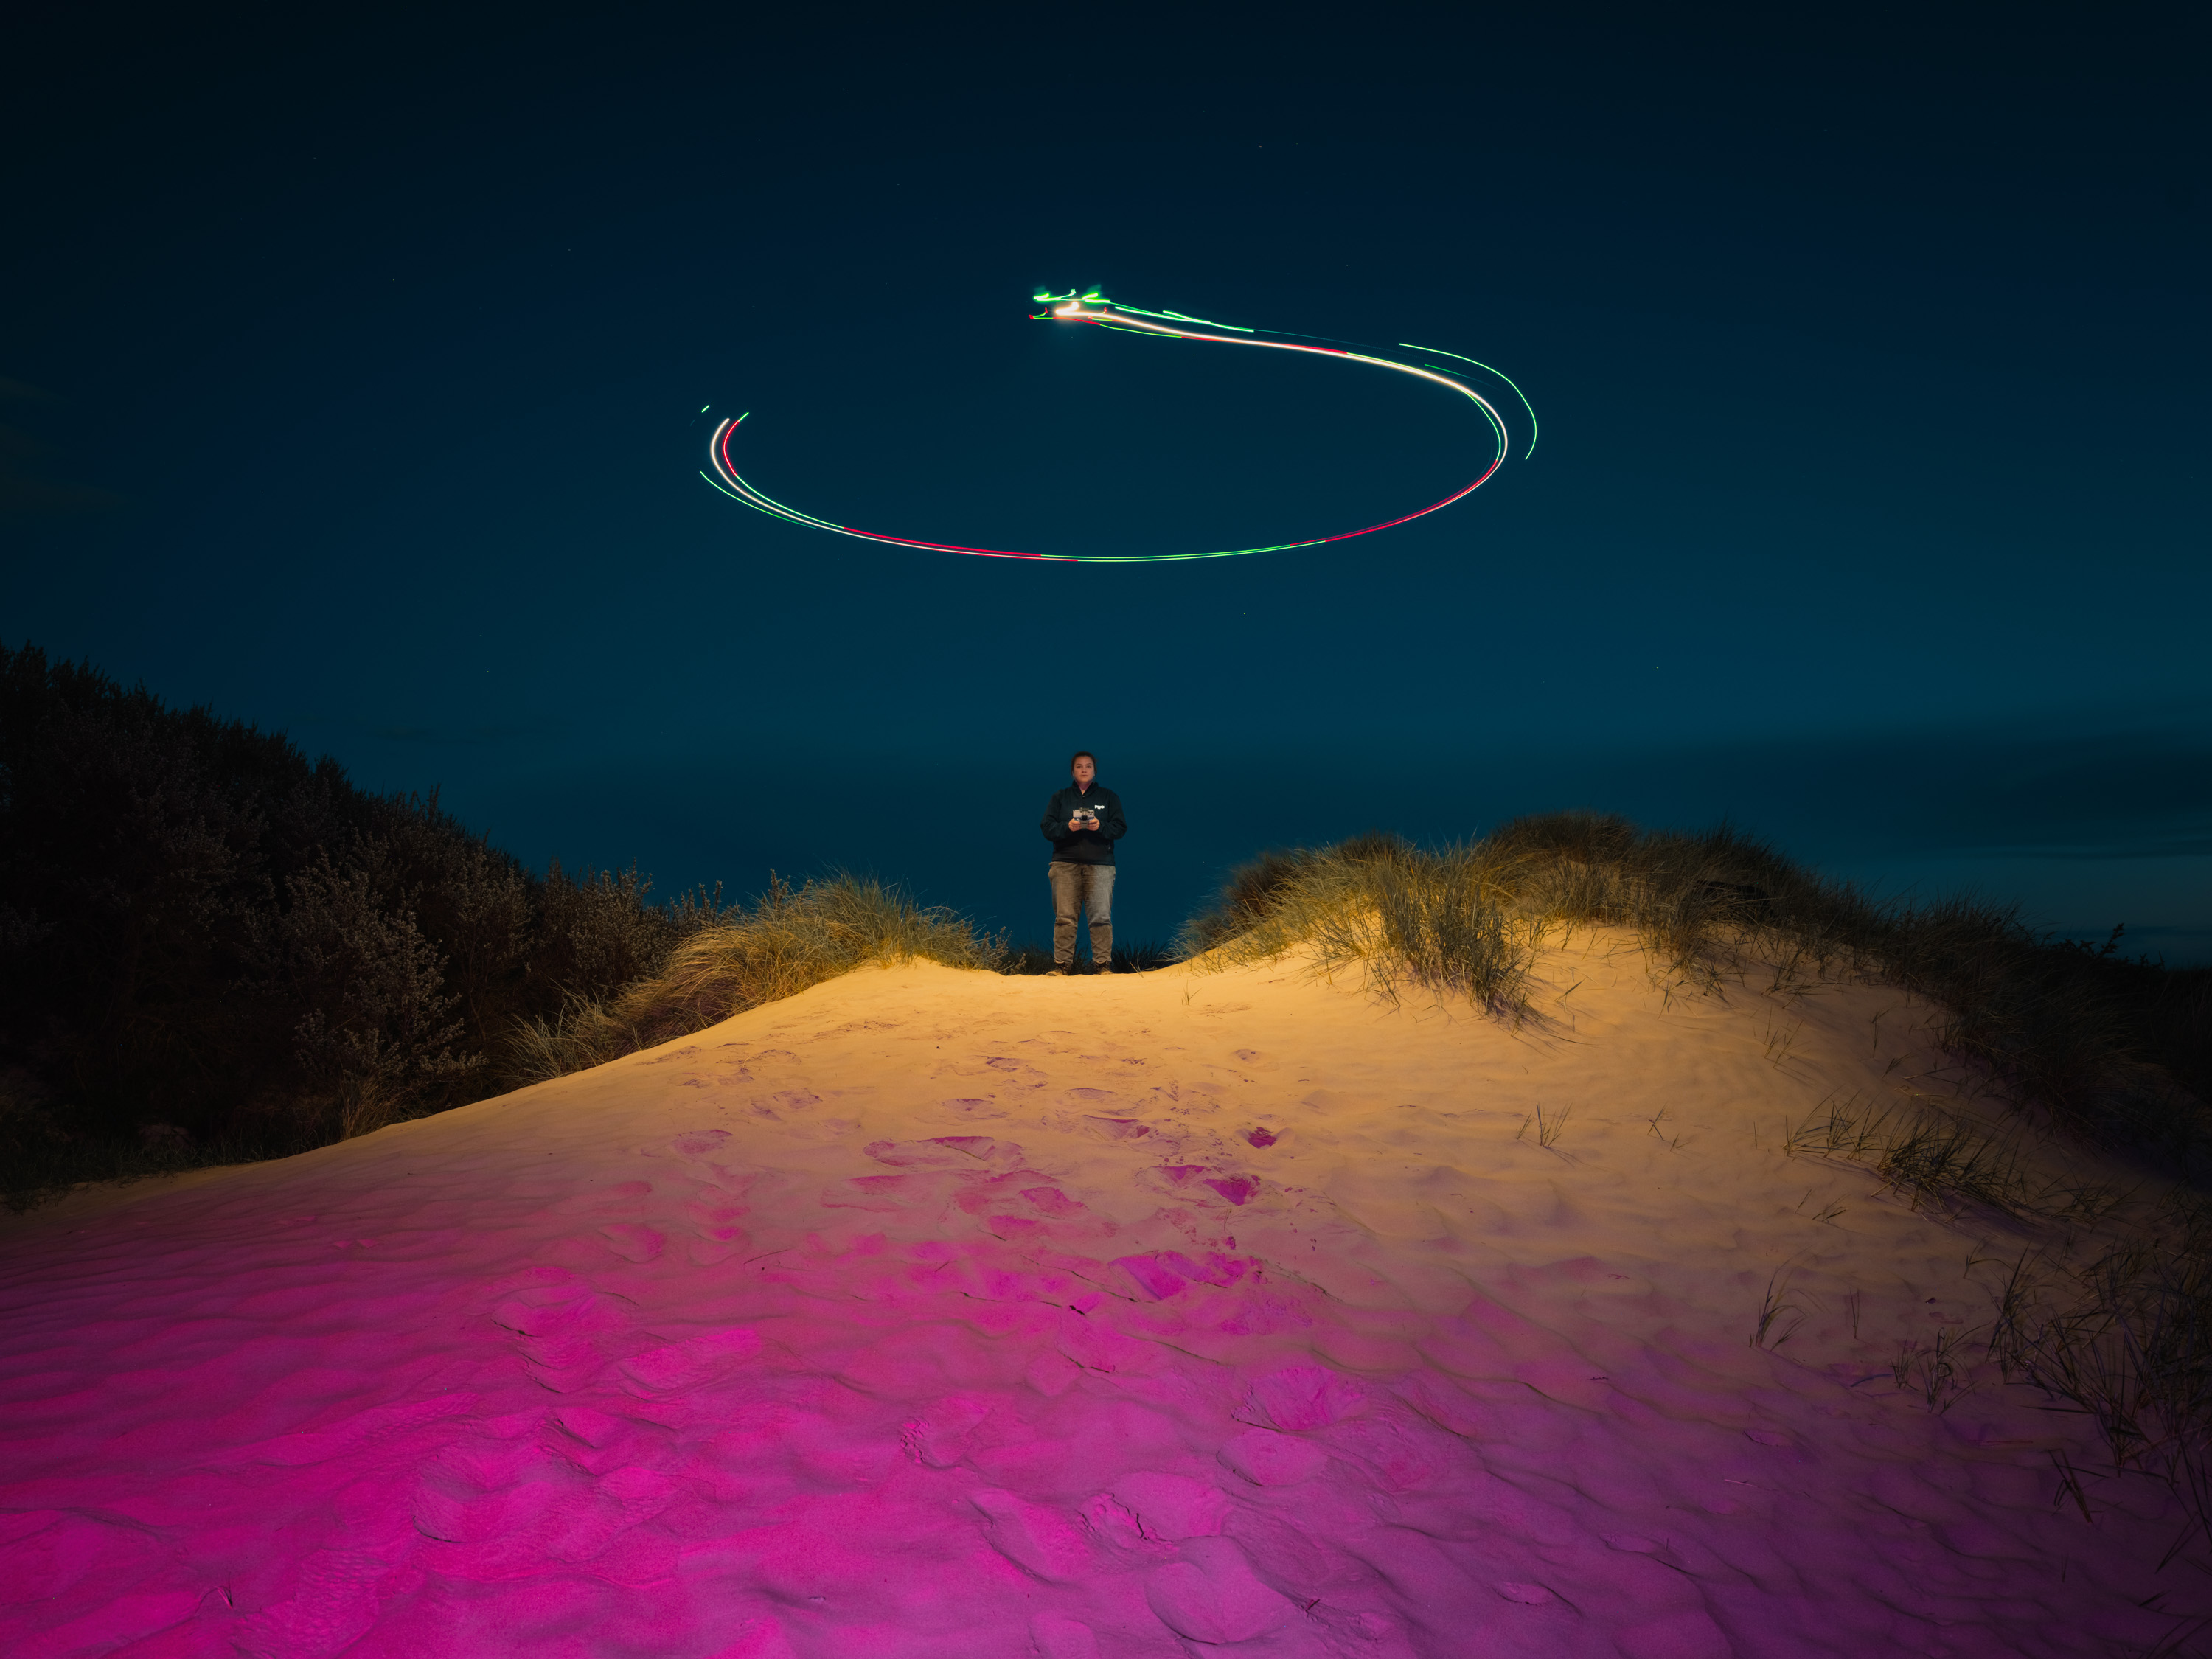
Adding even more complexity is photographer Reuben Wu, who uses a drone—with a light source attached—to paint the landscape and create incredible shapes simultaneously. Reuben Wu’s images are a great example of both off-camera and on-camera light painting at the same time.

Reuben Wu
While much of Reuben Wu’s work will involve complete darkness, Reuben also uses natural light to bring colour to his exposures. Plus, either balancing the light in the frame or creating multiple exposures of a scene and stacking them to later blend in Photoshop.
Reuben Wu
The key is to get creative and think of the frame as a canvas. Within this canvas, you can be as abstract as you like. Sometimes your workings-out end up informing something else down the line, and you can then apply that to something more specific.

Reuben Wu
If you are looking to get started, on-camera light painting doesn’t need to be too complex. It will be beneficial to you to first get you moving in front of the camera with a light source and test.
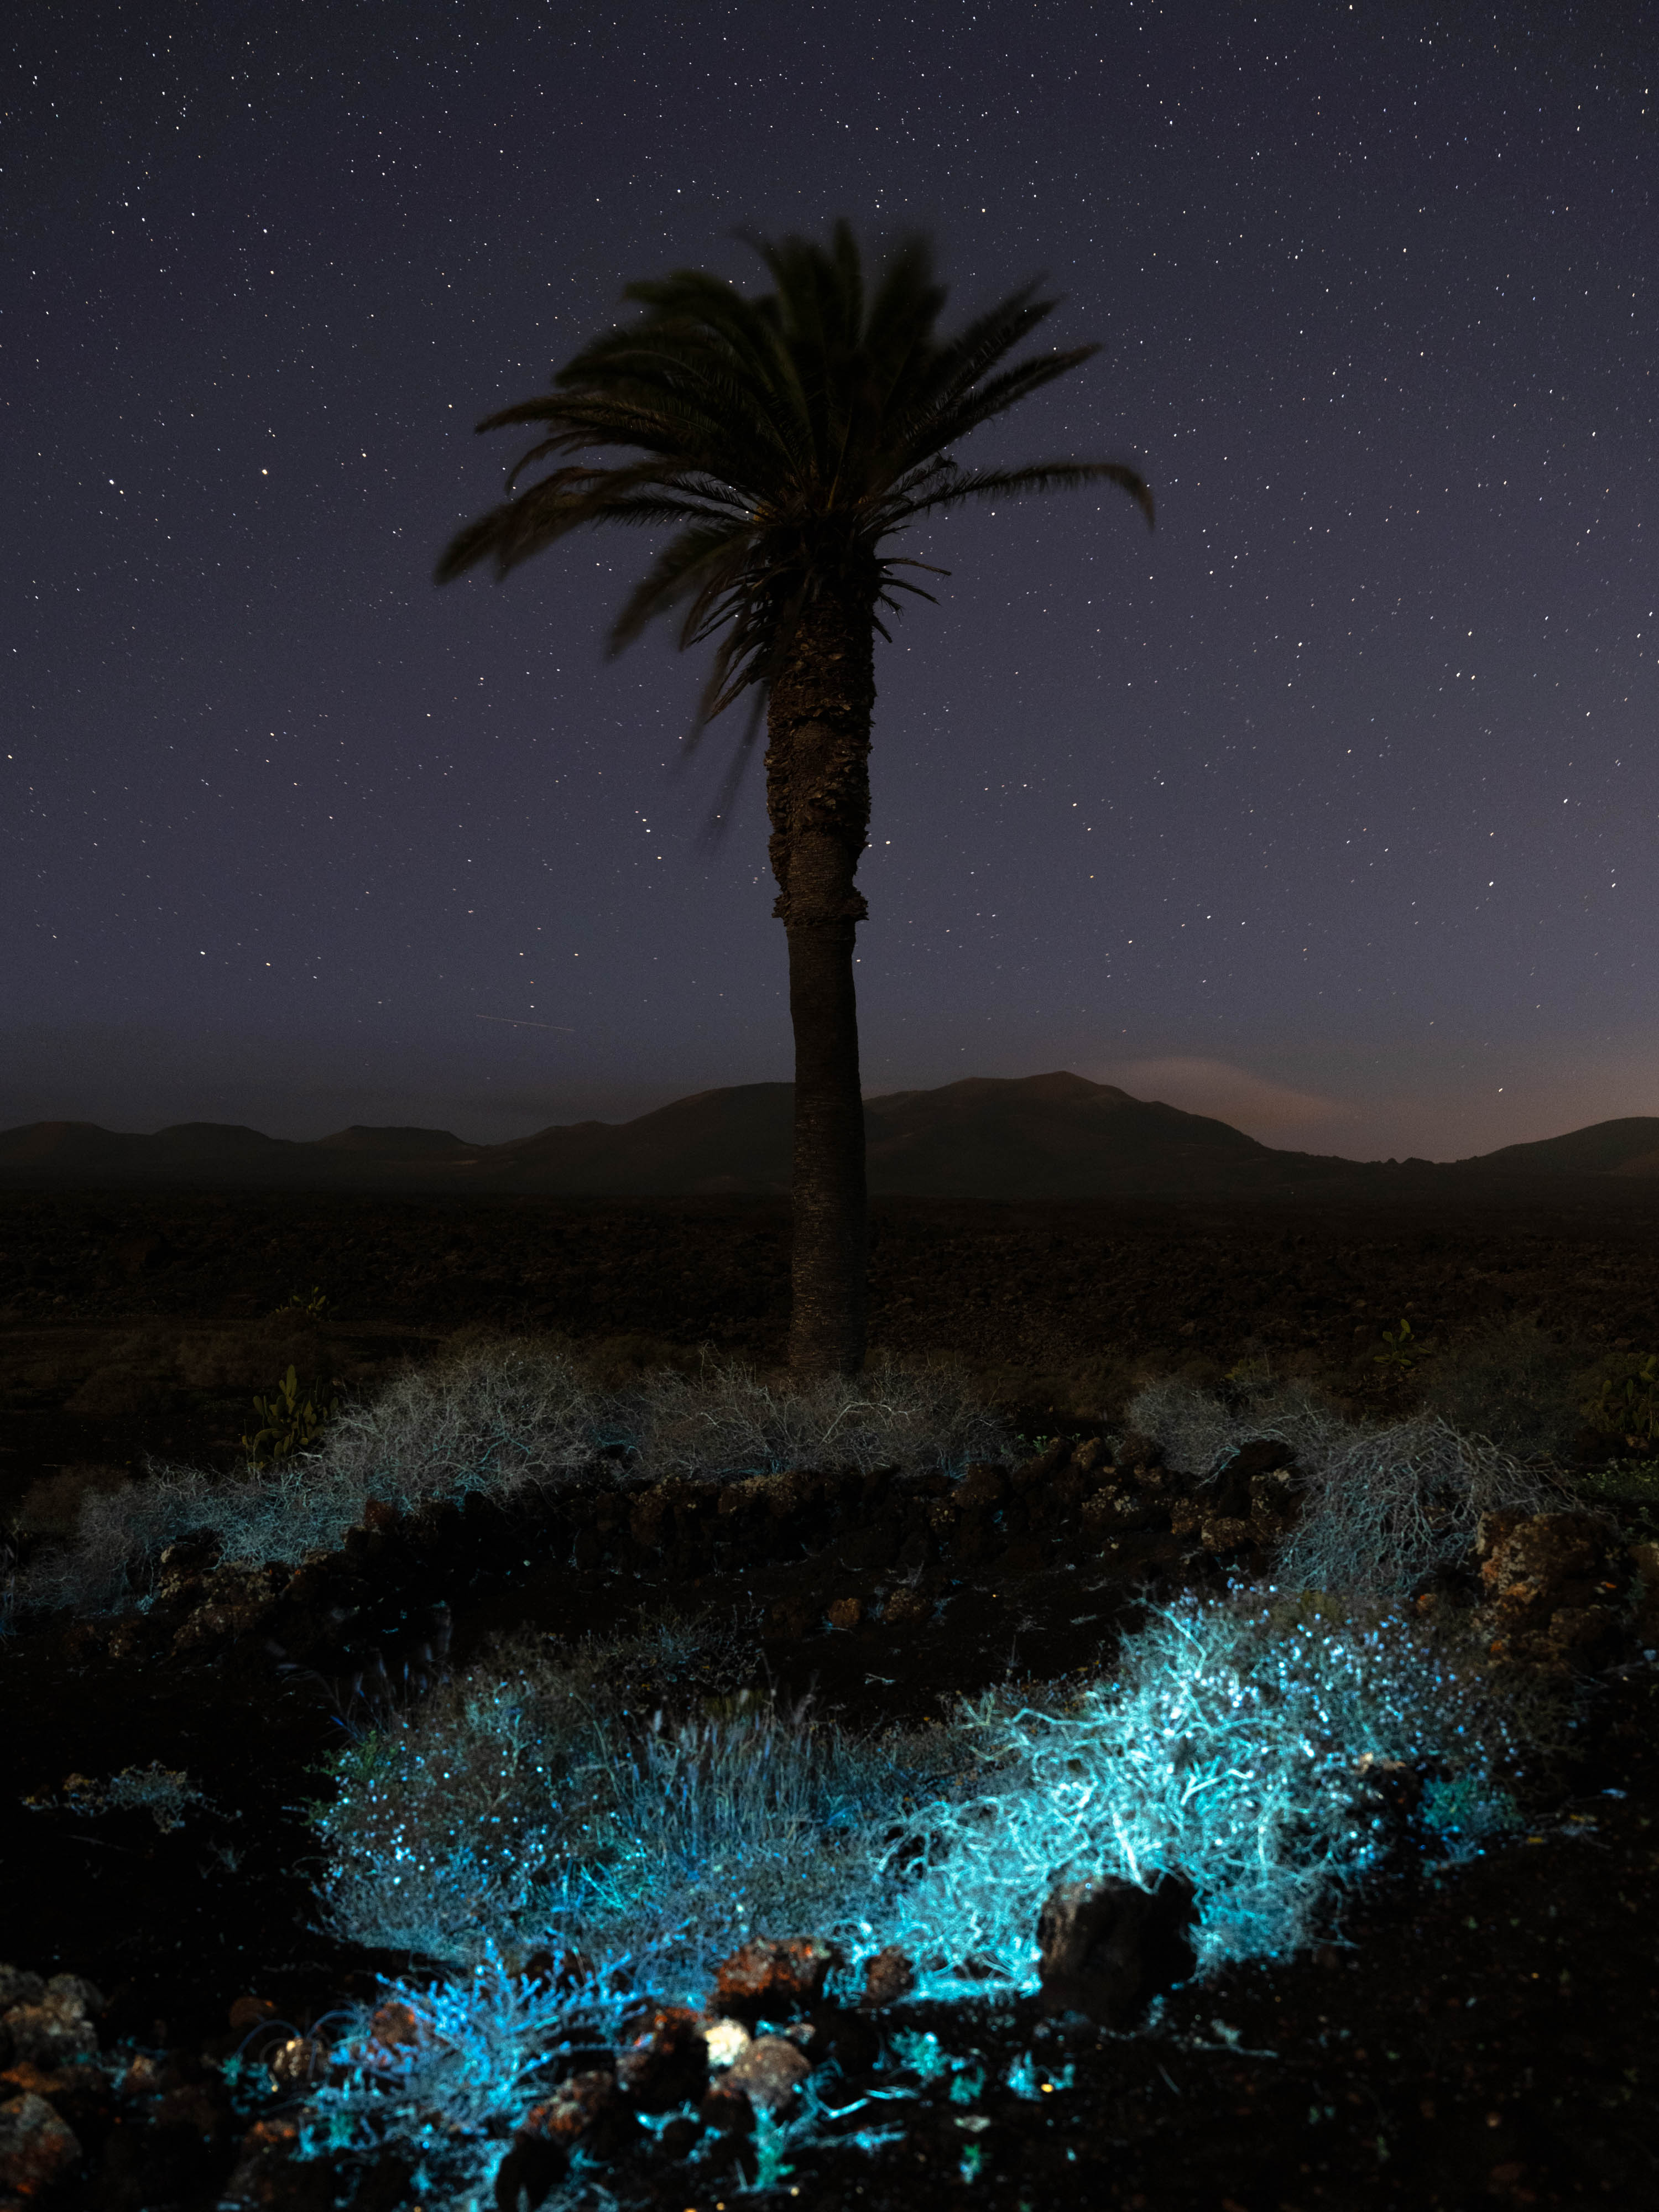
Photographer Michael Pacheco, as illustrated below, keeps the light painting simple but adds complexity by balancing light input with environmental light.
Michael Pacheco
It’s crucial to understand the relationship between light and time. The balance of light will allow you to better control your exposure, especially if comprised of multiple light sources.
Michael Pacheco
Sometimes, you simply won’t be able to have complete darkness. The sky or any other ambient light will emit luminosity. So any extra light you bring into your frame will have to be controlled so that the exposure you get is harmonious. Time will be of the essence. More time means more light, but it also gives you time to light and move around and create the shapes you need. Remember to have fun and experiment.
Off-camera Light Painting
Usually, the light being captured in-frame is either behind the camera or just out of frame.
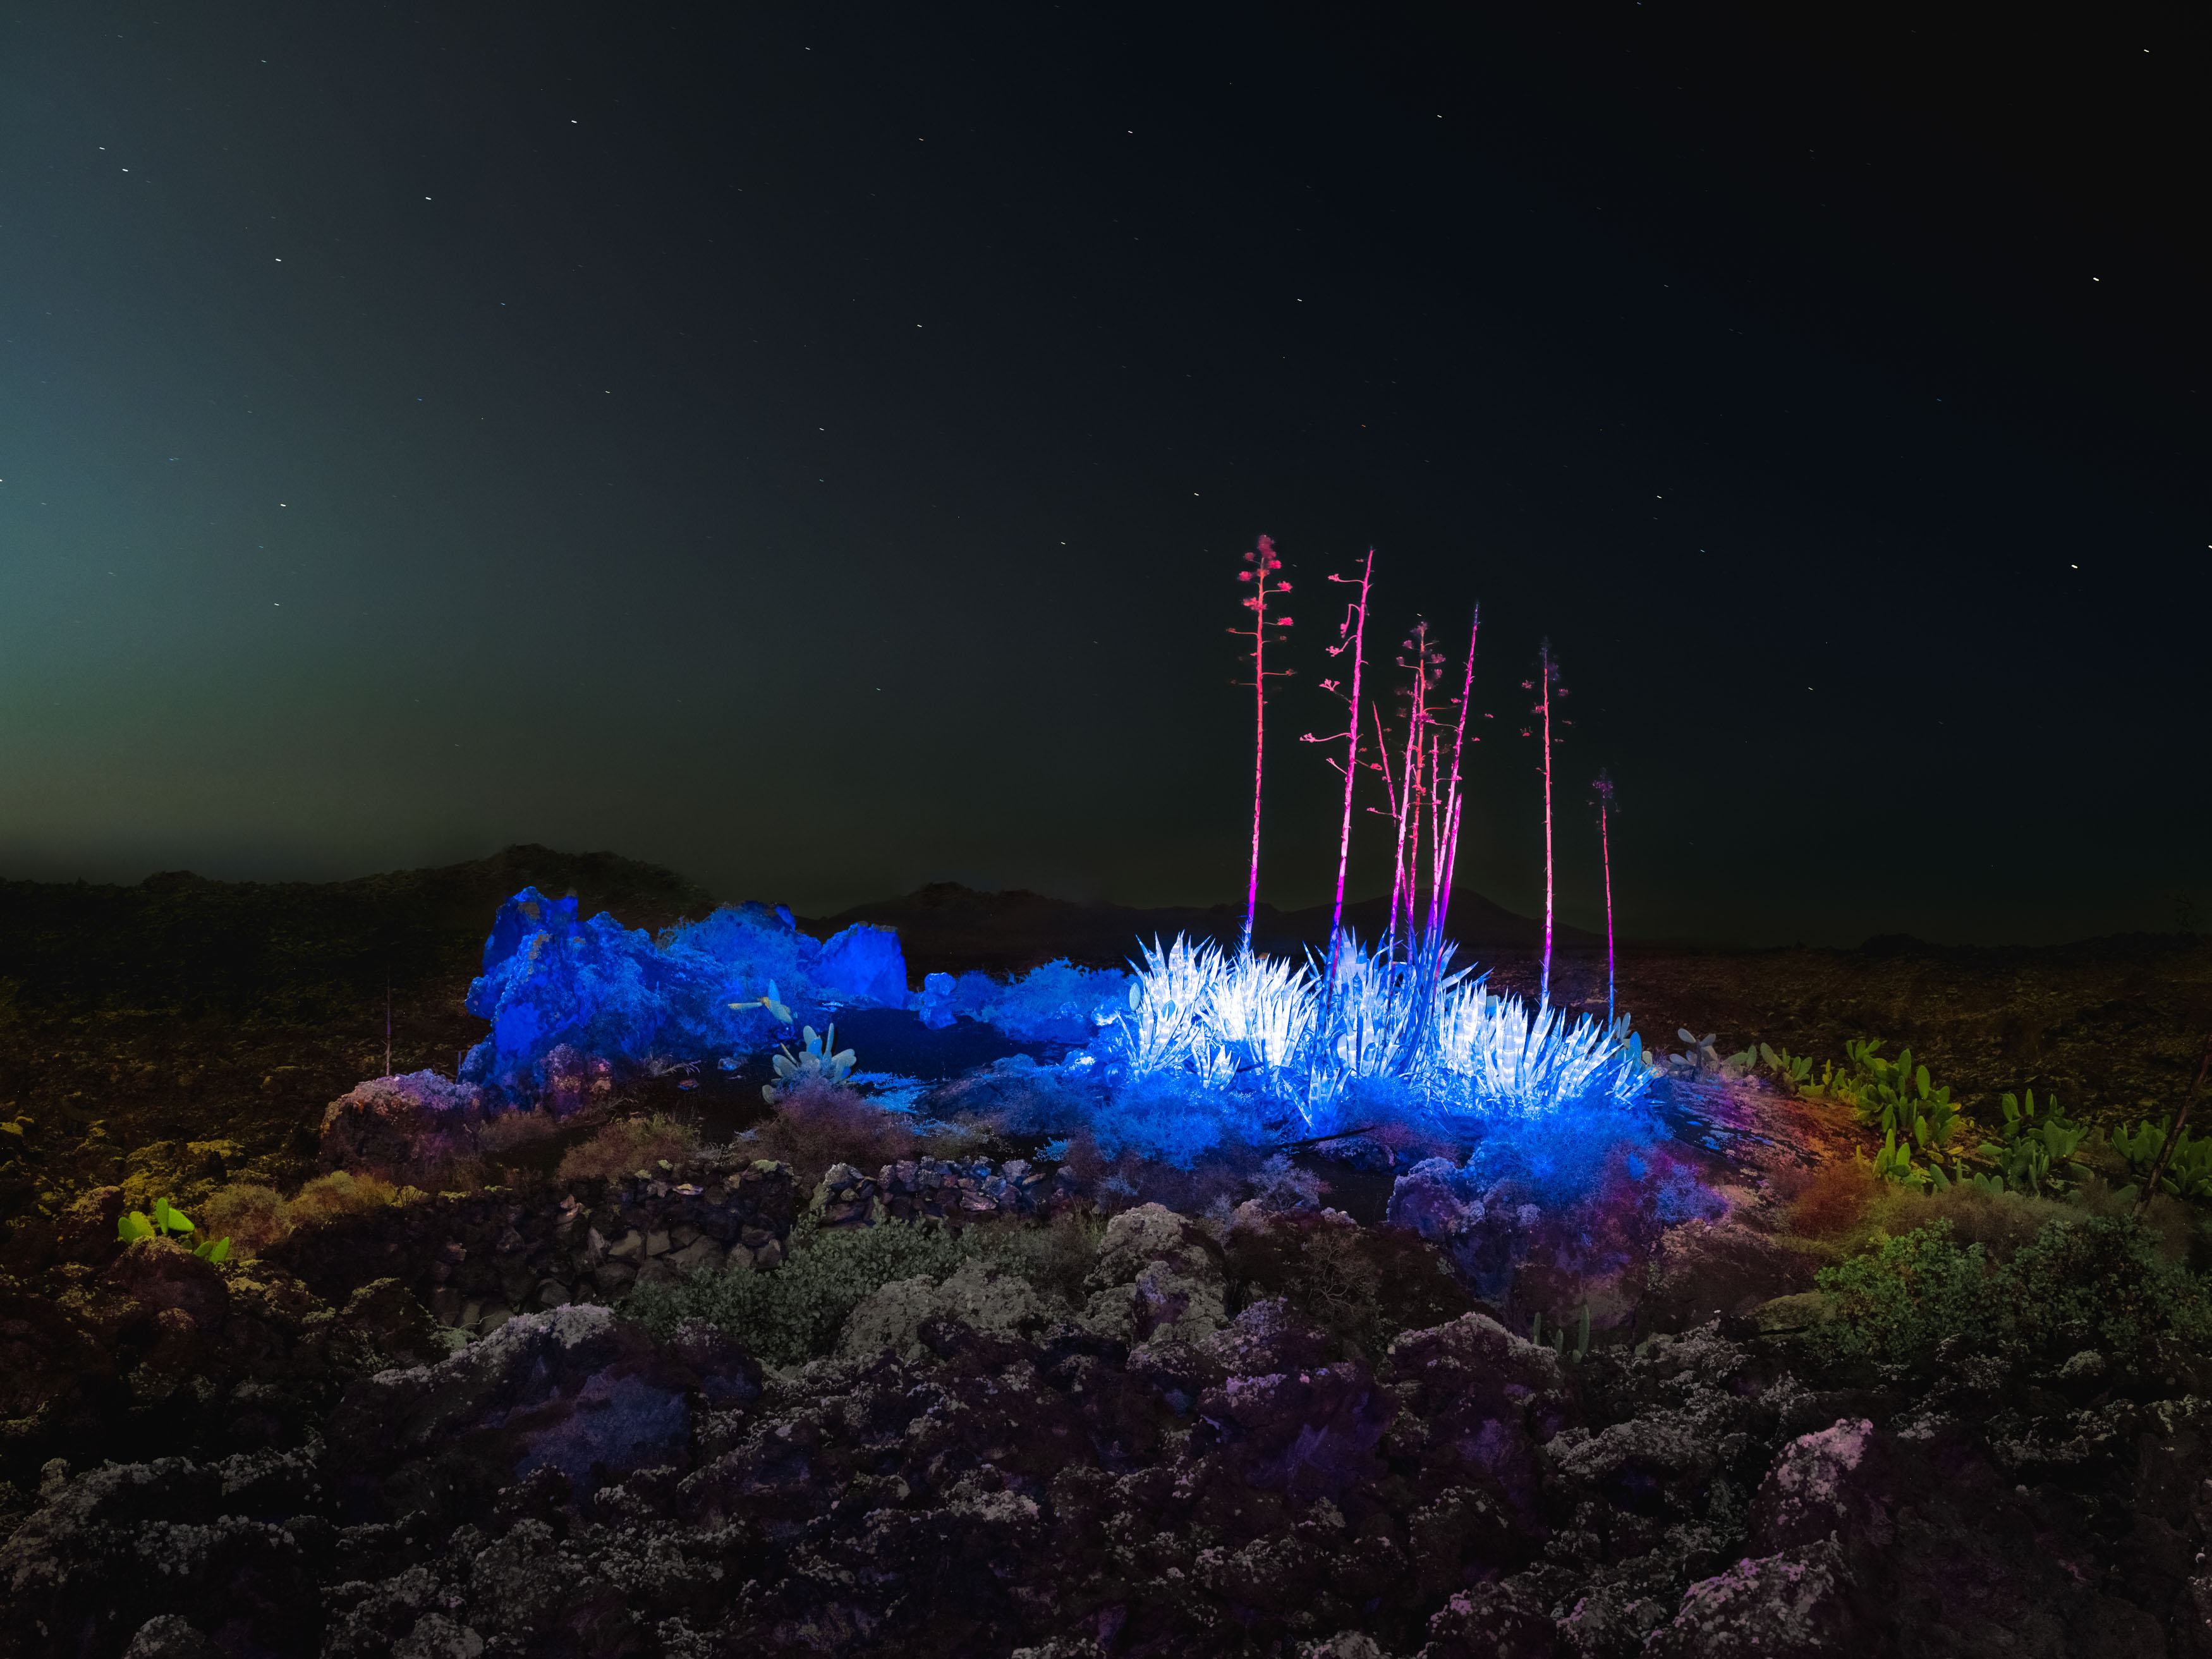
Ian Howorth
While you’re still using a light source to ‘paint’ it, light painting becomes less about motion and more about light and how it illuminates the scene.
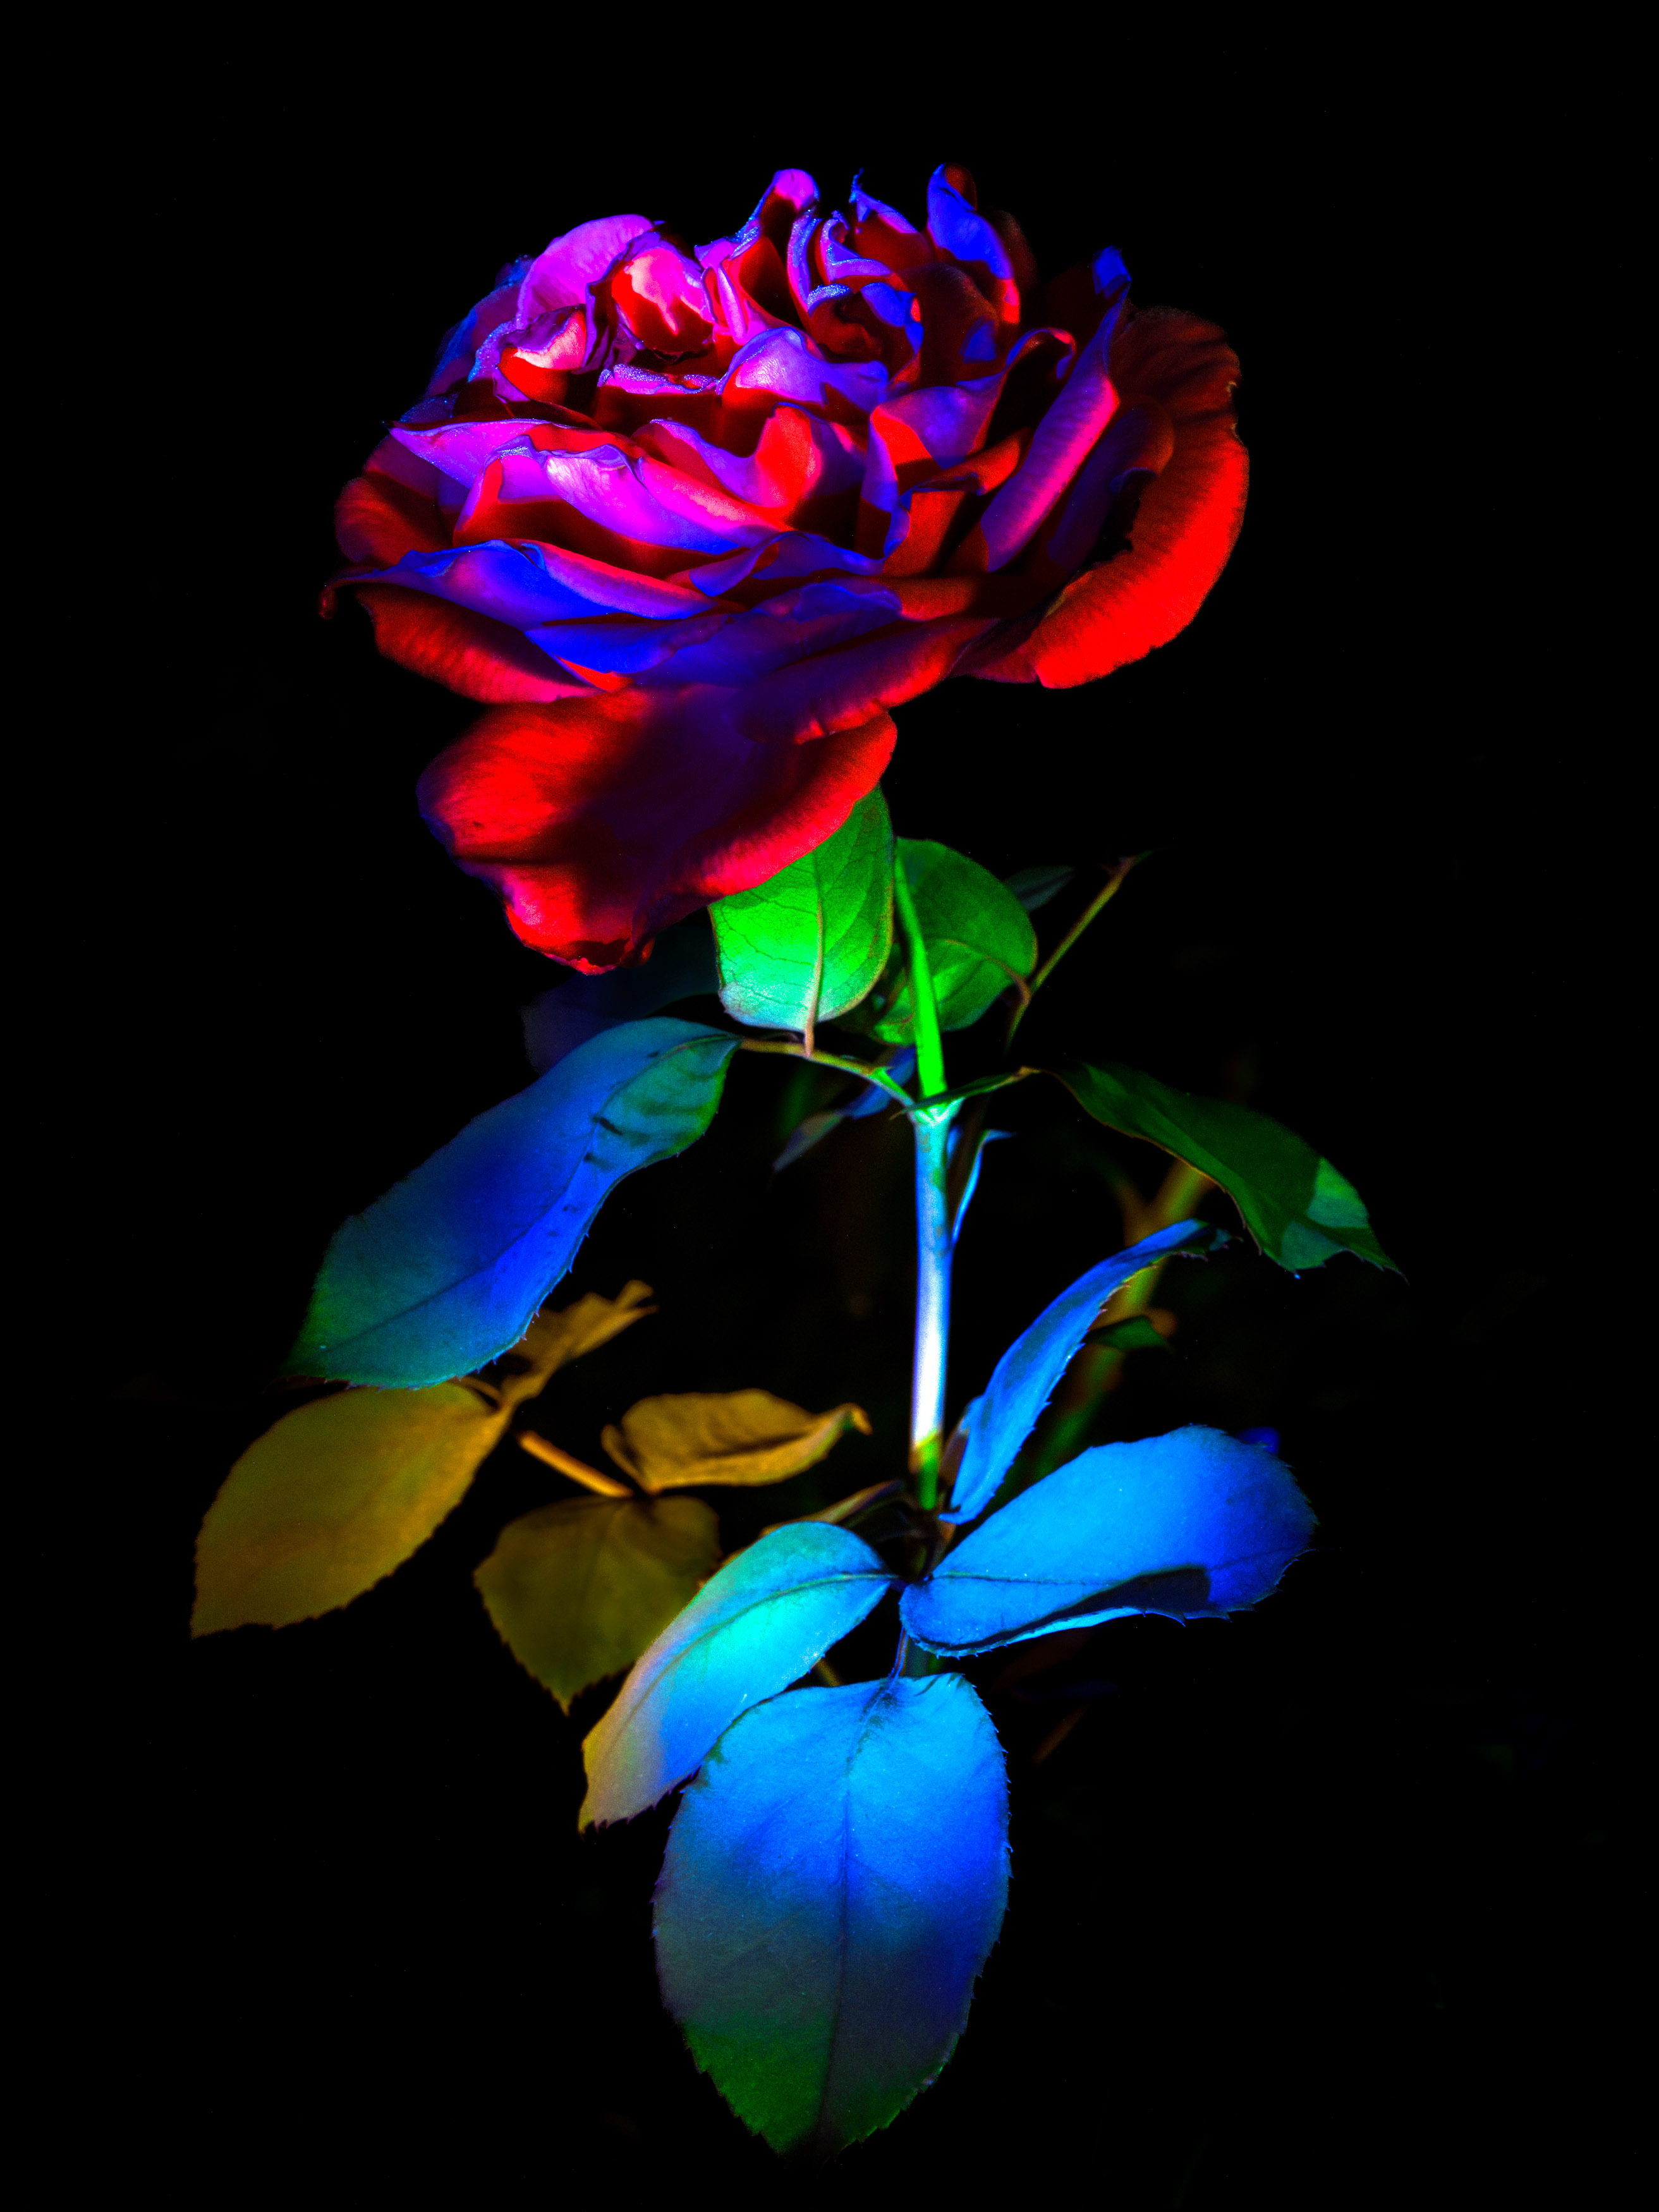
You can use pretty much anything that emits light—torches, coloured gels or car lights—for off-camera light painting. The size of your canvas determines the tools you need to use. Smaller subjects, like the red rose above, need a slightly smaller torch—with a narrower beam—to allow subtle painting of the leaves and petals.
Ian Howorth
Wider scenes, with subjects positioned further away, might require a light source with a longer throw and more power to counteract the distance. Again, balance is the key.
If there’s some light still in the sky, rather than extending the exposure, you’ll need more power from the light source. Otherwise, the sky can be too bright. Exposure will give you more time to light, but it will also increase the exposure time on the whole image. Crucially, this luminosity can’t be controlled.
So between light-source power and exposure time, you can find the right balance.
Camera Gear for Light Painting
Camera equipment can be quite specific for light painting, but pretty much any camera and lens combo will yield good results. A camera with super-high ISO performance might help, but you can still create good light painting photography with mid to low ISO—so you can use pretty much any DSLR or mirrorless camera. There are also a few other features that might help with light painting.
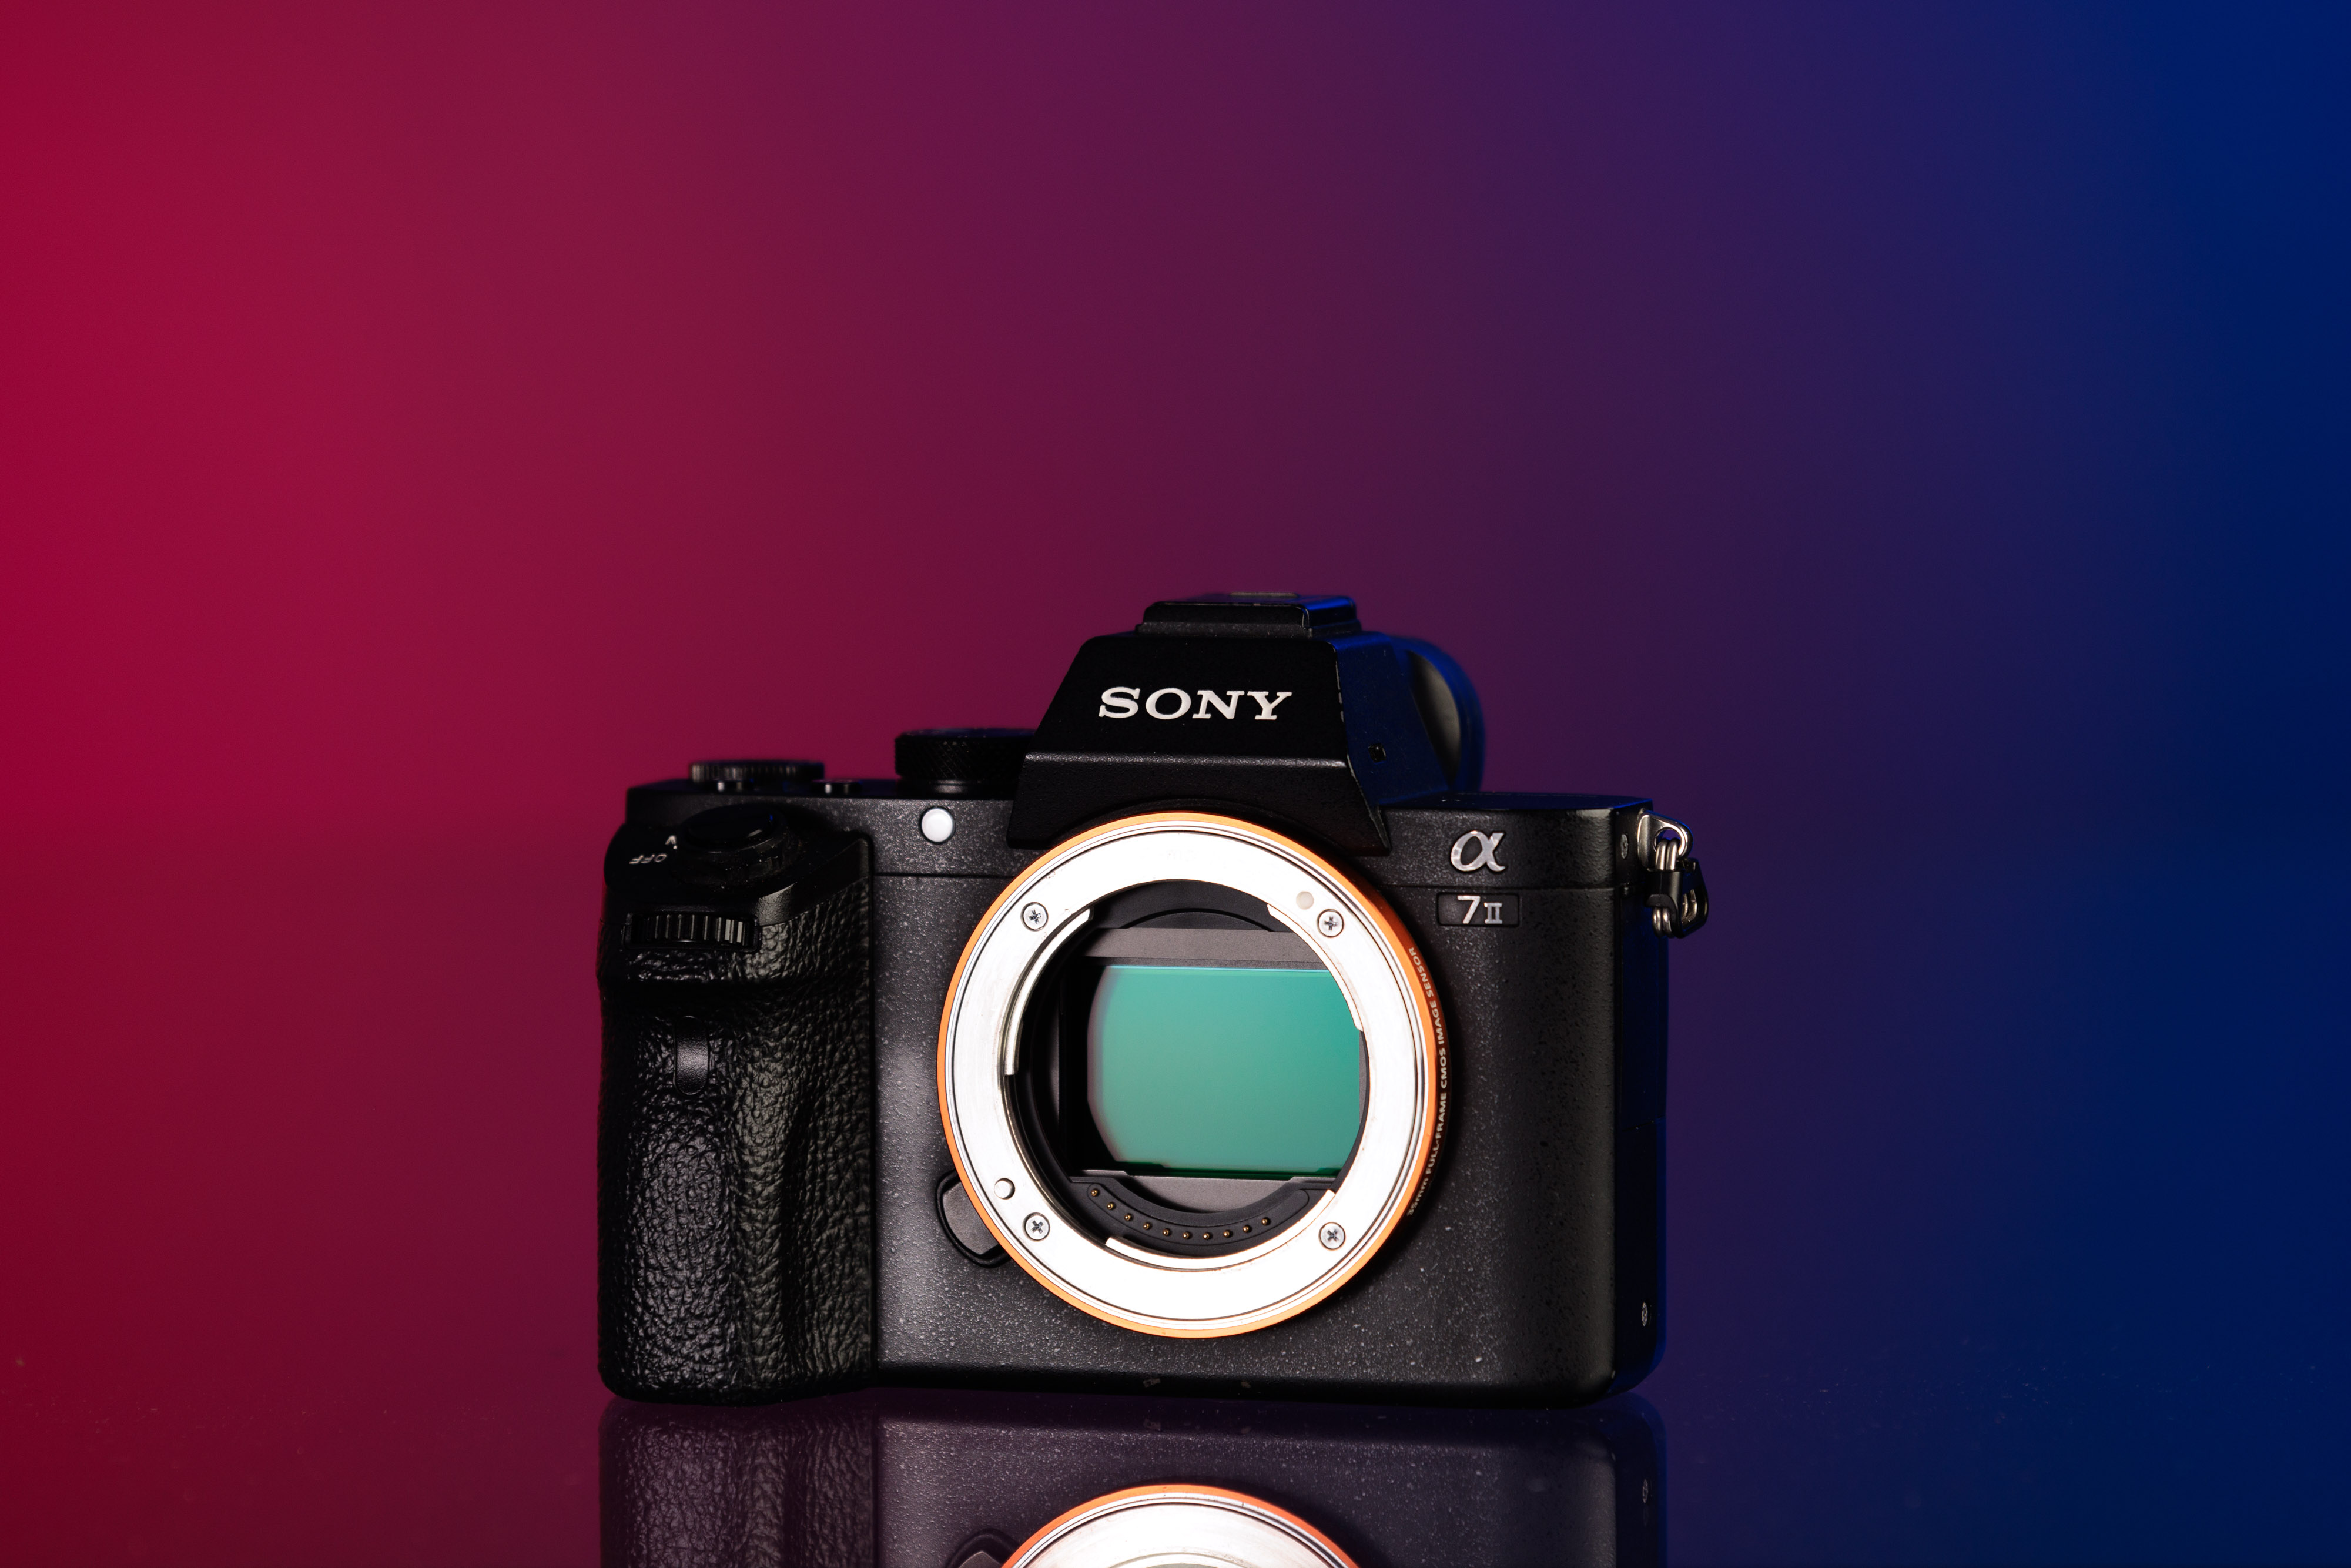
Used Sony A7 II
Camera
Though all cameras will do well for light painting, mirrorless cameras can be a big help. Focus peaking—a feature found on most mirrorless cameras—highlights the parts of your frame that are in focus. This is particularly useful in helping to nail focus when light levels are too low for accurate autofocus.
Cameras with a full-frame—or even medium-format—sensor can also be useful for light painting. The bigger the sensor, the bigger the ‘canvas’, which will arguably give you better colour and light gradation.
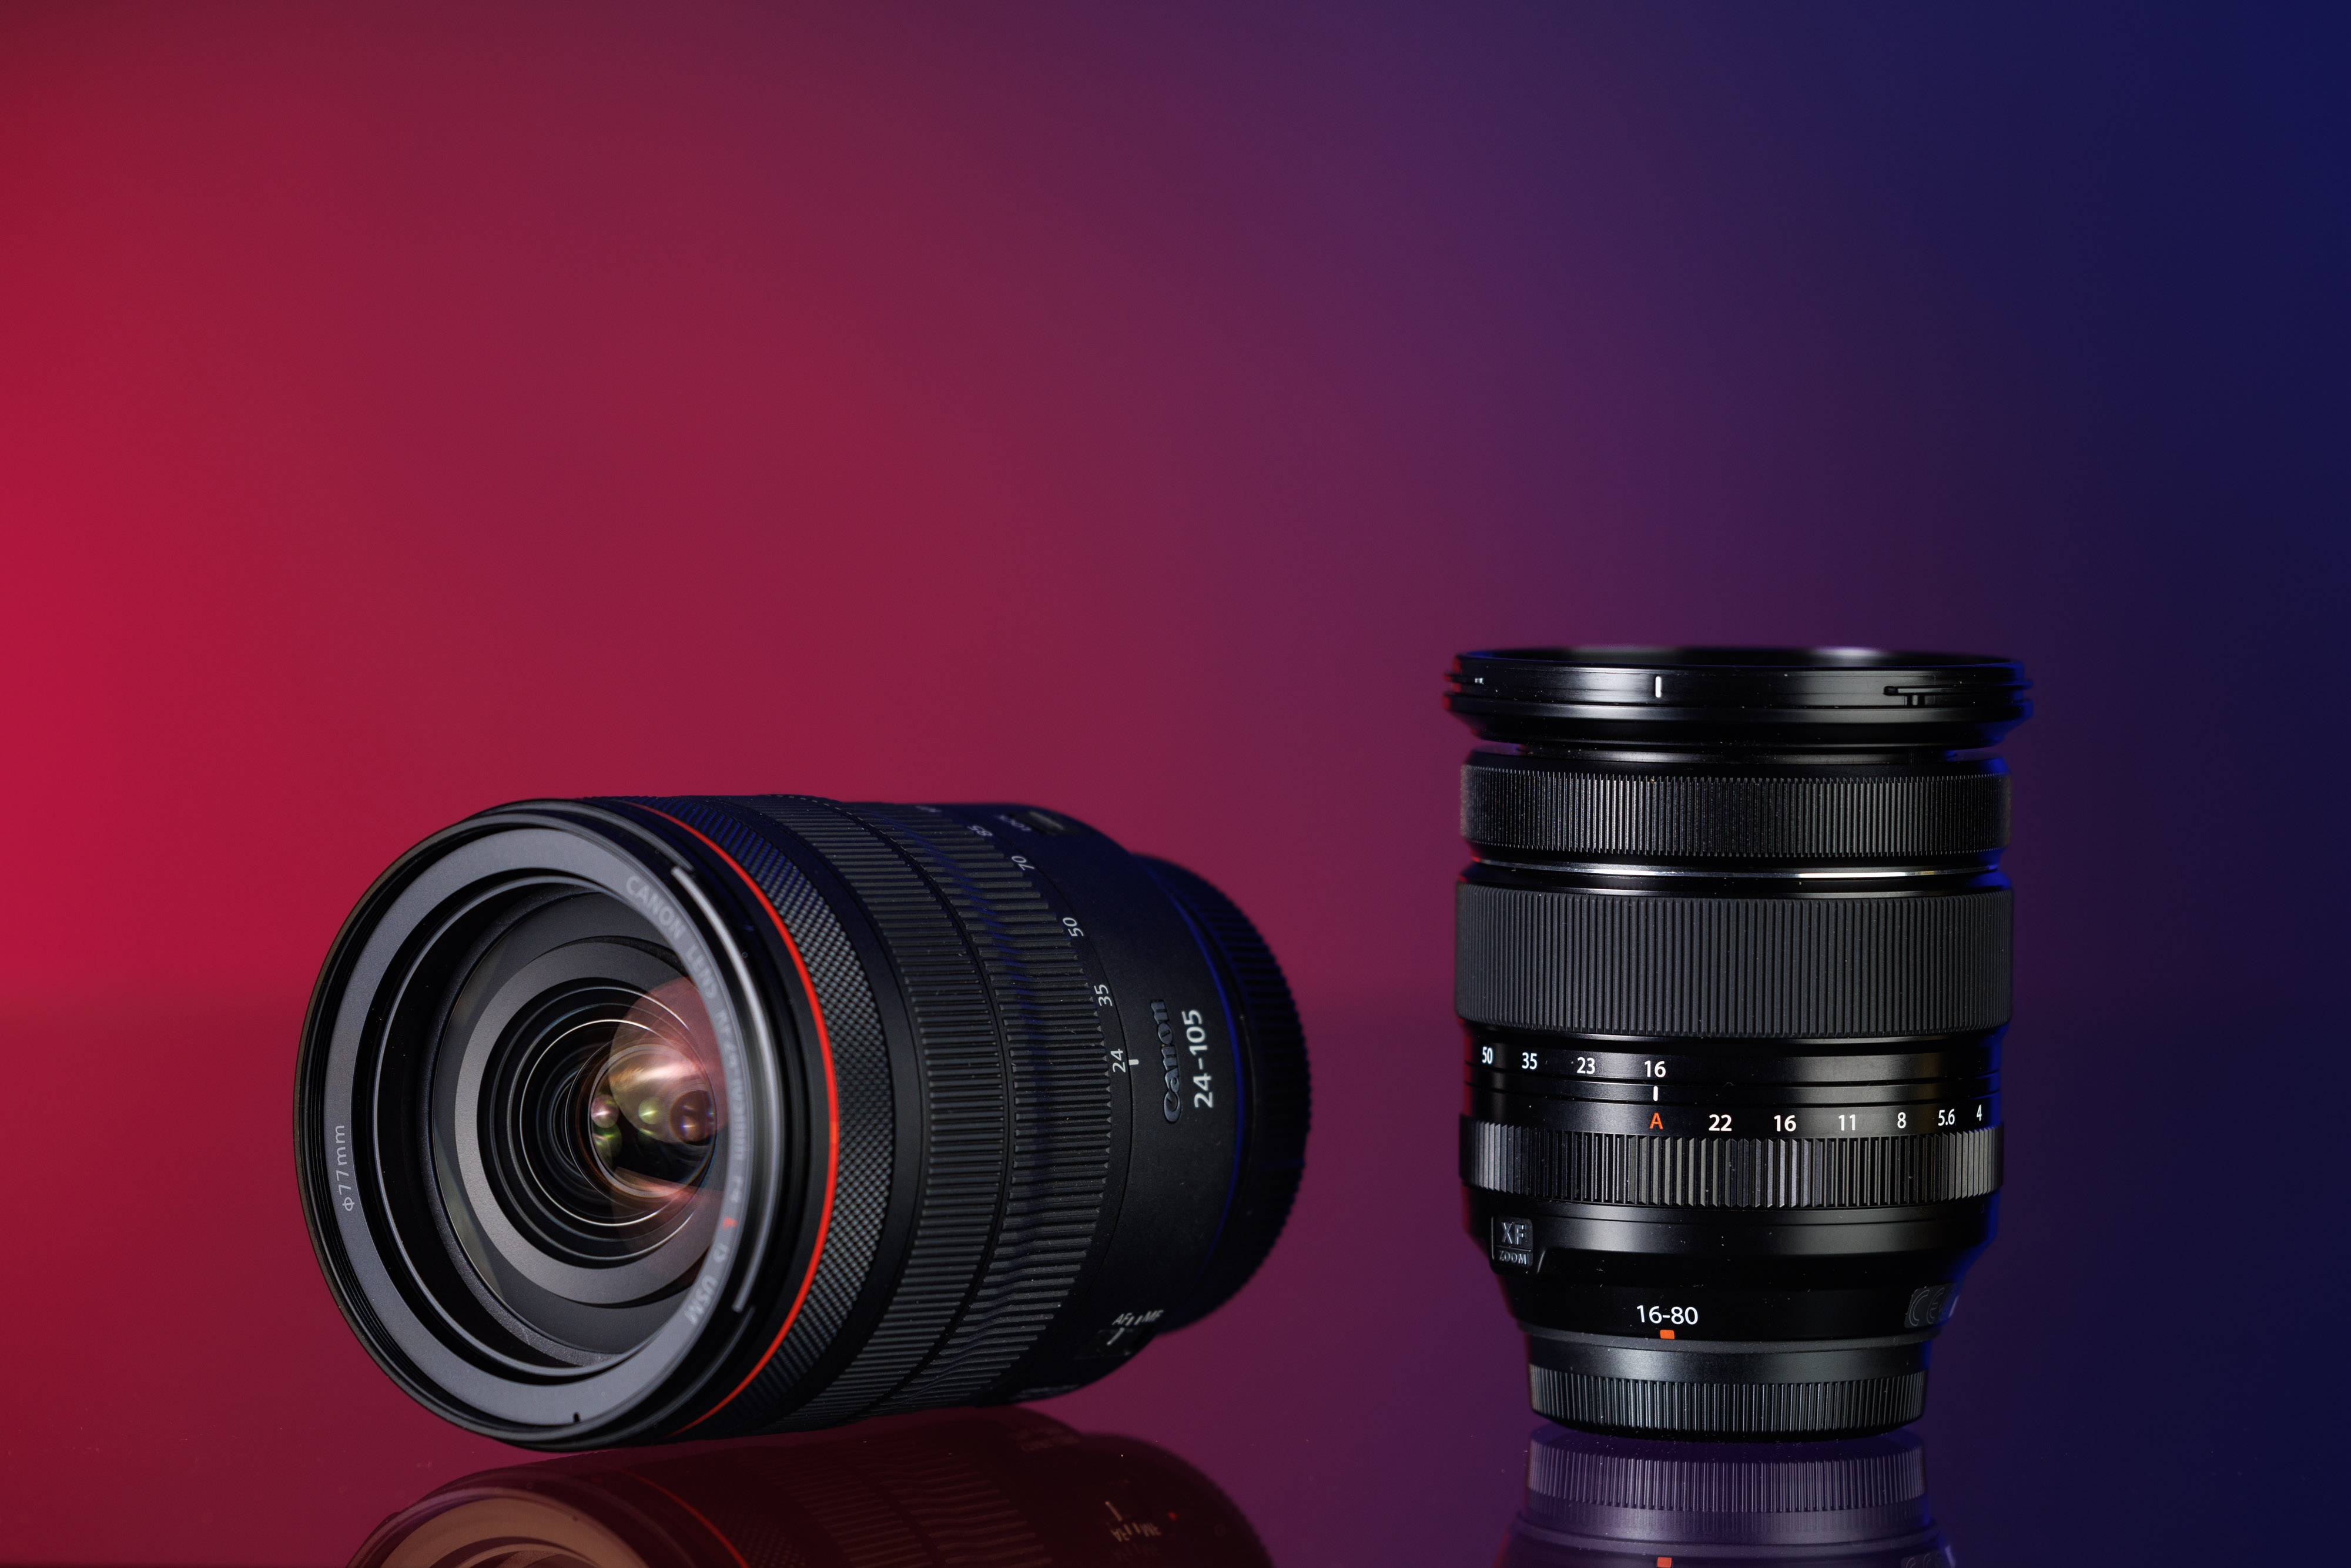
Used Canon RF 24-105 f/4 L IS USM and Fujifilm XF 16-80mm f/4 R OIS WR
Lenses
Zoom lenses are useful for light painting. When you’re shooting in near-complete darkness, mobility can be tricky. So, once you're mounted on a tripod, being able to zoom is a godsend. We would recommend a standard 24-70mm, a 24-105mm or 16-80mm.
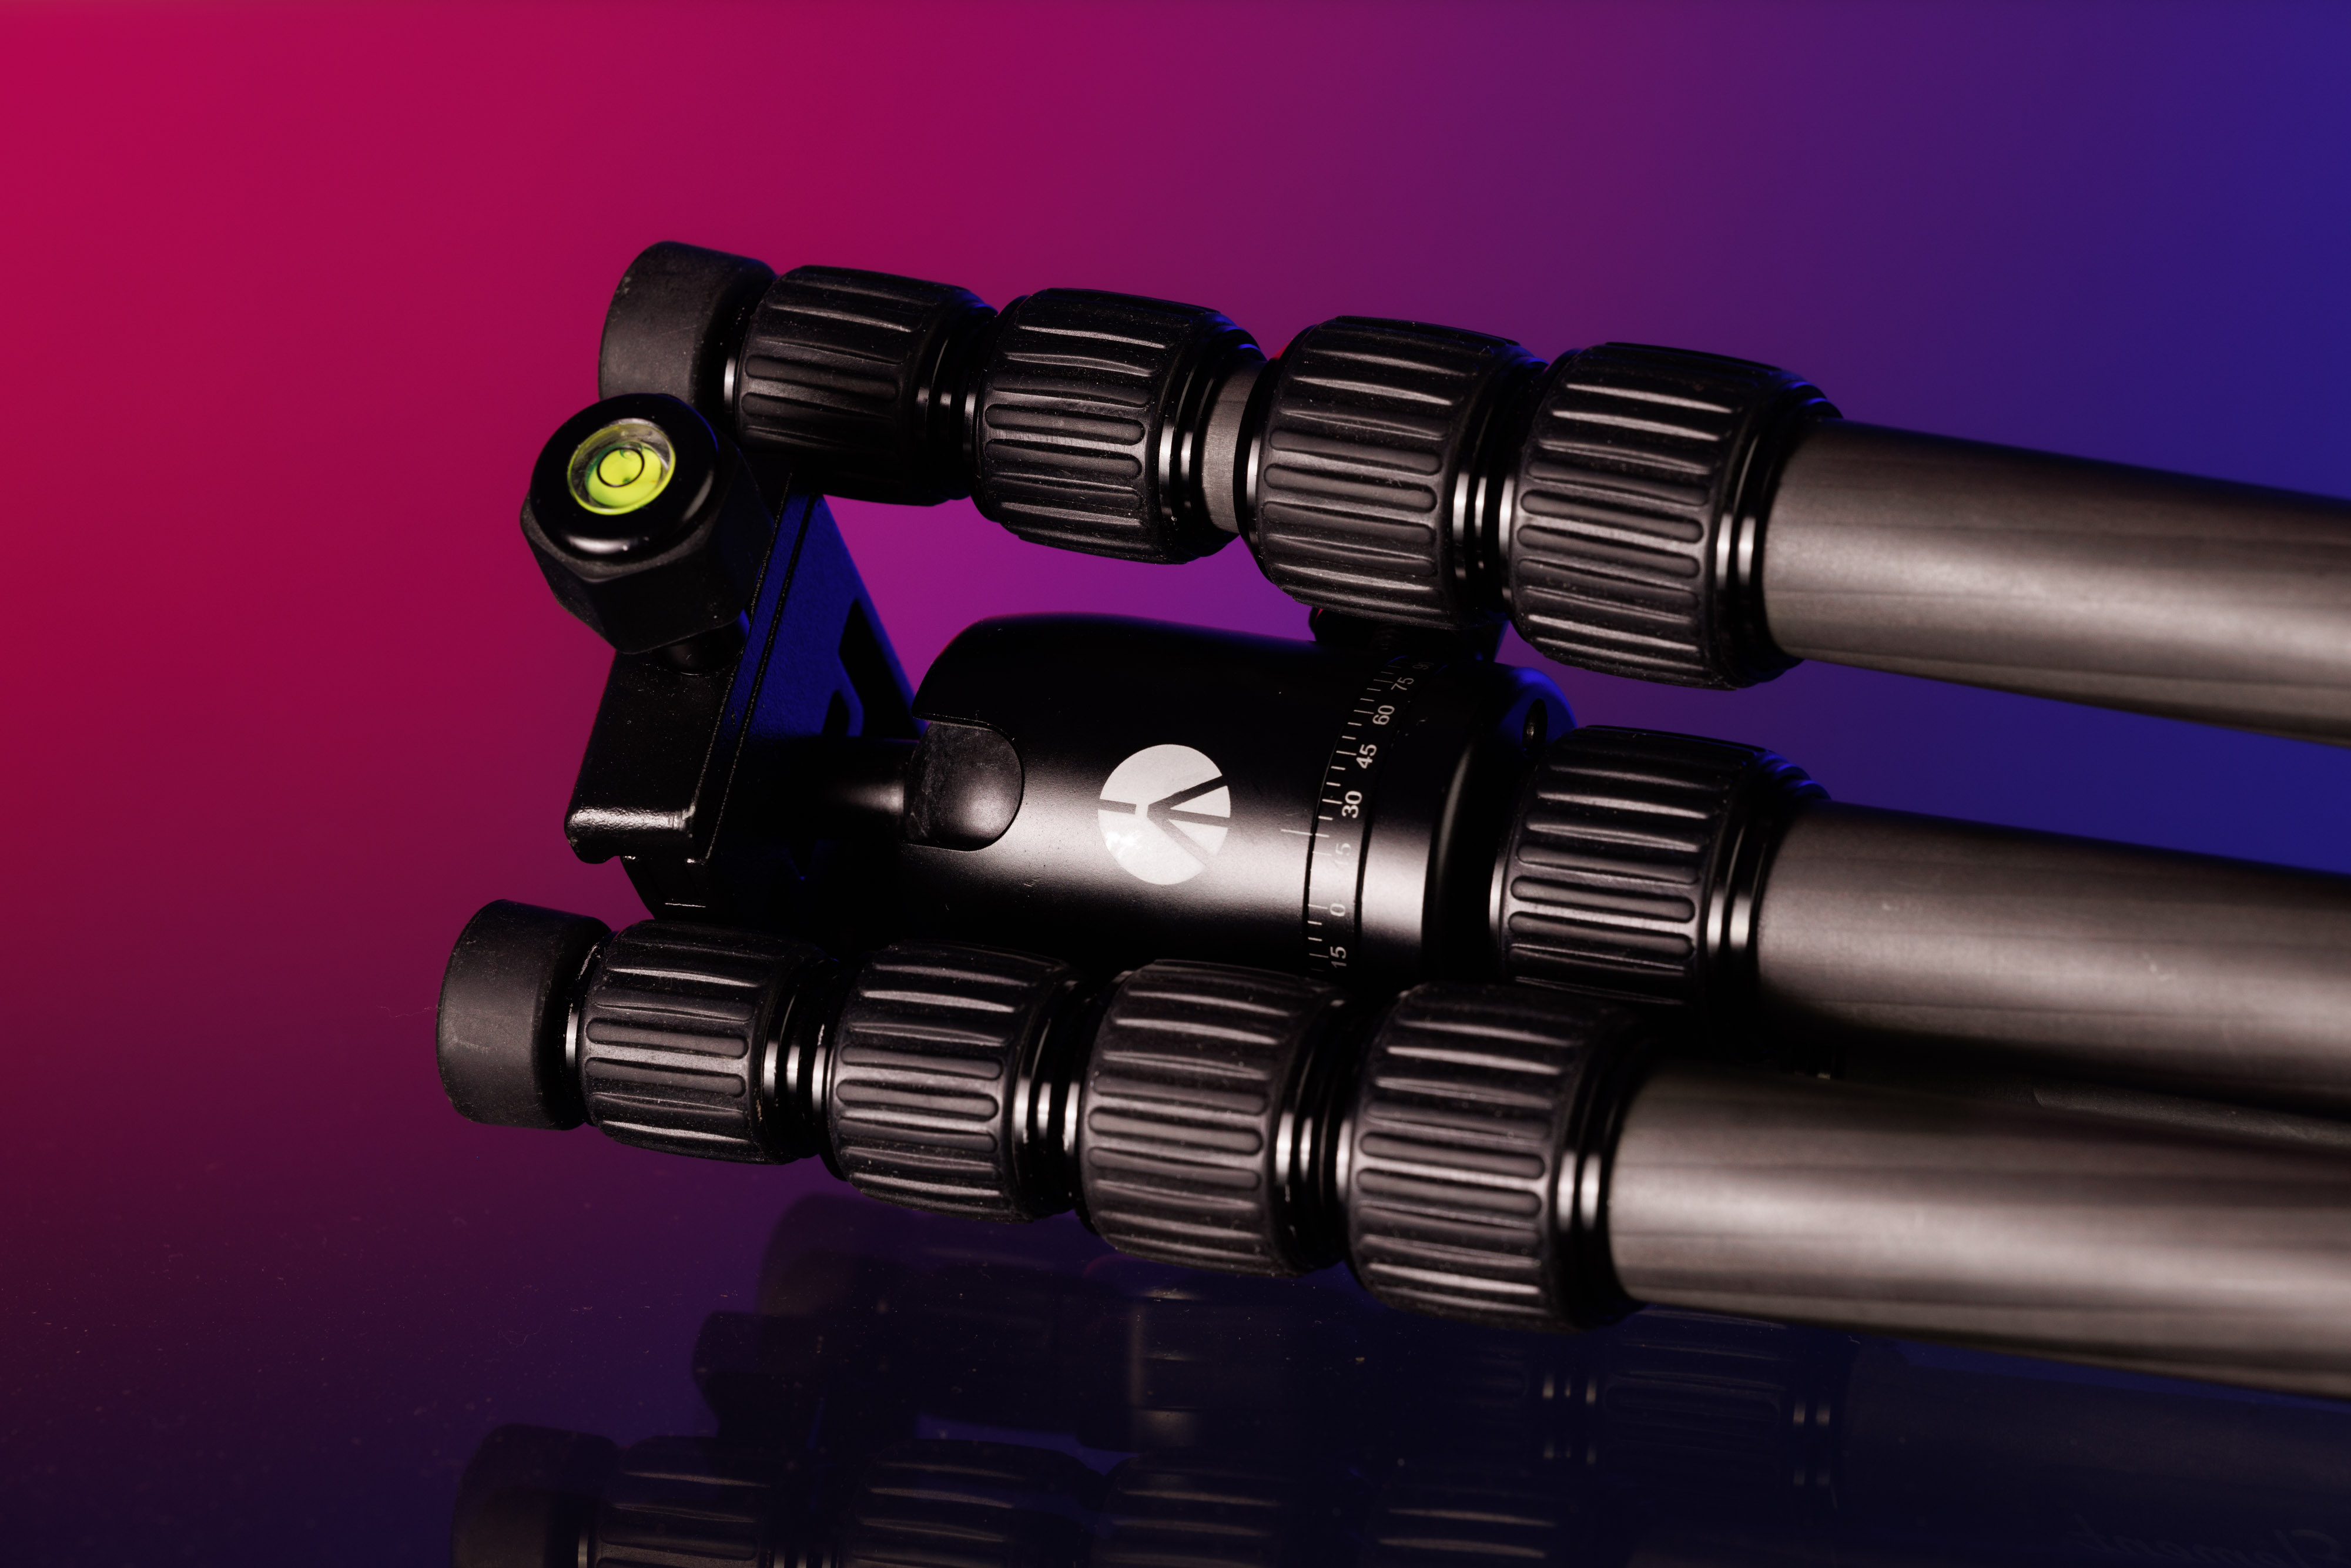
Used Manfrotto tripod
Tripod
Light painting photography, with its long exposures, means that stabilisation of your camera is crucial. Any tripod will do—although, when shooting outdoors, you’ll want a sturdy tripod so the wind doesn’t move your camera. You’ll also want to consider ease of operation, particularly useful when you’re fumbling around in the dark.
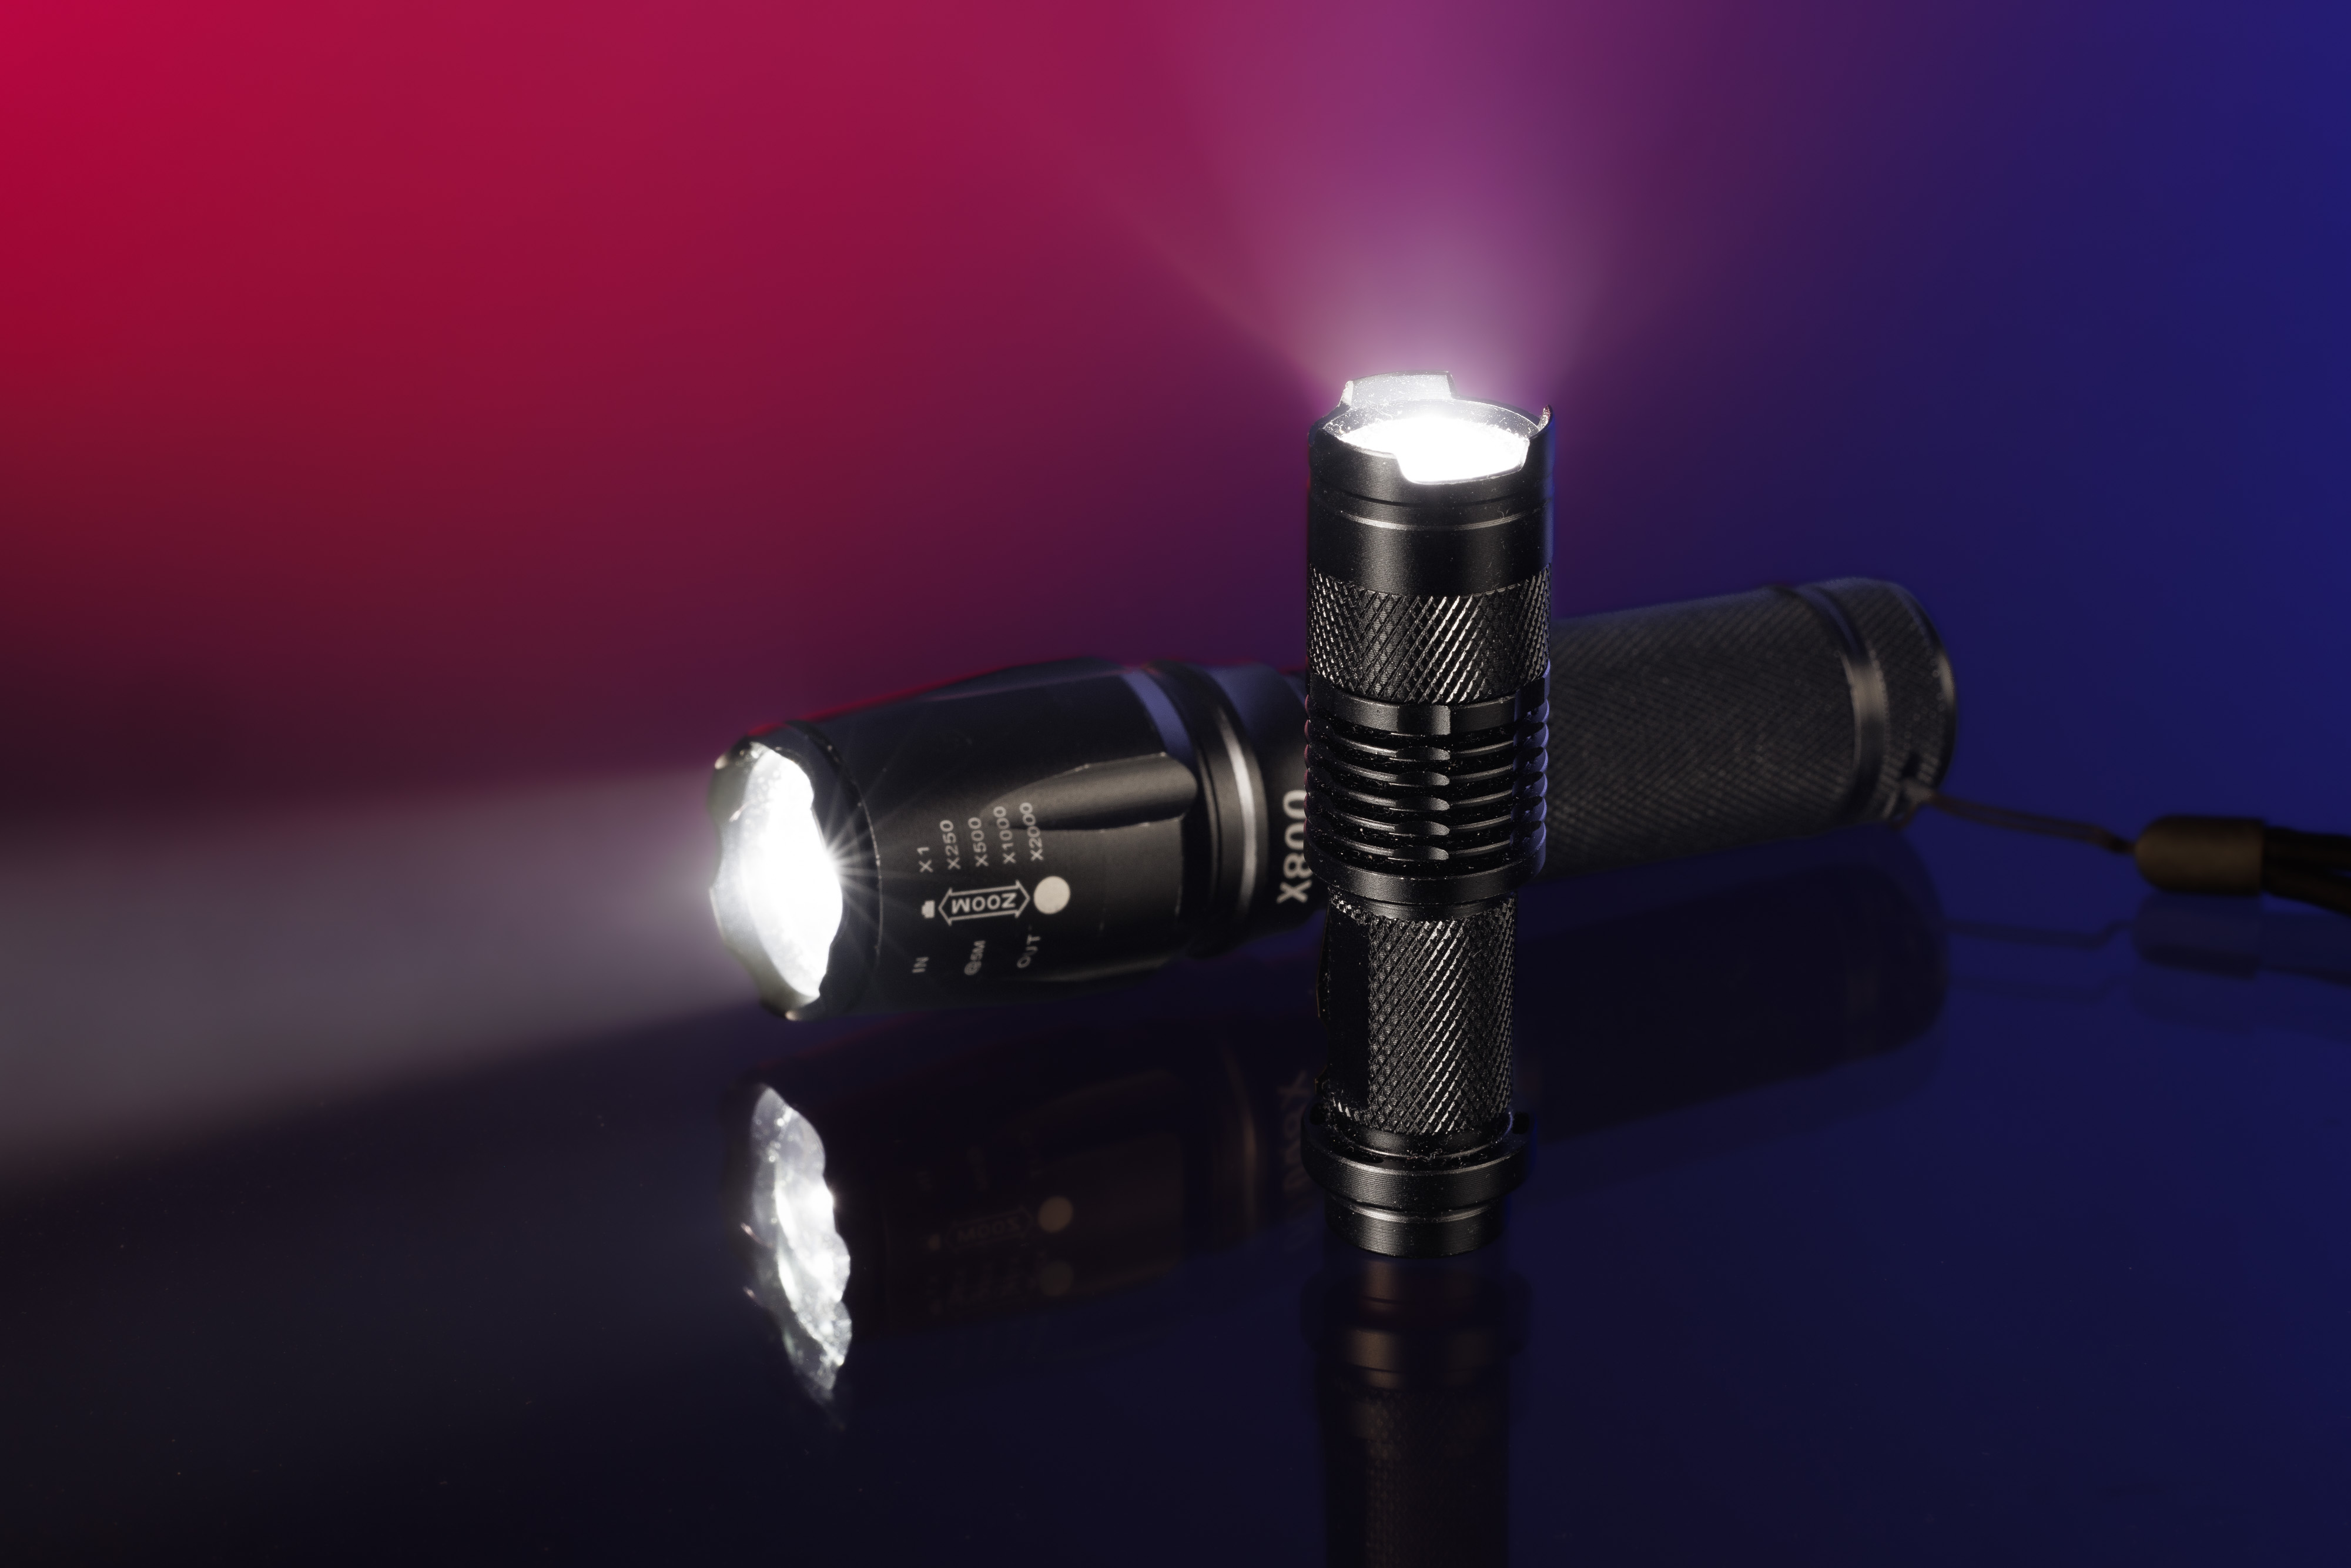
Light Sources
Torches/flashlights are easiest. Chances are that you’ll already have one. Many LED torches have zoom functions, which will allow you to narrow the beam to spread or to focus depending on your needs.
Once your skills and techniques improve, you’ll likely want to invest in a few different types. You can get small flashlights, with very thin beams, right the way up to super powerful ones for lighting bigger scenes.
Torch/flashlight power is measured in lumens. The higher the number, the more powerful they will be. You also have full RGB mini lights, from various manufacturers like Aputure, which offer alternatives to torches.
Gels
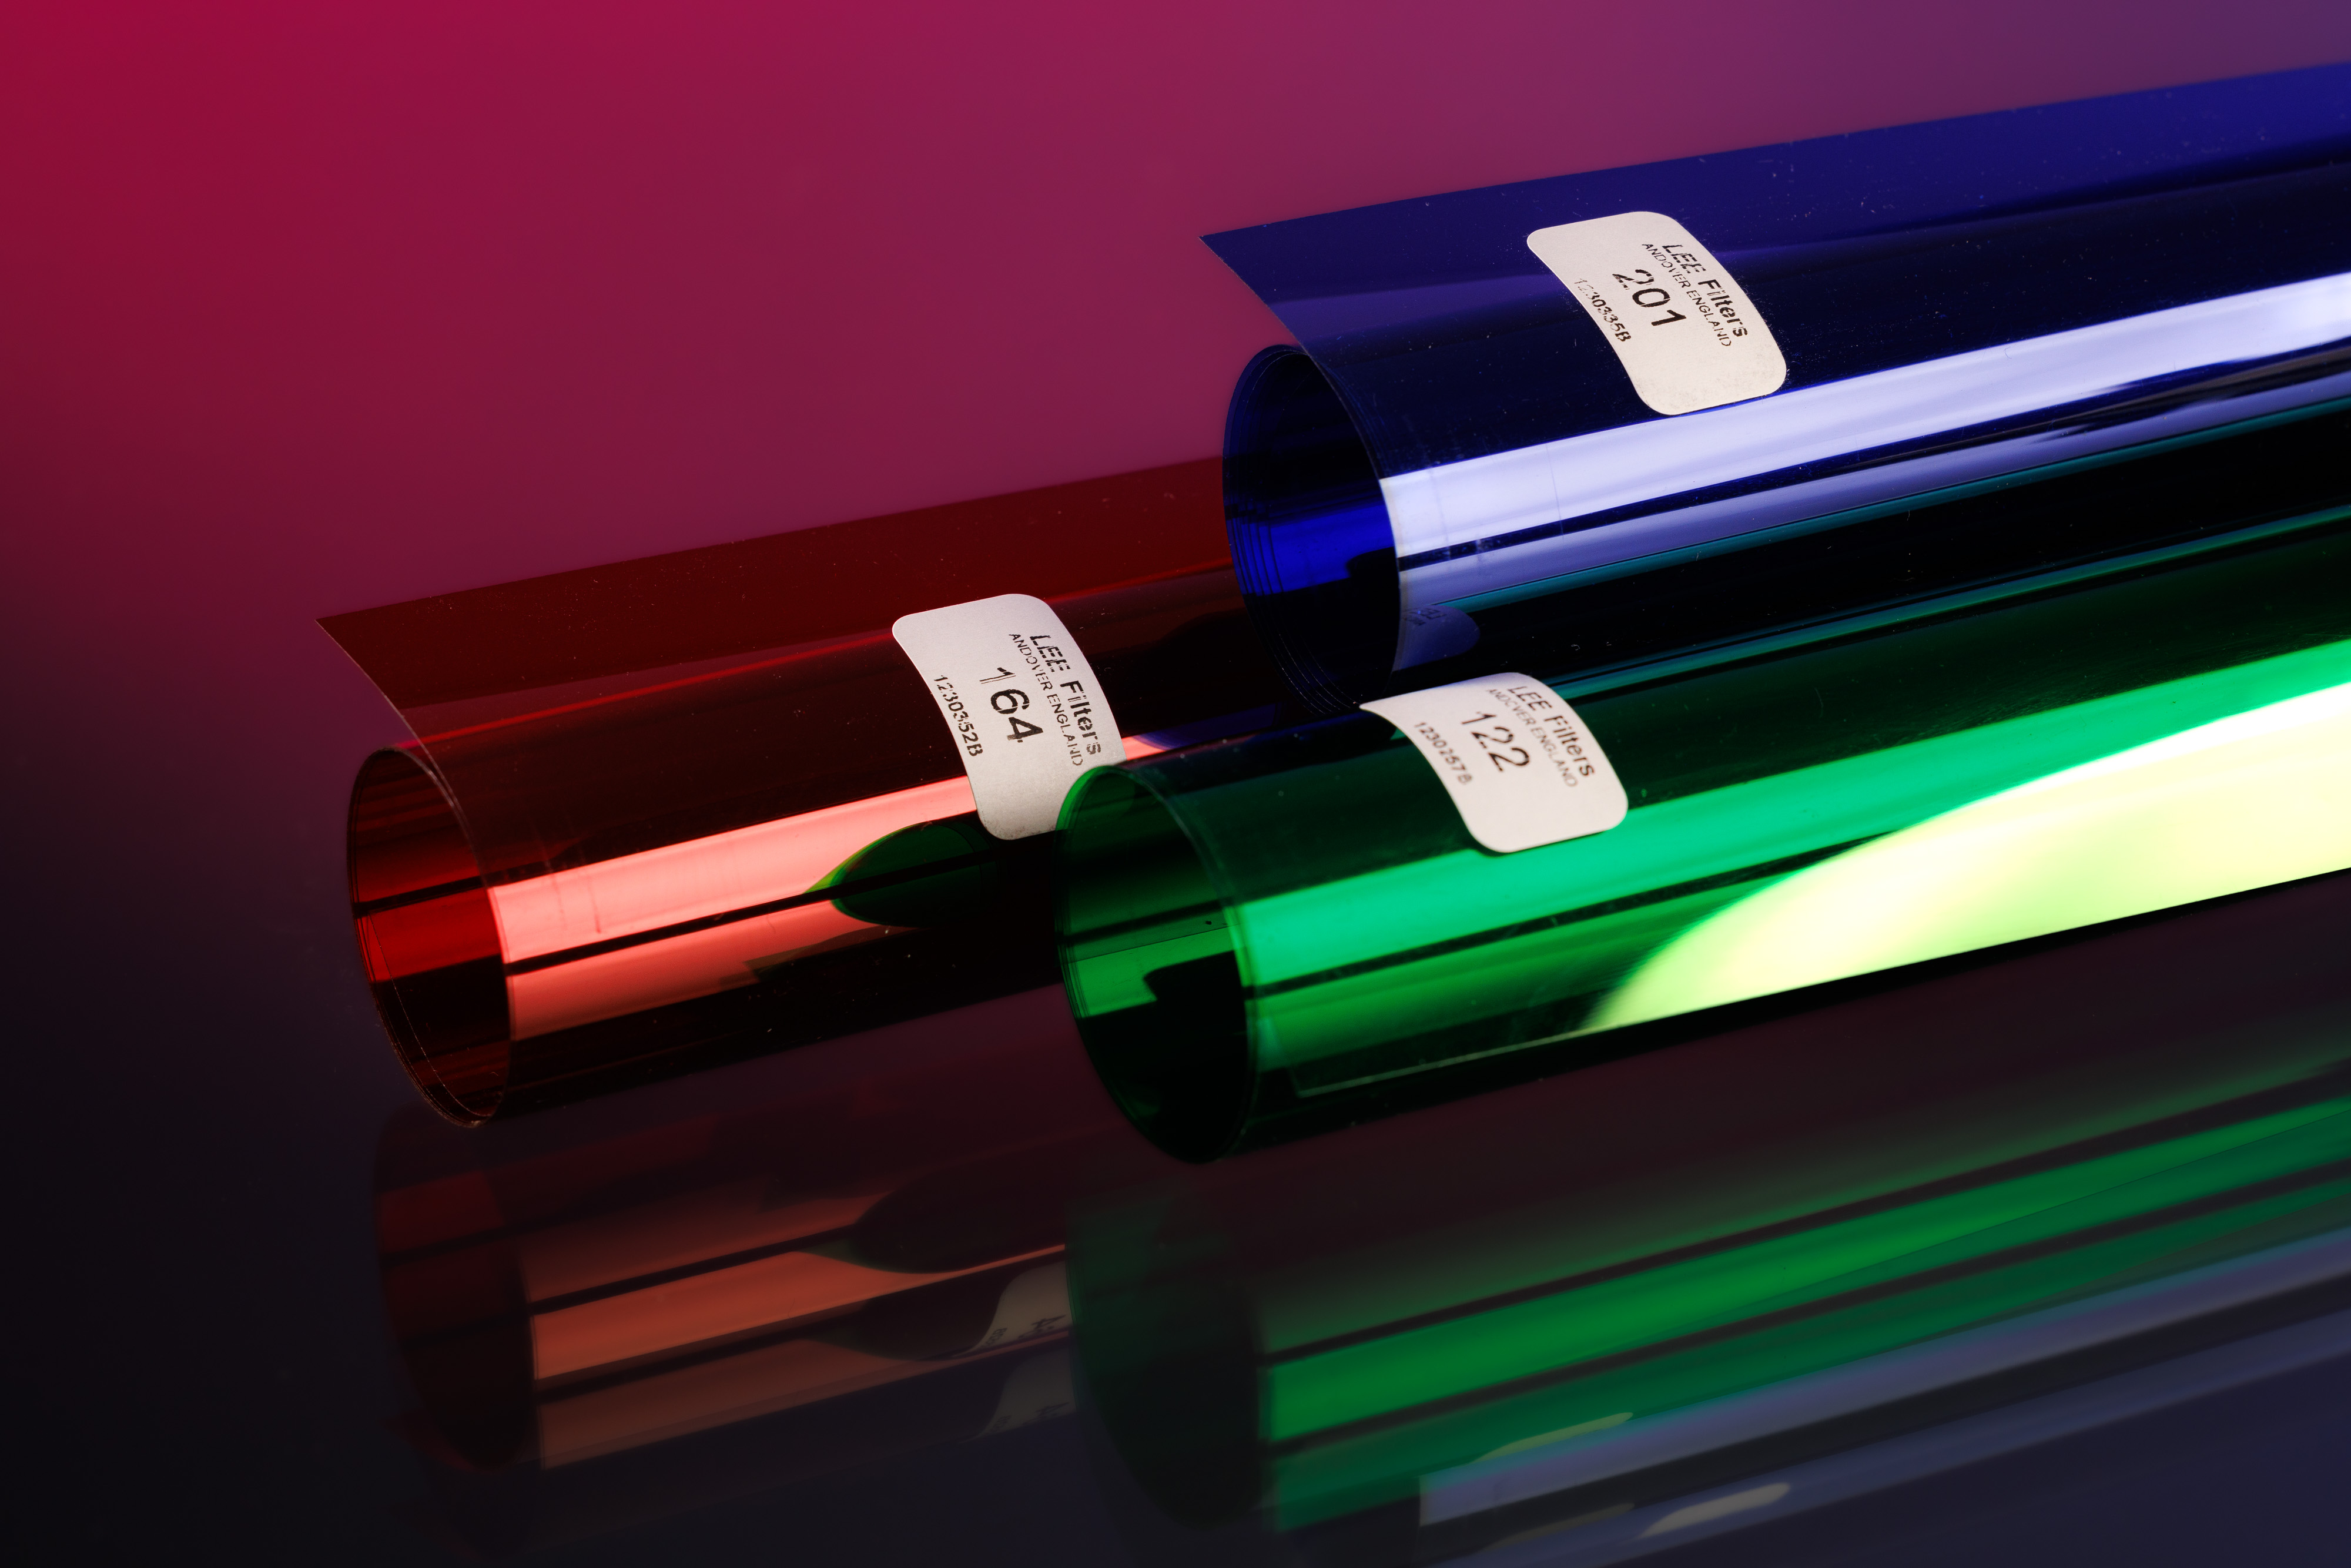
For light painting photography, gels are a must if you’re using torches. Gels allow you to colour your light source to your heart’s content. Lee Filters and ROSCO make the widest selection of gels, and they even offer small swatch packs of all their colour gels, which are small and portable when you go out to experiment.

Used Canon BR-E1 remote
Remote Trigger
When creating light painting photography, most people will be fine triggering the camera using the two-second timer. However, some might need a remote trigger. You can either use a cabled remote, or a wireless one if you’re at a distance from the camera and can’t get into position quickly enough.
Batteries
Bring plenty of spare batteries for your camera. Long exposures drain batteries at a remarkable rate—especially when it’s cold outside.
Head Torch
You might think it’s silly to bring a headtorch, especially considering that you’re carrying torches/flashlights. But mounting one to your head will allow you to illuminate whatever you’re looking at, keeping your hands free for your camera.
Camera Settings for Light Painting
With light painting, every shoot and situation will vary. But there are a few settings that you’ll want to consider when you’re creating light painting photography.
Aperture
You can keep your aperture small, for extra sharpness and a deeper depth of field. Or, you can open it up for a dreamier effect—but be aware that, due to the narrower depth of field, not everything in your shot will be in focus.
Shutter Speed
For on-camera light painting, you can take all the time you need. Exposures over 30 seconds will be normal, just to allow you to make the required shapes you need and to do some extra lighting. However, if the shutter speed is already quite long, you’ll need to decrease your ISO values and/or narrow your aperture to achieve a correct exposure.
ISO
Don’t be afraid to increase your ISO when light painting. Most modern cameras can manage above 1600 ISO. Ideally, you’d run lower values. But sometimes, you’ll be in a situation where you have no choice. But generally speaking, try to keep them low enough, roughly in the 100–400 range.
Timer
If you don’t have a remote trigger, use the two-second or ten-second timer on your camera. This will allow you to trigger the shutter using the shutter release button, without carrying any extras.
If you have a mirrorless camera, activate the electronic shutter. This might also help to minimise any camera shake during the long exposure.
Fujifilm GFX 100S | GF 32-64mm f/4 R LM WR | 32mm | f/11 | 13 sec | ISO 125
Light painting is a lot of fun. You feel like you’re creating an image rather than simply taking one.
You’ll need to draw upon your photographic skill, from location scouting and framing to applying colour theory and lighting. Embrace experimentation, even if it’s just in your garden and your local park. Every outing is a learning experience, and you’ll often be surprised by the ways you can apply your knowledge.
Read more tips and techniques on the MPB content hub.
You can sell or trade your camera kit to MPB. Get a free instant quote, free insured shipping to MPB, and get paid within days.