Guide to Product Photography
Published 4 March 2026 by MPB
What is Product Photography?
Welcome to the world of product photography—an unconscious form of marketing that bridges the gap between the physical and digital worlds.
Influential marketing is now the norm, and with that comes the ever-evolving landscape of consumer trends. Creative product photography affects people’s consumption habits without them realising it, making it a highly effective tool.
Product photography is the art of capturing images that showcase a product in its best light, both literally and figuratively. This form of photography highlights the features, details and quality of a product. It goes beyond merely documenting the product, focusing on an image that communicates the brand's identity and the unique value of the item being showcased.
So, what makes for successful product photography? We spoke with Jillian Lenser, a product photographer based in Brooklyn, who shared her expertise to help you get started.
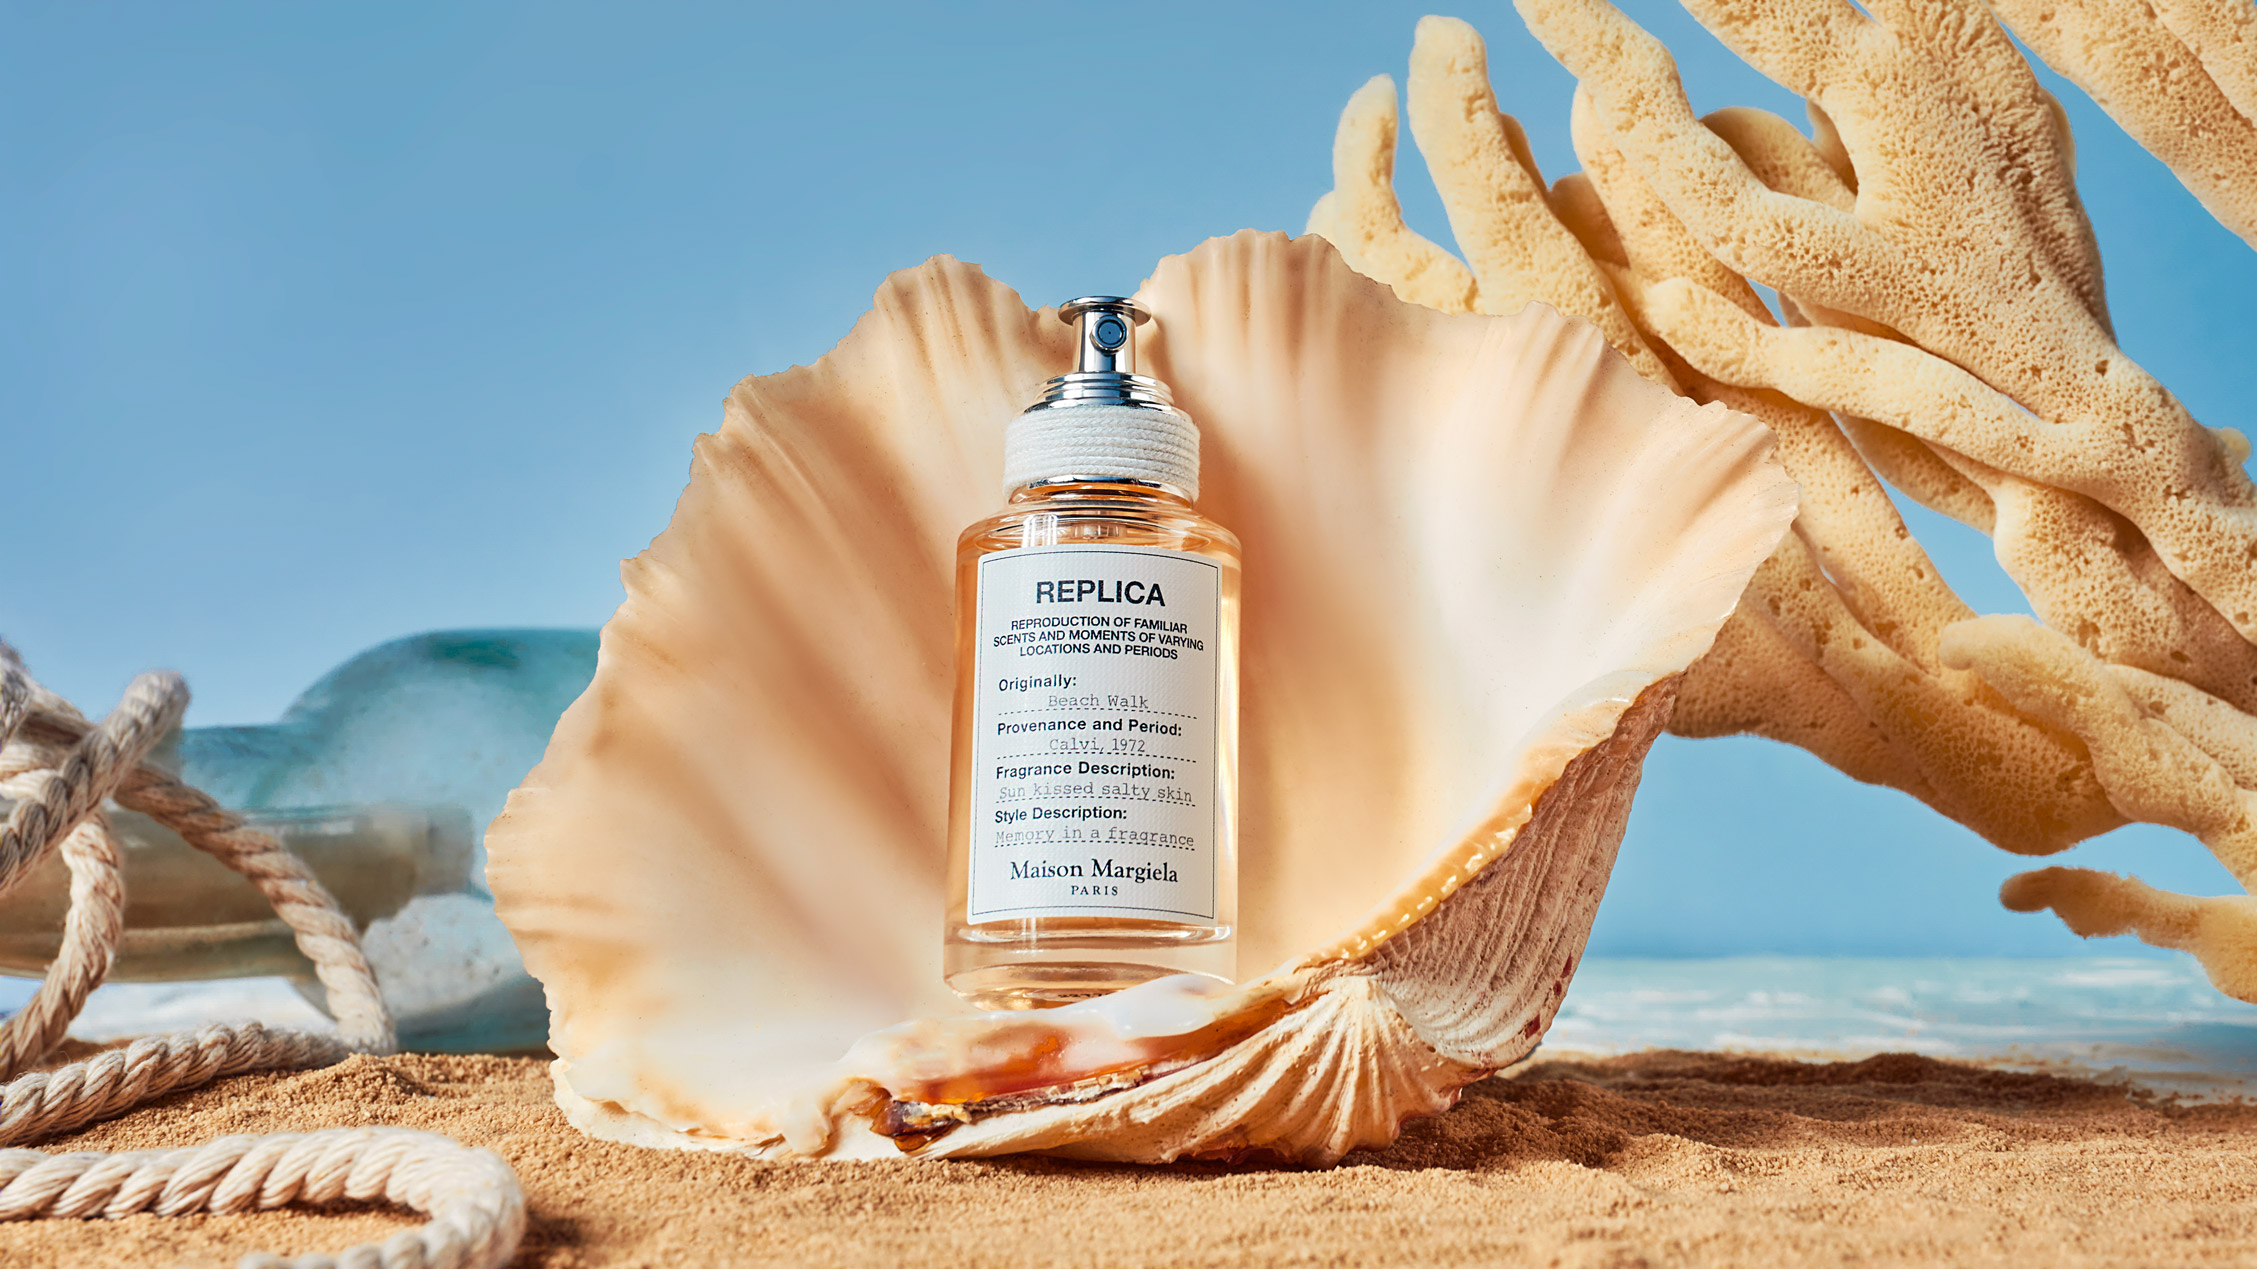
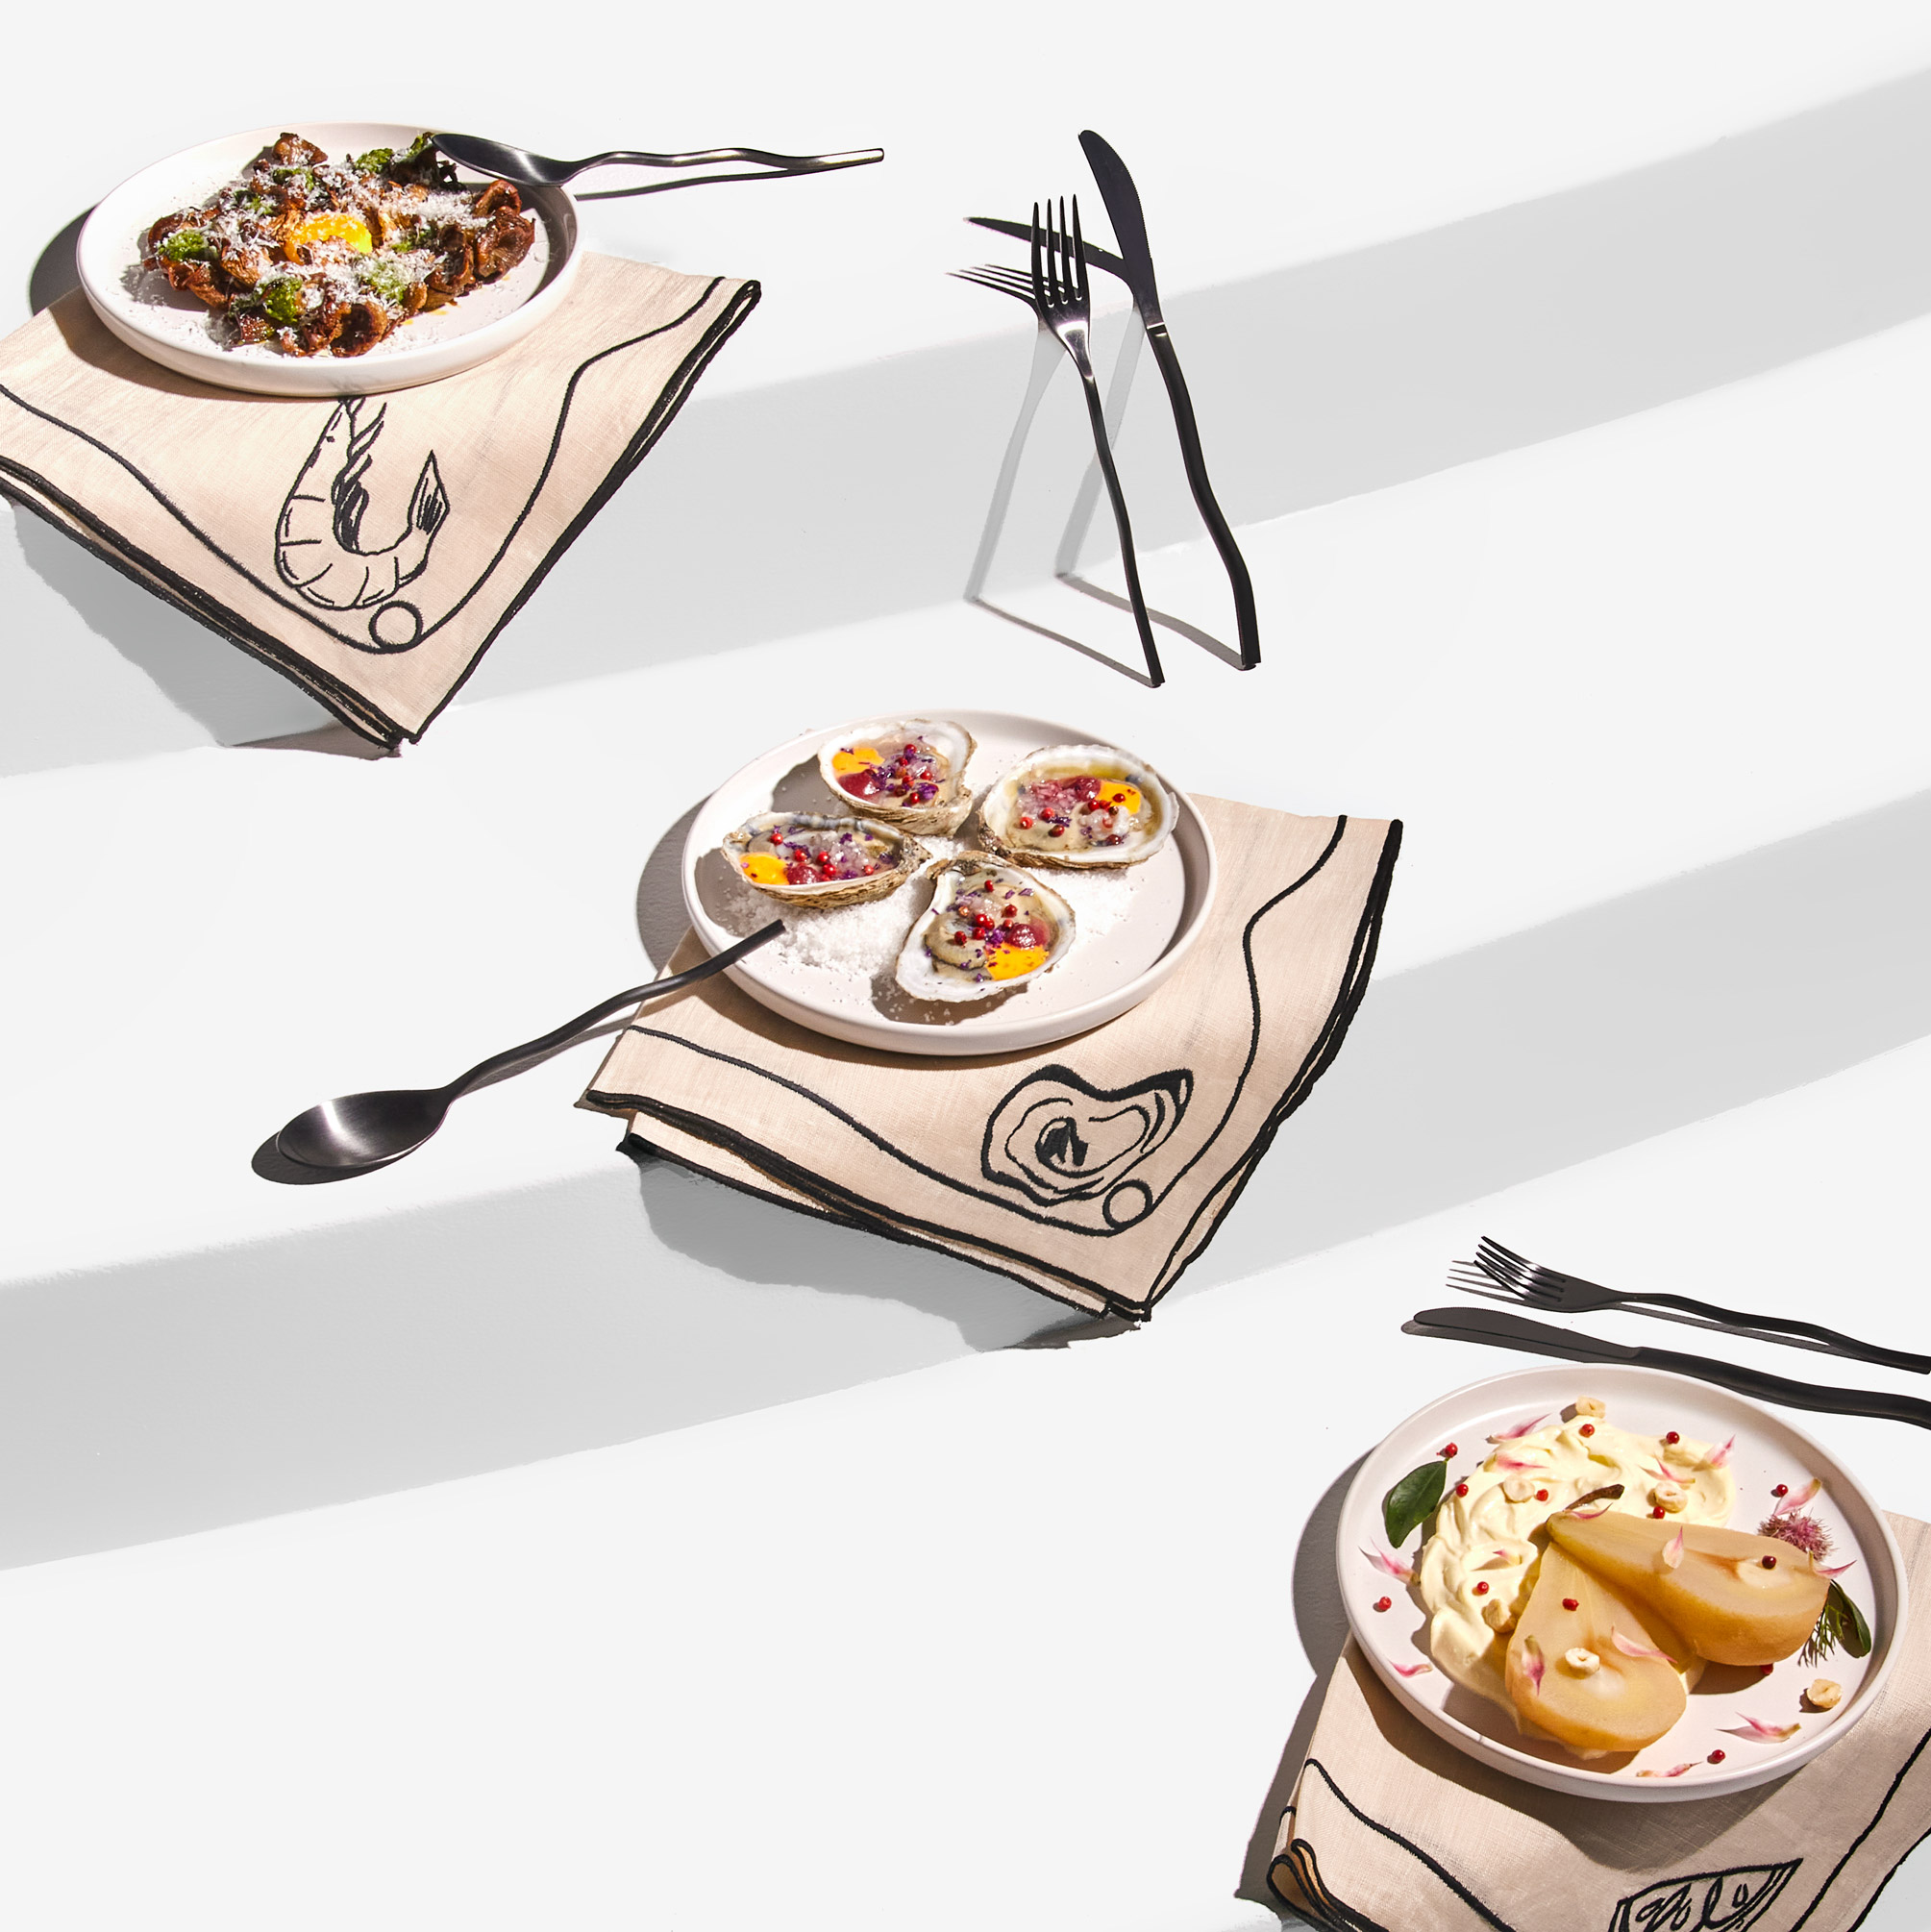
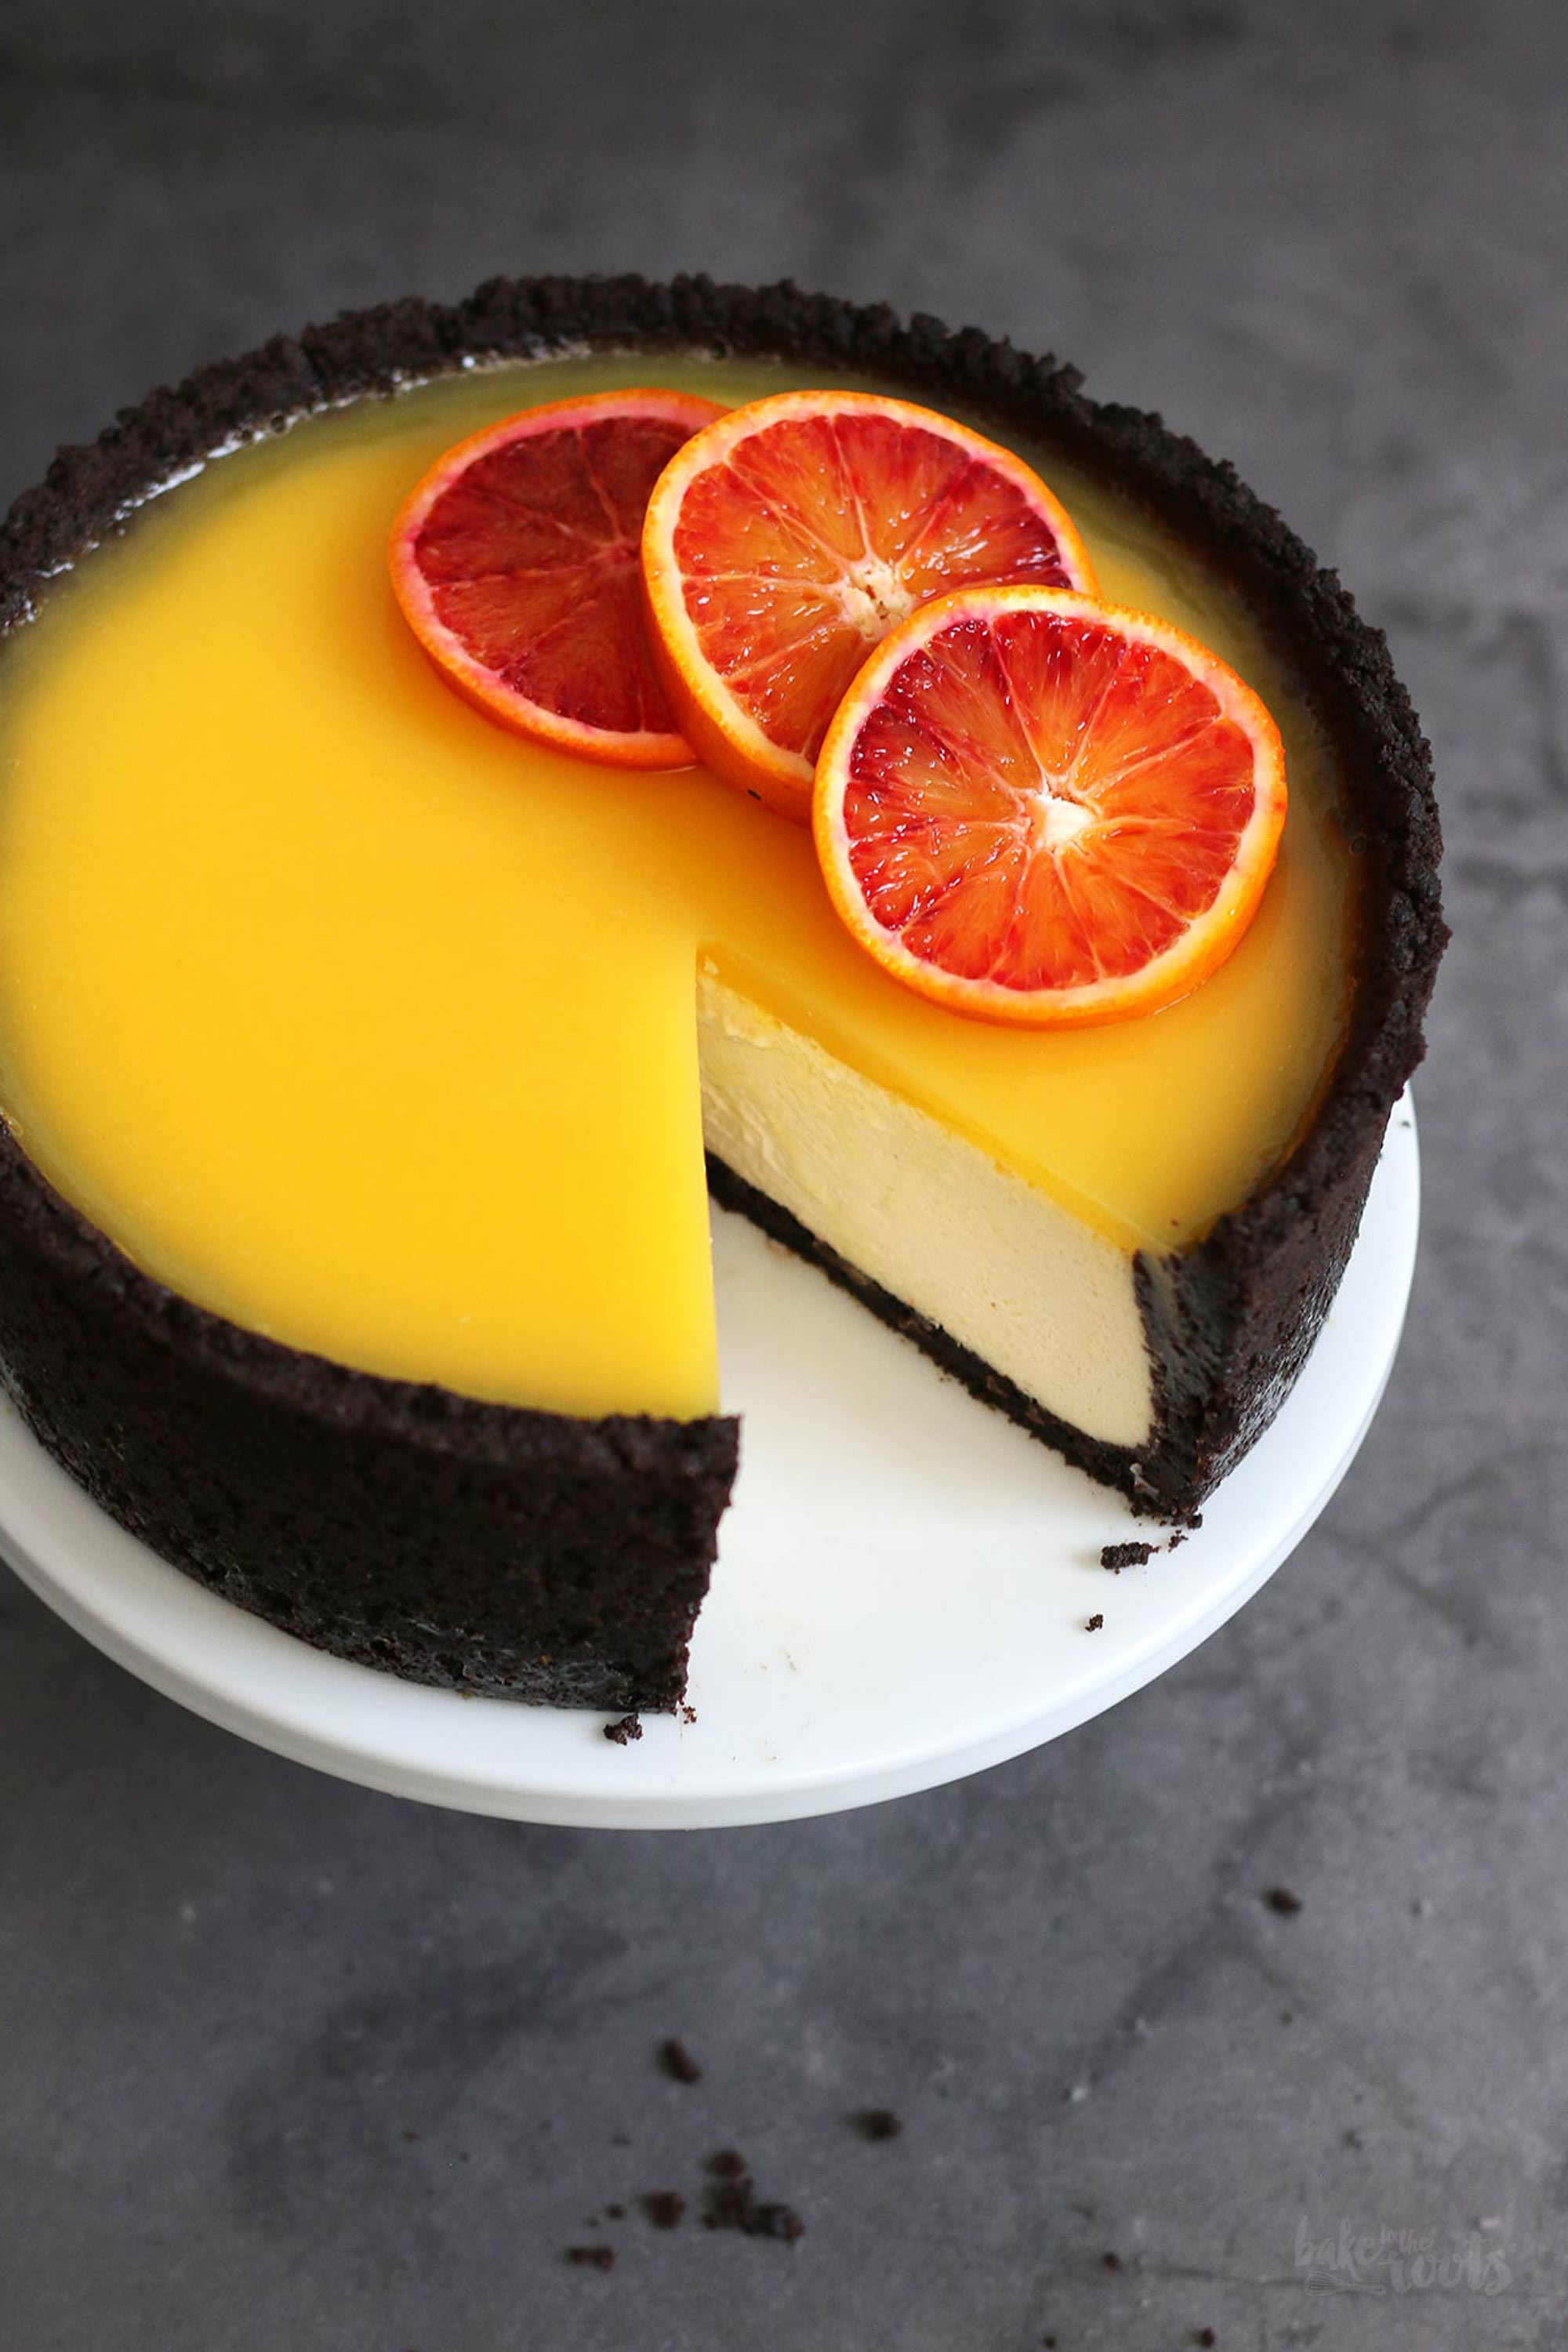
Canon EOS 5D Mark IV | type: entry-hyperlink id: 4eVbteJozoWnsnMK0wSOJ1 | 70mm | f/9 | 1/160 sec | ISO 500
6 Tips for Product Photography
Tip 1: Get Inspired
If you don’t have a concept in mind already, use content around you to curate ideas for your shoot. We are constantly exposed to marketing through social media ads, billboards, grocery stores, product design, etc. Instagram, Pinterest and Behance are great web resources to search for visual inspiration.
Look at what similar brands post and brainstorm how you can position your content to stand out. Consider where your images will live (website, social, etc.) and adjust your creative approach accordingly.
Tip 2: Lock It Down
Using a tripod while shooting products allows you to dial in your image. Think of it as putting together the edges of a puzzle before diving into the middle. A tripod provides you with a static frame to adjust any props/lighting within that space for a more collaborative shoot. Even if you shoot by yourself, using a tripod is a hands-free way to shoot so you can quickly and easily make any prop or lighting adjustments.
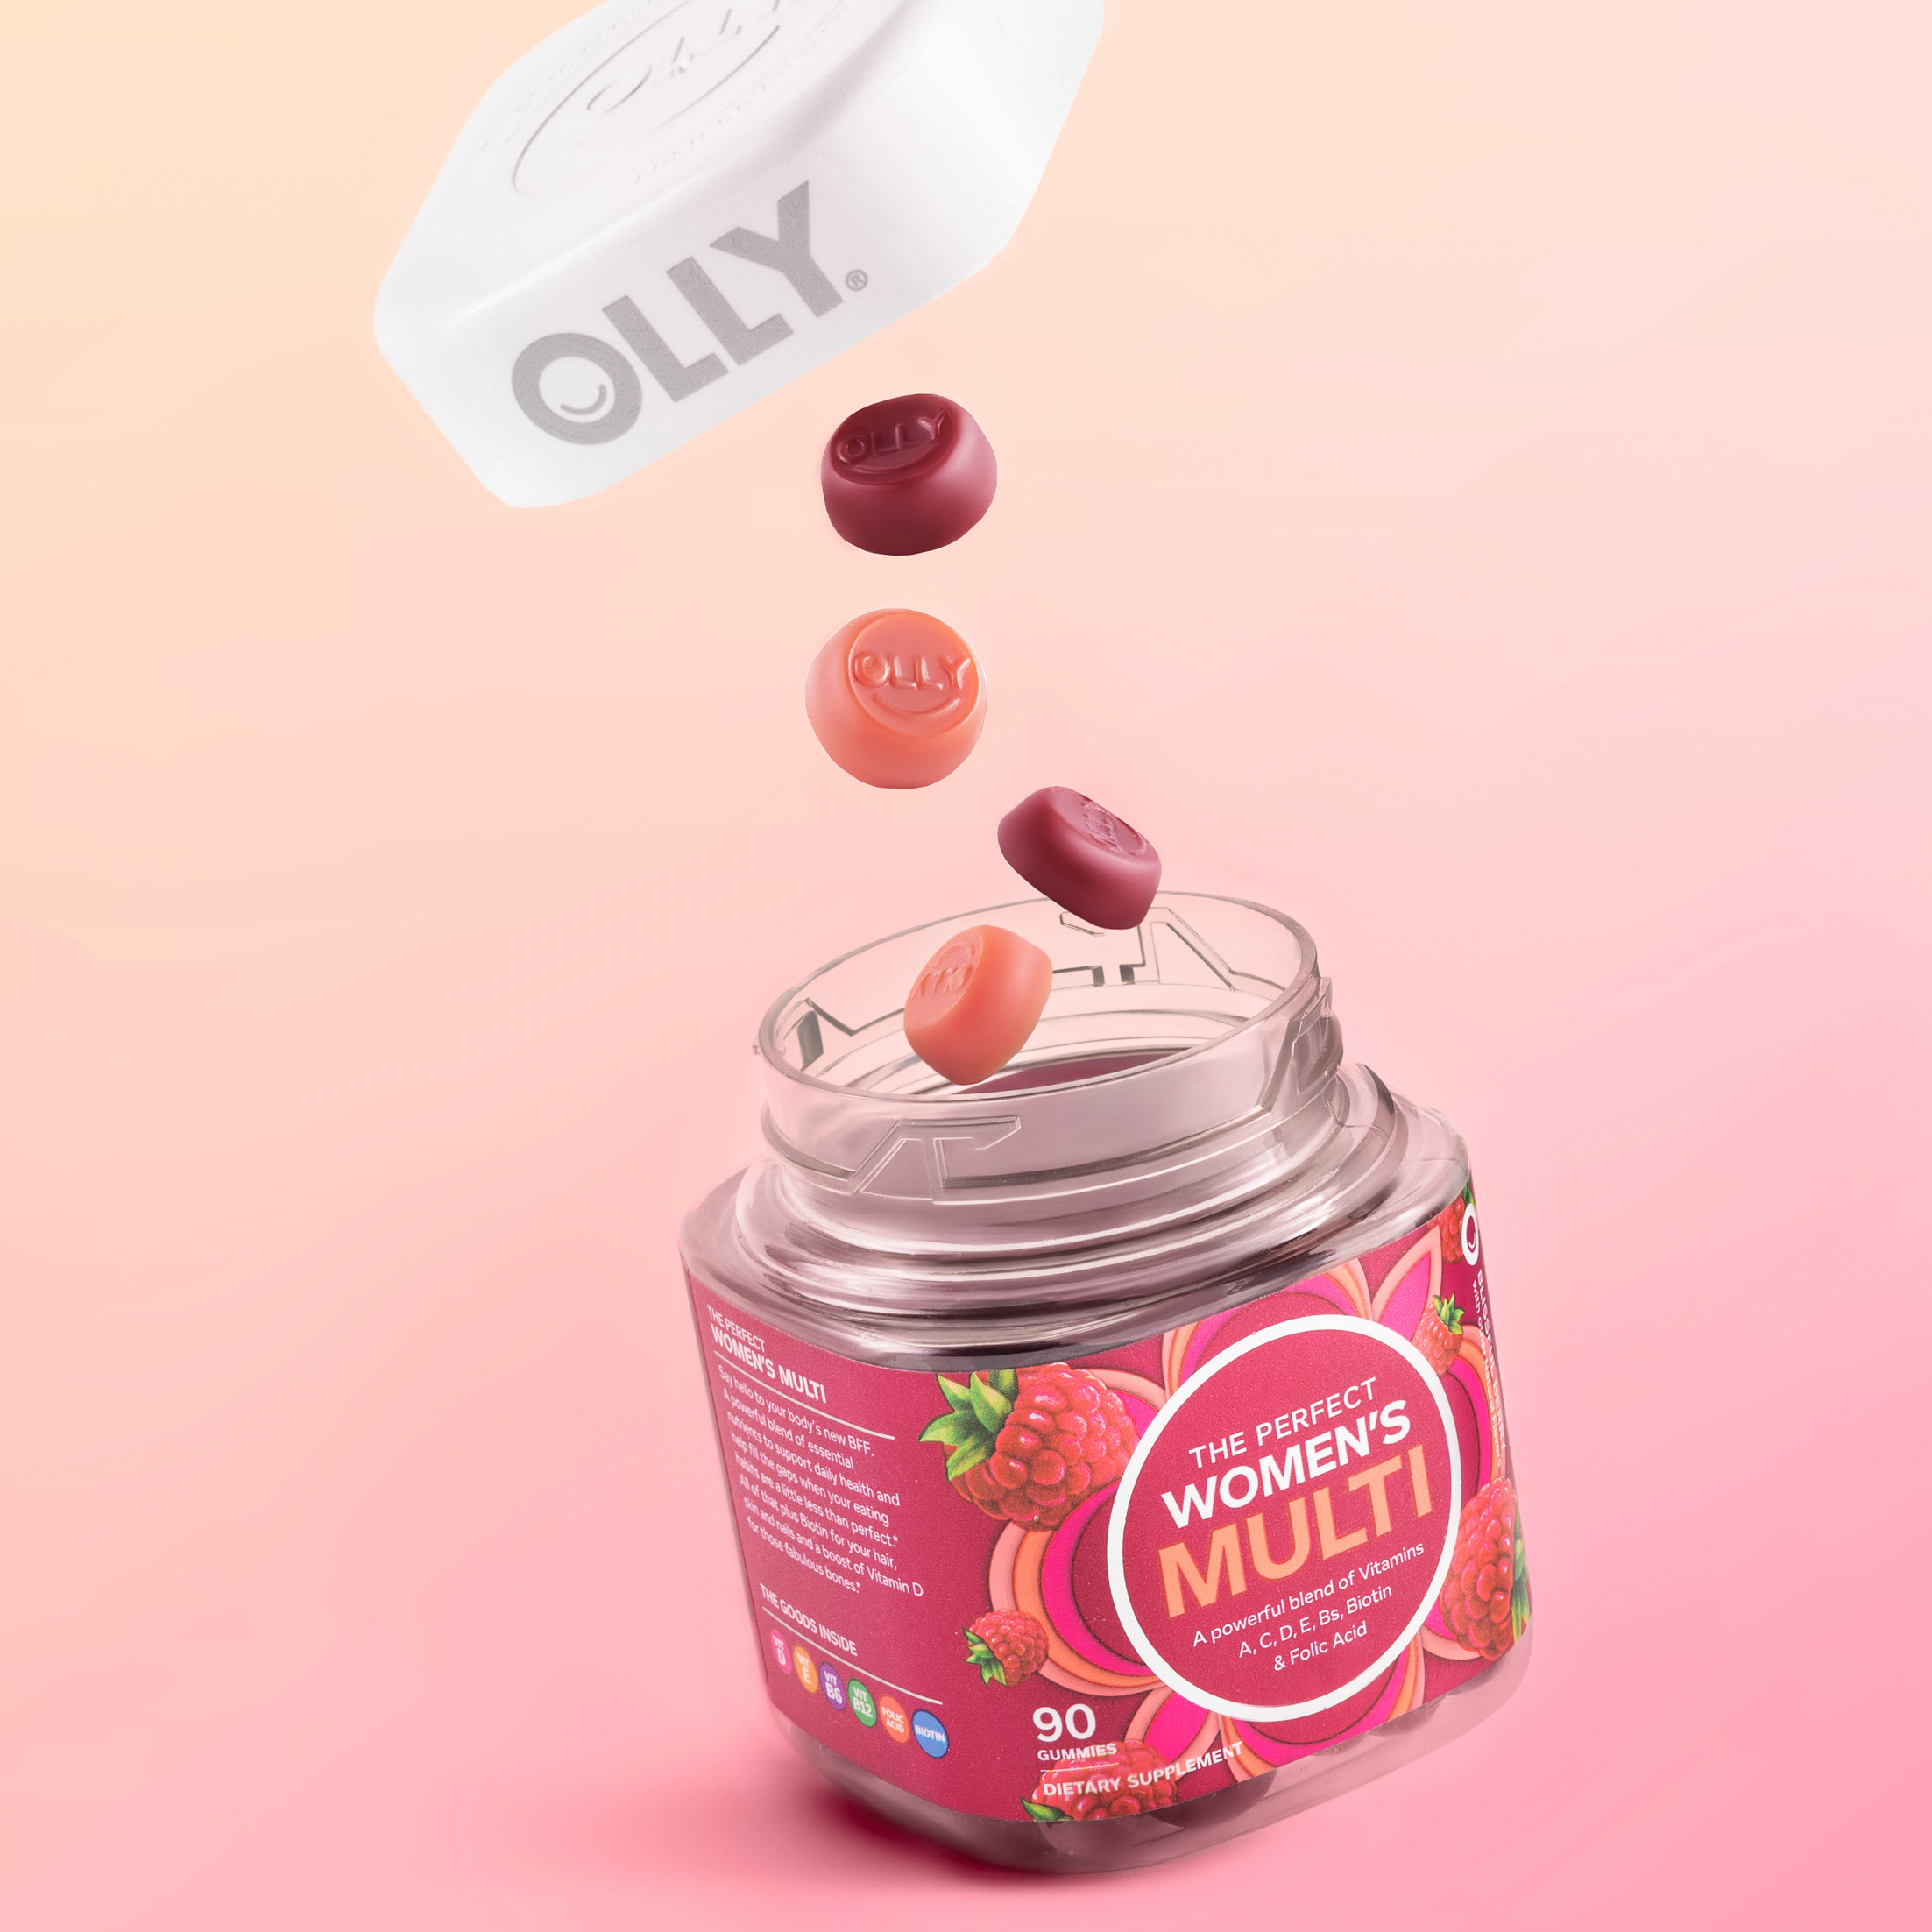
Canon EOS R5 | 24-70mm f/2.8 DG OS HSM | 70mm | f/9 | 1/125 sec | ISO 200
Tip 3: Dial In the Details
If a tripod is the bread, tethering is the butter of product photography. Tethering your camera to a computer or a monitor immediately makes you more intentional with what you’re creating. You and the people you’re working with can see every detail and how your image looks with a specific crop ratio (think Instagram stories). Because of this, tethering immediately improves your client’s experience on set.
When working with a team, it’s good practice to have a few screens for viewing, whether you use Capture One’s Capture Pilot for iOS or simply screen share in a video call. Capture One is the industry standard for tethering, but Adobe Lightroom is a less expensive software option.
Tip 4: Check Your Colours
Colour is always subjective. The background you use, the props in the shot and even the colour of your clothing if you’re standing nearby, all affect your photos and how your eyes perceive them. Use a white balancing card or colour checker to set a baseline for the white and black tones in your image. To use a white or colour card, take a photo with the card physically in the frame. From here, you can calibrate your white balance in your camera and tethering software appropriately. This is a good habit to have during the setup portion of your photoshoot.
Tip 5: Experiment with Angles
Shooting around during your photoshoot is a great way to get diverse content that showcases the product in different ways. After getting the main shots you planned for, take the time to shoot handheld around your set. Try lower or higher angles or zoom in to one part of the set to see how changing composition can change the way you look at a product.
Tip 6: Play
Lights, camera, now what? Play. Even if you have a favourite lighting setup or confidence from a YouTube video, it’s always great to move your setup around just to see what happens. “What do I notice?” and “What do I wonder?” are two questions you can ask yourself to get curious. What happens when you move a light to the other side of the set? How would it look if you pointed a light at the ceiling or a nearby wall? Over time, curiosity will help you fine-tune your lighting style and knowledge.

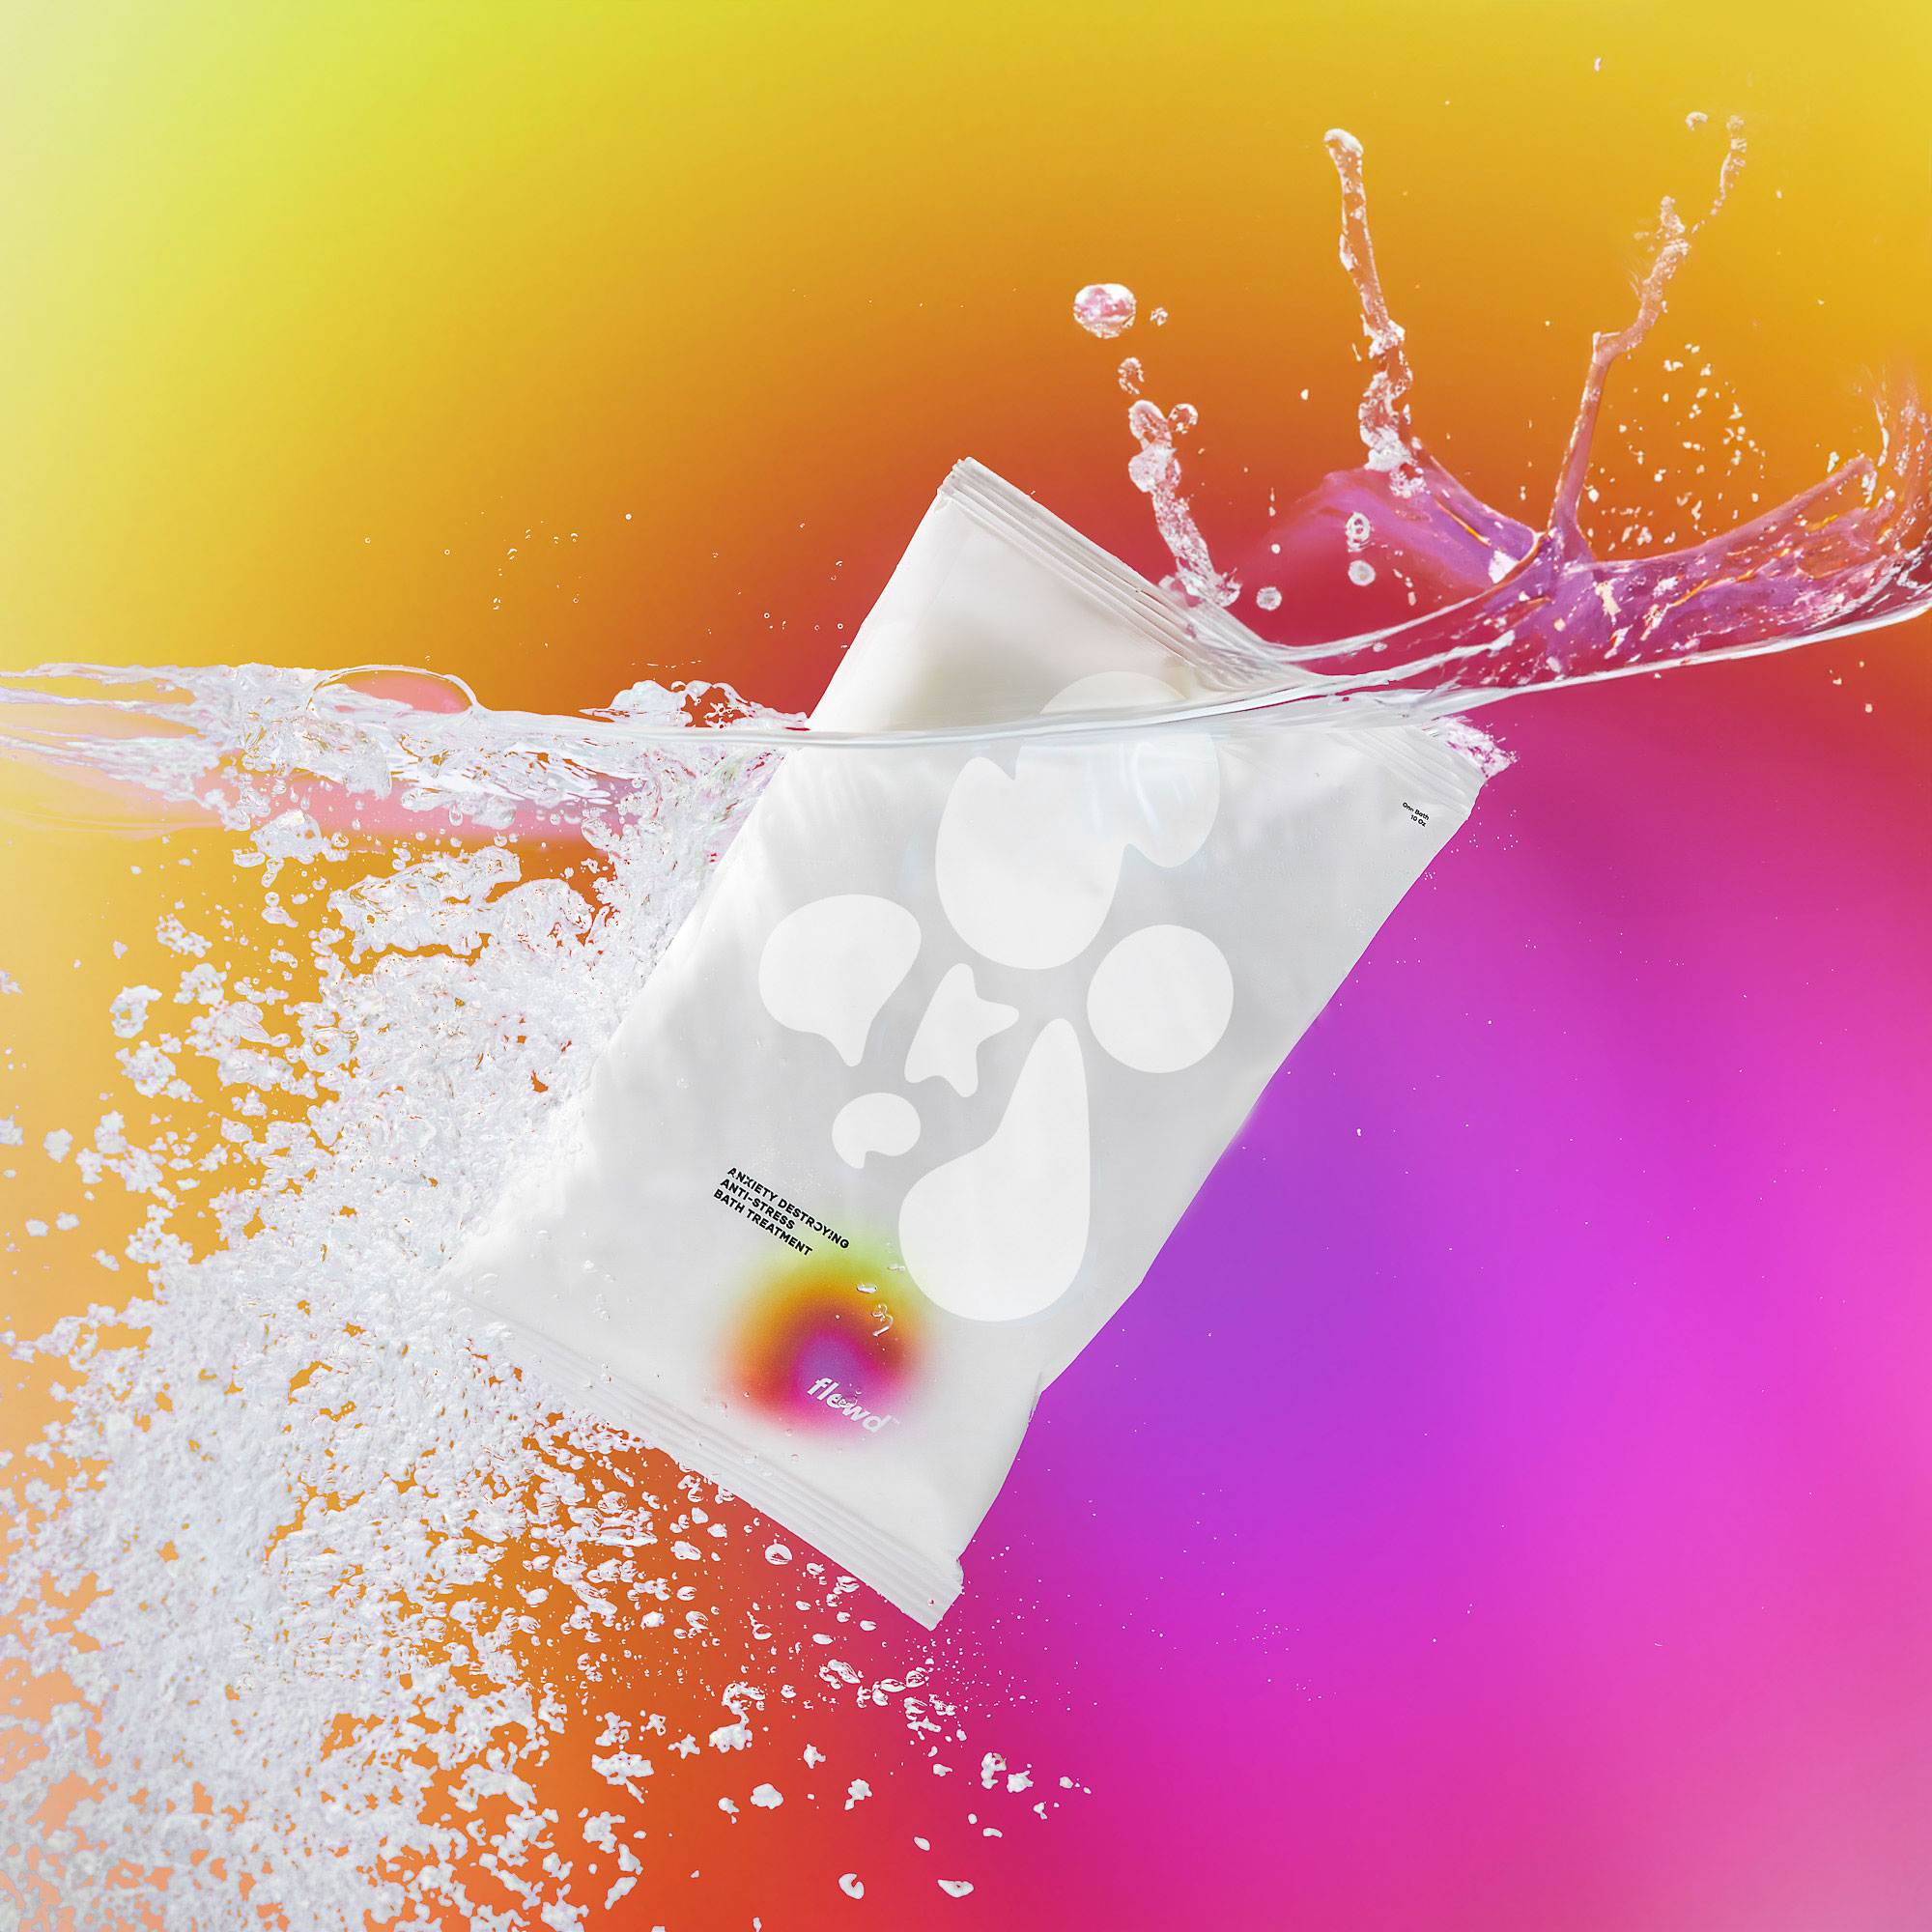
Canon EOS R5 | 24-70mm f/2.8 DG OS HSM | 32 mm | f/10 | 1/160 sec | ISO 200
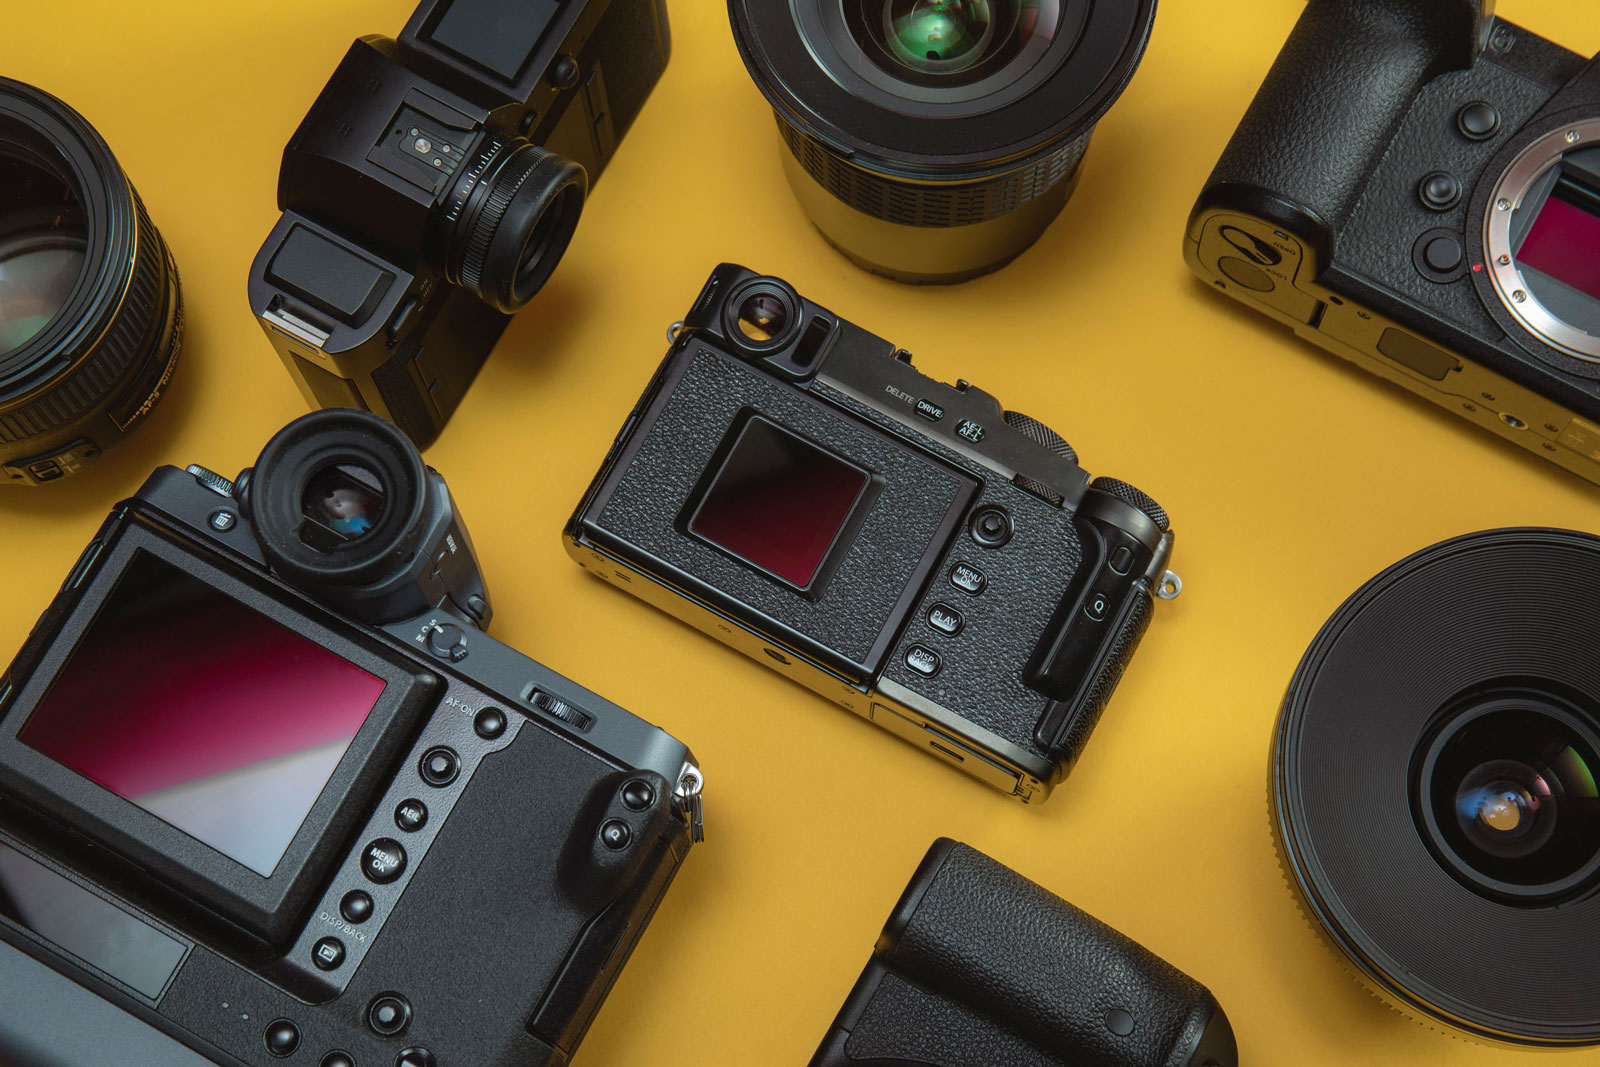
Equipment for Product Photography
Best Cameras for Quality Product Photos
Canon EOS R5
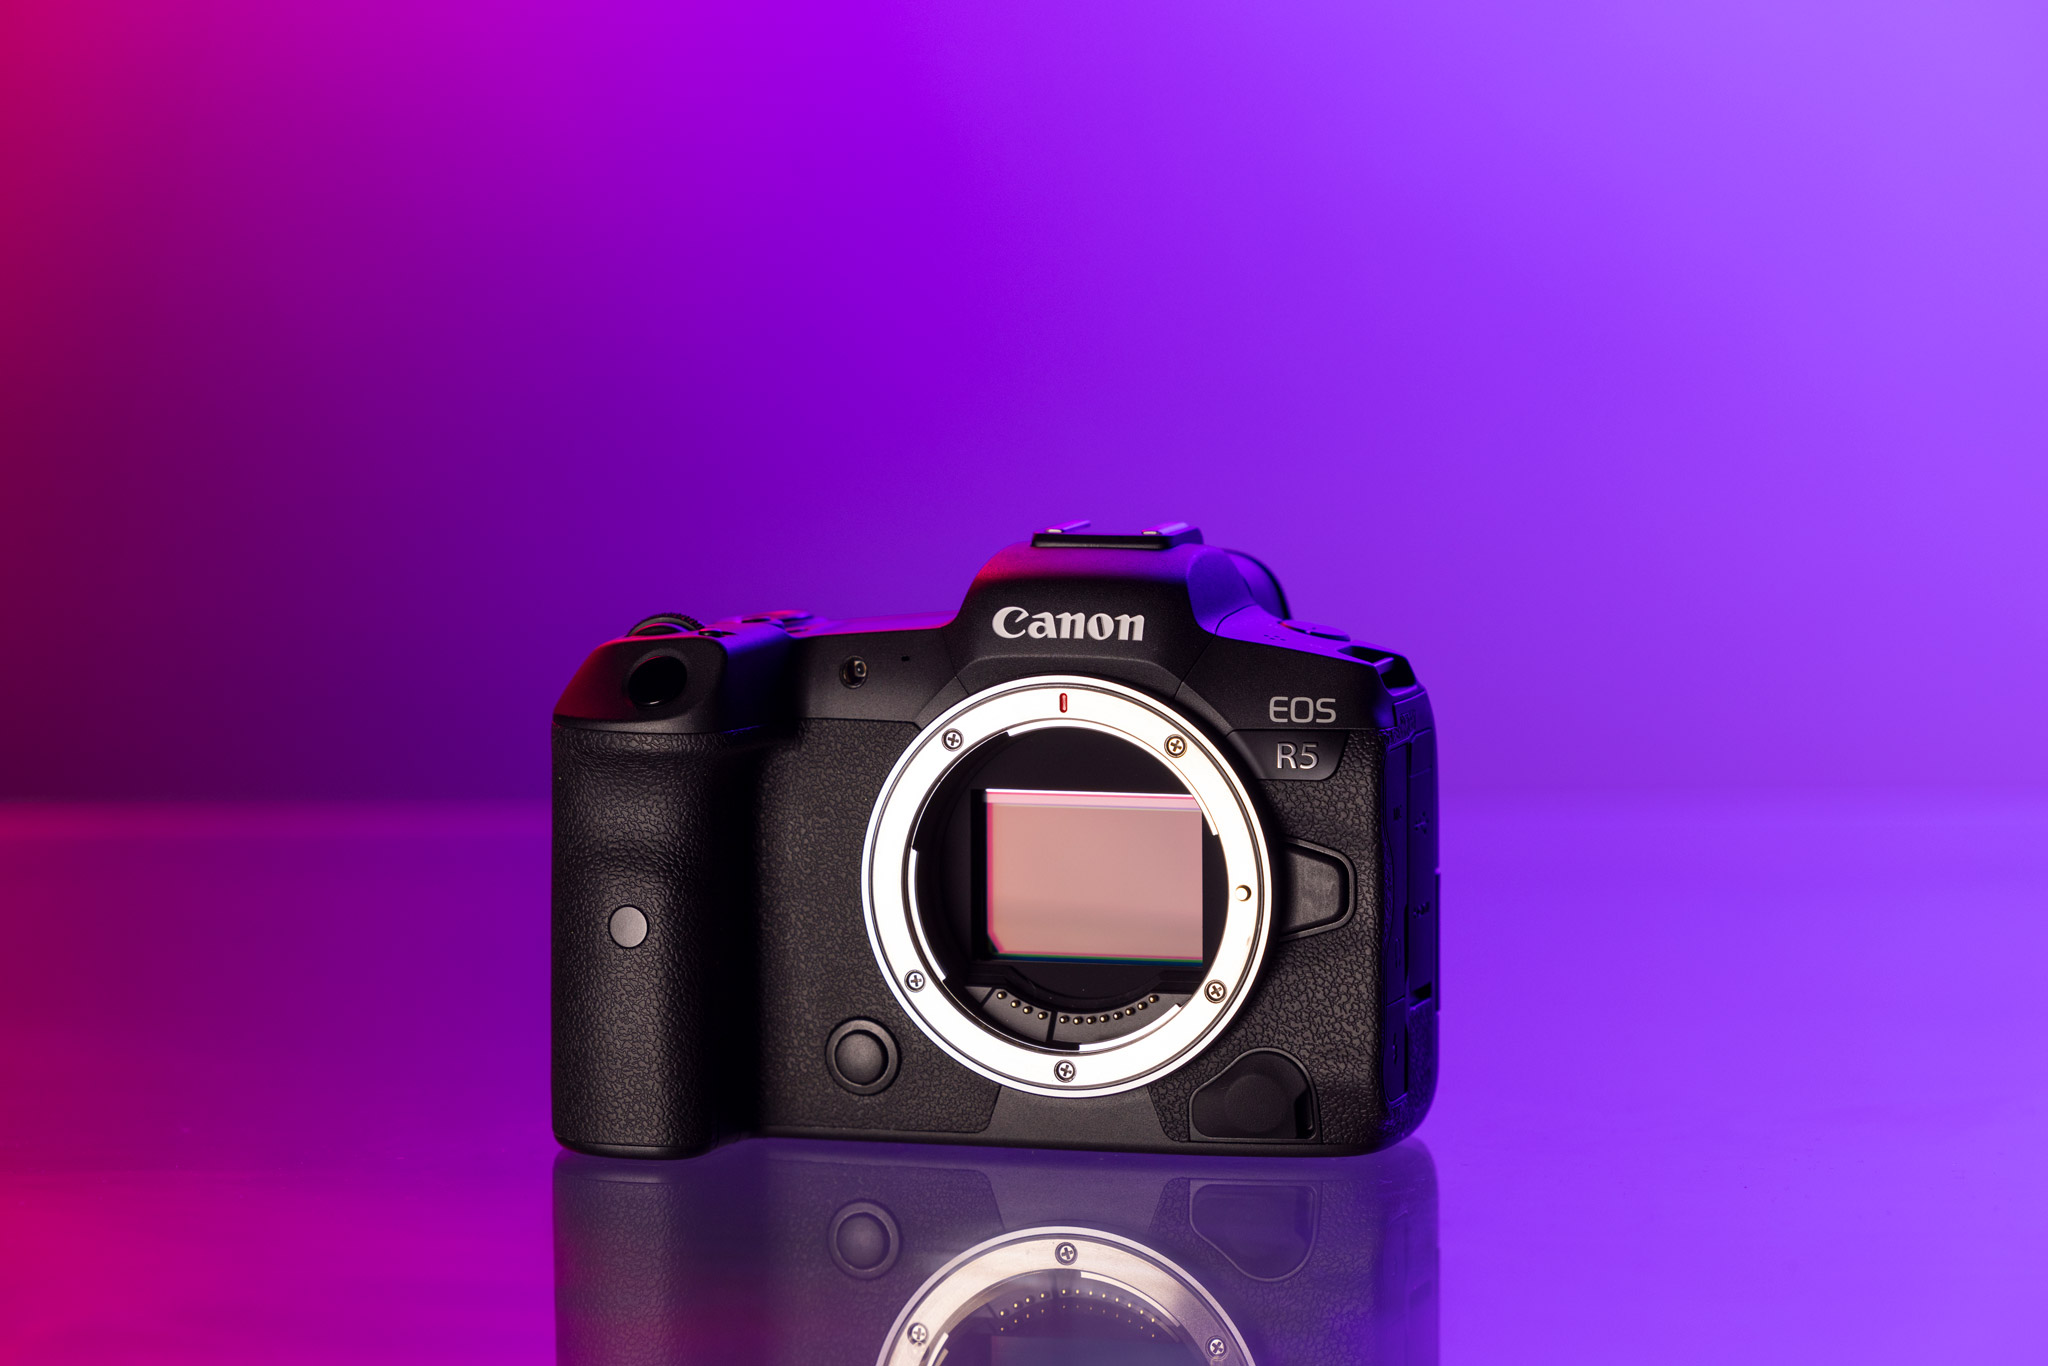
Used Canon EOS R5
Specs
45-megapixel full-frame CMOS sensor
8K raw video, 4K, and full HD up to 120 fps
100-51,200 ISO range
12 fps continuous shooting
One of the most popular and current professional-level cameras is the mirrorless Canon EOS R5. Its 45-megapixel full-frame sensor provides high-quality images even when cropping into a tiny area of your original image. The R5 supports USB charging while tethering, has in-body image stabilisation, and its autofocus points cover 100% of the frame.
Canon EOS 5D Mark IV
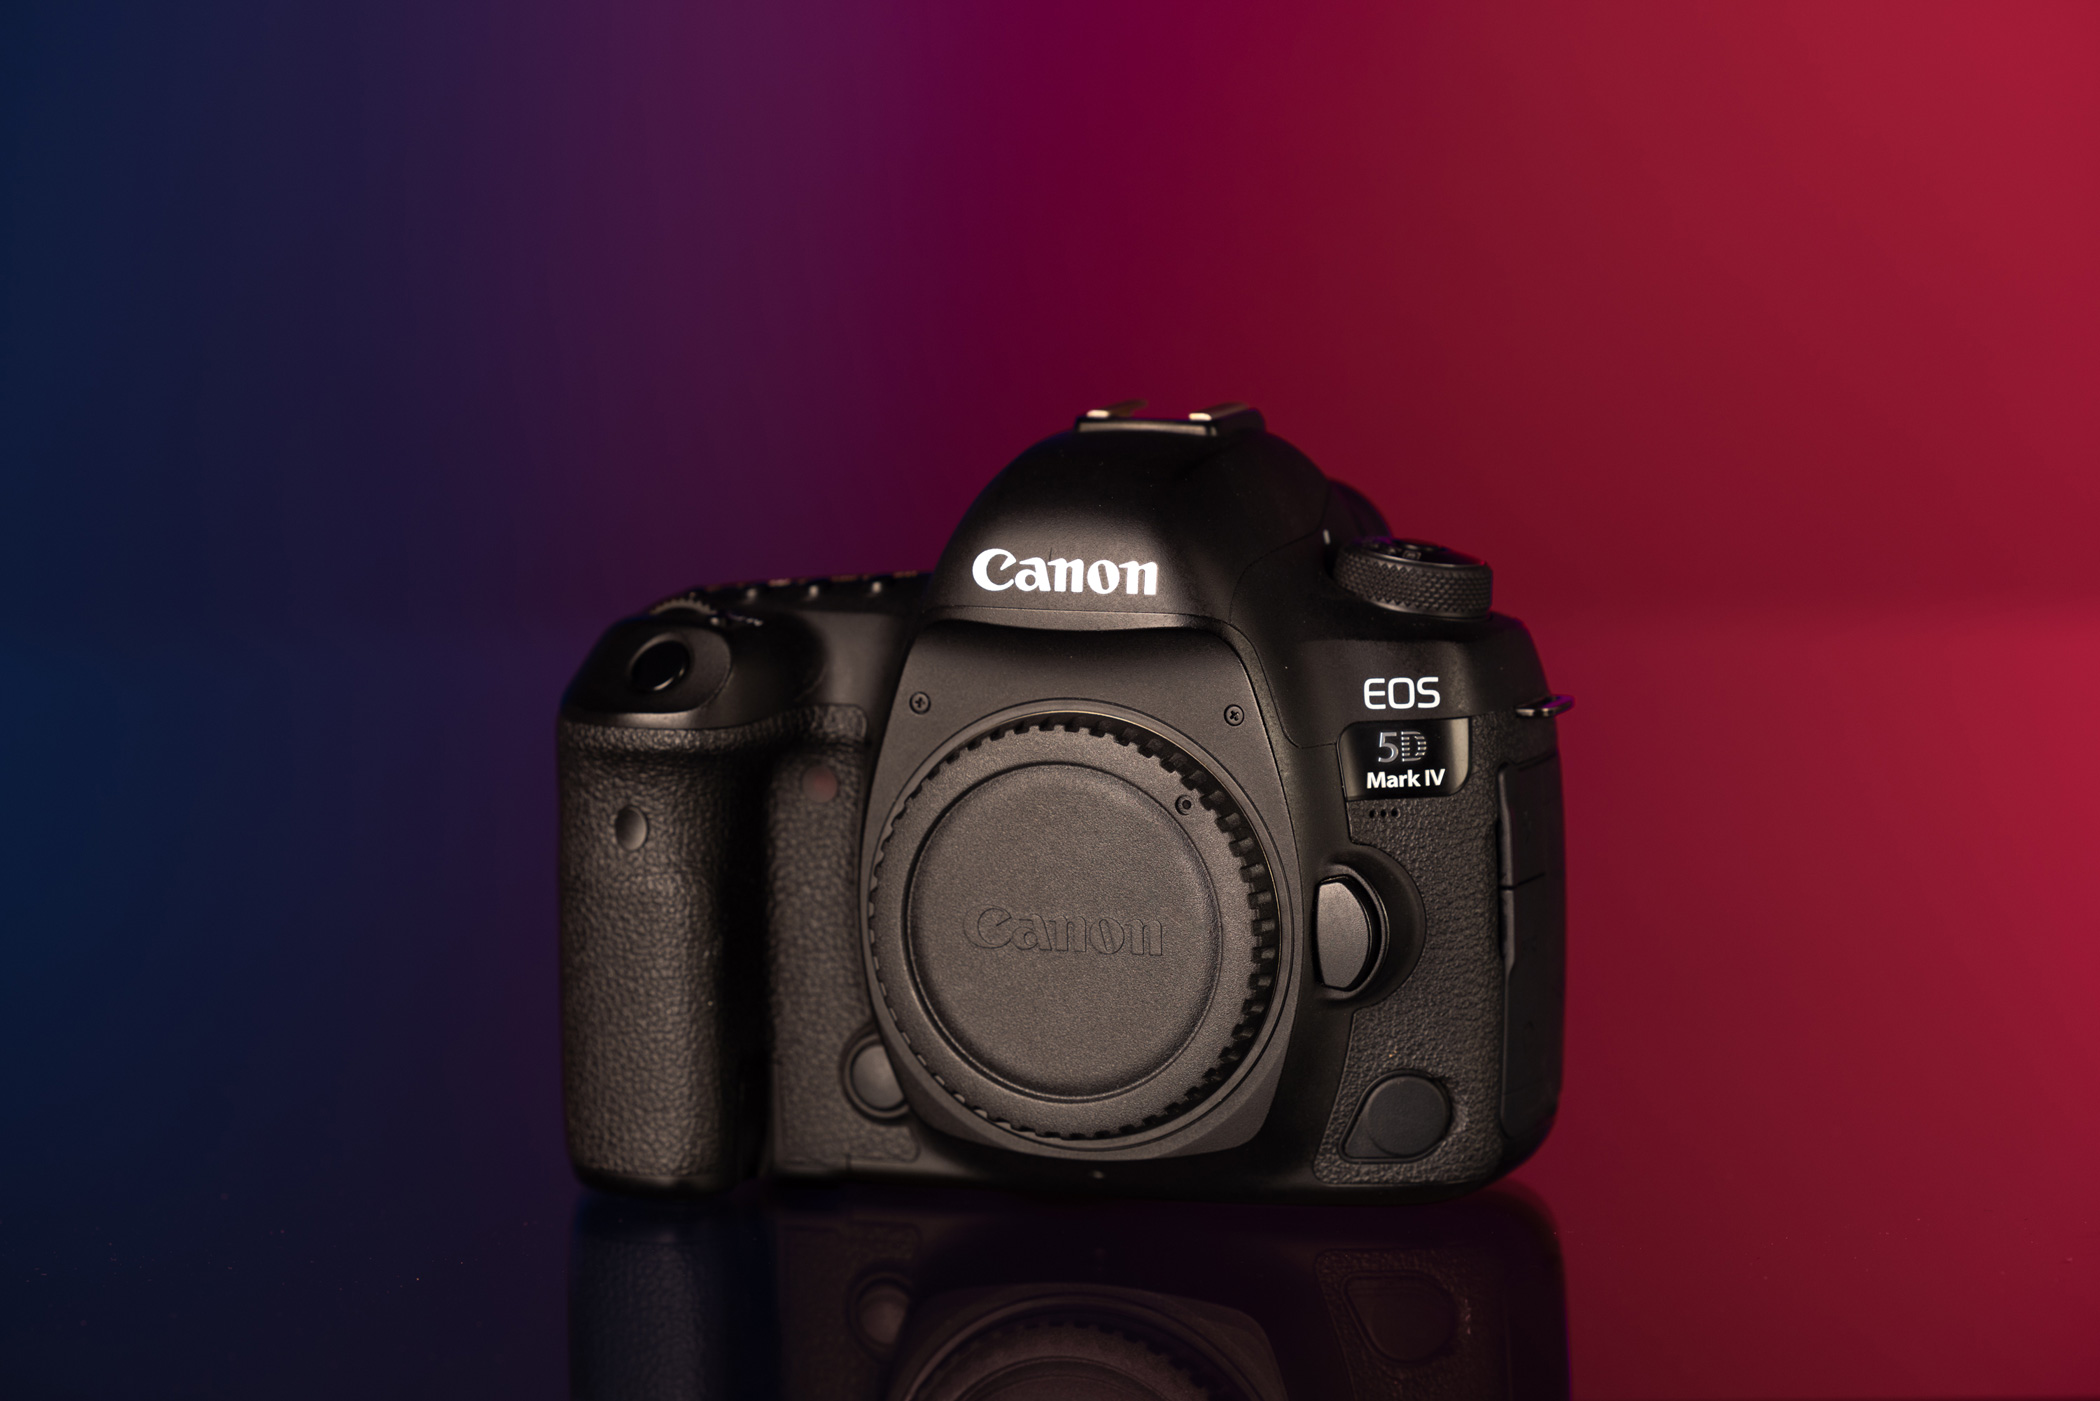
Used Canon EOS 5D Mark IV
Specs
30.4-megapixel full-frame CMOS sensor
4K video
ISO range of 100-32,000
7 fps continuous shooting
A more affordable option for a professional-level camera would be the Canon EOS 5D Mark IV. Canon’s 5D series became iconic for its durability and reliability. It still provides you with 30.4 megapixels per image and an ISO range of 100-32,000. Price and quality are perfectly balanced.
Honorable Mentions
Fujifilm GFX 100S
With a 102-megapixel sensor, the Fujifilm GFX 100S captures stunning shots in remarkable resolution.
Nikon Z8
From video to stills, the versatile Nikon Z8 captures everything you need in a compact package.
Sony Alpha A7R V
The Sony A7R V sports a 61-megapixel full-frame sensor, serving as a hybrid that combines high resolution and perfect precision.
Best Lenses for Quality Product Photos
Sigma 24-70mm f/2.8 DG DN ART
Sigma is a fan favourite due to the sharpness of its ART series. The Sigma 24-70mm f/2.8 DG DN L lens works well as a versatile option for product work while zoom lenses are known to compromise sharpness for zoom range. This lens has a constant f/2.8 aperture and built-in image stabilisation.
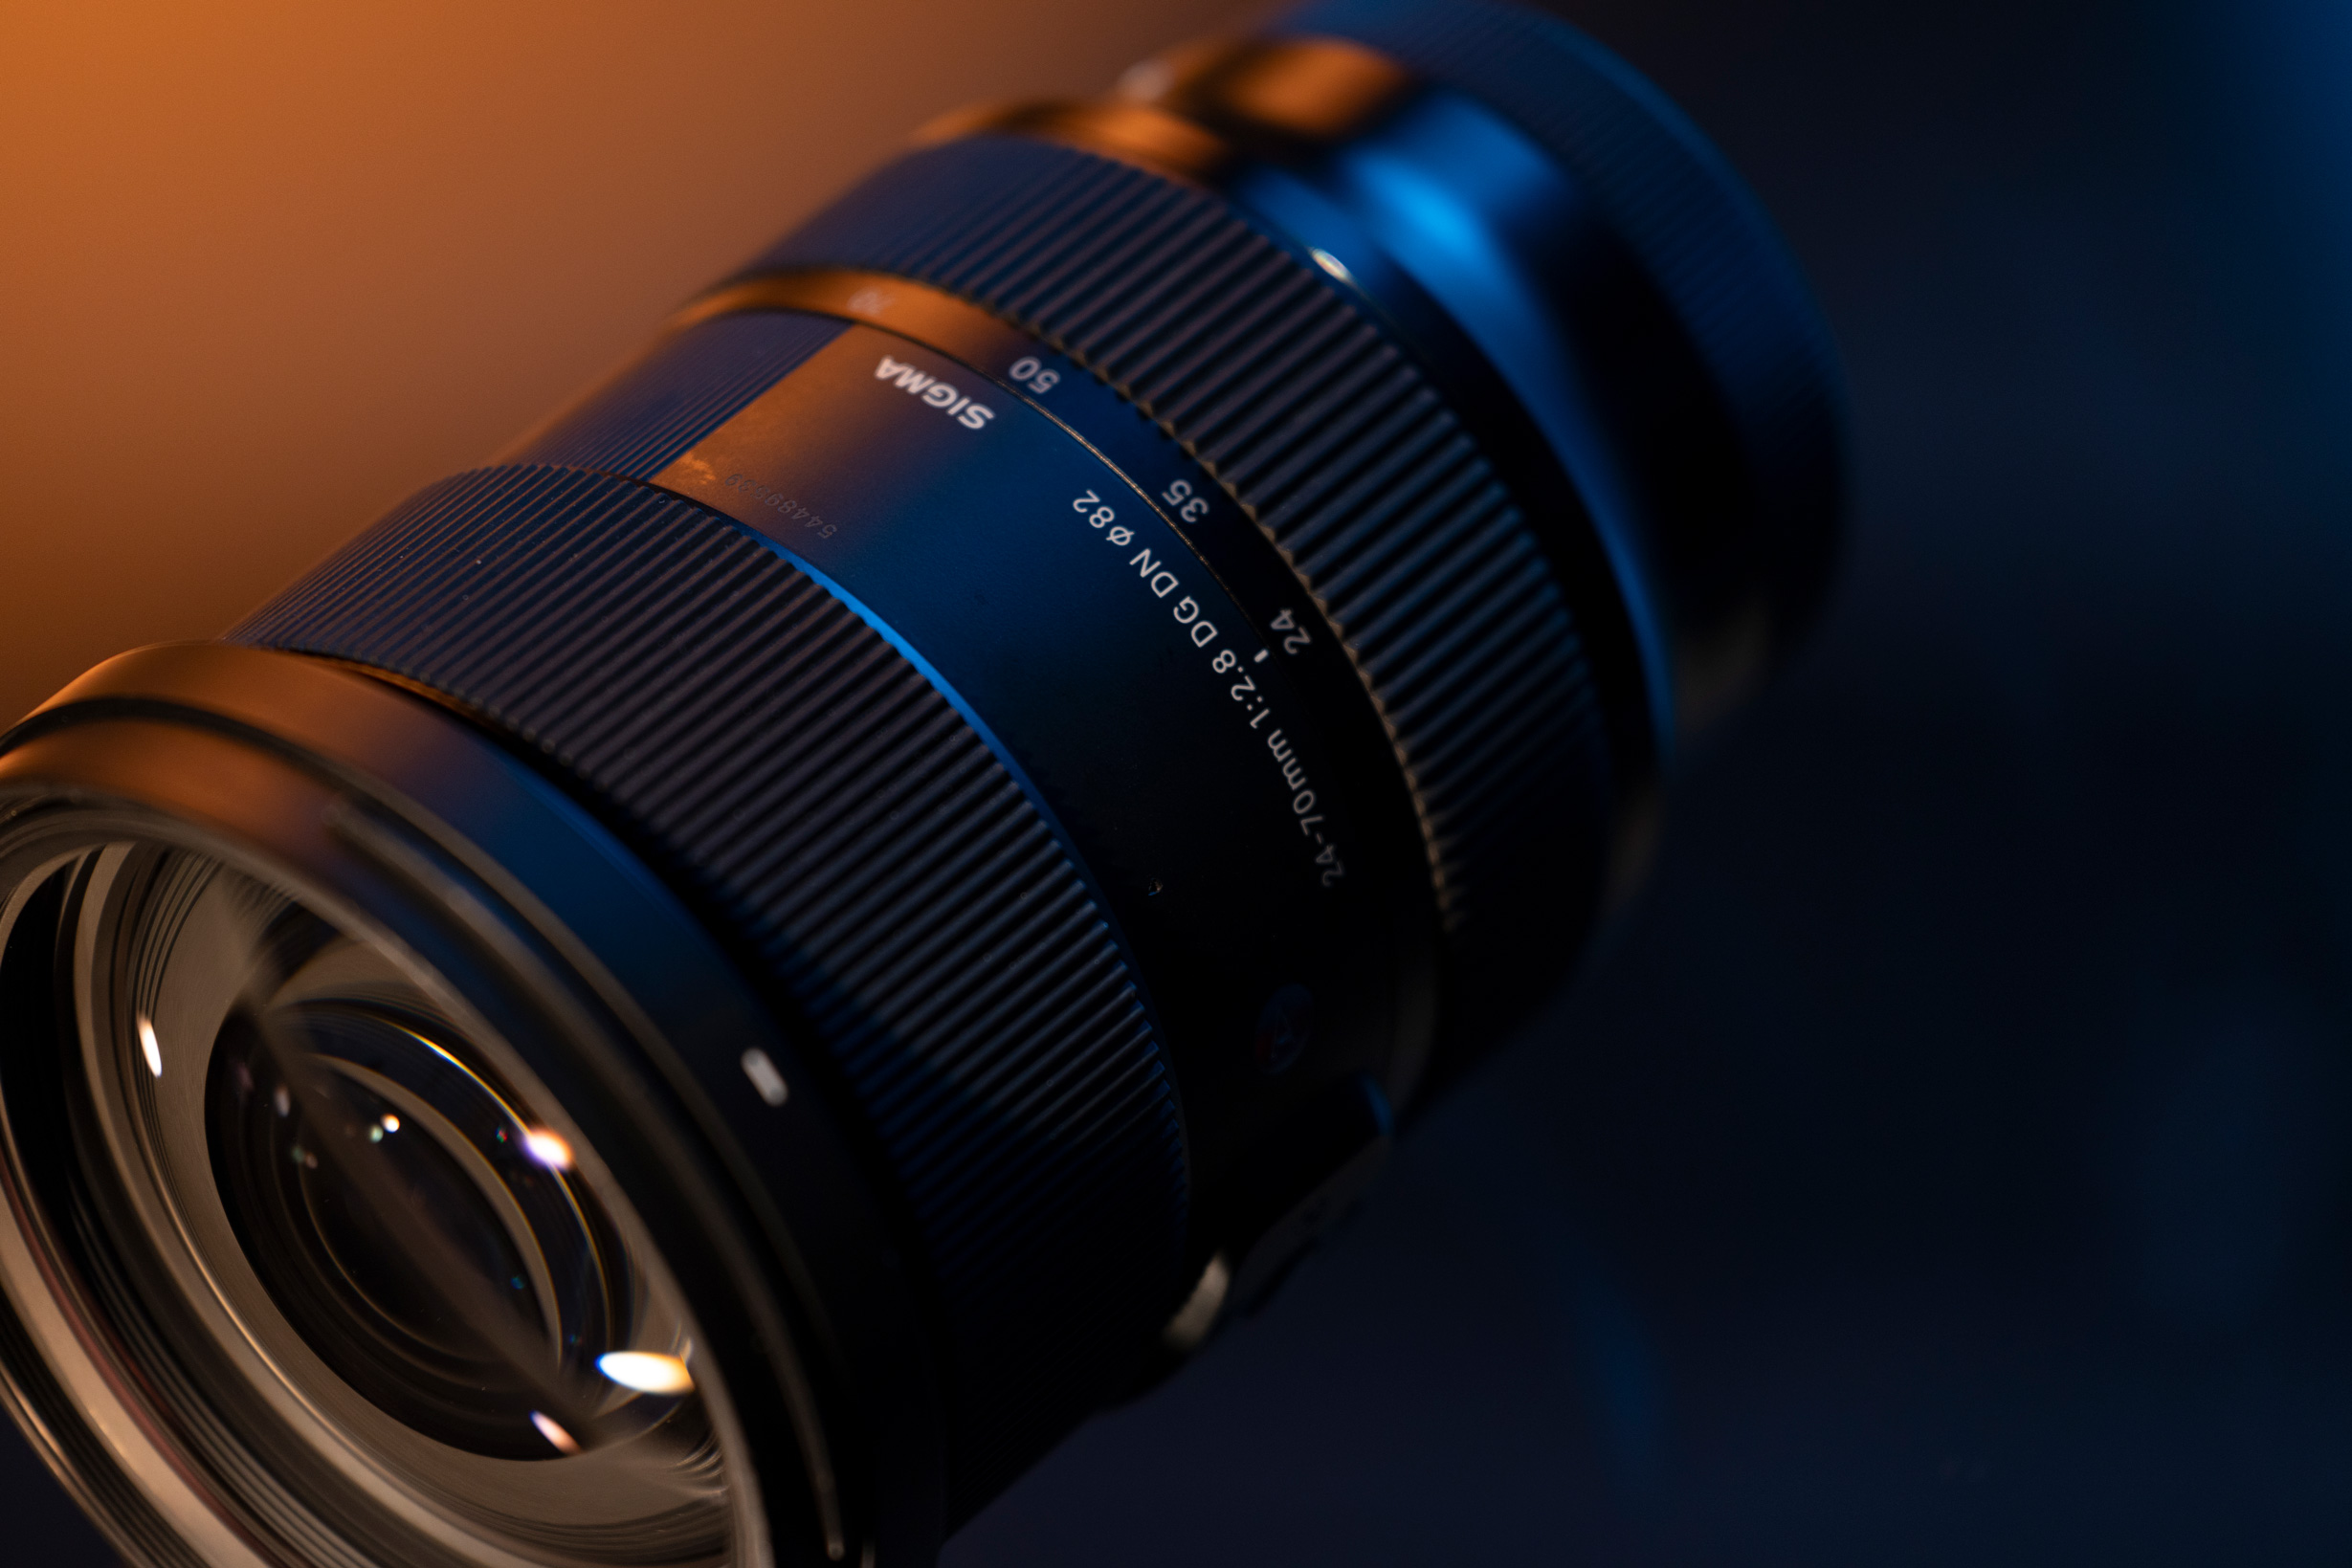
Used Sigma 24-70mm f/2.8 DG DN ART
For the sharpest image, prime lenses are your best bet. Different focal lengths are best suited for different types of product photography. This is another opportunity to research specifics tailored to what you photograph. Prime lenses around the 85-105mm range are known to have minimal lens distortion. There are prime lenses that go above and beyond this range, but at a certain point, you’ll run out of space in the studio.
Canon EF 100mm f/2.8 L Macro IS USM
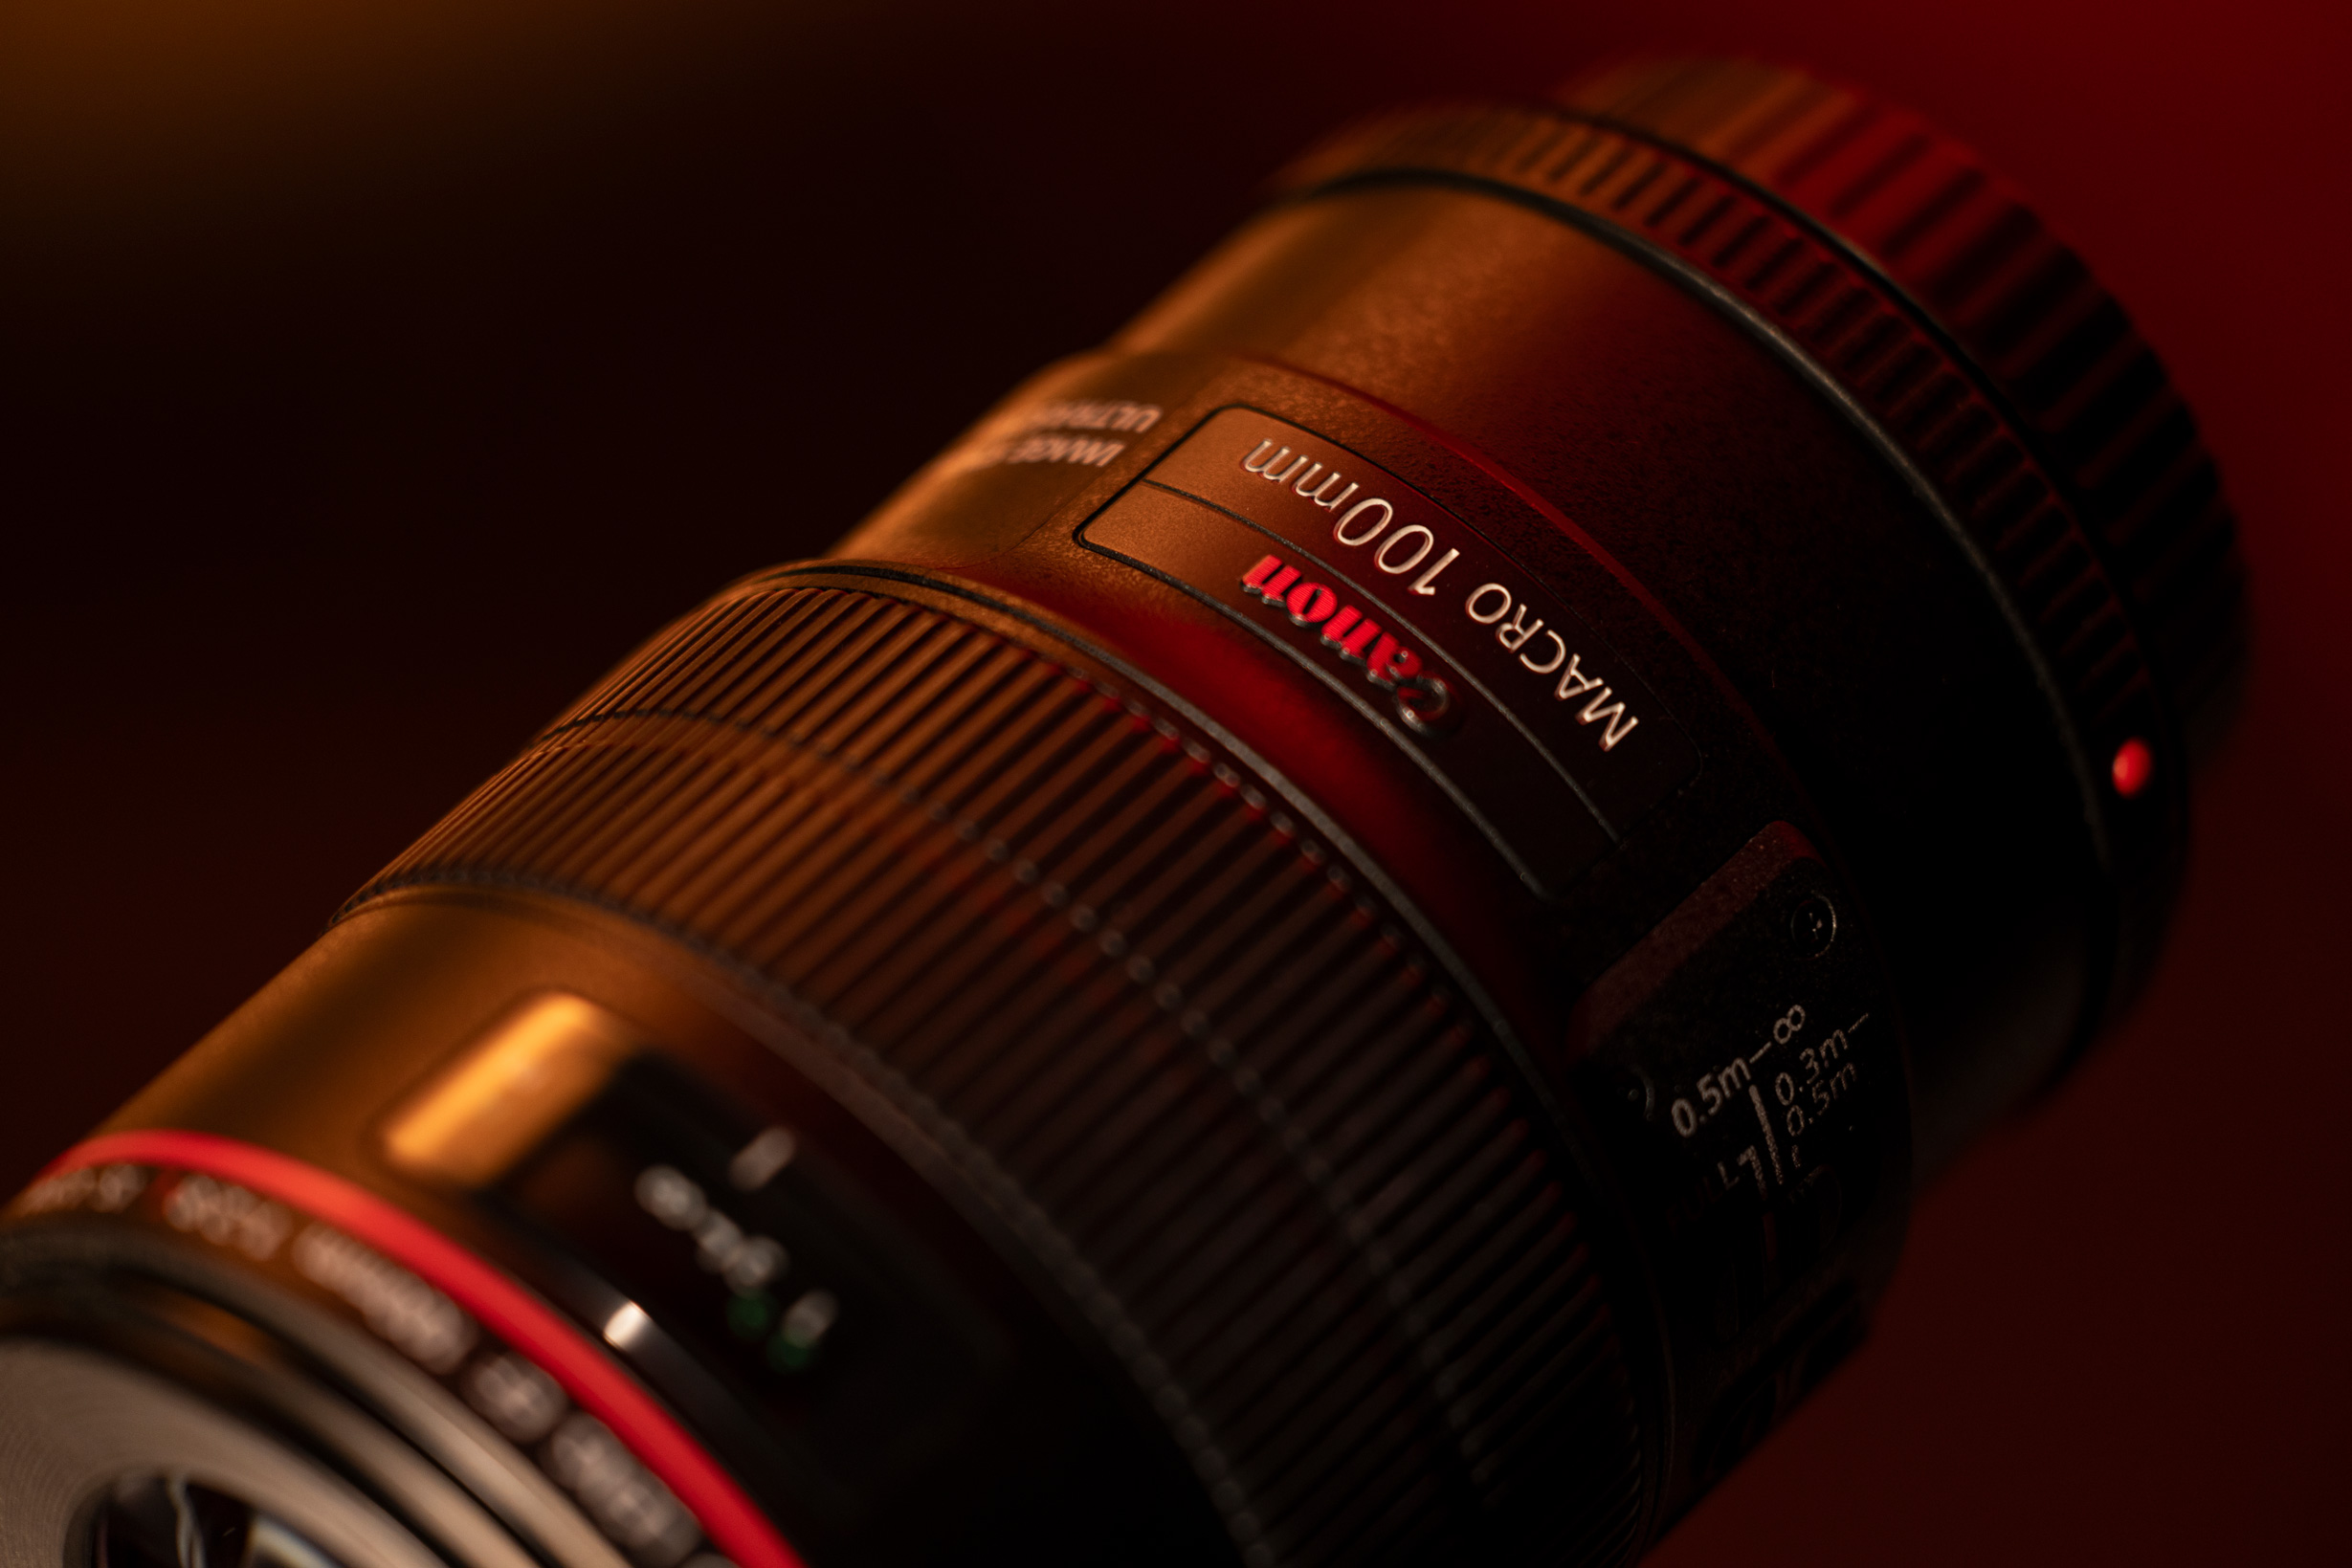
Used Canon EF 100mm f/2.8 L Macro IS USM
The Canon EF 100mm f/2.8 L IS USM is a solid choice for prime lens sharpness and minimising lens distortion. The added benefits of a macro lens are higher image quality, increased sharpness and the ability to focus at short distances for any detail shots.
Accessories for Product Photography
When it comes to additional accessories, the list is truly endless. Here are a few recommendations based on the gear and tips mentioned so far.
Tether Cable
Tether cables allow photographers to connect cameras directly to a computer or monitor, providing real-time image previews. This enables photographers to make immediate adjustments, ensuring precise composition and optimal lighting for high-quality product images.
White Balance Card
A basic white balancing card will help you with colour calibration both during your shoot and in post-production.
Tripod
For tripods, Manfrotto is hard to beat. The Manfrotto 410 Junior Geared Tripod Head is great for fine-tuning your frame with minor movement.
C-Stands
C-stands with arms work well as a sturdy base for your lighting. The arm allows you to create more dynamic lighting setups (think overhead) and to hold modifiers in place.
Safety Gear
Sandbags, A-clamps and gaff tape lock down your set so nothing moves. This is also important from a safety on-set aspect in case you bump into a light or trip over a cord.
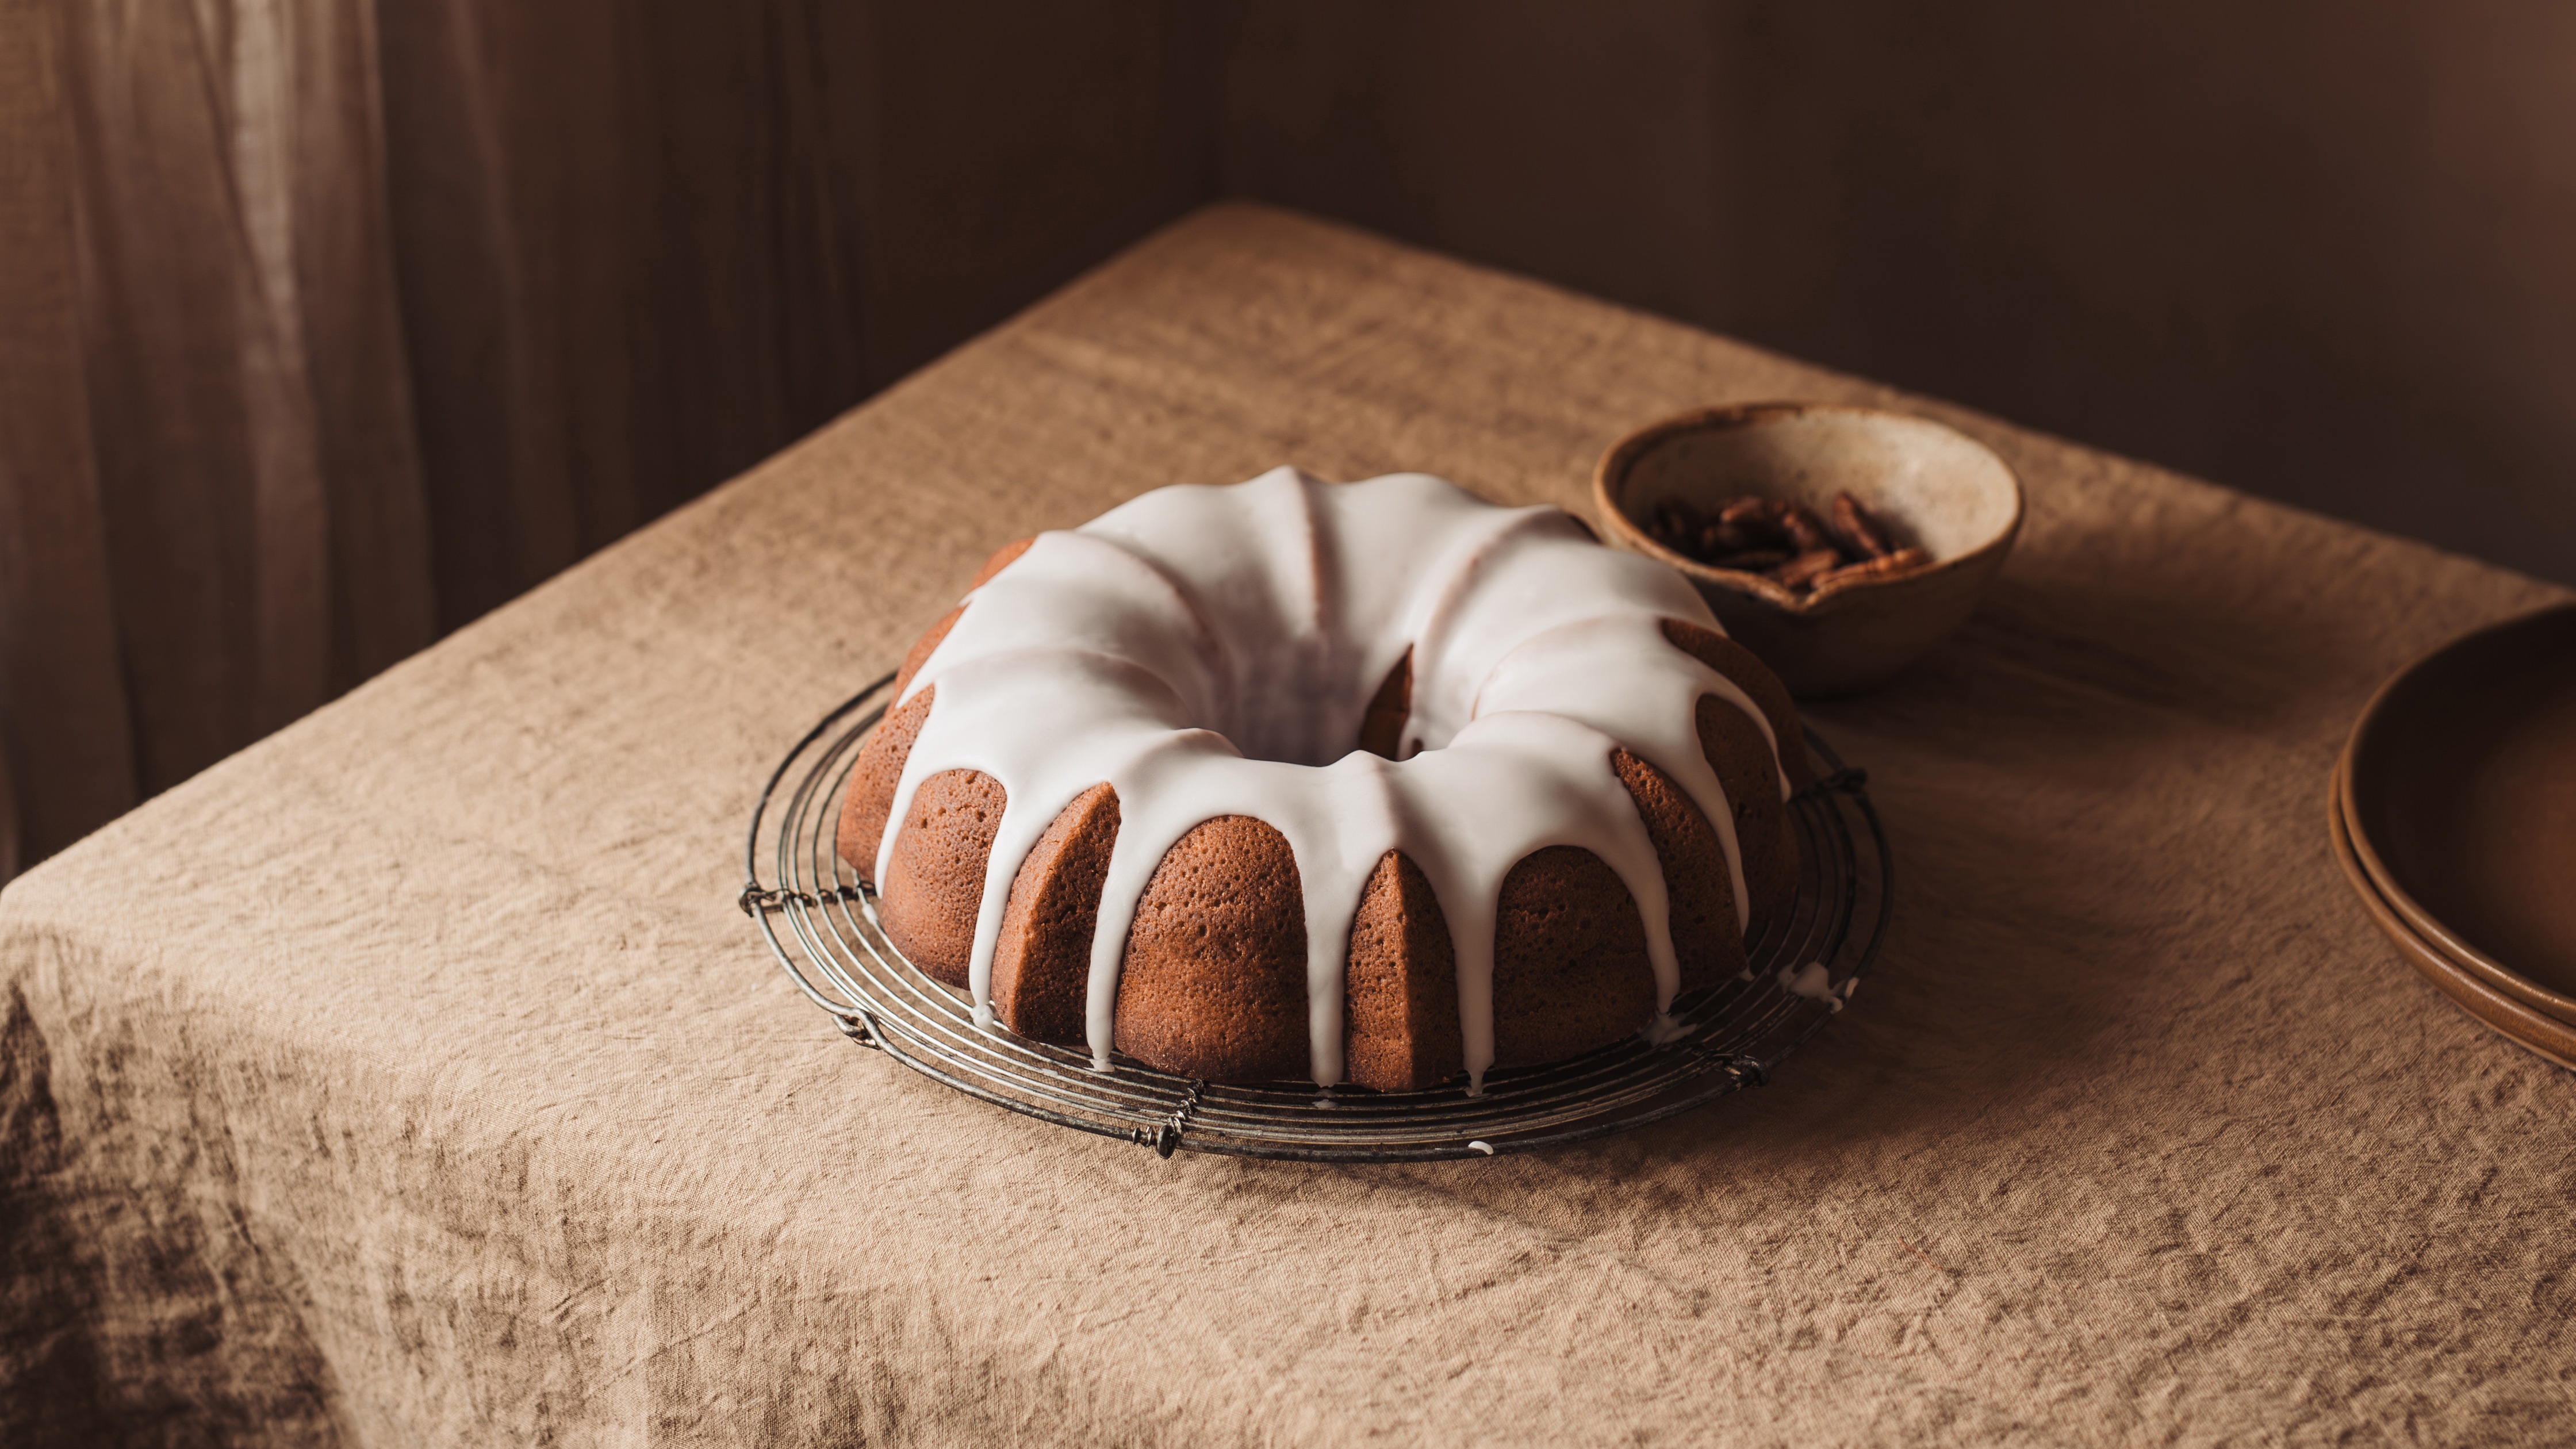
Canon EOS R5 | 24-70mm f/2.8 DG OS HSM | 30mm | f/11 | 1/100 sec | ISO 400
Lighting
With monoheads, the light, battery and controls are in a self-contained product. A lighting pack refers to any strobe system where the light gets plugged into the battery pack.
The Profoto D1 Air 500W/s is a great option. It’s available at wattage tiers including 250Ws, 500Ws and 1000Ws. Profoto is widely available, consistent and reliable.
The Profoto B10 series is similar to the D1s, but they are battery-powered instead of corded. They range from 250-500Ws and work as continuous lighting for smaller shoots, as well.
Lighting Modifiers
Different modifiers are suitable for different types of products. Numerous brands compete in this space. Sometimes it might be worth investing in something you use frequently or finding a cheaper version of the same modifier if it’s something you don’t shoot with often. A good quality modifier will stay in decent shape even with regular use, so this is another great time to buy used.
When shaping light, softboxes have always been the default. A pair of 2x3” rectangle softboxes can go a long way in general use for tabletop products. A strip softbox is effective in adding a highlight along the side of a product, especially anything mildly reflective like wine bottles or cans. Be sure to get the appropriate speed ring to connect the softbox to your light as they do vary by lighting brand.
Other general tools to help shape light are V-Flats and a Scrim Flag Kit. These are perfect for bouncing or blocking light as needed. Adding reflectors to your lights gives you more control over where the light is going. To get more extreme with this concept, barn doors, and snoots serve a similar purpose of intentionally blocking off light.
Canon EOS 5D Mark IV | 24-70mm f/2.8 DG OS HSM | 70mm | f/11 | 1/200 sec | ISO 250
Camera Settings for Product Photography
While there’s a wide range of settings suitable for shooting with strobes, a nice default to start at is shutter at 1/160, aperture at f/9, and ISO 200-400. This puts you in a safe place to start adjusting your strobe power and settings to align with what you’re shooting.
For example, if you’re shooting candles, you’ll need to have a slower shutter to capture the flame. If you want more bokeh, then you’ll need to open up the aperture and in turn, dial down your strobe power.
If you’re working with what you have around the home, discount foam boards work well in place of V flats, and your background could be a curtain or a table surface.

Canon EOS R5 | 24-70mm f/2.8 DG OS HSM | 24mm | f/11 | 1/100 sec | ISO 400
Natural Light vs Artificial Light
Natural light is arguably the most user-friendly approach to product photography. There are plenty of reasons to shoot with natural light, including the current trend of less produced content performing better on certain social media accounts. The ease of having a minimal setup is always appealing, not to mention it’s free while studio lighting is typically a bit more of an investment.
While natural light can be useful in a range of scenarios, artificial light allows for more control and consistency over time. If you’re photographing for a brand over and over again and need to achieve the same look each time, it’ll be much easier to do this if you aren’t relying on the weather. There are a plethora of tools and modifiers to help achieve whatever look you’re going for, even if it’s to recreate natural light in the studio.
With artificial lighting, you have the option of continuous lighting, strobes and flashguns. For still images and stop motion, strobes are usually best to create punchier images. The power released with a strobe flash is stronger than continuous lighting (at the consumer level). This allows for a sharper and more contrasted image overall. Social media content often requires photography and videography. So, if you're shooting stills and motion, consider continuous lighting.
Canon EOS 5D Mark IV | Canon EF 100mm f/2.8 Macro | 100mm | f/9 | 1/160 sec | ISO 200
Optimise Photos for the Web
Depending on the platform you’re uploading images to, you’ll likely have to treat your files differently. Instagram, TikTok, Amazon, Shopify, your website—all of these platforms have their own best practices to ensure your content is presented at its highest quality. A quick Google search will help with specifics since these specs can change frequently.
Standard image file formats:
PNG for images with transparency or requiring lossless quality
JPEG to balance quality and file size
GIF for motion
MP4 for motion (Saving a GIF file as mp4 allows for better image quality and some sharing platforms won’t allow gif files.)
Tools like Adobe Photoshop's "Save for Web" feature can help maintain image quality while reducing file size. Your image will load faster, be visually optimised for screens, and take up less storage space on a website. Ensure your images are accessible by using descriptive alt tags when uploading to your website. This works with visual aids and your website’s search engine optimisation (SEO).
Canon EOS 5D Mark IV | 24-70mm f/2.8 DG OS HSM | 70mm | f/11 | 1/100 sec | ISO 200
Conclusion
Well-executed product photography is a silent storyteller that transforms simple commodities into must-have products. It conveys the essence of a product, capturing attention and driving both consumption and conversions.
As the digital landscape evolves, the demand for compelling visuals remains key—and the need for powerful product photography continues to rise.
Gearing up, following the tips we provided and keeping a creative mindset are key to crafting effective product photography.
You can learn more about Jillian and see her work on Instagram @jillianlenses. For more reviews and original content, visit the MPB content hub.
Looking for more product photography content?
Learn: Top 11 Tips for Food Photography
Improve your food photography with 11 tips from award-winning photographer Bea Lubas. Discover kit recommendations and lighting techniques with MPB’s guide.
Interview: MPB meets blogger designer Marc Kromer
Meet food blogger and graphic designer Marc Kromer, based in Germany, who spends his time creating and sharing American-style recipes.
How to elevate your brand presence with photography
Want to elevate your brand presence with stunning photography? Read on for tricks of the trade that will take your brand from unknown to unmistakable.
You can sell or trade your camera kit to MPB. Get a free instant quote, free insured shipping to MPB, and get paid within days.