
Learn: How to Shoot the Northern Lights
Published 31 October 2025 by MPB
As one of the most amazing spectacles in the natural world, the Aurora Borealis—the Northern Lights—can be quite elusive. While they’re not necessarily difficult to photograph, shooting them requires a little consideration to ensure good exposure and good movement within the lights. Keep reading this guide to learn how to capture the Northern Lights, everything from how to spot when they might occur to camera settings, locations and framing to get the most out of your experience. We sent resident photographer Ian Howorth to Finland to try and capture this magnificent spectacle. Over to you, Ian.
'While many think of Iceland as the key location to see the aurora borealis, they can in fact be seen anywhere between 60 and 75 degrees of latitude. That means Sweden, Norway, Iceland, Greenland, Canada, Alaska, and Russia. We chose Finland due to its accessibility and the country’s extent into the Arctic Circle.
Ian Howorth | Sony A9 | 26mm | f/4 | 10secs | ISO 3200
Without getting too technical, the Northern Lights are produced by strong solar winds travelling from the sun and hitting the earth’s atmosphere. When they collide with air molecules in our atmosphere, the solar winds turn their energy into light, which gets scattered and effectively transported by the magnetic poles. This creates an incredible spectacle of light.
How to see the Northern Lights
You’re most likely to see them from August to April. Although the Northern Lights occur throughout the year, the light they emit is weaker than sunlight so you need dark skies to be able to spot them. This means that winter is ideal- longer and darker nights making the Northern Lights more visible to the naked eye.
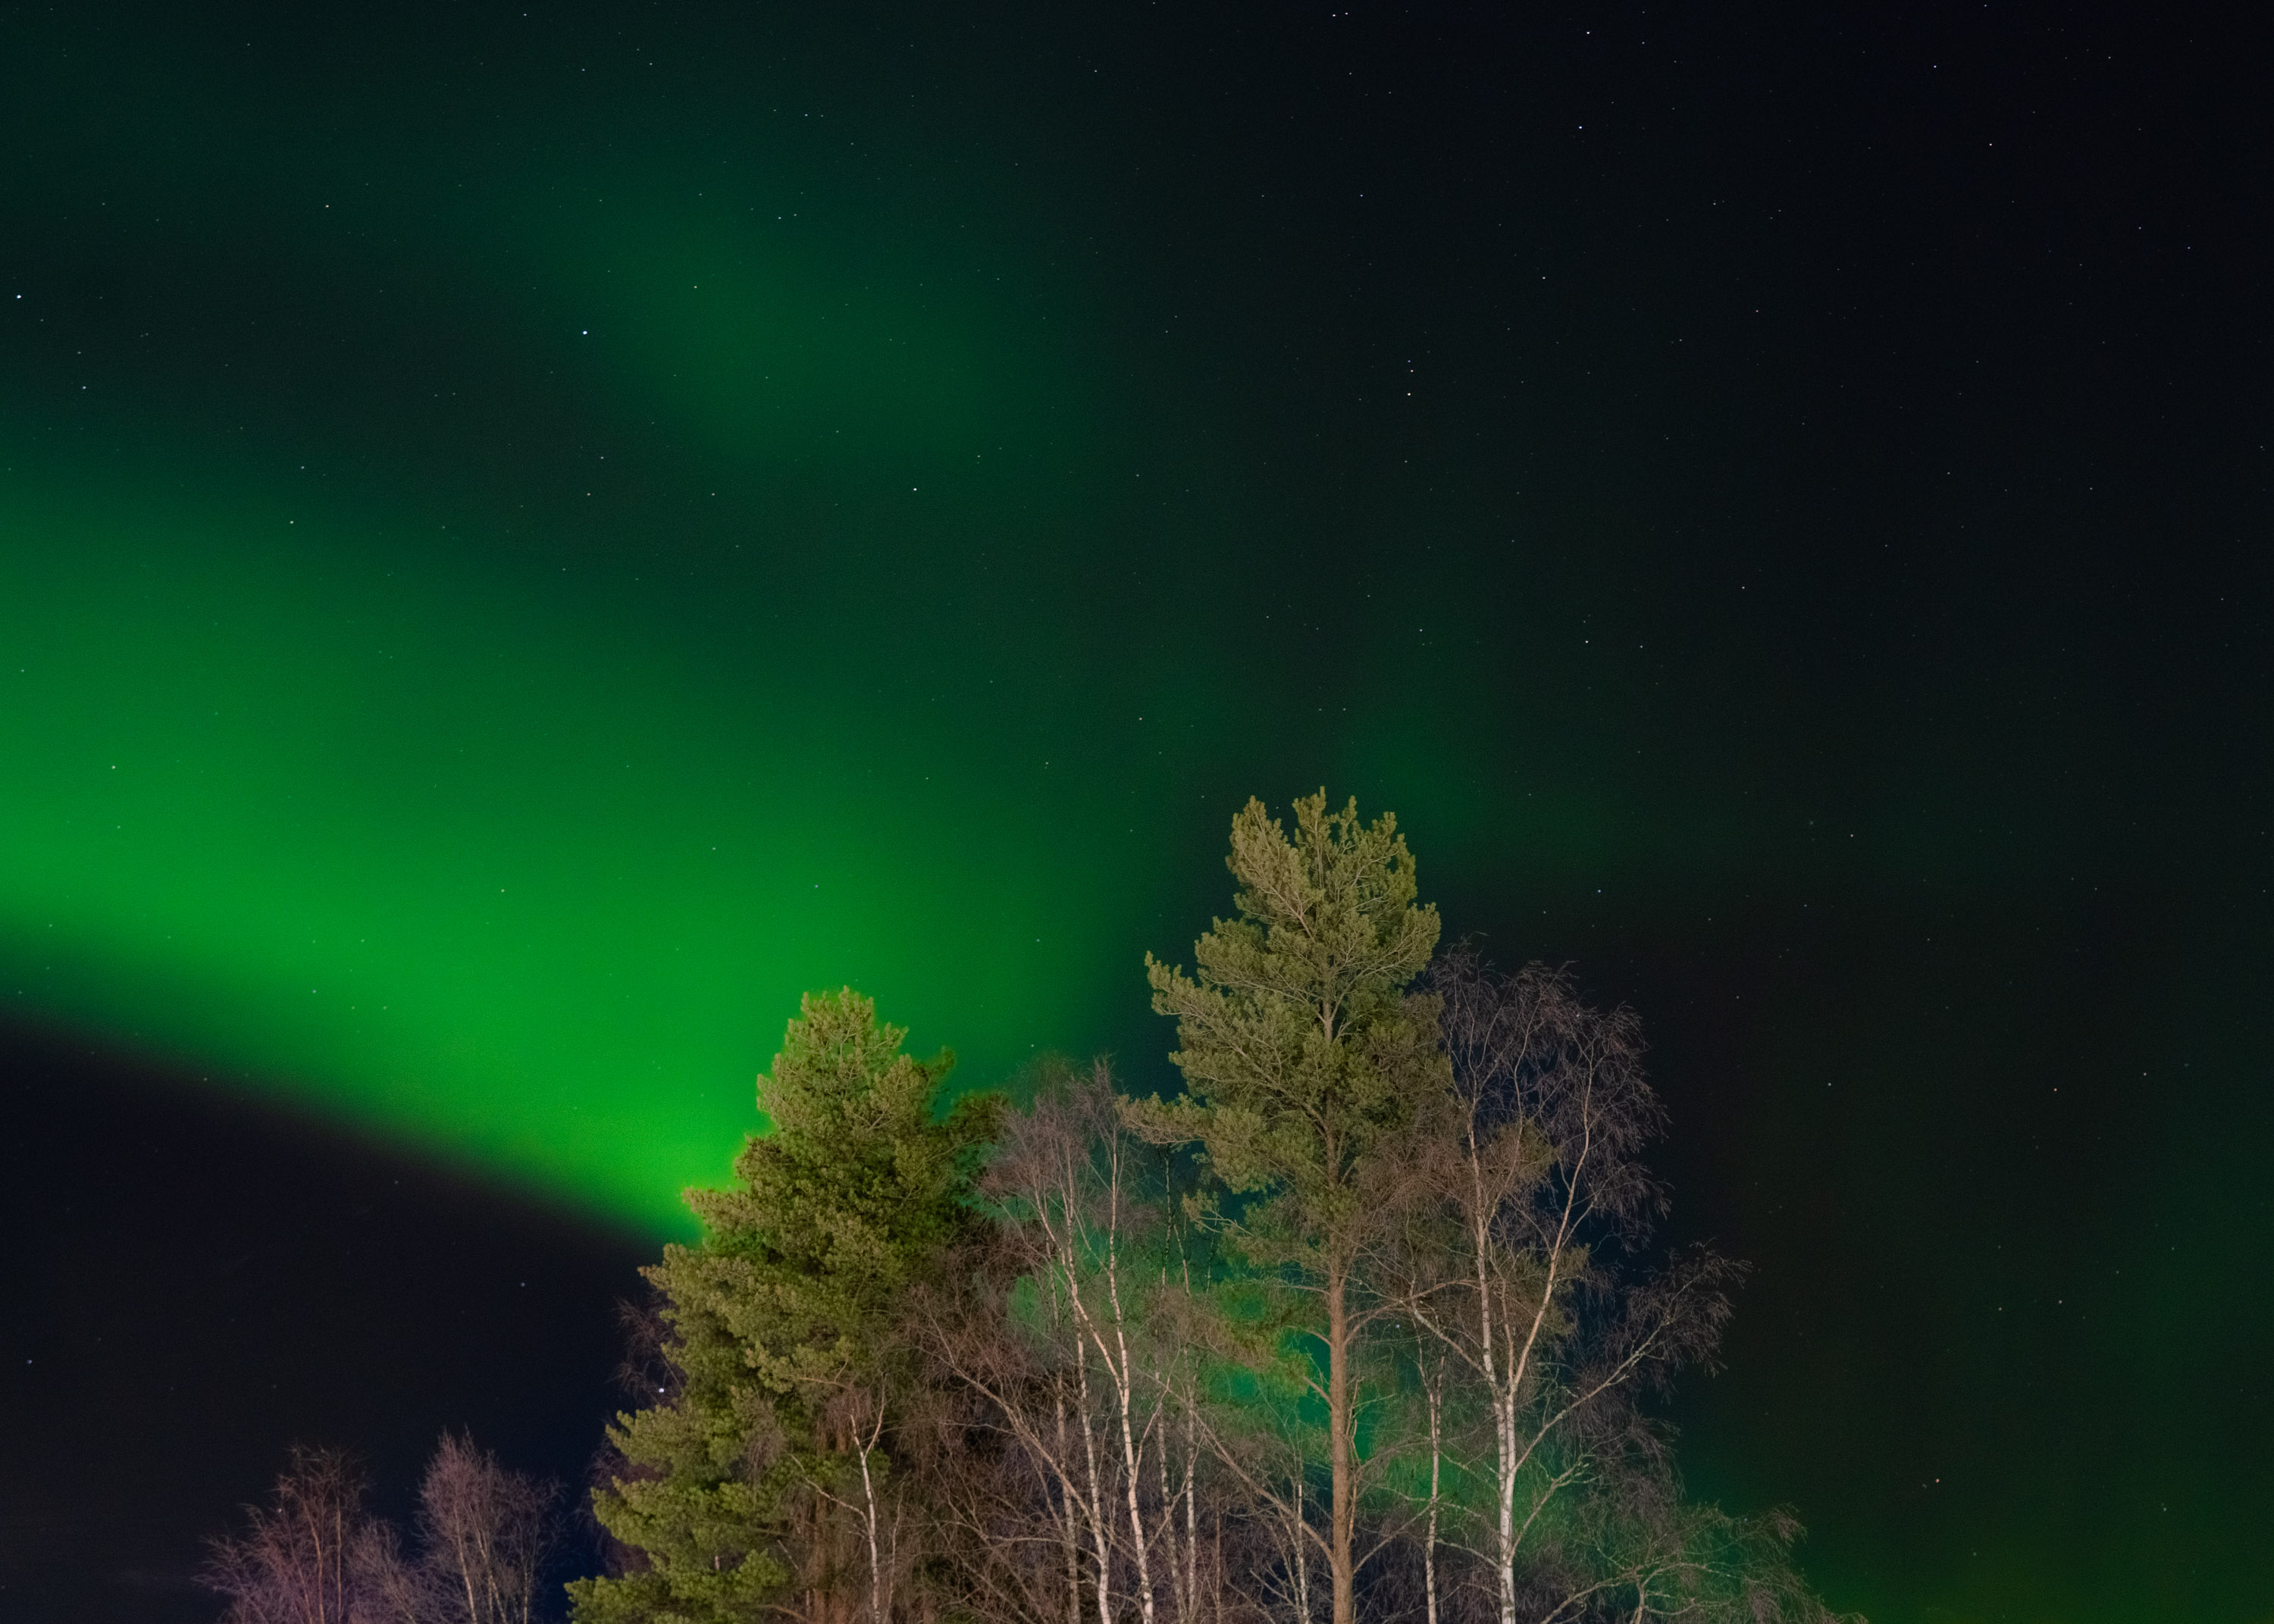
Ian Howorth | Sony A9 | FE 70-200mm f/2.8 GM OSS | 70mm | f/7.1 | 15 sec | ISO 1250
While we knew there were no guarantees to see the Northern Lights during our four-day trip, we maximised our chances by keeping a close eye on local weather conditions and a local weather app. It’s very likely that any country with visible Northern Lights will have a section in their weather forecast dedicated to spotting them.
Finland is a huge country. And, with lots of driving around, all you can do is keep your eyes peeled once it goes dark. Sadly, there is no quick win for this. Just good old-fashioned ‘keep your eyes open and your camera ready’.

Ian Howorth | Sony A9 | FE 24-70mm f/2.8 GM | 39mm | f/4.5 | 2.5 secs | ISO 2000
I’m by no means an expert, and I'm sure there is much to learn about capturing the aurora borealis, but what I found was that the less light there is around you, the better off you will be. Sometimes the lights are so faint, that it's often best to test if the Northern Lights are there at all by doing a long-exposure test. Many people think the Northern Lights are as bright as they see in photos. The truth is that this isn’t always the case. Unless you have a pure dark sky, the Northern Lights can often look more vibrant in photos than to the human eye.
Try to avoid places that have too much ambient light. Any light pollution can potentially ruin your shot. But, more importantly, any light emitted into the atmosphere might ruin your chances of even spotting them.
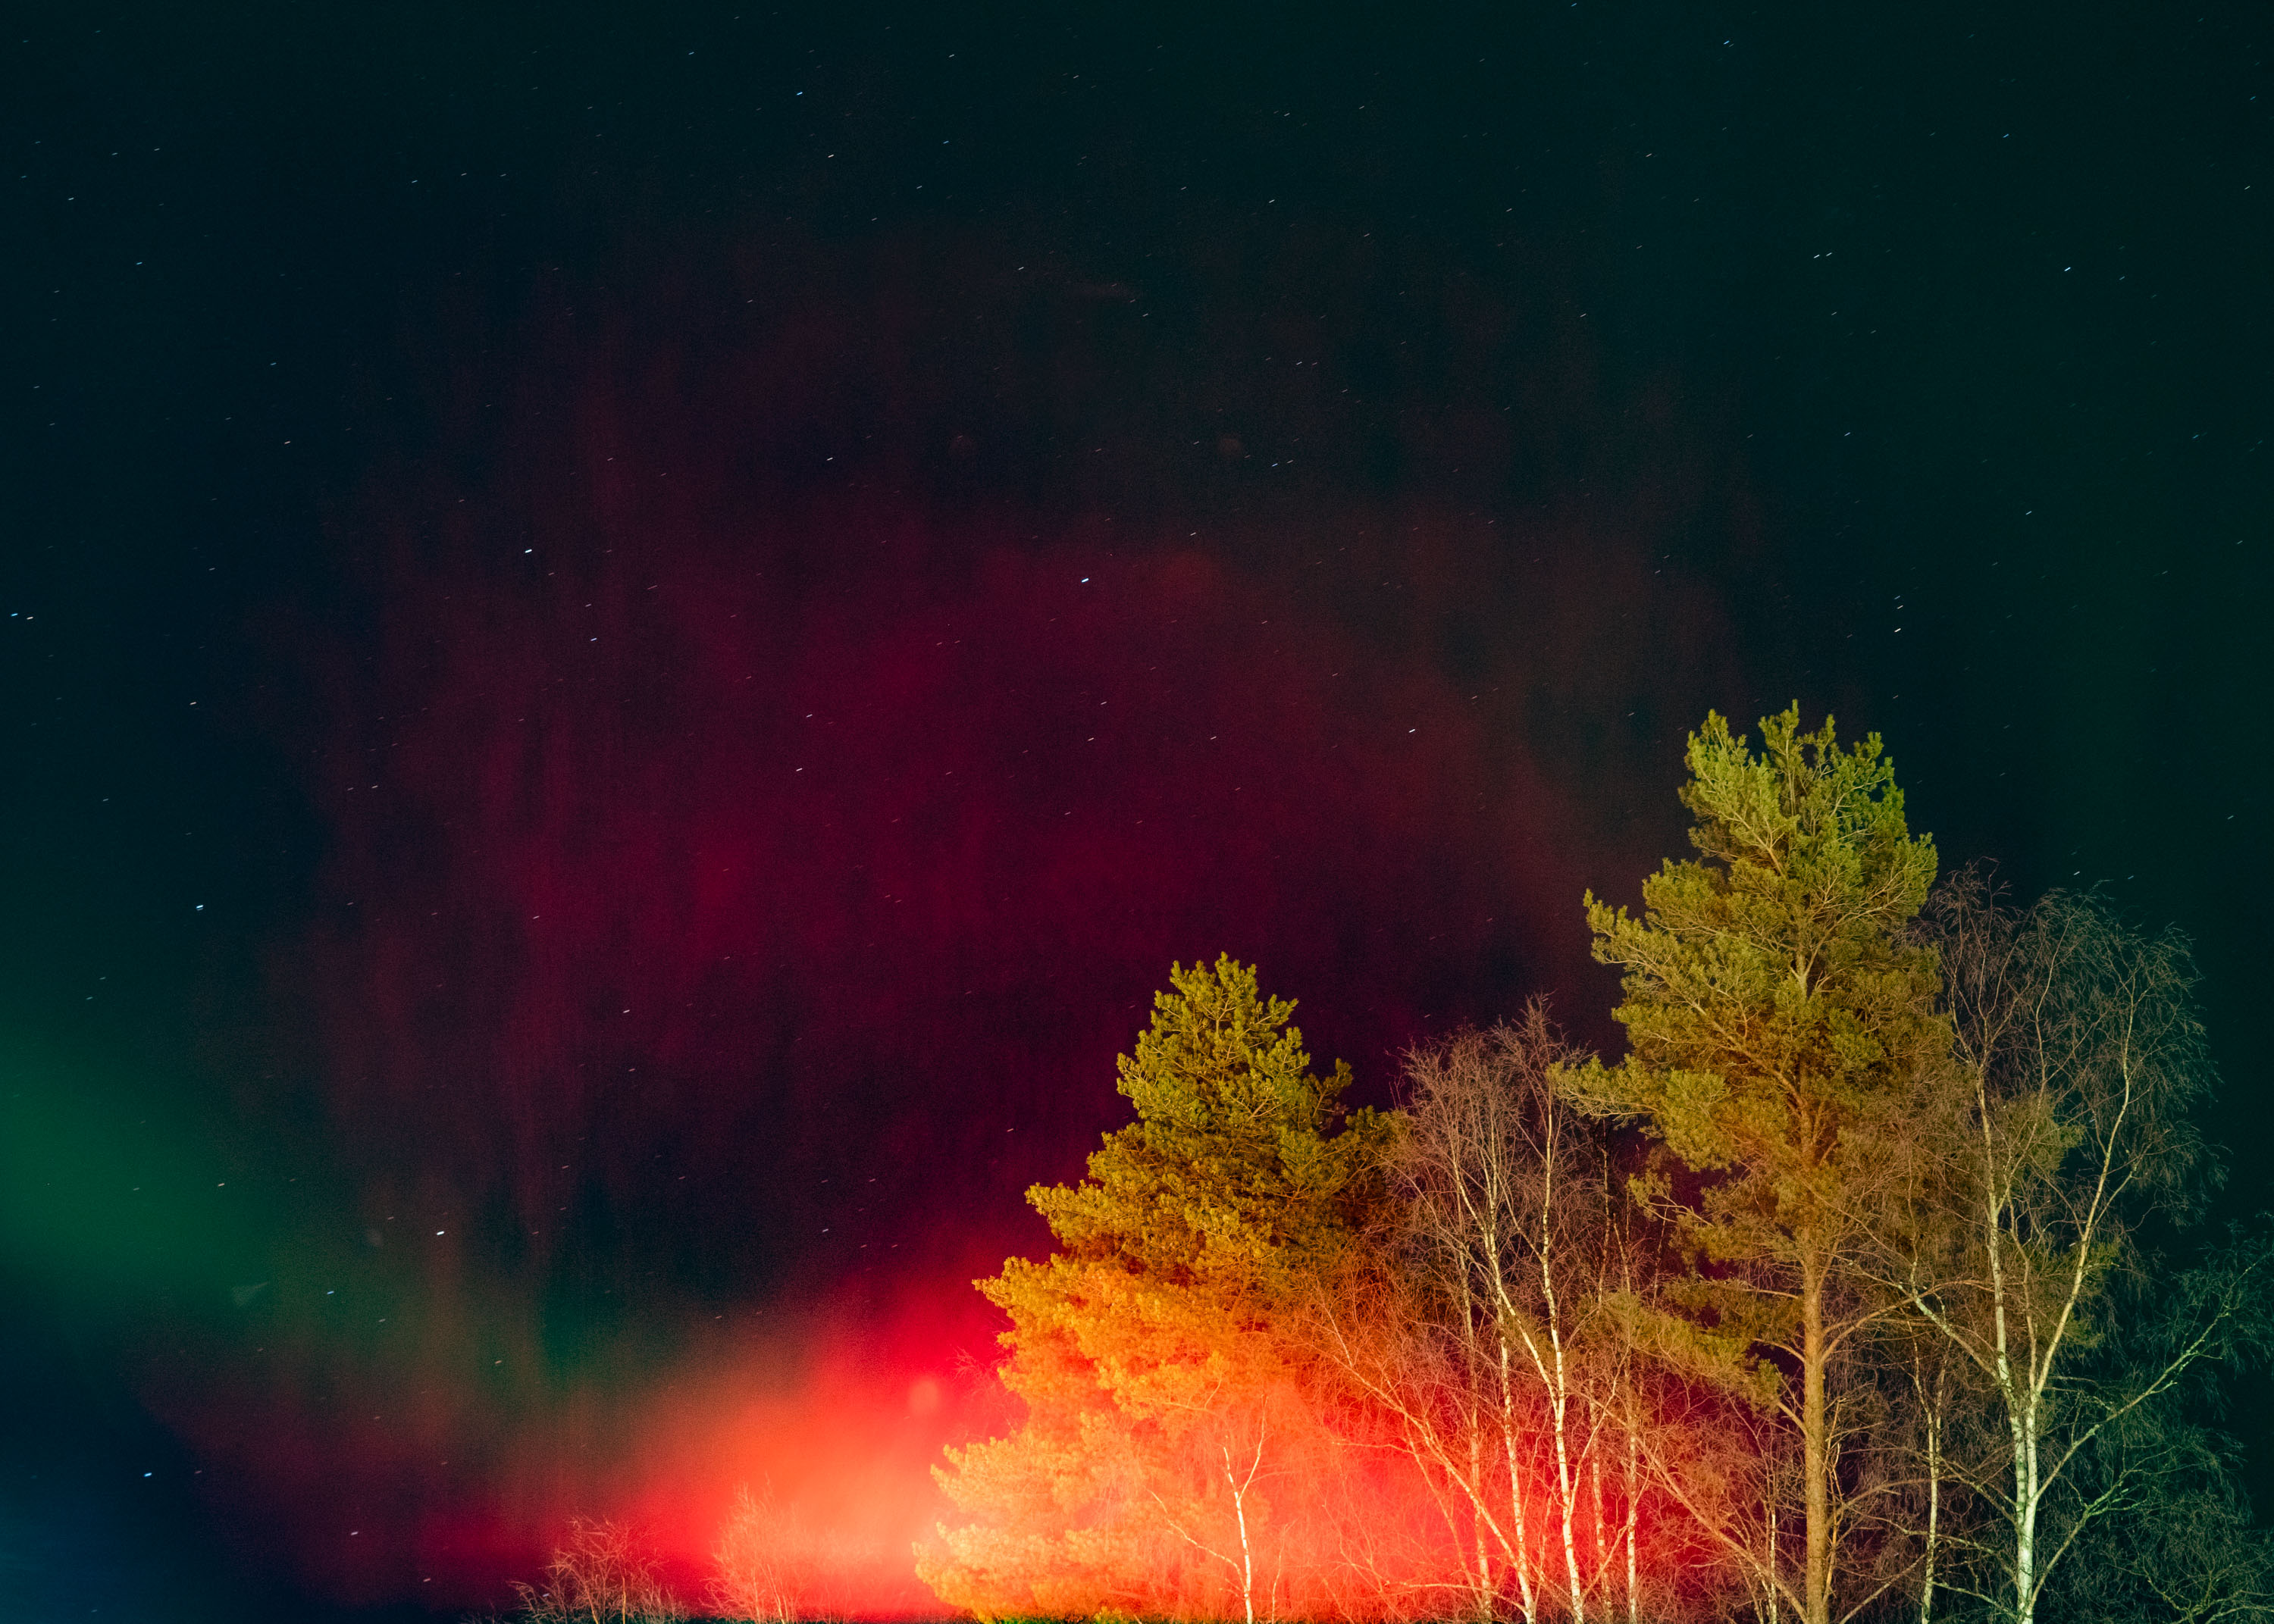
Ian Howorth | Sony A9 | FE 70-200mm f/2.8 GM OSS | 70mm | f/7.1 | 15 sec | ISO 1600
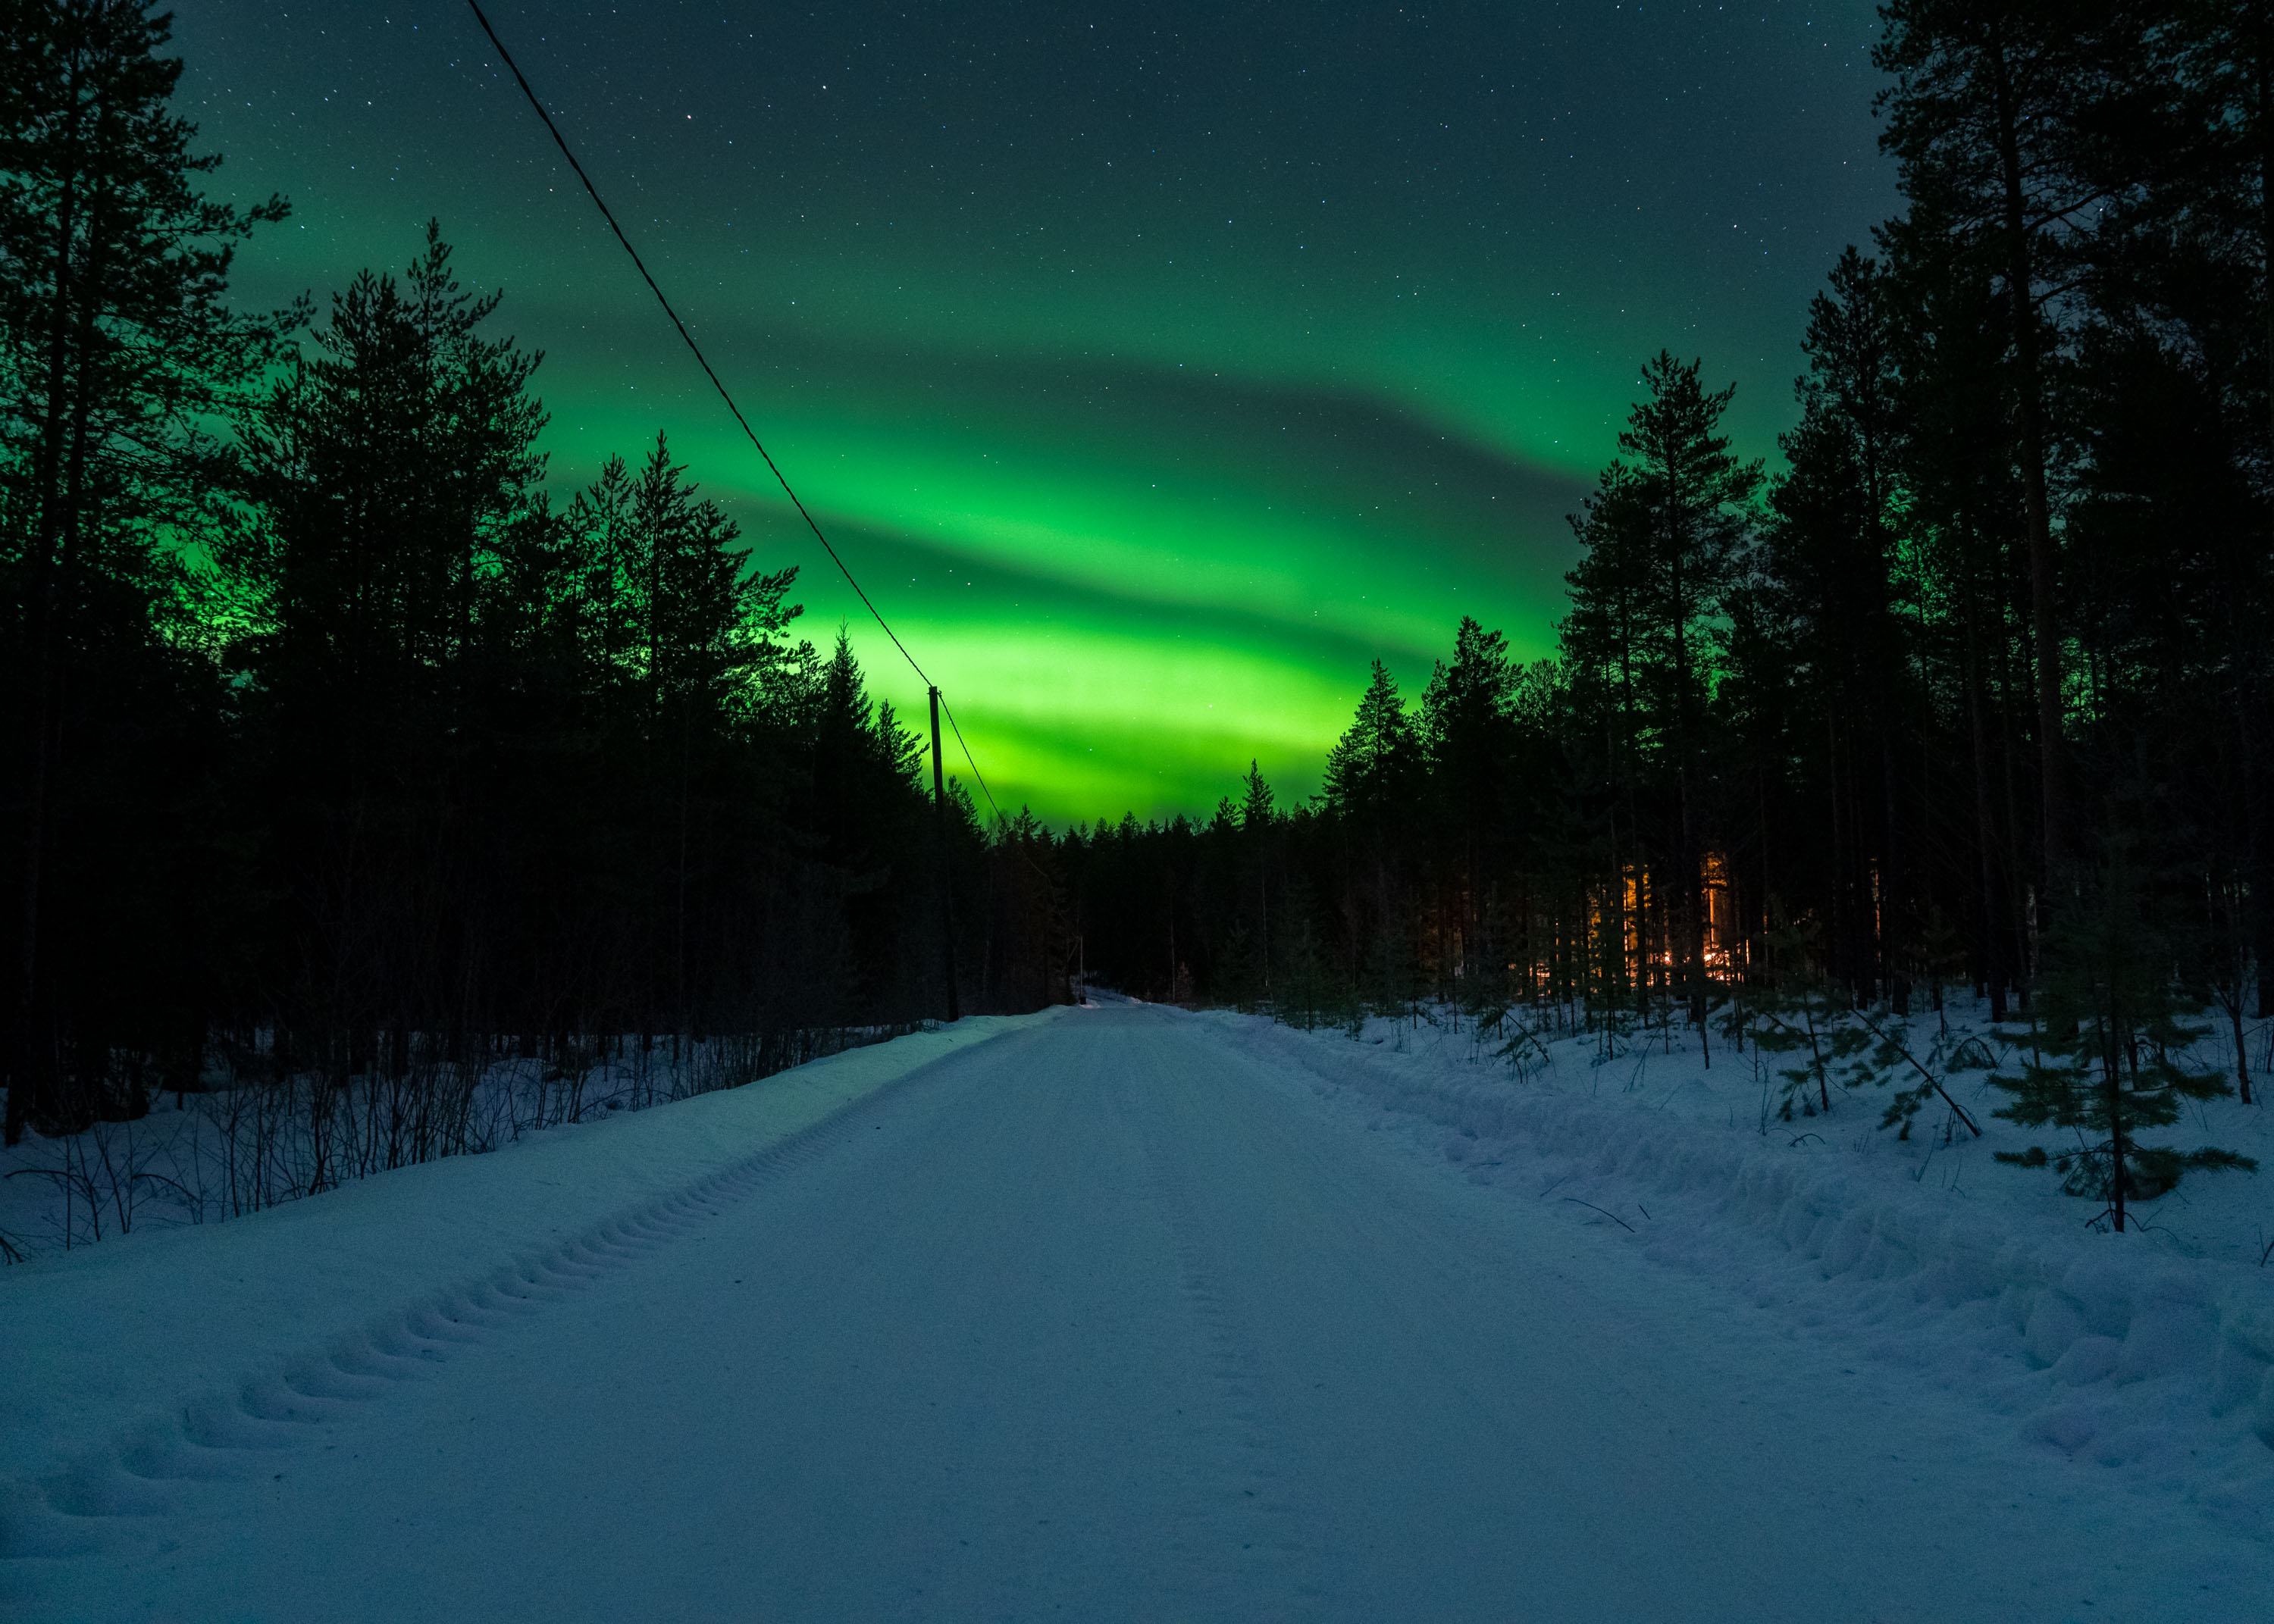
The same goes if you’re in a car. Any ambient light, and specifically street lights, as you look out of the window will make it almost impossible to see the Northern Lights in the sky. Try to aim for secluded areas away from towns and cities. Your eyes will naturally adjust to the darkness, allowing you to see even the faintest trace of the lights in the sky.
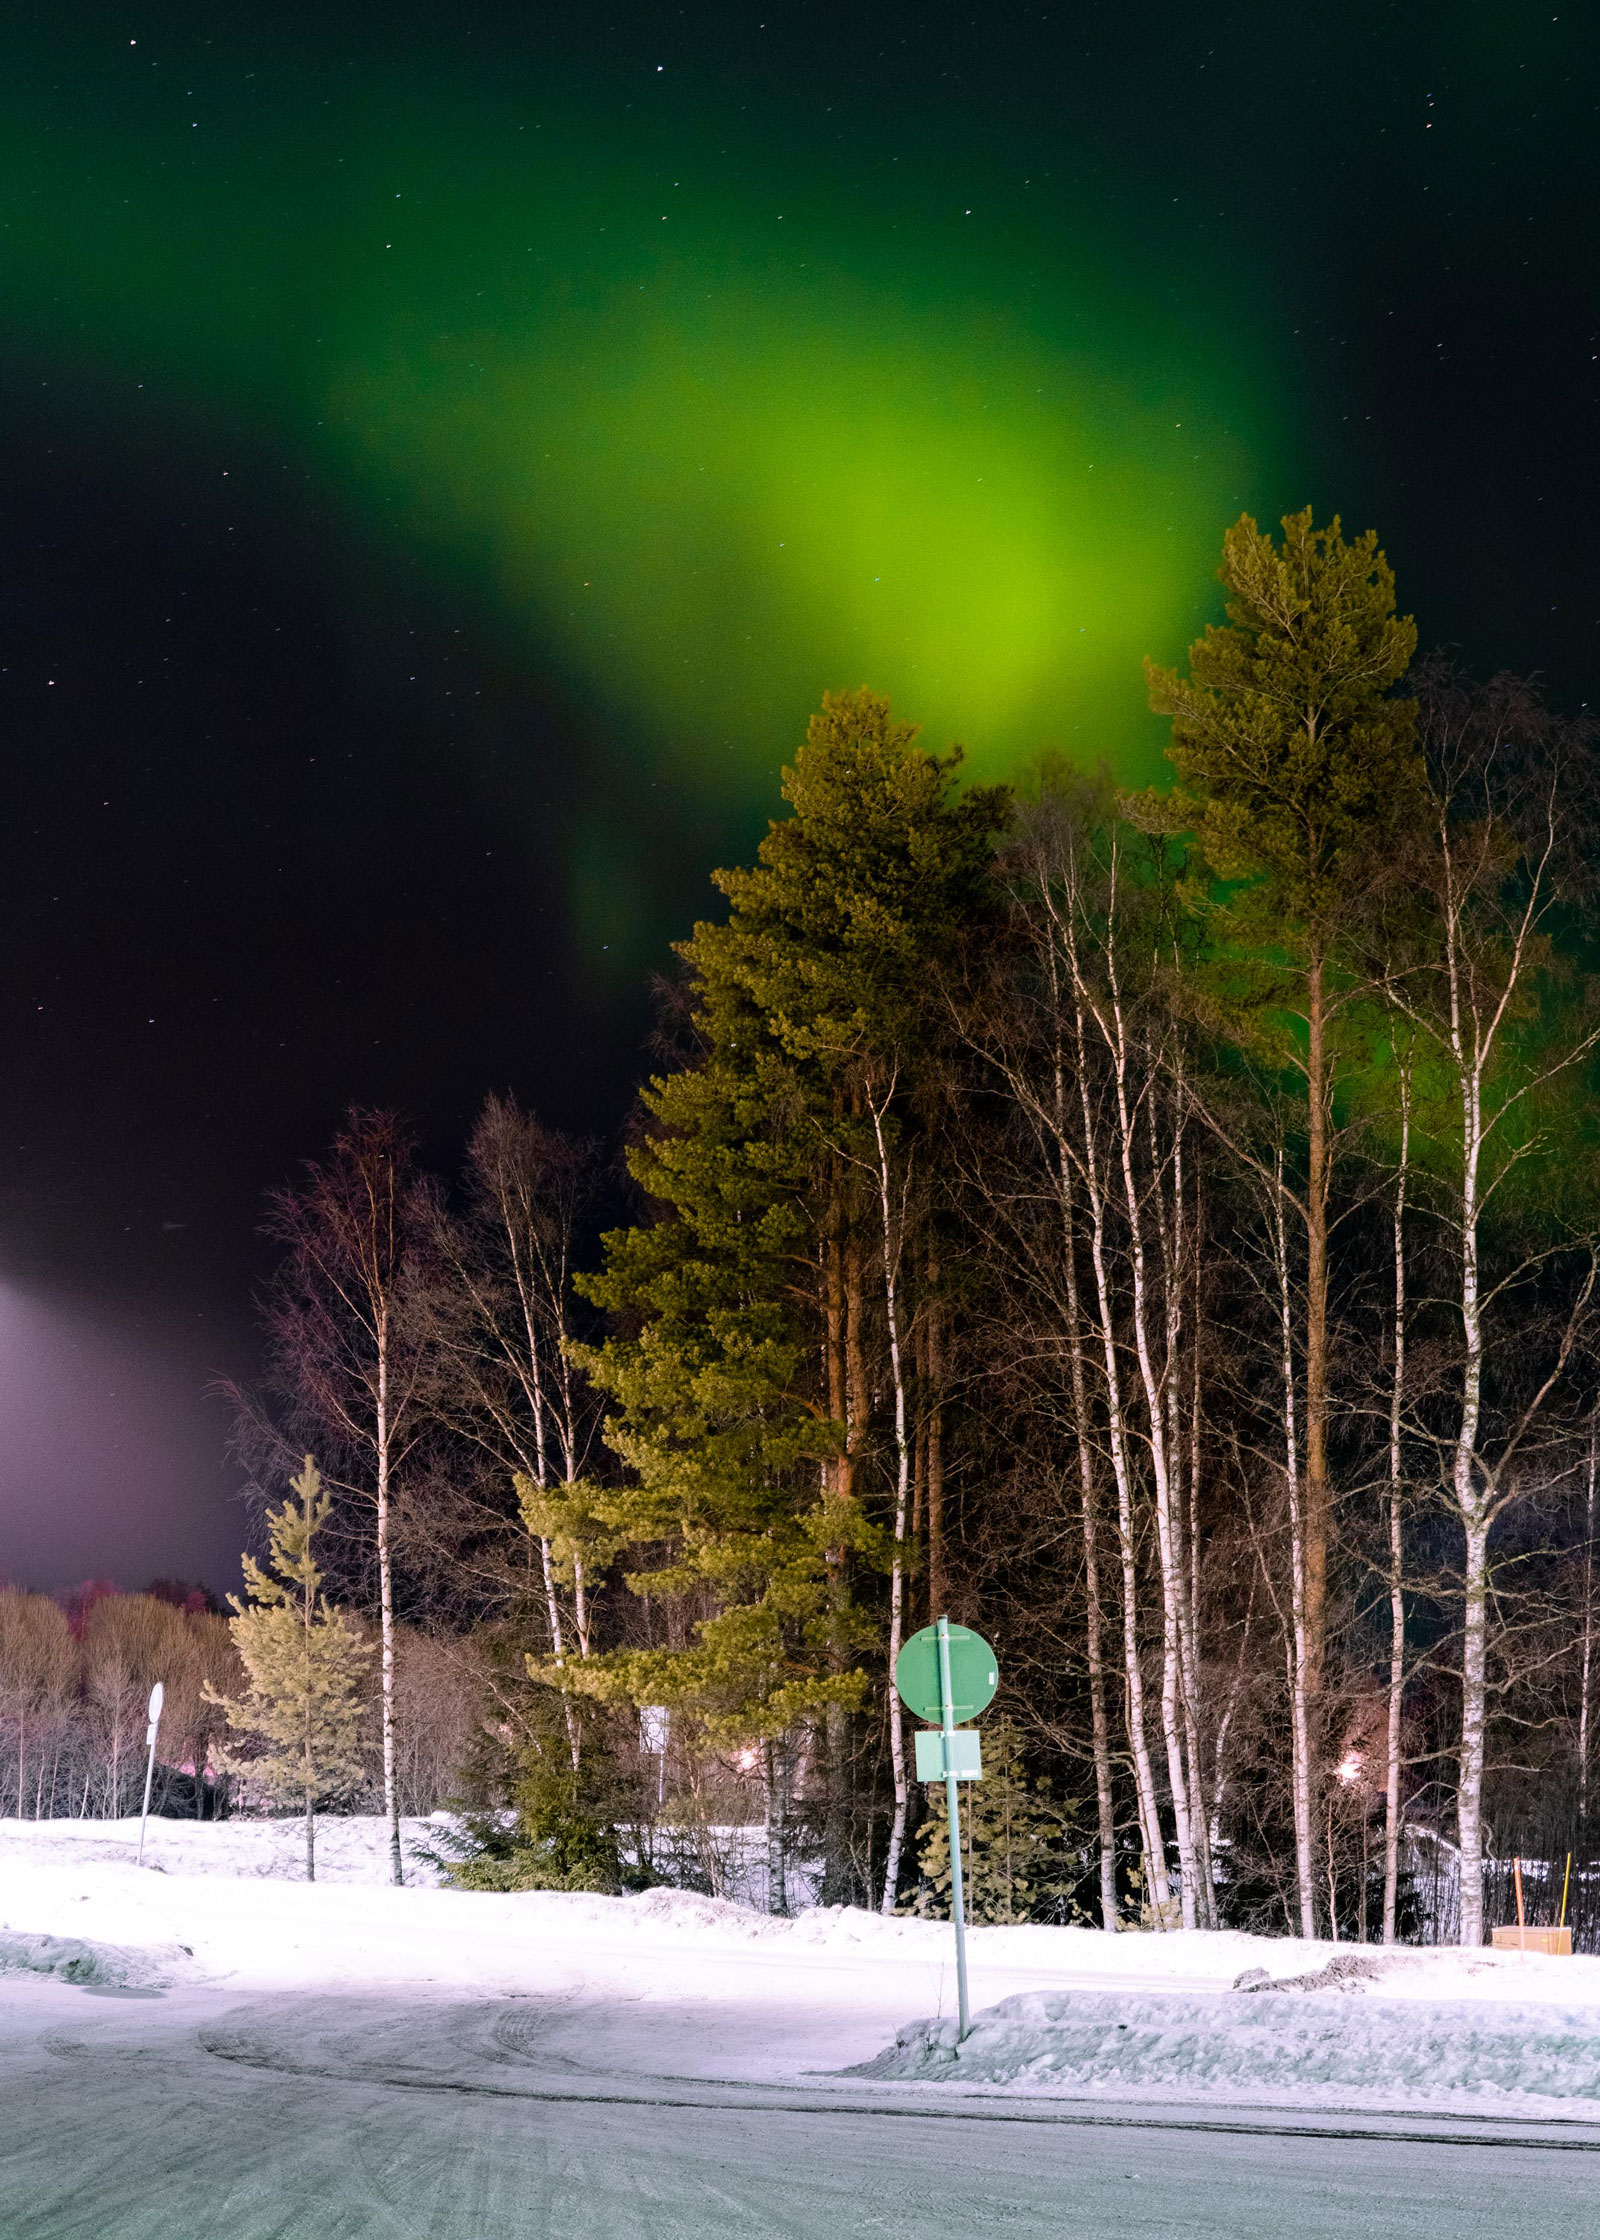
Ian Howorth | Sony A9 | FE 70-200mm f/2.8 GM OSS | 70 mm | f/4.5 | 5.0 sec | ISO 1250
Camera settings
Many of the shots in this article were shot at between 1,600 and 3,200 ISO on a Sony A9. My preference is for the stars to appear sharp, not as trails, as I wanted to avoid that look for my images. Instead, I preferred a look that closely resembled what the eyes would see.
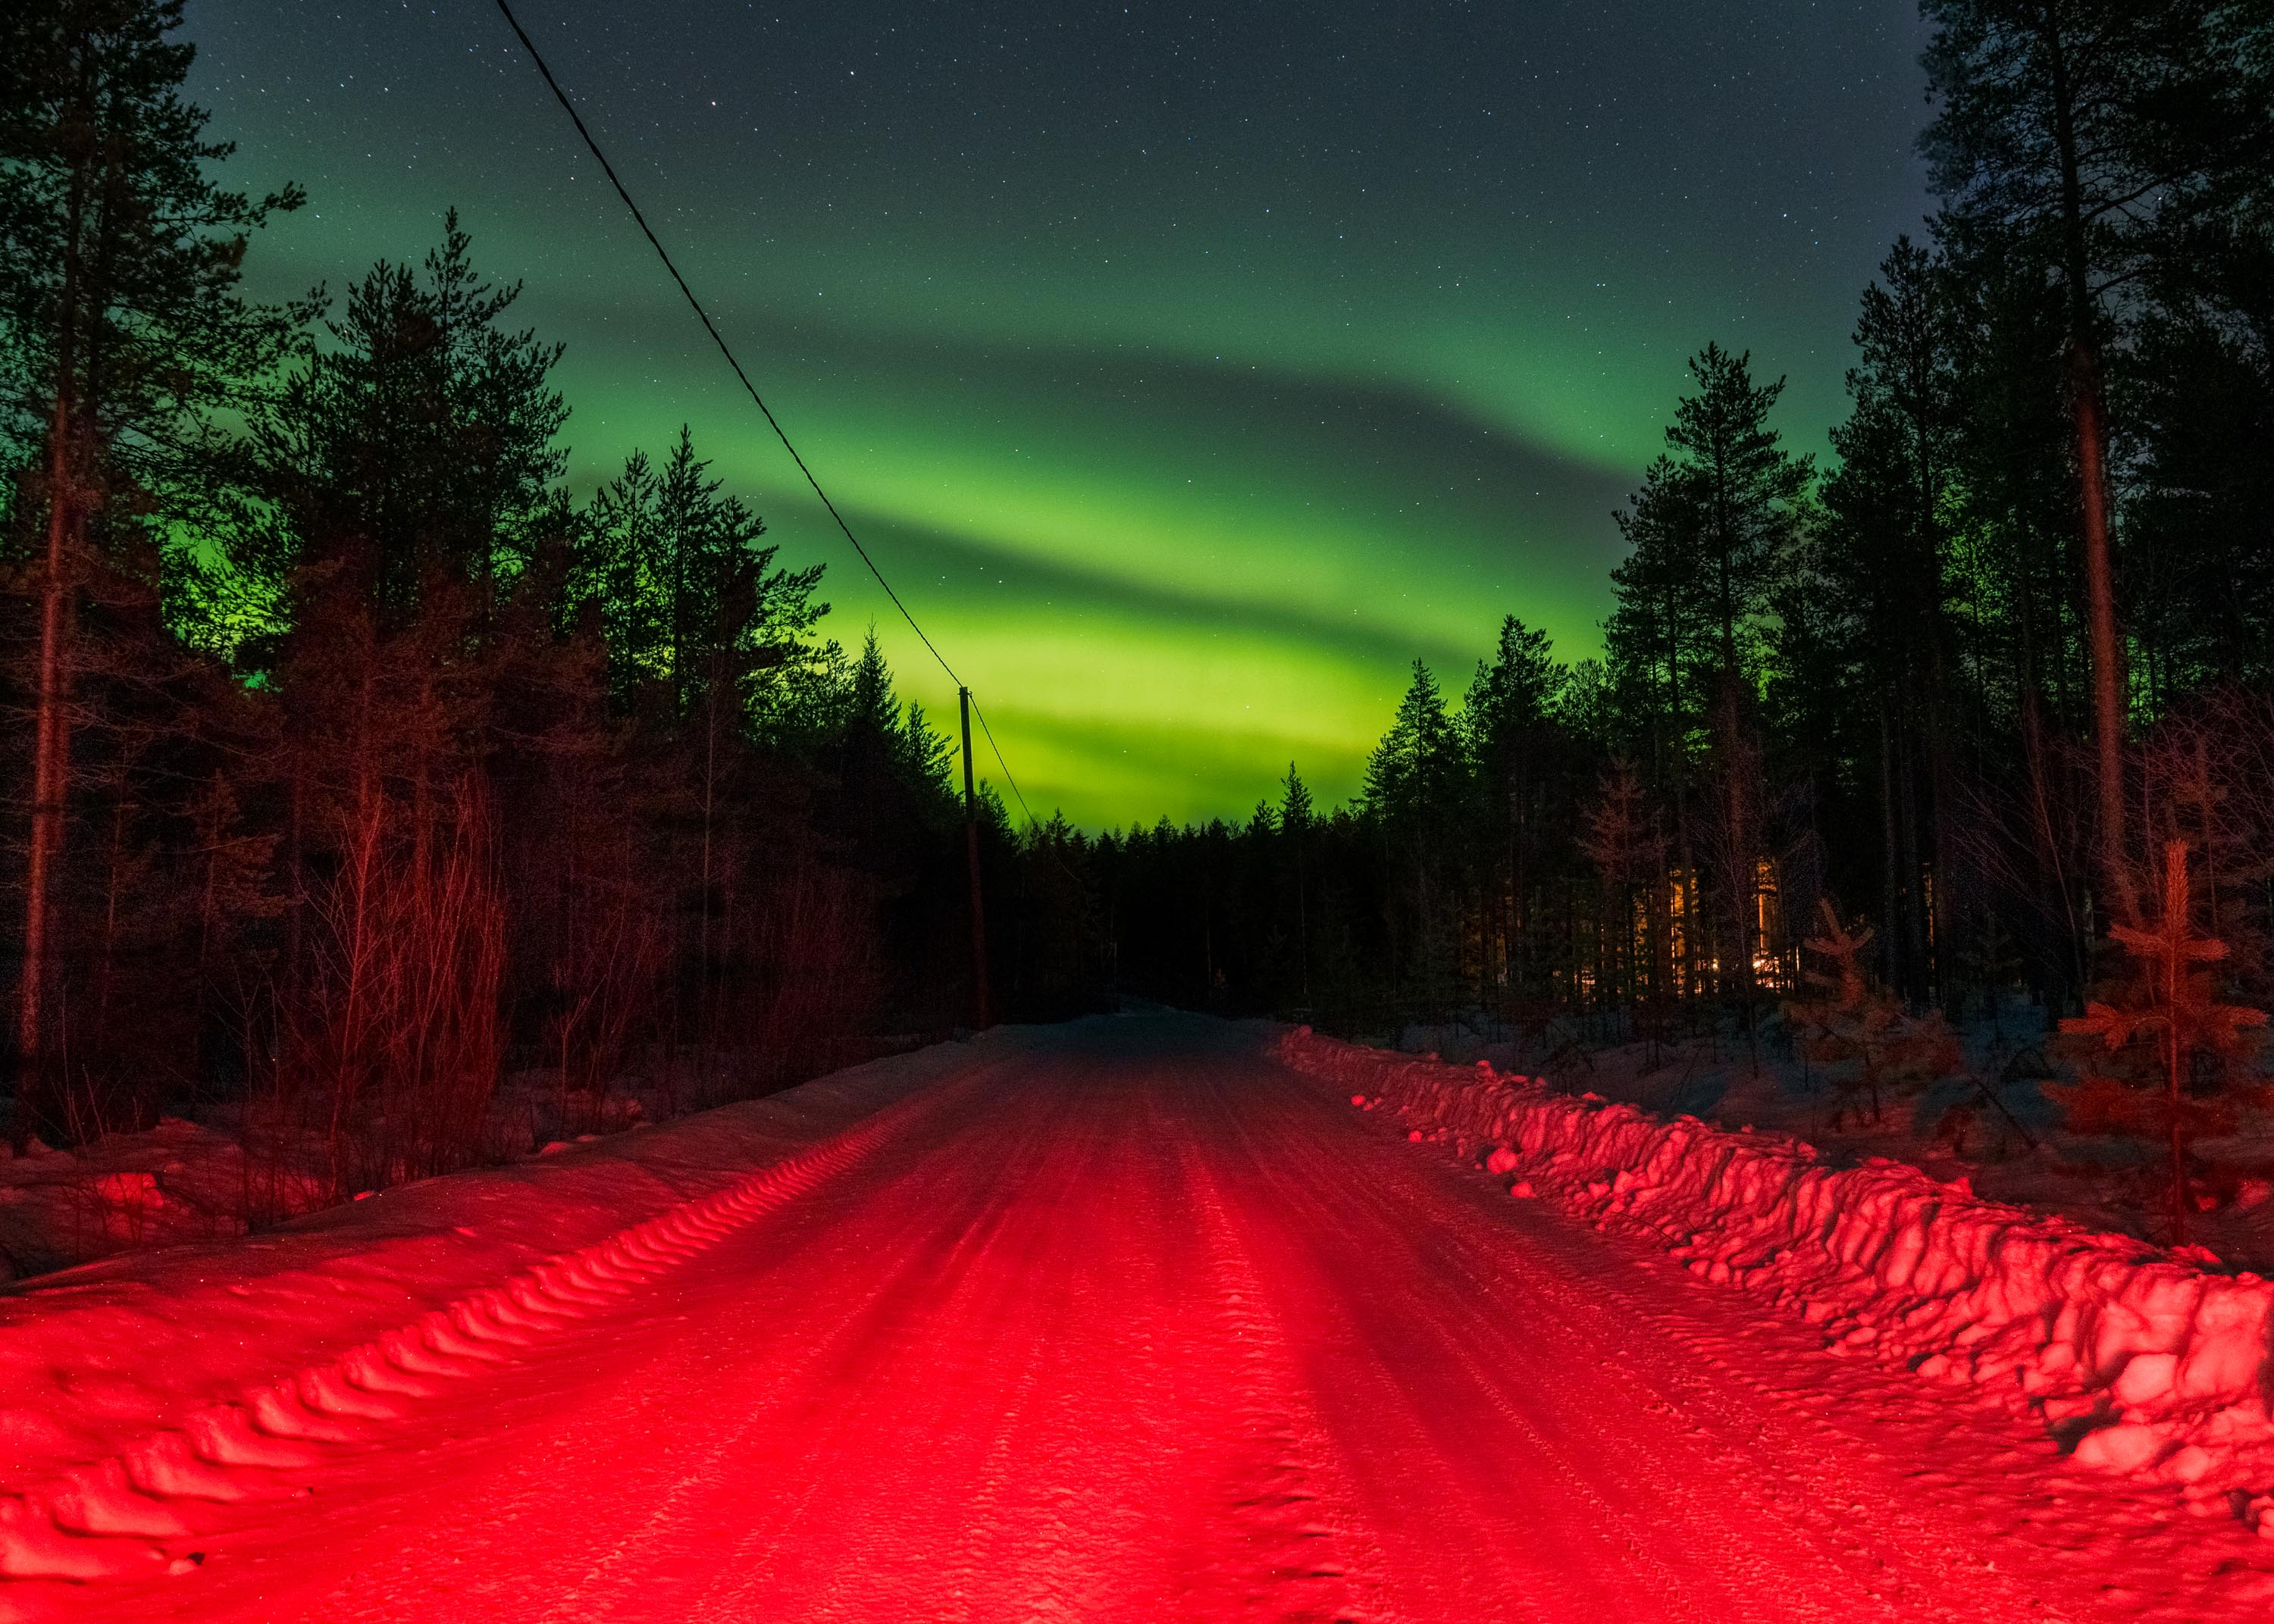
Ian Howorth | Sony A9 | FE 24-70mm f/2.8 GM | 24mm | f/4.0 | 15 sec | ISO 3200
Try to use a camera with very good ISO performance, a camera that will allow you to shoot comfortably at 6,400 ISO if you’re pushed. However, don't forget that these are my preferences, there’s no reason why you can’t shoot at lower ISO and open up the lens and/or decrease shutter speed. Just be aware that this will have an effect on how the images look.
Ian Howorth | Sony A9 | Fe 24-70mm f/2.8 GM | 26mm | f/4.0 | 10 sec | ISO 3200
The Northern Lights can move pretty fast, and while you’re almost guaranteed a great shot regardless of the way you shoot them, having higher shutter speeds will mean you can properly freeze the action. Equally, opening up the lens to its max aperture might allow for longer shutter speeds/lower ISO, but it might create a softer image with less detail. I went with a sharp image, shorter shutter speed and high ISO as I knew I’d be able to successfully remove any colour noise in the post while still retaining the sharpness shooting at f/8.
Lenses
In terms of lenses, I would recommend using zooms. I opted for a 24-70mm f/2.8 GM and 70-200mm f/2.8 GM OSS—both Sony G Master lenses, which are excellent. I normally prefer using primes, but when cold is a factor and you’re unaware of how much space you have, working quickly and efficiently is key.
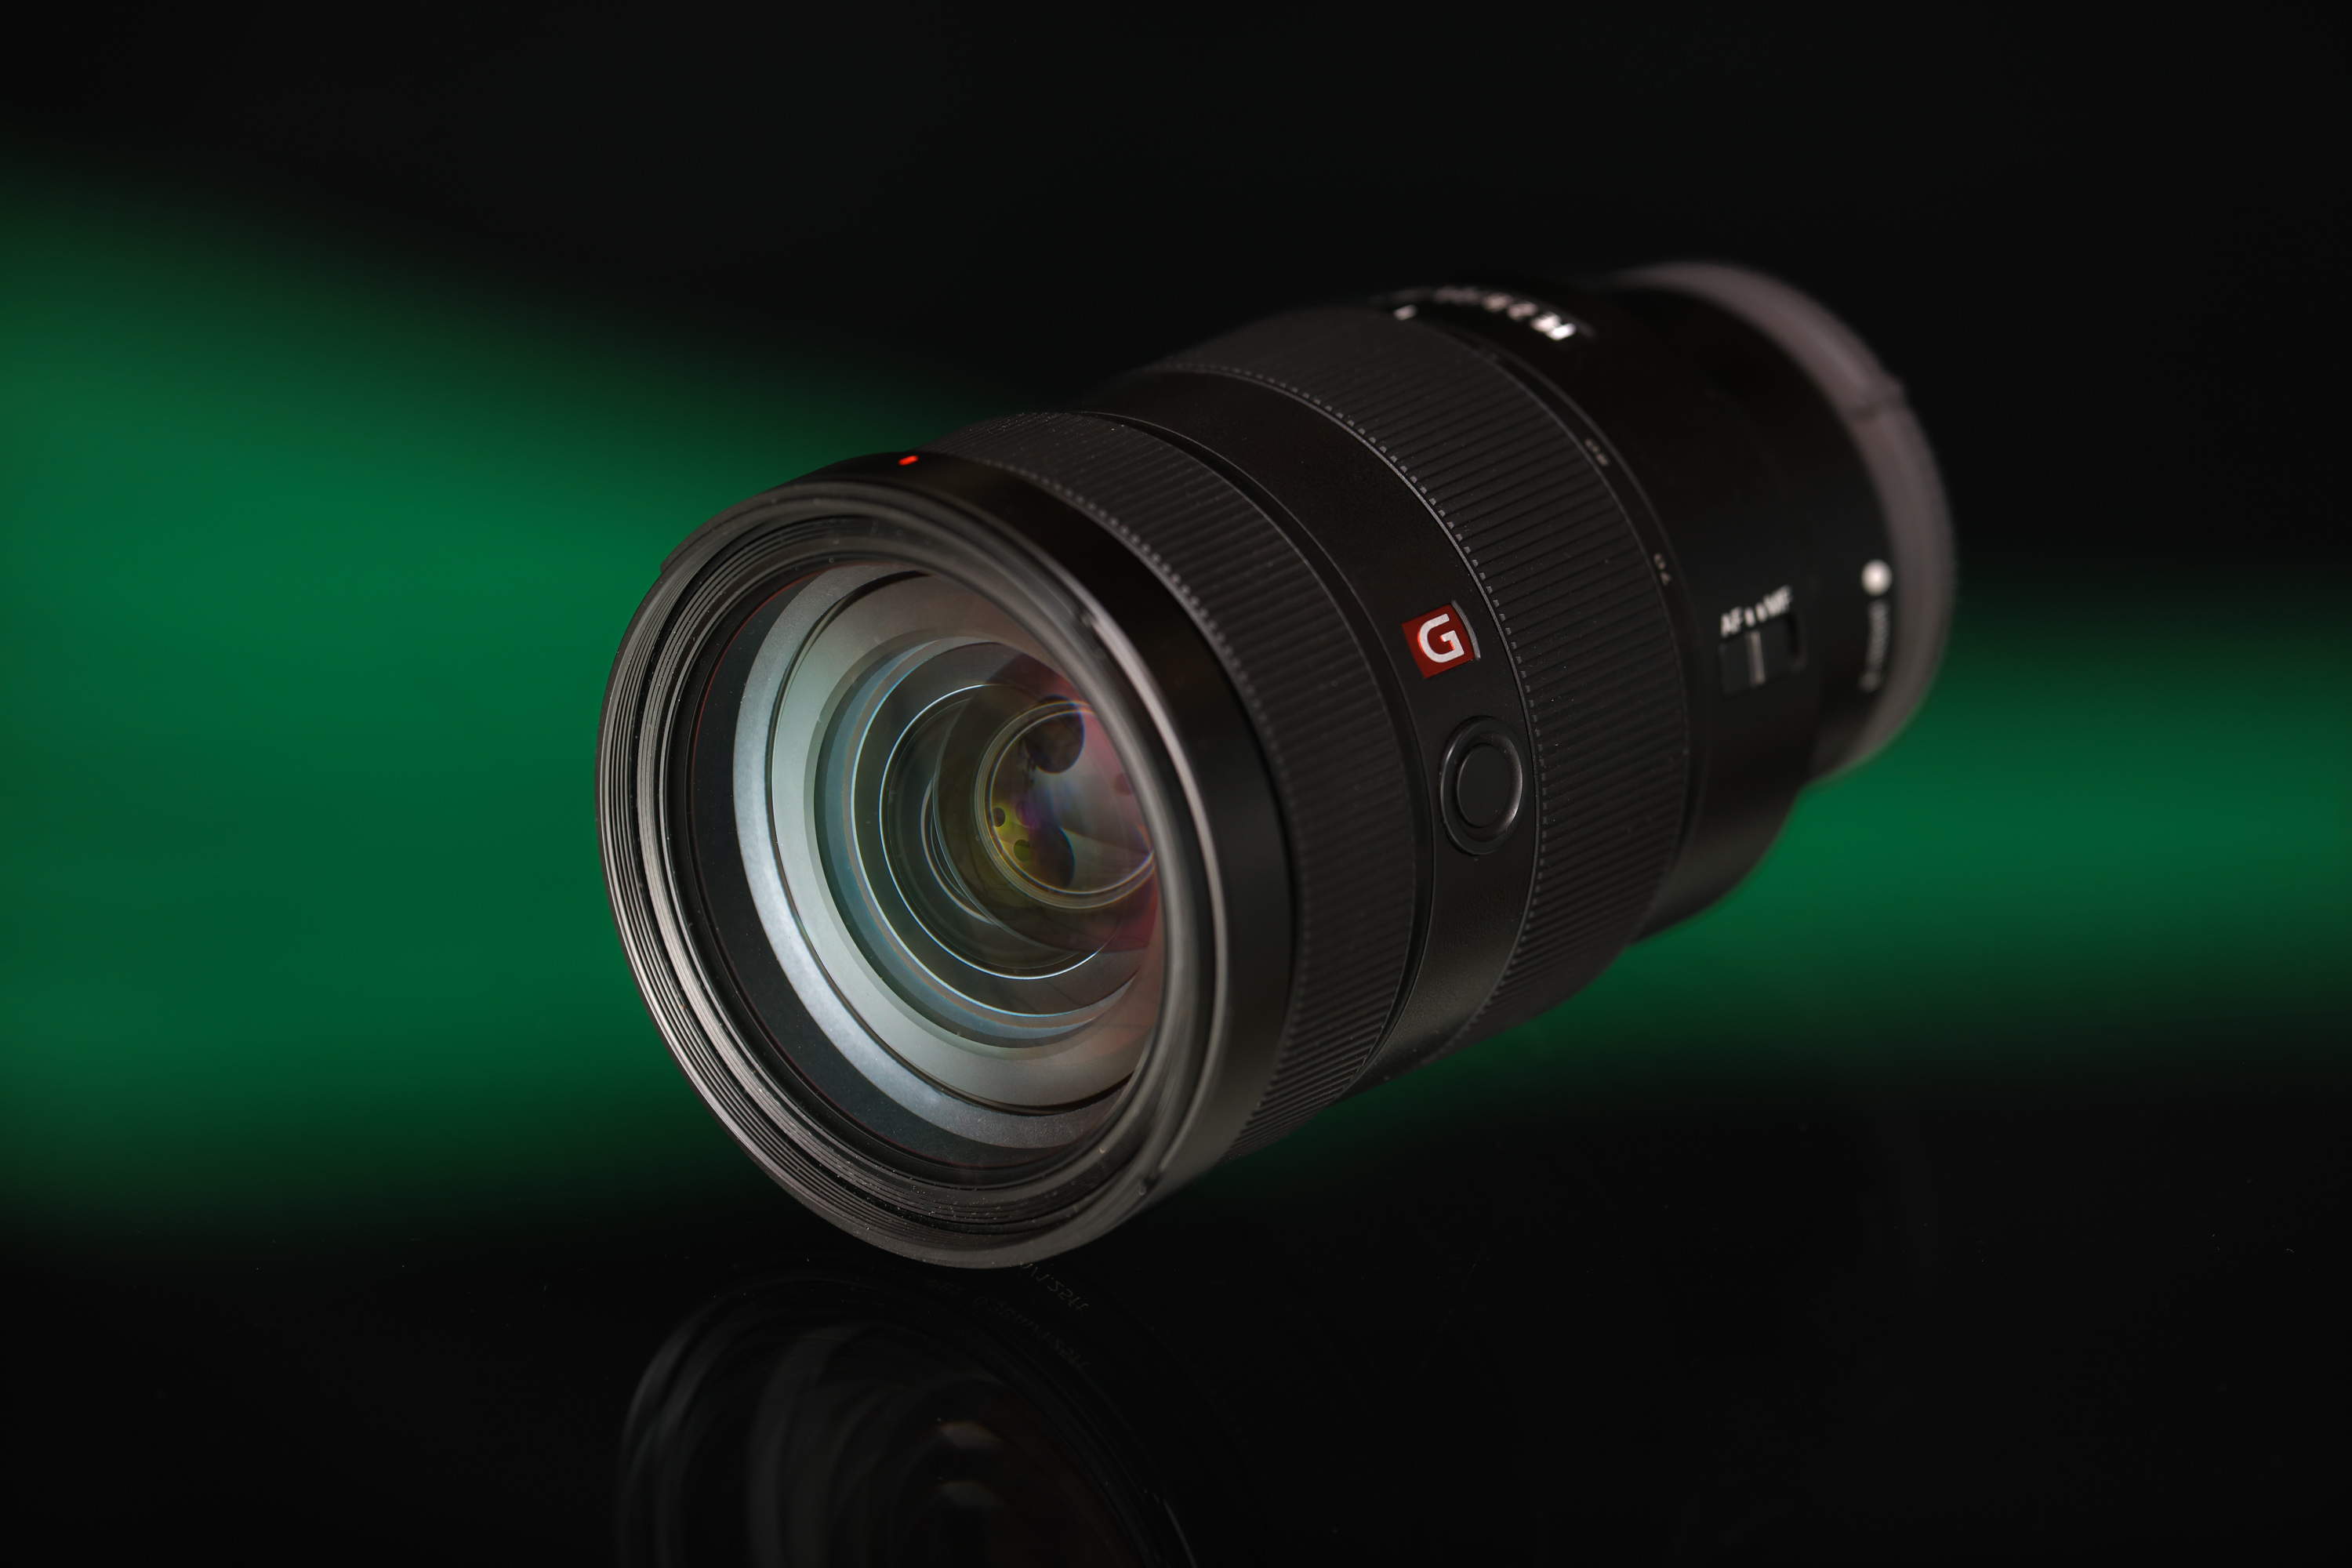
Used Sony 24-70 f/2.8 G
While both these lenses are excellent fully open, they are also expensive. But, if you’re doing most of your shooting at f/5.6 and below, then most similar lenses at lower price points should yield good results.

Used Sony 70-200 F/2.8 OSS
Techniques and equipment
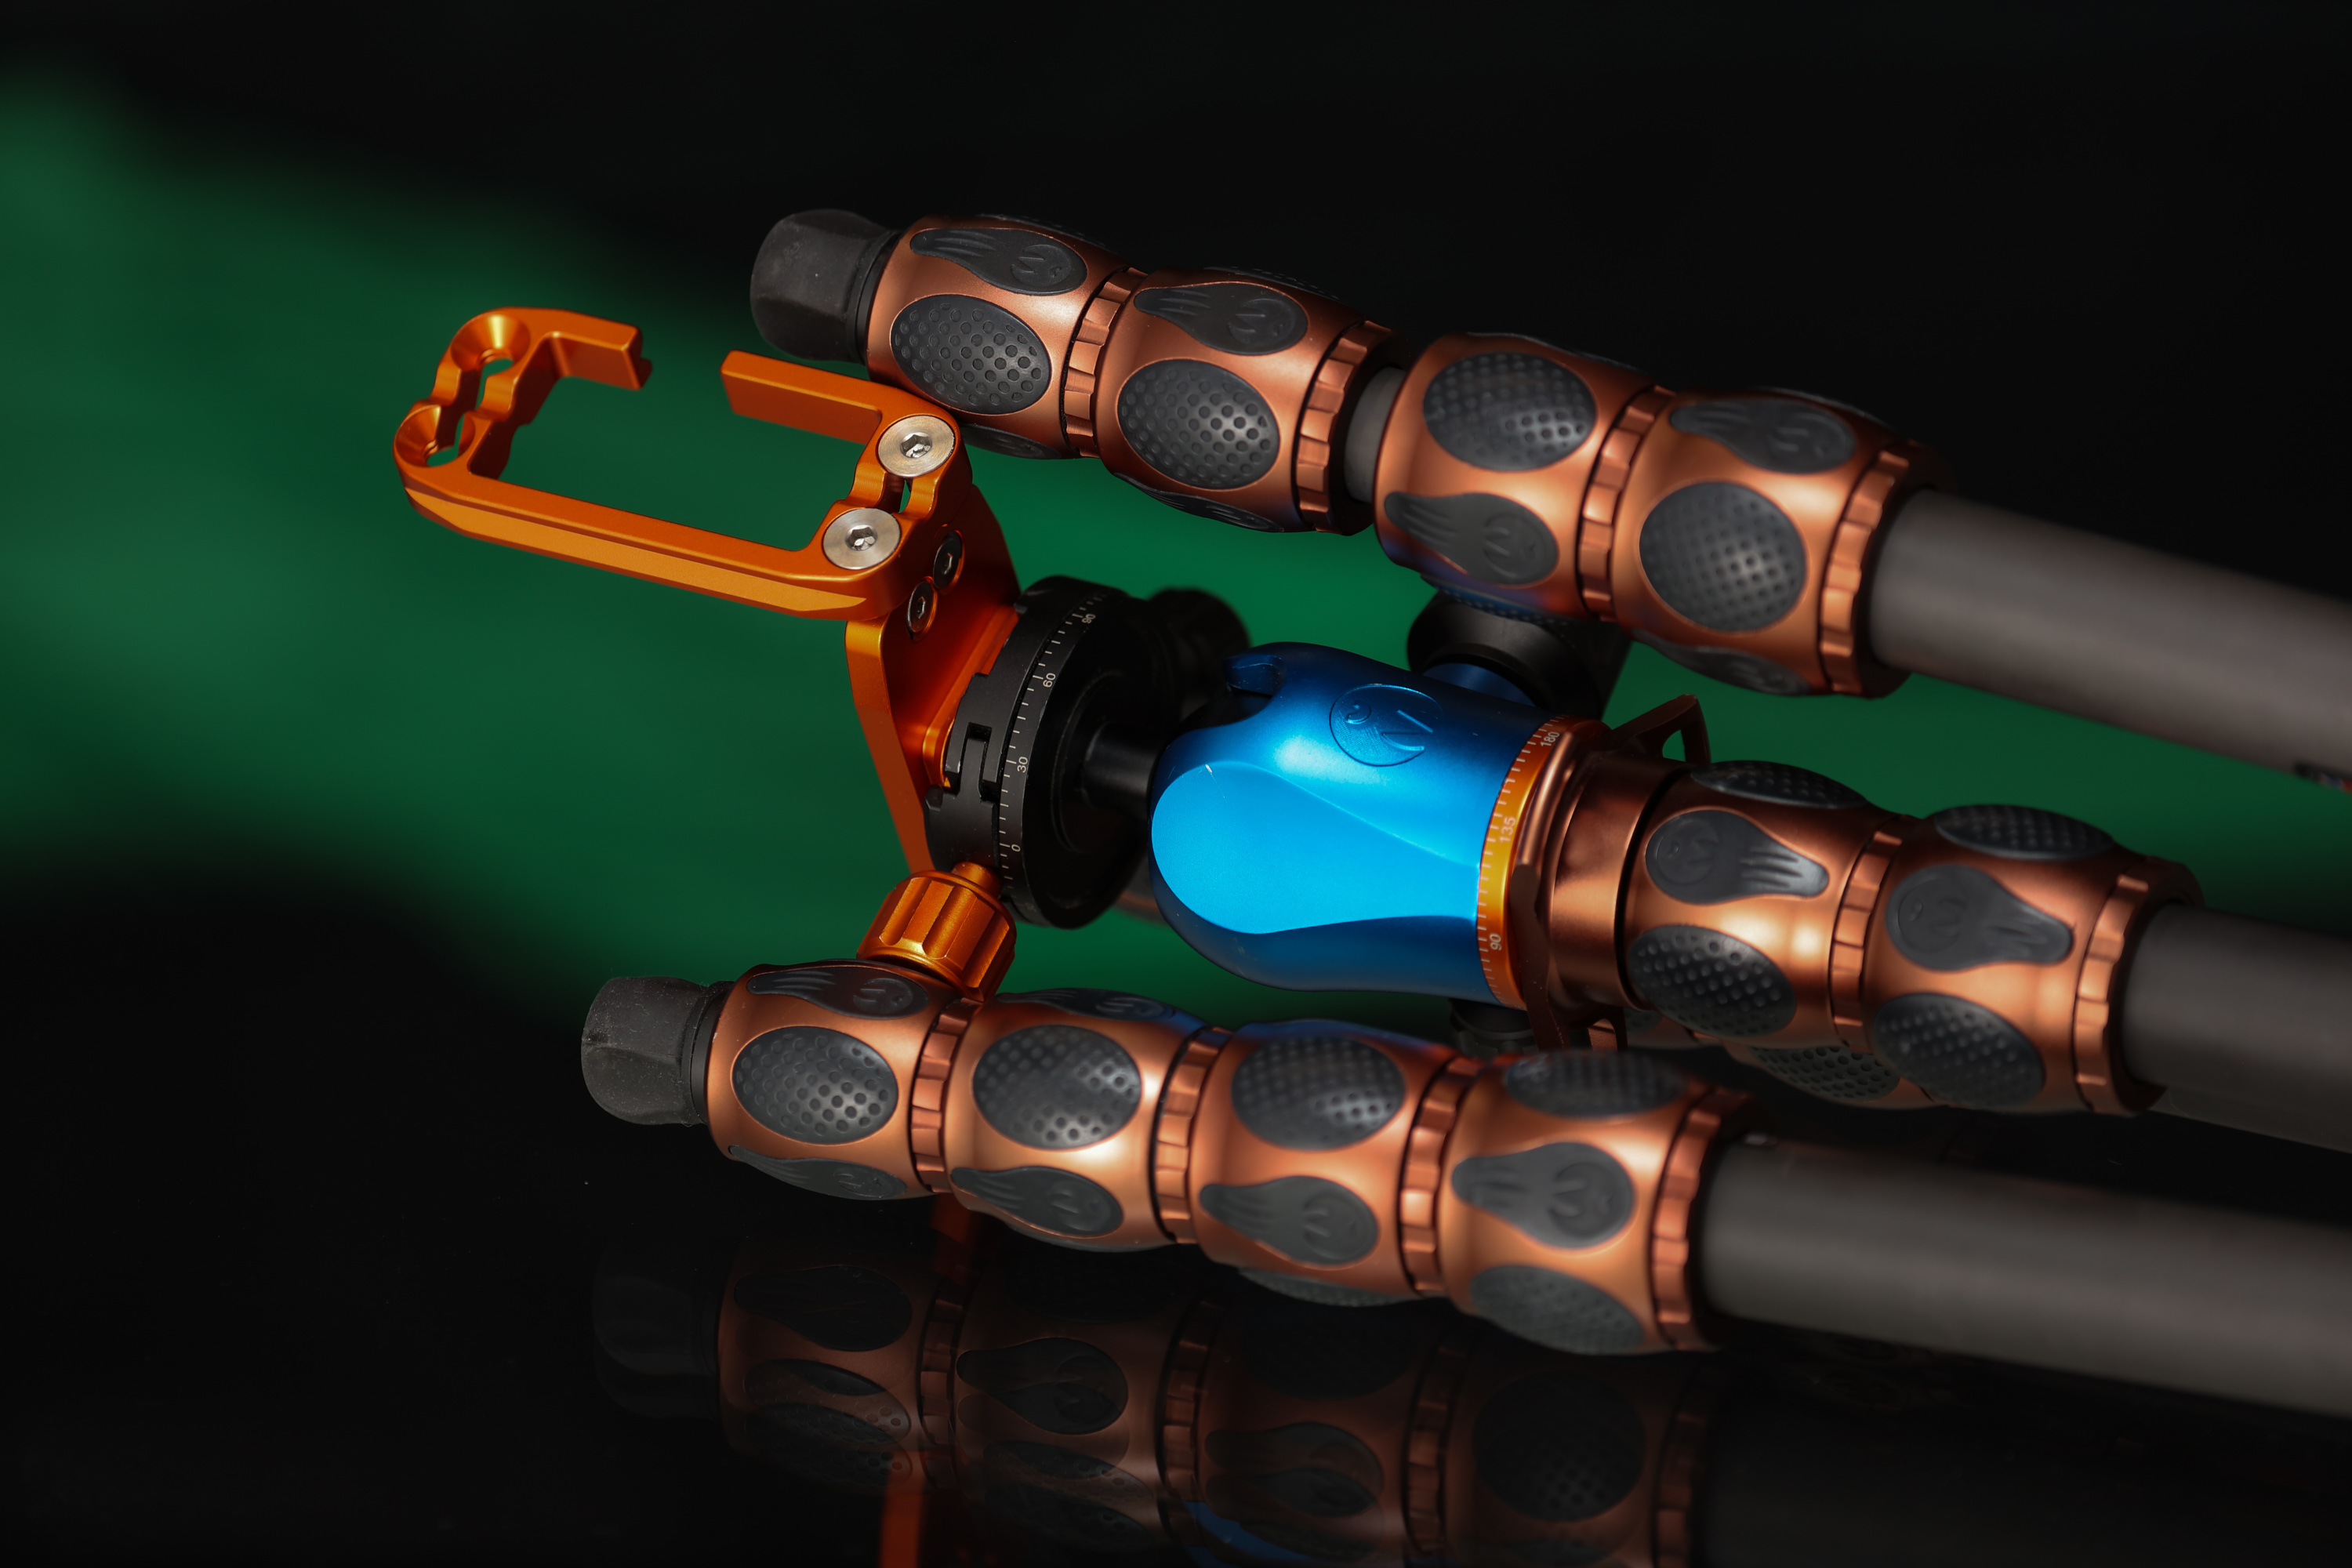
It goes without saying that a tripod is a must. I ran shutter speeds of between 8 and 25 seconds, so stabilisation is important. At these speeds, any camera movement is unforgiving. So make sure that your tripod is sturdy, especially if you’re using longer lenses and there are high winds.
You will begin to see noticeable movement in stars, owing to Earth's rotation, at about 25 seconds plus. My general rule is to either have the stars round or have them streaked. Somewhere in between just looks odd. This could mean a difference between a few seconds and hours. There isn't any harm in experimenting ahead of your trip so you can work more efficiently once on location.
Aside from the camera, lens and tripod, the other important accessory to carry is a powerful torch or flashlight. When it’s completely dark, your camera will struggle to focus on anything at all. Bring a torch with a large throw so you can illuminate the distance and get focus—either autofocus or manual, depending on your preference.
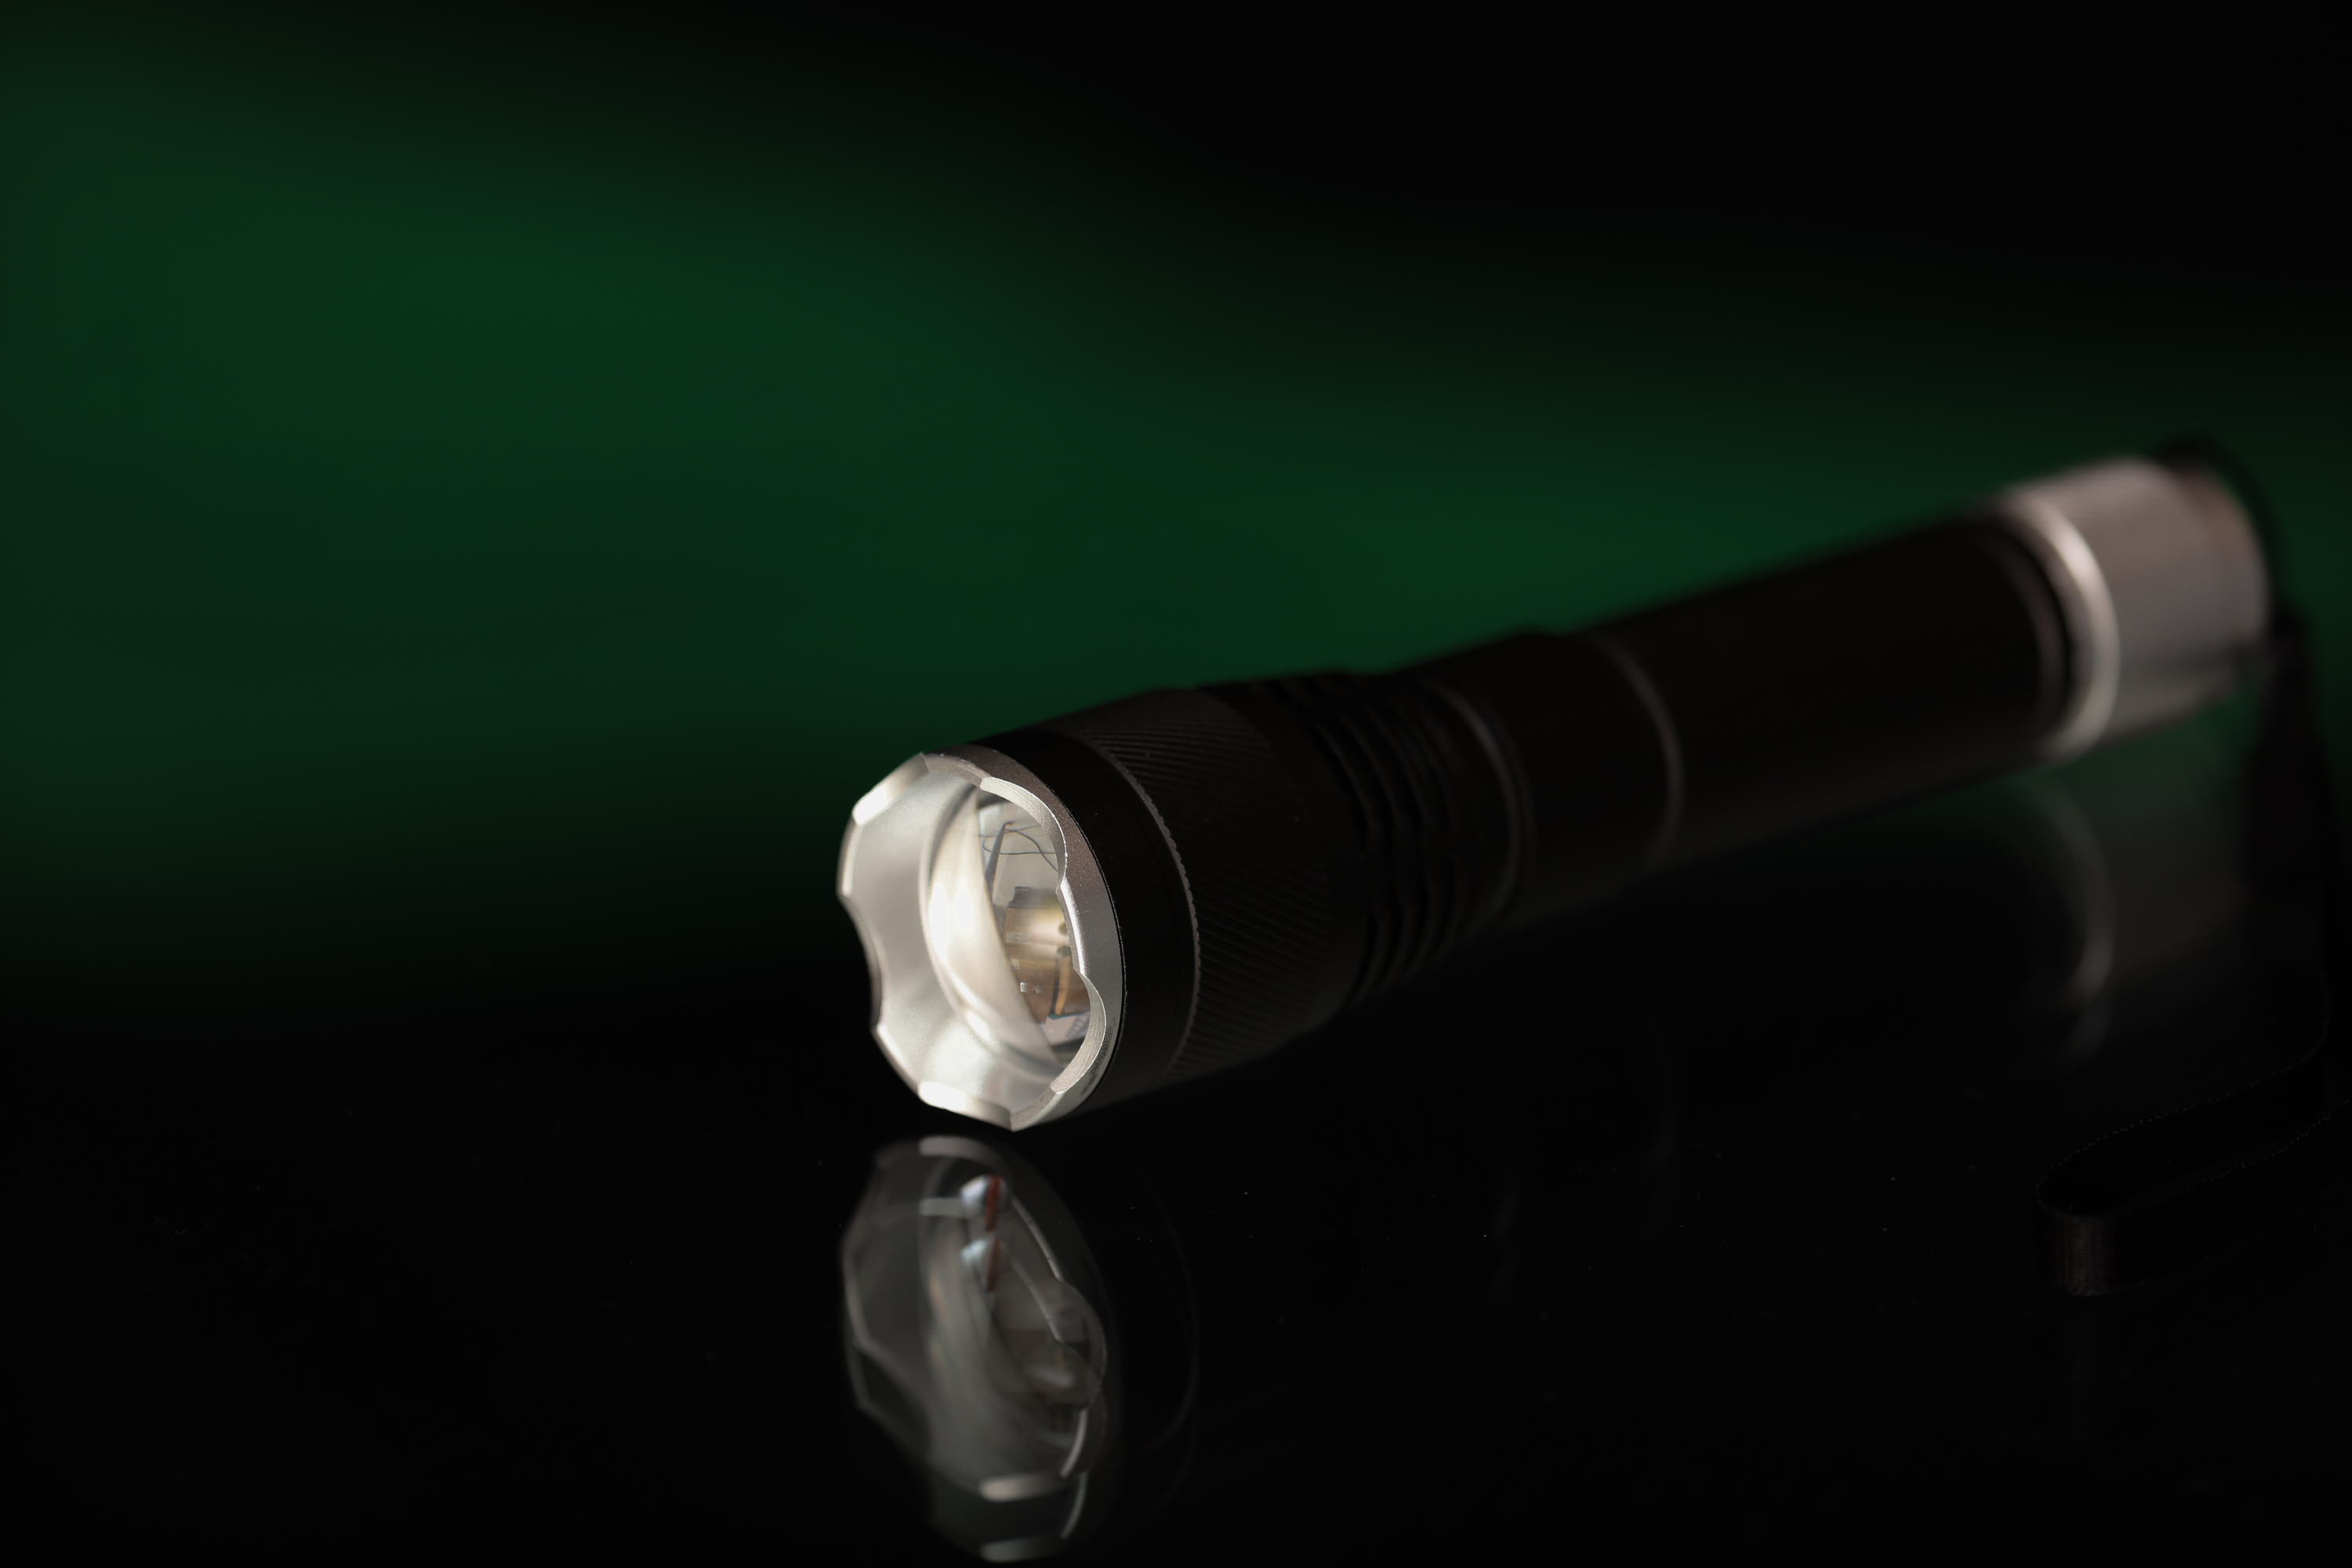
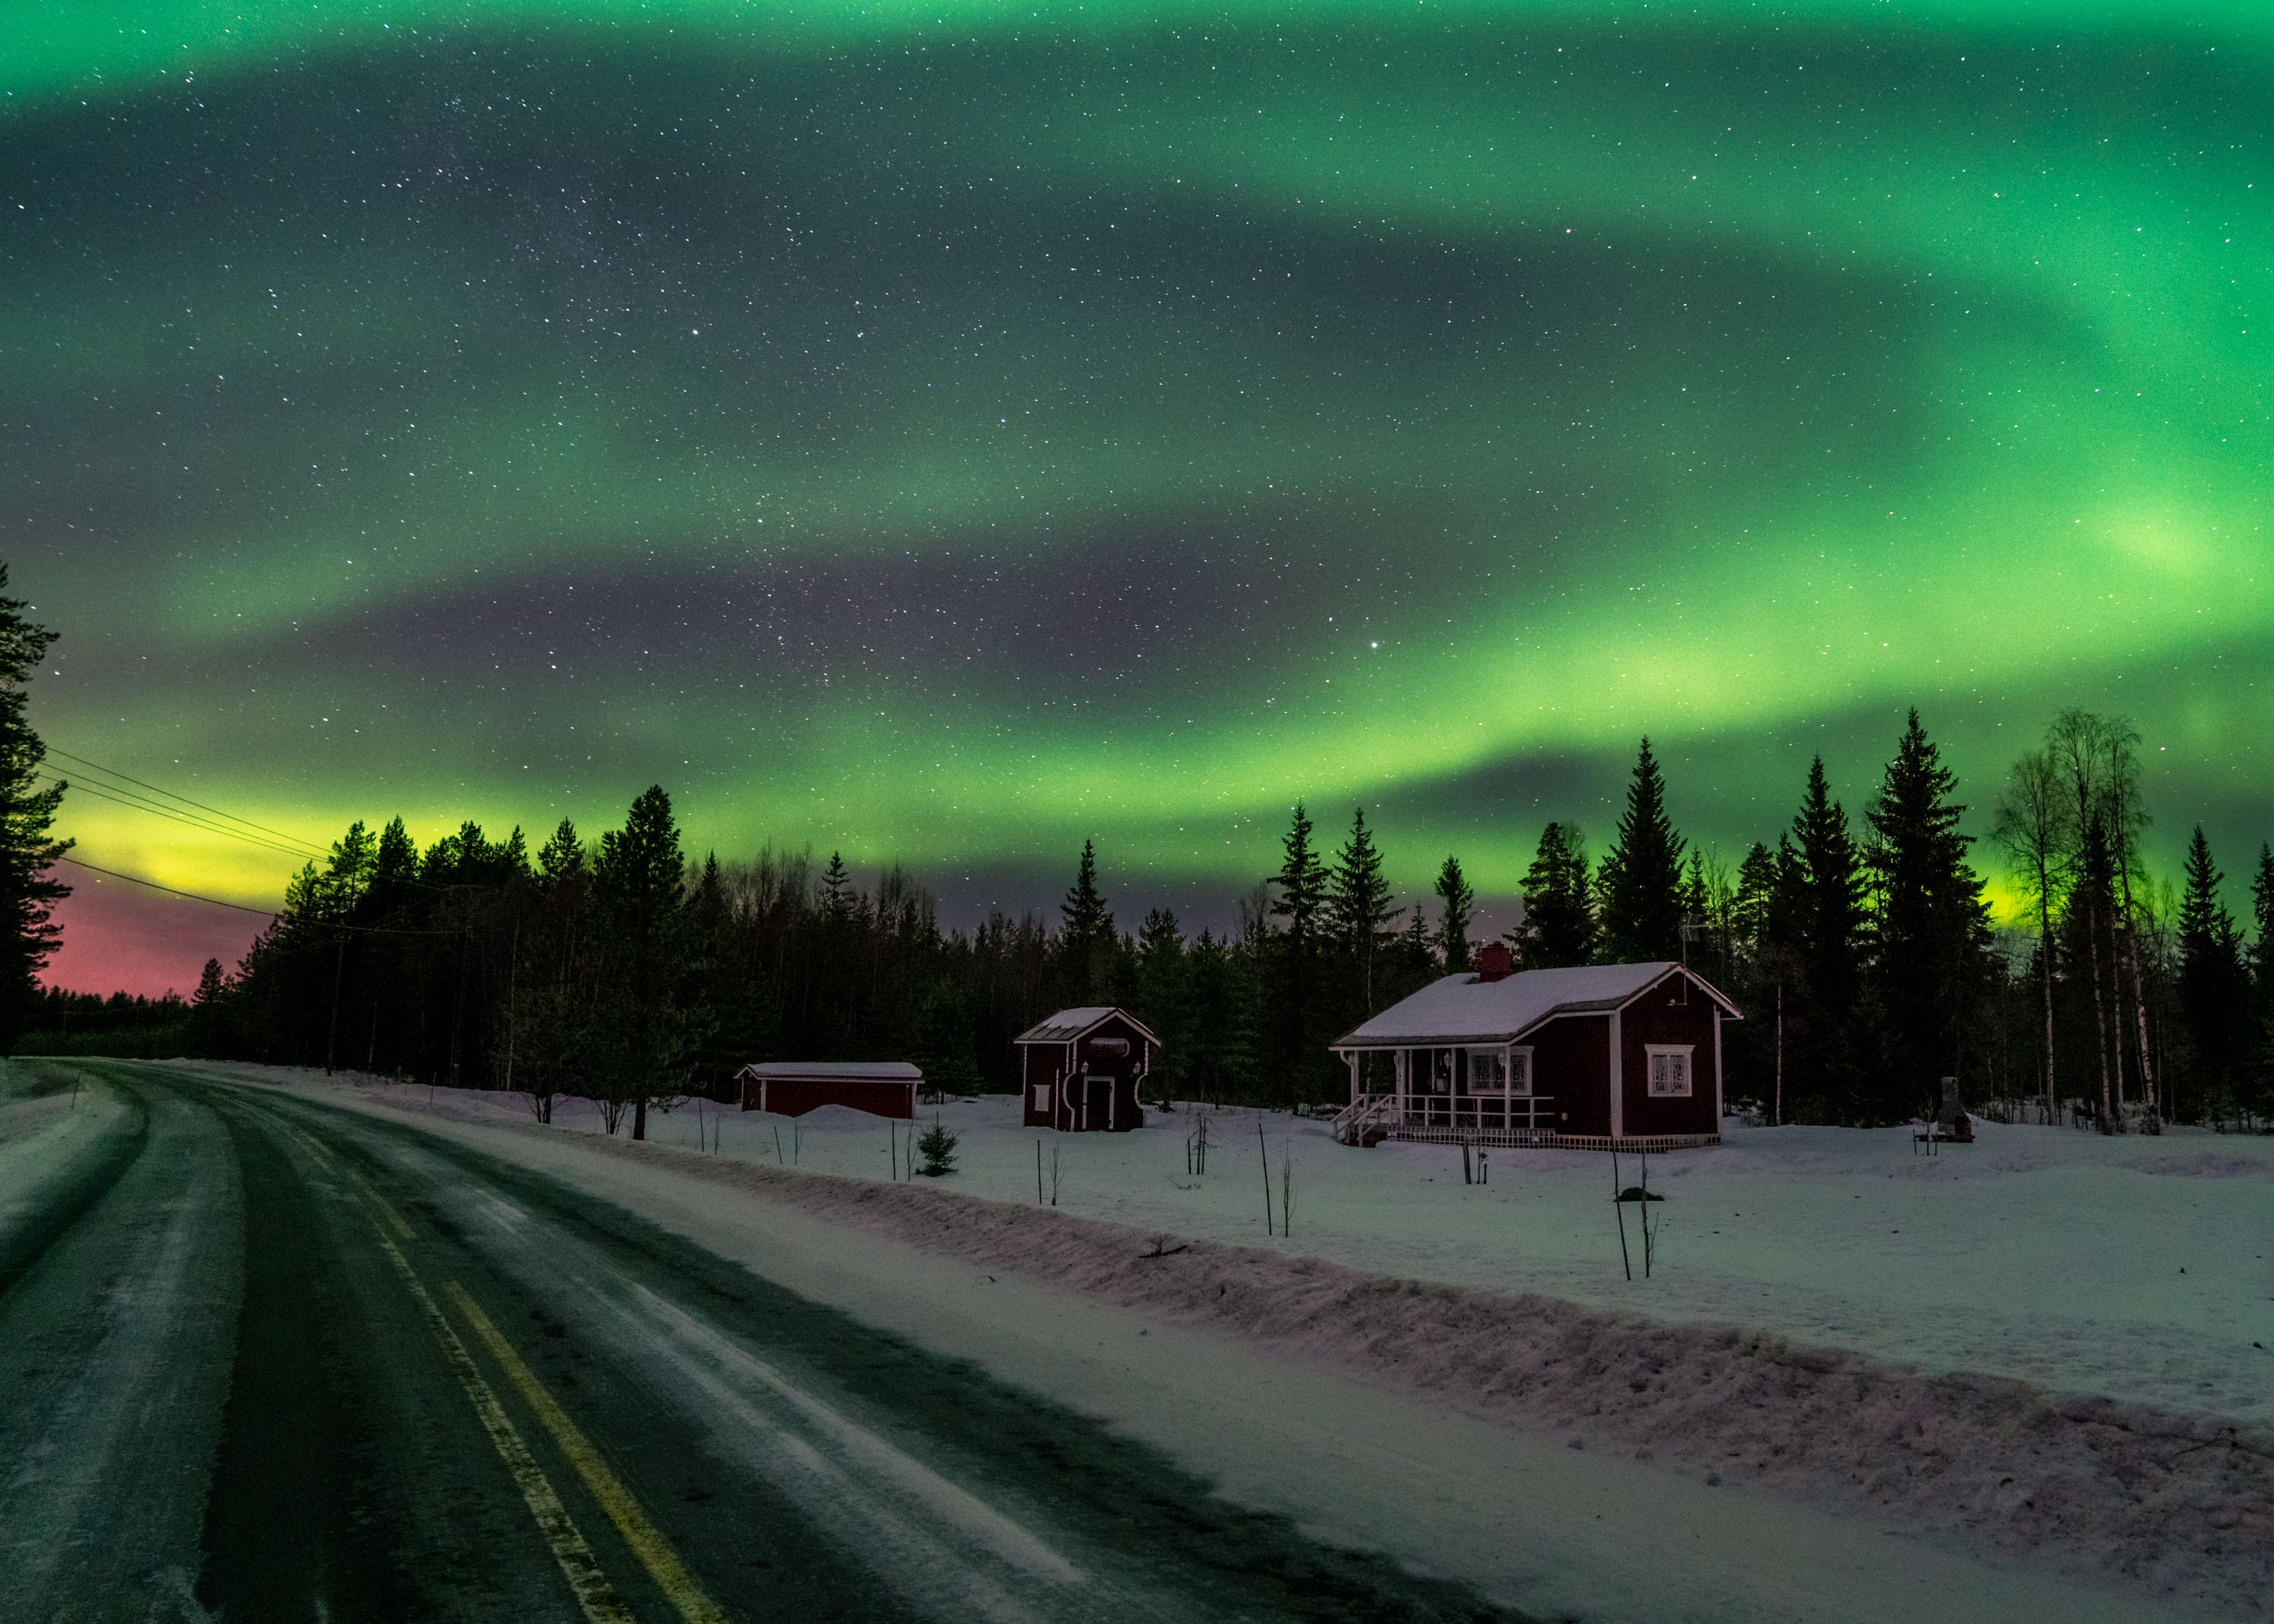
Everyone has their own preferences in terms of how to shoot the aurora borealis. Some prefer a strict nature-only vibe, while others prefer to incorporate a little of the human-made world. This is your chance to get creative and try to frame the lights in different ways. Using my torch, I light-painted a little of the landscape to add some drama. Same goes with houses. Adding something from the human world can give an idea of scale and presence to the natural world.
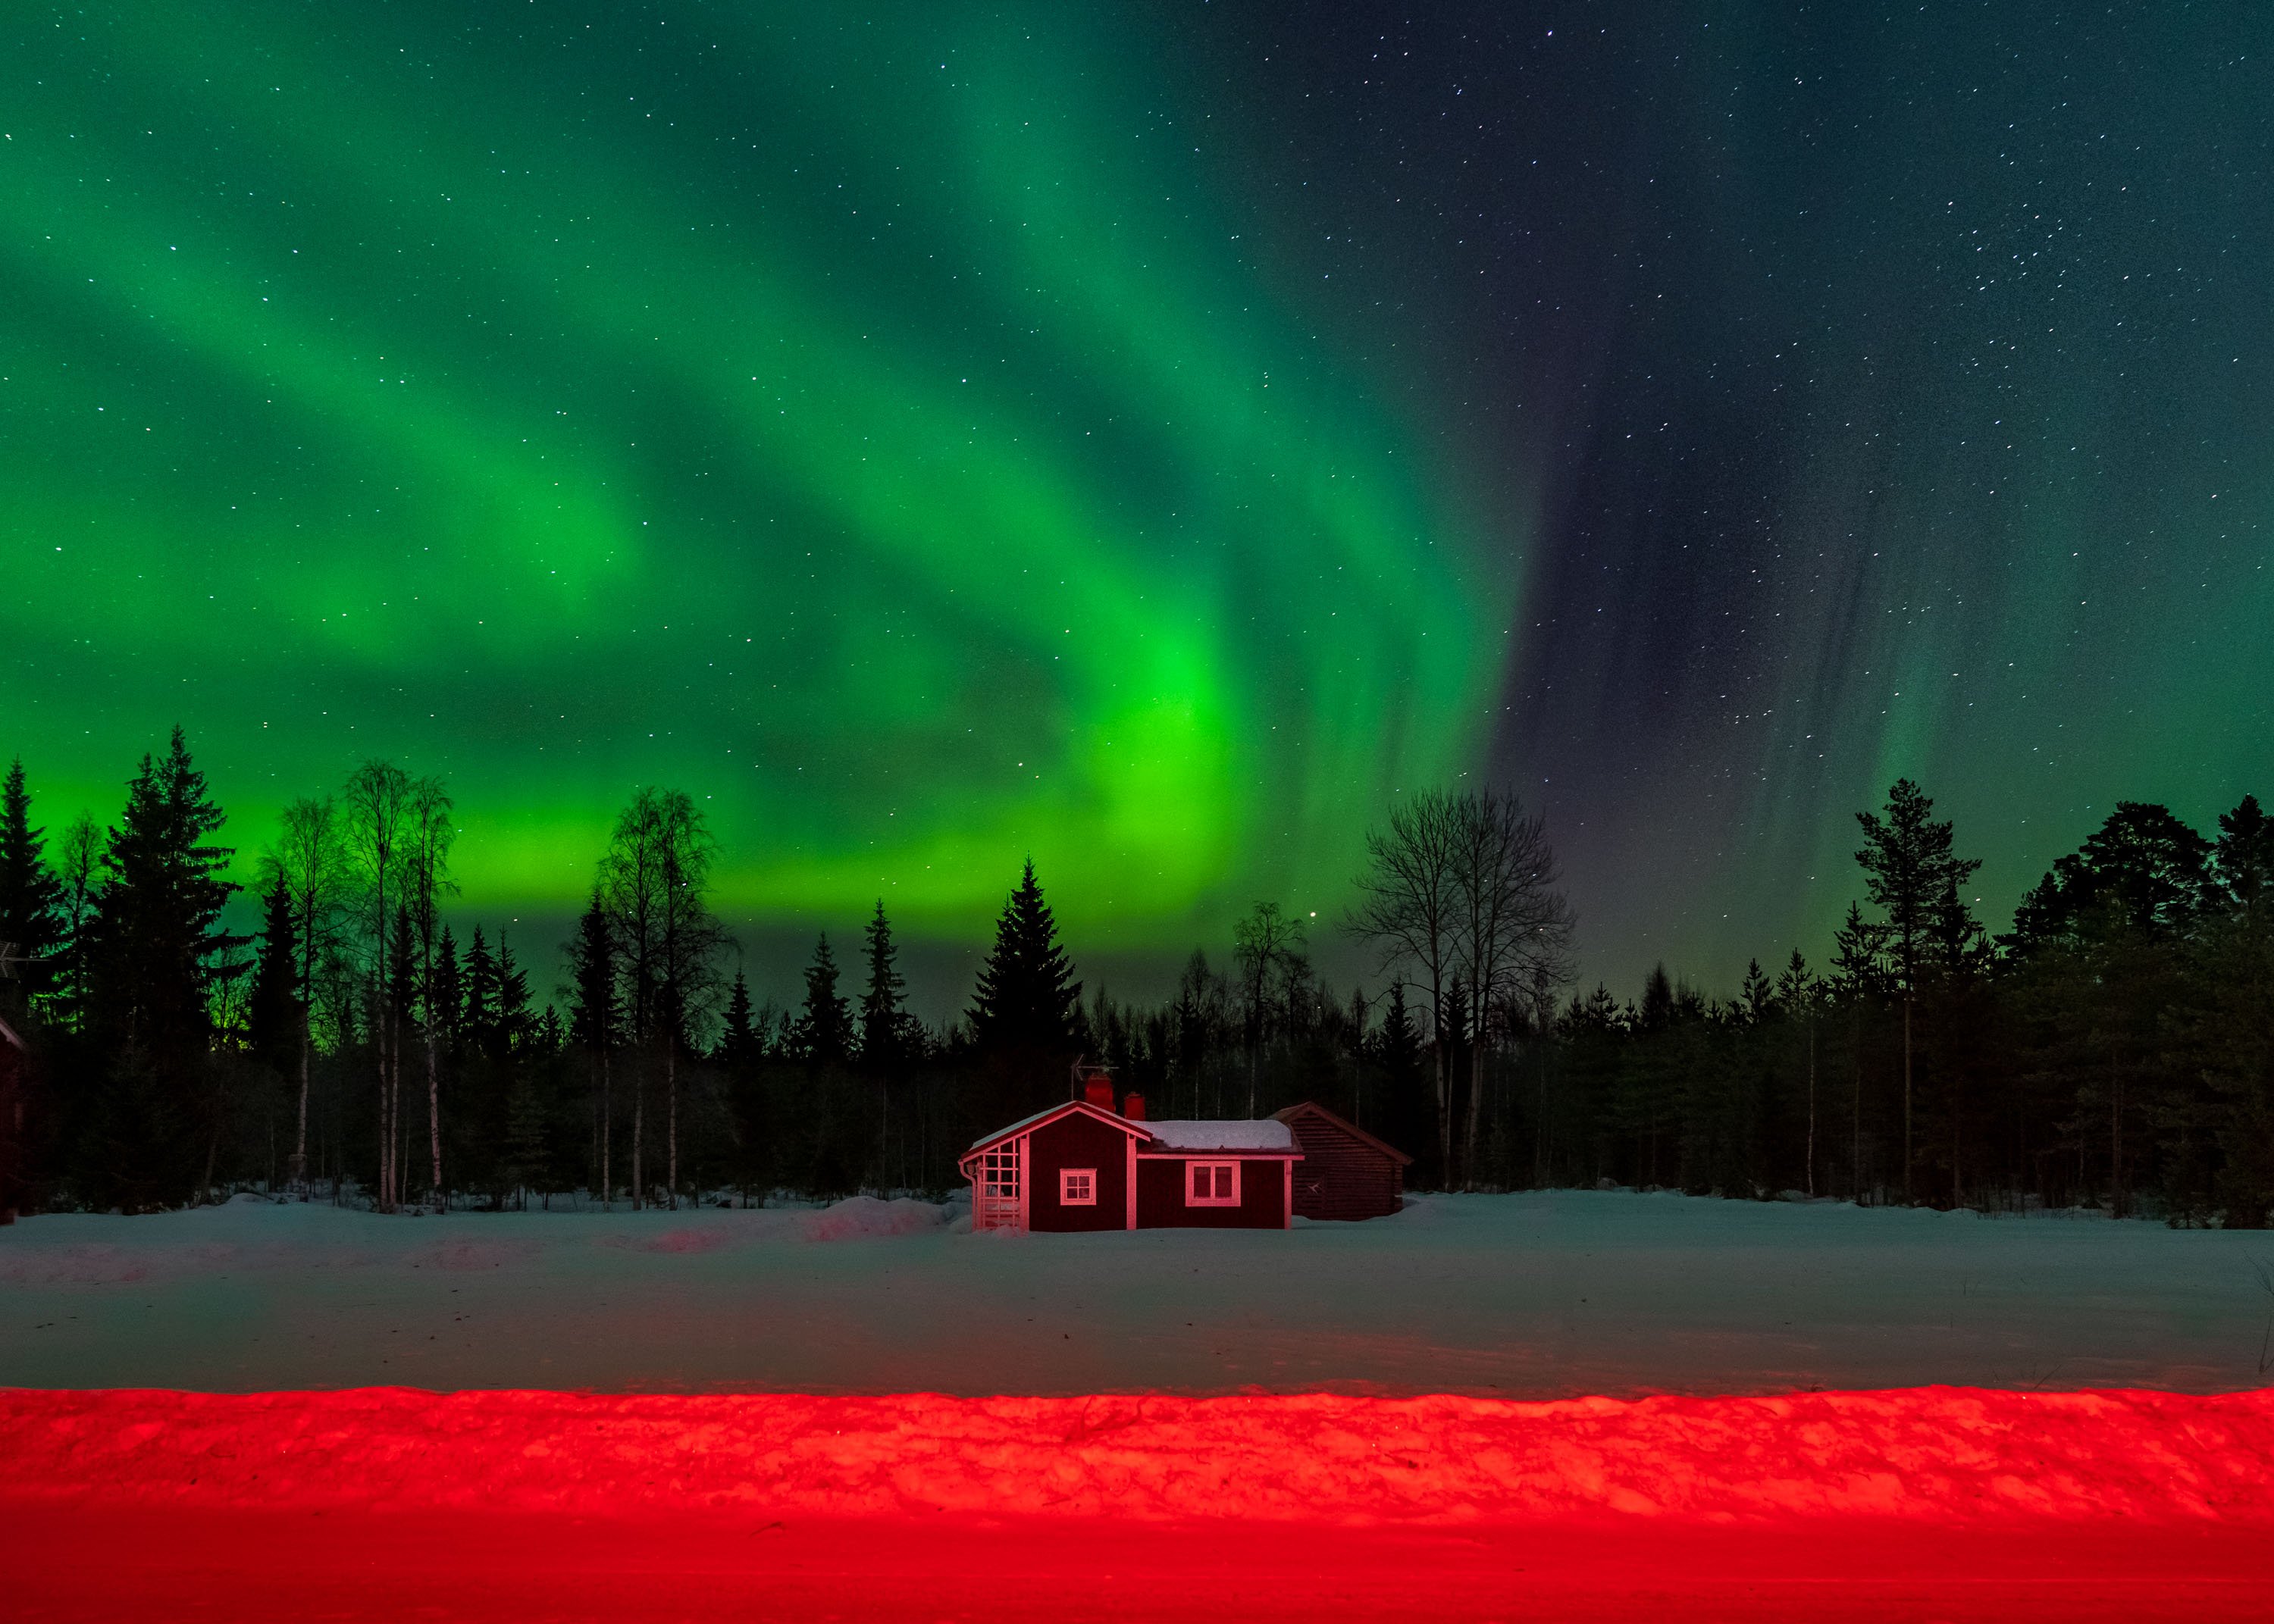
Ian Howorth | Sony A9 | FE 24-70mm f/2.8 GM | 24mm | f/4.0 | 15 sec | ISO 3200
Remember to stop and just look
Once you’ve taken your shot, and likely been staring at your screen for a while, stop. Put the camera away and just stand there and allow your eyes to adapt to the darkness so you can enjoy the lights with your eyes. Spending a few minutes just admiring them, without shooting them, is something you won’t regret.'
Thank you Ian! If you enjoyed this article you may be interested in reading photographer Paul Watson's Northern Lights Diary or learning some cold weather photography tips.
You can sell or trade your camera kit to MPB. Get a free instant quote, free insured shipping to MPB, and get paid within days.