
The Exposure Triangle: Aperture, ISO and Shutter Speed
Published 12 October 2021 by MPB
As one of the most important elements of photography, it’s vital for any visual storyteller to understand how the exposure triangle works. Unless you only ever shoot in auto mode, then you’ll need to know how to control your aperture, ISO and shutter speed. So, whether you’re a beginner who wants to learn the basics or you’re an intermediate in need of a refresh, keep reading to learn more about the exposure triangle, how it works and how to control it to help create your photography and videography.
What Is The Exposure Triangle?
Throughout the history of photography, the basic principles behind creating an image haven’t changed all that much. At the heart of photography is the exposure triangle, made up of three elements—shutter speed, lens aperture and sensitivity of the film/digital sensor (ISO)—which work together to control your exposure. Any given digital photo or video is created by a camera’s sensor being exposed to light, and how it interprets light, and this is why we refer to your camera creating an image as an exposure.
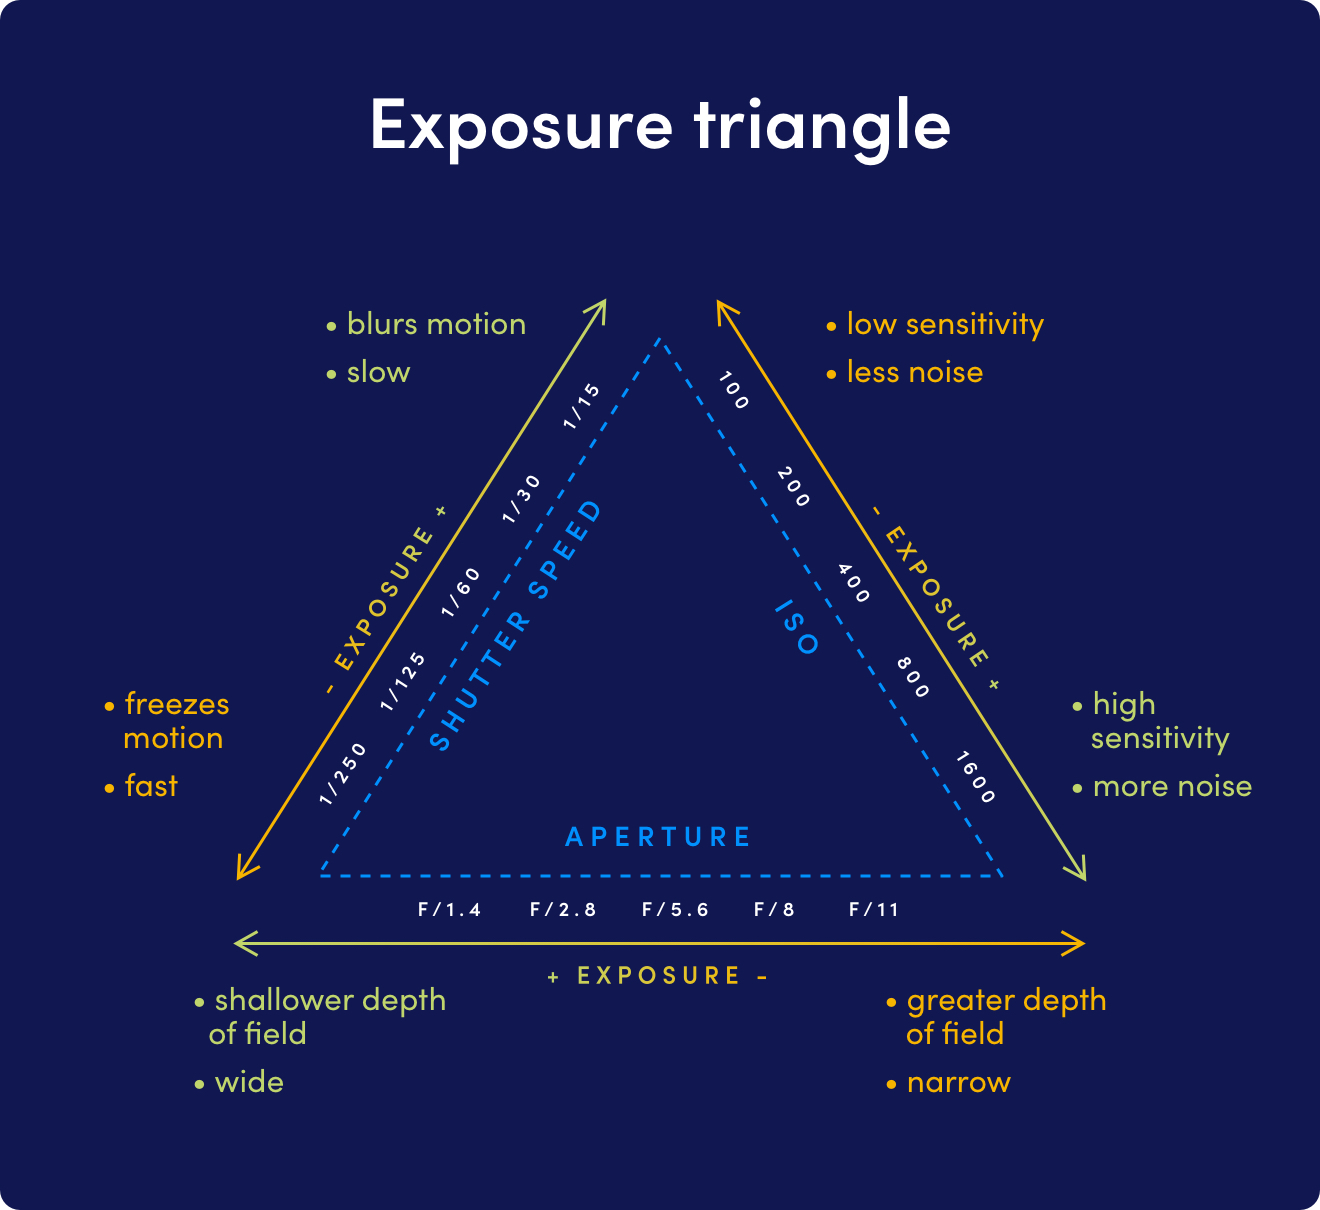
In manual mode, changing any one of these settings means you have to change one—or both—of the others in order to maintain the same exposure. The exposure triangle graphic illustrates the relationship between the three. Other modes, often found on the wheel of your camera, allow you to control one or two factors while the camera deals with the rest.
Shutter speed
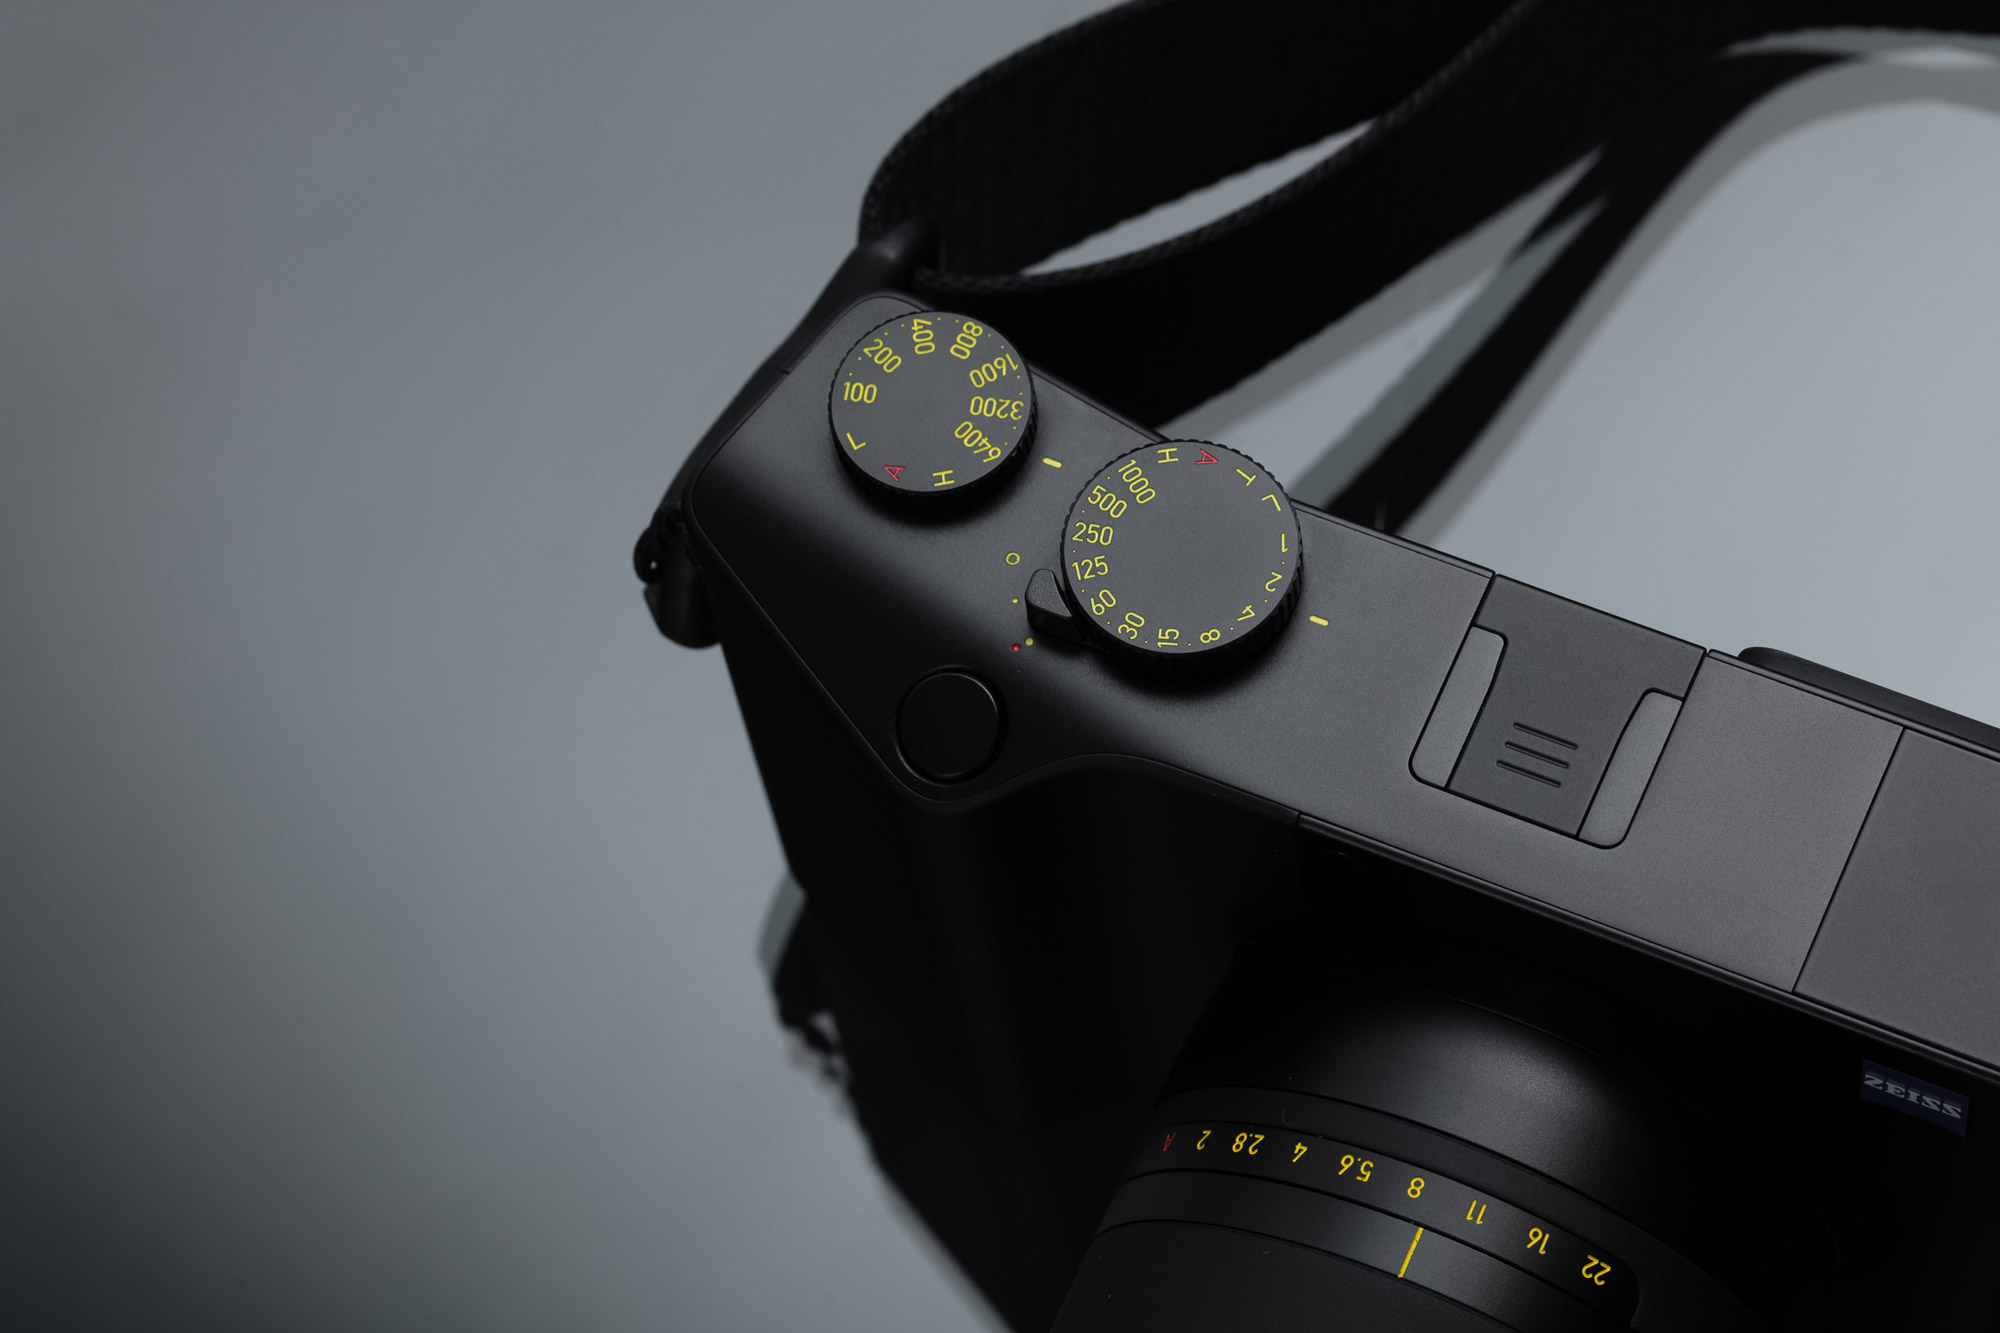
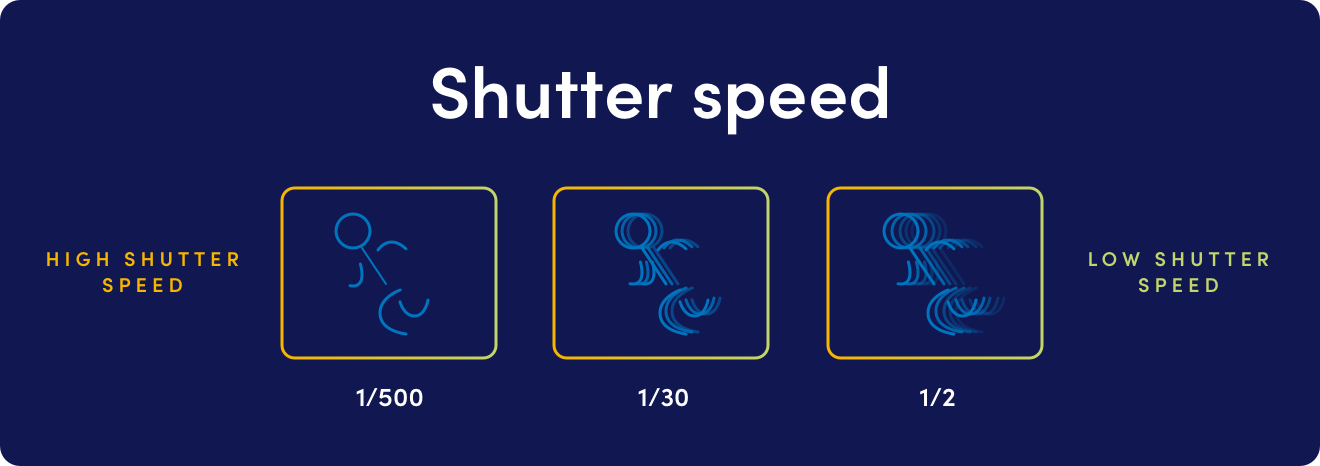
Shutter speed is the length of time your camera shutter opens and shuts. It’s how long light reaches your sensor, measured in fractions of a second. If your shutter opens and closes slowly, then both your subject and your camera will need to be still—otherwise your image will appear blurry. The faster your subject is moving, the faster your shutter speed should be.
For Canon and Nikon DSLR cameras, the shutter speed controls a physical shutter. But with mirrorless cameras from Sony, Fujifilm and Panasonic—and mirrorless Canon and Nikon models too—an electronic shutter controls the amount of time light reaches your sensor. As mirrorless cameras remove the time it takes for a mechanical shutter to operate, this means you can often achieve much higher shutter speeds on a mirrorless camera than on a DSLR. Either way, it’s still called shutter speed.
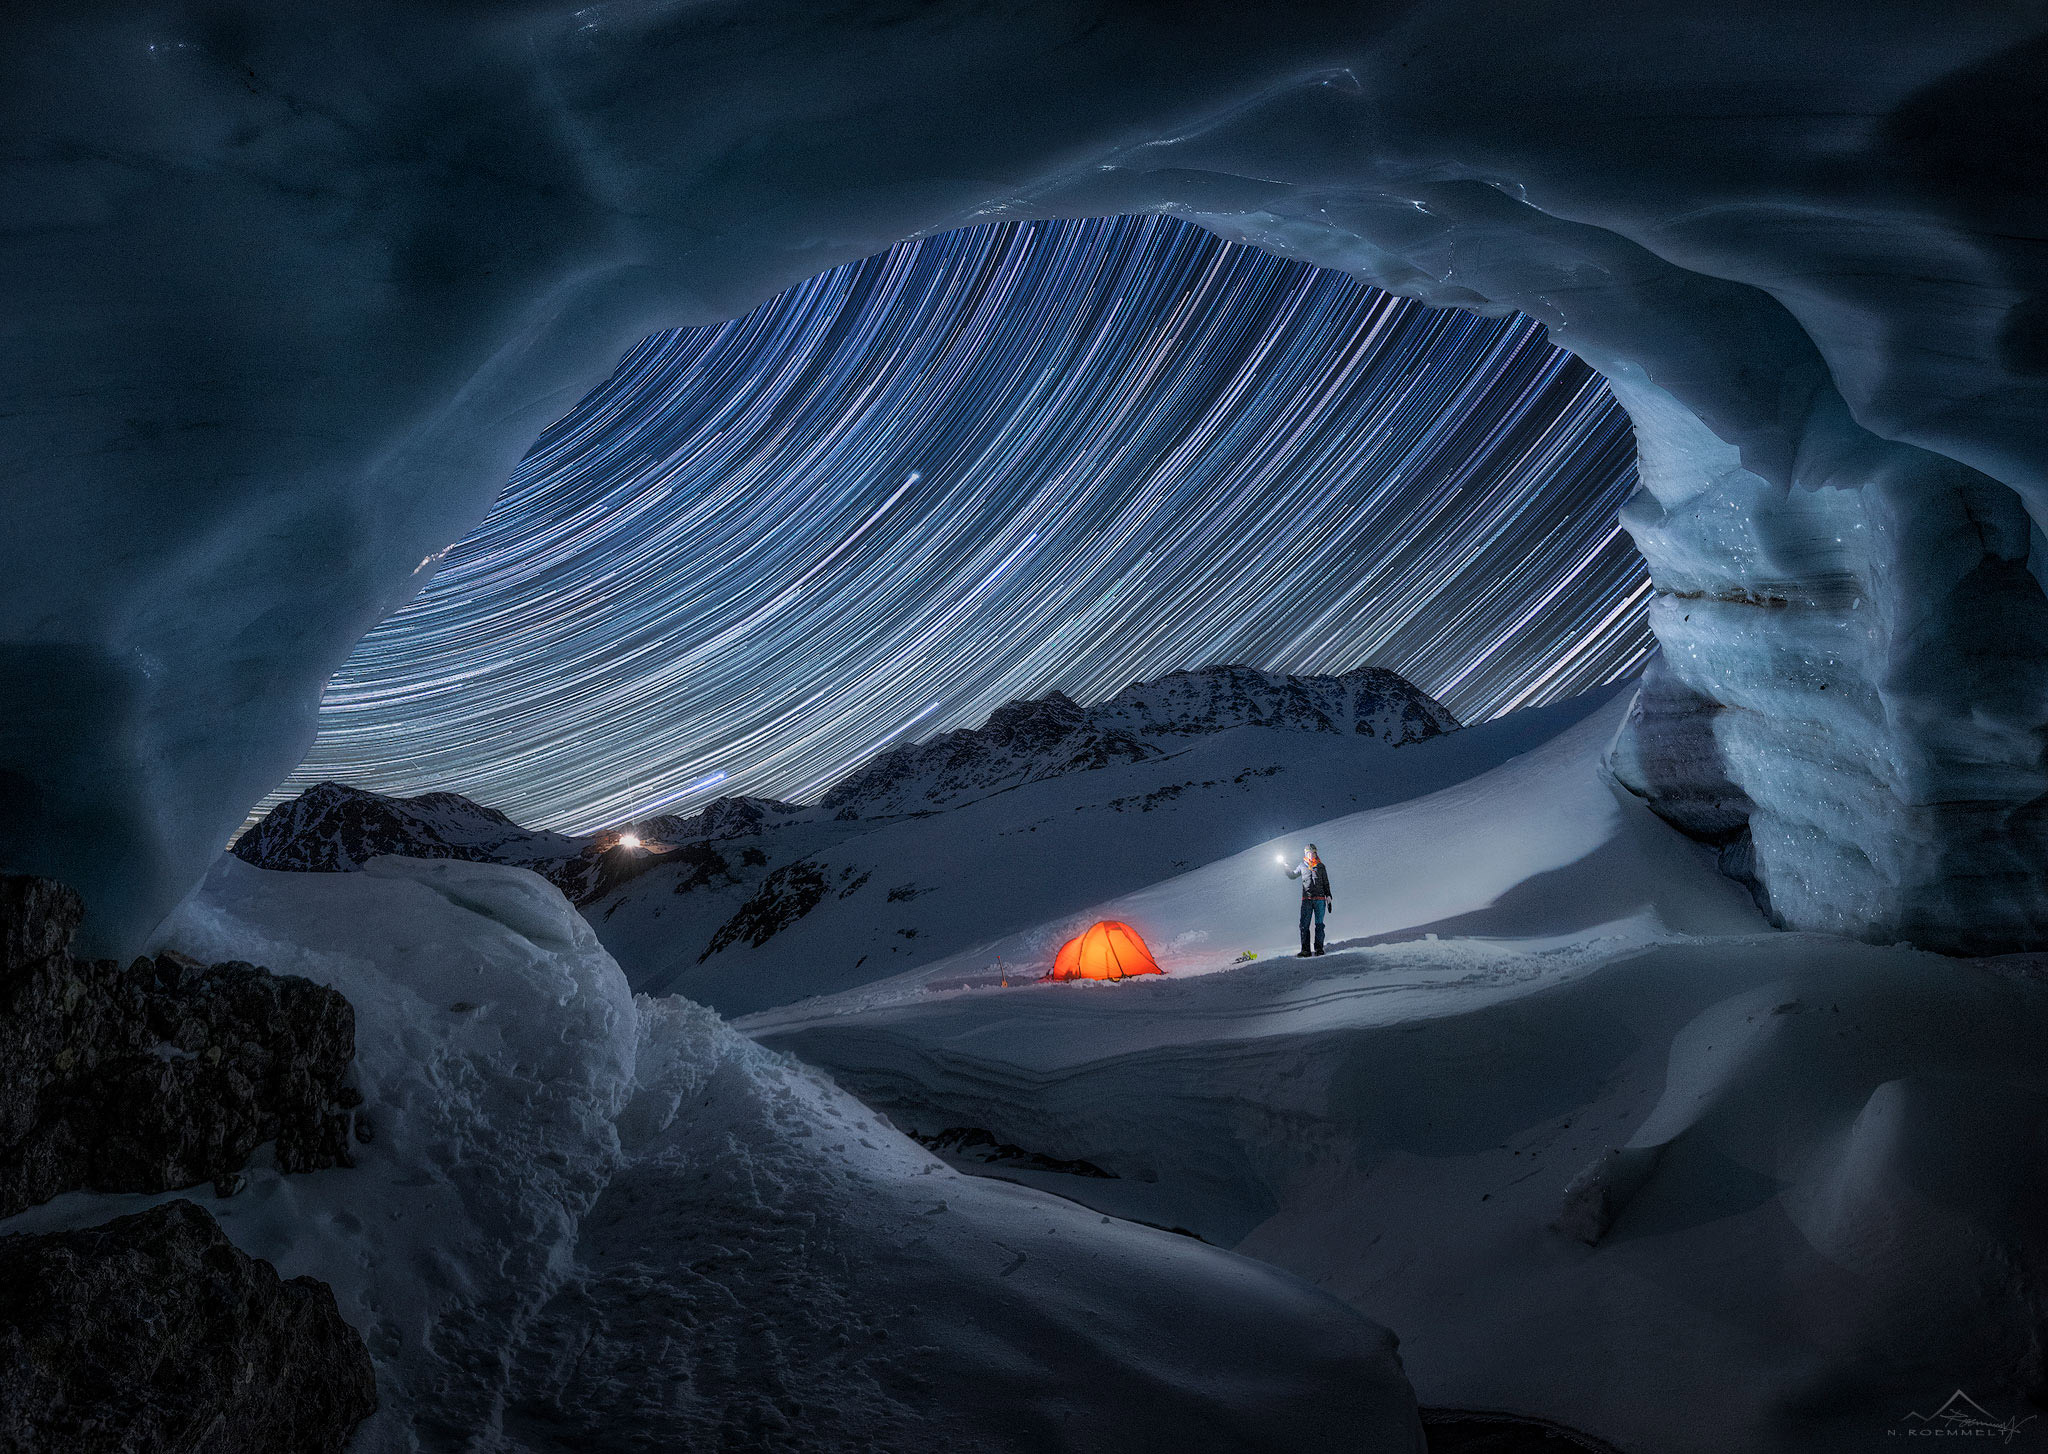
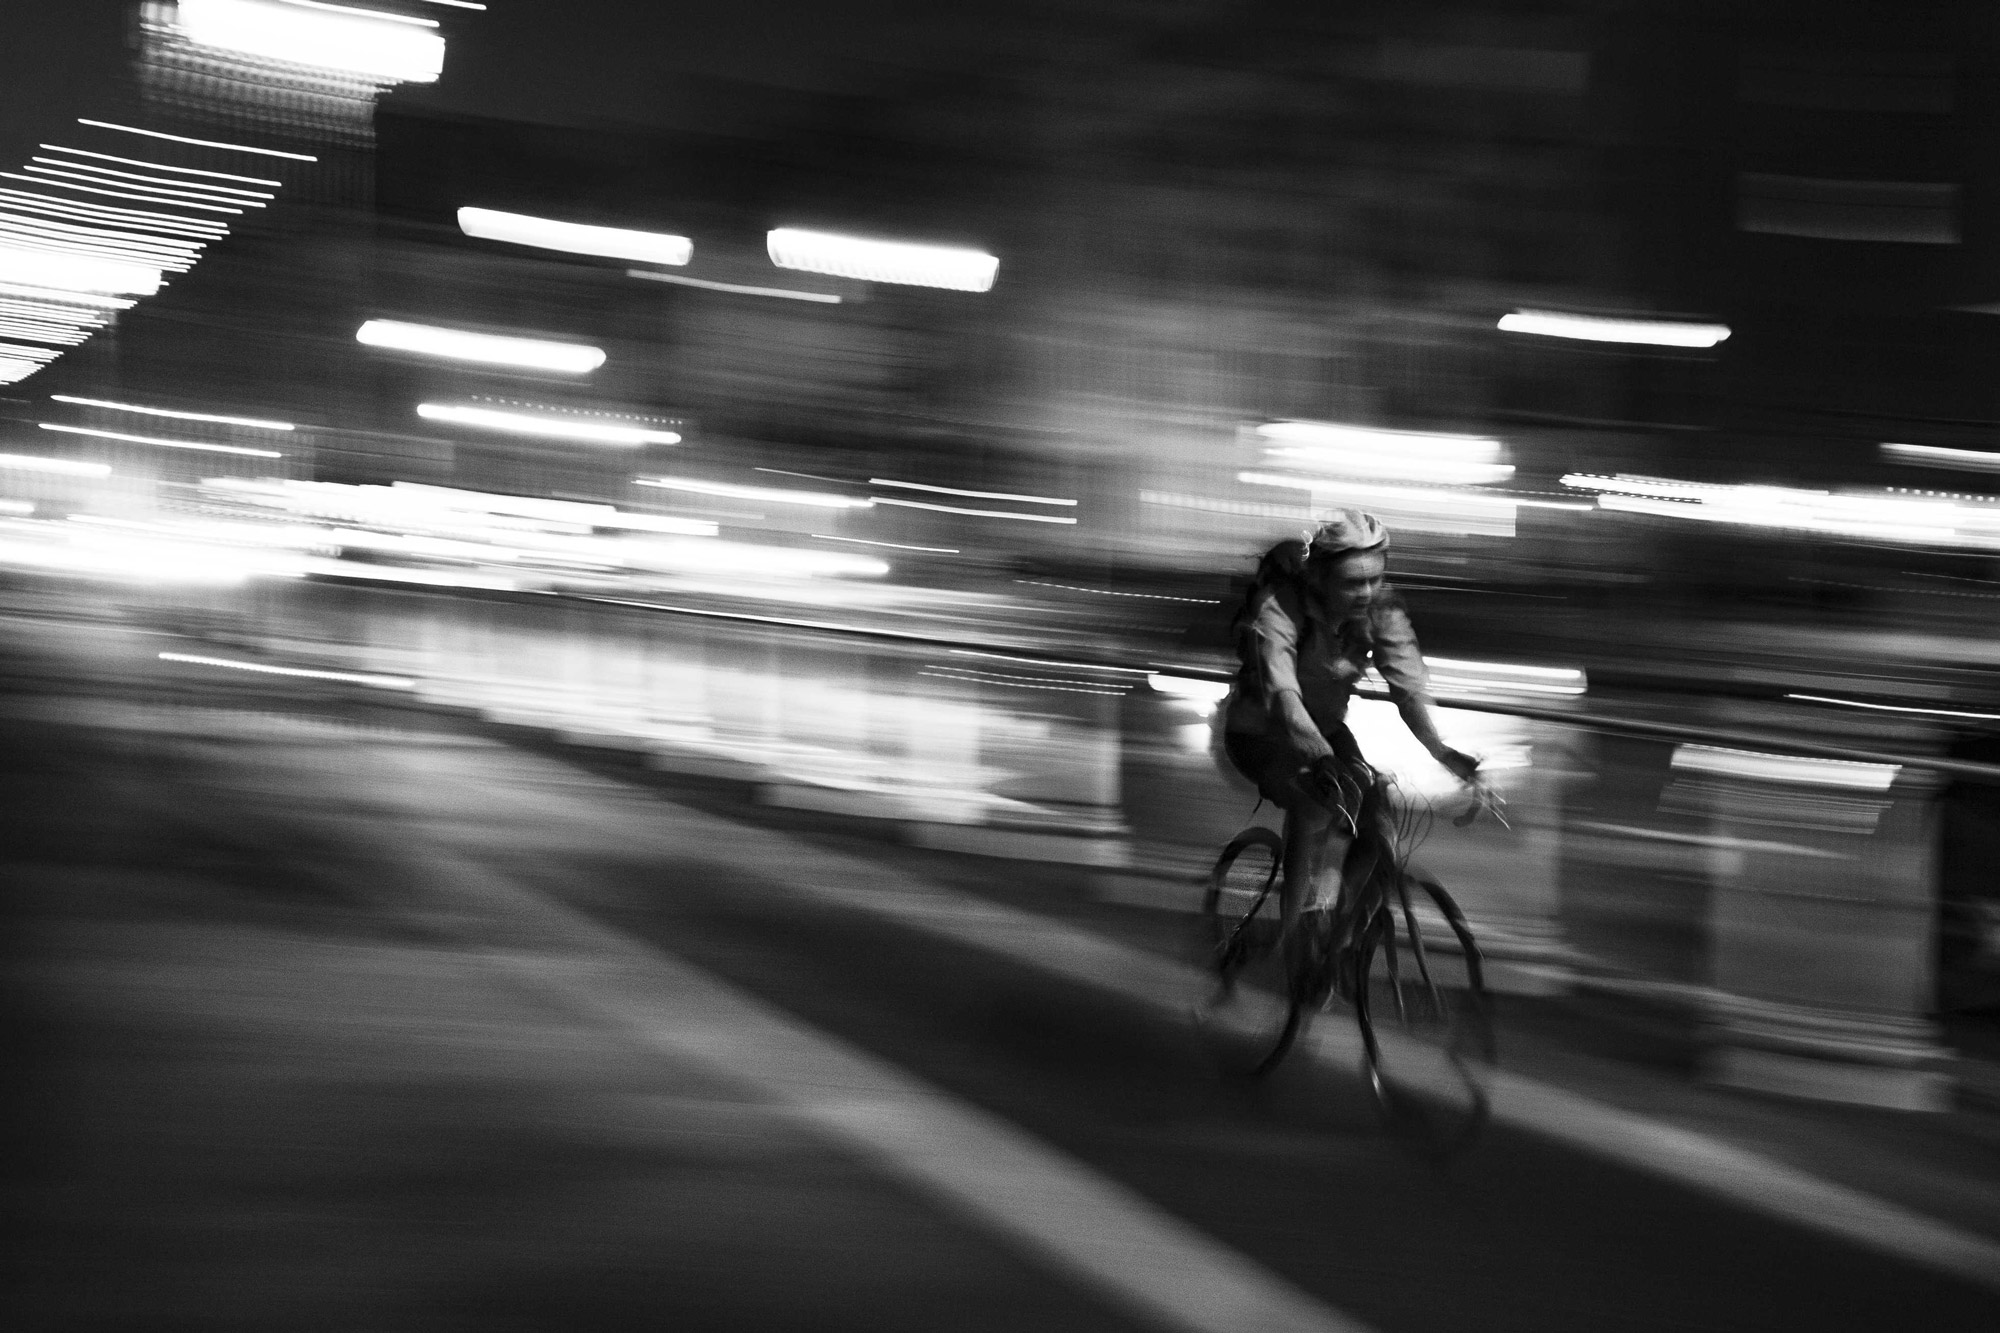
Photo by Nicholas Römmelt
The faster your shutter speed, the more frozen any action will appear. Shutter speeds quicker than 1/1000th-of-a-second are usually fast enough to capture wildlife and sports. But you’ll need to increase your ISO, or enlarge your aperture, to compensate for the lower amount of light captured. You can also slow down your shutter speed if you need to capture scenes where there is naturally a lower amount of light and little movement, for example with astrophotography. But, for these kinds of images, you want to make sure your camera is on a tripod to remove the movement of the camera by your hands. It’s not only the movement of your subject you need to consider, it’s also the movement of your camera.
Shutter speed also affects video, and should not be confused with framerate. Your video camera captures a certain number of frames per second—your framerate—and your shutter speed controls how long each frame is exposed. For the most natural-looking movement in your video, your shutter speed should be set to around double your framerate. So, if you’re shooting at 24 frames-per-second (FPS), your shutter speed should be around 1/48th-of-a-second. At 50FPS, 1/100th looks best. At 120FPS, 1/240th. And so on.
Aperture
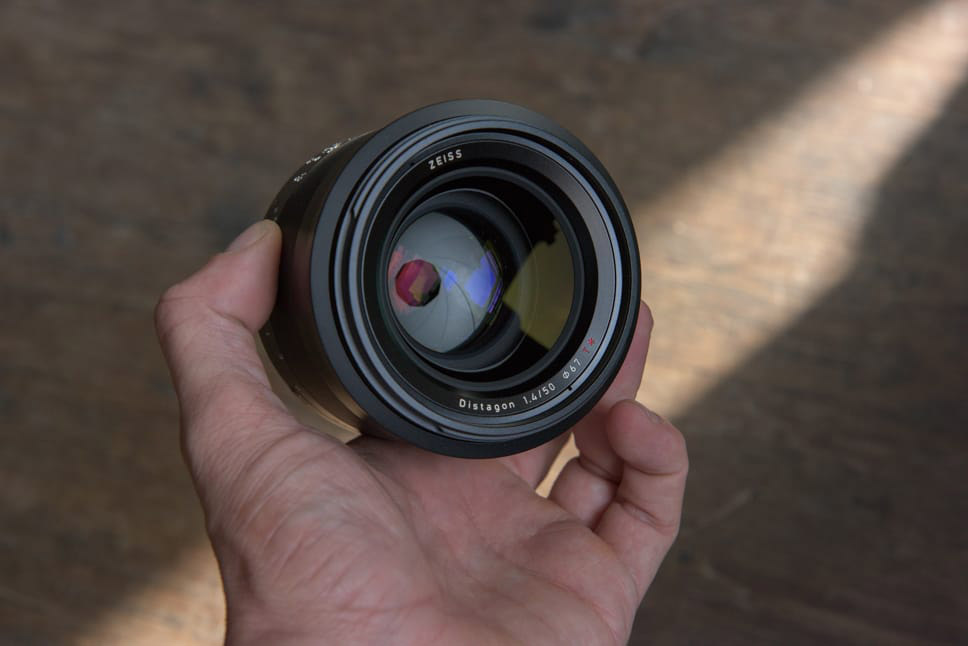
Your aperture is the adjustable opening inside your lens. It allows control over how much light reaches your sensor, based on its size—measured in f-numbers.
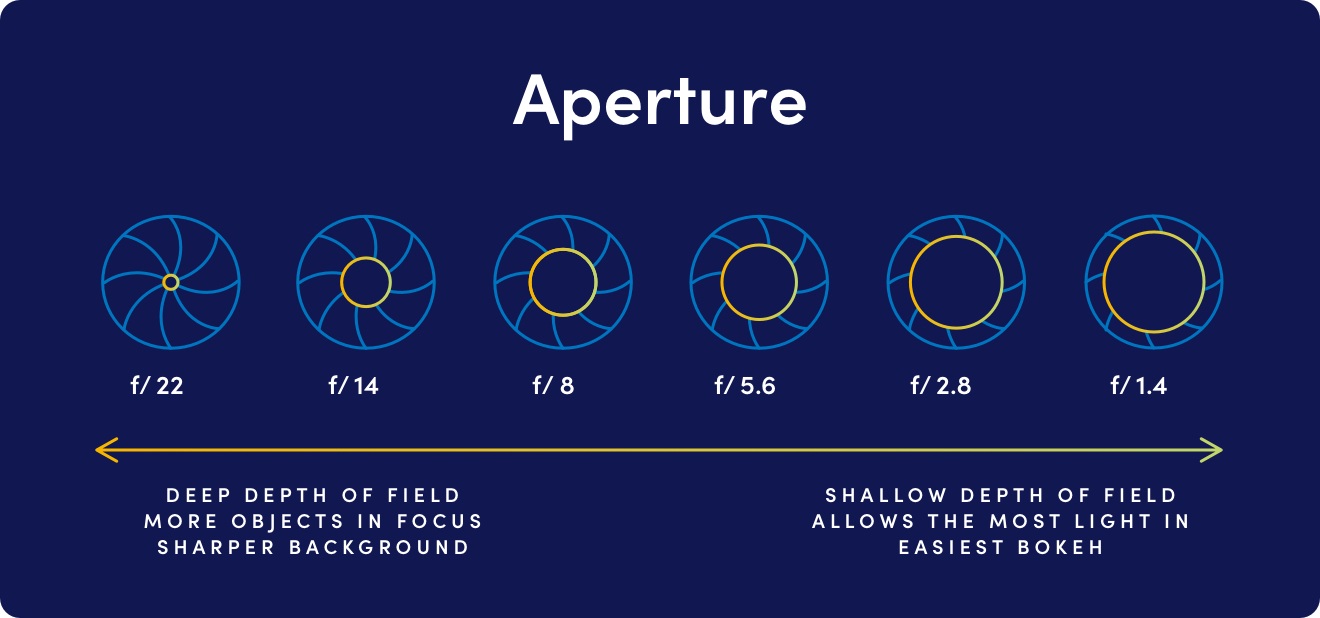
The greater the number, the smaller the aperture size and the least light hitting your sensor. And vice versa. Changing your aperture is one of the most important factors when controlling depth of field.
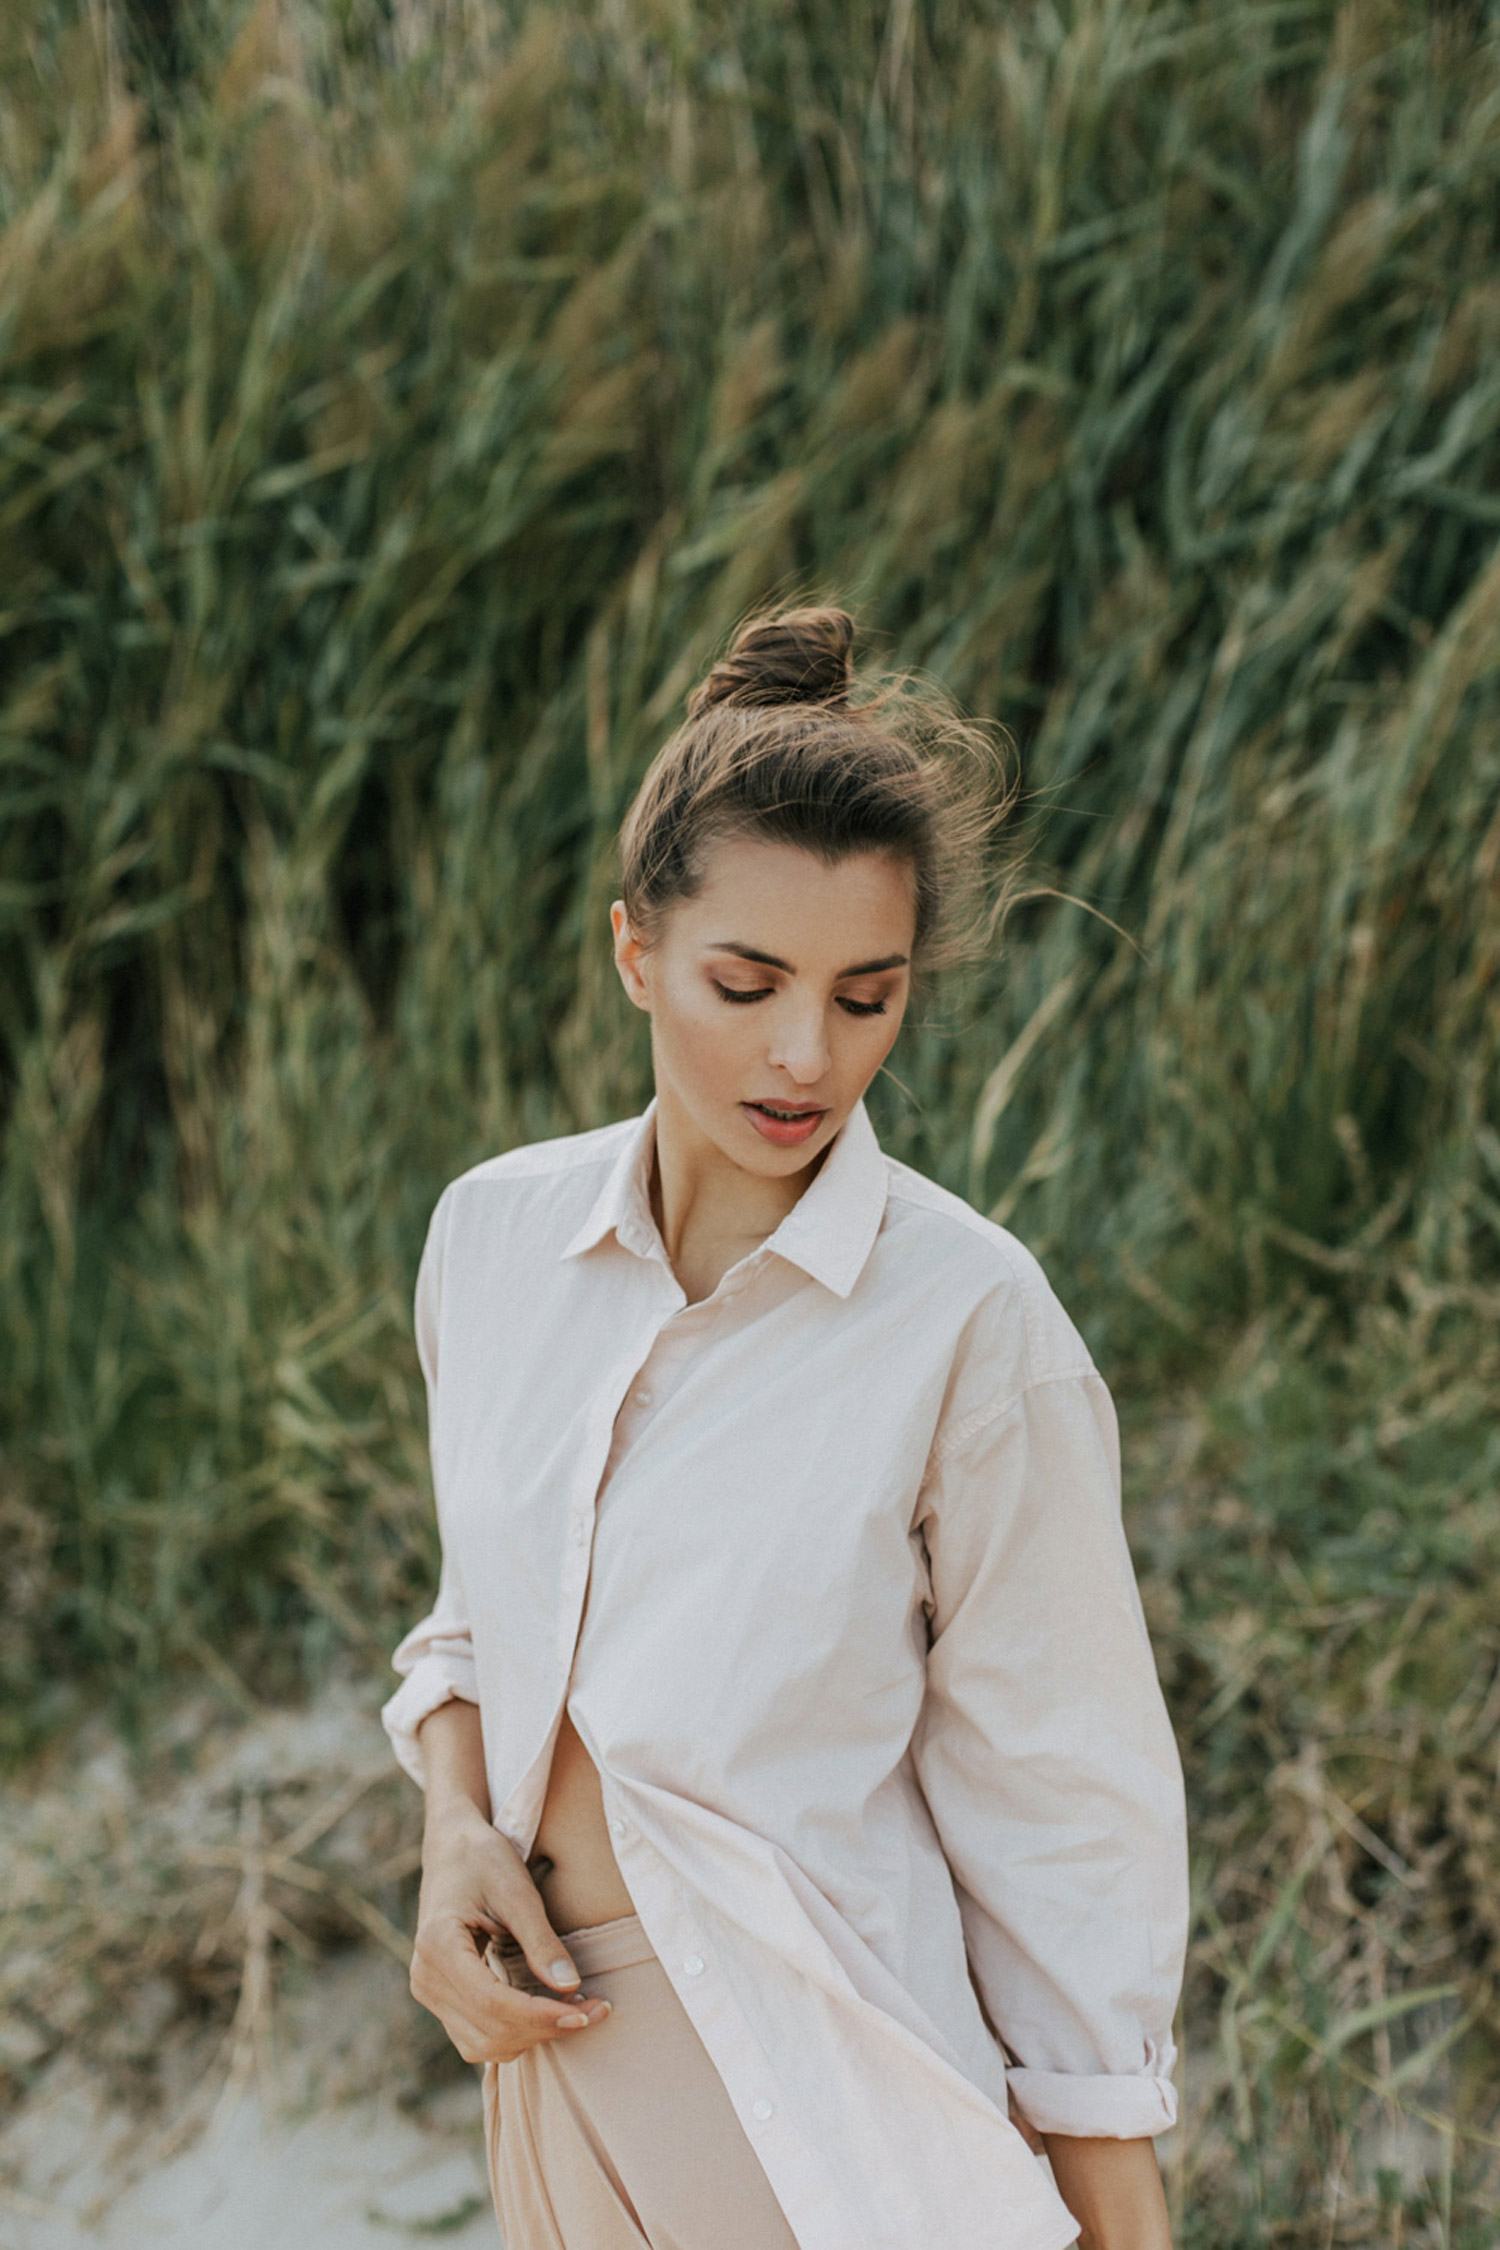
Photo by Anna Fichtner
In any given image, depth of field refers to the distance between the nearest and furthest objects that are in acceptably sharp focus. A shallow depth of field is perfect for soft-focus backgrounds and creamy bokeh. A larger depth of field means more of your image is in focus.
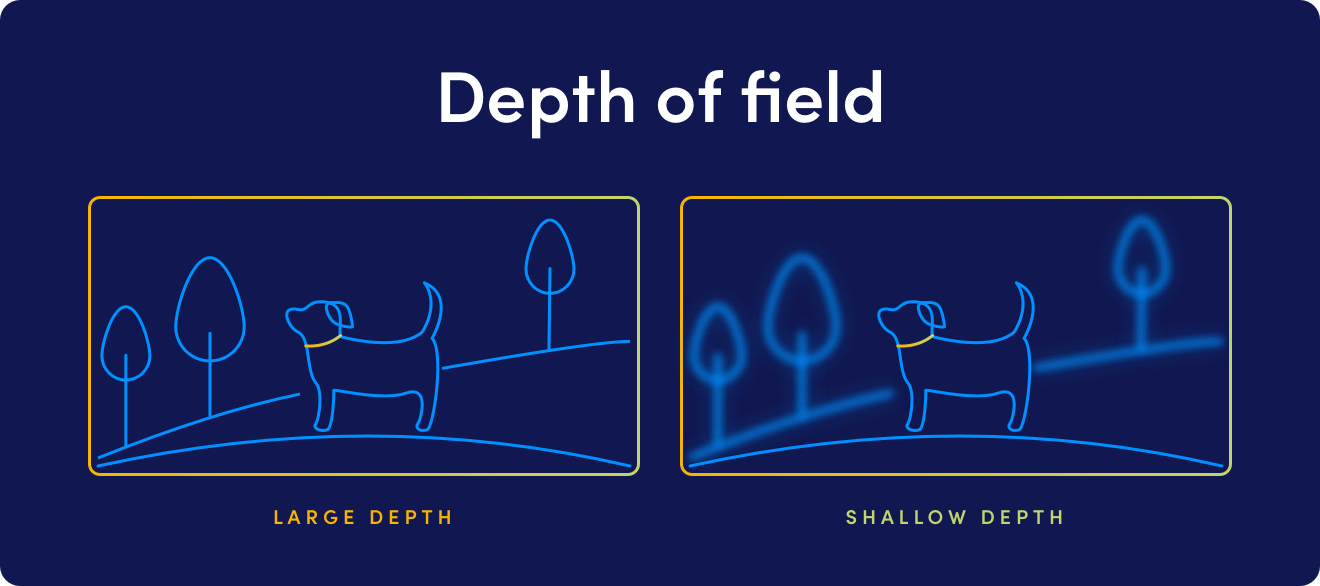
With your lens’ aperture set quite wide, to f/1.2 for example, your subject will be in focus but your background will be completely out of focus. A wider aperture tends to work quite well for portrait, macro and product photography, as well as intimate shots when filming video. Smaller apertures are best used when your subject and your environment both need to remain in focus.

Photo by Oliver Kerner
Again, a smaller aperture will mean less light reaching your sensor—so, if you want to shoot at f/12, you’ll need to choose a bright shooting location, increase your shutter speed or raise your ISO.
ISO
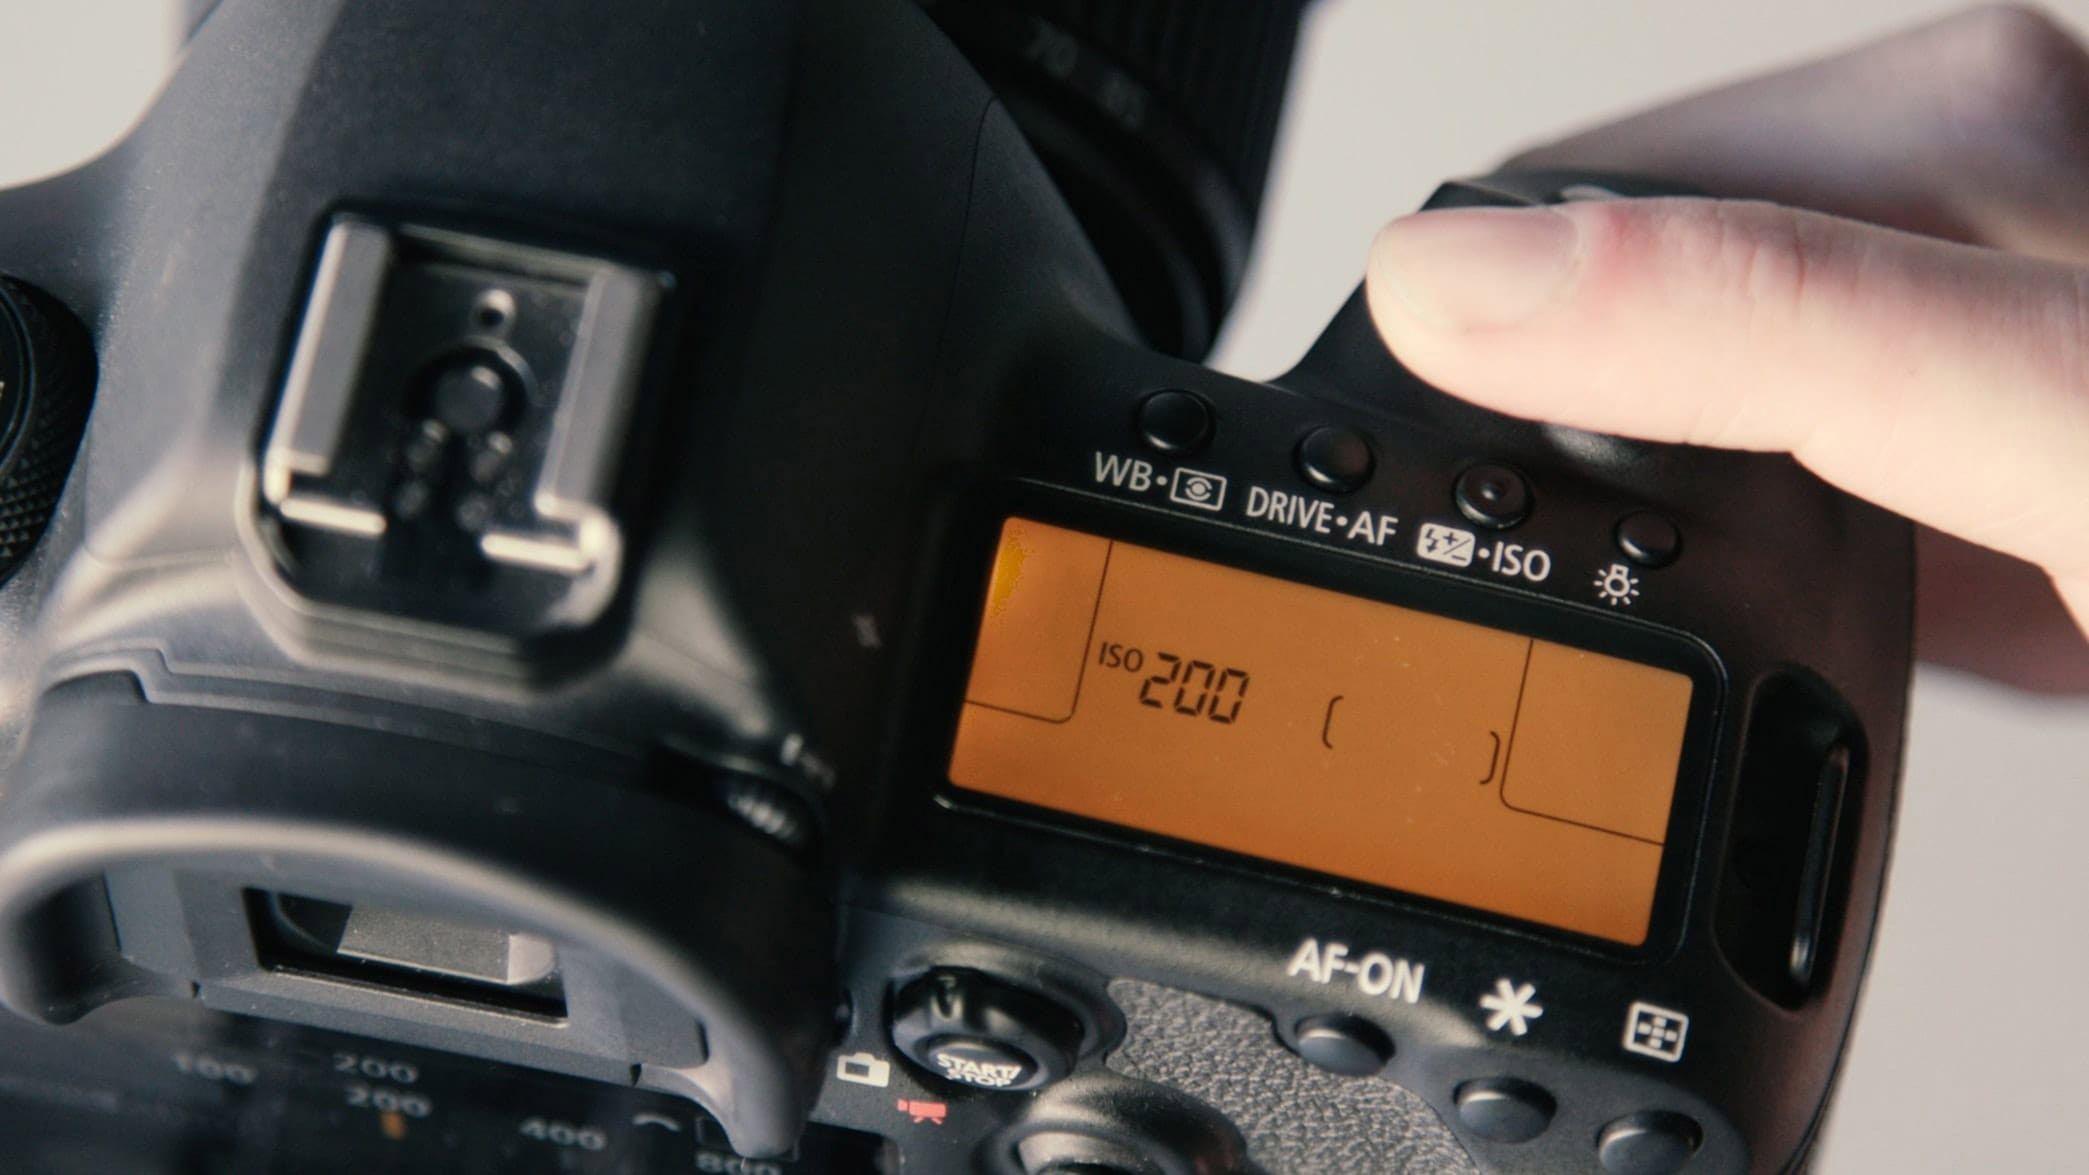
While your aperture and shutter speed controls the amount of light that reaches your sensor, your ISO controls how your sensor interprets the light. It’s an easy way to make your images brighter in low-light situations. The greater the ISO number, the more sensitive your sensor is to light—but the greater risk of a noisy image. It’s a balancing act.
As the ISO increases, the light it takes to expose the image decreases—and vice versa. For example, halving your ISO from 800 to 400 means you’ll need twice as much light to correctly expose your image.
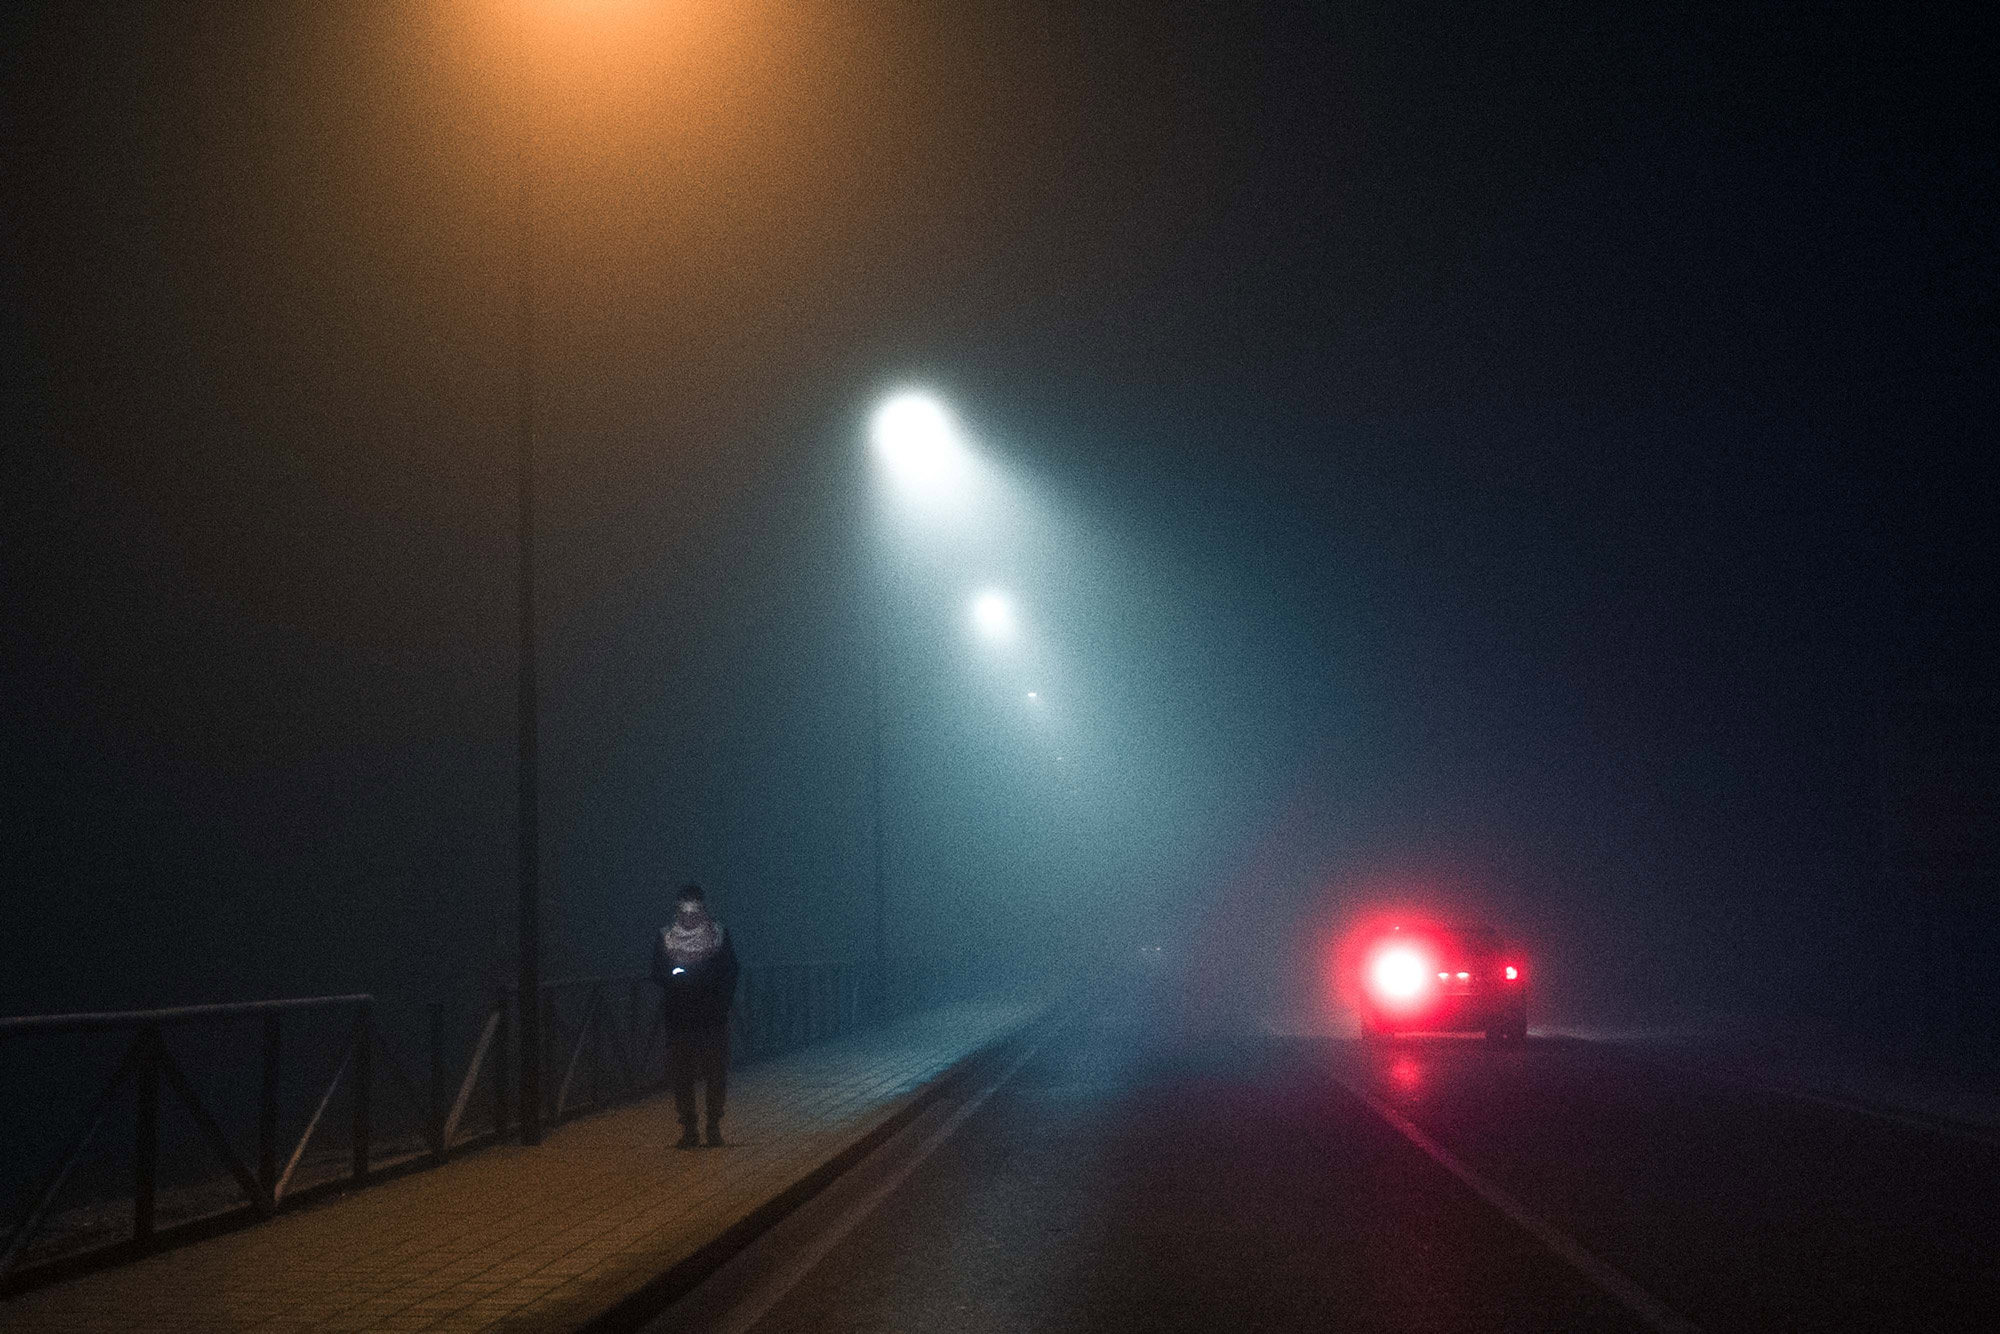
Photo by Francesco Lopazio
So you can use ISO to brighten or darken your exposure, especially when you’re limited by the shutter speed and aperture you want to use.
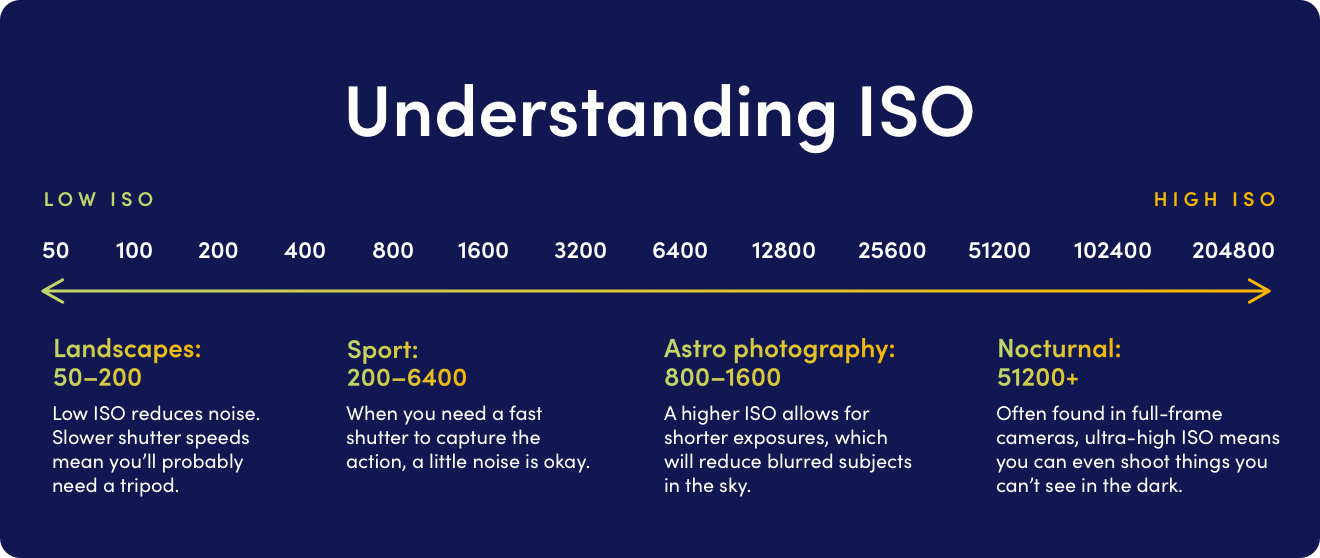
For landscapes, a low ISO of 50–200 reduces noise. But the slower shutter speeds required will mean you'll probably need a tripod. For sports, any ISO between 200–6,400 allows you to use fast shutter speeds to capture the action—and a little noise is generally okay. When creating astrophotography, meanwhile, you can push the ISO up to 800–1,600 to best capture the stars and reduce your shutter speed slightly. And finally, right at the top end, ultra-high ISOs of 51,200 and above—sometimes found on full-frame cameras—can allow you to even shoot things in the dark you can’t see with the naked eye.
Practice makes perfect
As a skill and an art form, using a camera requires a huge amount of patience, practice and trial-and-error. But by understanding how the exposure triangle works and putting your knowledge into practice will mean you’ll be able to have much greater creative control over your visual storytelling. So, try switching off auto and spend plenty of time playing with your aperture, ISO and shutter speed.