Learn: 8 Tips for Halloween Horror Photography
Published 31 October 2025 by MPB
Horror photographer Kelly Jean shares her tips, tricks and treats for creating the scariest images. From inspiration, preparation and finding the ideal eerie location to post-production and working with clients, watch the video to learn more. Or take a look at Kelly Jean’s Halloween photography—if you dare.
1. Get inspired
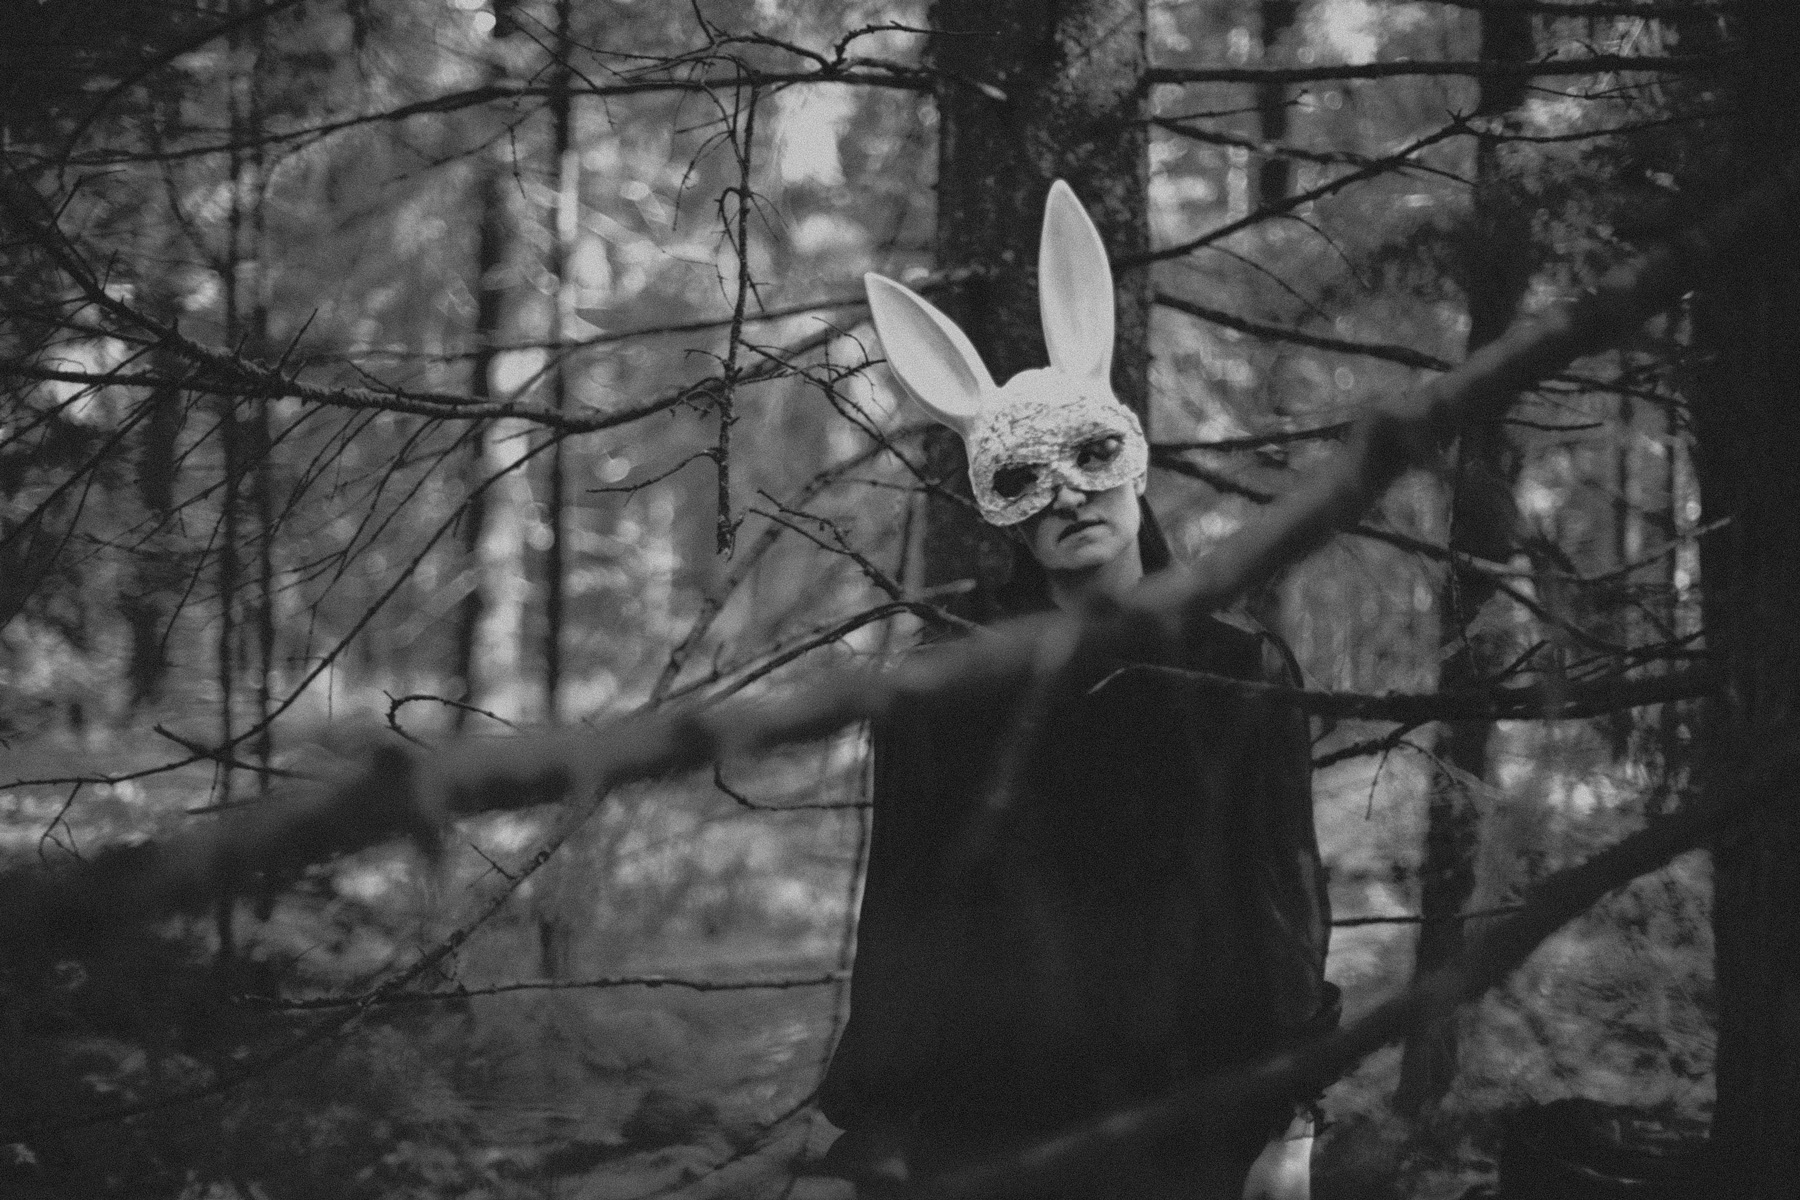
For horror photography, my biggest inspiration is horror movies. My favourite genre of horror movies is folk horror, more than classic horror. I suffer from nightmares and sleep paralysis, which I tend to recreate in some of my horror photos. I feel like it's a way for me to make them less powerful. Some of my photography series delves into mental health, which I use to help me process things that I'm going through.
Canon EOS 5D Mark IV | Canon EF 16-35mm f/2.8 L II USM | 24mm | f/9.0 | 1/9.0 | ISO 100
2. Prepare yourself
I'm an over-preparer, so I like to have a whole mood board ready before I even start any other preparation for the shoot. I then write an entire shot-list of exactly what frames I want to get. I don’t always stick to the exact list as I might get ideas while I am there, but the list is important so I don’t forget anything. I also have many notebooks at home, which I keep with different shot ideas in them for inspiration.
Canon 5D Mark IV | Canon EF 16-35mm f/2.8 L II USM | 16mm | f/6.3 | 1/125 | ISO 2500
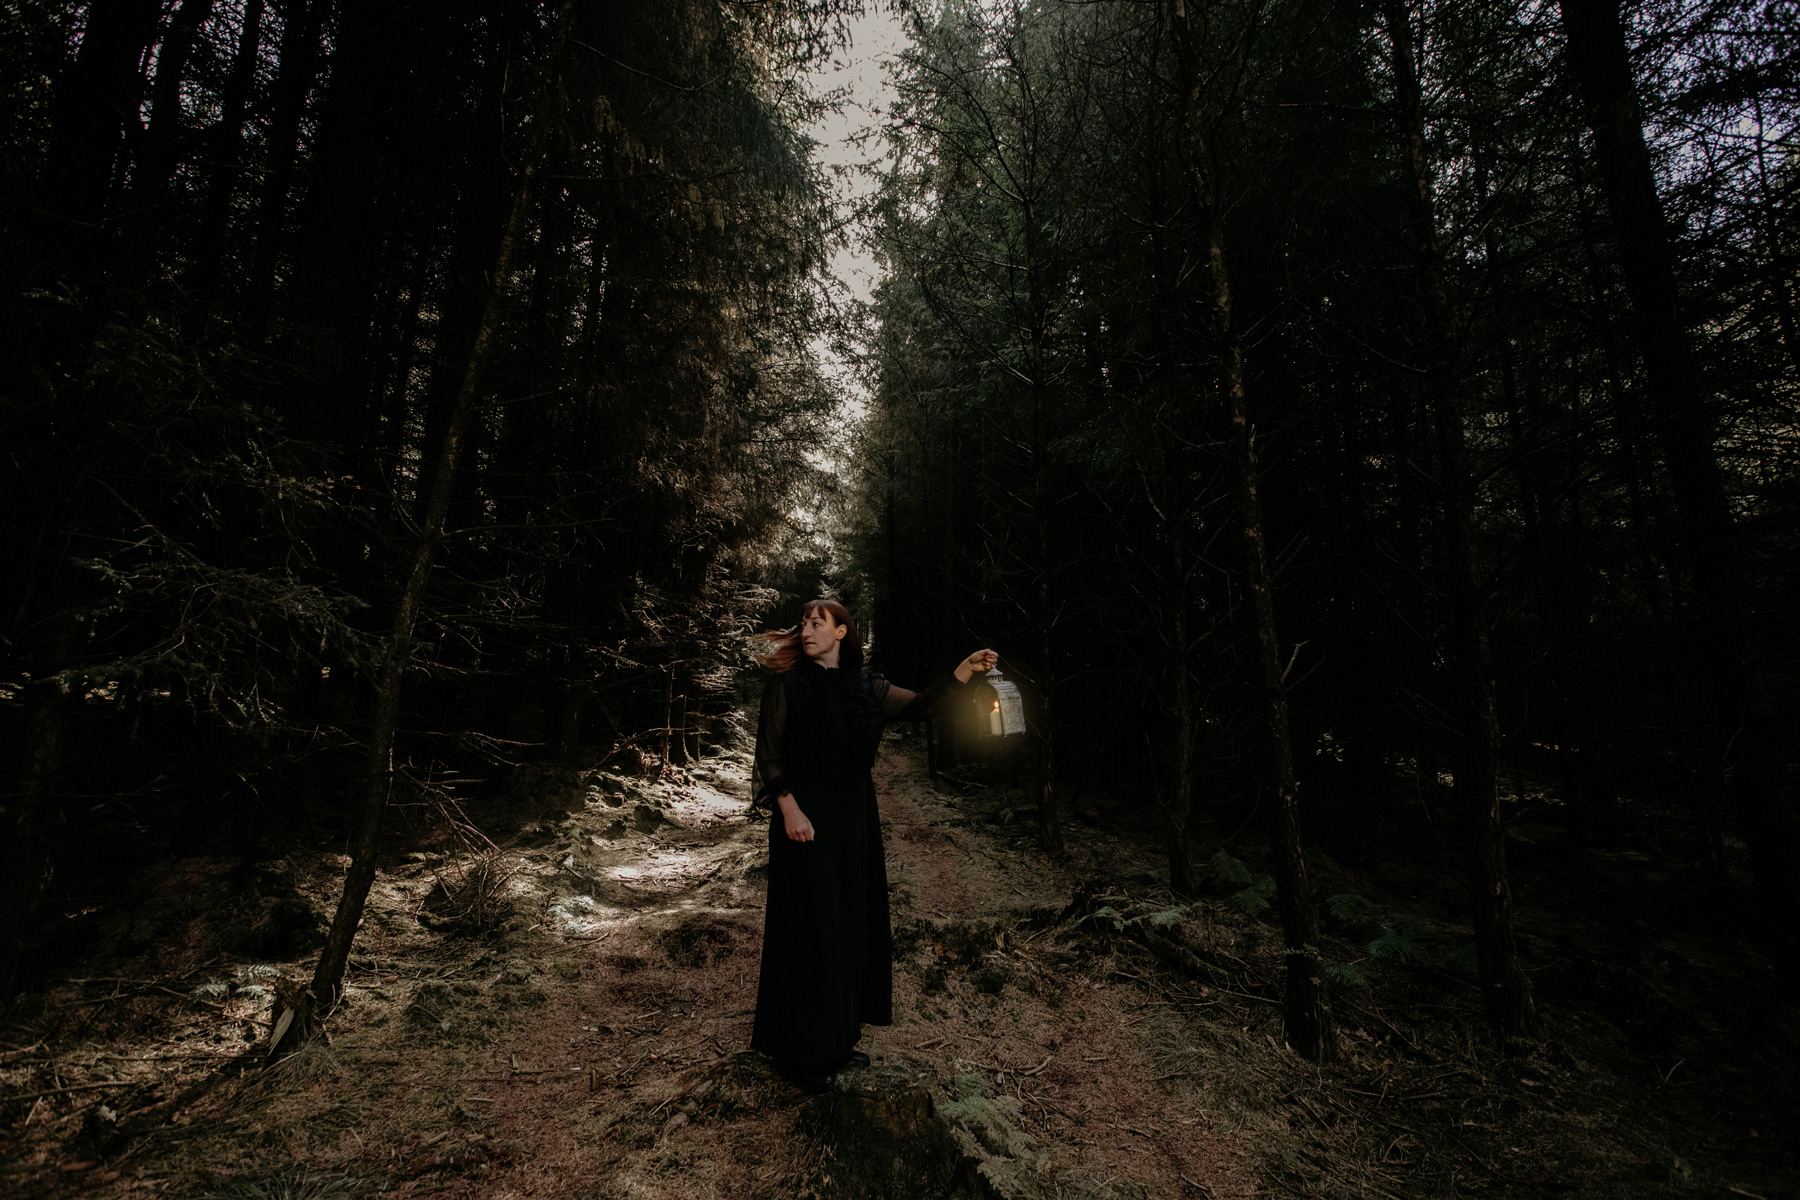
3. Find your locations
Finding the right location for the right shoot is really important. If you can, it’s always good to do research and scout out the location beforehand. I try and find places where I can get a lot of different types of shots in one location. The woods are a great place to start.
Canon EOS 5D Mark IV | Canon EF 16-35mm f/2.8 L II USM | 16mm | f/4.0 | 1/400 | ISO 2500
4. Check in with your client
It is important to prep your client or model before going into a shoot. You need to have a clear discussion about what's going to happen and what they could be doing during the shoot. With horror photography, there tends to be a lot of lying down on the ground, holding props and changing or getting fake blood and weird accessories stuck to them. It’s important to have a conversation and see what your model or client is comfortable with.
Canon EOS 5D Mark IV | Canon EF 50mm f/1.4 USM | 50mm | f/1.4 | 1/320 | ISO 400
5. Gather costumes and props
It’s a good idea to collect costumes and props as you go. You’ll slowly build up a base for shoots. All my costumes and bits, I've collected over the years. Also, try your creative side and make your own props and costumes. Halloween is a great time of year to start a horror photography prop collection!
Used Canon EOS 5D Mark IV
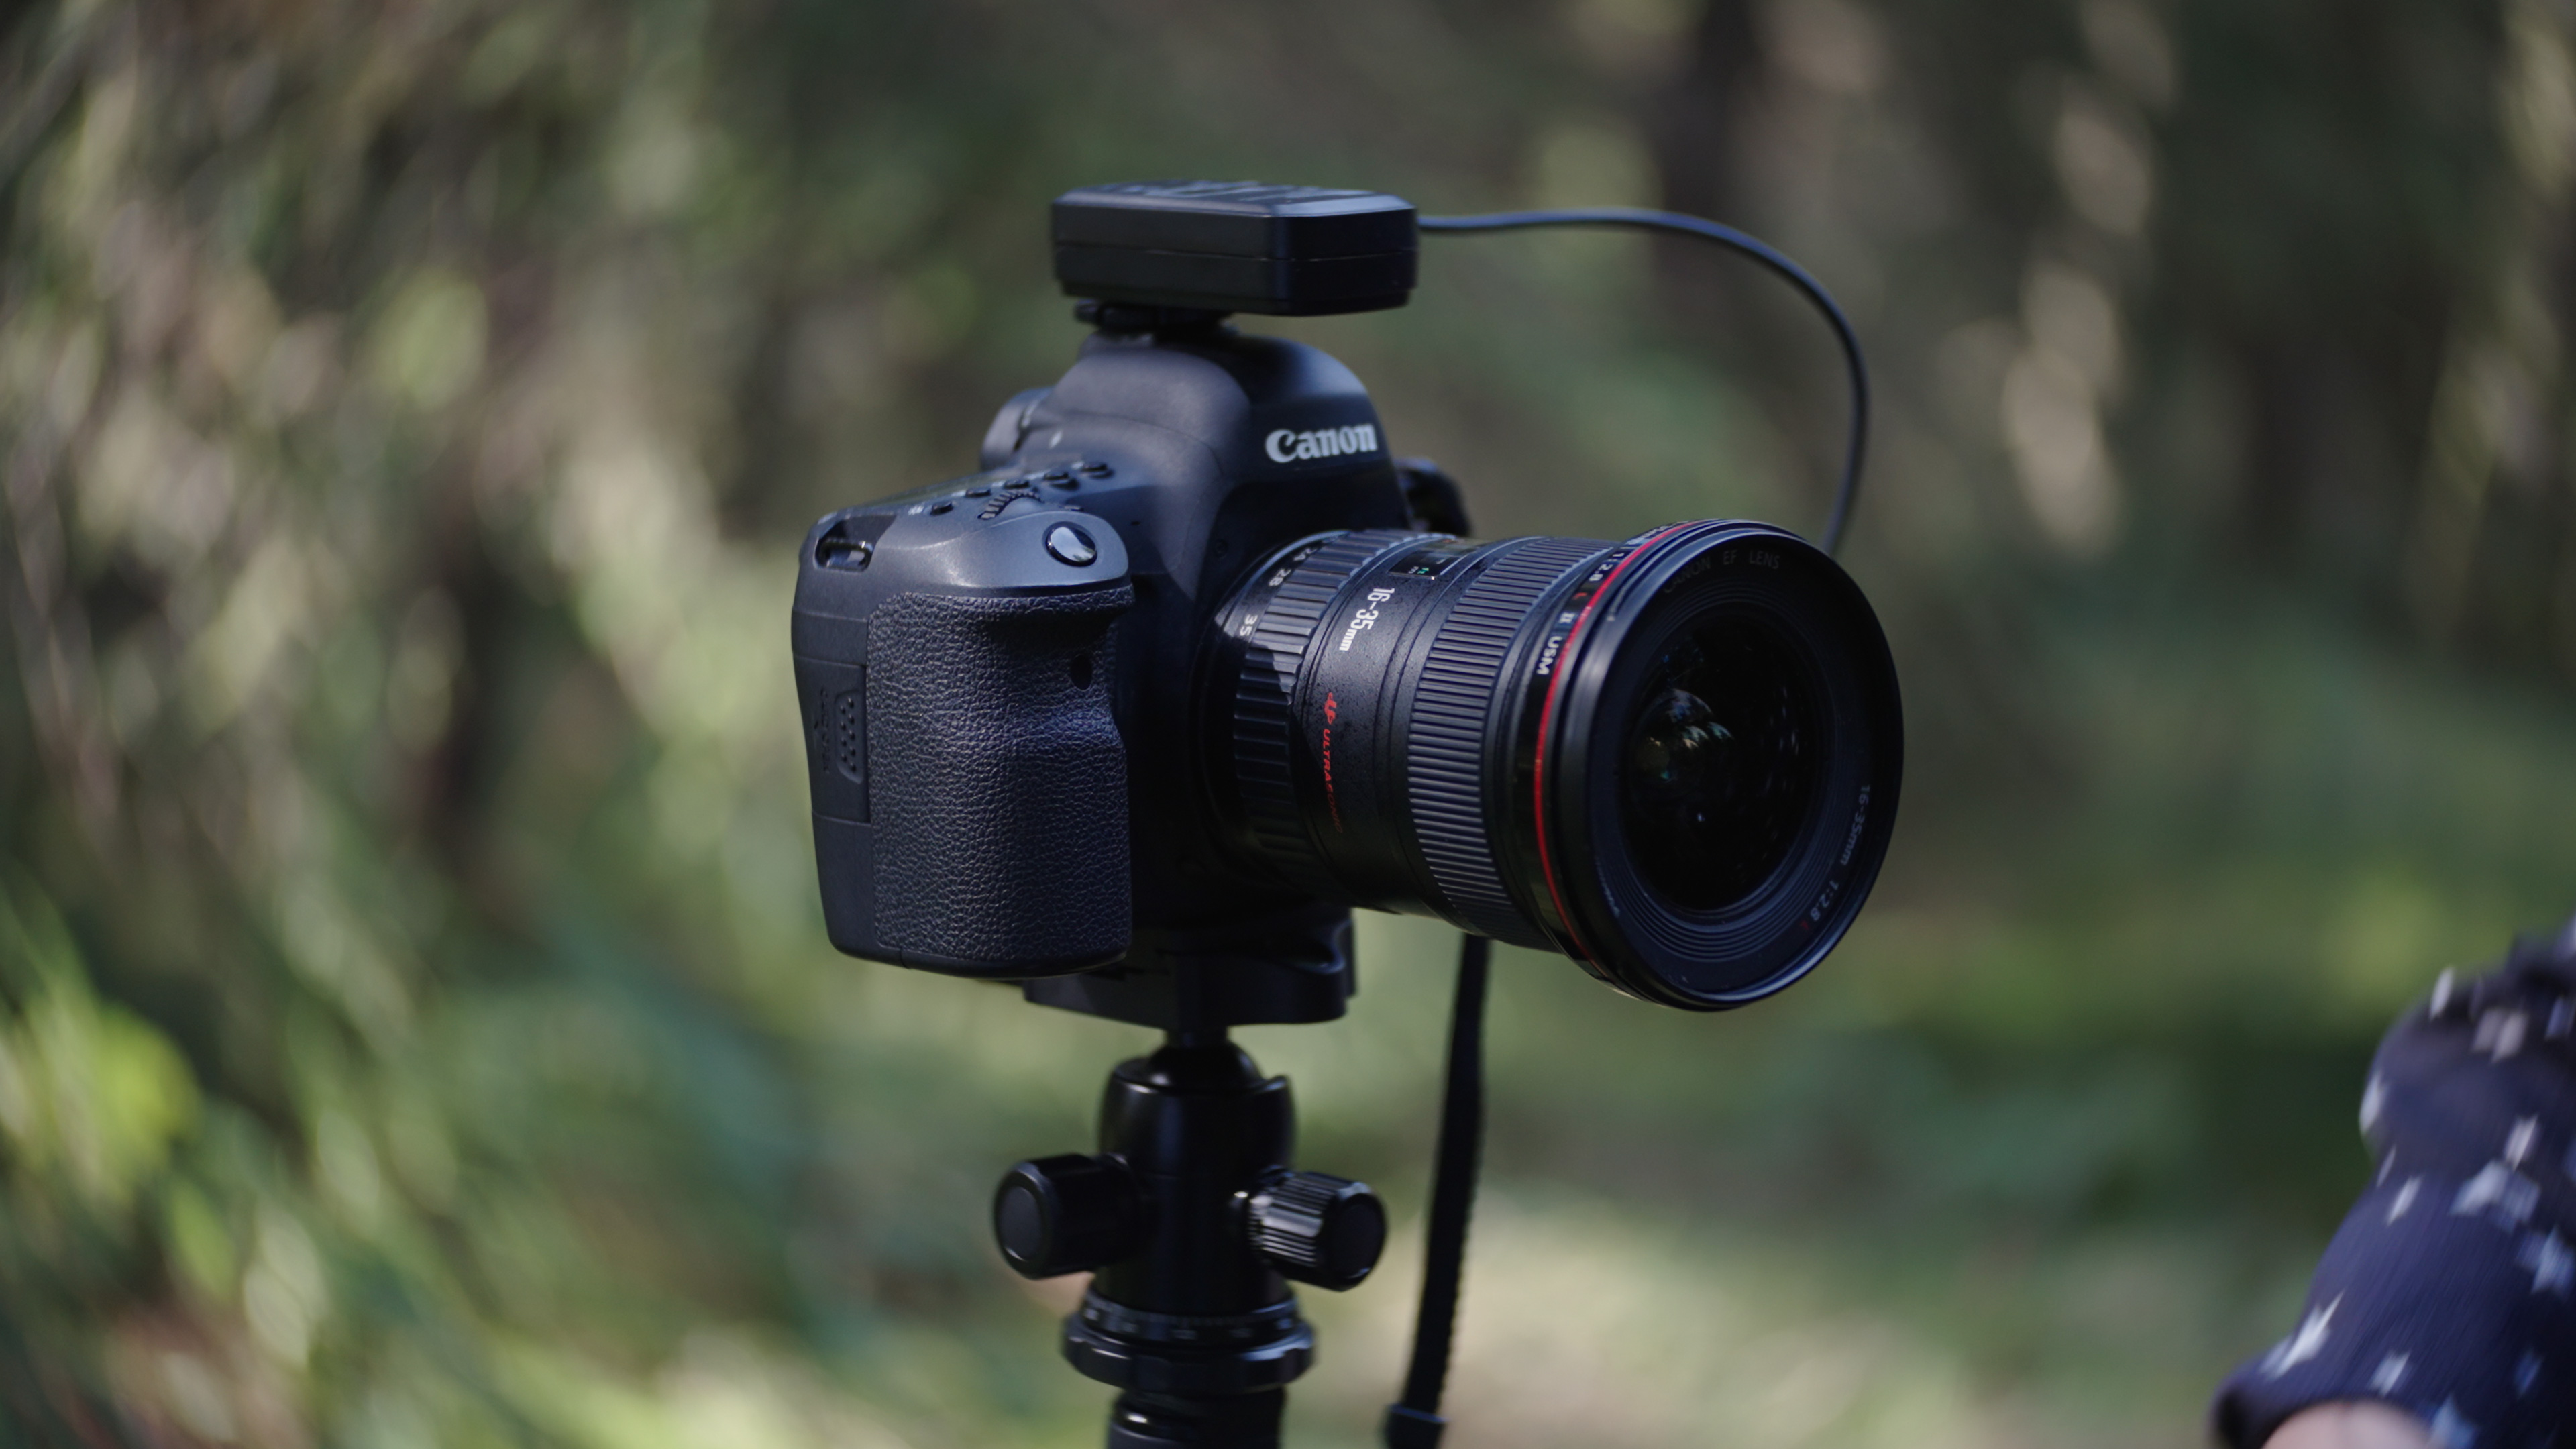
6. Choose the right setup for you
For most horror photography shoots, I generally use two-camera setups. For handheld shots, I use my Canon EOS 5D Mark IV. For anything on a tripod that requires a remote shutter, I use my Canon EOS 6D Mark II, which is great as it has a flip screen, allowing me to see the images from a different angle. For lenses, I use a Canon EF 50mm f/1.4 USM and a Canon EF 16-35mm f/2.8 L II USM for wider shots.
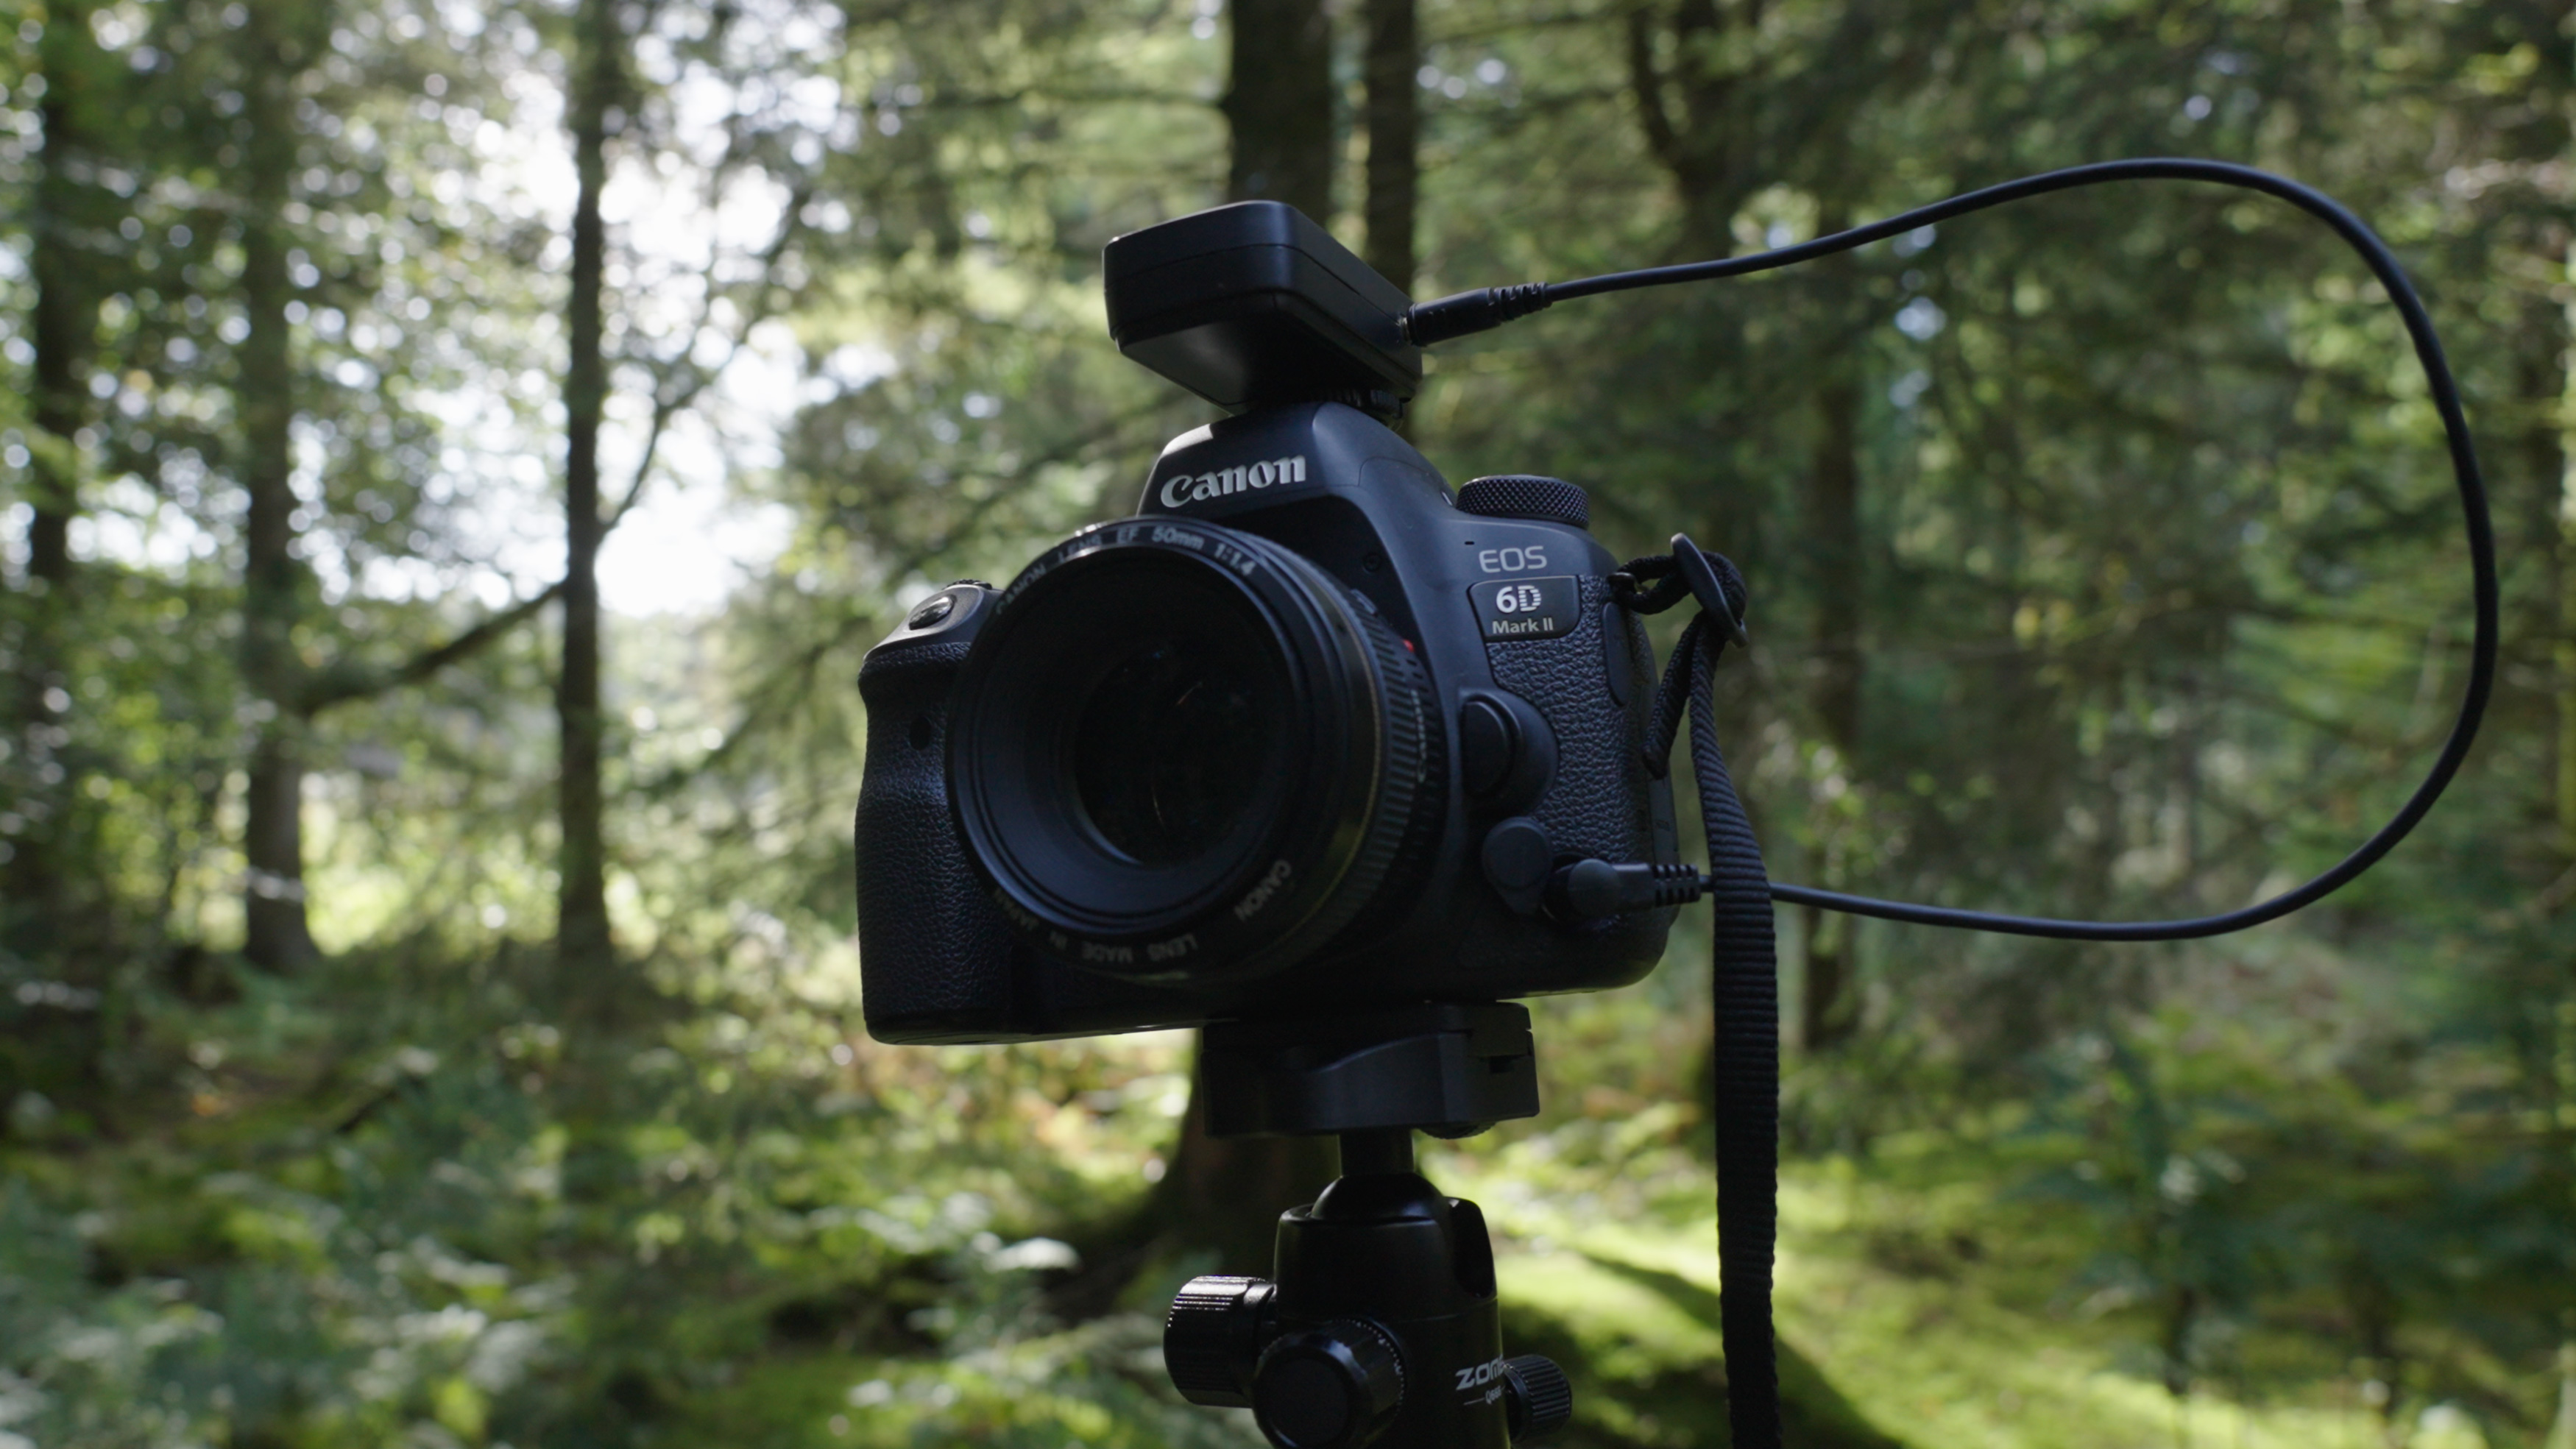
Used Canon EOS 6D Mark II
Canon EOS 5D Mark IV | Canon EF 16-35mm f/2.8 L II USM | 16mm | f/5.6 | 1/125 | ISO 2000
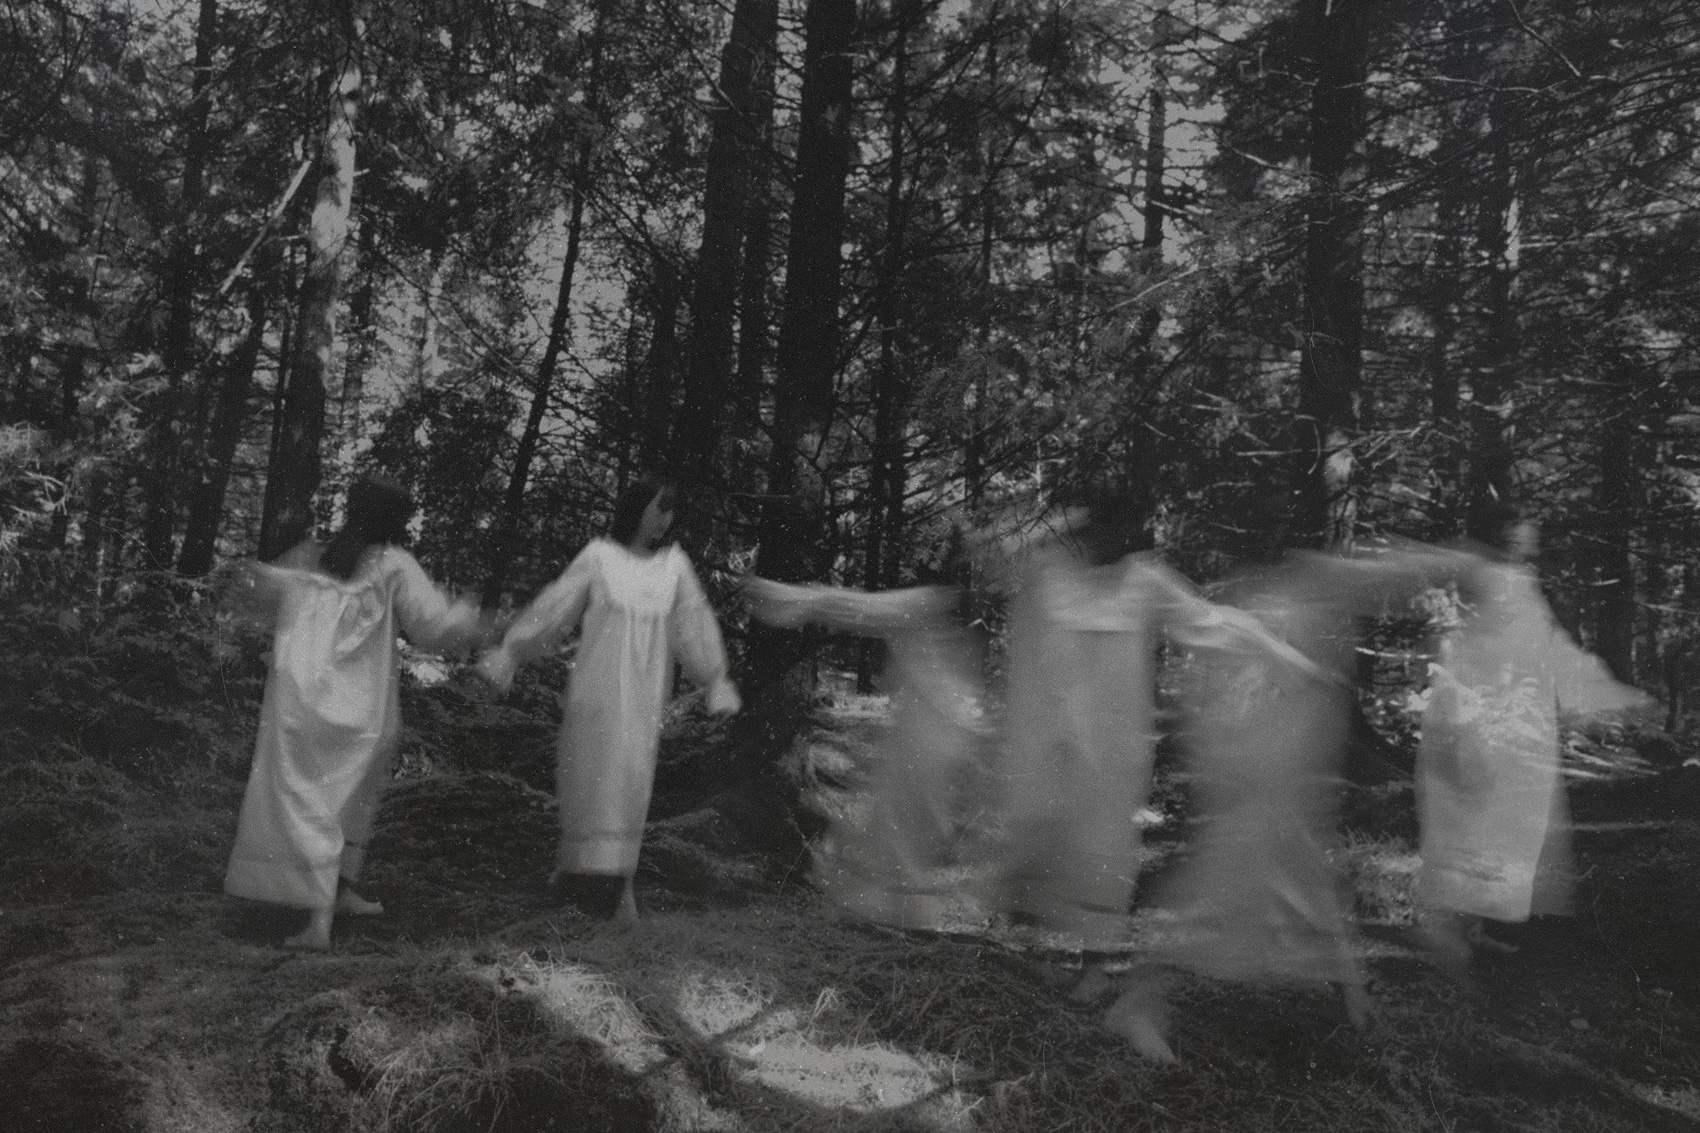
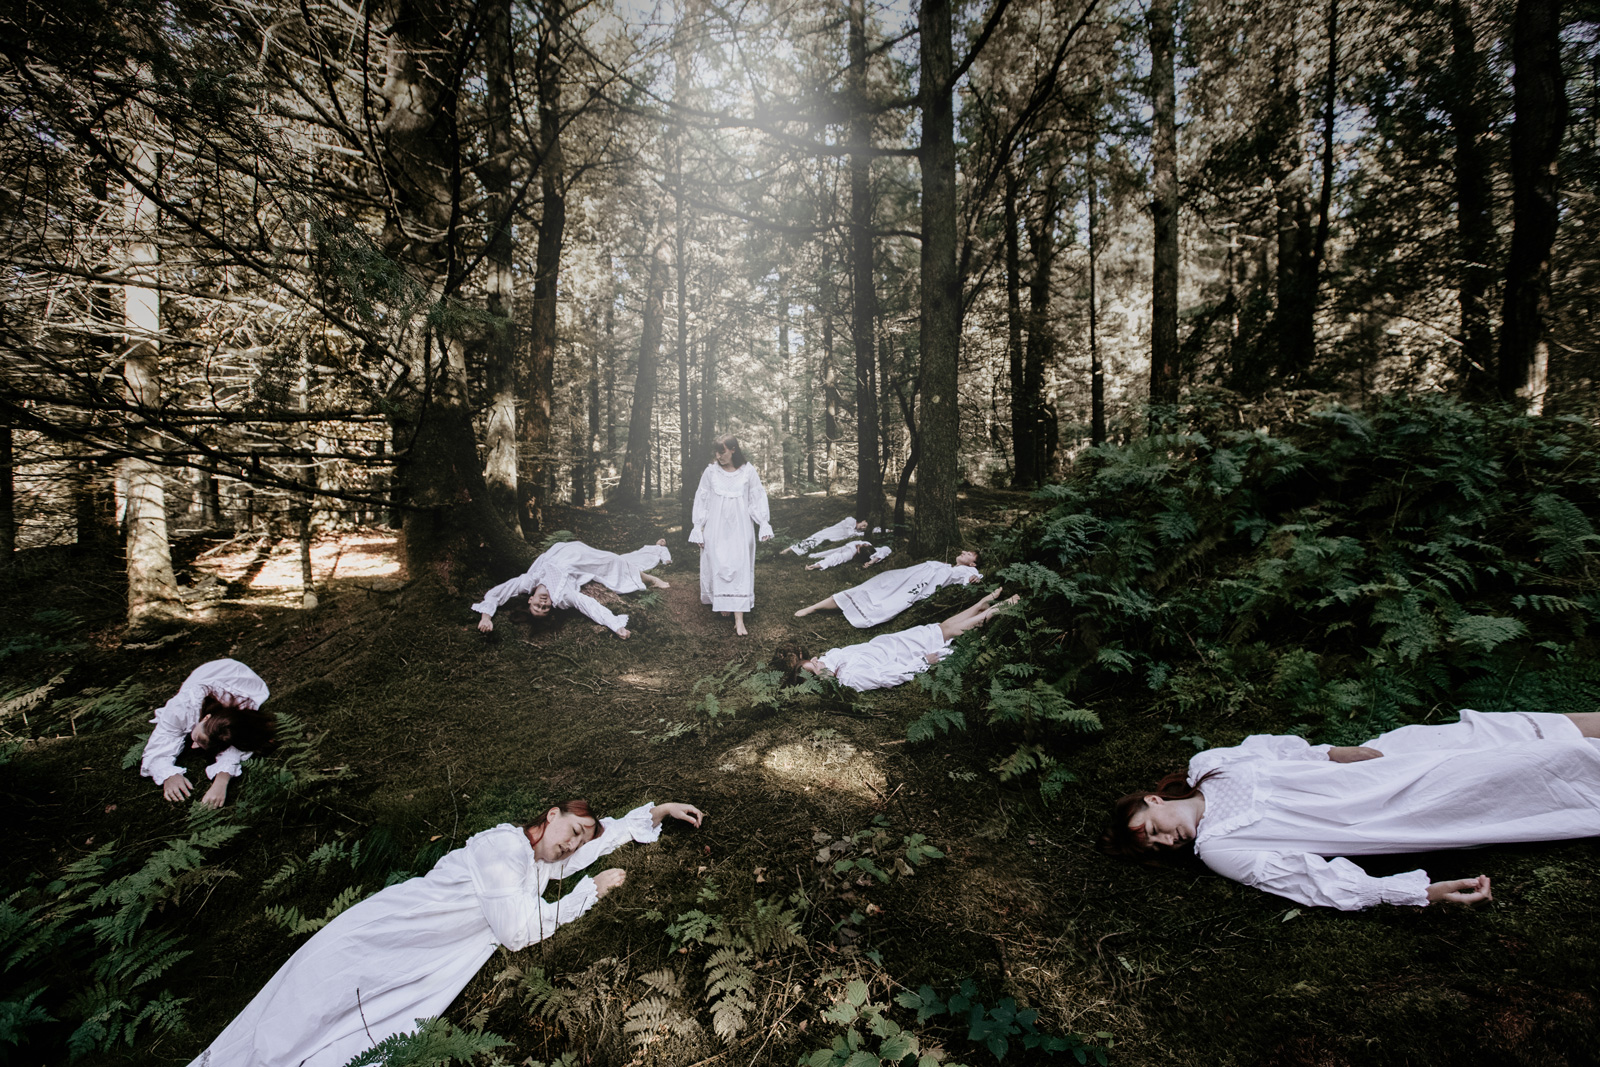
7. Spend time in post-production
For post-production, I tend to take out quite a lot of the colours in order to make the environment look more dead and decayed. I spend a lot of time putting composites together, I use layer masks with the pictures making them look like there are several versions of someone in the same frame.
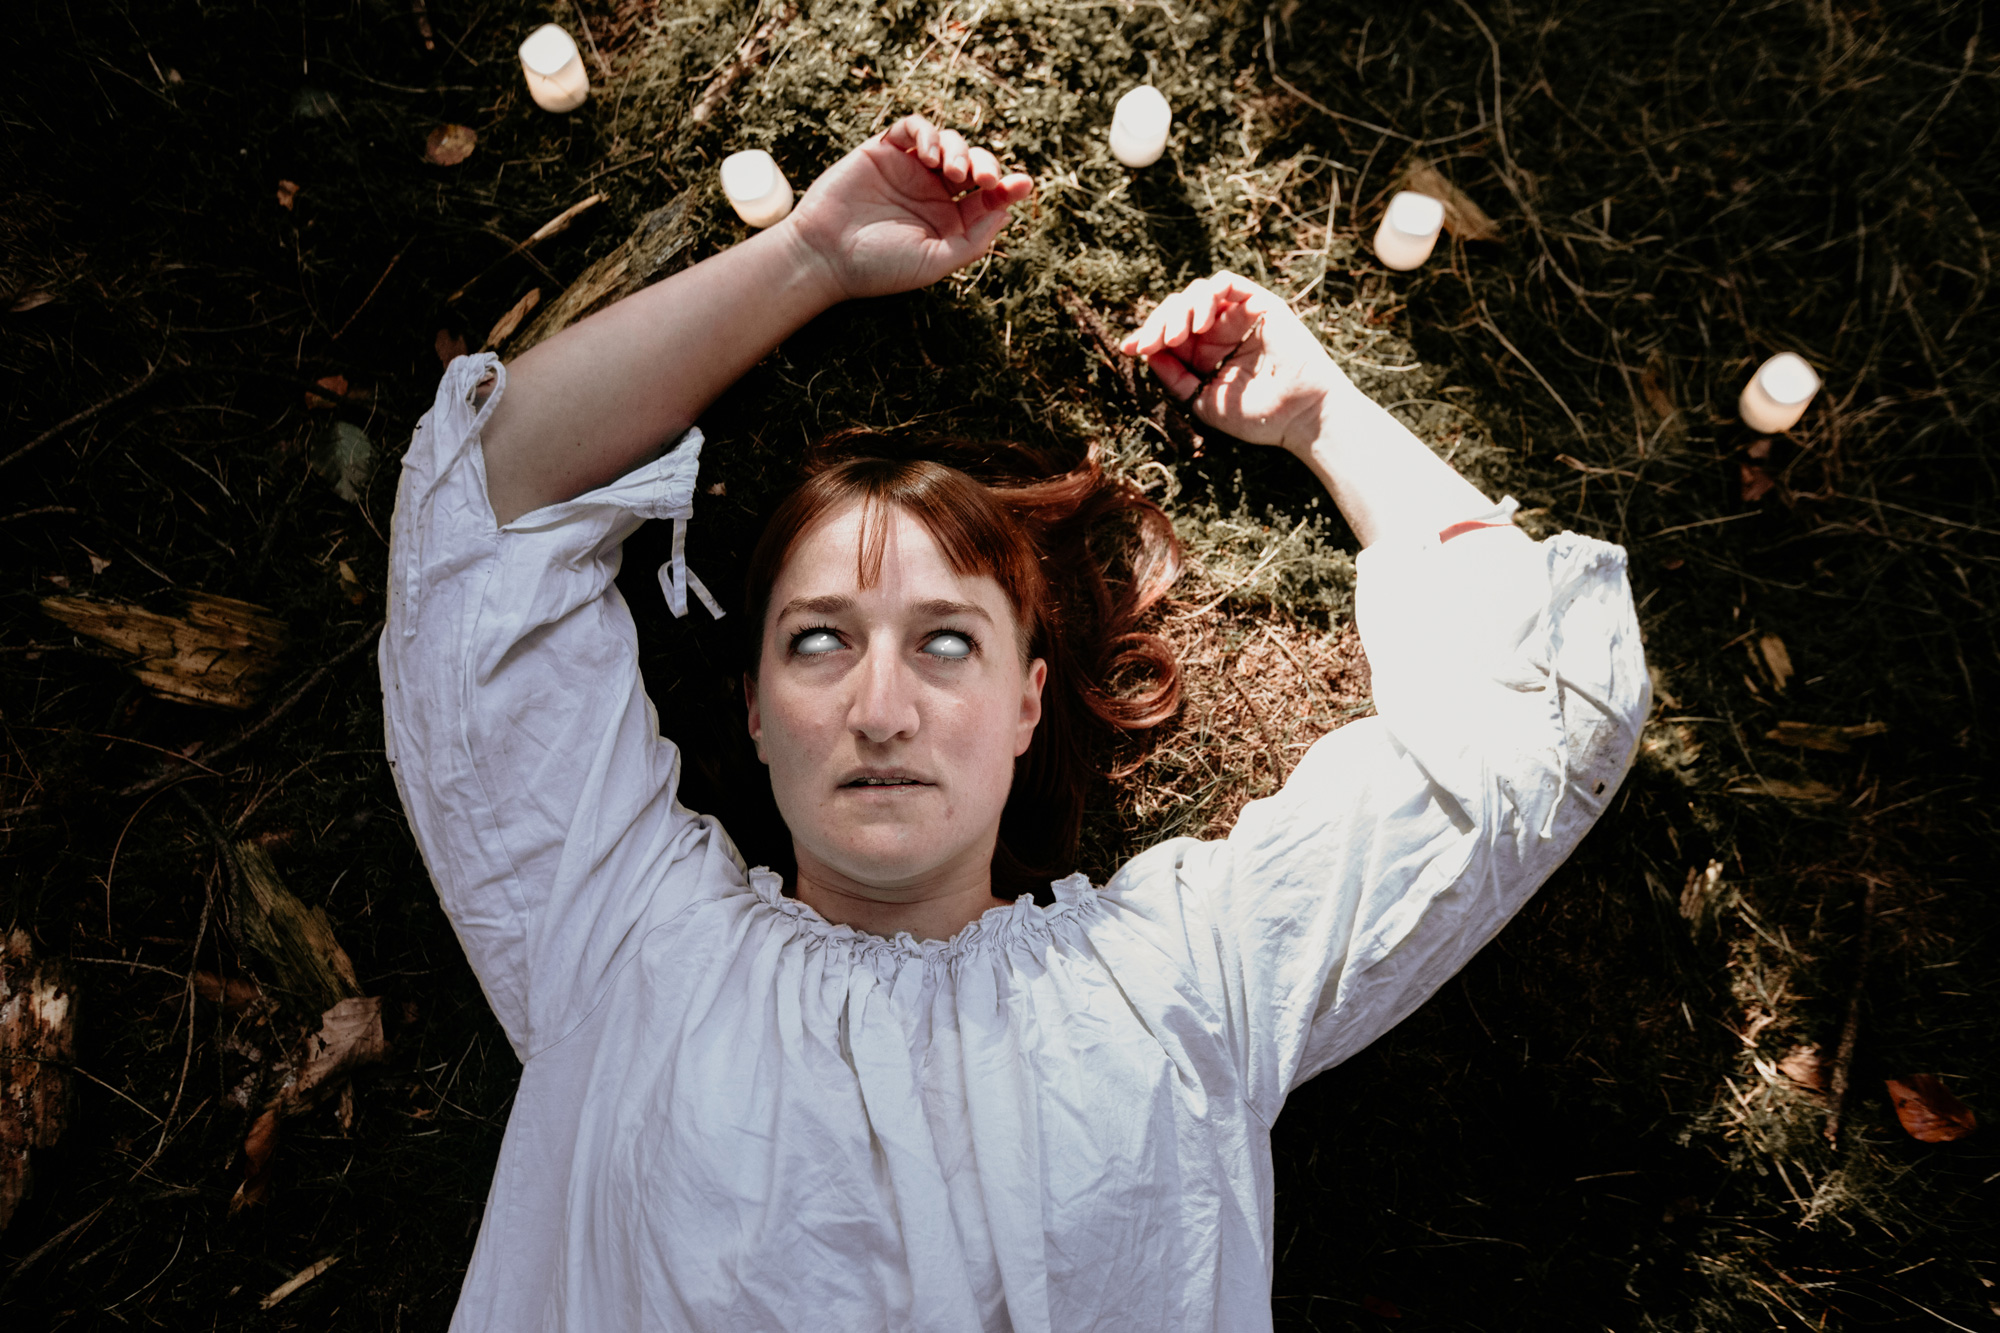
Canon EOS 5D Mark IV | Canon EF 16-35mm f/2.8 L II USM | 28mm | f/4.0 | 1/400 | ISO 2500
For some images, I might even remove the pupils. Or I might add a little bit of smoke, fog or light rays, just to give it a bit of extra depth. Post-production is an important step for horror photography.

Canon EOS 5D Mark IV | Canon EF 16-35mm f/2.8 L II USM | 17mm | f/4.0 | 1/400 | ISO 2500
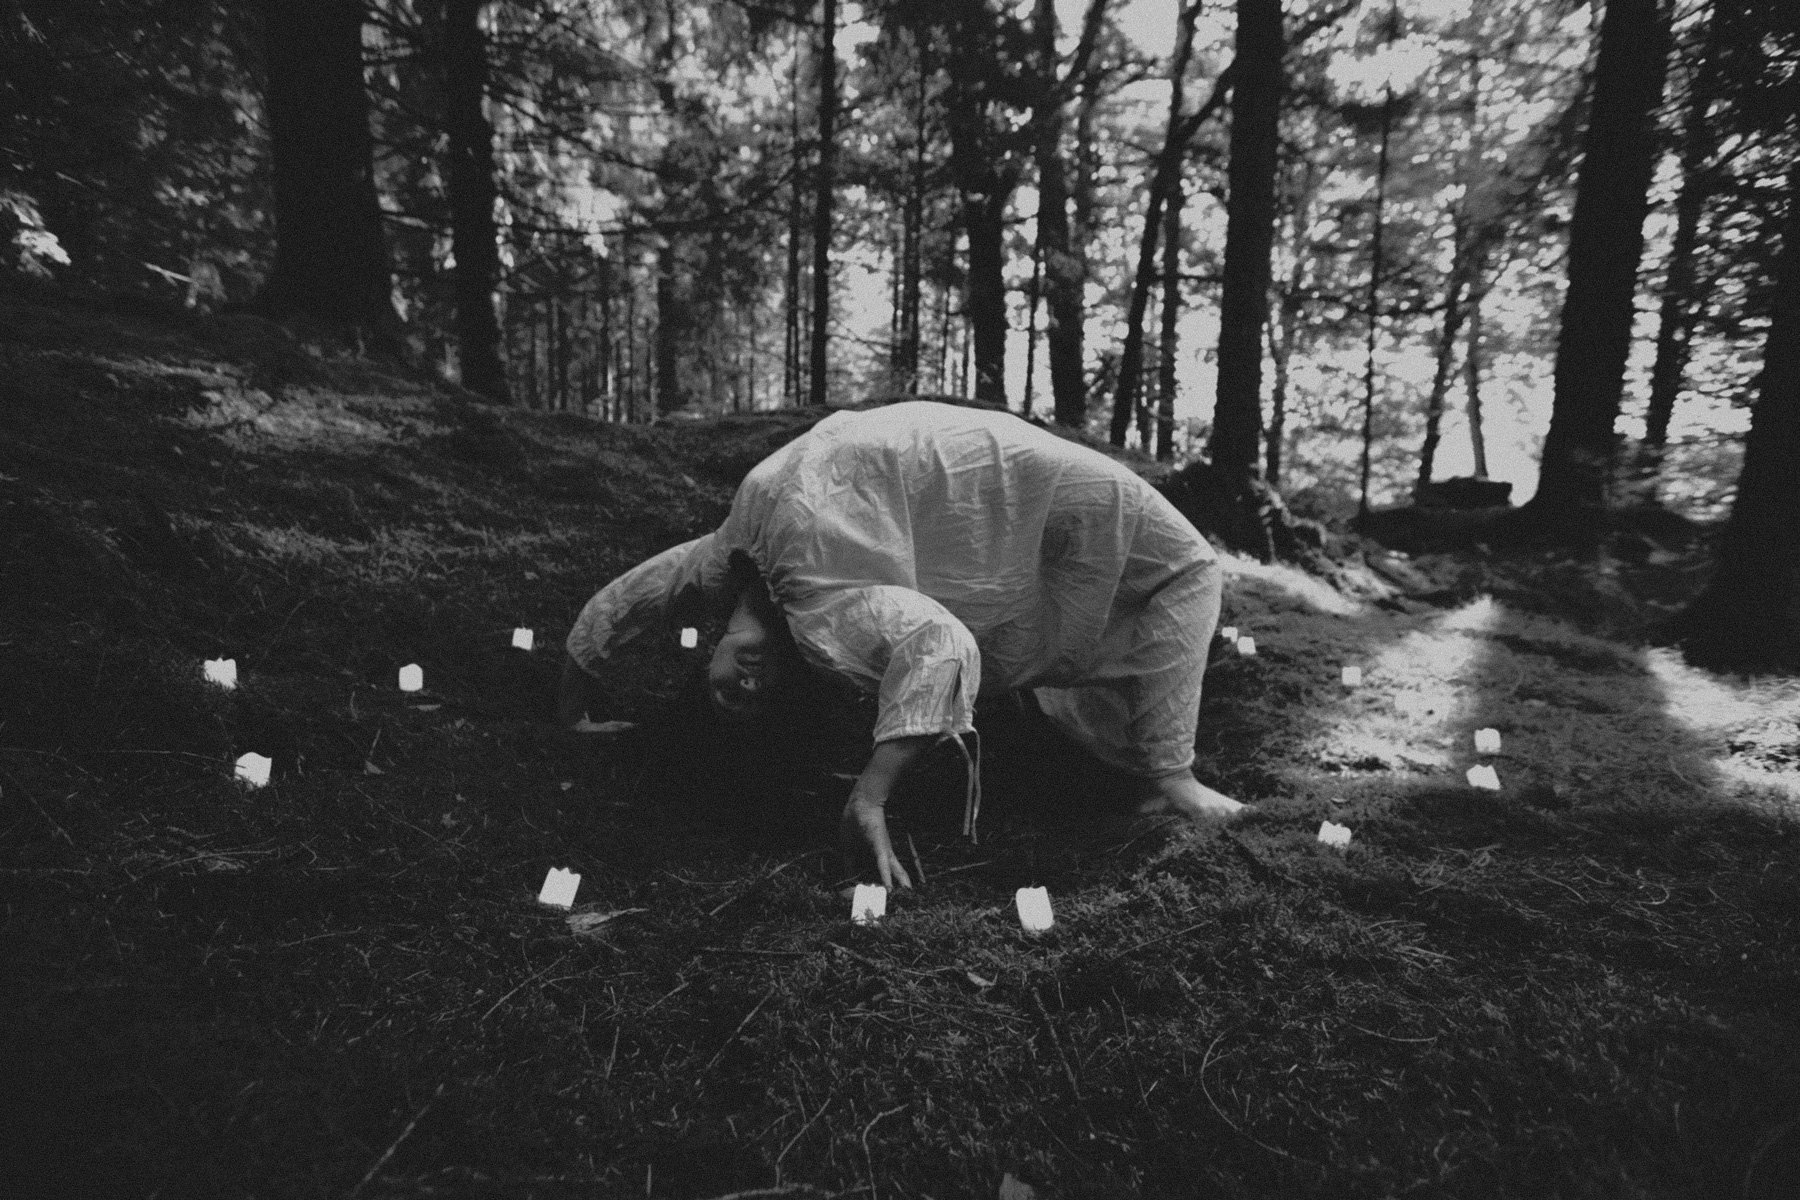
8. Build a (horror) story
Have a book where you can write down all of your photography ideas. This especially comes in handy if you go through a creative block. Storyboard before the shoot. You want to have a clear idea and direction before going into a shoot. With horror photography, you don't just want to take a plain photo of someone in a creepy costume. It's important to have a story in the image that you create, you want your audience to take away that feeling of dread and fear when looking at your image. That is what makes a great horror photo.

Canon EOS 5D Mark IV | Canon EF 50mm f/1.4 USM | 50mm | f/2.0 | 1/2500 | ISO 100
Read more articles on the MPB content hub.
You can sell or trade your camera kit to MPB. Get a free instant quote, free insured shipping to MPB, and get paid within days.