
In the Field: Thomas Popien Shoots Beauty Photos with the Sony A7 III
Published 15 March 2022 by MPB
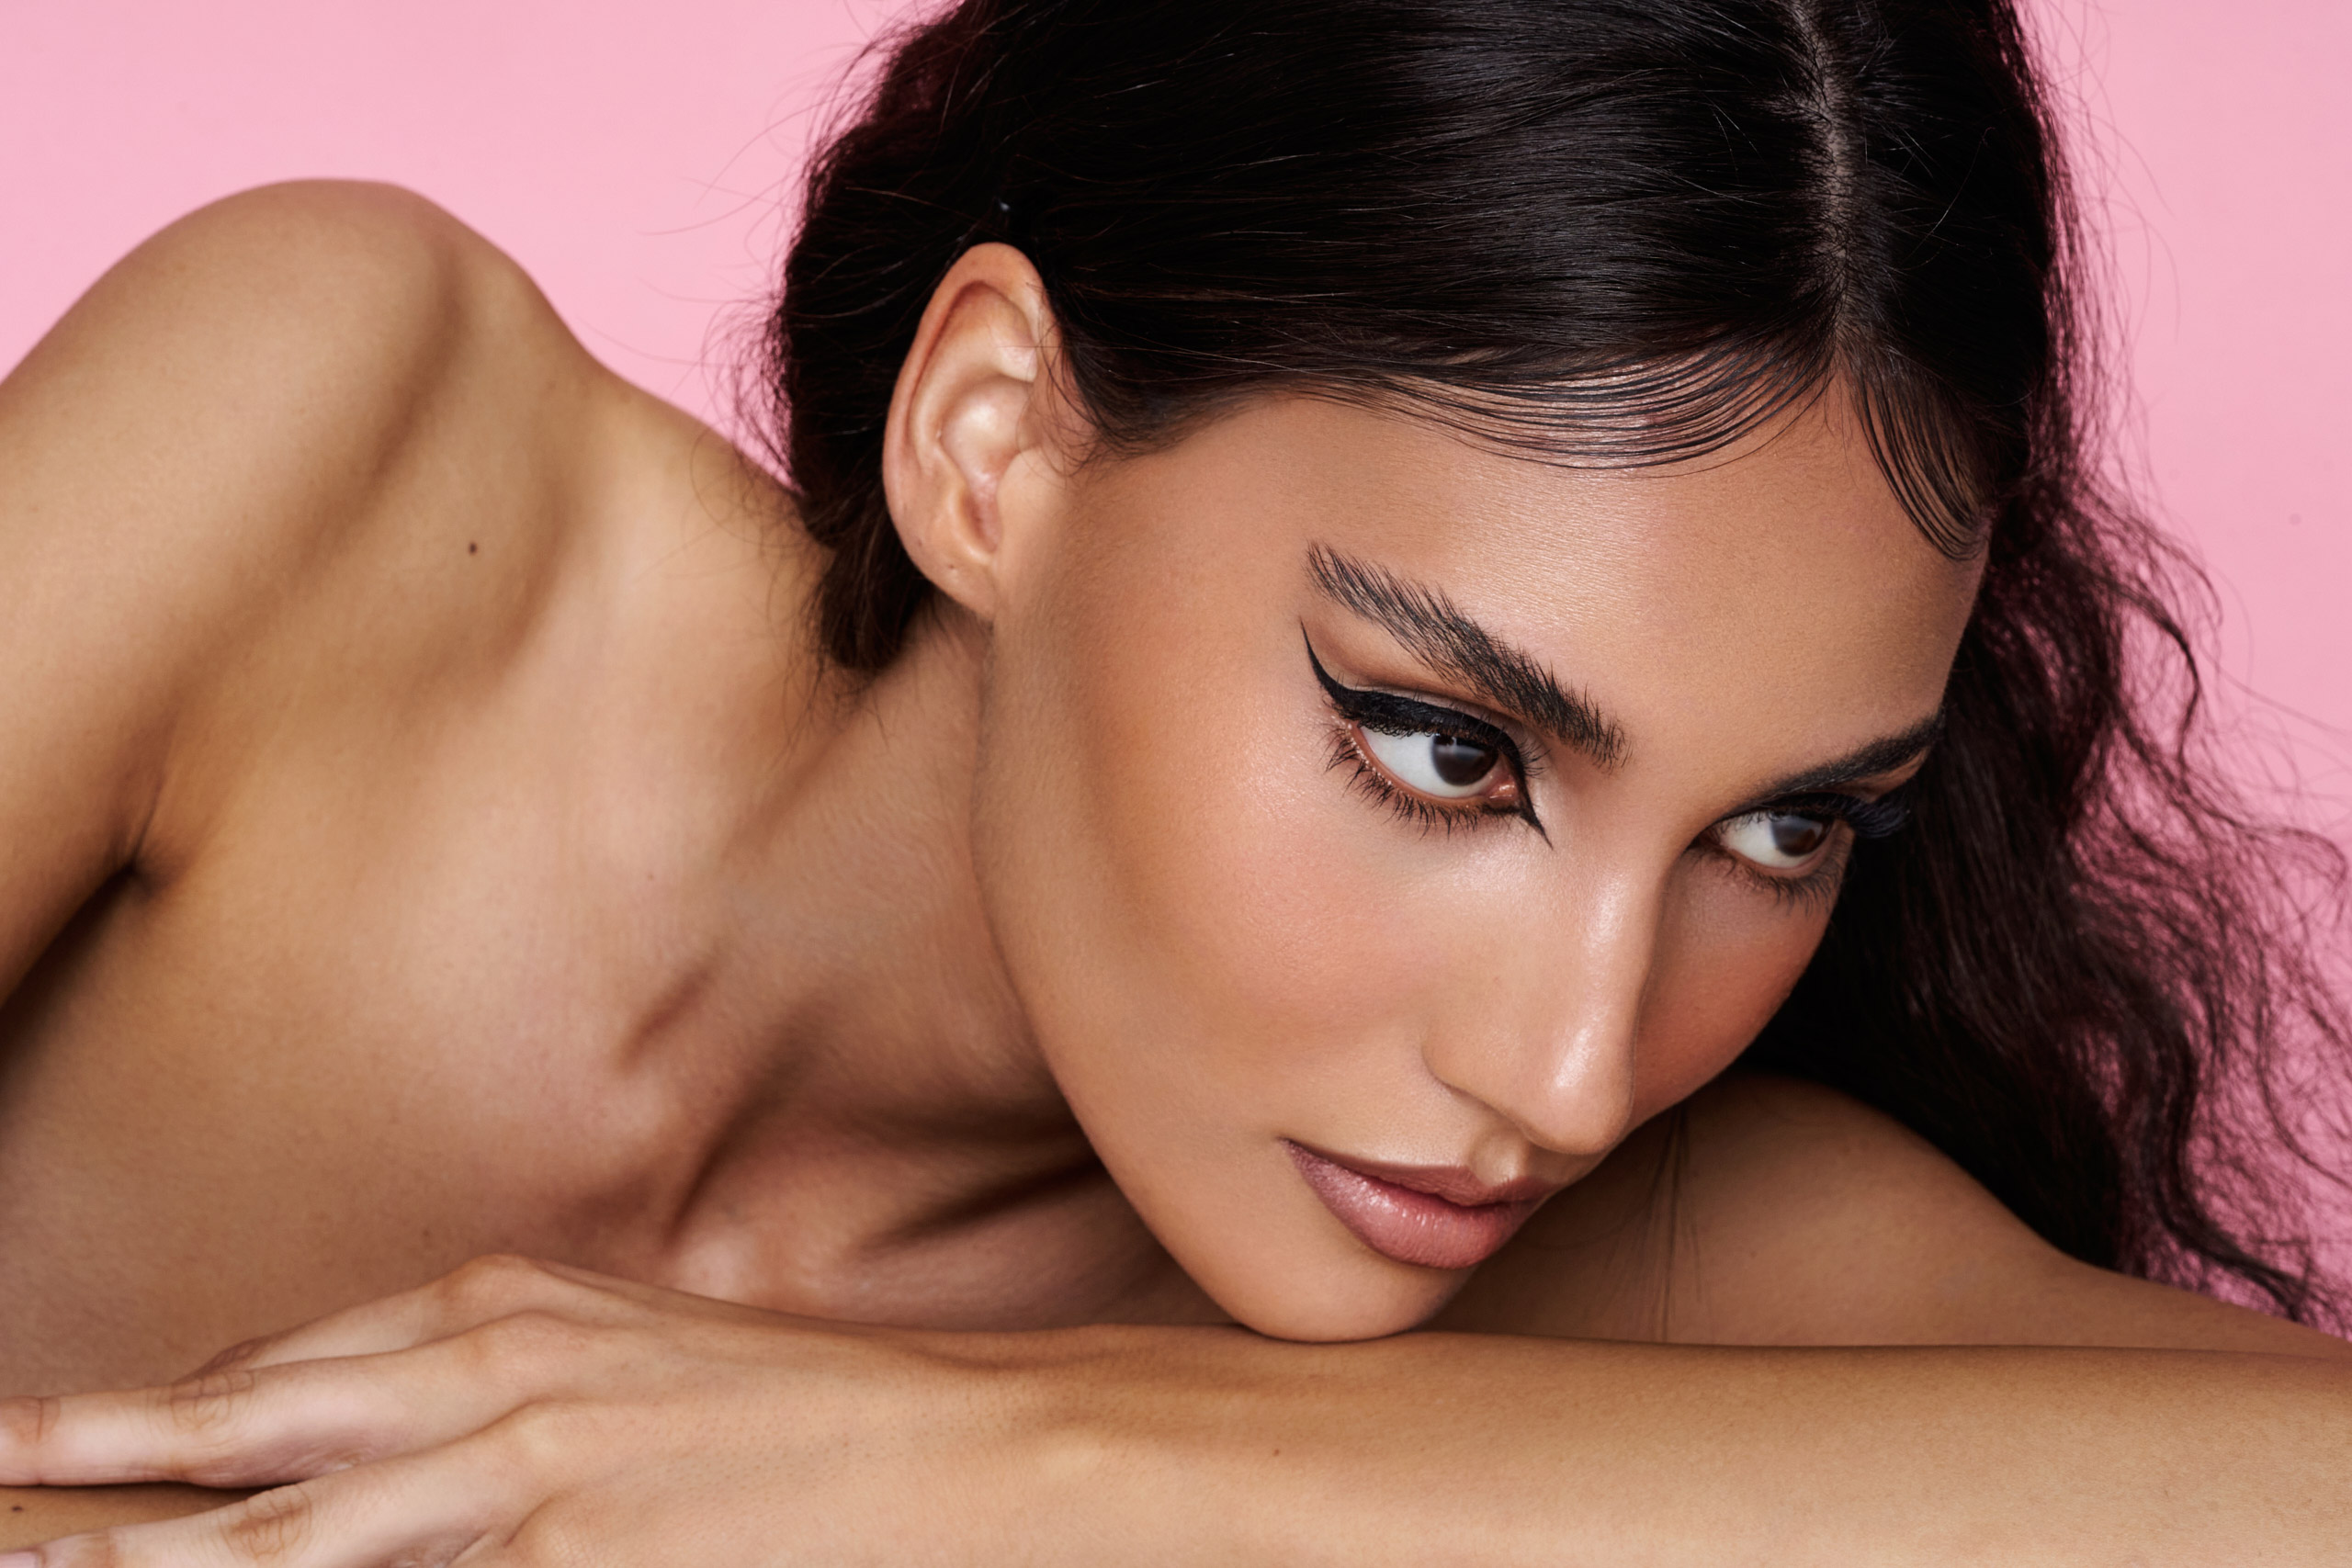
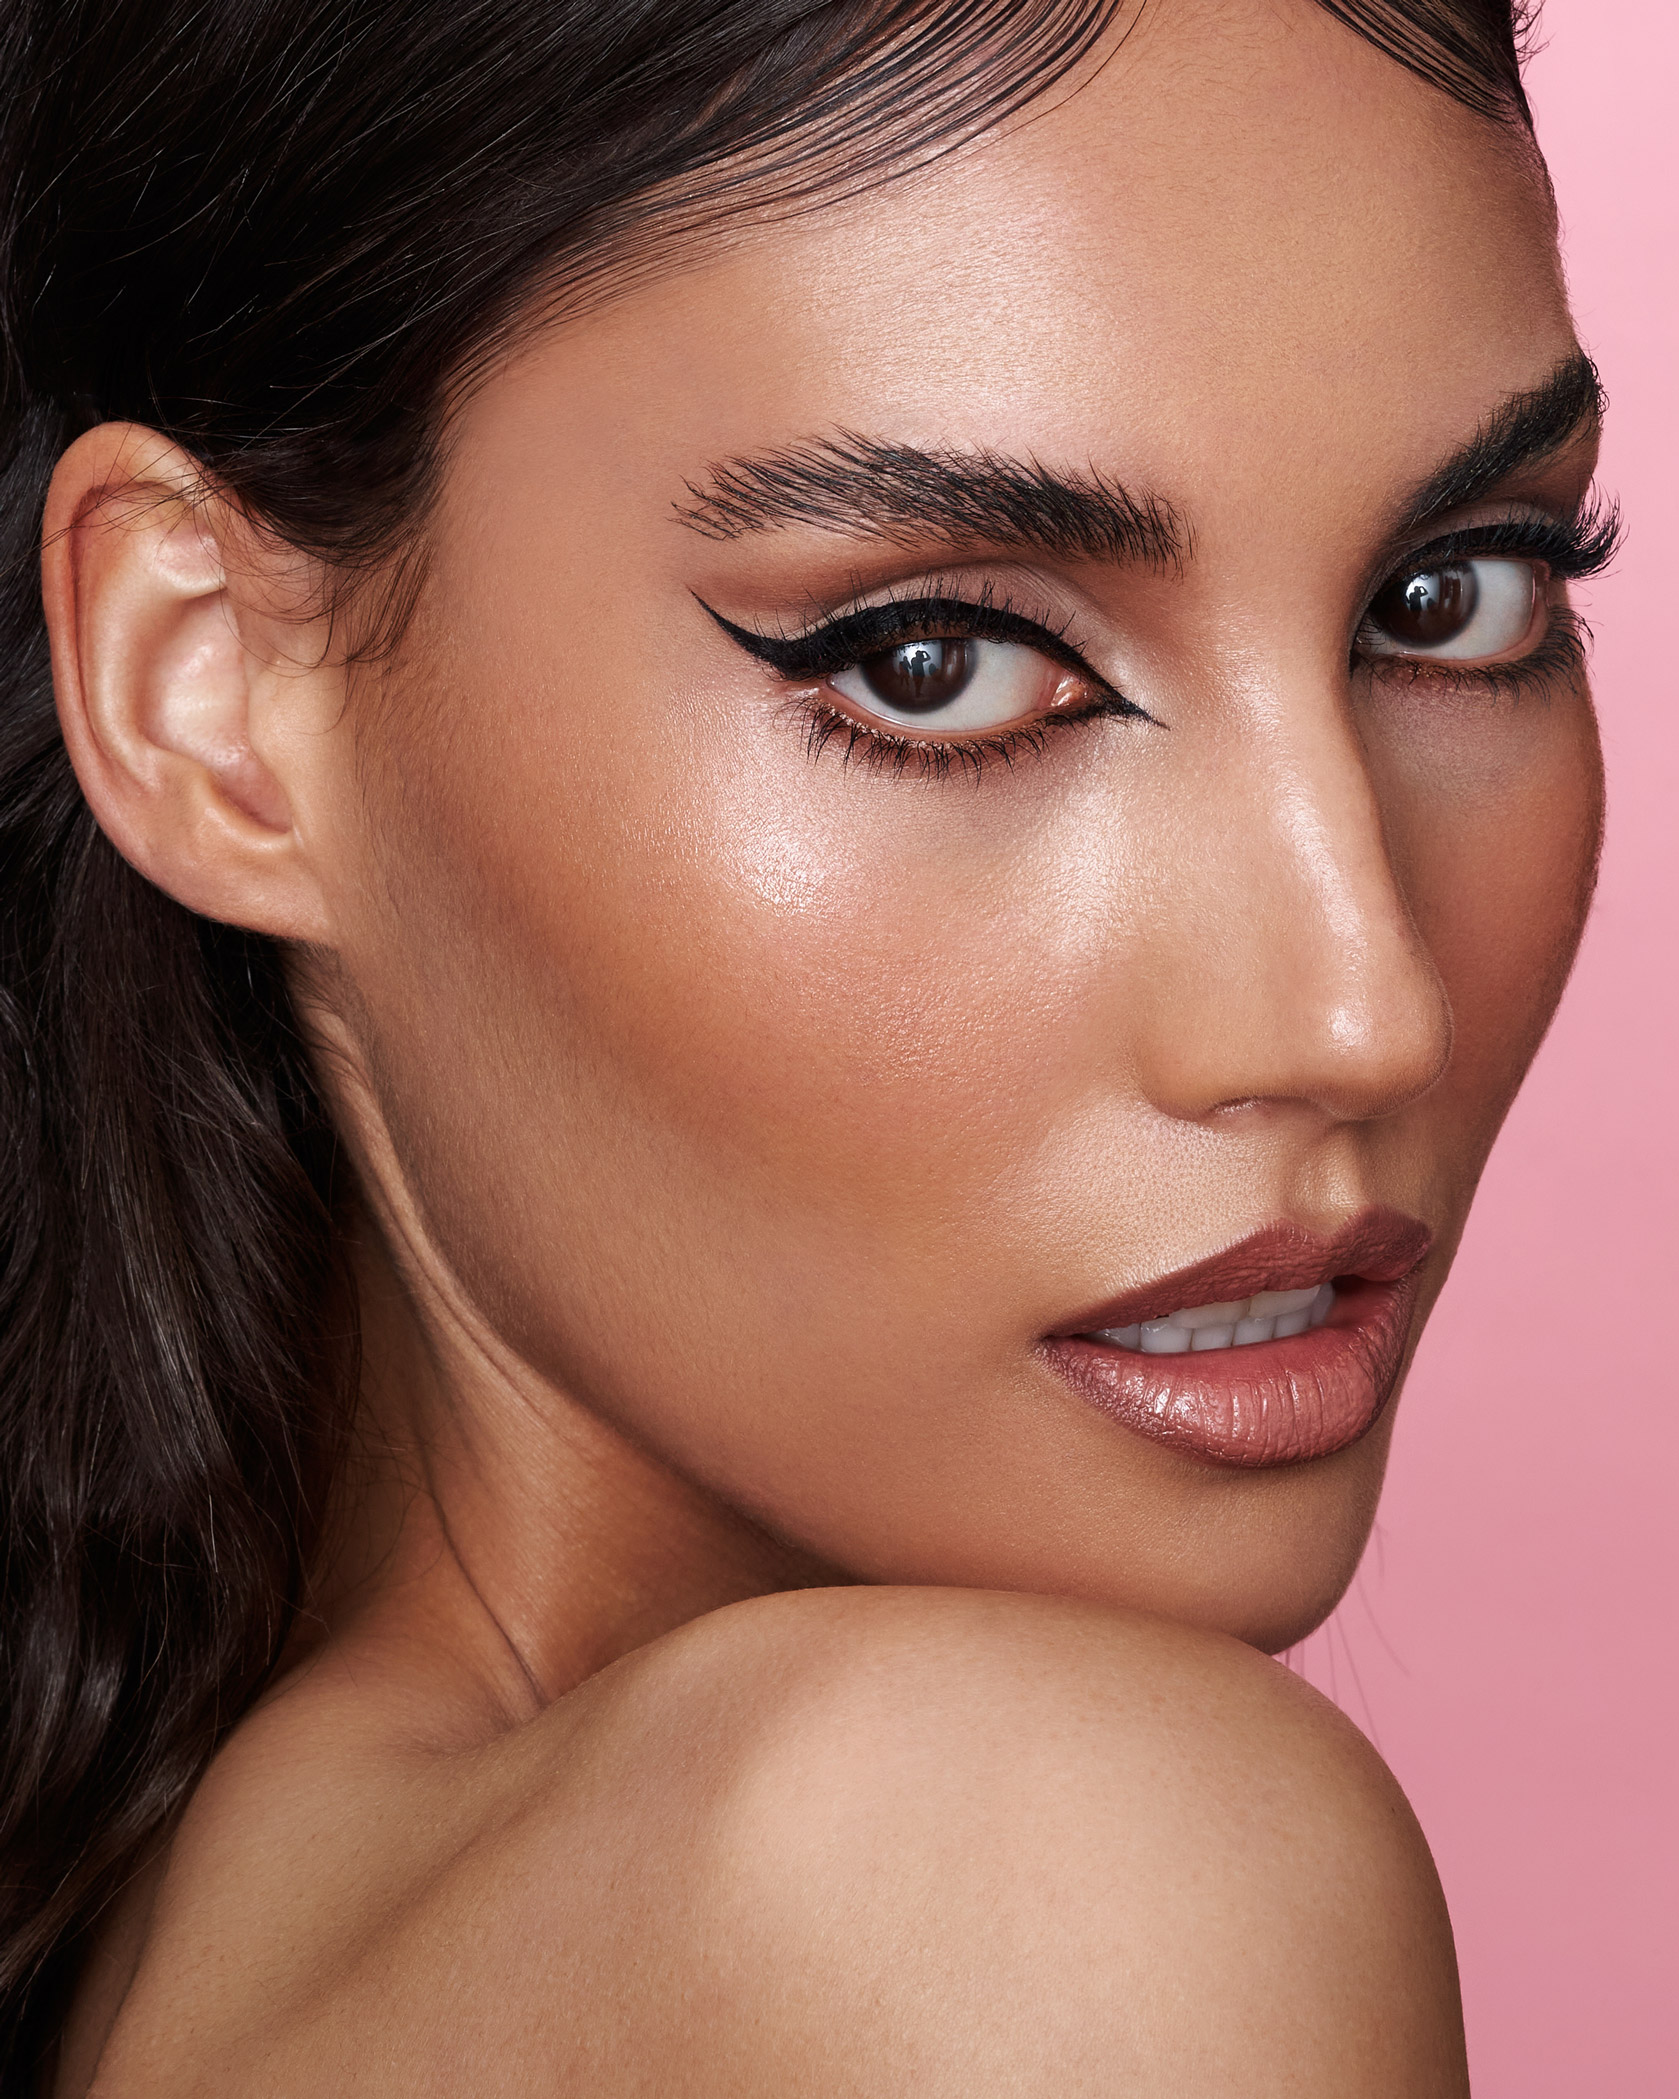
Beauty photographer Thomas Popien first became interested in professional photography back in 2016, when he wanted to capture more beautiful imagery of his children. Since then, he developed an evident penchant for beauty photography. Read on as Thomas shares his journey, his kit choices and advice for aspiring beauty photographers.

Photography has always fascinated me. In the beginning, I spent a few years experimenting with compact cameras in my spare time, capturing various subjects without really knowing what I was doing. As a result, my photos were always quite modest, leaving me looking for more.
After the birth of my second child in 2015, I decided about a year later to buy a professional camera to simply take better pictures of my children. That was the starting point of my journey to where I am today. I quickly realised that taking pictures of people is great fun because every photo is so unique. I started doing my first shoots with friends, and their positive feedback motivated me even more to continue. I opened an Instagram account for my photography, which quickly brought me new contacts, and started to get into image editing. From then on, I invested a lot of time in learning how to use a camera properly, retouch images, and everything else that comes with photography. There is a wealth of resources online, and the learning process never truly ends because photography is so versatile. Finally, I ventured into studio photography at the end of 2019, and it still captivates me to this day.
I started to take photography seriously with a Canon EOS 70D and a Canon EF 50mm f/1.8 lens. Thanks to the wide aperture, I immediately experienced that ‘wow’ effect. The background is so beautifully blurred. I used it for about 18 months, then came a Sony A6000, also only with fixed focal lengths—Sony E 30mm f/3.5 Macro, Sony FE 50mm f/1.8 and Sony FE 85mm f/1.4 GM—which I can only recommend.
However, for me, the supposed advantages of this camera, its size and weight, quickly became a disadvantage because I have huge hands. I switched to a full-frame camera, and for lack of alternatives, I opted for a Sony A77 II. To make my work easier, I switched to the Sony A7 III, which won me over with its eye autofocus feature. My absolute favourite lenses are the Sony FE 55mm f/1.8 ZA Sonnar T*, the Sony FE 90mm f/2.8 G OSS and the Sigma 24-70mm f/2.8 IF EX DG HSM A. In my studio photography, I use flashes from Godox and continuous lights from Jinbei. They are inexpensive and have never let me down.
Today, the camera market looks a bit different, but in reality, it hardly matters which camera you buy since most are technically on a similar level. However, I would not want to do without full-frame because of the large dynamic range and the somewhat better low-light performance.
When it comes to lenses, I always recommend using prime lenses. They are usually of higher quality, and they also encourage movement, which benefits both your physical health and your ‘photographic eye’.
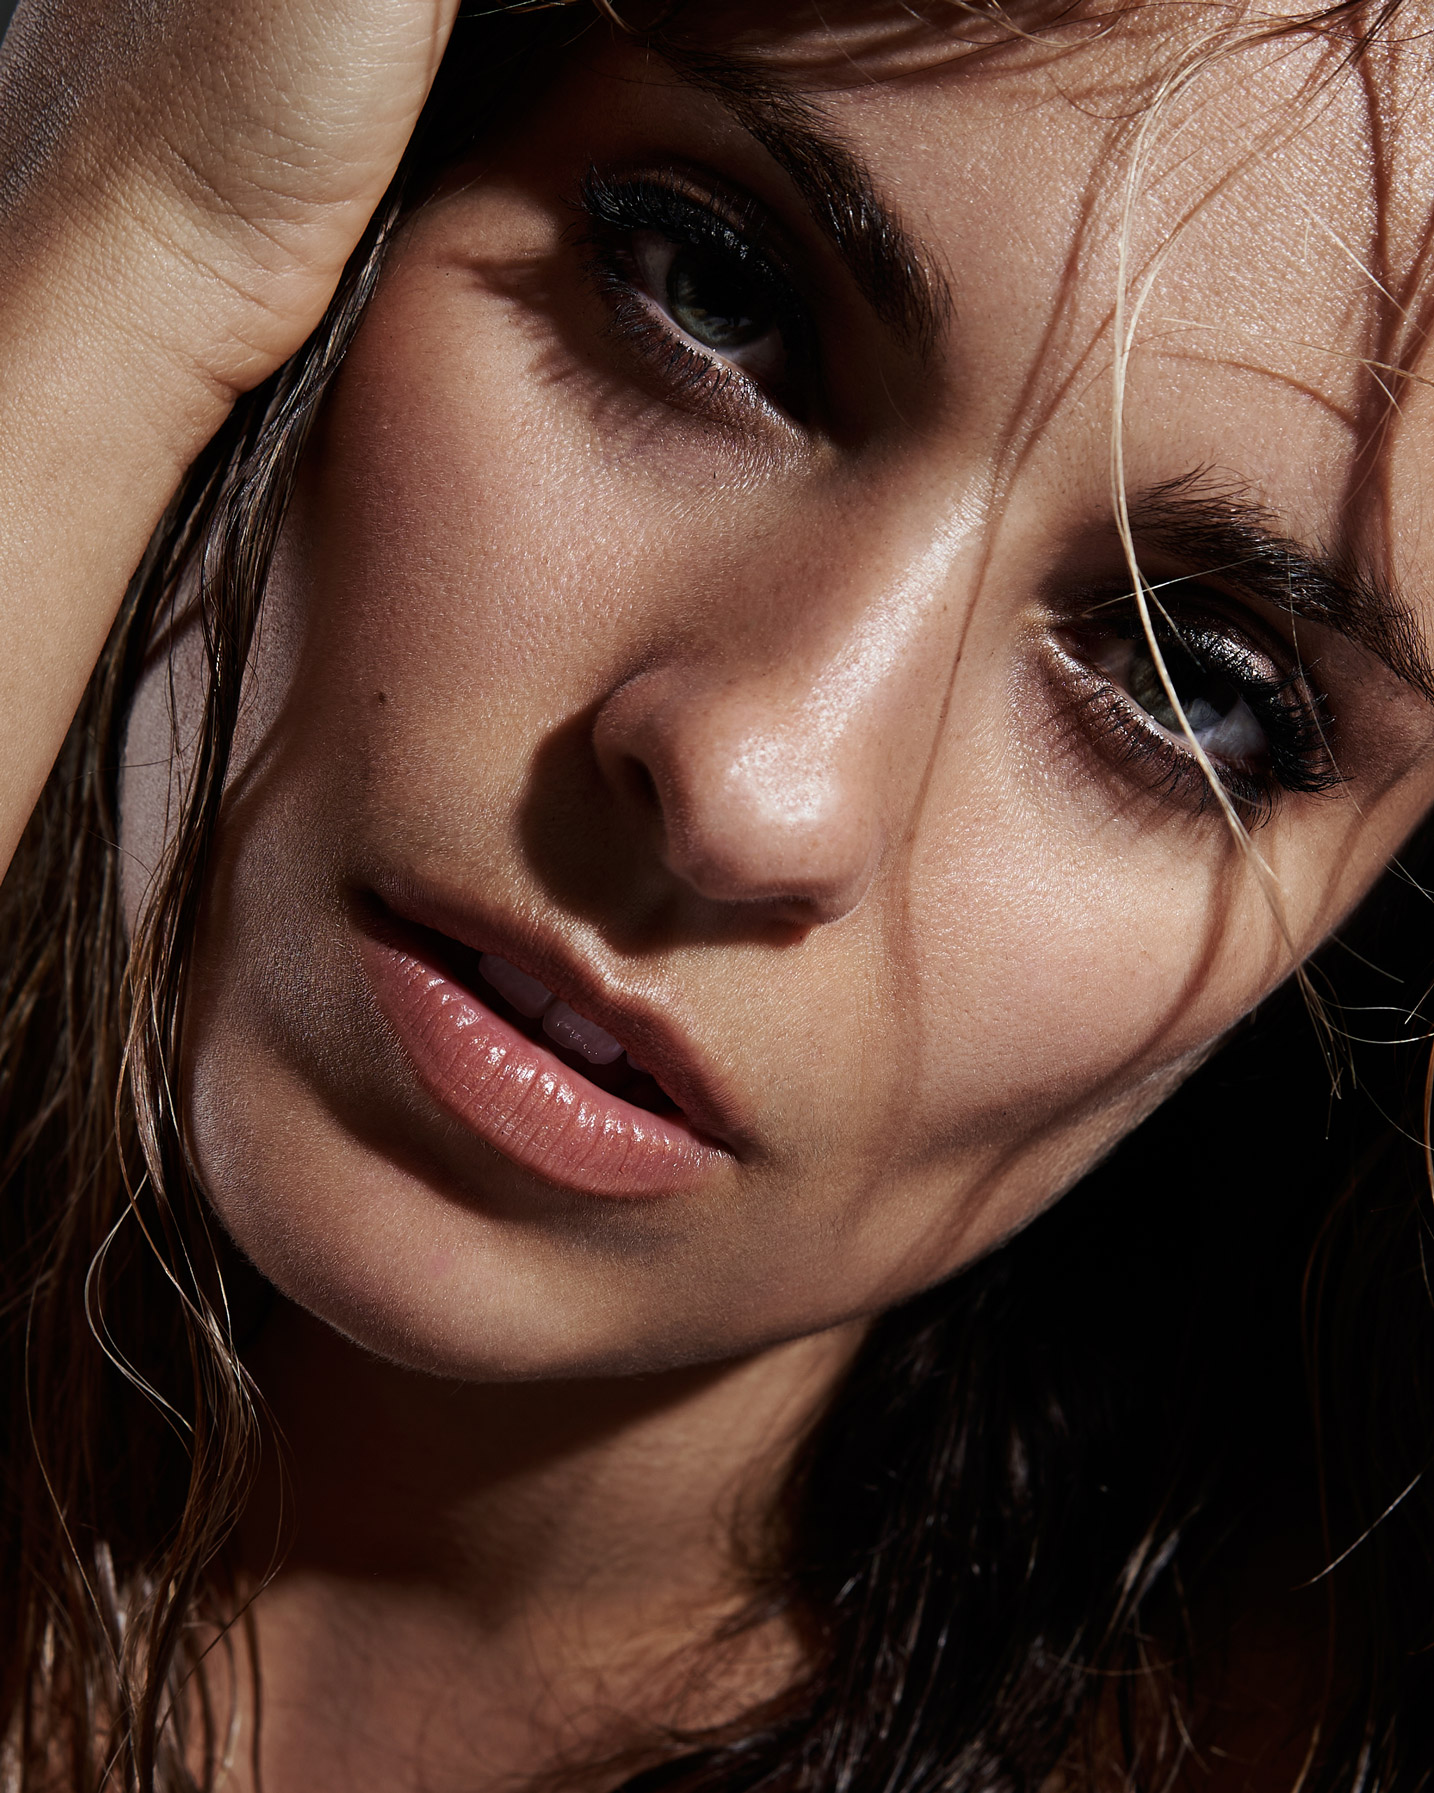
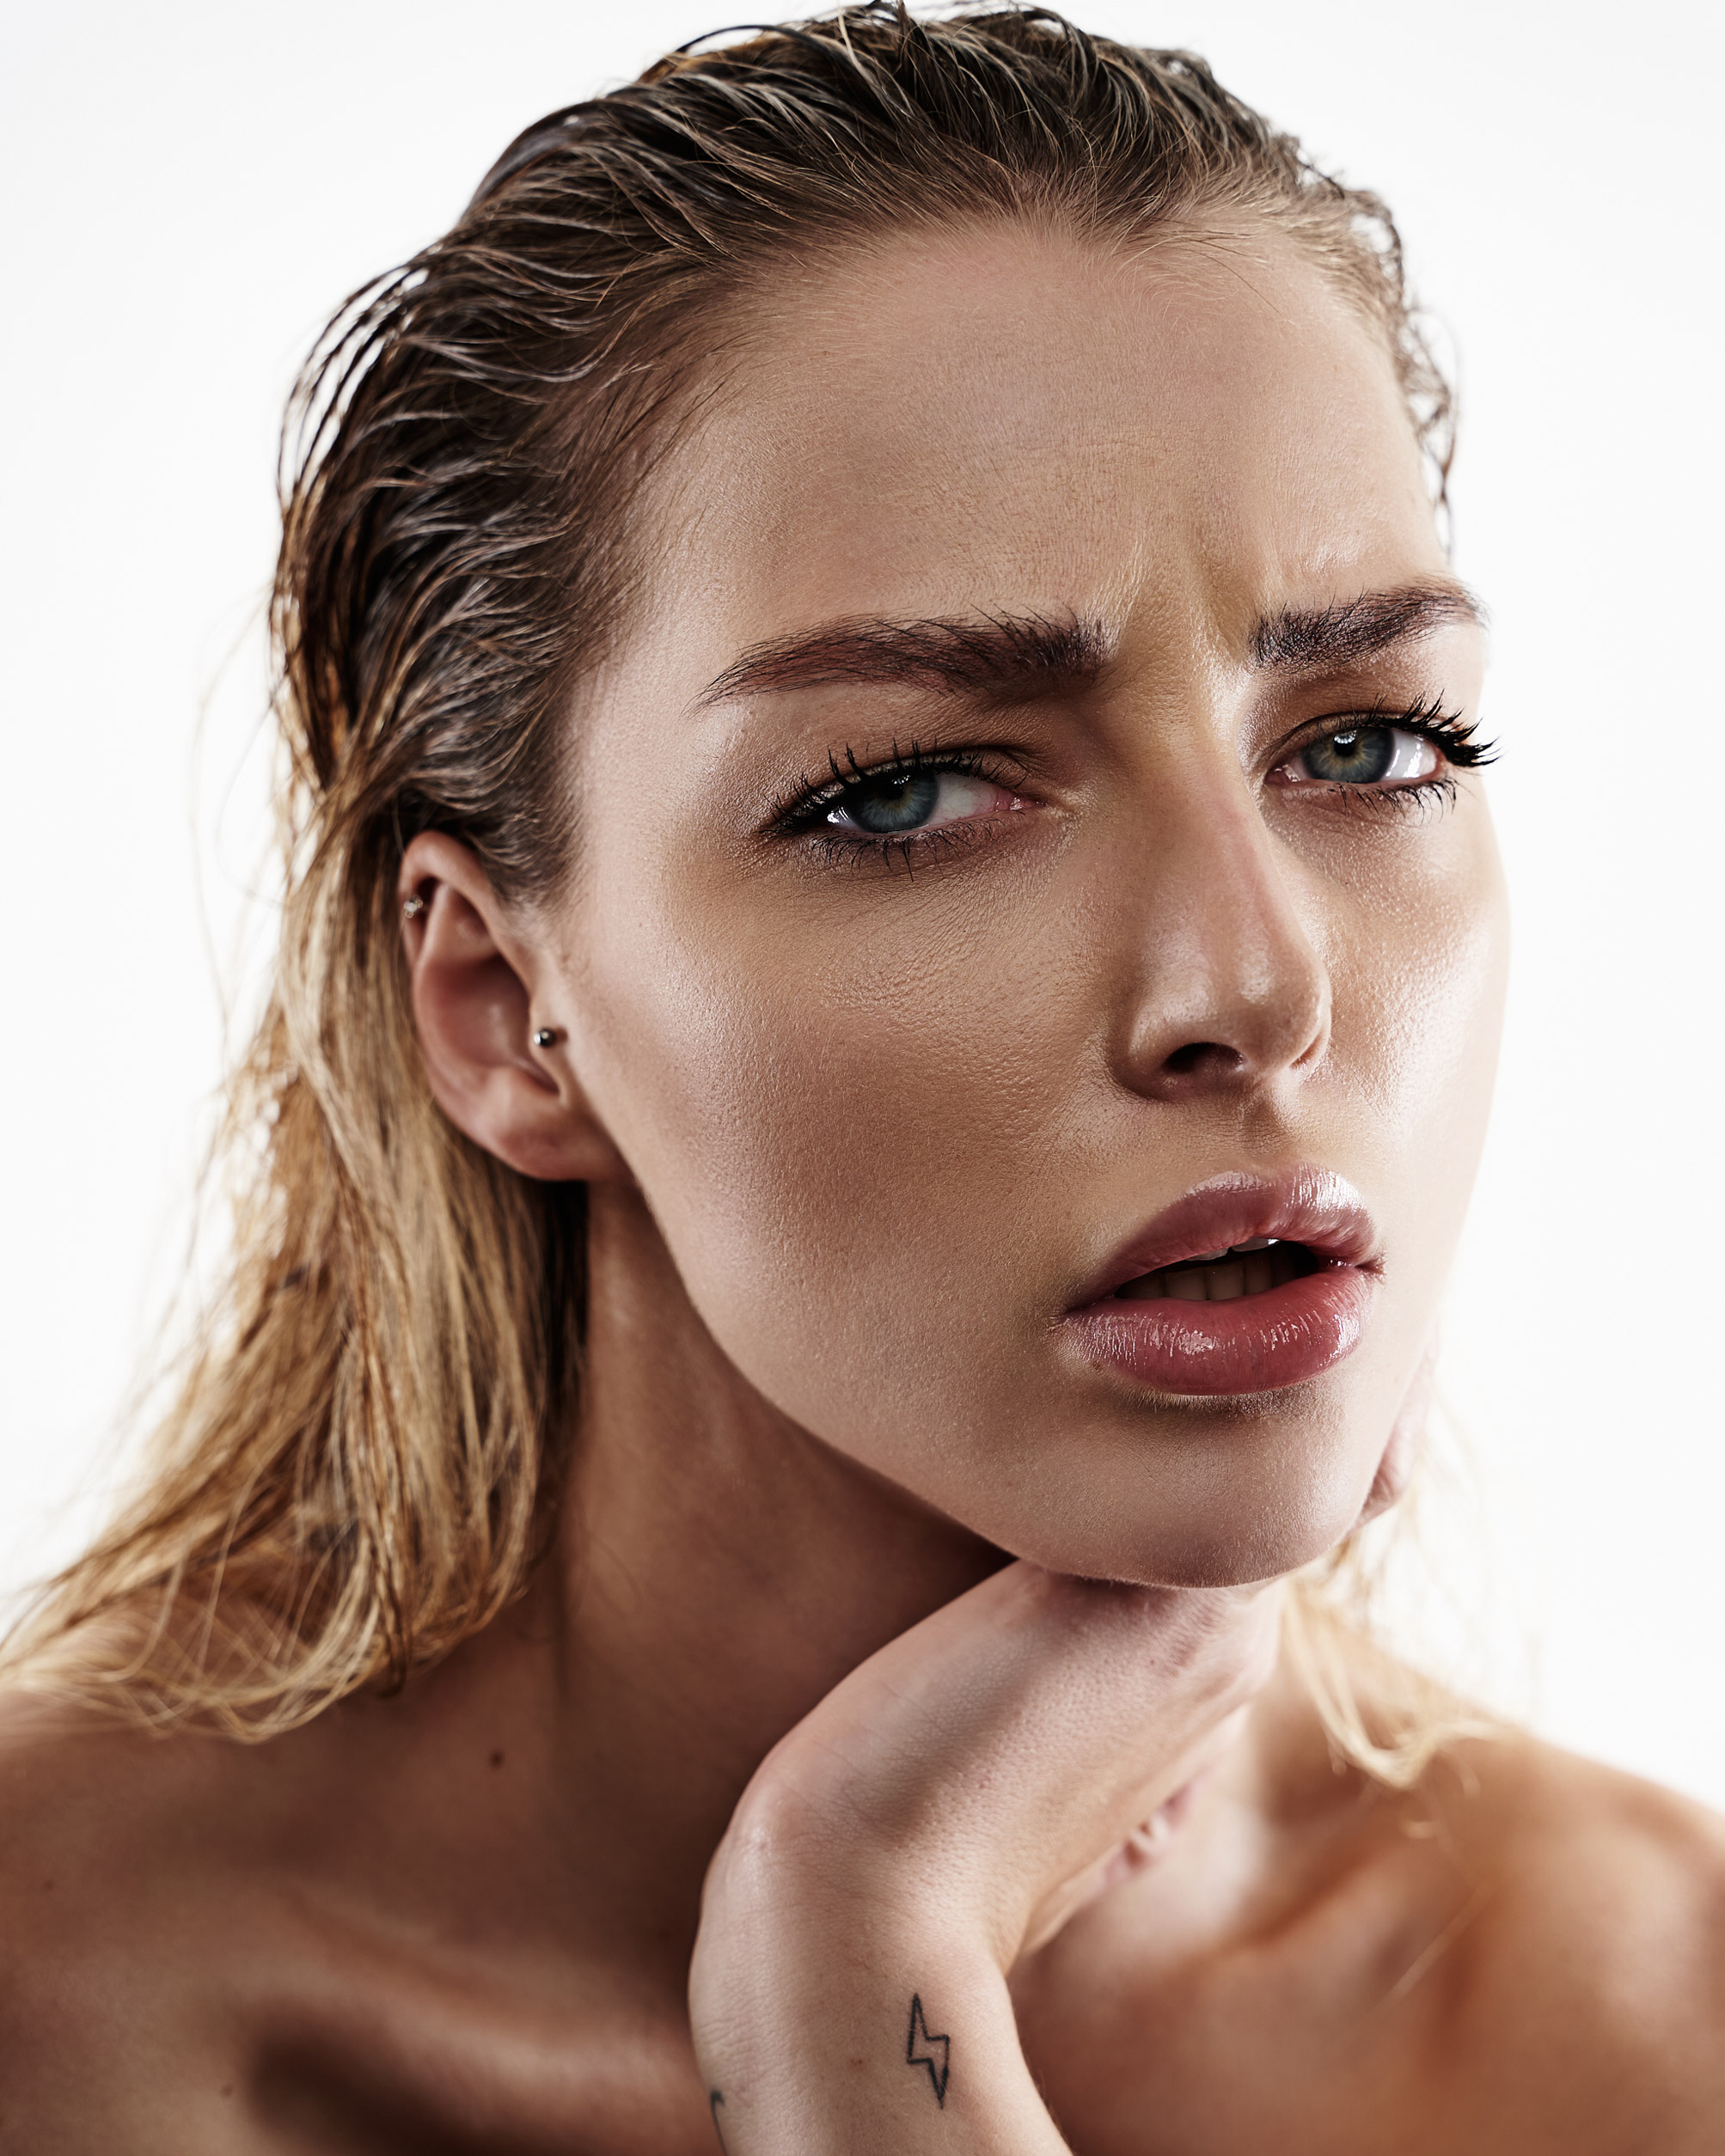
Post-processing is a crucial aspect in beauty photography. For any ‘fast techniques’, I would advise against it. To get really high-quality images, you have to be willing to invest a lot of time in post-production. Dodge and burn should be the primary retouching technique—it takes more time, but the results are significantly better. But the results are simply better. With time, you naturally become faster at it. While you often shoot close-ups, you should work with focal lengths from 85mm upwards to avoid unwanted distortions caused by the focal length.
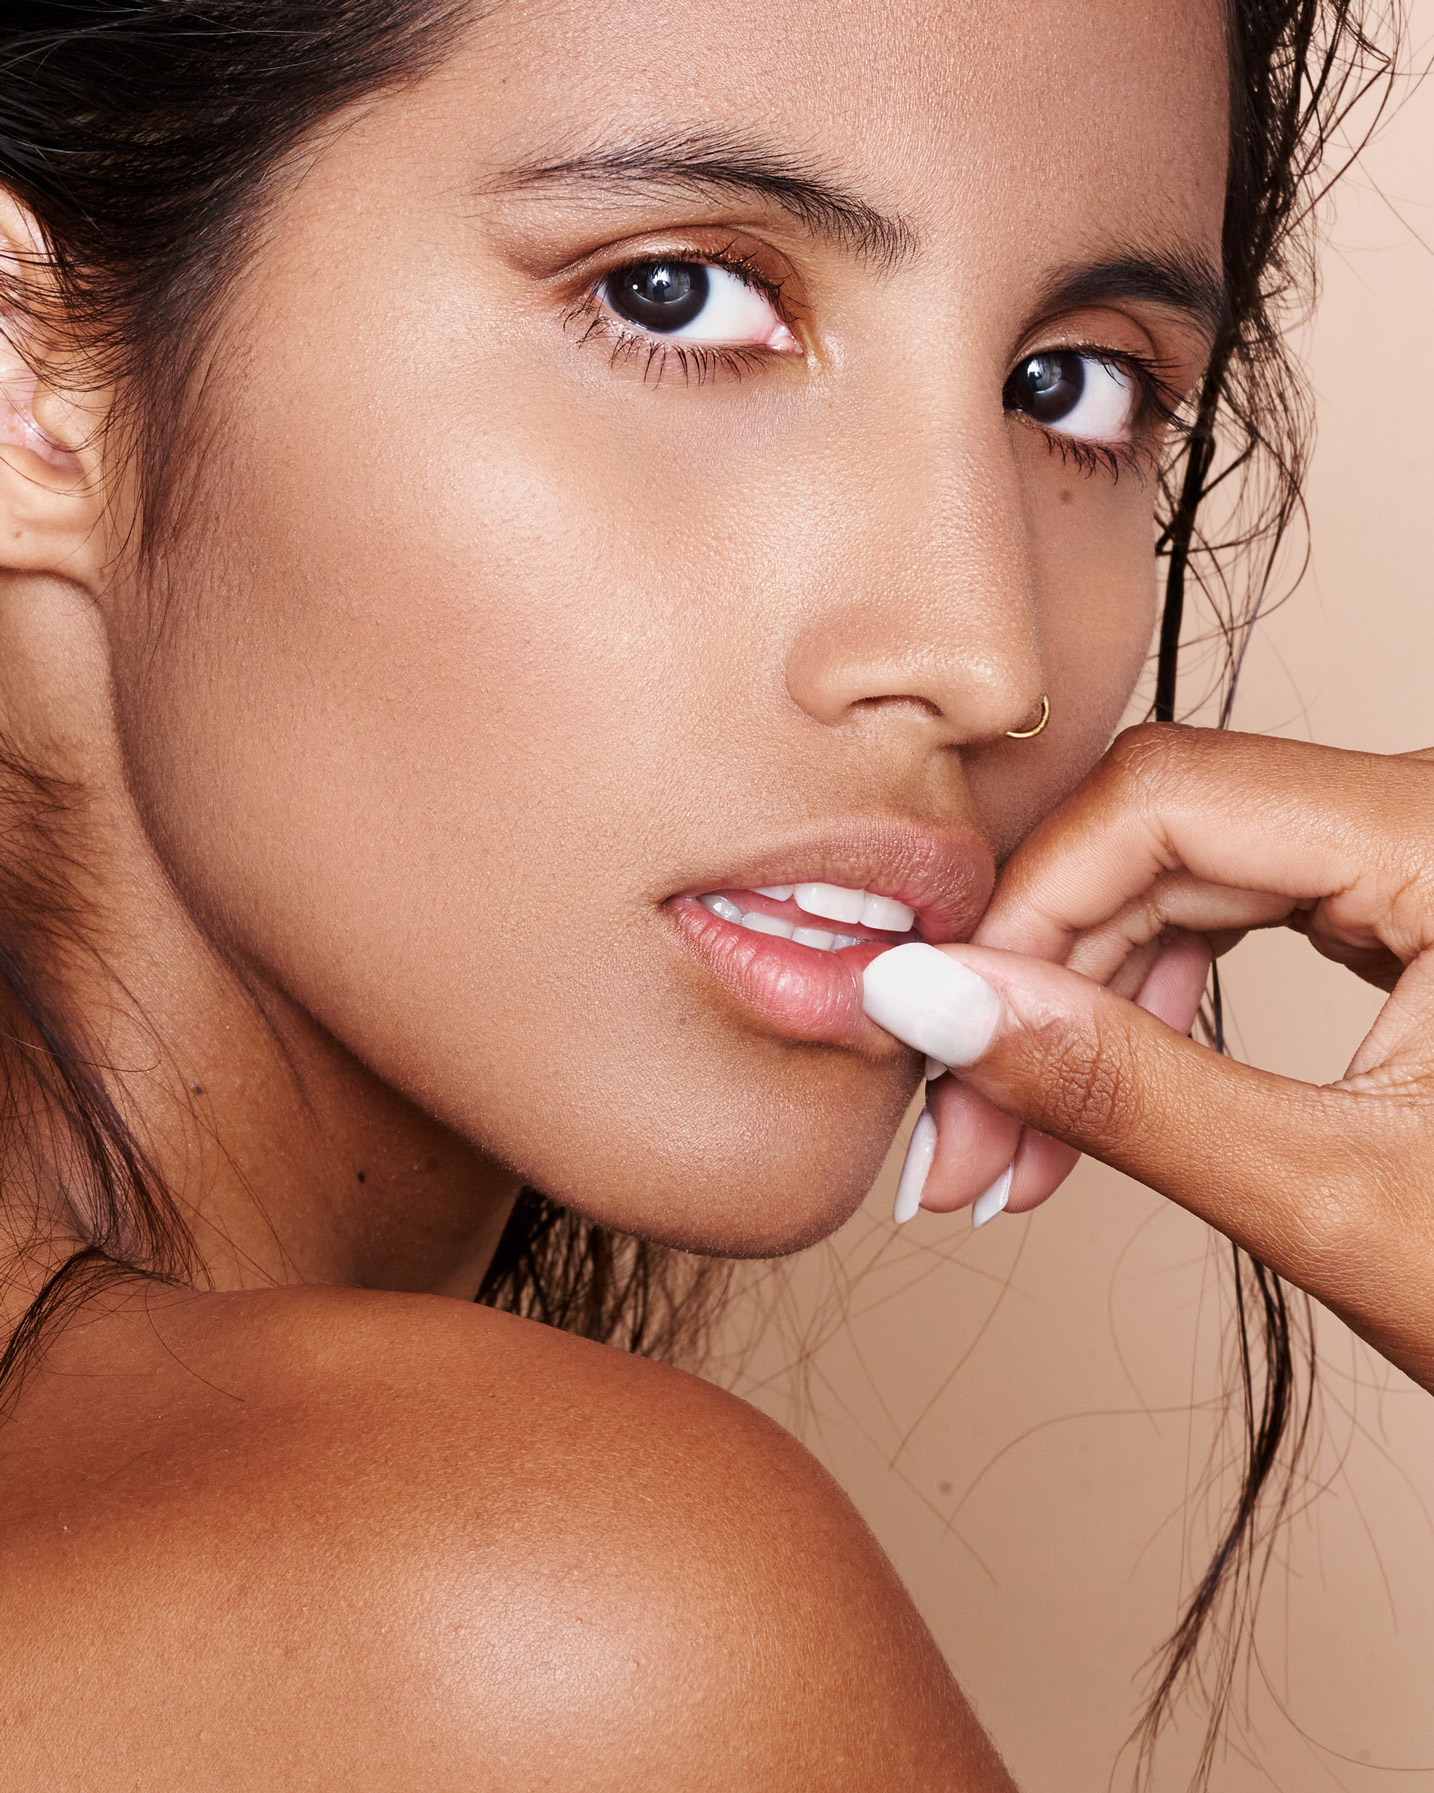
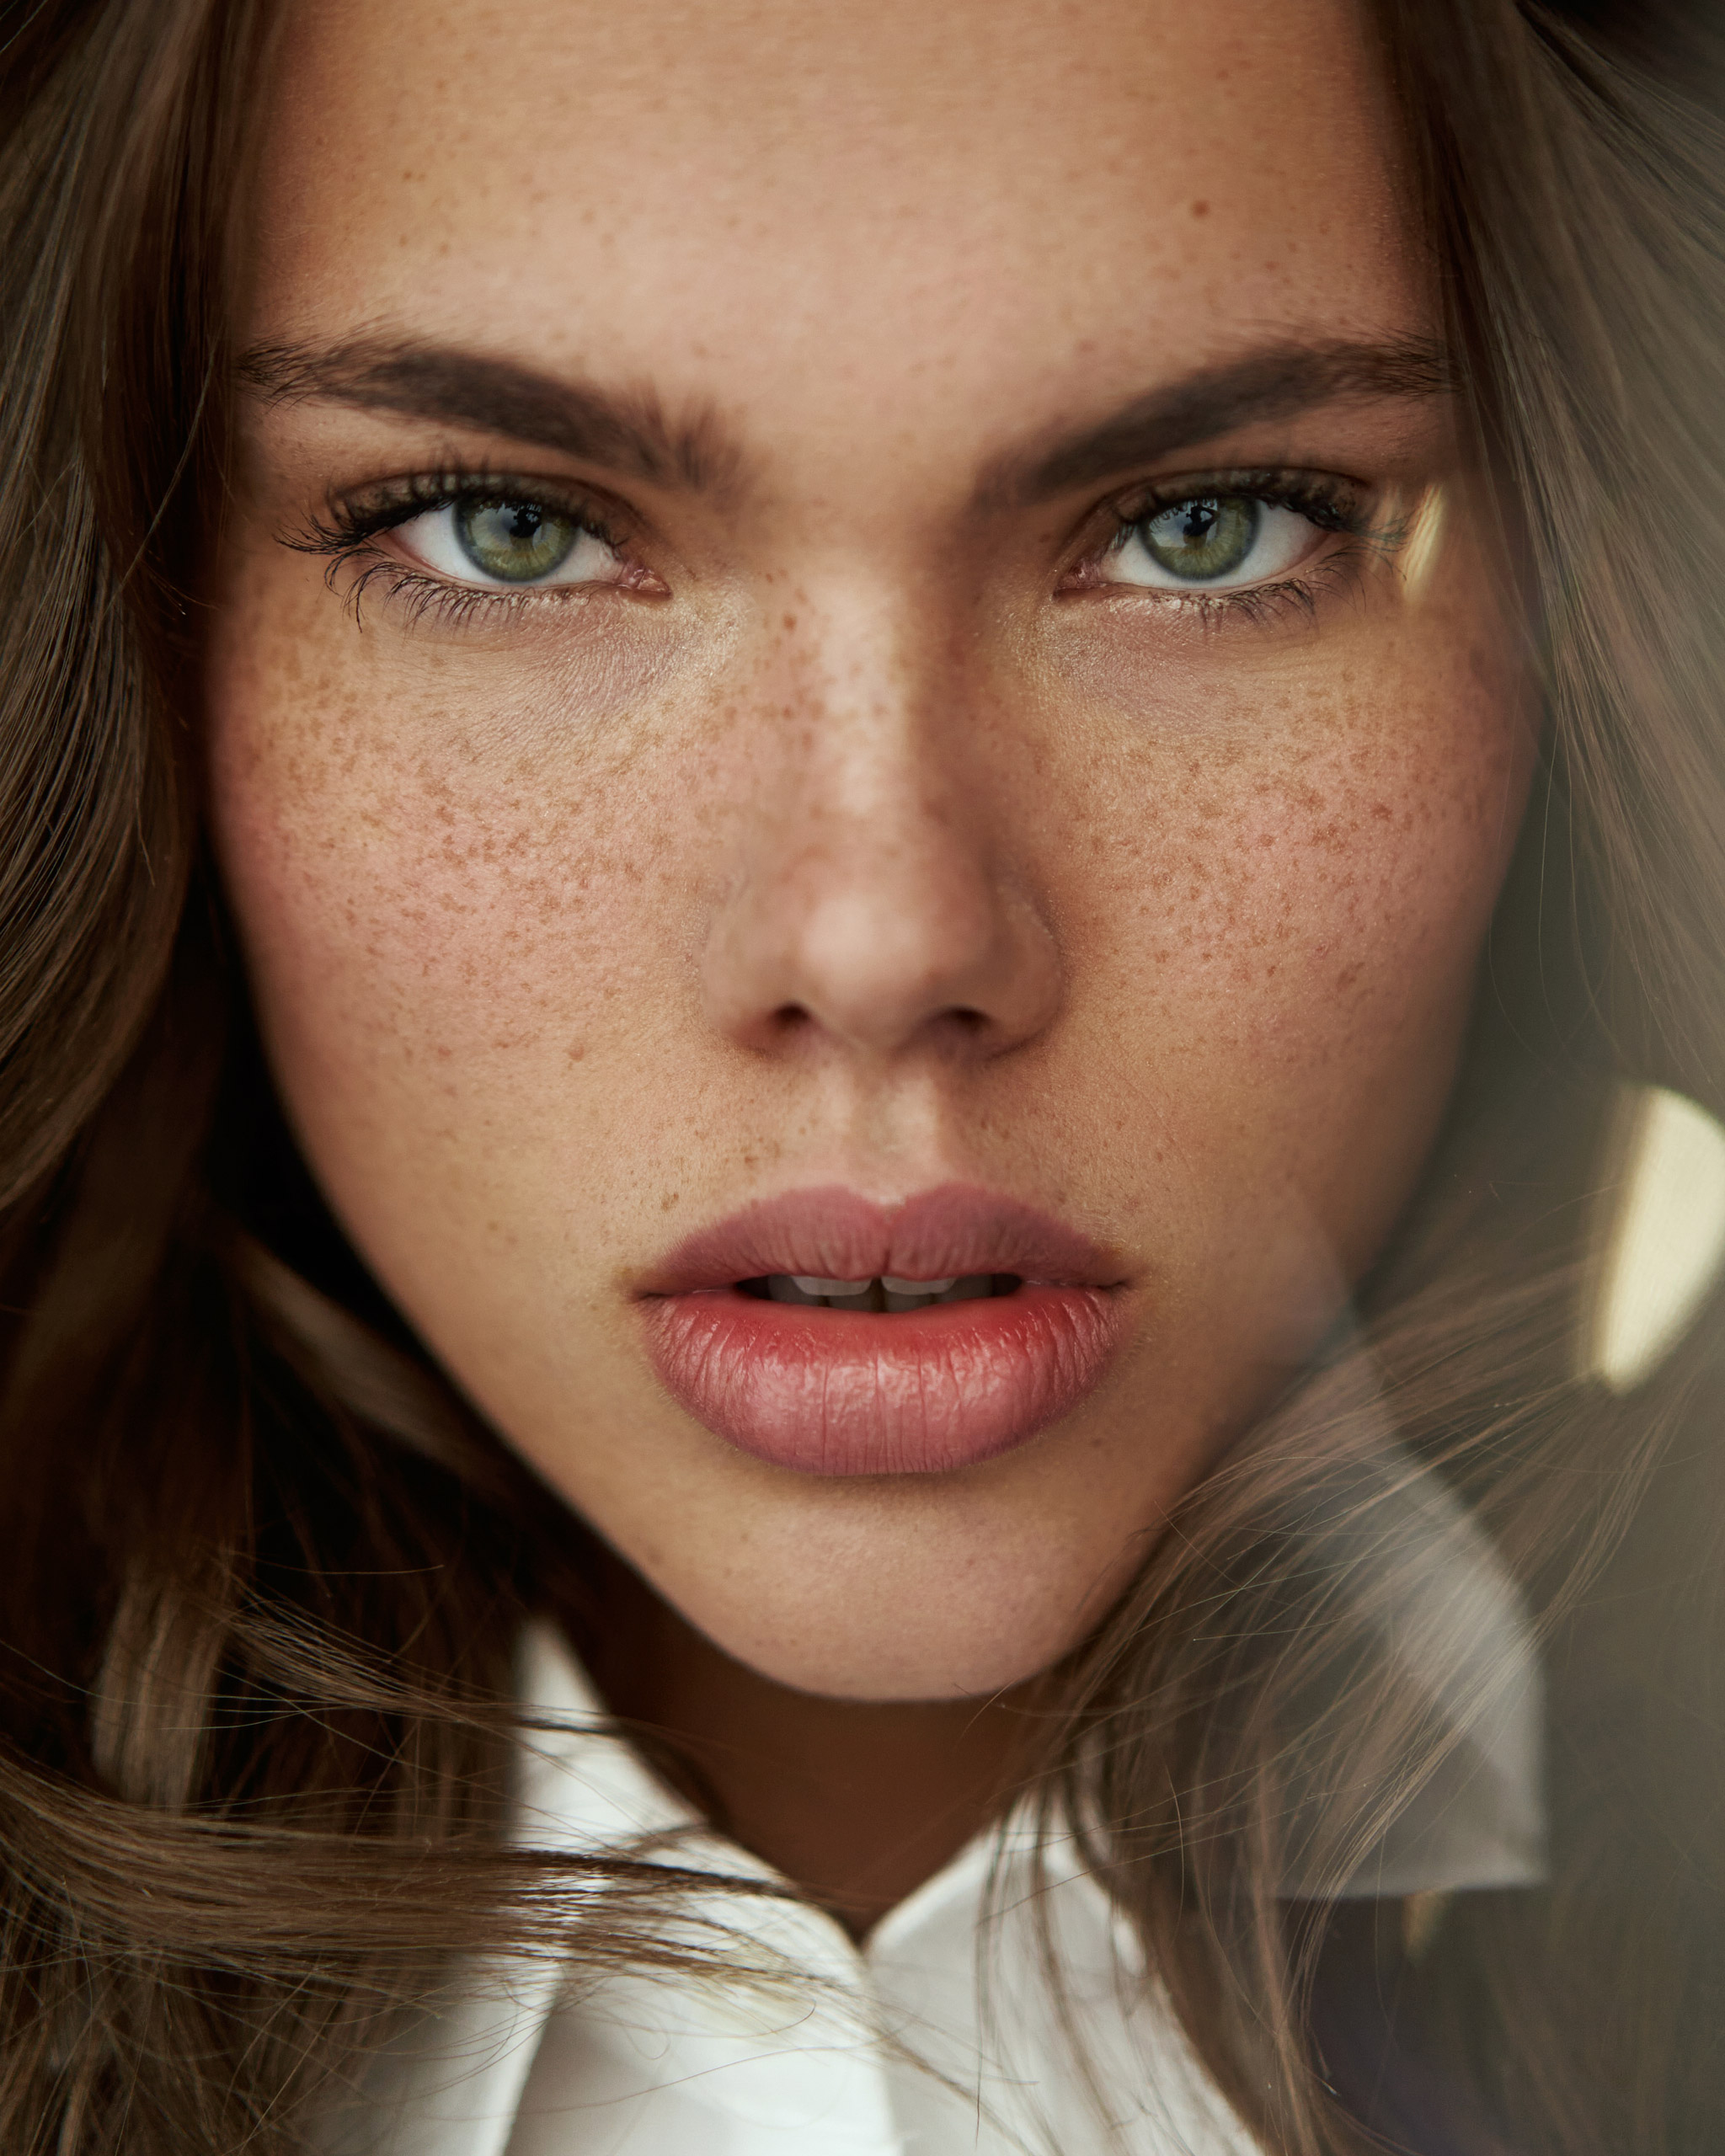
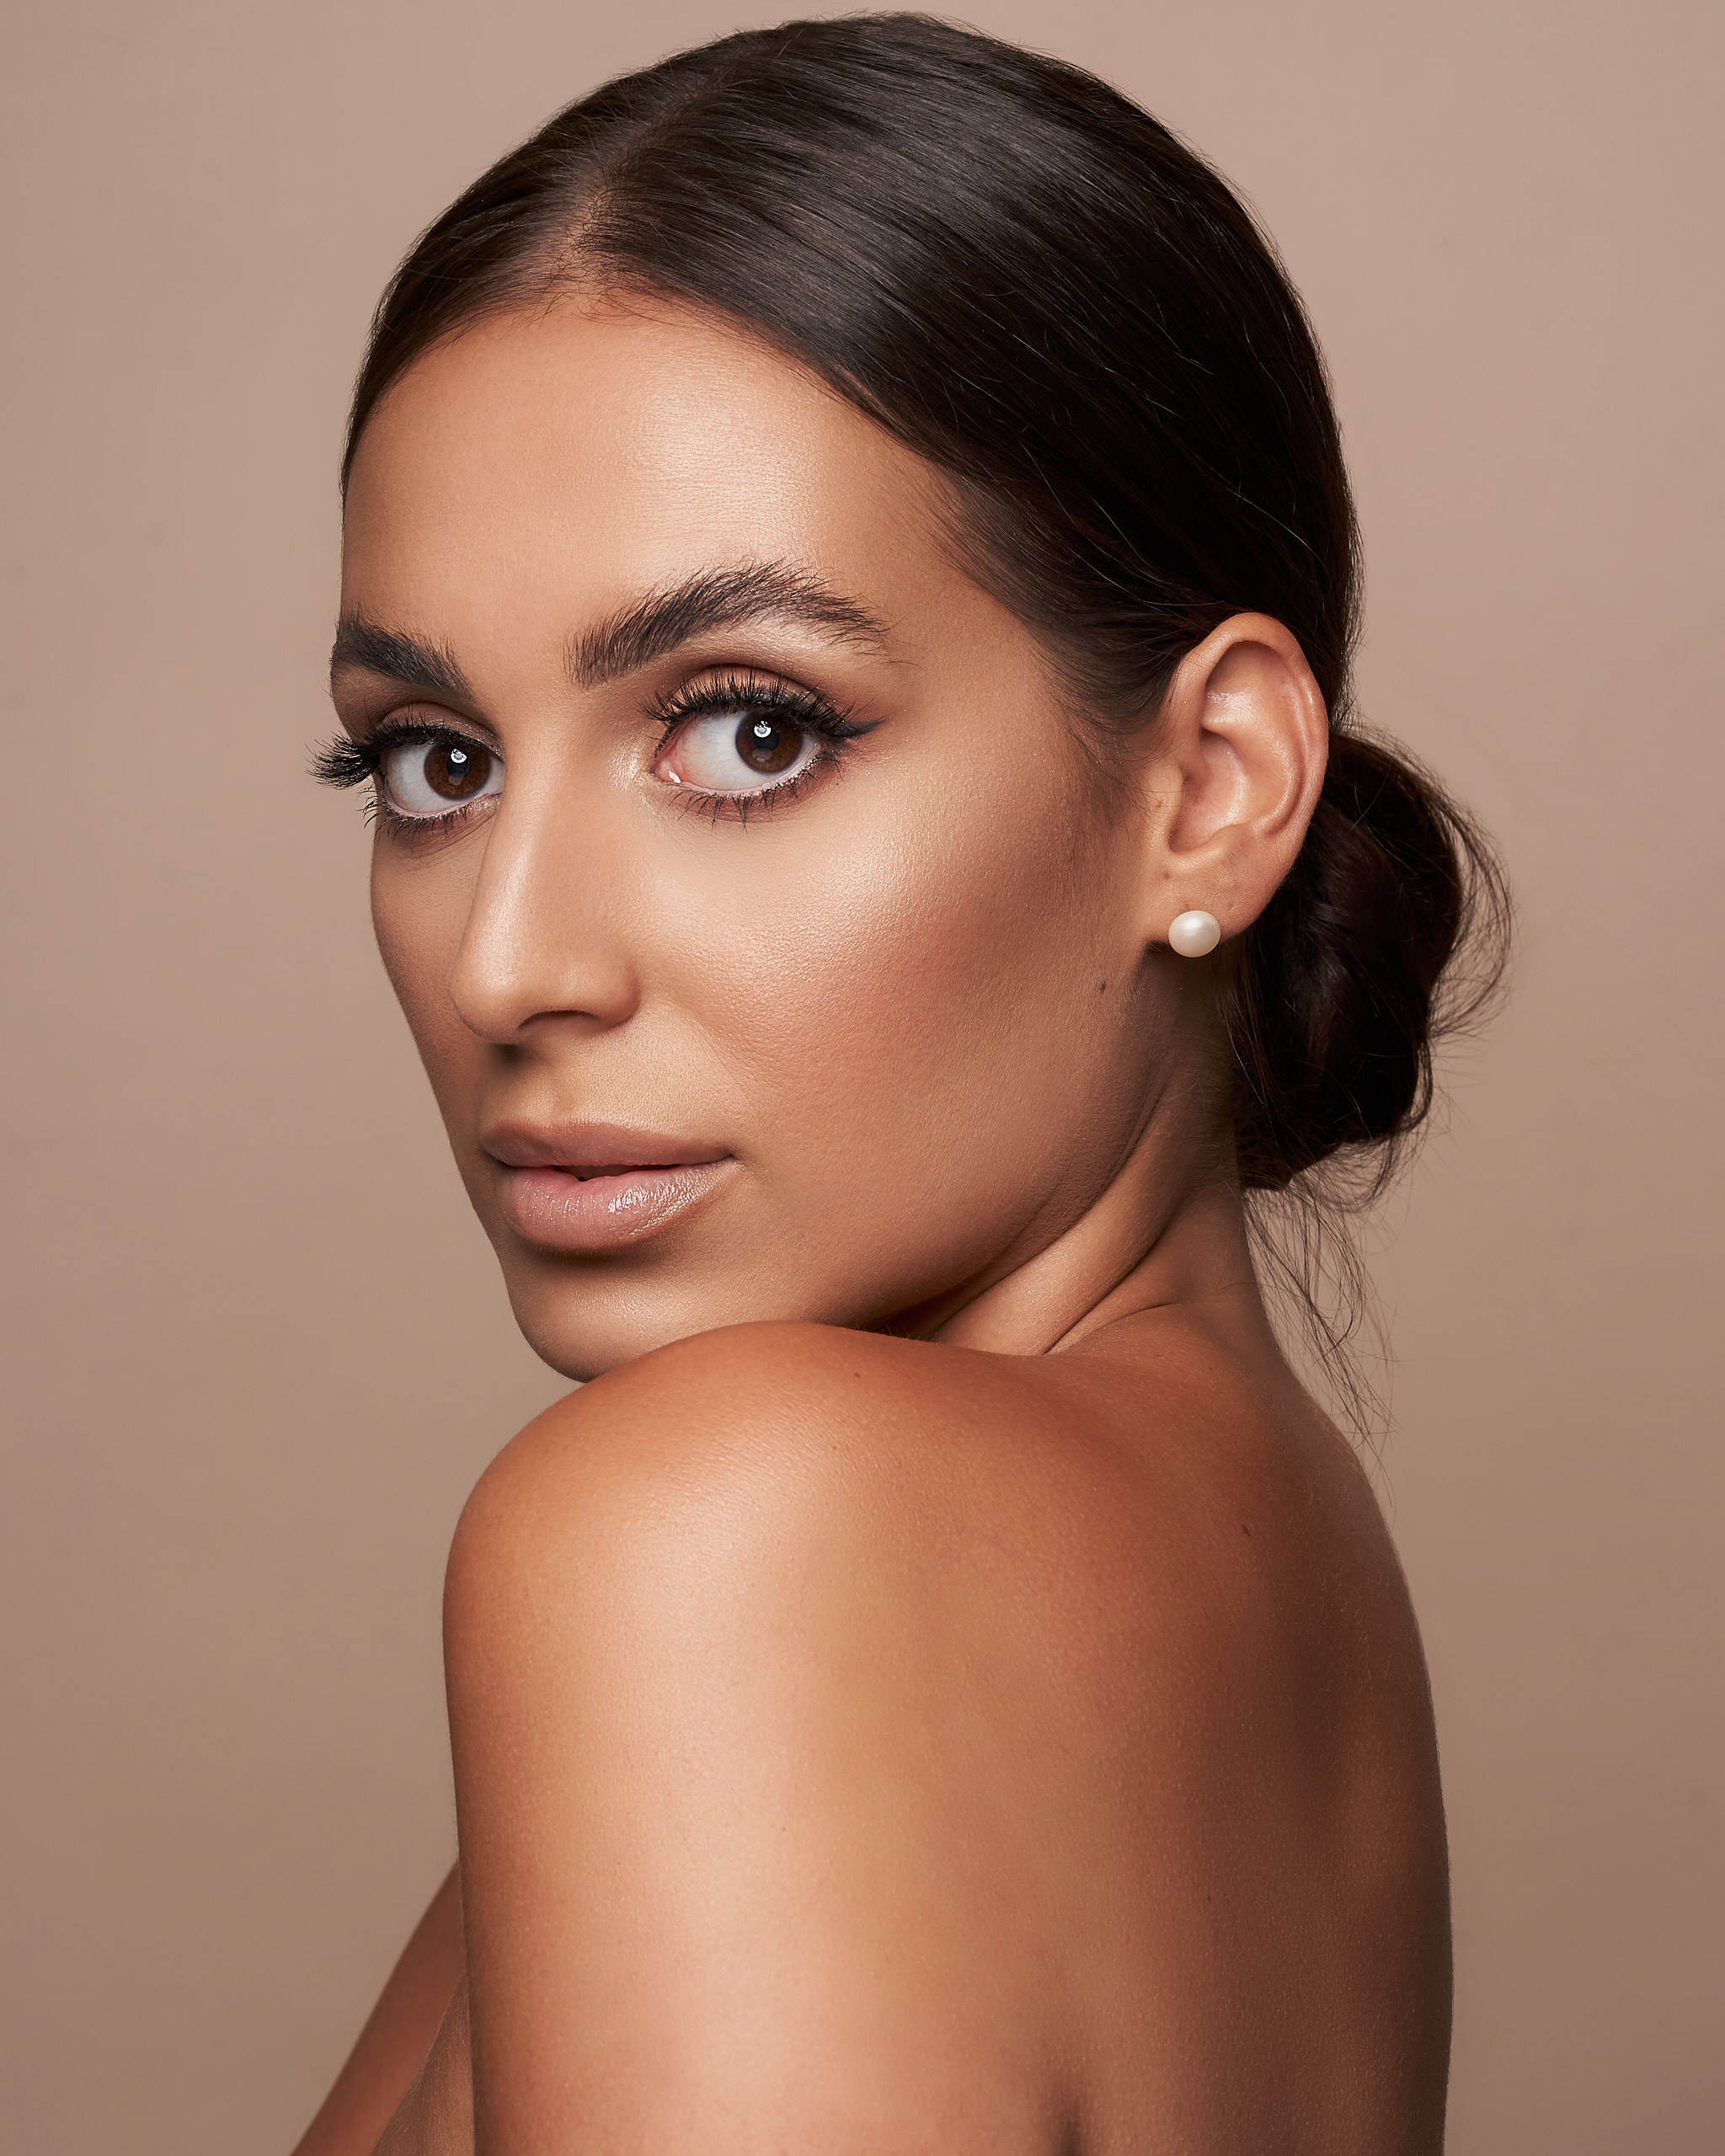
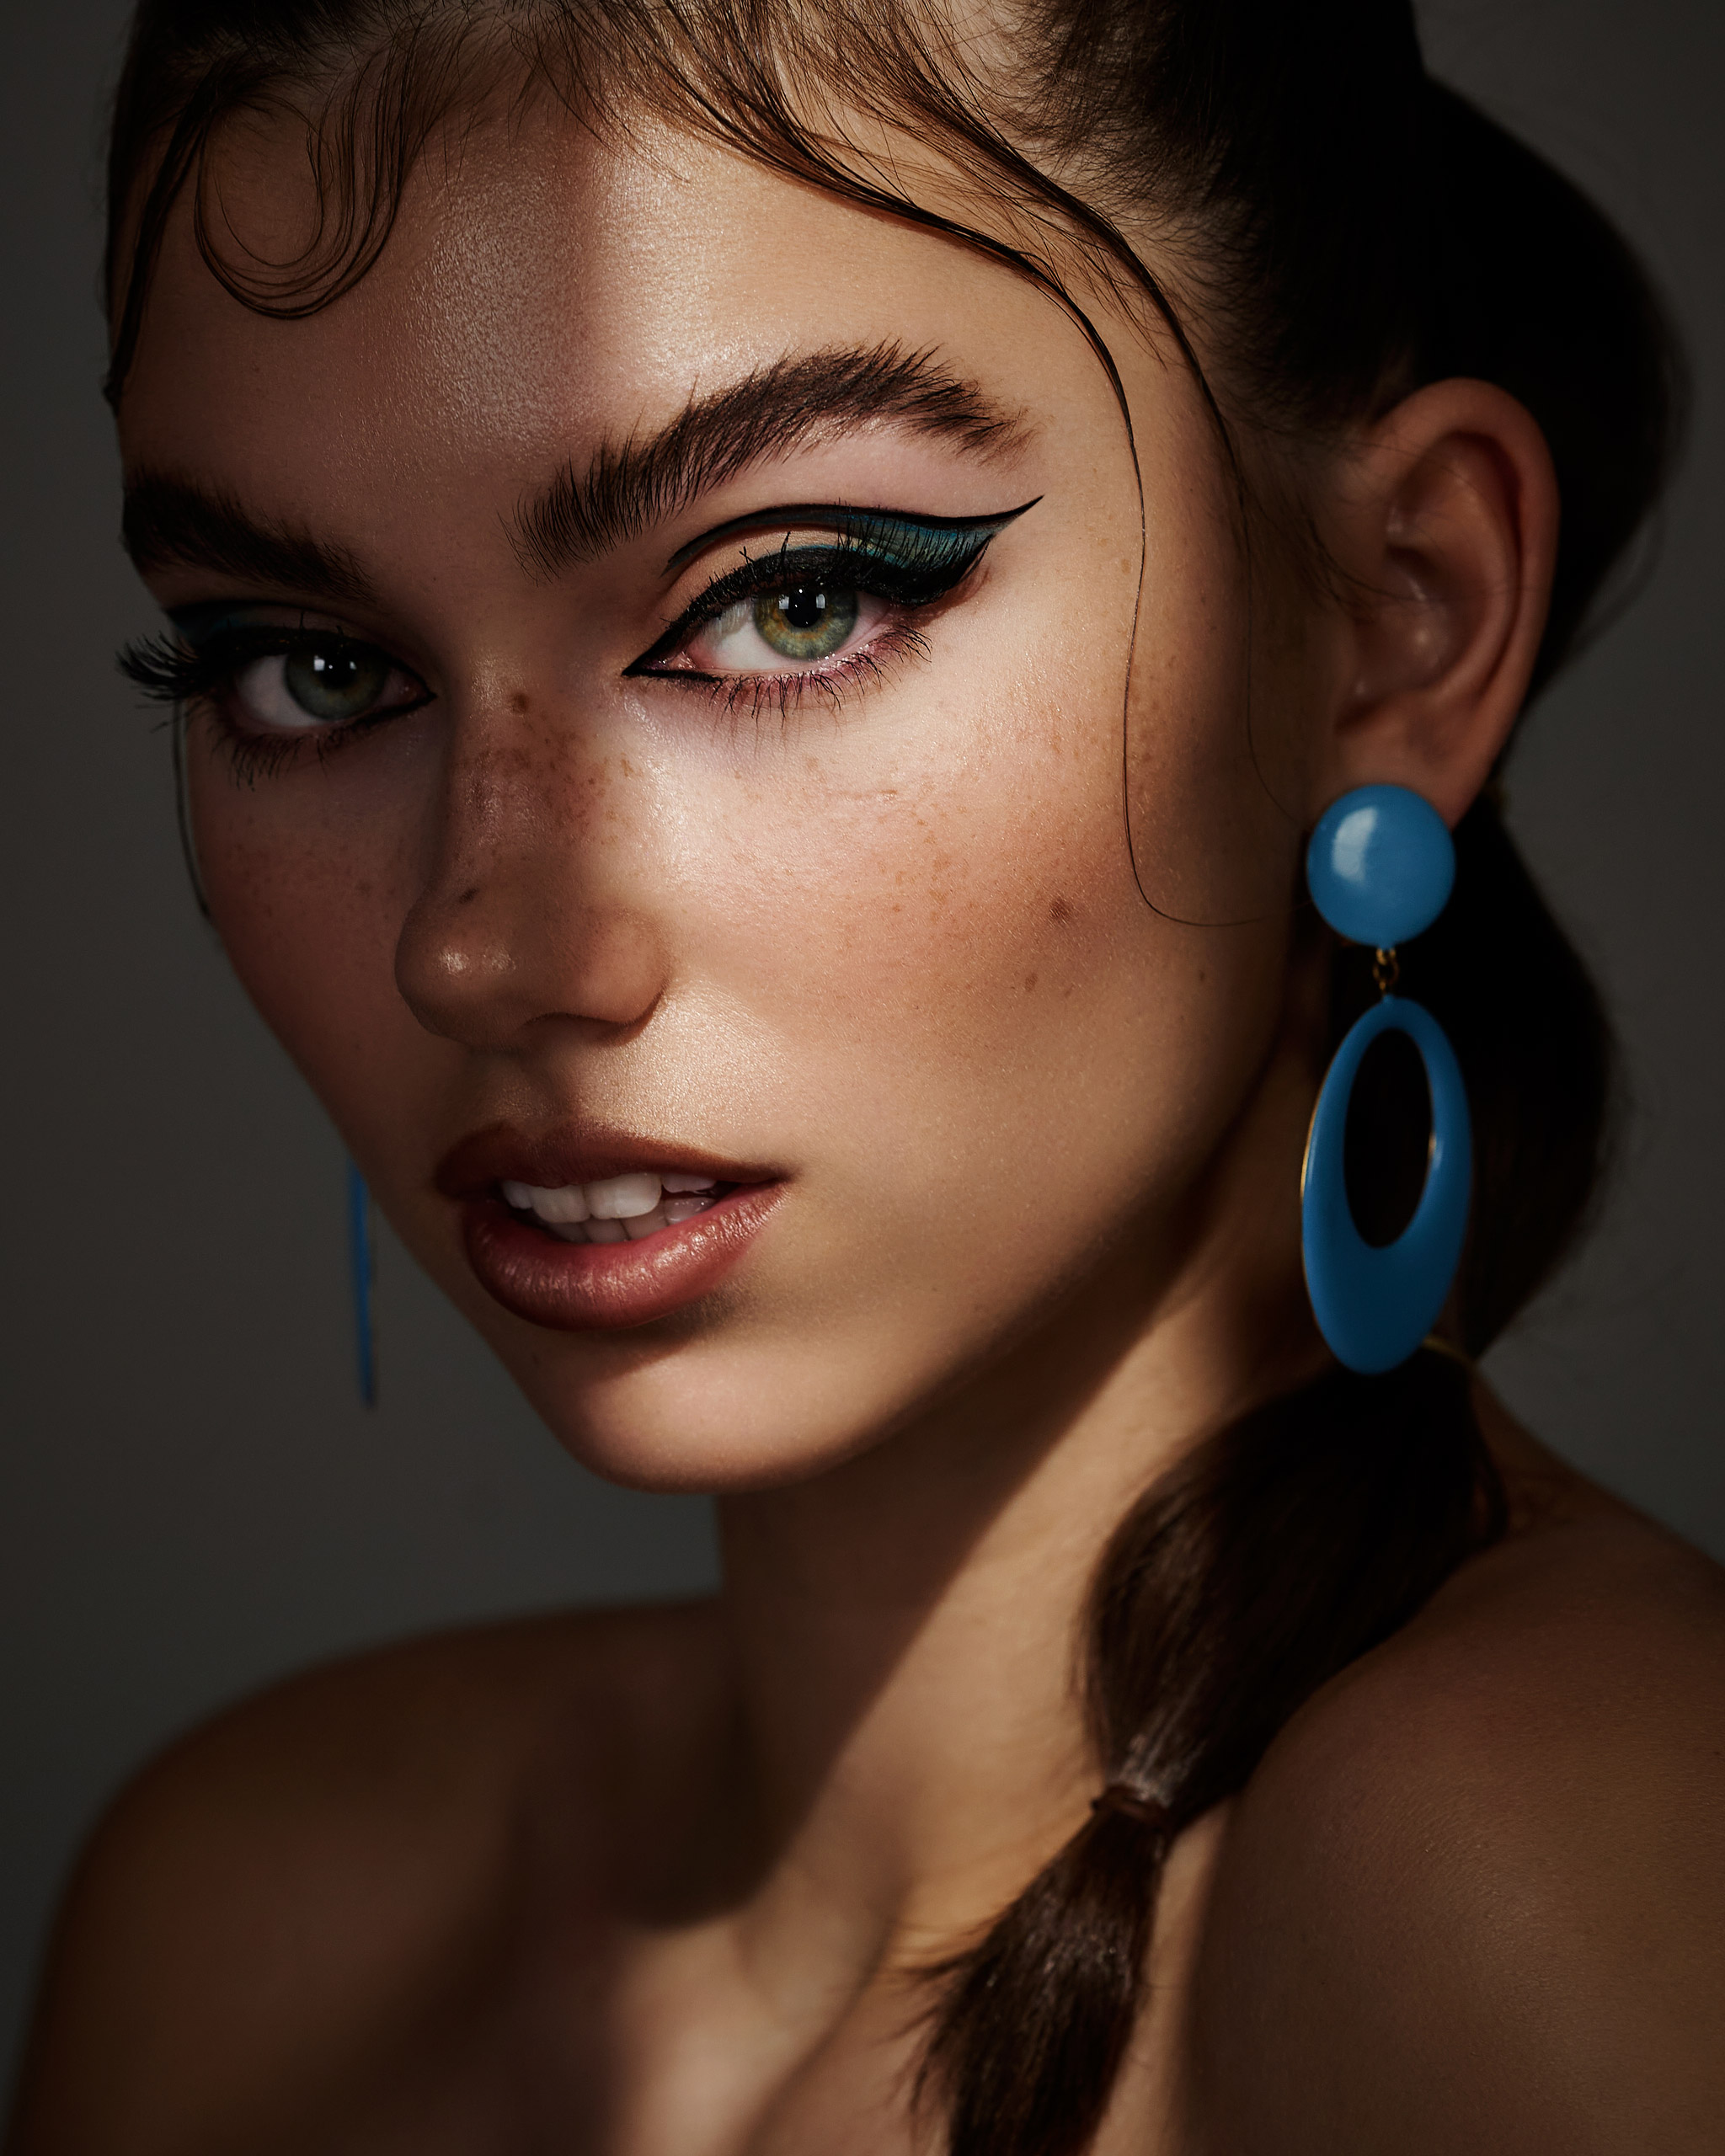
I use a 90mm macro lens, especially since it has a very small closest focusing distance and you do not have to crop in post-production. Of course, the model’s skin also plays a crucial role. The worse the skin condition, the softer the light should be—meaning large softboxes are ideal. Reflections in the eyes always give the images a special kick, for this and to lighten shadows a bit, you can use a reflector.
I strongly recommend working with a makeup artist. Otherwise, the results are often disappointing. I can also only advise preparing well. Look for pictures beforehand that you also want to implement, inspiration for this can be found without end on Instagram or Pinterest. Try to read the lighting—where is light, where is shadow, reflections in the eye—and do not be afraid to first copy other photographers. This gives you a good start to the shooting and the rest comes by itself.
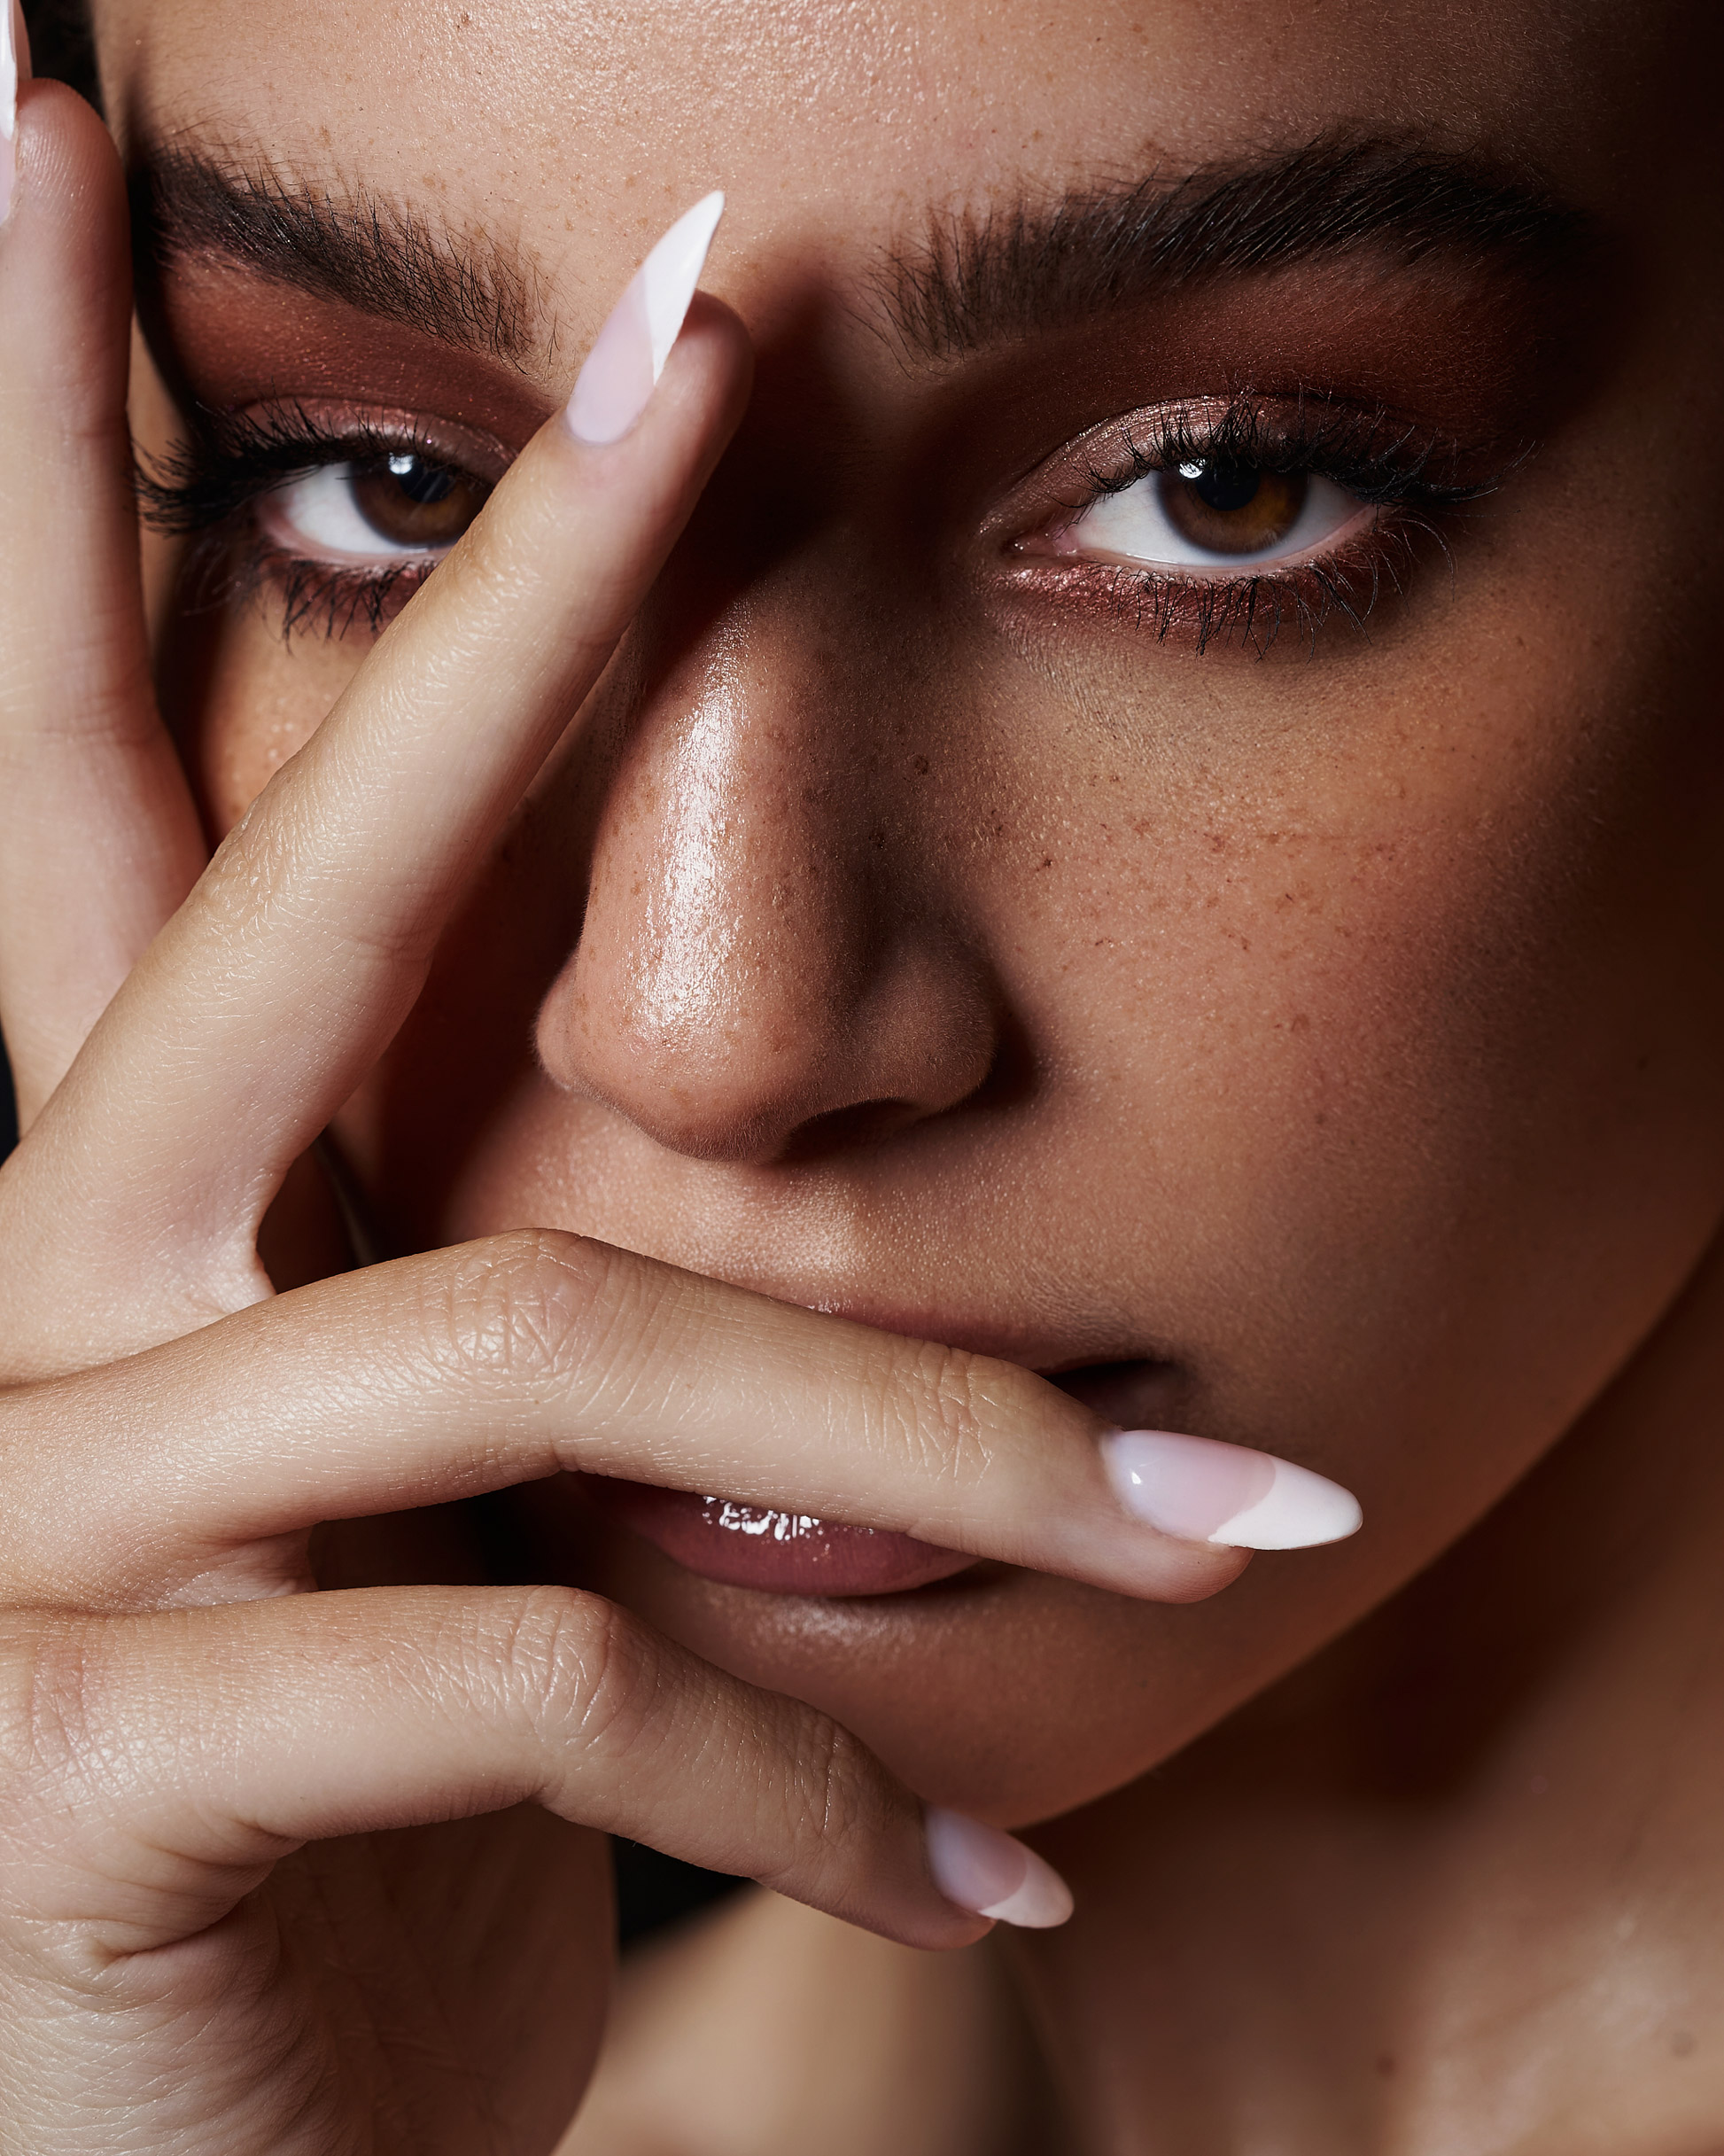
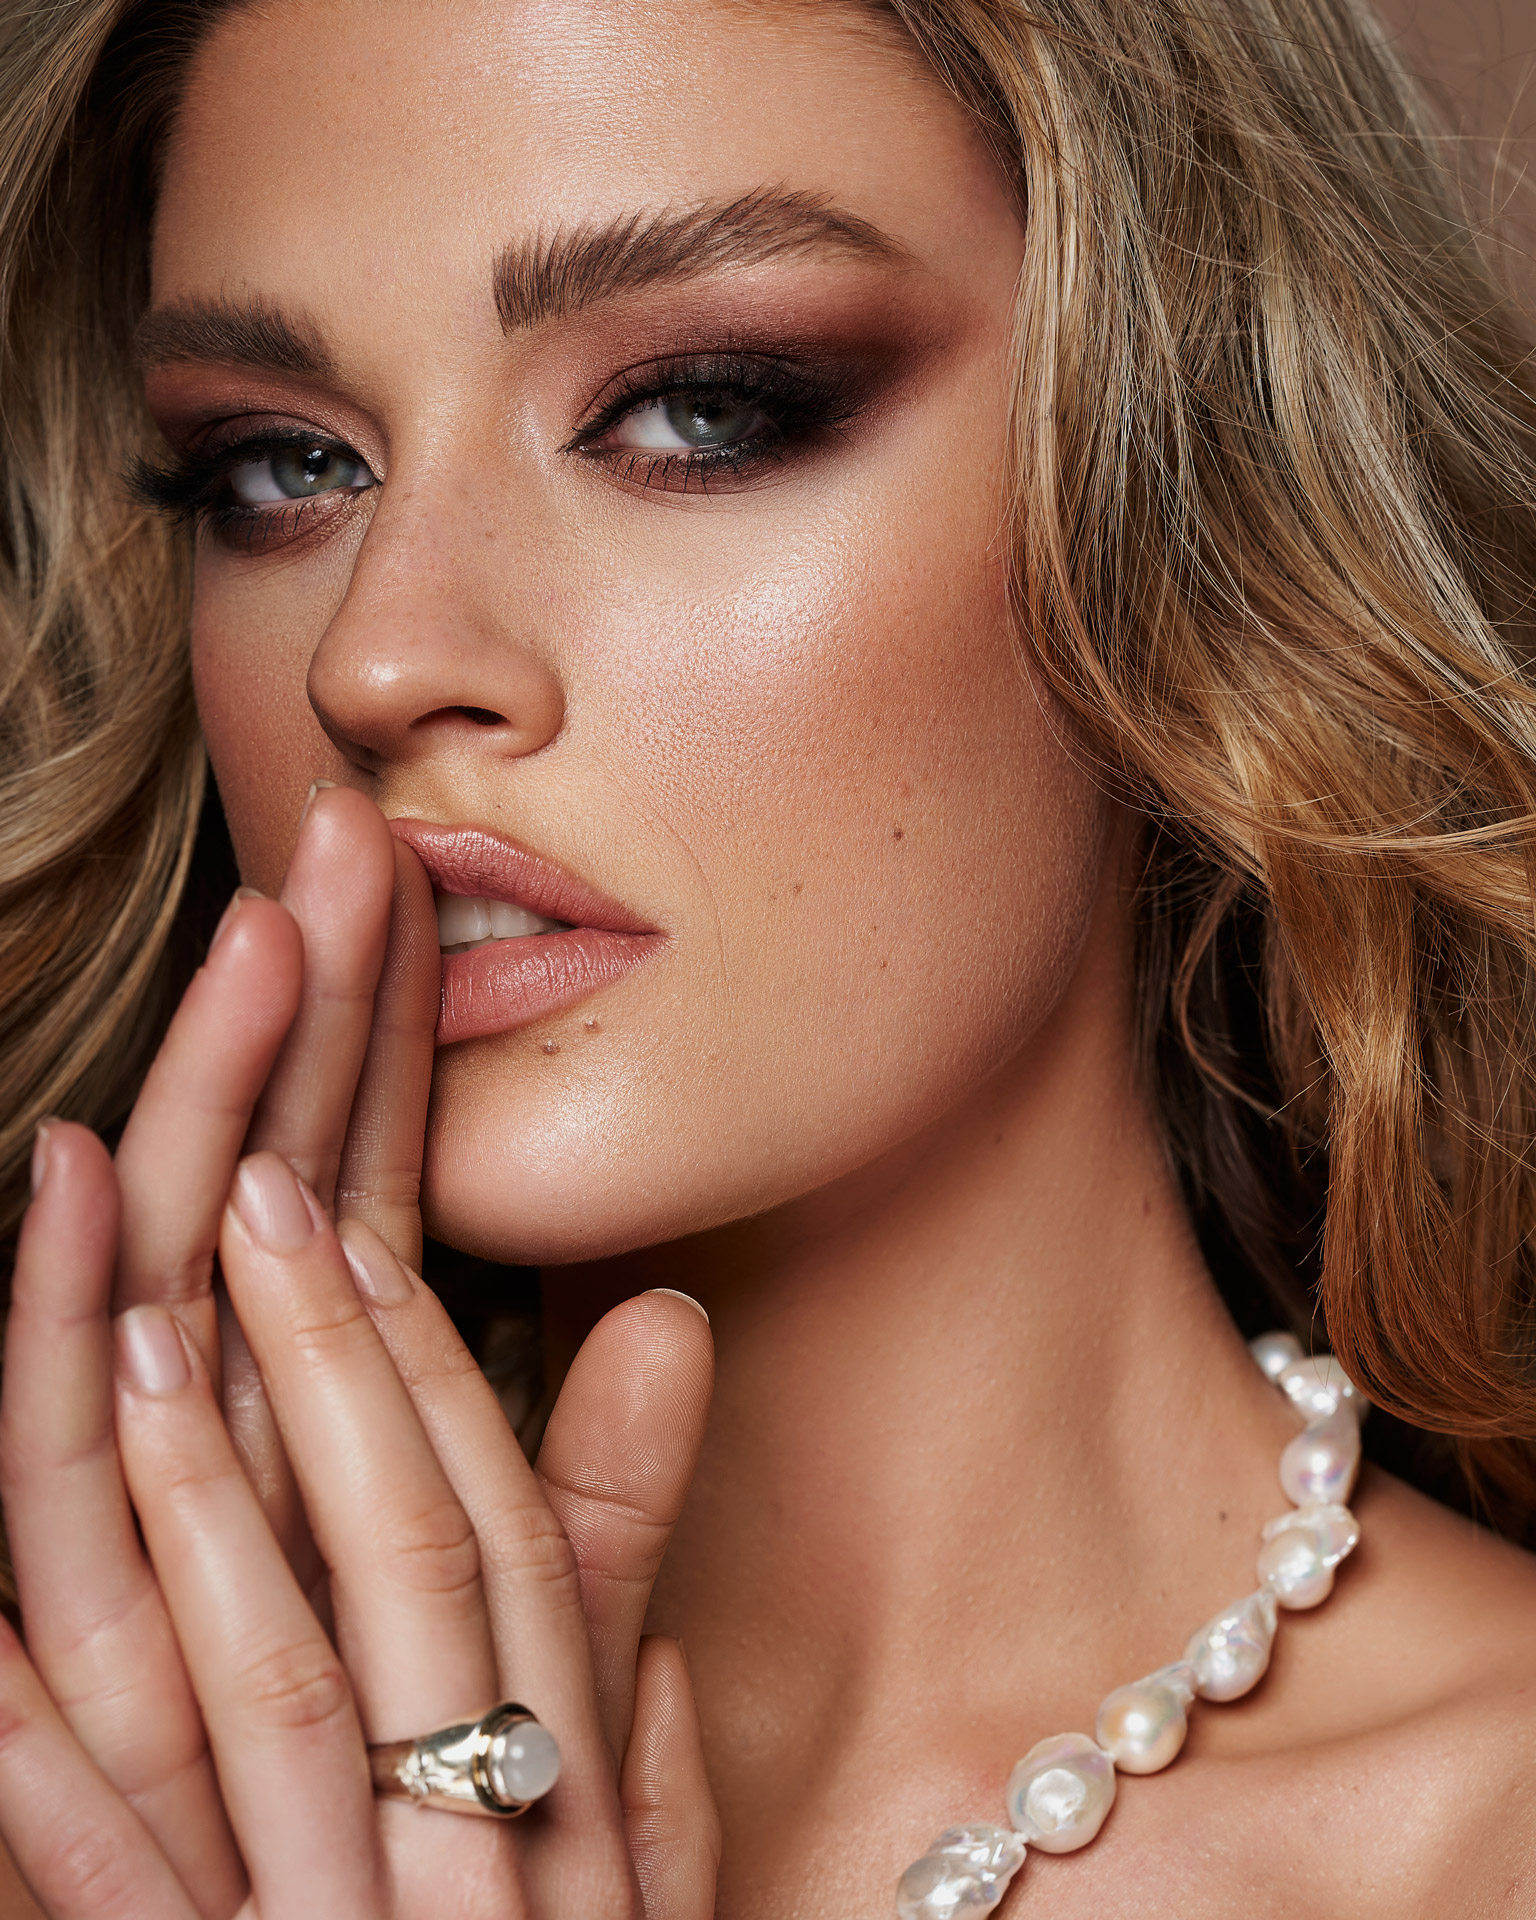
It is also important that the models prepare well in advance and care for their skin and lips with moisturising cream. Dry skin and lips are difficult to iron out in postproduction. Fingernails should of course also be in good condition, this can save you a lot of work later. When setting the light, there are no limits to creativity. But, if you work with a light frontal and a reflector, you will quickly and easily get very good results.
Instead of continuous light, I would also recommend working with flashes. For one, they have much more power and you can close the aperture much further, and it is also much more pleasant for the model not to be permanently illuminated by a 200W light. If you are working in darker rooms, I recommend you at least illuminate the model with a light, this has the advantage that the focus of the camera hits better and the pupils do not dilate so extremely from the model. The choice of light source doesn’t really matter, as a closed aperture won’t affect the final image.
Thanks, Thomas. You can see more of Thomas Popien’s work on Instagram @thomaspopien.
Read more inspiring camera gear guides on the MPB content hub.
You can sell or trade your camera kit to MPB. Get a free instant quote, free insured shipping to MPB, and get paid within days.