
Photography 101: Basic Camera Settings for Beginners
Published 27 March 2025 by MPB
Digital cameras, from mirrorless to DSLRs, have a range of settings that you'll need to control to create photography. If you’re just starting out, your camera settings might feel daunting to navigate. But it’s worth taking the time to learn about your options and make your camera work in the best possible way. This guide introduces the most common camera settings found on digital cameras, and how to use them best.
1. Self timer
Usually found in the function menu, the self timer allows photographers to get a two-second or ten-second delay option for the shutter to fire. Perfect if you want to be included in your shots, or if you don’t have a shutter release cable or remote to start your long exposures.
2. Silent shooting
Some people like to hear confirmation that their camera has taken the picture. But it can be distracting, especially for certain genres. Wildlife, events and documentary photographers may need to mute their cameras. If you have a DSLR, there’s not much you’ll be able to do about the shutter slap. But a silent electronic shutter is one of the biggest benefits of using a mirrorless camera.
3. Time, date and geolocation
One of the first things you should do when you get another camera body is to make sure the time and date is set correctly for your time-zone. This is essential for properly documenting and archiving your image files. Some more recently released cameras also allow you to geo-tag your photos, but we’d recommend only using them for your personal reference—remember to strip these out before you publish them.
4. Long exposure noise reduction
Some camera models automatically reduce noise from long exposures. However, if you don’t need this setting, turn it off—you’ll still be able to change noise in post. If you’re into astrophotography, though, you might love noise reduction for long exposures.
5. Bracketing
Bracketing enables the camera to take three shots of the same image with different settings. This means you have options to choose the best image later. The most popular form of bracketing is to capture different exposures and retain detail in the extremes of highlight and shadow. You can then stack the image in post to create a composite, while keeping the image at a believable exposure, without the associated artifacts from lifted shadows or toned-down highlights.
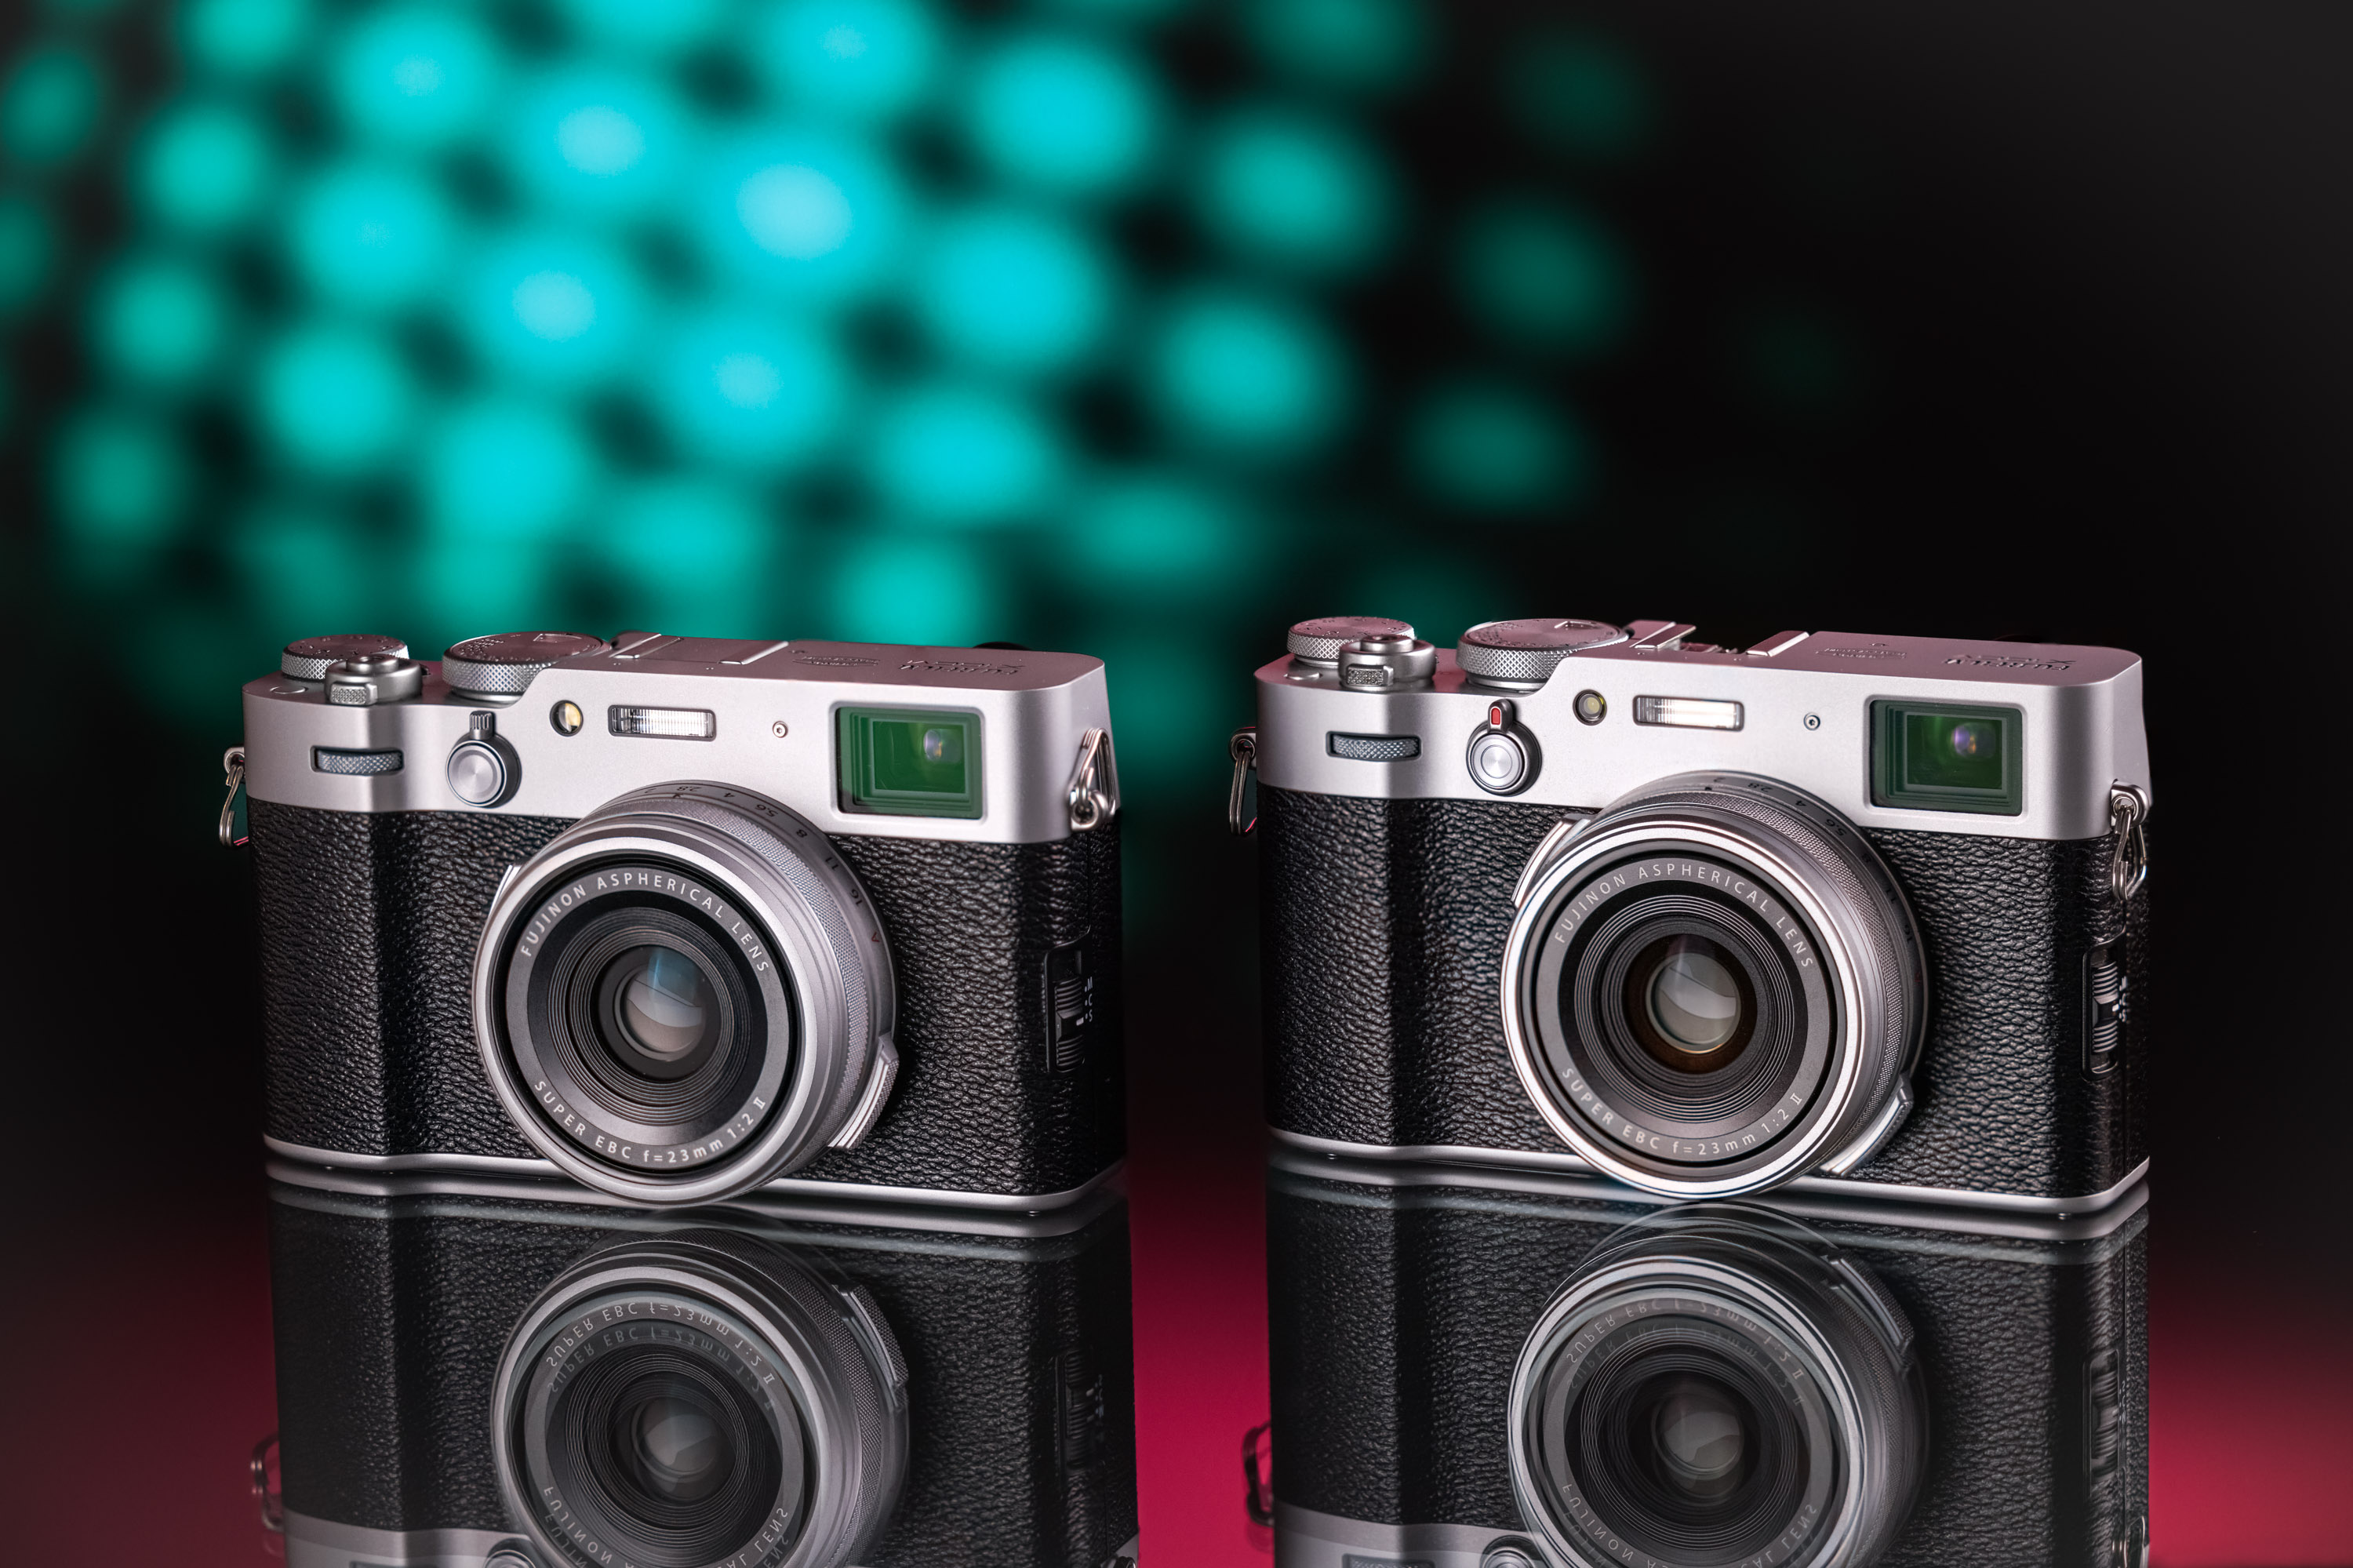
Used Fujifilm X100V and X100VI
6.
Discovering picture profiles is usually one of the most fun parts of familiarising yourself with kit, especially if you shoot mainly JPEG. These profiles will be permanently on your files, straight out of camera. If you shoot RAW, they won’t become embedded, but can still help you envisage the potential look of the shots if you choose to edit them that way in post-processing. Some models allow you to simultaneously shoot one JPEG with picture profiles and one RAW without, so you can keep your options open. Most Fujifilm mirrorless cameras, for example, feature film simulations—recreating the famous Fujifilm film stocks.
7. Drive modes
Drive modes dictate the speed of your shooting, and most cameras will have different modes of capture depending on the speed at which you need to capture the action. Then names for these will differ slightly from manufacturer to manufacturer, but they all mean the same thing.
Single image shooting
This is likely the default for most people and those who aren’t necessarily shooting fast paced action who are under pressure to capture the ‘right’ expression or moment. Generally speaking, fine art photographers, still life shooters or non-portrait studio photographers might opt for this.
Medium Speed Continuous
Most cameras will have a medium speed setting in between single image and high speed which tells the camera to shoot various images at a single press of the shutter rather than just one. This means the camera will continue to fire off images at a selected speed e.g. 3 per second - if you need more options than just a single image.
High speed continuous
The fastest cameras might be able to manage 20 frames per second—or 20 frames per single press of the shutter—a function crucial to those shooting sport photography and wildlife photography where a specific angle or reaction is needed that happens to fast for a person to react to. Most modern cameras will have at least 5-10 frames per second on the high speed mode, increasing with mirrorless models. It's worth noting that using this mode too heavily will eat up space quickly in your memory card.

OM System OM-1 | Olympus M.Zuiko Digital ED 100-400mm f/5-6.3 IS | 400mm | f/6.3 | 1/400 sec | ISO 1000
8. Metering modes
If you're using automatic or semi-automatic shooting modes—like aperture priority and shutter priority—you can use metering modes to control your exposure. Metering modes interpret light coming from the scene, meter using the camera's reflective meter, and average the exposure for middle grey or the 'middle' exposure based on the weight of shadow or highlight in the scene.
The standard option is typically evaluative or matrix metering, which takes into account the focused object and the rest of the frame to support the best overall exposure. Spot metering only takes into account the focus point or the middle point of the frame, so that dictates the exposure for the rest of the image. Partial metering is similar, but expands that small point to a larger area, just in case the point of focus is more complex. Centre-weighted metering gives the power all to the centre of the frame, dictating lighting intensity there no matter the focus point.
9. Focus modes
The advent of digital cameras has refined and expanded the options for focusing. Of course, there are autofocus (camera-assisted) and manual focus (user) modes. But now most cameras have greater autofocus options, depending on your preferences and what might be easiest for capturing your subject. Sharp images are always the goal. While autofocus options might be a little confusing at first, they’ll make or break your experience with certain subjects and circumstances.
Single-point area mode
Otherwise known as single-point autofocus mode, single-point area mode will allow you to zone in on one simple focus point that remains steady unless redirected. This mode is best if you have a single subject that remains static. And your camera shouldn’t move much either. It allows for super-sharp precision and is great for macro and landscapes.
Auto-area mode
This mode tasks the camera with finding the group of points to automatically autofocus upon. At times, it’ll assume the wrong area as the intended subject, and you’ll have to play around with it to get it right. So, if the subject is close to the camera and is the most obvious thing in frame, you’ll do just fine with this focus mode.
Dynamic autofocus area mode
AKA autofocus point expansion, this mode helps keep the subject in focus if it’s moving. These areas can usually be configured to include more points, expanding the space it’s able to capture at once.

Amy Moore | Fujifilm X-T50 | XF 16-50mm f/2.8-4.8 R LM WR | 49mm | 1/500 | f/4.8 | ISO 1000
Eye autofocus
Eye focus is the most recent edition to focus modes available on contemporary cameras. Eye autofocus can significantly reduce your stress about getting the eyes in focus while shooting portraits. This focus mode will identify eyes and focus on them, retaining this necessary focus through movement and rotation. Perfect.
Manual focus with focus peaking
This one is found on most mirrorless cameras with electronic viewfinders. It enables you to focus manually with vintage lenses and visually confirm that you’ve nailed focus. Focus peaking highlights the edge of any object, live on the viewfinder, and changes as you move the focus ring—or your position. Using focus peaking and vintage lenses opens up loads of creative opportunities. We once mounted a 1916 Kodak Vest lens to a Sony mirrorless camera!
10. White balance
All light, as read by your sensor, has a temperature measured in Kelvin (K). Normally, you might select a symbol like a sun, cloud or a lightbulb to best match your scene’s colour temperature. The sun symbol means sunlight—normally 5600K—and, at the other extreme, tungsten light—normally between 2900–3200K.
Getting your white balance wrong while shooting RAW will not create a destructive change in post. But, if you want your images to look accurate or pleasing as you shoot them, it is worth selecting the correct white balance so your image doesn’t look too cool or too warm. You can also manually input the K value, to either slightly warm your image or cool it down, depending on the look you want.
11. Shooting in RAW
This is essential if you import into Lightroom or Photoshop. If you edit in post, it’s always better to use RAW as it has far more range for digital manipulation than JPEG. You can push a RAW image much further before it begins to show artefacts and other unwanted digital corruptions.
JPEG is great if you need to work quickly, or if you’re happy with the colours and exposure. If you want more control, or if you are doing heavy editing on an image, then shoot RAW. Most cameras will allow for both simultaneously, so if you want a JPEG but want the option to edit later, this might be a good option for you.
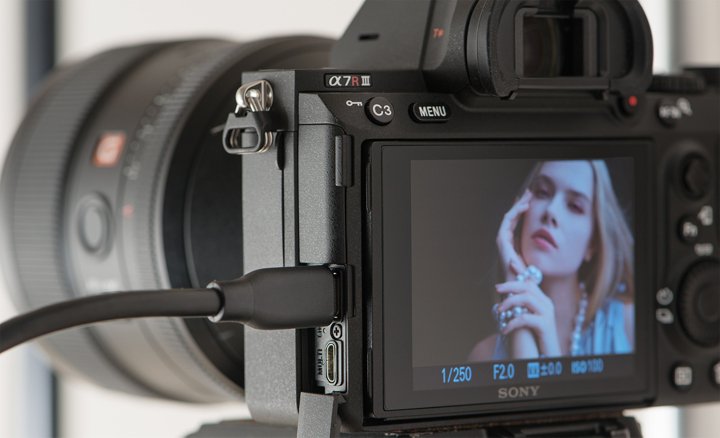
12. Histograms
Histograms show you the range and distribution of light in any given frame. You might have seen this while looking at the info button in playback mode. Histograms are helpful for checking whether shadows and highlights—displayed at the left and right of the graph—are underexposed or blown out.
13. Image stabilisation and IBIS
Image stabilisation is useful if you need a helping hand with light conditions and the pressure is on to deliver a good image. Image stabilisation allows you to use slower shutter speeds than you would normally be able to, especially if you need to hand hold—it drastically reduces blur and shake. For example, if we follow the rule of ‘shutter speed equals focal length’, then 1/50th shutter speed is the minimum to shoot well with a 50mm lens—but an image-stabilised lens might allow you to go down to 1/15th. It might not help with the speed of motion you are capturing, but it will minimise any shake from your hands.
Image stabilisation (IS) means your lens is doing the stabilising and will allow two or three stops in shutter speed. In-body image stabilisation (IBIS) has similar results within the camera itself by ‘floating’ the sensor. When you combine IS and IBIS, you might be able to achieve up to five stops.
14. Half-shutter autofocus
Generally, when you half-press the shutter button your lens will autofocus and a full press takes the image. However, there are times when this might not be ideal. Since going for full press to take the image will also trigger the autofocus, some prefer to have two separate buttons. You can find this secondary button at the rear of the camera and activate it with your thumb somewhere above the rear screen.
If you’re using many autofocus zones, and you feel you have the right one, your autofocus points won’t be altered by separate presses of the shutter button. This function can usually be selected in the custom function menu of your camera, depending on the camera you’re using.

15. Format card
Formatting your card is usually better than wiping a memory card by using the ‘erase all images’ function. Formatting your card in-camera means that if you might use the same memory card on a different camera or system, the formatting will ensure the camera is ready to use on the specific machine you have formatted it on. Format means reformatting the card to work on that specific camera, as well as erasing the images and freeing up space. Do not format your card before you've backed up your photos, or you'll lose them.
Read more camera gear guides, and learn about the different camera sensor sizes, on the MPB content hub.
You can sell or trade your camera kit to MPB. Get a free instant quote, free insured shipping to MPB, and get paid within days.