Learn: 15 Tips for Family Photography Beginners
Published 31 March 2021 by MPB
Are you starting out with family photography or looking to take better photos of your kids? Then this article is for you. Whether you're unsure how to use your DSLR or want to brush up on your photography skills, this article explains the basics of composition, focus and lighting for family photography.
1. Consider your composition
Do you ever wonder why you like some photos more than others? Why do some make you smile, feel emotional or tell you a story—while others leave you cold? You may be thinking that it's the photographer’s inner artistic genius. But often, the difference between a good and a bad photo is in understanding some common photographic composition rules. These rules are all about translating how our brains process visual information—especially when you take a rich and multidimensional world we see and translate it into a small flat rectangle.
It all comes down to how the eye travels around the image. Try this. When you first look at a photo, let your eyes fall where they wish. Pay attention to where you're looking at first, second and third. Usually, we look at the sharpest part first. We also have a bias for people, so those tend to have our attention, too. But once the eye has seen the 'person,' it journeys around the image in search of meaning and context.

Rebecca Walls
The rules of composition are simply about making that journey easy. Well-composed images make it quick and easy for the eye to go to the thing that matters and then get to the other good bits next. There’s usually quite a lot of info to analyse, so your brain likes a shortcut. If it’s easier for your brain to know what to look for, it simply follows and is instantly pleased. Here are two ways to make that journey easier for the eye. Both of them are pretty straightforward, and chances are you have already heard of them.
2. Include leading lines
We like to be shown where to look and get there straight away. Our brain likes to be taken by the hand and led to the subject. And one of the easiest ways of achieving it is to use lines, or linear elements, that already occur in nature. If there’s a line in your image—and it doesn’t need to be a straight line or even a particularly well-defined line—our eyes will surely follow it. This is to your advantage because if you can know that the viewer’s eye will be following a line, all you need to do is make sure your subject is right at the end of it.

Ania Wilk-Lawton
Many easily identifiable straight lines are often all around us. Paths, roads, pavements, curbs. And, if you position your camera correctly, you can even use fences, stairs, edges of furniture, anything! The most important thing is that your lines should lead to your subject. The eye needs to follow the line first and then encounter your subject. If you place your subject at the opening of a path, with the path moving past them, the impact will be lost. Try to take advantage of how perspective and the optics of your camera treat parallel lines, too—the further they go, the more they converge and the stronger the effect.

Laura Sanchez
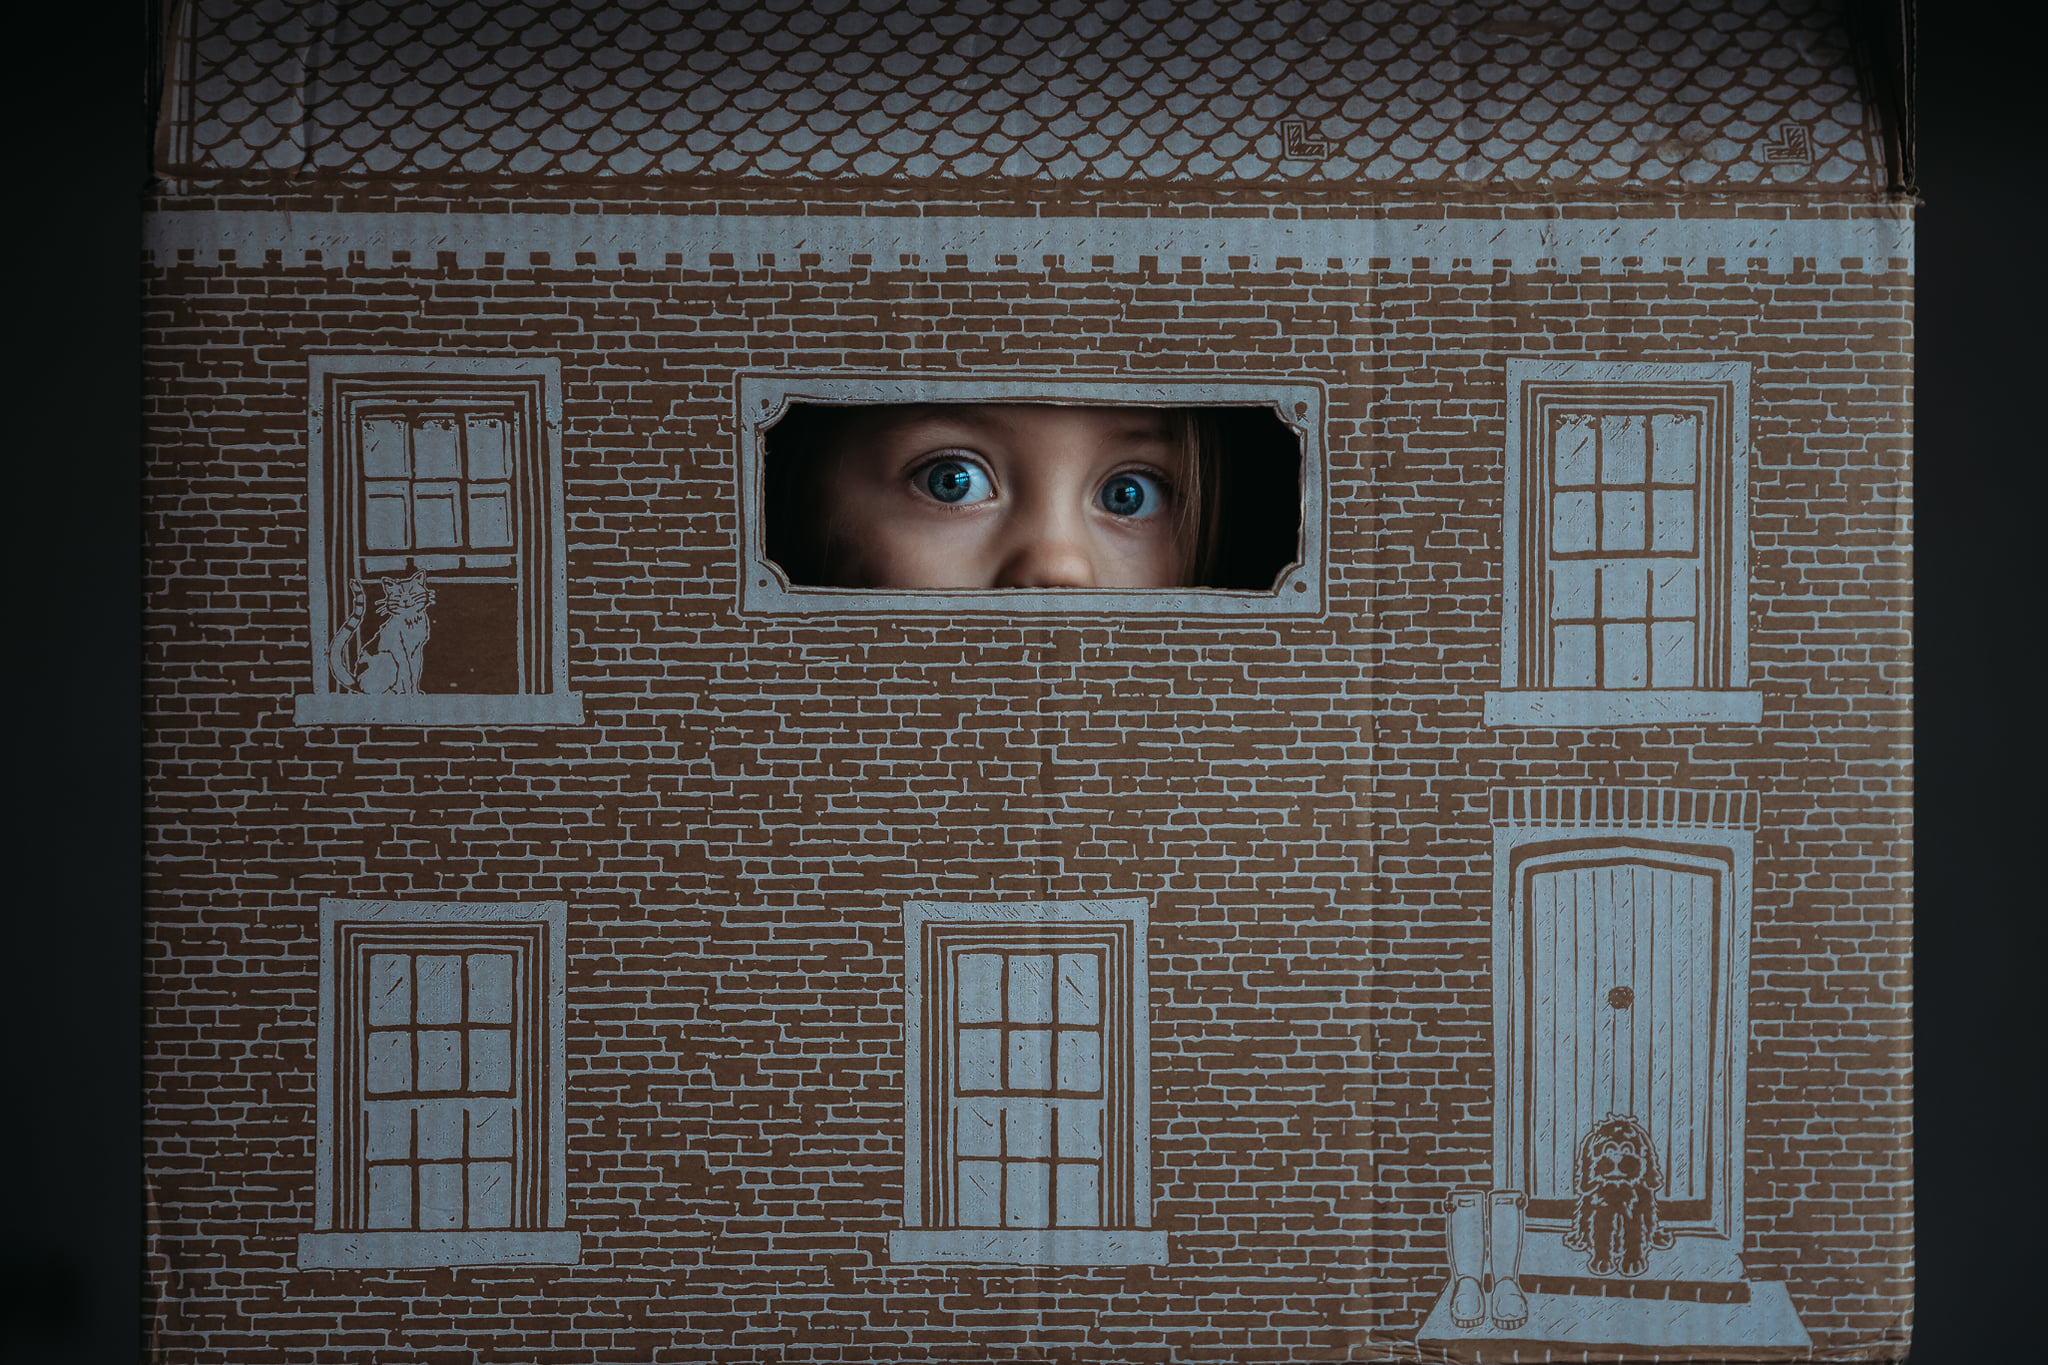
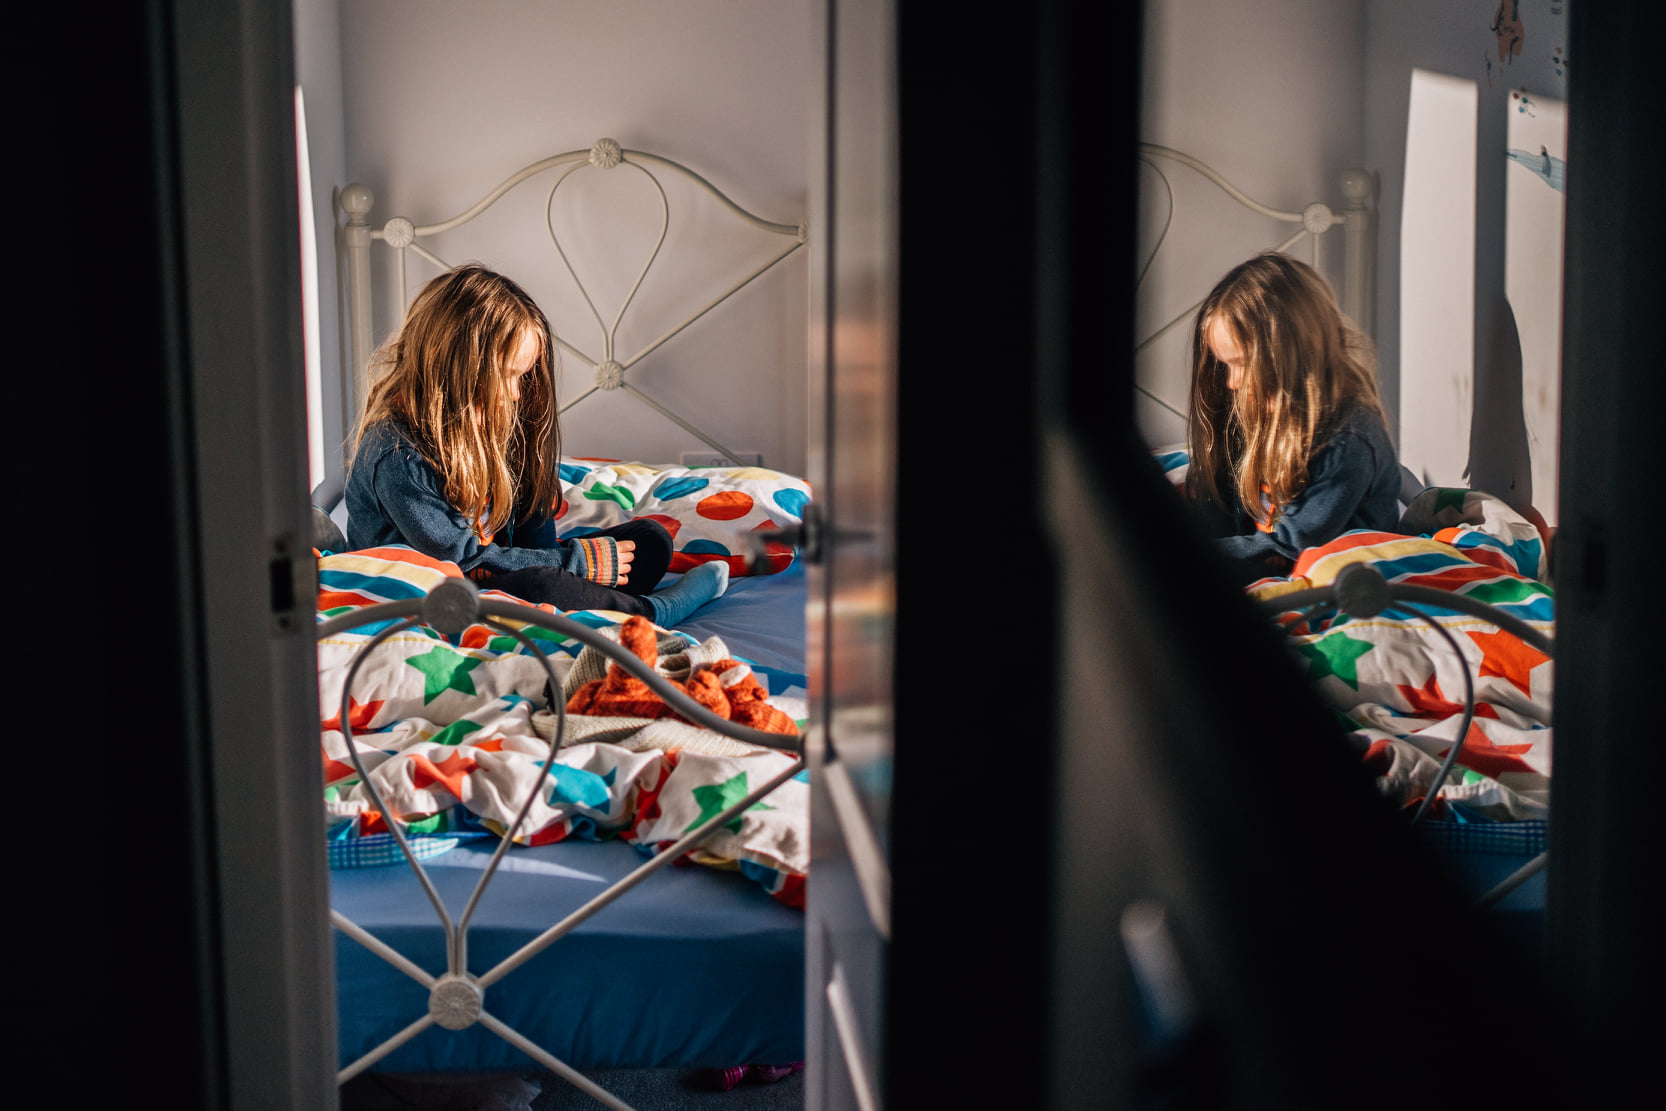
3. Create a frame within your frame
The second compositional element. Find elements to create a ‘frame’, encircling your subject, within your image. This works in the same way as a highlighter circle around a word makes us look right at it. Your inside frames can come in many shapes and sizes. Look out for more than just physical shapes and formations—light, colour and texture can play the same role.

Rebecca Walls
4. Keep your subjects looking sharp
Hands up if you’ve ever had your photo ruined by the very thing you wanted to keep sharp turning blurry. Or trying to take a photo of a seemingly slow baby, who right at the last moment moves their hand and suddenly it’s all just one blur. Or keeping everyone and everything still—and the photo still looks unsharp. When something isn’t sharp—that’s game over, no amount of Photoshop will fix it.
There are two main reasons why your images might not look sharp. Either your focus landed in the wrong place, or your camera was too slow to keep up with your subject and/or your hand movement. Each of these can spoil a photo, so it’s worth making sure you know how to prevent them from happening.
5. Get better acquainted with your autofocus
This happens all the time. You place your little one in front of some beautiful scenery, and for once they actually look at you and are clean and relatively happy to be there. You press the shutter release button... and when you look back at the photo, you see that your little cherub is blurry, but that tree behind them is looking very sharp indeed. You try to take another photo, but your child runs off. But hey, it’s not all lost. You will always have that picture of that tree to remind you of this moment! So, what went wrong? Your camera’s autofocus is clever, but it still needs a bit of info to actually ‘hang’ the focus on something.
If you’re using autofocus, your camera uses a number of points in its frame to constantly scan for things to make sharp. It uses light, contrast and distance to make those decisions. This is fine for the most part, but the autofocus can get confused for a few reasons. First, when your subject isn’t the closest thing to you. Often, it’s set to use the nearest thing as the aim for its focus. This usually happens when you’re shooting through something like leaves or a fence. Second, when there’s a strong pattern in the background. Sometimes, a bush in the background is all it takes.
Amy Leather
There are many ways of controlling where your focus goes and how it behaves. Each camera has at least a few different focus modes and areas suited for static photos and capturing action. But the first thing to do is to really pay attention to where your focus is landing. Your camera will always tell you—we just don’t always pay attention to it.
The image below shows what you may be seeing through your viewfinder as you try to compose a photo. In the first case, the focus—indicated by the red dots—landed on the branch in front of the subject. If you didn’t pay close attention and simply pressed the shutter button, you’d end up with a blurry child and a sharp bush. In the second one, you can see that the focus landed where you actually wanted it. Success.
6. Half-press the shutter release button
If you don’t like where your camera is focused, just bring your camera up to your eye and point at some scenery. Half-press your shutter release button and notice if any dots or squares are lighting up as you look through the viewfinder. Where those dots land is where your focus will go.

Hannah Slater
If you’re still unhappy with where it went, half-press the shutter button again without moving your camera. You should see those focus indicators move to a different part of the frame—this is your camera trying to work out a new place for your focus to go. Keep trying it until they land where you want them to go. Of course, that could take ages. There is another way to do this. Switch to a single-point focus—you may need to search your camera menu to find that setting. Have a look through your camera manual to see where you can find your single-point focus setting.
7. Try dynamic focus for moving subjects
Most cameras have two types of focus or various variations thereof—static and dynamic focus. With static focus—usually called ‘one shot’, ‘AF-S’ or ‘single’—you focus on your subject, and for as long as you keep your finger half-pressed on the shutter, the camera will hold your focus in that place. If your subject moves forward or backwards, then tough luck—your focus stays where it originally was.
But with dynamic focus—usually called ‘continuous focus’, ‘AF-C’ or ‘tracking focus’—you focus on a subject, and the camera starts paying attention to what your subject is. For as long as you hold your finger on the shutter, the camera will attempt to keep the focus on your subject. If your subject moves towards or away from you, your camera will attempt to track them and readjust as you go. But only for as long as you hold your shutter button half-pressed. So, if you want to capture a moving subject, it’s worth trying out dynamic focus.

Sarah Gibson
8. Make sure there’s enough light
Your camera shutter might be too slow to keep up with your subject. If adults had the same energy as your random toddler, we’d probably have colonised Mars already! To take a sharp photo of something in motion, your camera must be able to take that photo fast. We’re talking in fractions of hundredths of a second. Often, how fast it can go depends on one thing. Light.
Since photography is essentially 'painting with light', your camera needs a certain amount of light to get inside it to take a good photo. Once it has enough light going in, your camera can take a well-exposed photo.
But that amount of light varies from one place to another. You can find more light outdoors in the daytime than indoors or at night. Imagine the light in your environment as if it were fireflies. When it’s nice and bright, the fireflies are densely packed next to one another. So, ‘catching’ a camera full of them is easy and fast. And that means you can take the photo nice and fast—and you can capture movement to look sharp enough.
But when it’s dark, those fireflies are spread out around the space a lot more. They’re no longer densely packed one next to another but giving each other quite a bit of personal space. This is when we talk about ‘poor light’ and when your camera will take much longer to fill itself up with light. There’s just less of it around. So, if it takes your camera longer to get all the light it needs, then it’ll take it longer to get the image captured.
This is where we often get blur. We call it motion blur. Because, in the time it took your camera to start and finish taking an image, your subject has moved enough for your camera to register it as a blur.
9. Increase your shutter speed
Shutter speed is how fast your camera starts and finishes taking a single photo. The faster your shutter speed—expressed in fractions of a second—the faster your camera can take a photo. To control your shutter speed, you need to shoot in shutter priority or full manual mode.
If you shoot in auto, you don’t have much control over your shutter speed. Your camera isn’t a magic box—it doesn't know if you're taking a photo of an apple on the table or your child on the swings. In this case, your best bet is just to give your camera plenty of light. That way, it will have no choice but to let you take a fast photo.
In summary, you must ensure you have plenty of light if you’re shooting auto. Some cameras will have a sport setting. Otherwise, switch to shutter priority and increase your shutter speed. If you’re indoors, it helps to raise your ISO to 800–1600 or use flashguns.
10. Make the most of natural light
In most homes, the light isn’t very good. But some people still take good indoor photos. So, how do they do this? With a full understanding of their settings and lenses to maximise the camera’s sensitivity to light, by buying cameras that are good in low light situations (and following our tips for low light photography) and—above all—having a good understanding of how light works.
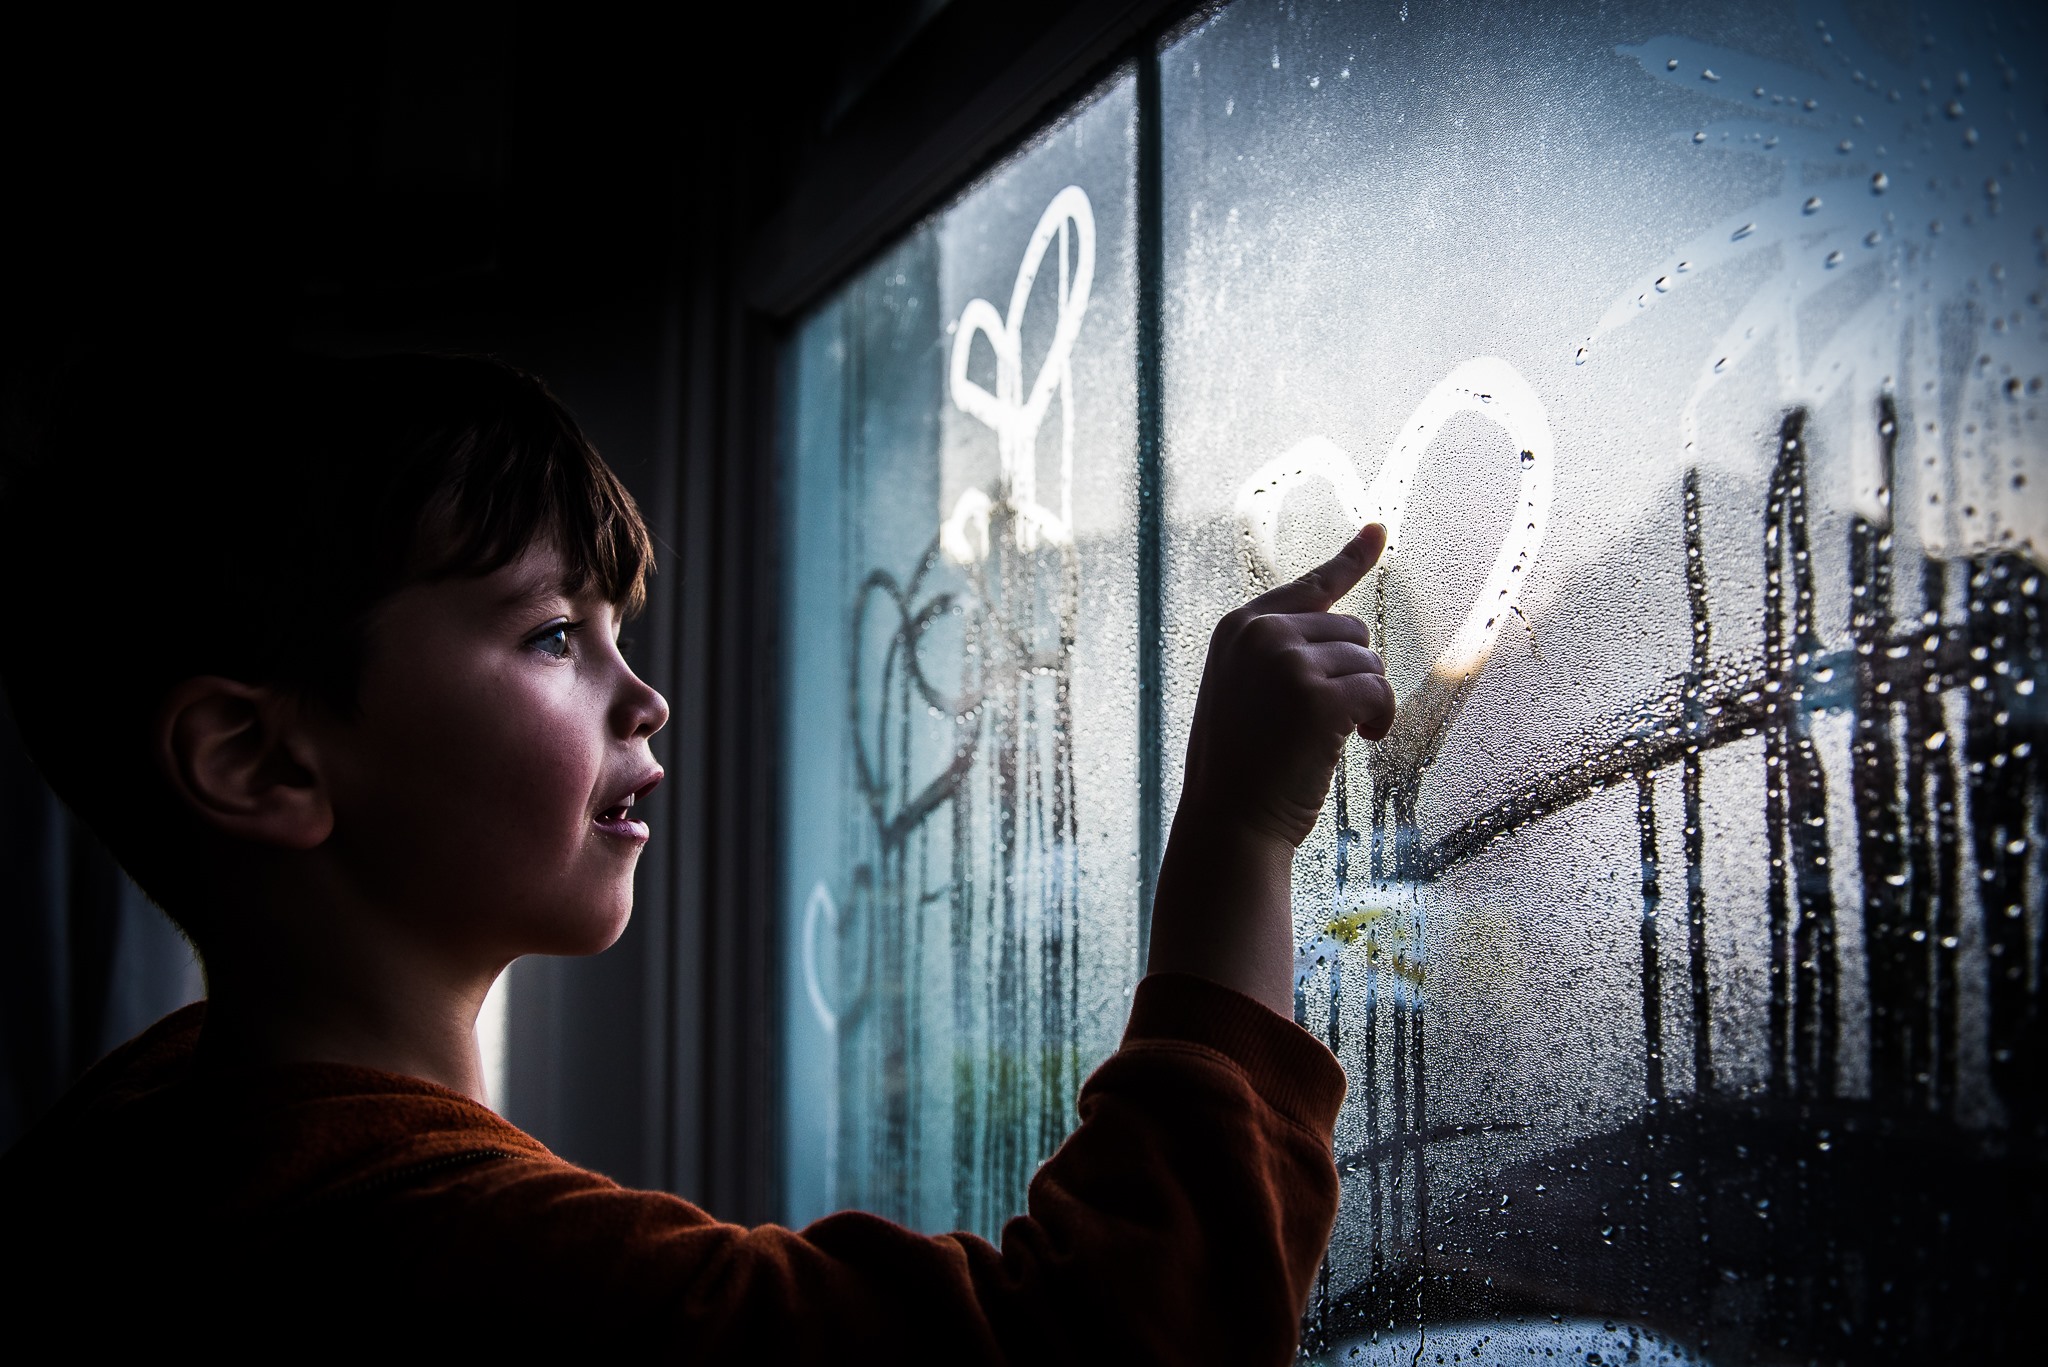
Let’s find your light first. Look around your place—where is the light coming from? If you have multiple light sources, which one gives you the best light? Does it vary from one time of the day to another? Notice whether it’s hard to light or soft light. If the sun shines directly in, you’ll see strong light streaming through. But if it's not, then your light will be softer. The light will always be coming from somewhere!

Lisa Godfrey
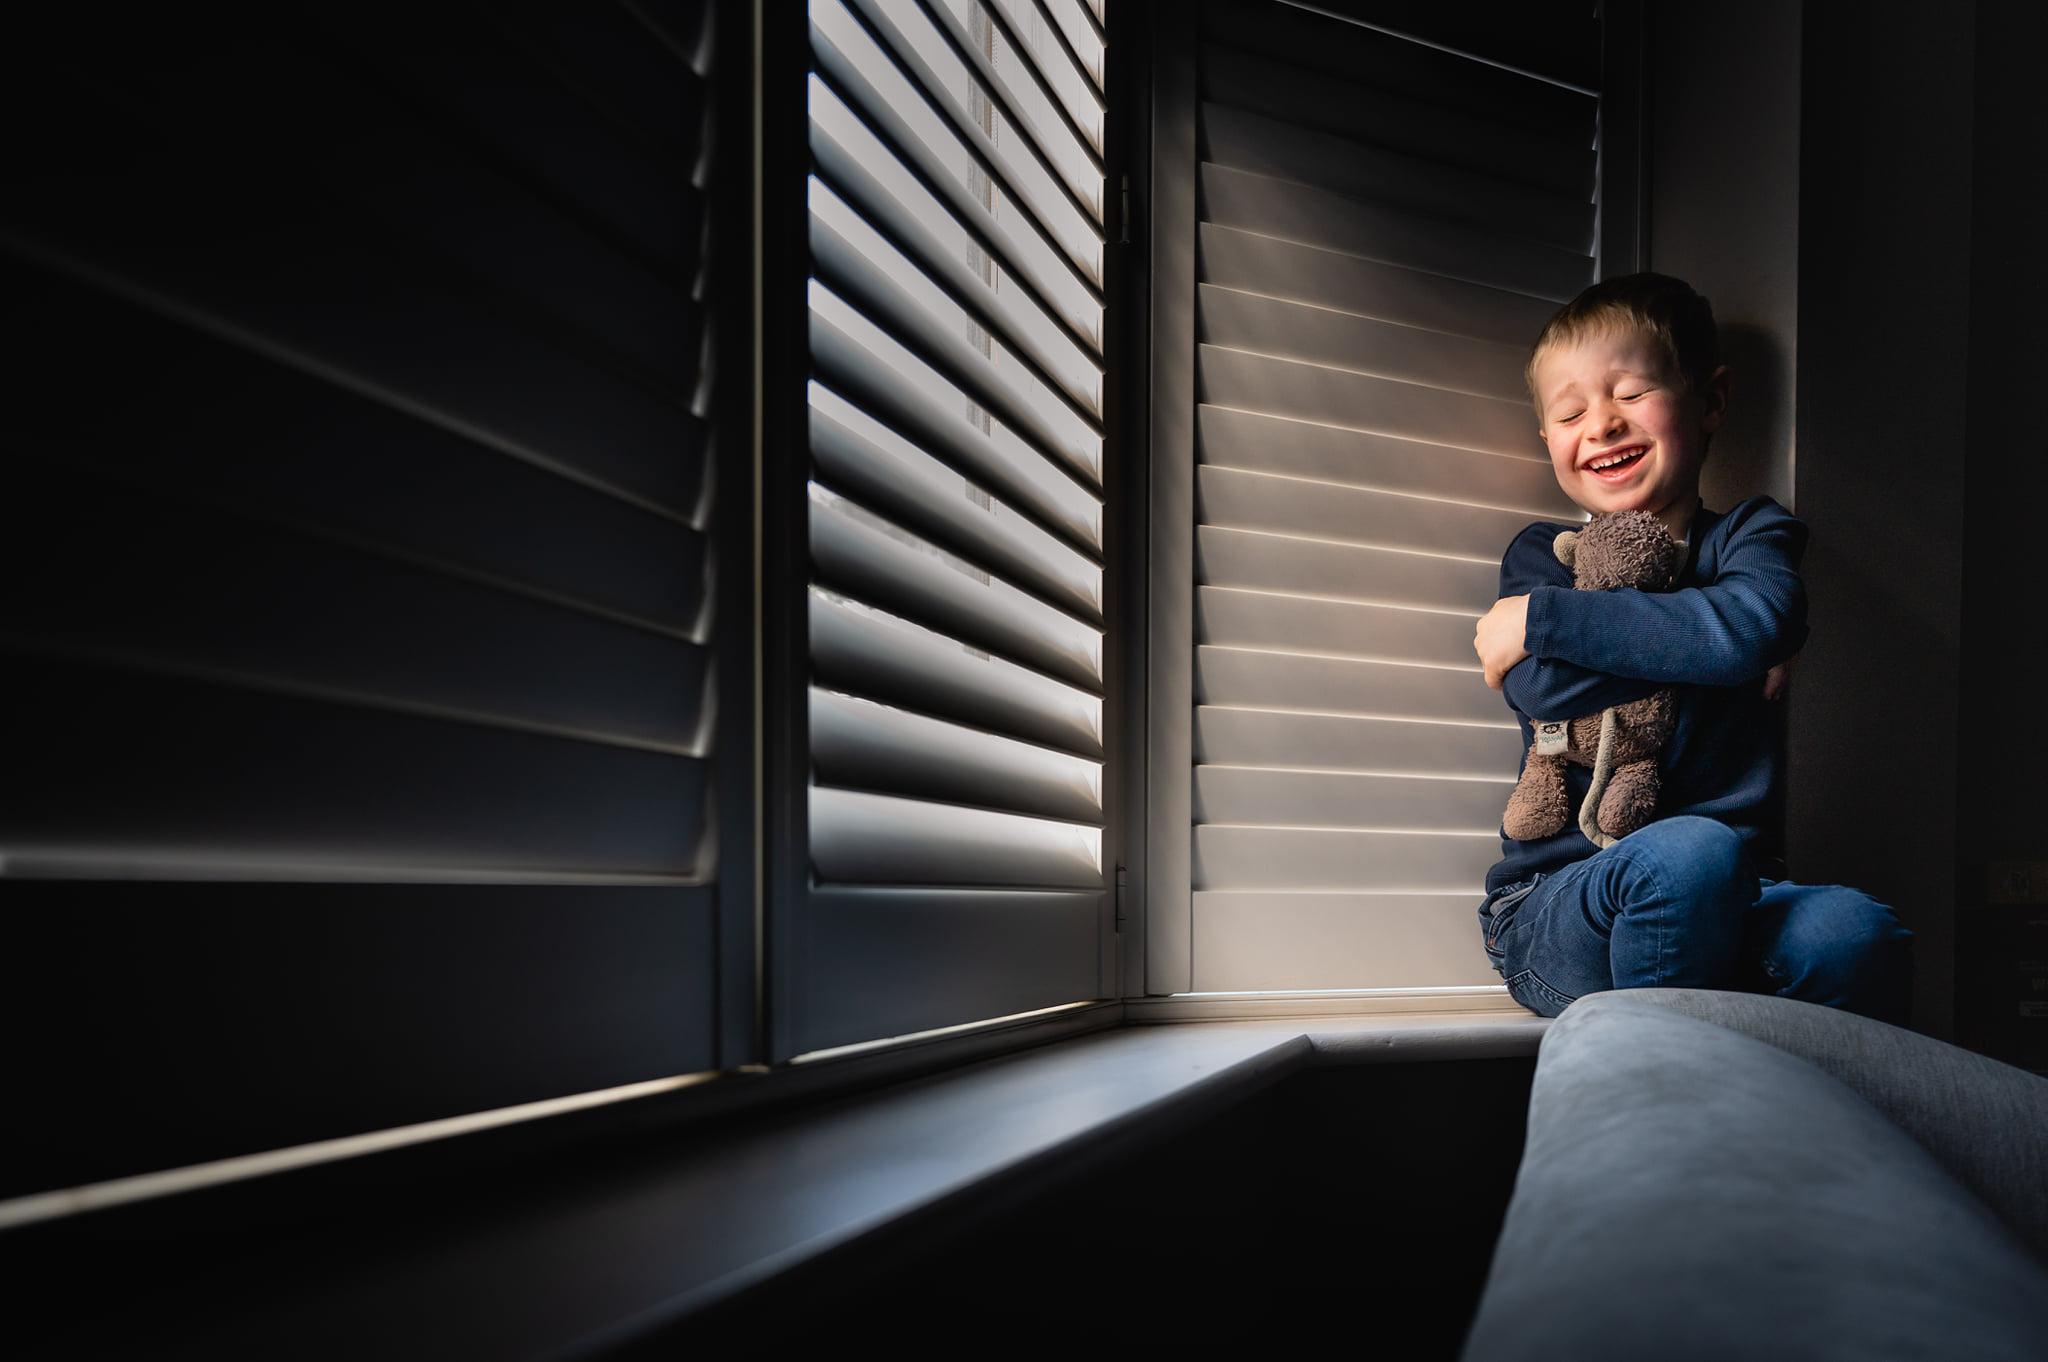
11. Move your subject closer to the light source
Now that you know where your light is coming from, let's ensure you are working with the light and not against it. Working with light means your subject benefits from a full—or at least partial—beam of light shining onto them. It's illuminating their features and shining onto the part of them you want to photograph. In most cases, this will mean they are facing the light source. Working against the light, on the other hand, is where you’re shooting towards the light. Your camera might be getting the full beam of light into the lens, but your subject is effectively creating their own shadow. For your camera, it’s a struggle to make your subject look good.
It may seem obvious, but if you want your child to be in good light, make them face it. As for you—the photographer—if there is space, you can get yourself between the window and your subject. Or, approach it from the side with the window pointing at your shoulder.
Amanda Vickers
You can try placing your subject with their side to the light. This means they get good light from one side, with more shadow on the other side of their face. Depending on the time of the day and the sun's angle behind your window, you may find that the shadows will be deeper or softer. For portraits, it’s a flattering angle as it allows you to create a soft sculpting light. But the more intense the light, the deeper your shadows will be.
Ronni Evans
12. Make your camera work harder with ISO
This is when things get a little technical, and you’ll need to venture out of auto settings. You can make your camera more sensitive to light, so it makes better use of what it has, by raising your ISO setting. Your ISO range will usually go from 100 to 3,200 or even higher. The smaller the number, the lighter your camera will need to expose an image correctly. This means it’ll need more time to do it—and this means much more chance of blur.
The higher your ISO number, the more your camera can make do—with less light. So it's better in situations and places that have less light in general. For shooting outdoors, you can usually have your ISO somewhere between 100 and 400. Indoors you’ll usually never go below 400—try keeping it around 800. The downside to higher ISO is that you can get grain in your image. How much grain will depend on your camera.
13. Get a ‘faster’ lens
The other way to get more out of your camera is to get a lens with a wide aperture. This will allow more light to get into your camera in a shorter time—hence why it’s ‘faster’.
14. Bring more light in
Sometimes, the simplest solutions are the best. Removing obstacles to light can make a big difference. Open a door to another bright room and let the light spill in, or just turn on the lights.
15. Try out a flash
When used well, flash can make the darkest spaces look like they’re bathed in natural light. Even pop-up flash has its uses, and it’s better to have an imperfect photo of the perfect moment than not at all. So, if nothing else works, then use the flash. Even the most basic pop-up flash can be controlled, too—find the function on your camera called flash exposure compensation. When this is dialled down, it’ll lower the brightness of your flash and will help you get a more natural-looking image.
Read more tips and techniques, and check out our interview with family photographer Cornell Watson, on the MPB content hub.