
How to Edit Black-and-White Photography
Published 22 November 2024 by MPB
Black-and-white photos have always held a special fascination for many photographers. By omitting colour, the eye can more easily focus on other aspects such as light and shadow, and high-contrast shapes and textures. For a good black-and-white photo, however, it's not enough to simply switch your camera to black-and-white mode.
The key is to process the image correctly, specifically bringing out the contrasts in the image. This also trains your eye and helps you to judge in the future which subjects promise a good black-and-white conversion.
Maike Jarsetz is a trained photographer and works as a trainer, author and consultant in the field of photography and image editing, print and publishing. We talked to Maike about the appeal of black-and-white photos of different genres, the right choice of subjects and editing, and recommended editing programs. Discover Maike’s tips below.
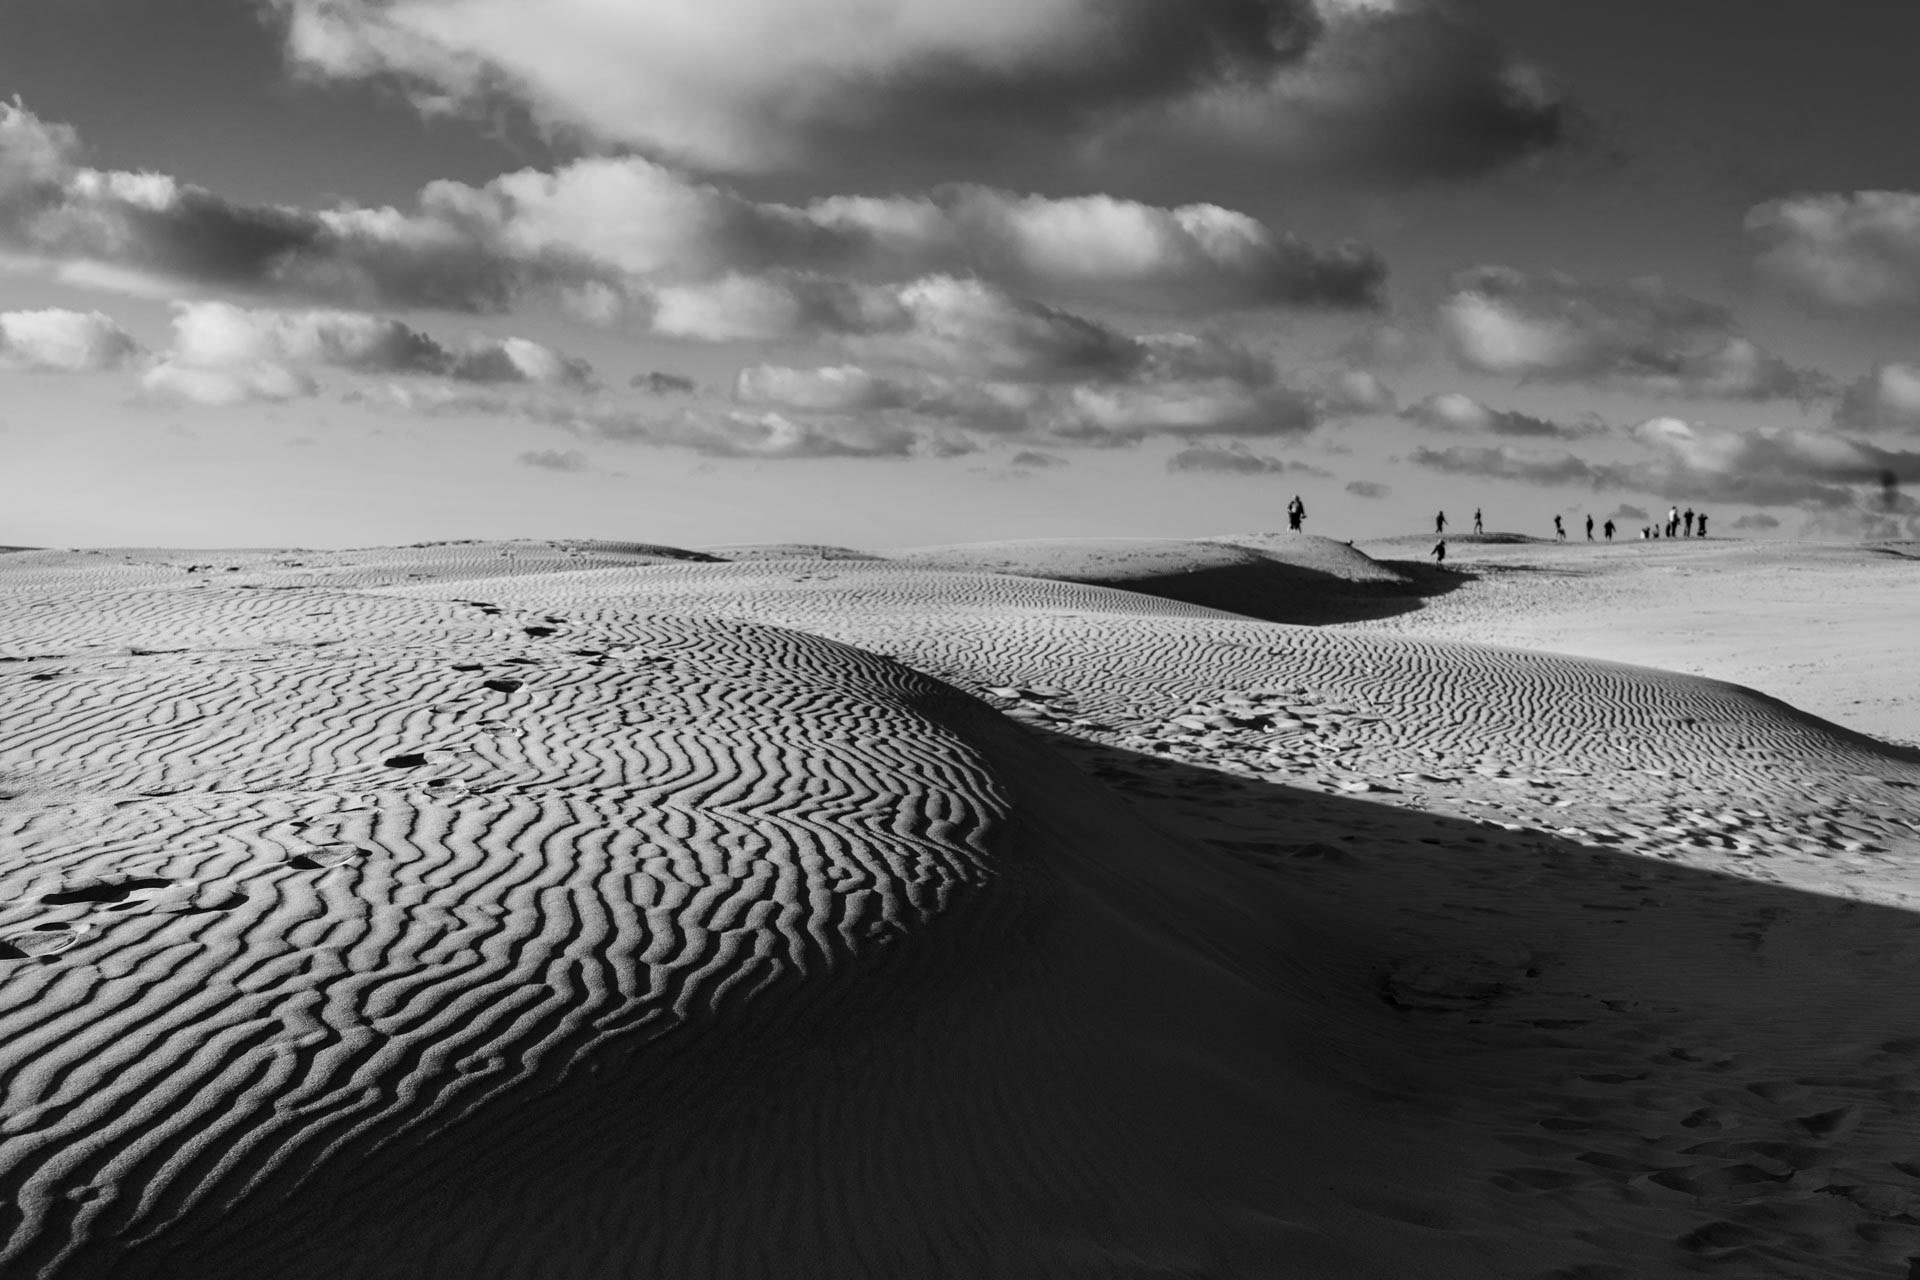
Råbjerg Mile (Skagen, Denmark) | Sony Alpha 7 II | Sony FE 28-70mm f/3.5-5.6 OSS | f/8 | 1/400 | ISO 200
MPB: What fascinates you most about black-and-white photography?
MJ: What makes black-and-white photography so fascinating is certainly the reduction to light and shadow. You're not distracted by colours and subjects are reduced to the essentials. This is especially visible in classic portrait shots. When you work out a portrait in black and white, it suddenly takes on a timelessness. It's similar with many other genres.
When you shoot landscapes, you get the same effect. Of course, landscape or nature subjects also become very impressive through colour. But black-and-white photographs show the weather, show light, show the drama in the landscape. So these big and tiny plays of light that are there that you might not otherwise see that way because you would be distracted by colour.
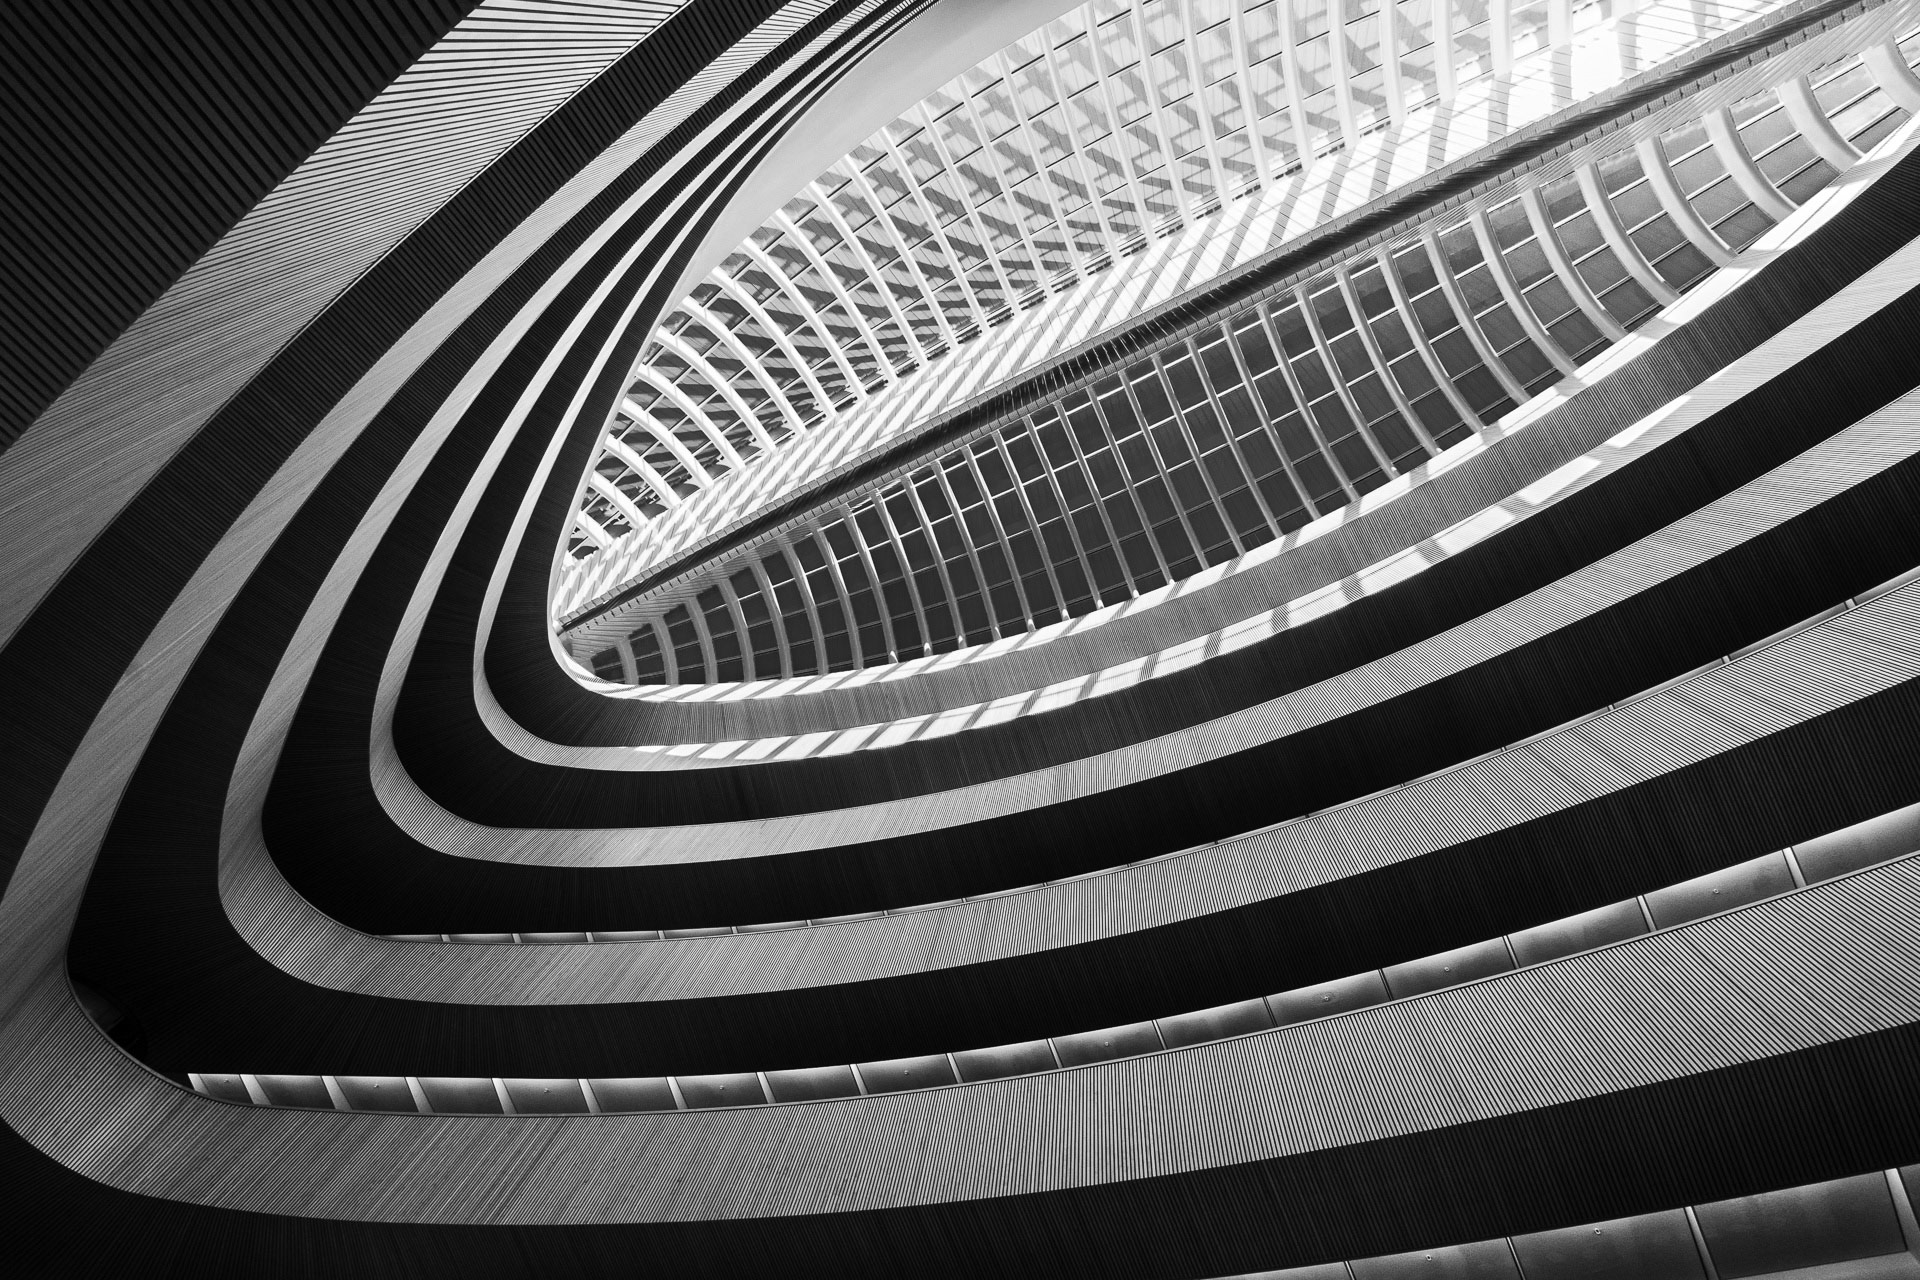
Architectural photography is another example. Architecture lives through details, lives through shapes, lives through geometry. And you see all that best in the reduction to light and shadow.
All this doesn't mean that every image is better in black and white. But it does mean that you can discover really exciting black-and-white subjects in any genre.

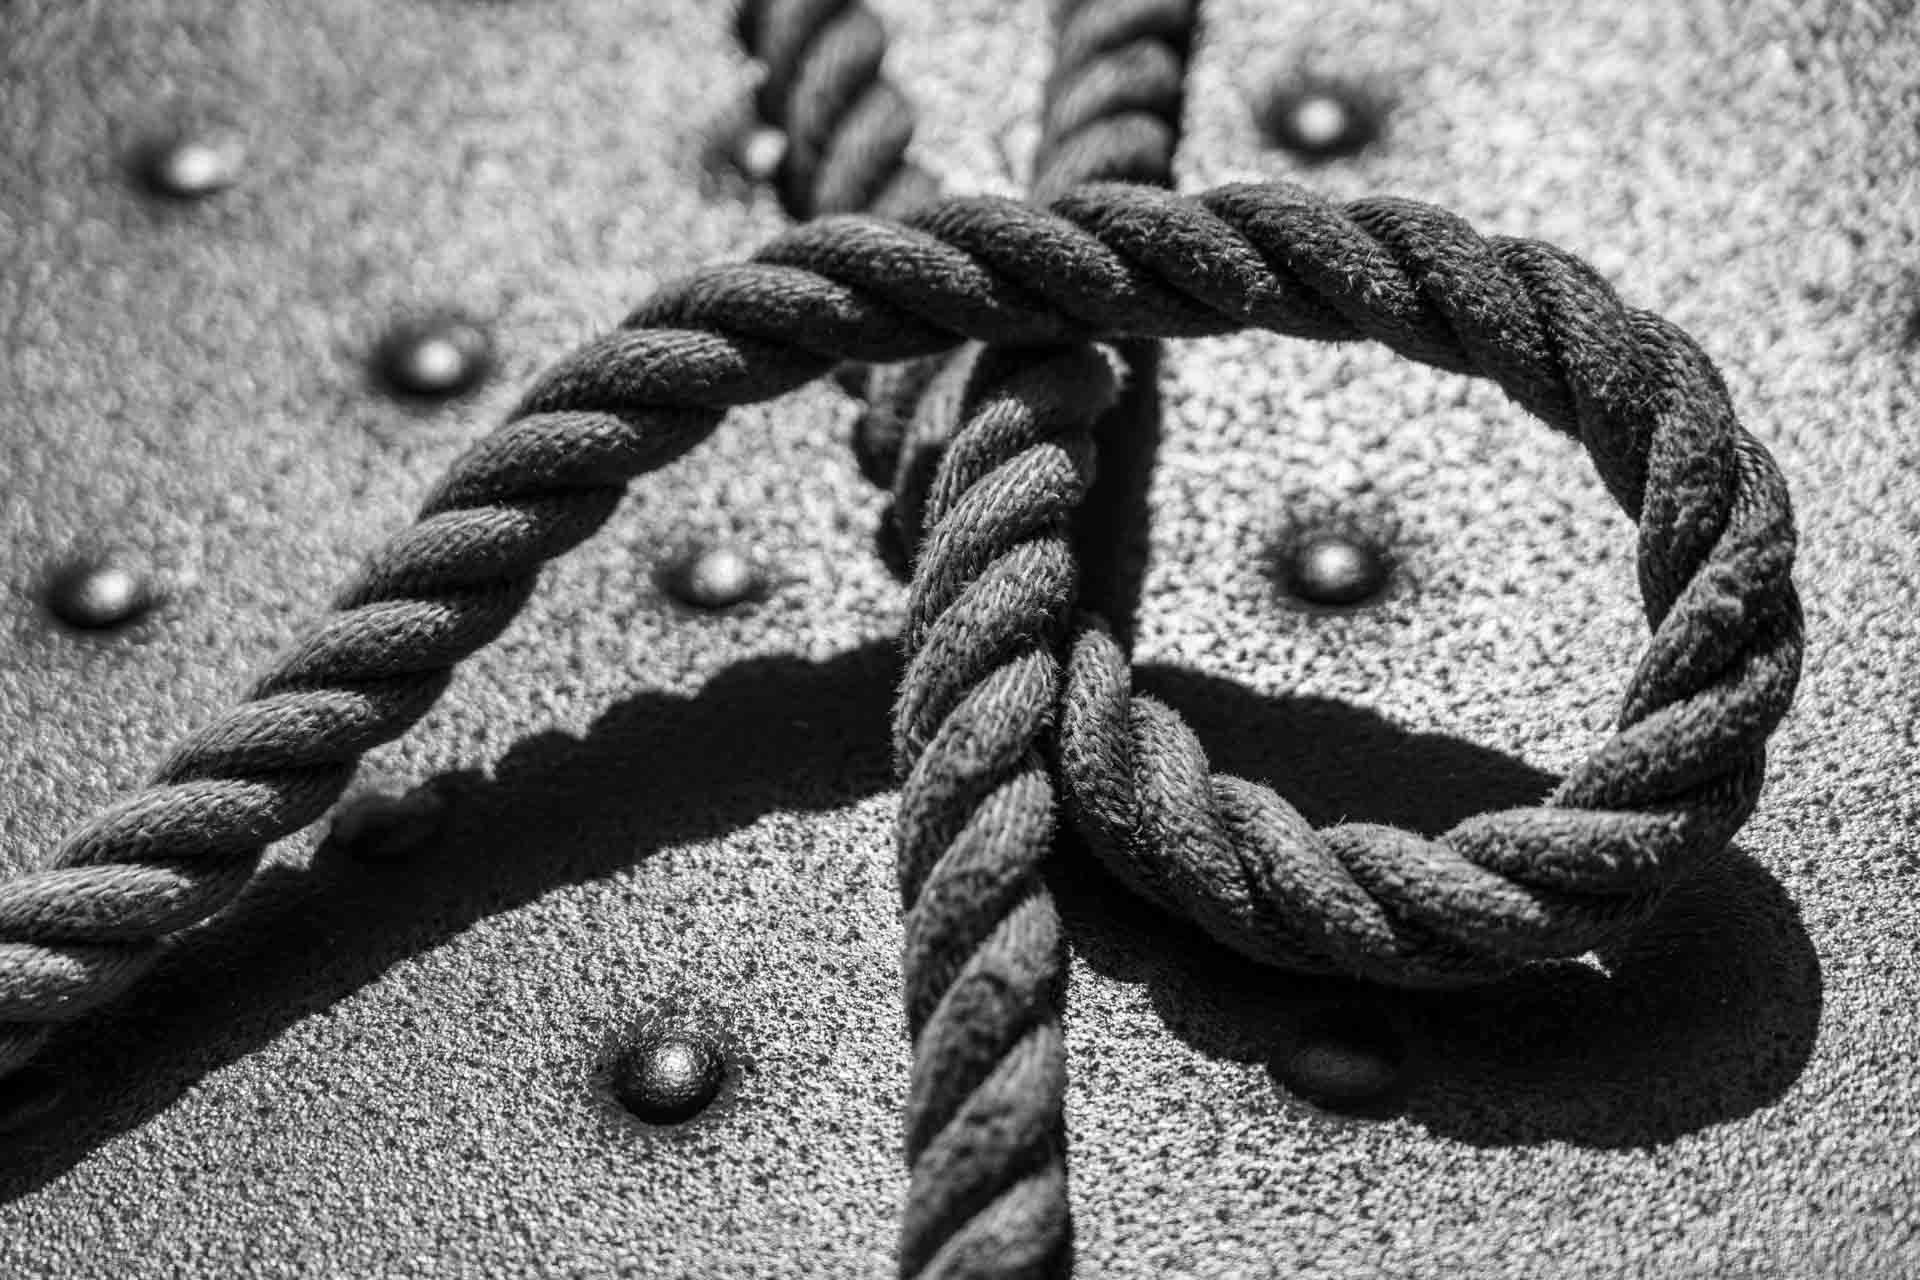
Canon EOS 5D Mark IV | Canon EF 17-40mm f/4 L USM | f/2.8 | 1/30 | ISO 400
MPB: Should I shoot directly in black and white or edit the colour image?
MJ: I rarely shoot in black and white. The time of analogue black-and-white film is over. There are a few monochrome cameras, like the Leica M Monochrom, which is a special case. Otherwise, we shoot in colour first.
If I set my camera to black and white, I have only a standard grayscale view at the back of the display. And that doesn't necessarily show me what's really black and white in this image, because black and white development involves an incredible amount of what you can still get out of light contrasts, but also out of colour contrasts. I can't see this on the camera display yet, but I have to be able to judge it myself—even in colour.
For me, the better way is actually to shoot normally with the selected camera settings and gradually learn in RAW development which images have or haven’t any potential as a strong black-and-white image.
Sony Alpha 7 II | Sony FE 24-105mm f/4 G OSS | f/4 | 1/5000 | ISO 125
MPB: What would be a good potential?
MJ: Light and shadow have to be there. And, in some form, contrasts—that's the essential thing. Black and white doesn't live through bright colours, but through existing contrasts. This can be a strong light-shadow contrast or a contrast of details.
It can also be colour contrasts, provided that they can be translated into black and white afterwards. Complementary colours are best suited here.
There are also some colour contrasts that only work in colour. For example, you can juxtapose green and blue well and it looks crisp and bright. In black and white, however, it is a grey mass. You have to develop an eye for that over time.
Sony Alpha 7 II | Canon EF 17-40mm f/4 L USM | f/14 | 1/40 | ISO 320
MPB: What should I pay attention to when editing?
MJ: I first prepare an image in colour to have a reference. This helps to understand the colour image’s brilliance, contrast and statement. I then start converting it into black and white.
A good black-and-white image is only justified if it is actually better, more expressive and more effective than the colour image. And I can only see this if I have also perfectly processed the colour image. This edit includes a very classic tone value correction.
You should make sure that you have a ‘true’ black and a 'true' white, and not just a flat grayscale image.
It's also important to even out colour casts. Otherwise, if I just convert the image to grayscale, then any colour cast will be like a veil on the image and make the image look more flat. Later, in black and white, you can't tell exactly what's causing that grey haze.
The point of black and white is to bring out the image’s contrasts, which you can then convert to black and white. You can do this either with various contrast corrections, such as a gradation curve, but you can also use 'Clarity' or ‘Remove haze’. Texture is useful when the image has really small detail contrasts.
Controlled conversion of colours to grayscale can also really bring out these contrasts. Classics include a yellowish beach and a blue sky—you can turn this complementary contrast into a very strong light-dark contrast.
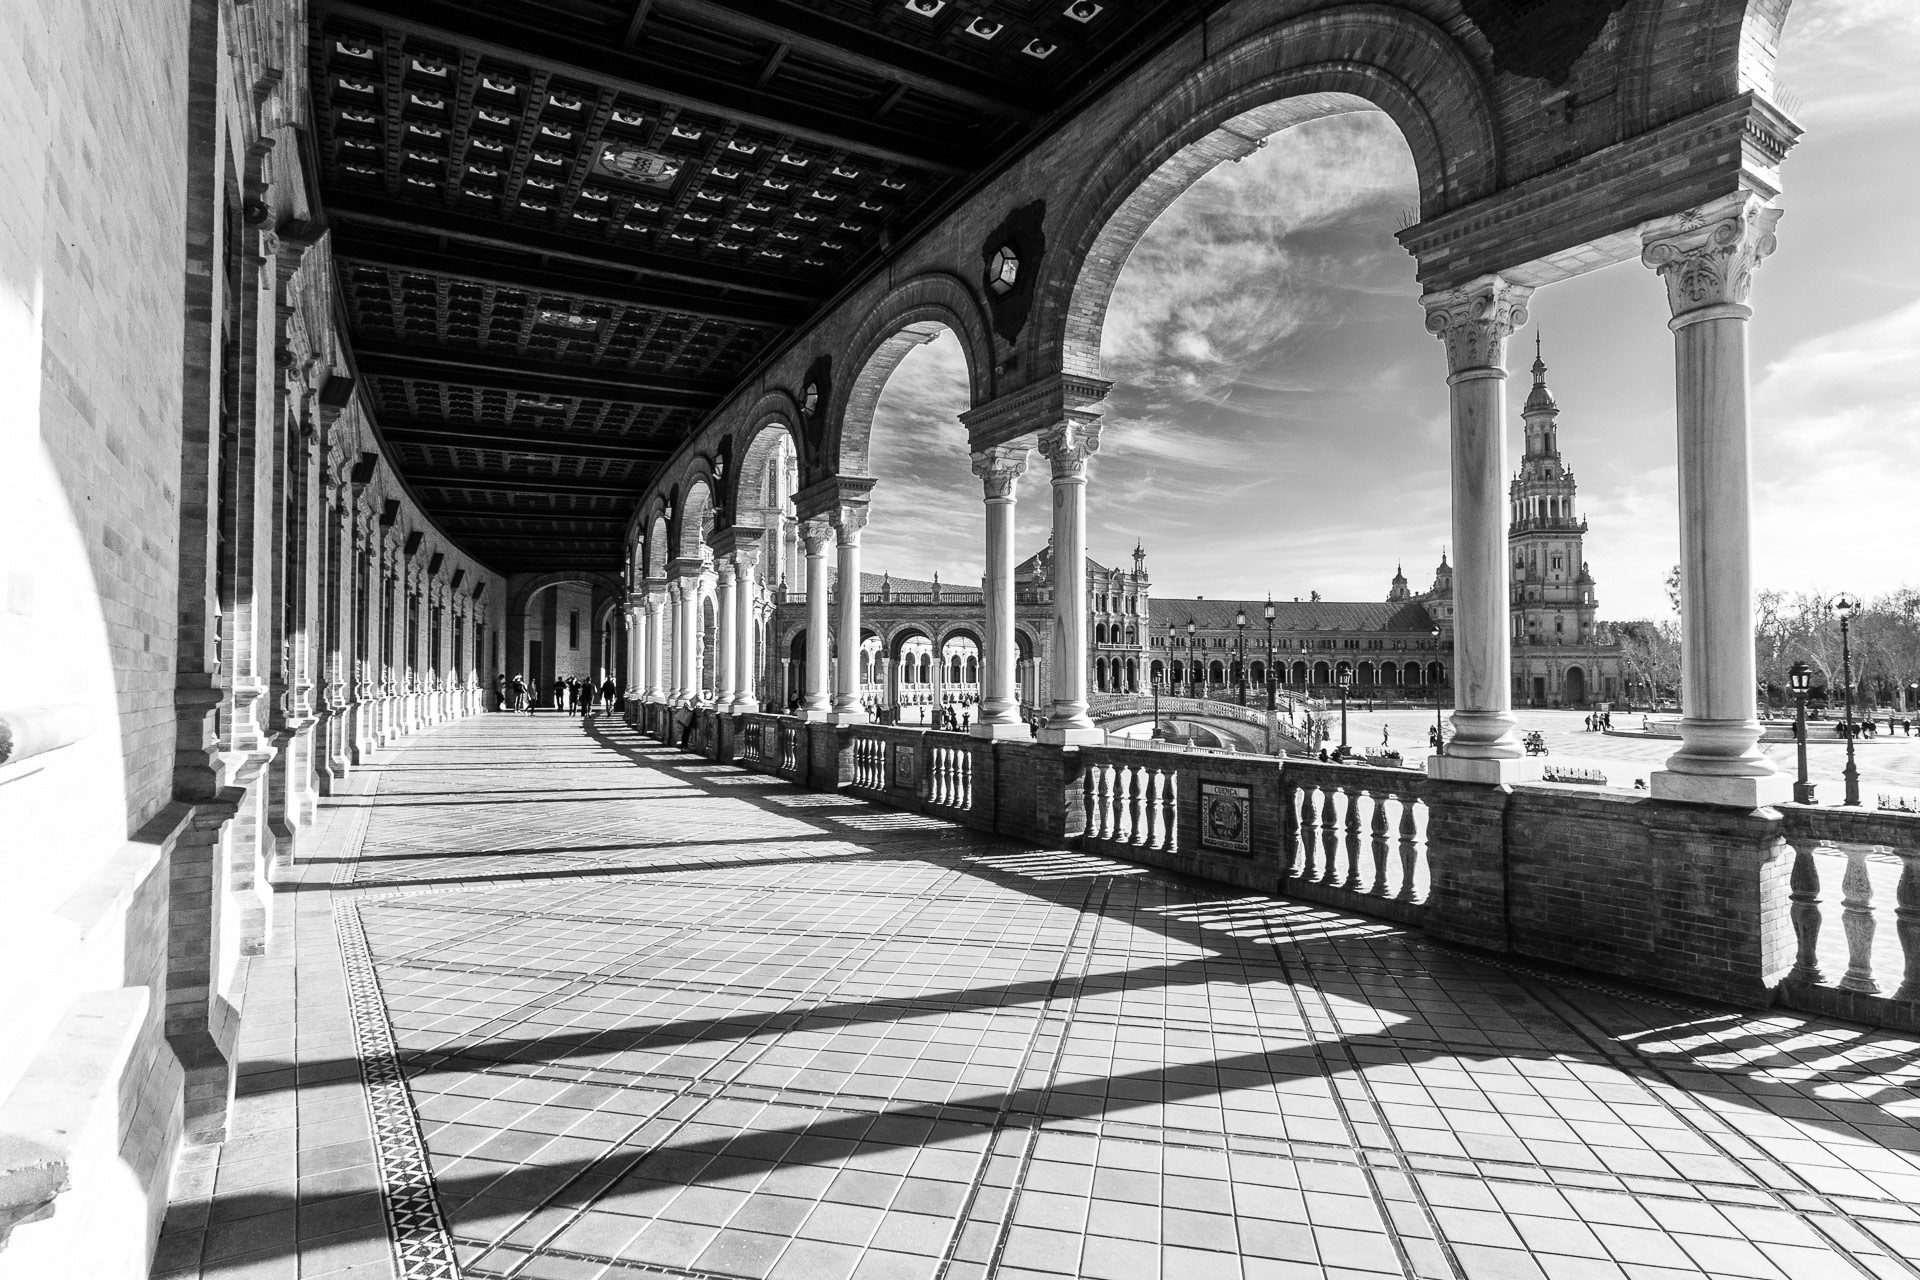
Plaza de España (Seville, Spain) | Sony Alpha 7 II | Sony FE 24-105mm f/4 G OSS | f/14 | 1/160 | ISO 200
MPB: So before you shoot, you can see that the image would work in black and white? Or does it also happen that you don't think that the image should be black and white until you're editing it?
MJ: Ideally, it happens before that. I think, "Wow, I want to do that in black and white." Some photographers also set out with the specific goal of shooting in black and white. Then you have to look for the right subjects.
If you're simply out and about on your own, you're probably primarily looking for subjects. This can be a colour subject or one that you think would look good in black and white.
If you develop contrasts in the colour image and then try the whole thing again in black and white, that can bring surprisingly good results. I wouldn't limit it to one way or another at all. Anything goes.
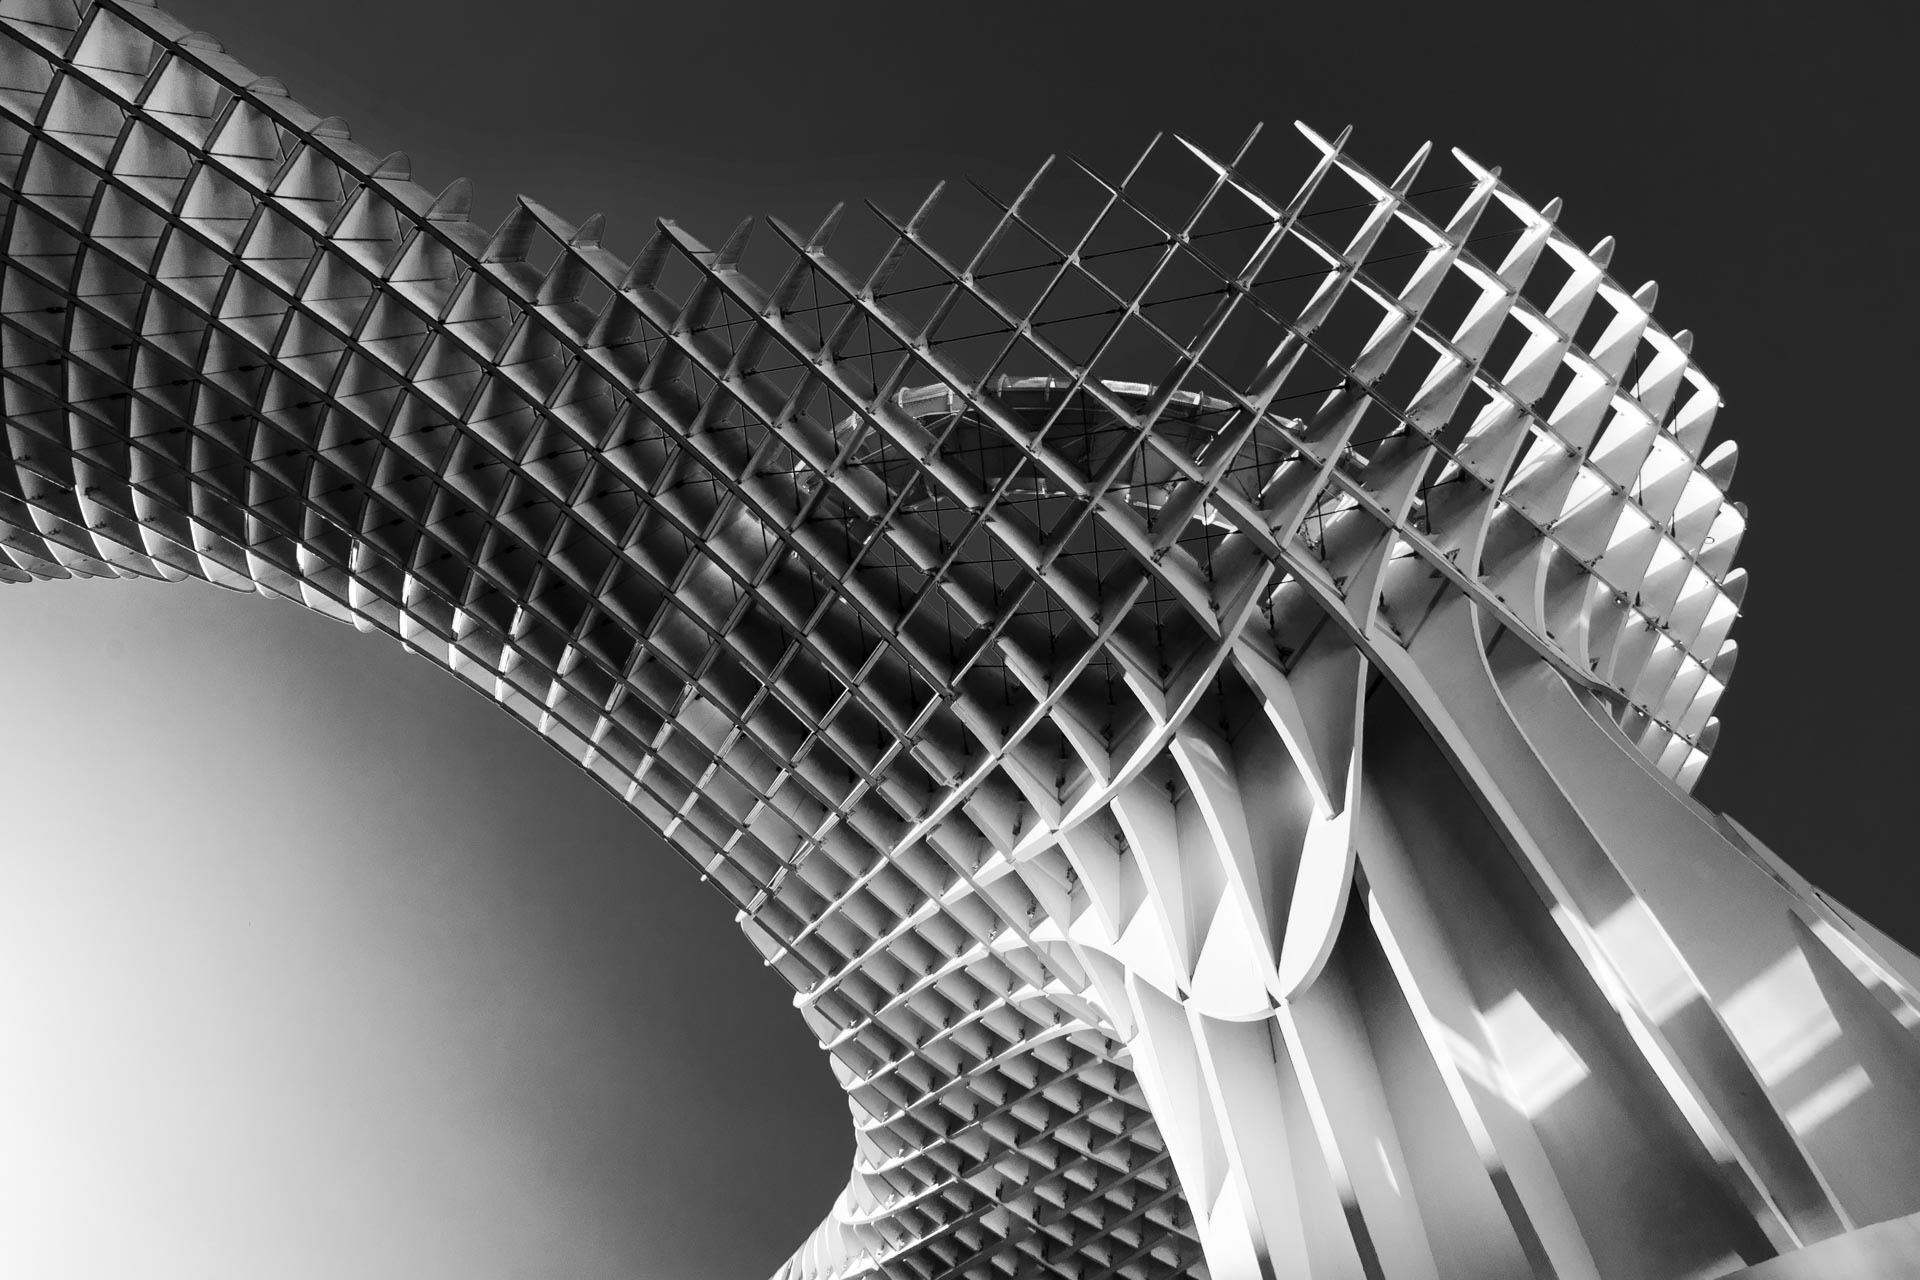
Las Setas (Seville, Spain) | Sony Alpha 7 II | Canon EF 17-40mm f/4 L USM | f/13 | 1/100 | ISO 160
MPB: Which apps do you use for processing and editing?
MJ: I develop my RAW files with Lightroom, sometimes also with Camera Raw. These are great programs for black and white editing. Capture One is also a great option.
Of course, there are some little tweaks that you can do with Photoshop. For example, you can use luminance selection to emphasise the highlights and the depths—so that it really becomes an impressive and brilliant black-and-white image.
There are also plugins that you can use. I think the best-known is Silver Efex from Nik. The special thing about it is that it tries to simulate analogue film. But the parameters—like the underlying gradation curve—can all still be varied.
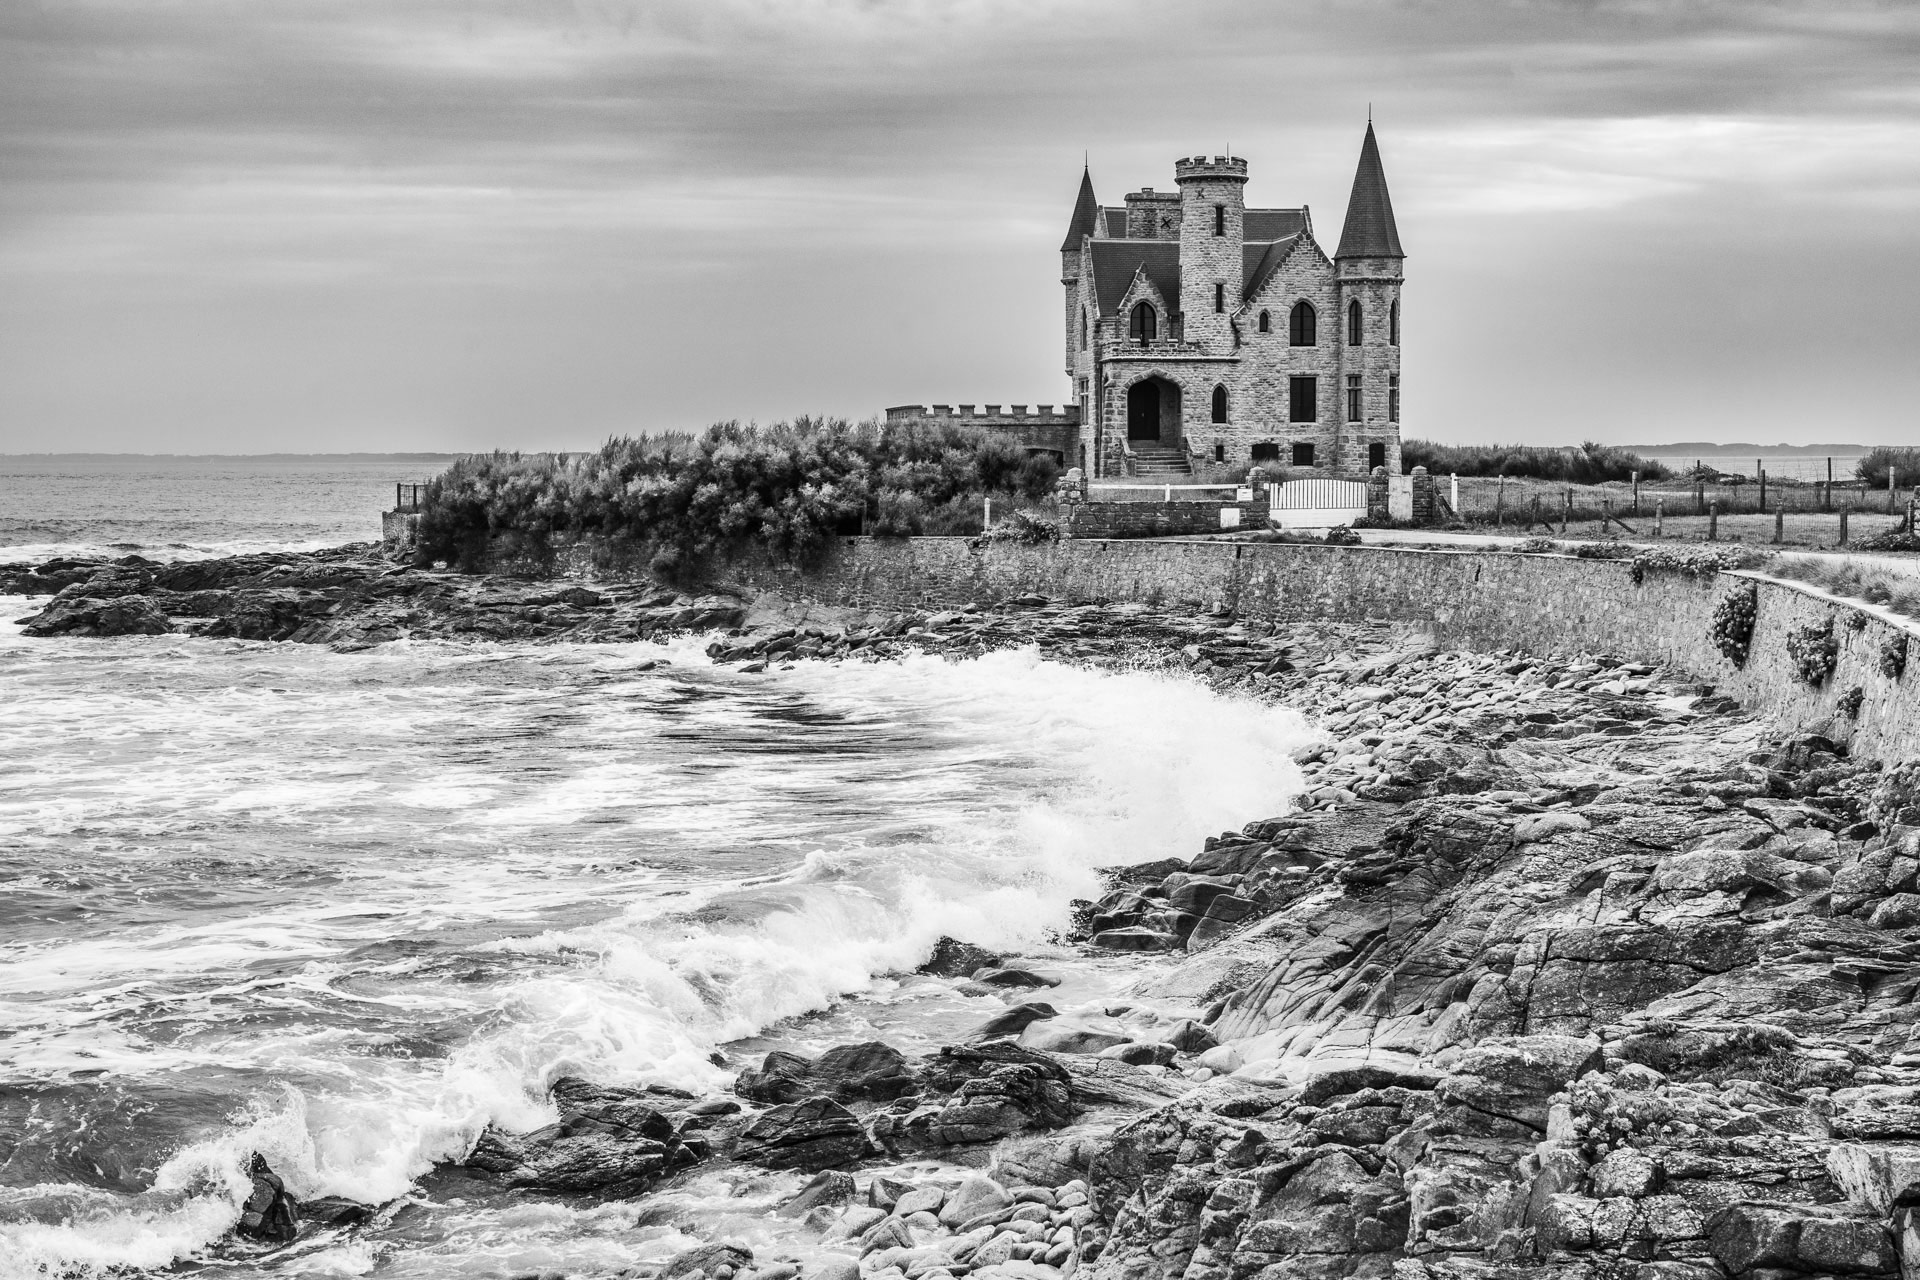
Château Turpault (Quiberon, France) | Sony Alpha 7 II | Sony FE 70-200mm F/4 G OSS II | f/11 | 1/200 | ISO 200
MPB: Do you have any other tips?
MJ: The important thing, as I said before, is to look for contrasts and to filter something in black-and-white in your head beforehand. So pay attention to light and shadow, contrast, complementary colours or crisp details.
You should also pay attention to the right exposure, especially when playing with backlight, otherwise the highlights can burn out. In this case, it is helpful to make an exposure series in order to have reliable source material.
I absolutely recommend working with RAW files. You have large tolerances, so you’re mostly on the safe side. But if you have light reflections or even backlighting, you should make sure that you also expose the brighter areas of the image so there is still usable data within them.
But don't be afraid of eroded highlights or cropped depths—that's what often flashes in the histogram. You don't have to worry so much about that. On the contrary, if there's contrast there, it's good because you'll create exactly the black and white you want in your black-and-white image.
Finally, I want to emphasise again that a black-and-white image is not the same as a grayscale image (and vice versa). The moment I switch from colour to black-and-white, whether it's in the camera or in processing, it's not yet a black-and-white image. It's just grayscale. I have to make sure that I can really develop and bring out a nice black-and-white contrast in the image. That way, the image will have a great effect.
The Stelvio Pass (Italy) | Sony Alpha 7 II | Sony FE 24-105mm f/4 G OSS | f/8 | 1/60 | ISO 800
Want to get started with image editing? Explore our guide to photo editing for beginners. For more tips and techniques, check out the MPB content hub.