How To: Photo Editing for Beginners
Published 22 June 2026 by MPB
For many photographers, editing and post-production is a fundamental part of the process of creating photography. However, at first, getting started with photo editing can be quite challenging. Which programme is best to use, how do you start, and how do you find the style that suits you?
Photographer Stephanie O'Connor is here to help you overcome the first hurdle and to get you started with photo editing. This guide will walk you through the basics of photo editing, suggested workflows, general tips and tricks, and which free and fee-based editing programmes to consider. Over to you, Stephanie.
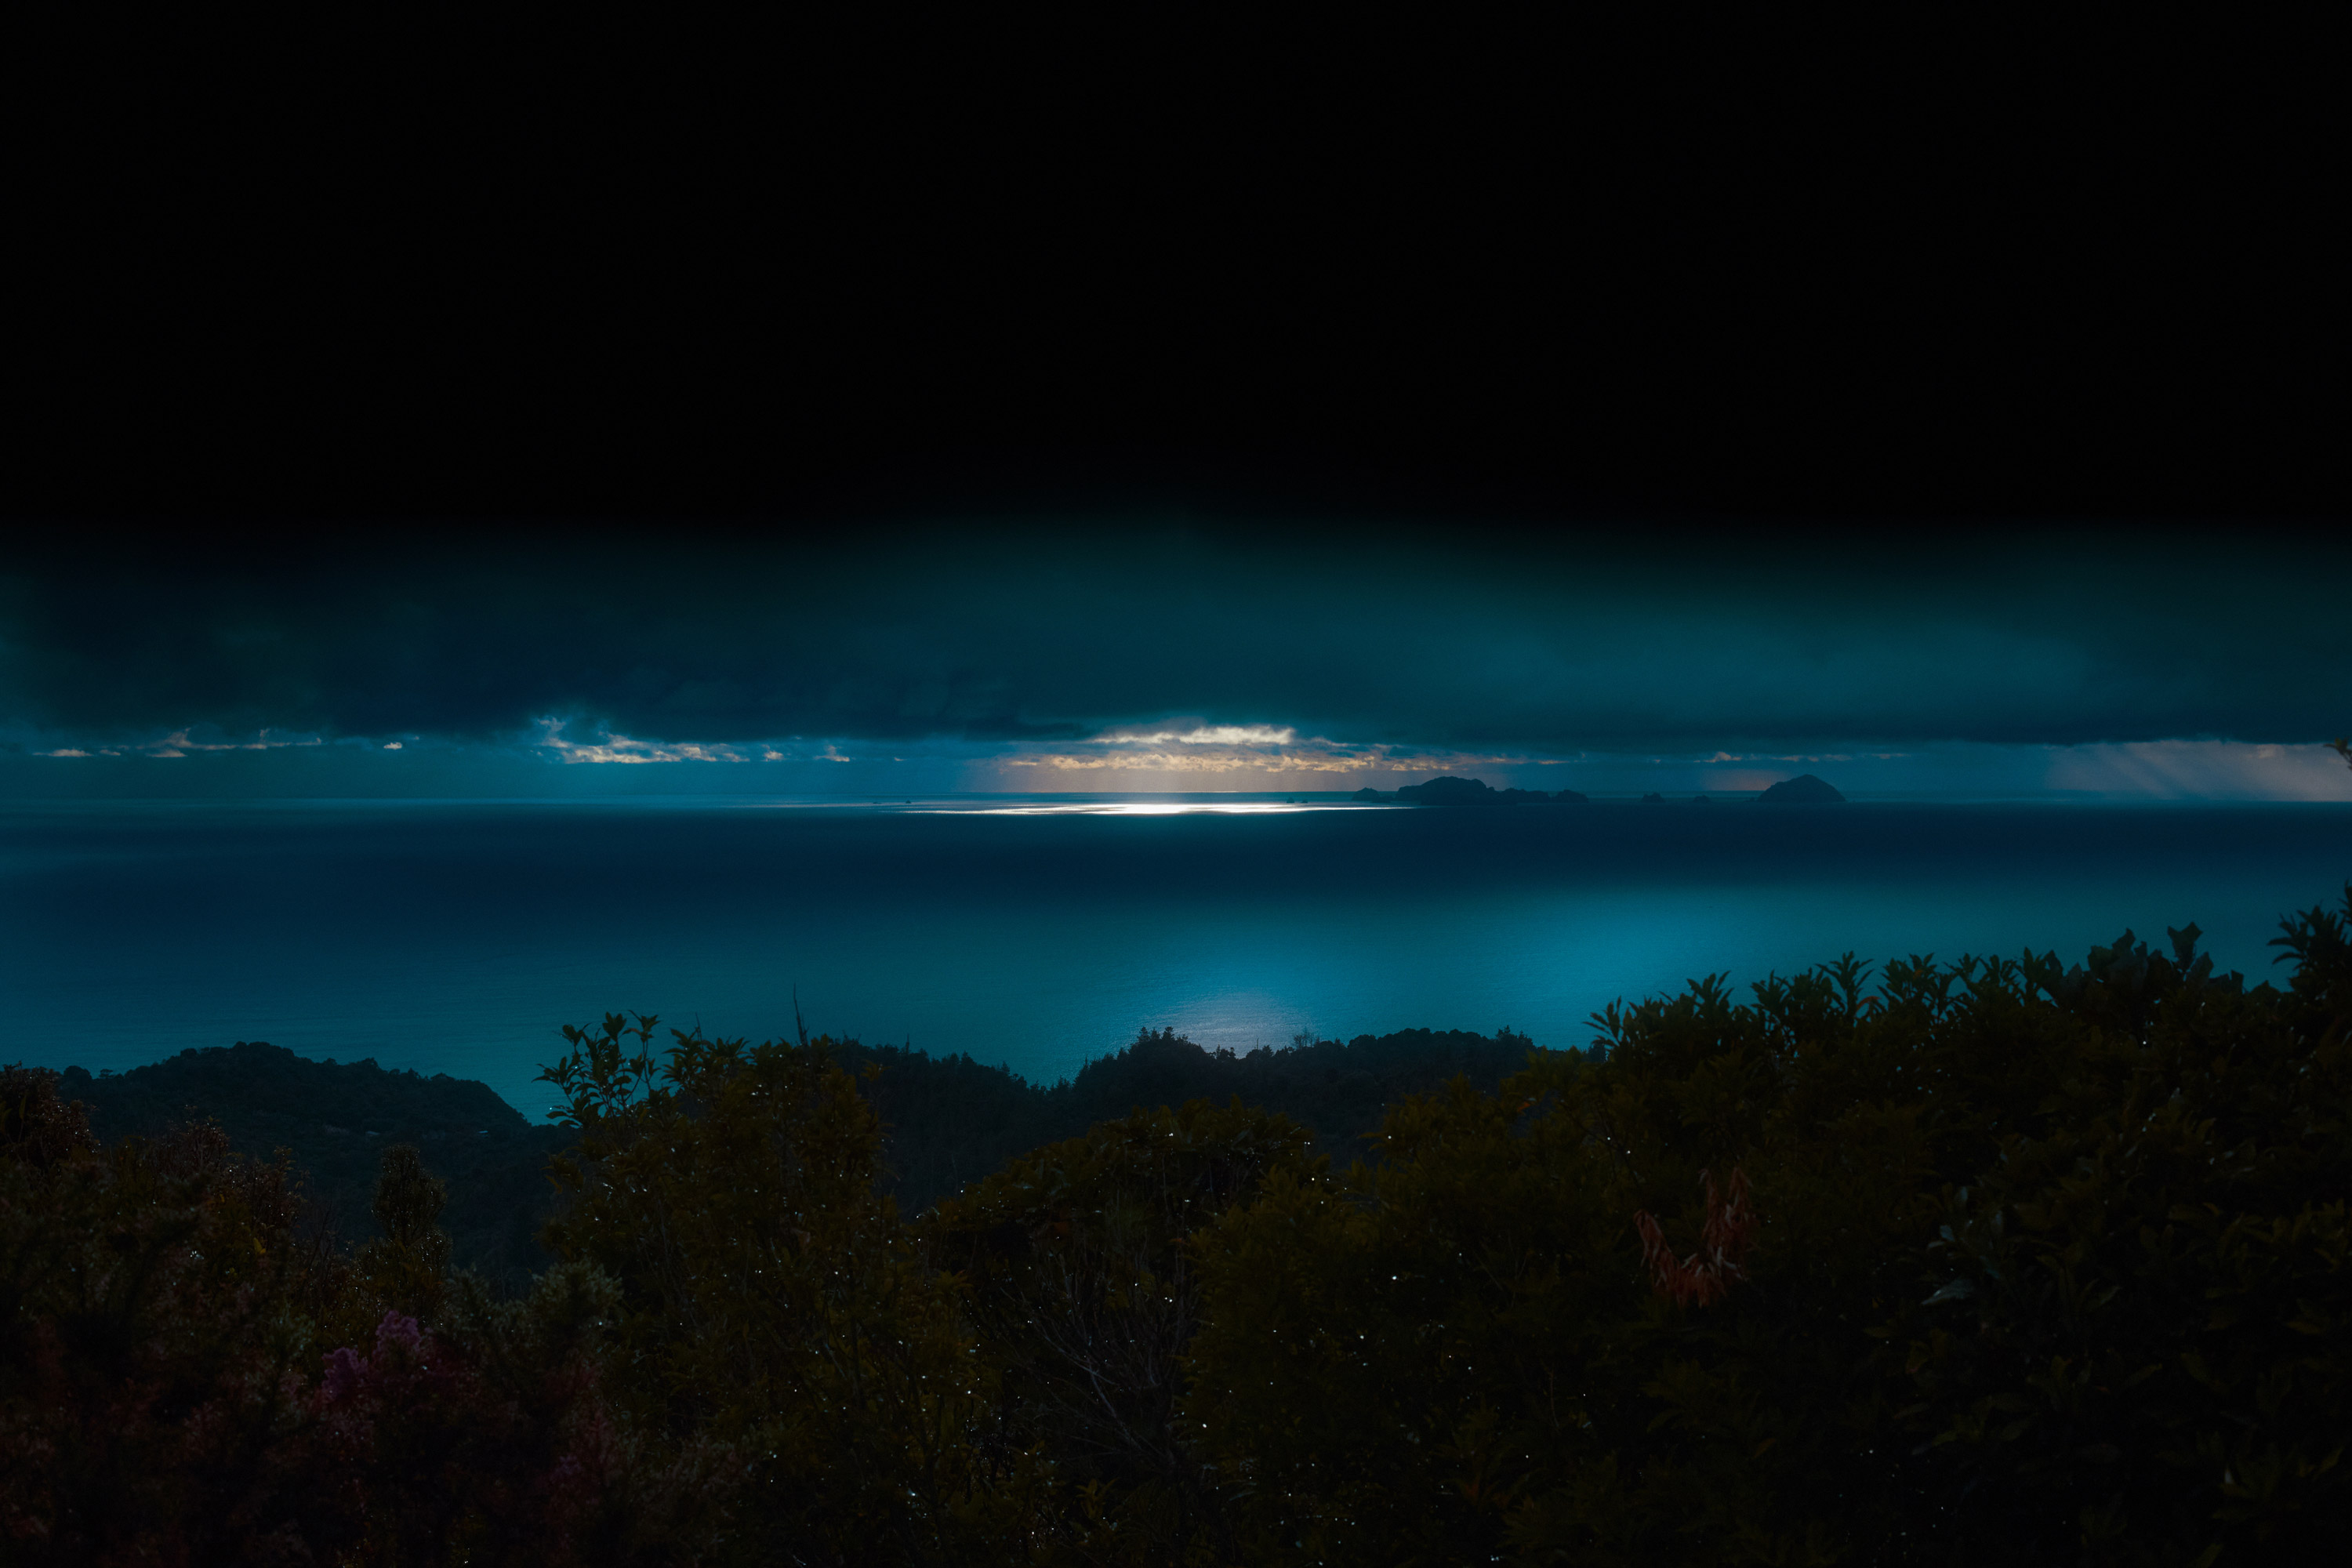
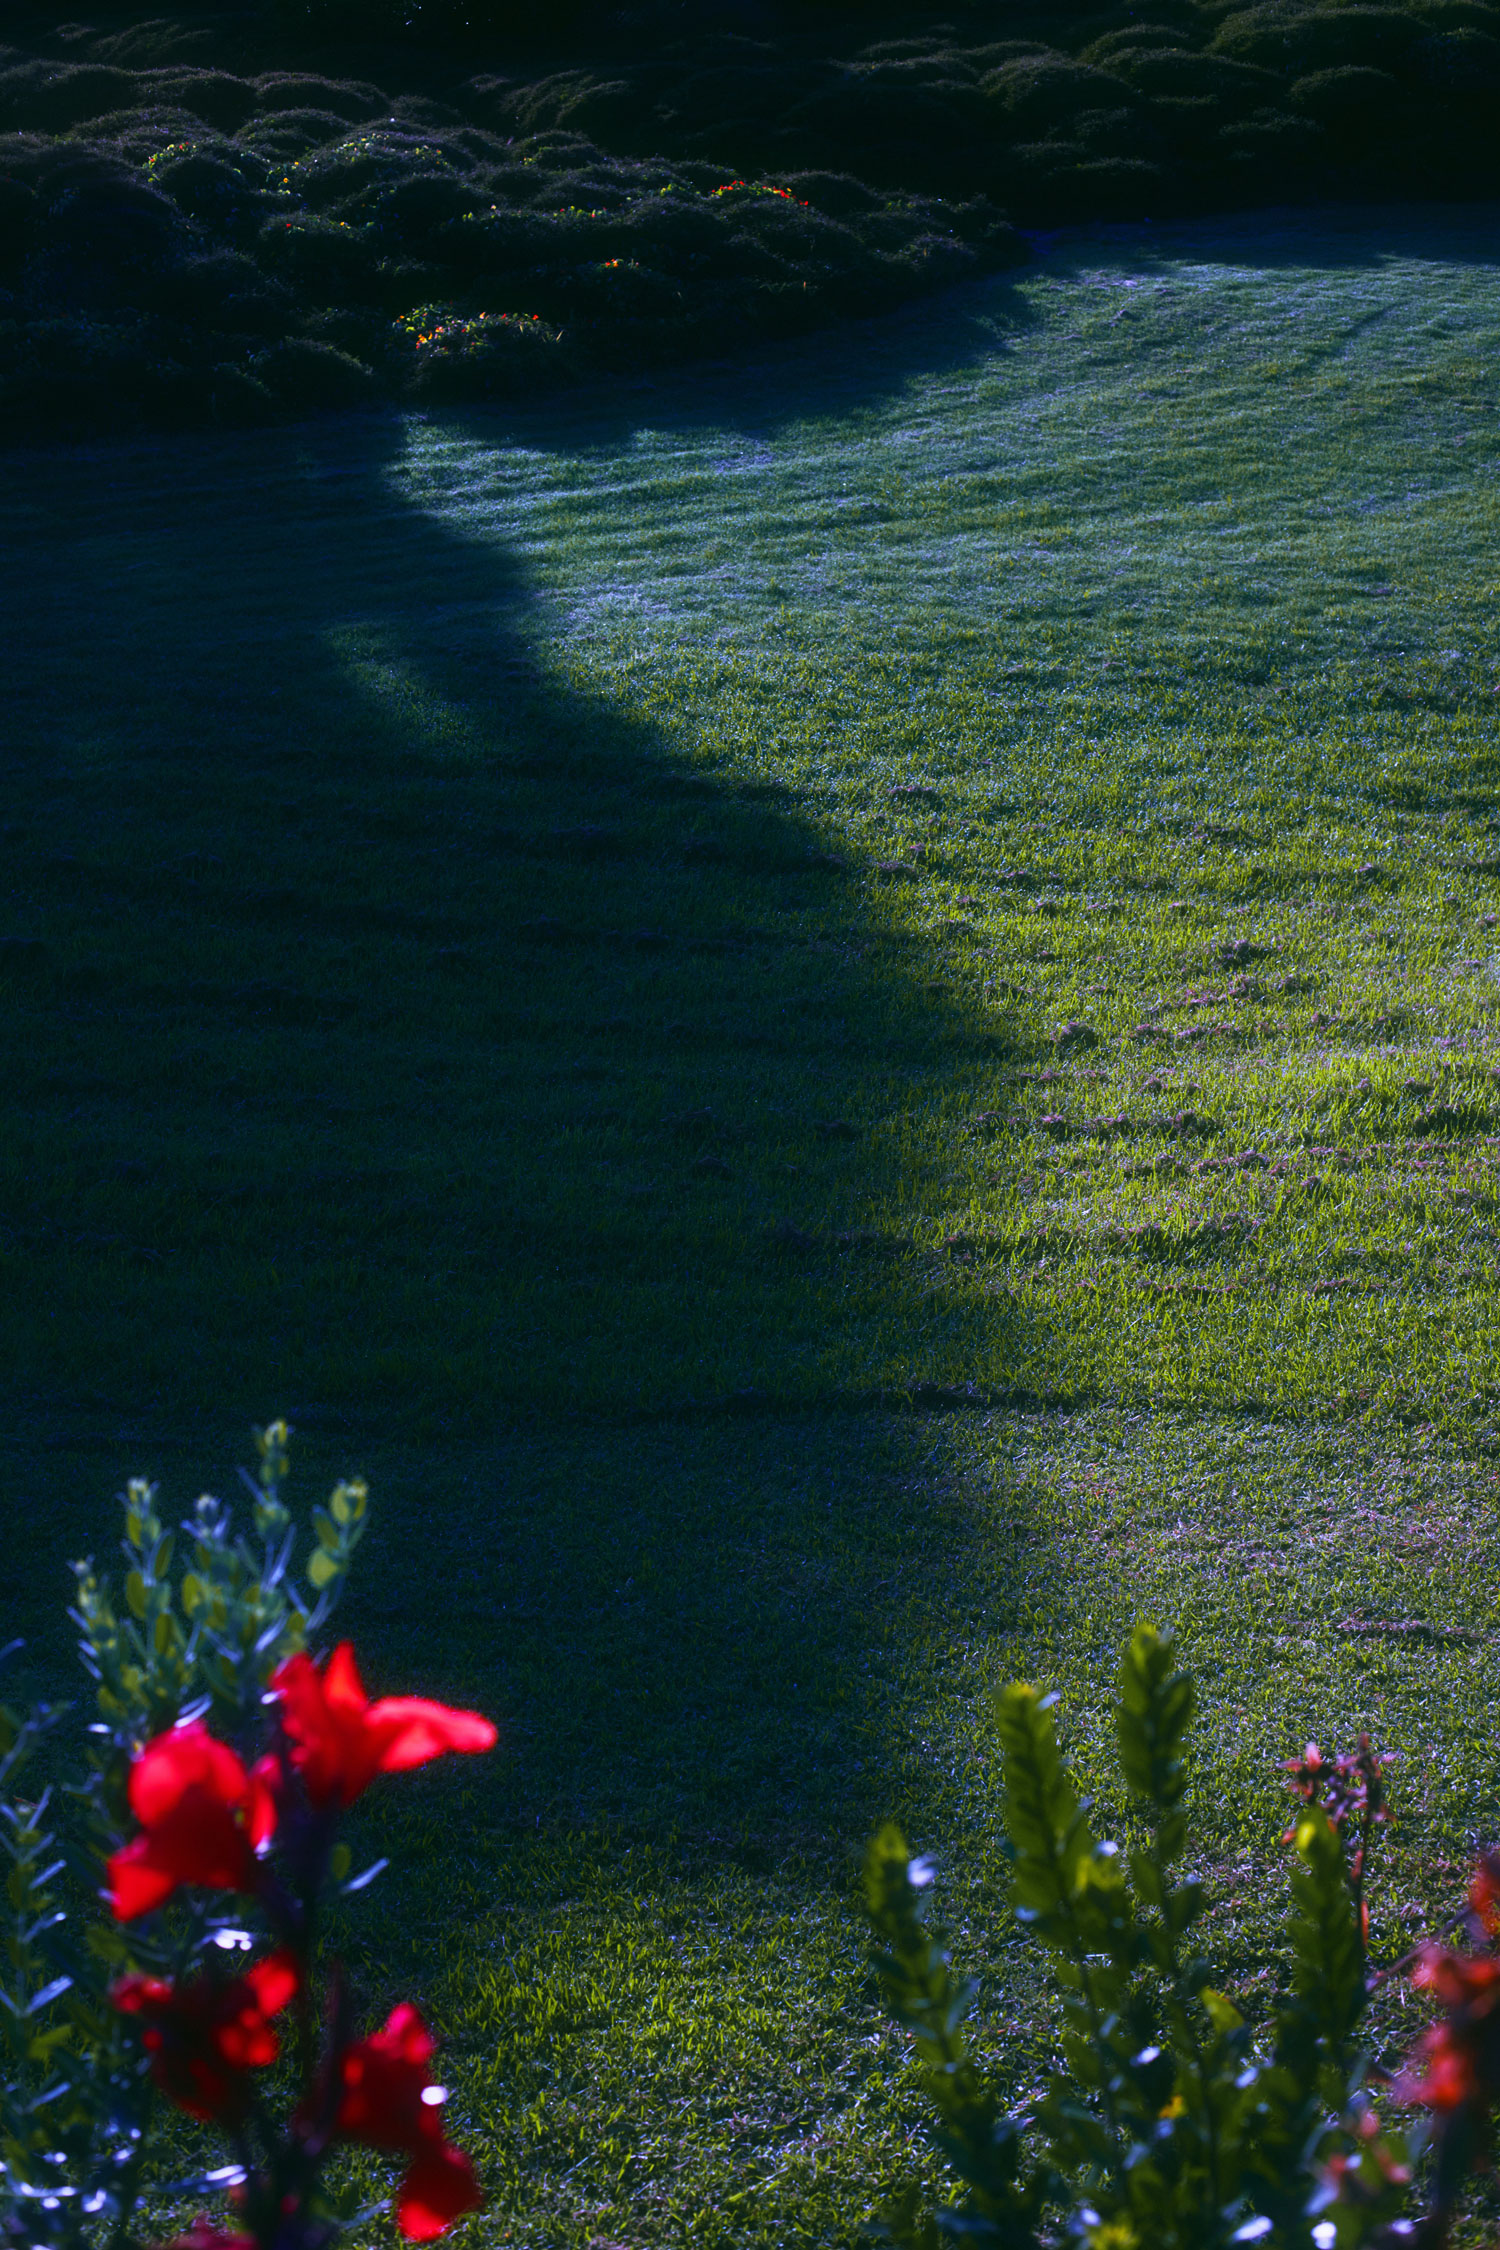
Canon EOS 6D Mark II | Canon EF 50mm f/1.4 USM | f/8 | 1/400 | ISO 500
Why is photo editing important?
Editing is an incredibly powerful technical and creative tool. It can help restore and enhance imagery and sometimes ‘improve’ them in a technical sense while also honing and developing a personal style.
Image editing is in the eye of the beholder. It can be as simple or as complex as you want it to be. There are a number of creative avenues, from the most subtle grading and white balancing to complex compositing and masking, and they all have their place.
Ultimately, image editing is an important tool in the contemporary image-making world and can help photographers in many unique ways.
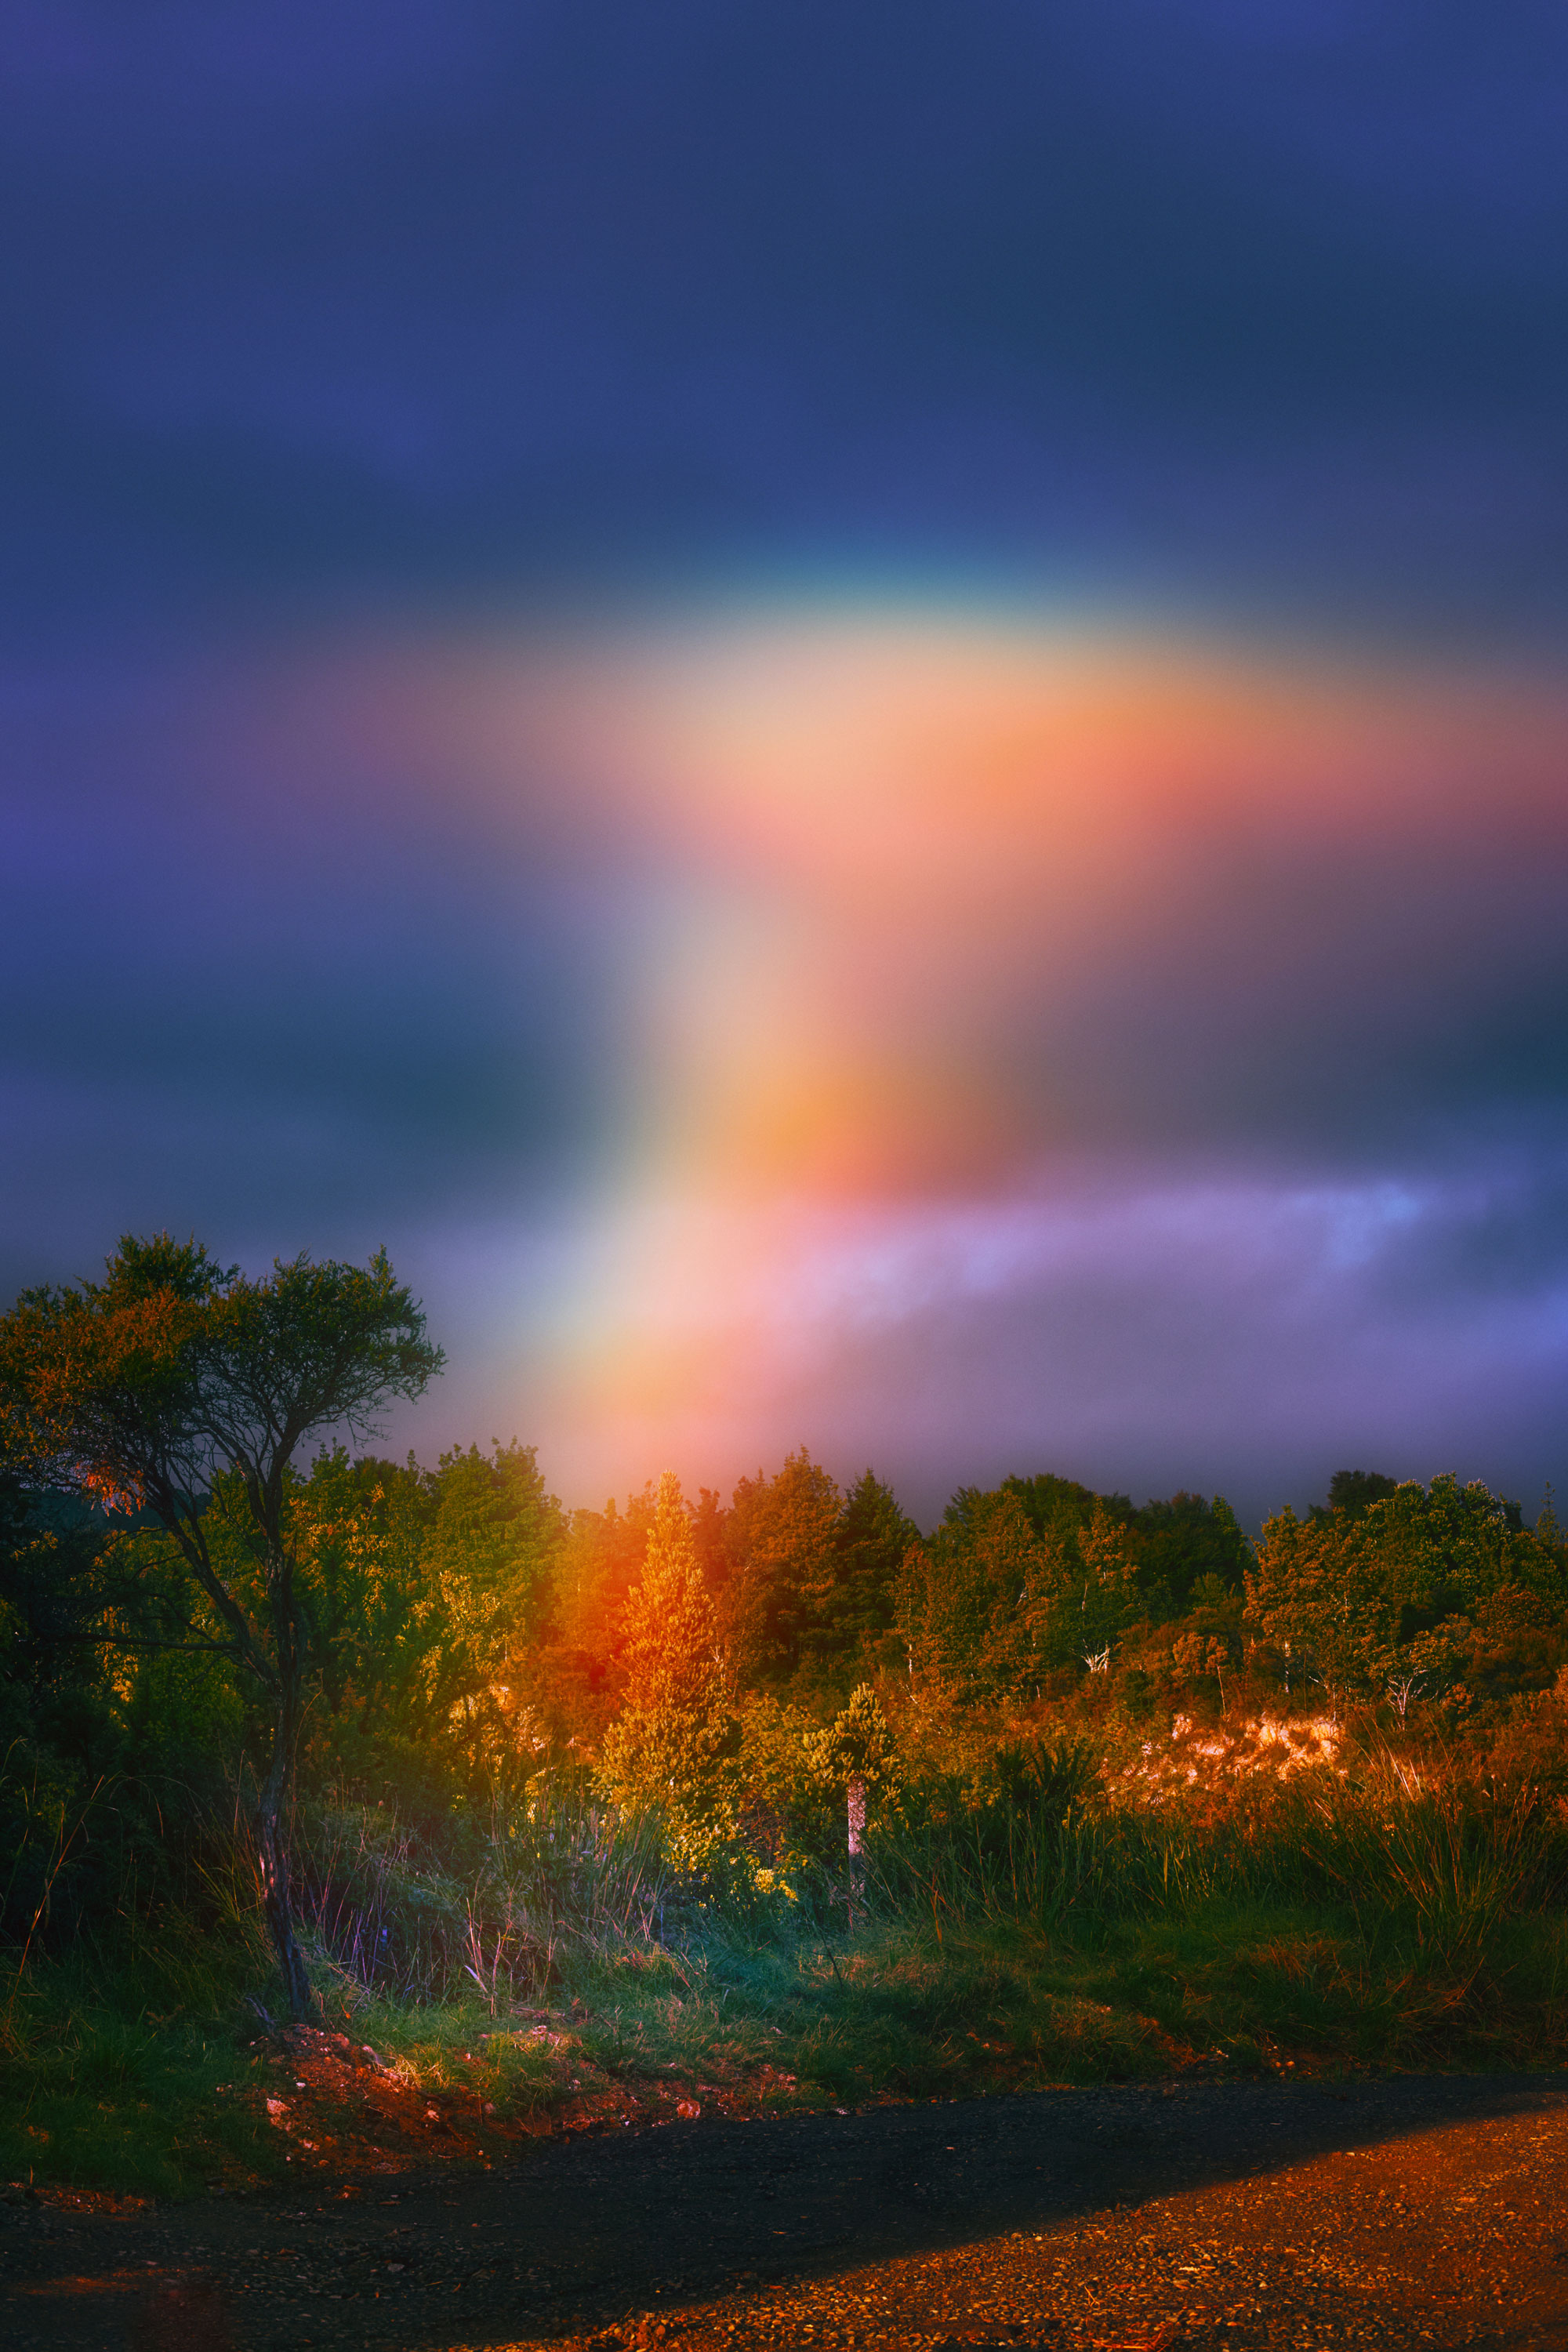
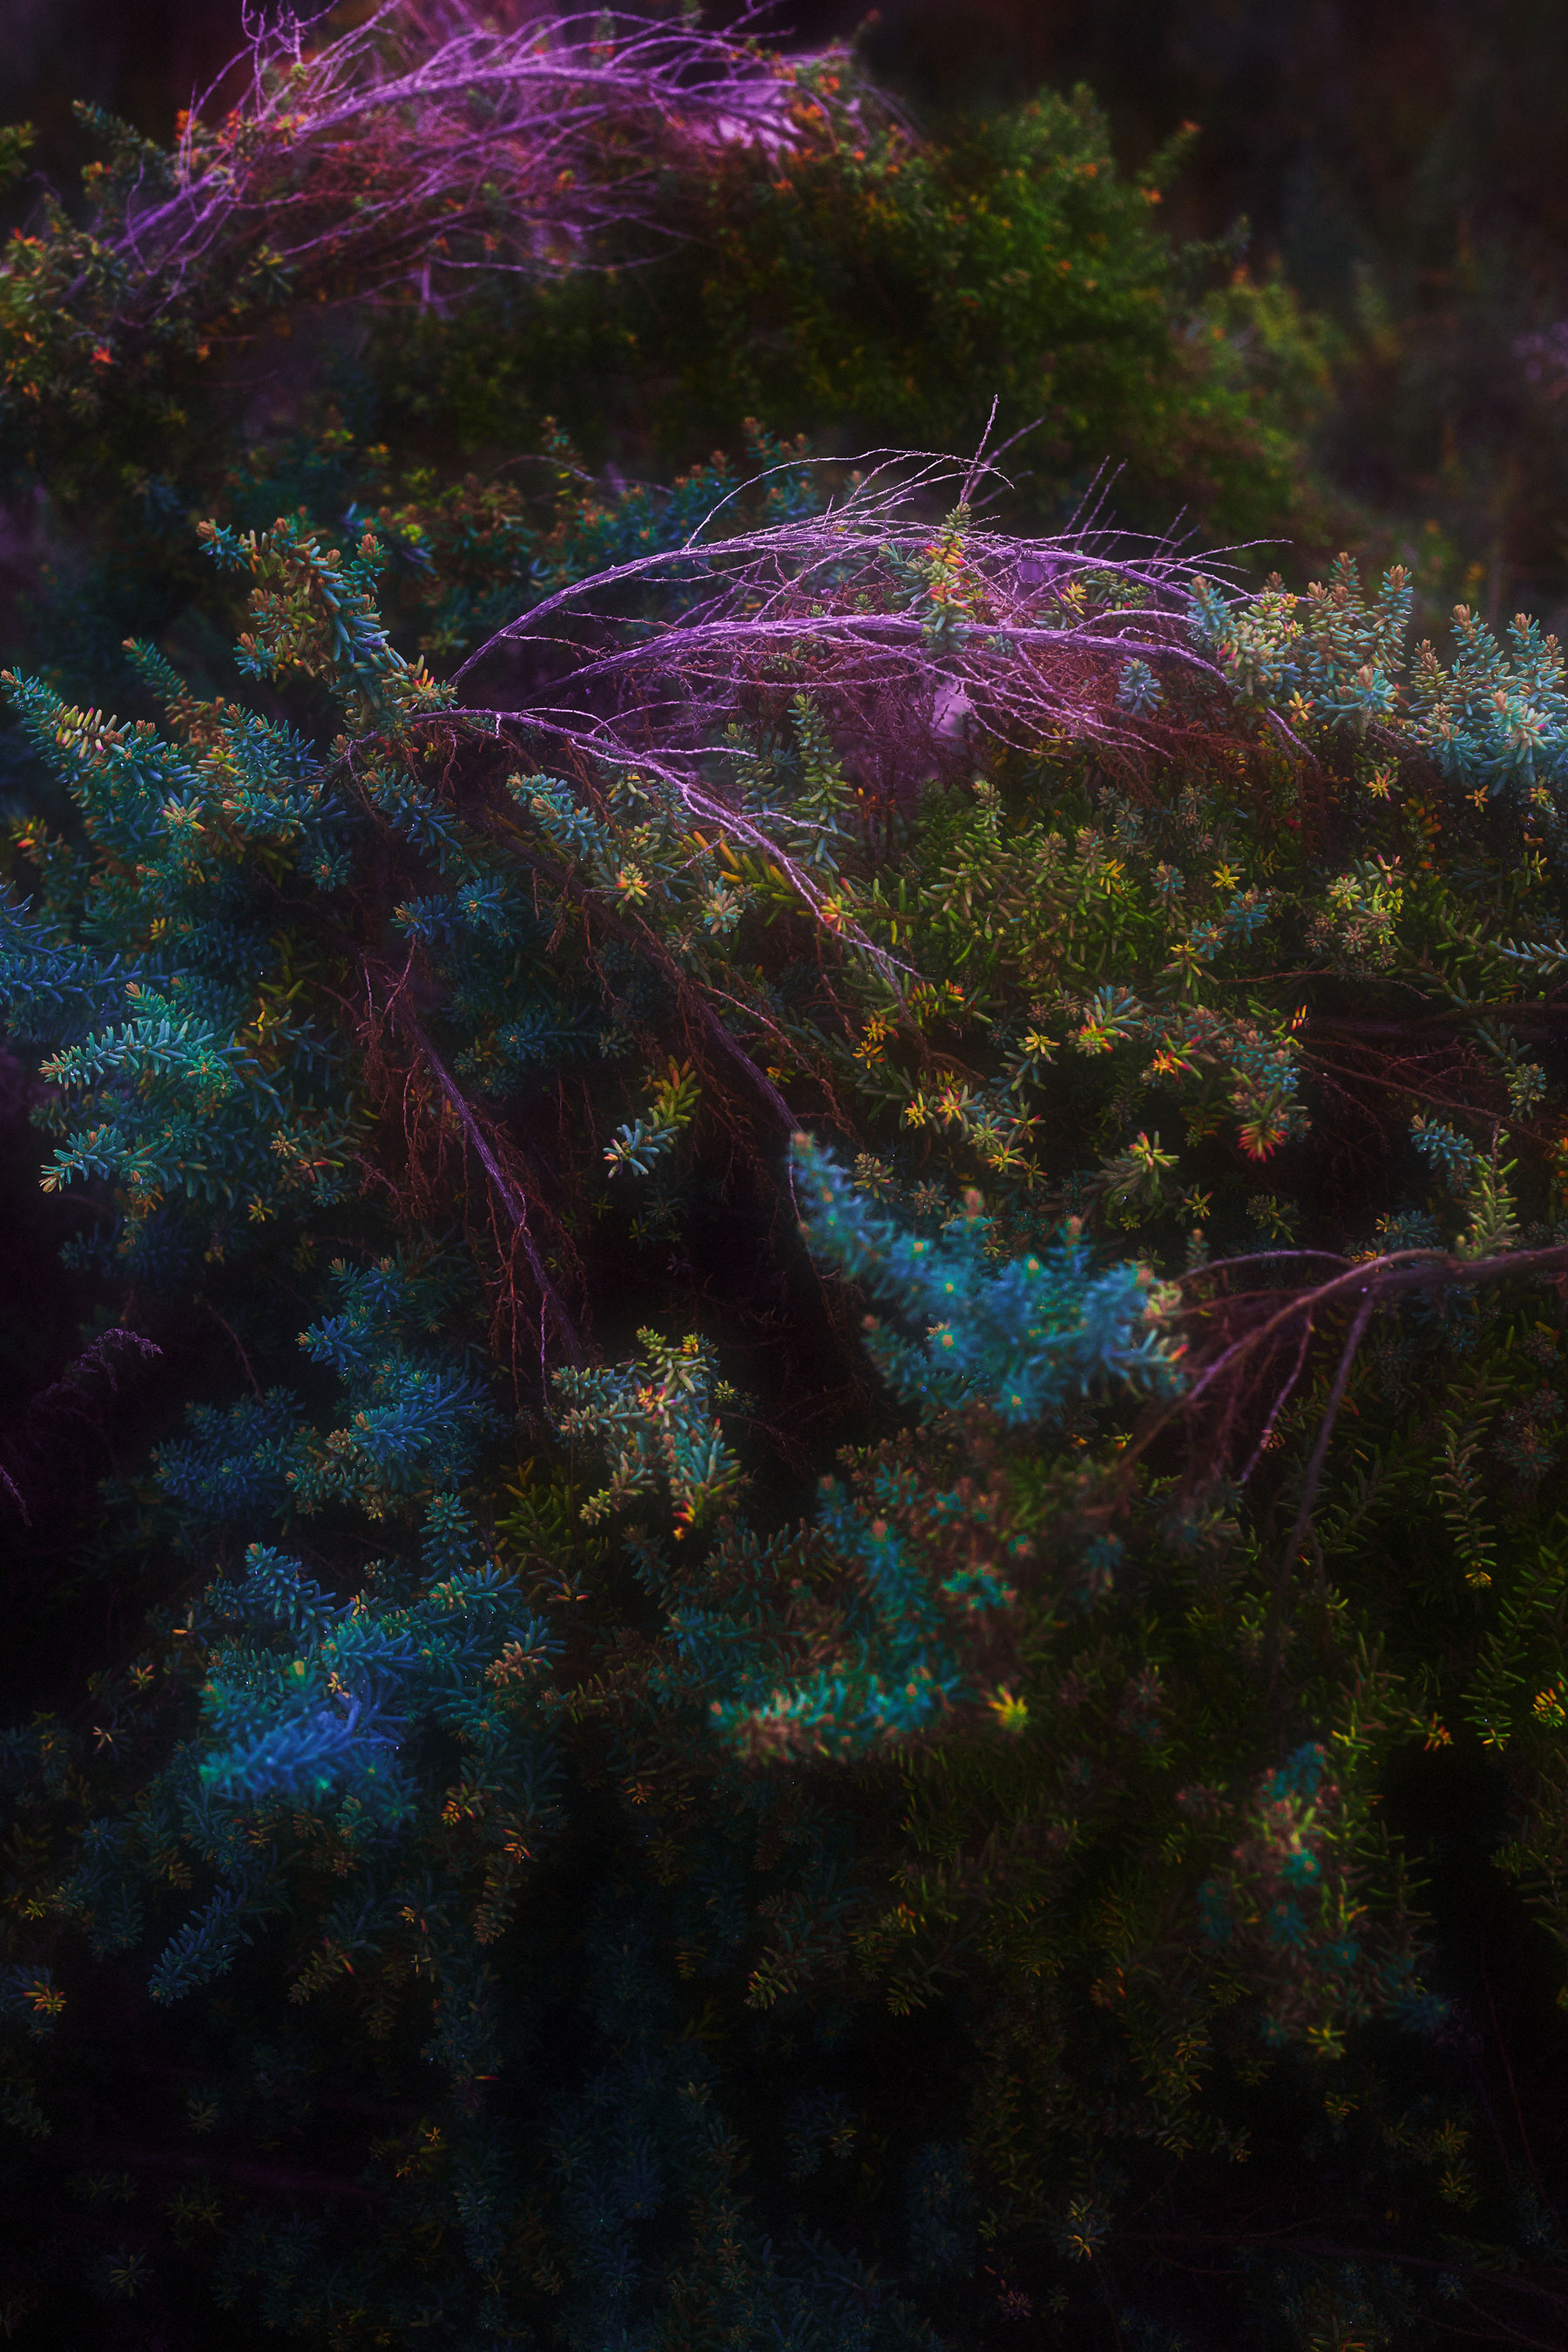
Canon EOS 6D Mark II | Canon EF 50mm f/1.4 USM | f/22 | 1/1250 | ISO 1250
Considerations for effective image editing
First and foremost, never rely on fixing things in post. Even the most expensive image editing program won’t be able to save a blurry or out-of-focus shot. So, in order to make the photo editing as effective as possible, remember to pay attention to these tips when you’re taking the picture.
Always shoot in RAW
Check your camera is set to shoot RAW format images. Compared to JPEG files, which are smaller and more ‘lossy’, RAW files contain all the uncompressed and unprocessed data—fantastic for lowering highlights and raising shadows in post. Some cameras will allow you to simultaneously capture both RAW and JPEG files, so you can quickly review the JPEGS on your computer and decide which RAW files to edit in post.
Prime lens or zoom?
If you are an absolute beginner, it’s a good idea to get a zoom lens. It’s fun to play around with different focal lengths to see which resonates with you.
As you grow into your style, then choose a few different prime lenses. The optics are generally great, at a cheaper price, rather than a more expensive zoom that might end up having more aberration and distortion.
Prime lenses also have the added benefit of often being ‘faster’— they enable wider maximum apertures, letting more light in. This also makes for a more interesting depth of field and bokeh effects.
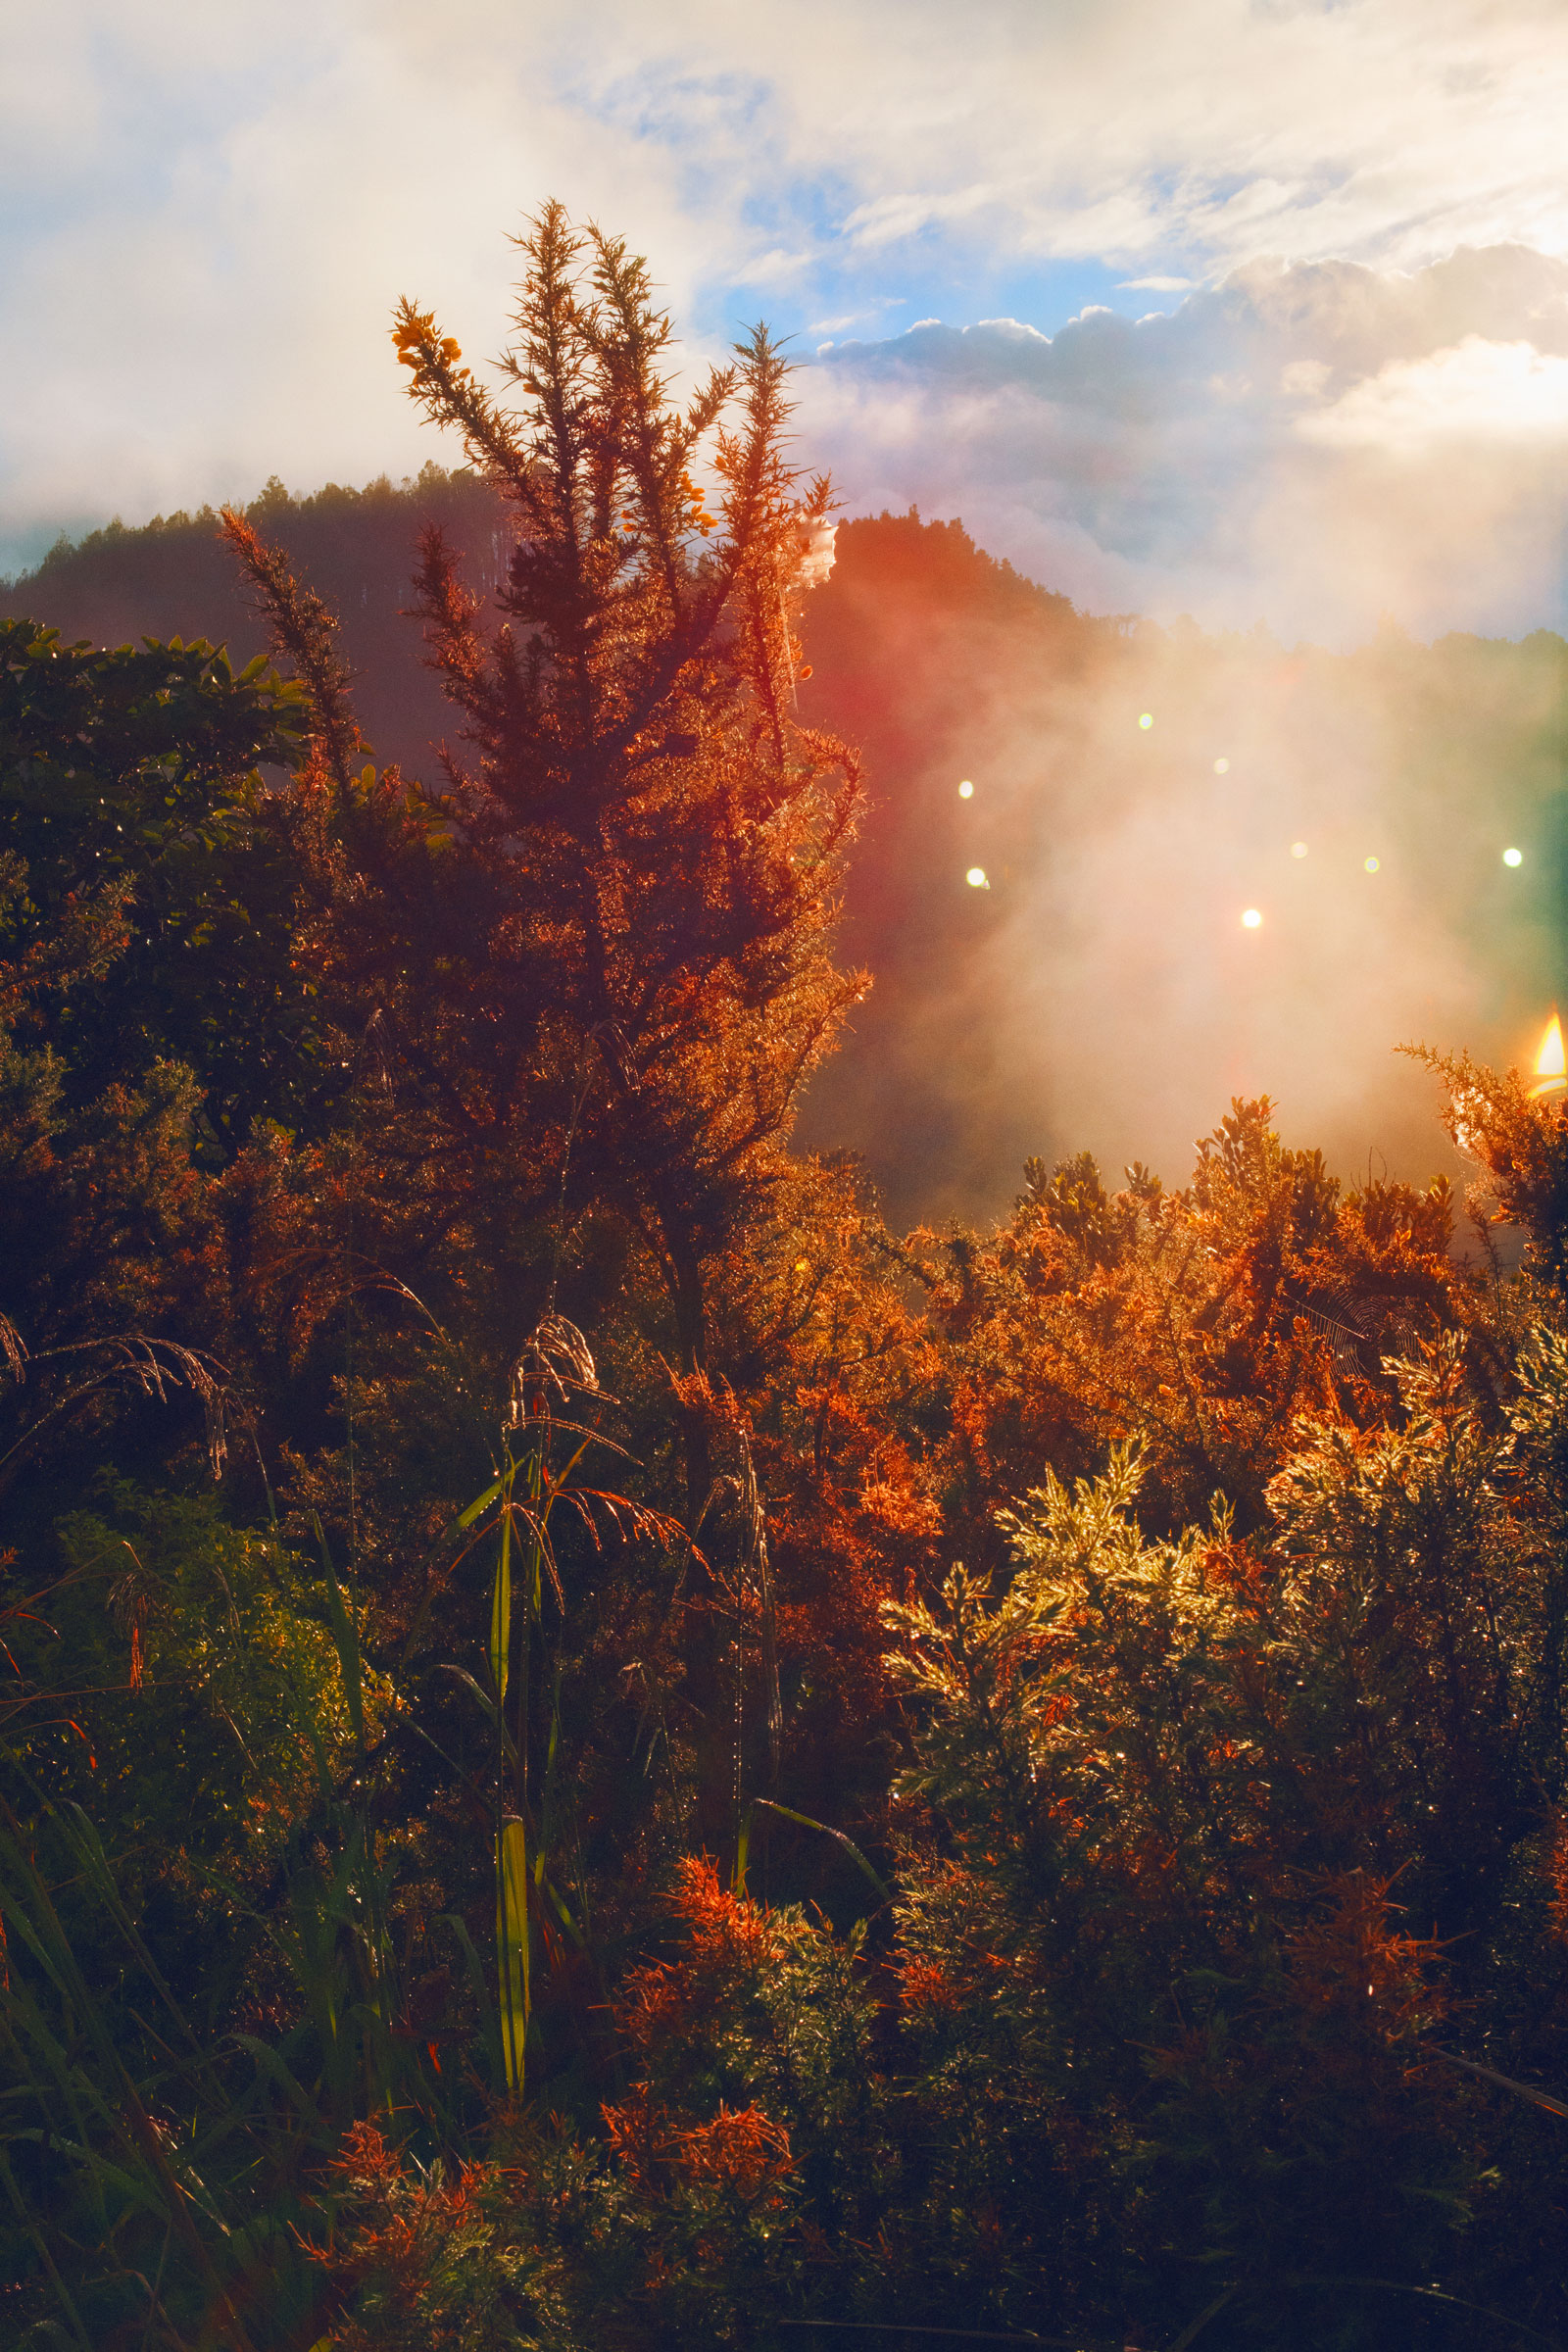
Canon EOS 6D | Canon EF 50mm f/1.8 II | f/4 | 1/200 | ISO 200
Check your white balance
When setting up a shot, you’ll need to understand what you’re capturing, whether it’s natural light, tungsten light, fluorescent light or flashlight. In doing so, you’ll need to double-check that your white balance is set correctly. That way, you won’t get any unwanted colour surprises—unless that’s your creative goal!
White balance means the adjustment of the shot to the available light. Depending on your goal, it’s nice to get a balanced image in your highlights and shadows. You can check your camera’s histogram if you’ve ‘clipped’ your highlights—when there’s no more data in the highlights to play with in post—or whether your shadows are too black.
Exposure triangle
Then, you can consider important fundamental things like shutter speed, aperture and ISO. Most cameras have several different modes: automatic, manual or shutter speed or aperture priority.
ISO is effectively your ‘film’ speed, and you can crank this up when you’re in darker environments.
Shutter speed is powerful for freezing your images to eliminate motion blur. Aperture is effective in playing with depth of field and allowing more light into the shot, without sacrificing your shutter speed.
Want to know more about shutter speed, aperture and ISO? Check out our guide to the exposure triangle.
In summary, all these choices become creative and technical and inform each other. With these focuses in mind, you can start to shoot. But if you’re a beginner, shoot auto and see how you go. Make sure you have automatic focus, too. This will be a nice entry into creating a balanced photo to start editing in post.
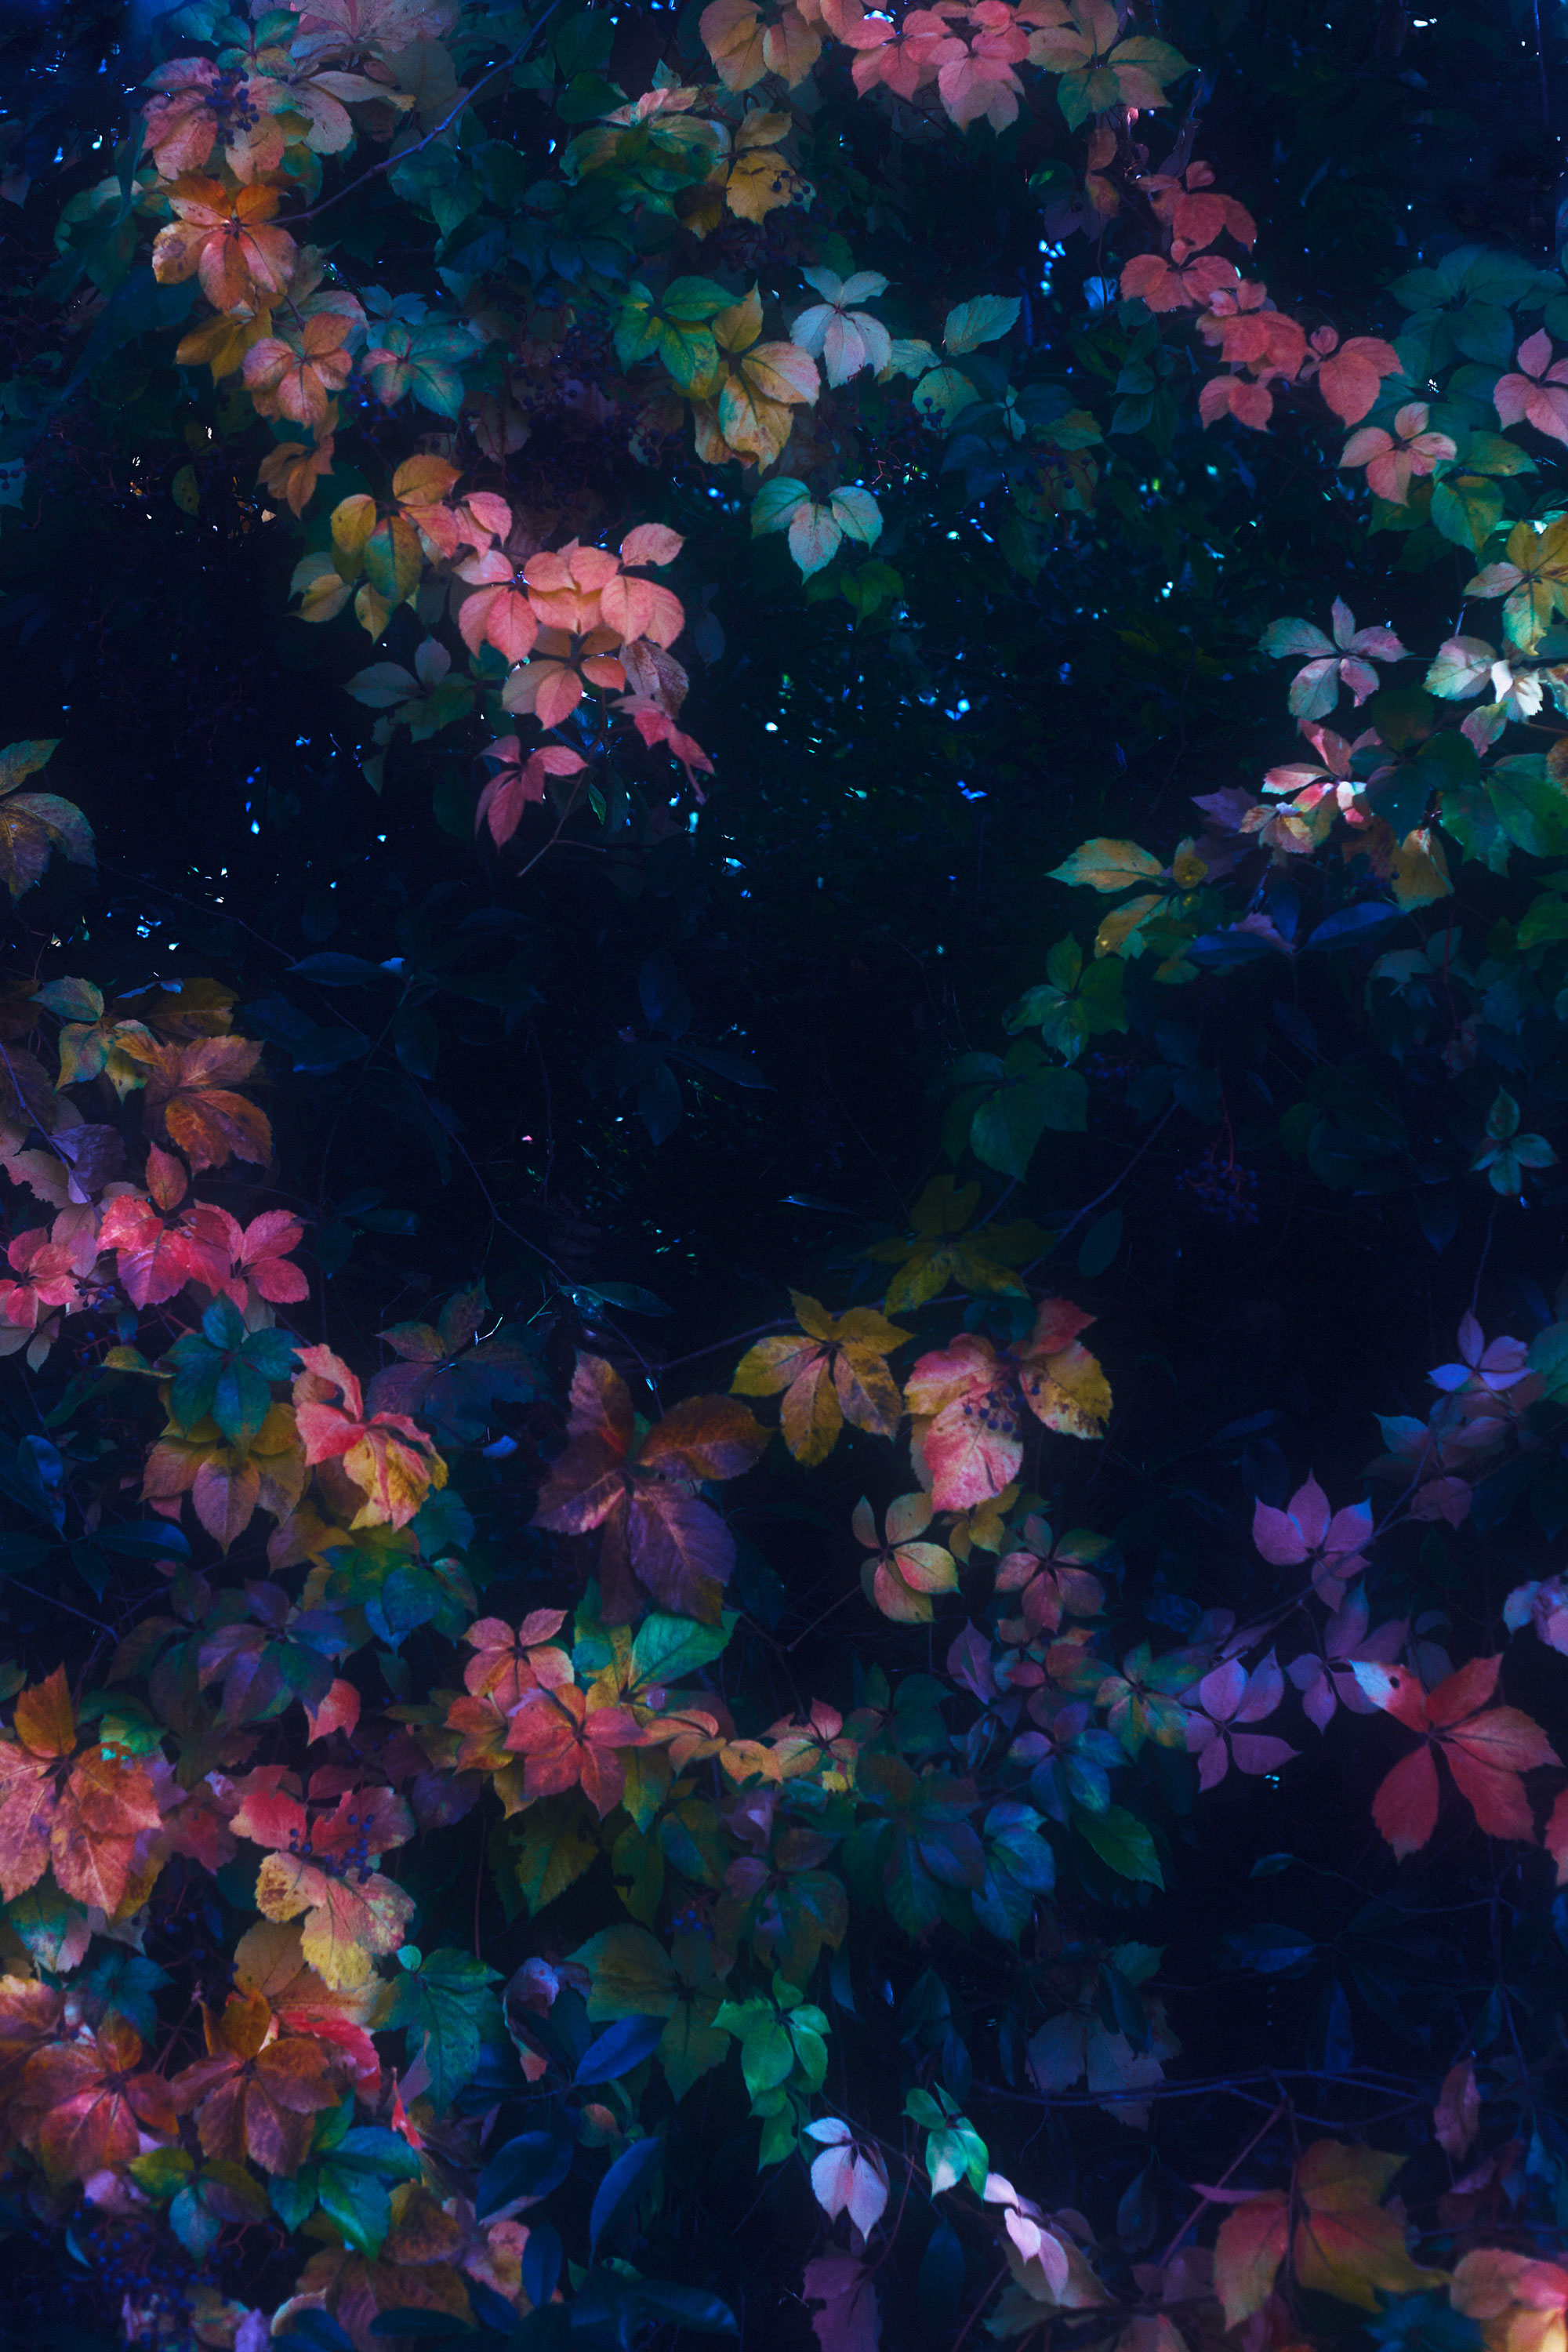
Canon EOS 6D Mark II | Canon EF 50mm f/1.4 USM | f/5.6 | 1/400 | ISO 160
Which free software can I use to edit my photos?
There’s a lot of free or open-source software out there—including Gimp, Canva, darktable, Rawtherapee and Ashampoo optimiser. Each has its pros and cons, but most of them will allow you to manually control your images and output to different formats.
Think of this free software as a gateway to Adobe Lightroom or Capture to see what you like most about image editing.
Gimp is proven to be a favourite with image editors looking for free software, because the software reads RAW image file formats and offers many Photoshop-like functions.
What’s the best paid software for photo editing?
I would like to focus on more advanced programmes in this article. Depending on your level of desired complexity and use, there’s a lot of hugely helpful software available for purchase or for a monthly fee.
Adobe Lightroom
Adobe Lightroom is a fantastic tool for cataloguing and organising photos. It has excellent metadata and keyword functions to find and sort specific images. Lightroom is quite beginner-friendly, with simple modules to edit, like curves, white balance, hue and saturation.
You can edit RAW imagery easily, achieving desired results in a simple manner. Lightroom also remains very faithful to the original RAW data shot in terms of colour and contrast and has many external plugins to achieve film-like aesthetics. You can also pay to use Lightroom and Photoshop together, as they are both under the Adobe Creative Cloud.
Capture One
Capture One is an excellent and powerful tool for grading and masking, with some more advanced tools than Lightroom. These advanced tools make for steep learning curves but an ultimately sophisticated outcome.
For example, you can use a layer system—much like in Photoshop—to create different adjustments on an image. It has a nuanced colour wheel system for grading, allowing a lot of creative control. Capture One also has excellent sharpening tools without sacrificing the quality of the image. It is a more advanced tool that I'd highly recommend for more in-depth workflows.
Canon EOS 6D | Canon EF 50mm f/1.8 II | f/4.5 | 1/160 | ISO 400
Adobe Photoshop
Adobe Photoshop brings all the joys and complexities of grading, compositing and matte painting. The possibilities are endless in Photoshop, but it does not inhibit the cataloguing and sorting best used in Lightroom. Usually, a photographer would use Photoshop in conjunction with Lightroom to achieve certain outcomes that Lightroom or Capture One can’t deliver, like fine masking and complex compositing.
Camera RAW filter in Adobe Photoshop
Camera RAW filter, found in Adobe Photoshop, is an effective tool with nuanced manual colour settings. The plus side to this is that it’s an existing plugin—so, if you already own or rent Adobe Photoshop, you don’t have to pay extra for it.
Which software should you use for image editing?
When developing my digital RAWs, I use Capture One. I usually crank up the saturation in general, and then affect each colour separately.
Capture One has nuanced capabilities for tweaking each colour in the ‘advanced’ colour tab. I tend to ink drop the red, for example, and work from there—adjusting the hue, saturation and smoothness between each pixel tone within that spectrum.
When working with heavily saturated colours, an image can easily break down, resulting in hard lines between colours. The smoothing function in the same colour tab can really help with these tonal transitions.

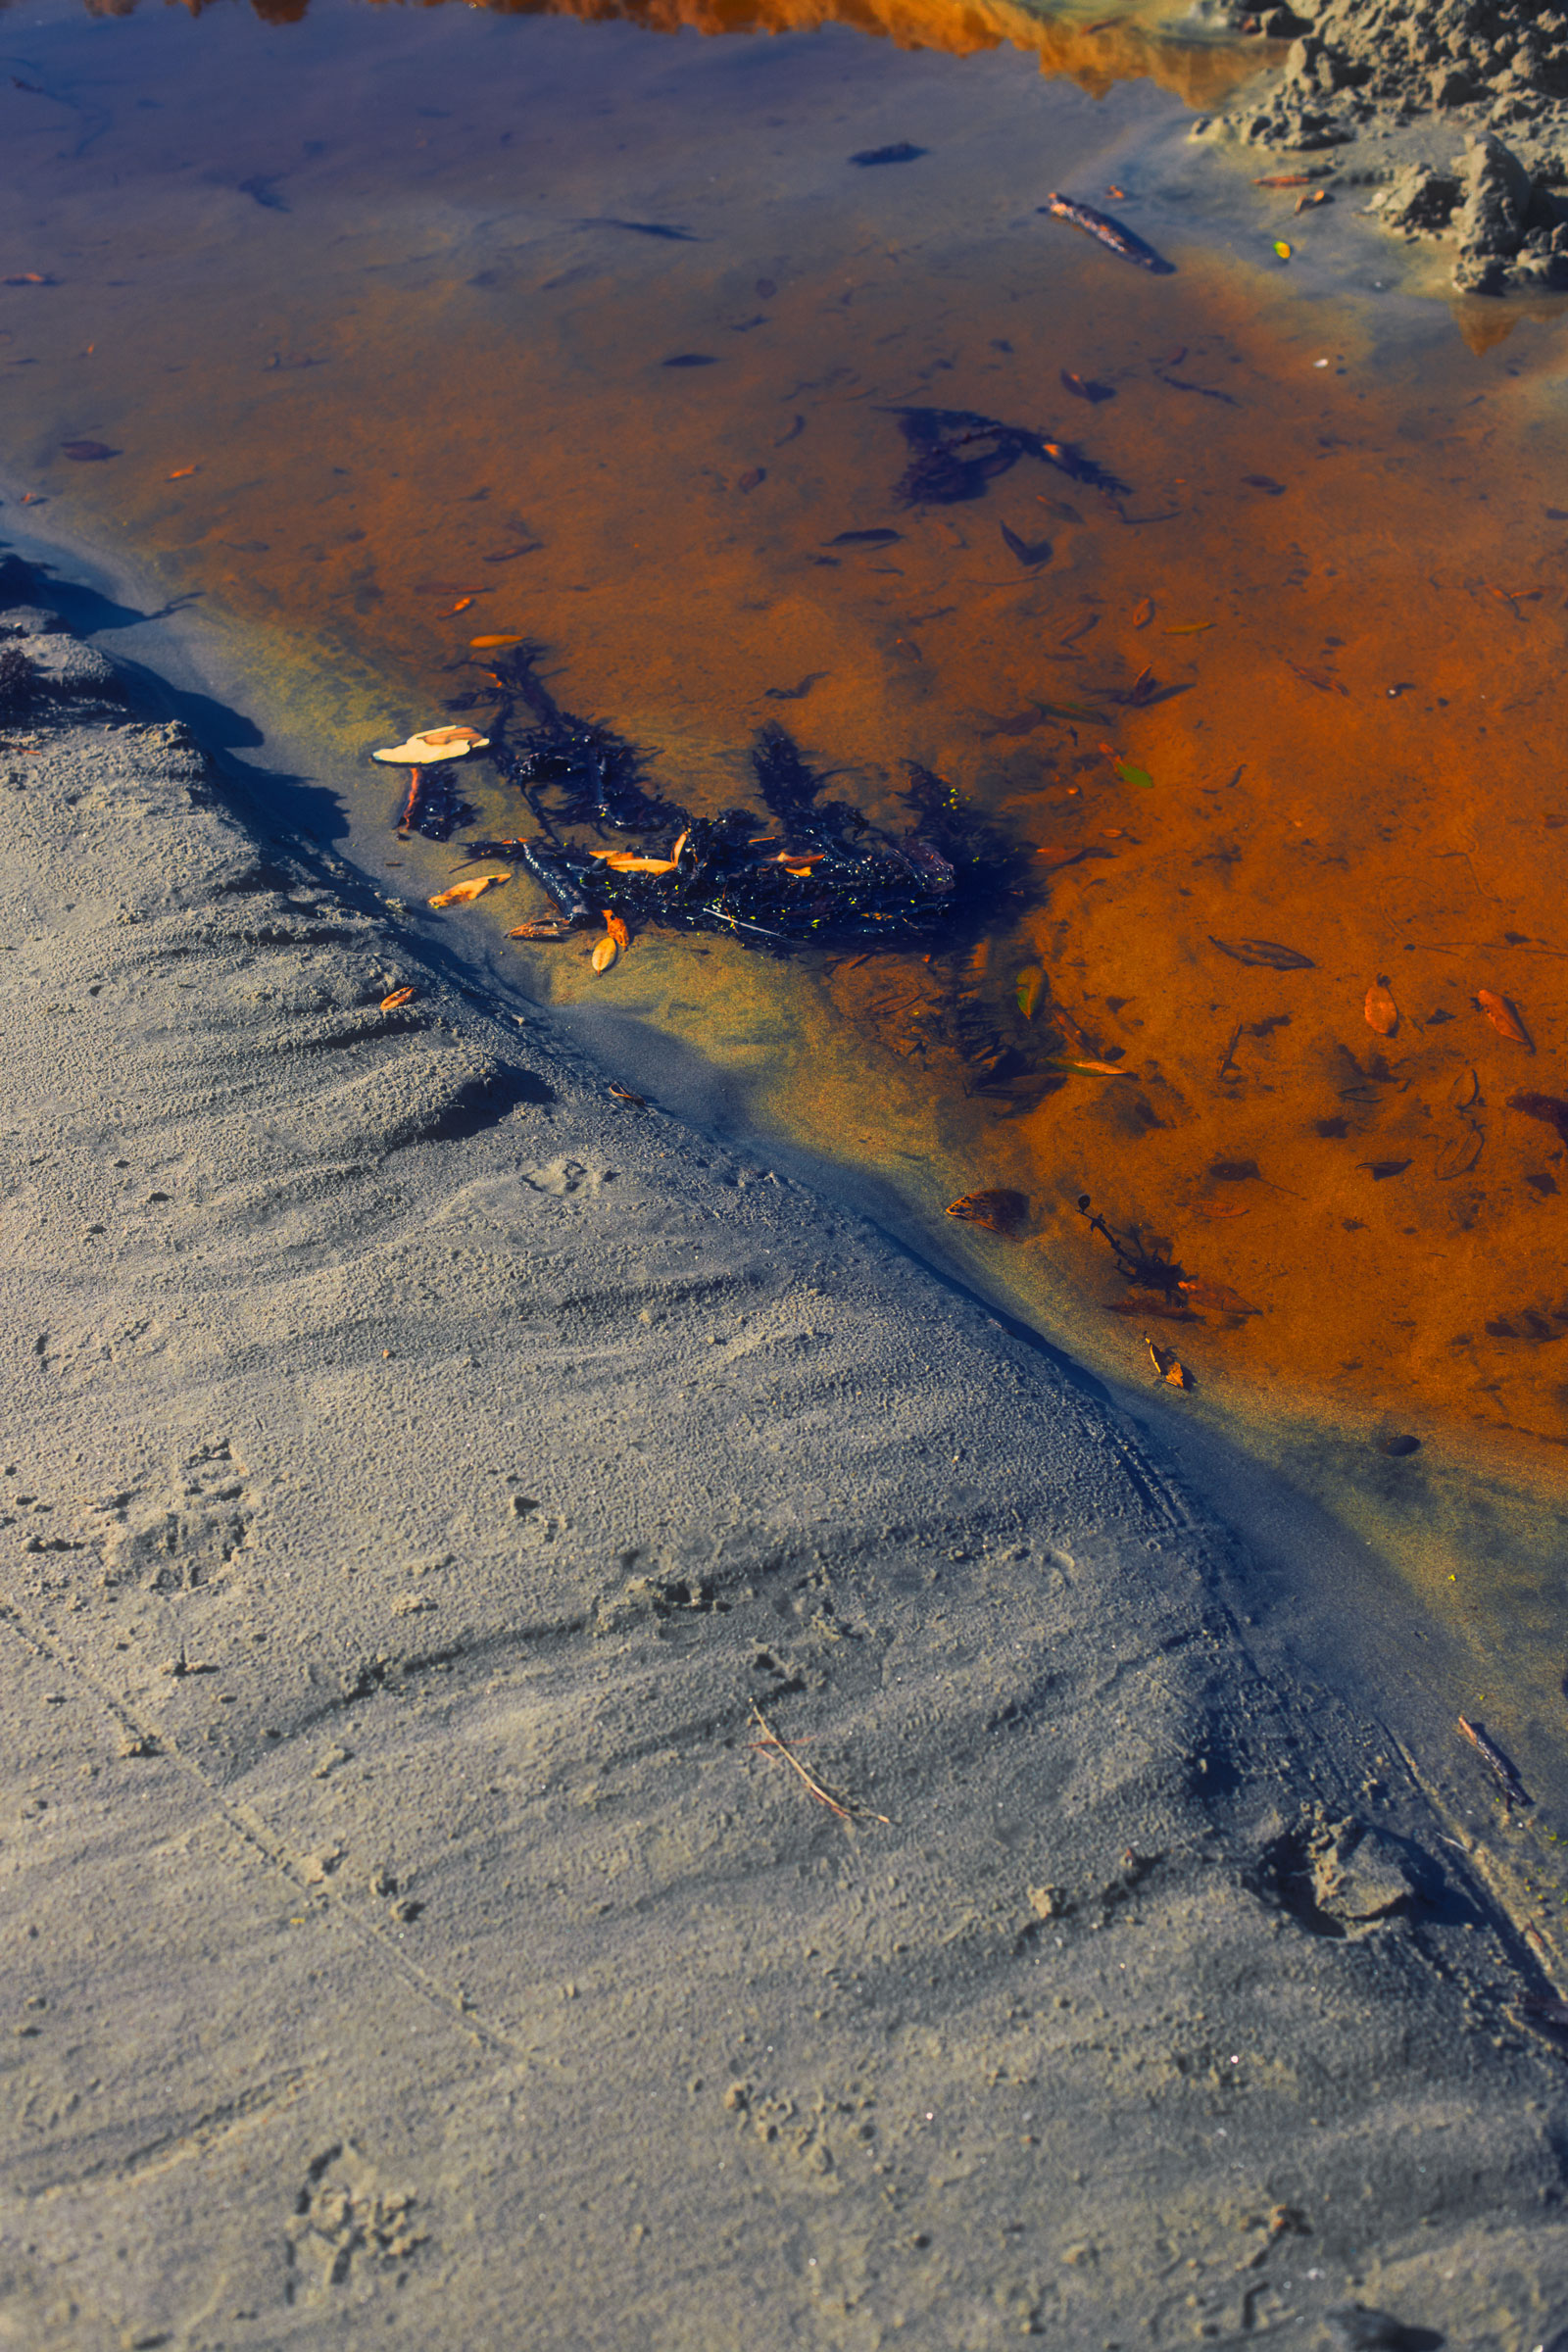
Canon EOS 6D Mark II | Canon EF 50mm f/1.4 USM | f/5.6 | 1/3200 | ISO 640
First steps of image editing
In the following section, I’ll discuss the first steps of image processing—or developing photos. It concerns the essential adjustments of the image, such as white balance, colours and contrast.
1. Transfer to your computer
After you’ve taken your photos, transfer them onto your computer—this is when having something like Lightroom or Capture One comes in handy. Otherwise, you can easily use the Mac software ‘image capture’ (or Windows equivalent) to retrieve your photos. Or, simply drag and drop from your SD card to a folder. Some computers have an SD card slot. If not, you’ll need a card reader and USB cable.
Once you’ve retrieved your images, open your editing software to check them out. Irrespective of what software you choose, there are some nice workflows you can apply across the board to your images.
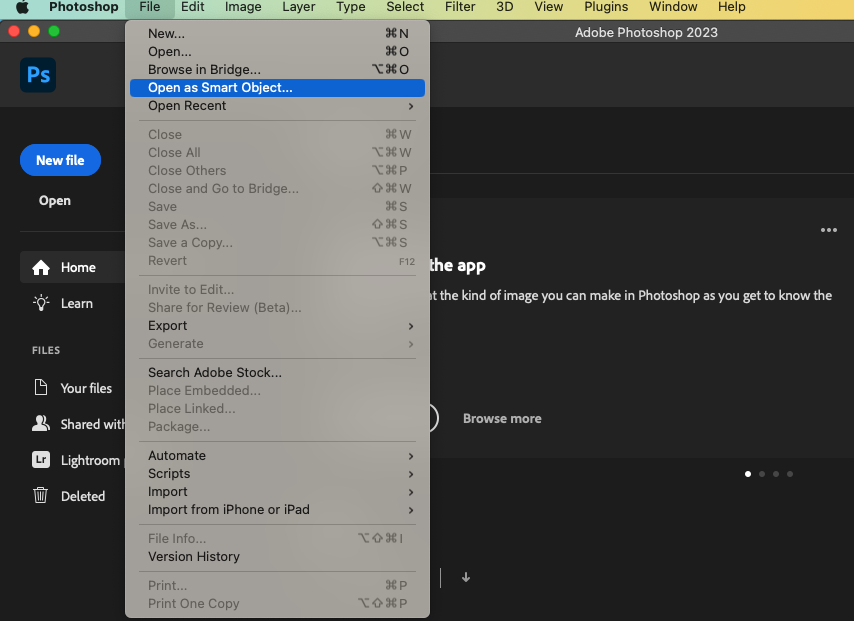
When you open your RAW image in Photoshop, tick the box that says ‘open as smart object’. This will create an image object that is non-destructive—so, when you double-click the smart object, it’ll take you into the camera RAW filter, where your settings are modifiable and not set in stone.
2. White balance
Next, check your image and its white balance. While I’ve already considered white balance when taking the picture, I double-check it in post.
What’s the colour temperature? Sometimes you can get undesired colour casts when your white balance is a bit off. You can easily rectify this by using the white balance colour sliders. If you’re using Photoshop, the Camera RAW filter plug-in will help.
3. Contrast
This is where you can get creative. Do you want more contrast or less? What sort of aesthetic are you aiming for? In this step, you can decide what visual avenues you’ll want to take.
You can control contrast with manual tools such as curves, levels and, of course, contrast. For simple sliders that go back and forth, I'd recommend levels/contrast sliders. For something more nuanced, I'd play around with curves. Curves can do everything contrast and level sliders can, but they also allow us to affect quarter tones, midtones and blacks and highlights very nicely with the ‘S’ curve.
Canon EOS 6D Mark II | Canon EF 50mm f/1.4 USM | f/5 | 1/800 | ISO 100
4. Overall tone and colour
What’s the overall intention of the image? Do you want a contrasted warm sunny vibe, or a softer, cooler and less contrasted image? Here’s where colour can play a strong role. You can control colour in a multitude of ways, whether through white balance, the RGB channels in curves or colour editors.
Sometimes, it helps to have a reference image, something you really resonate with, as your guide. This way, you can play around without getting too frustrated. So, having a visual guide can be helpful. It may not turn out exactly the same, but you could find something interesting through the process.
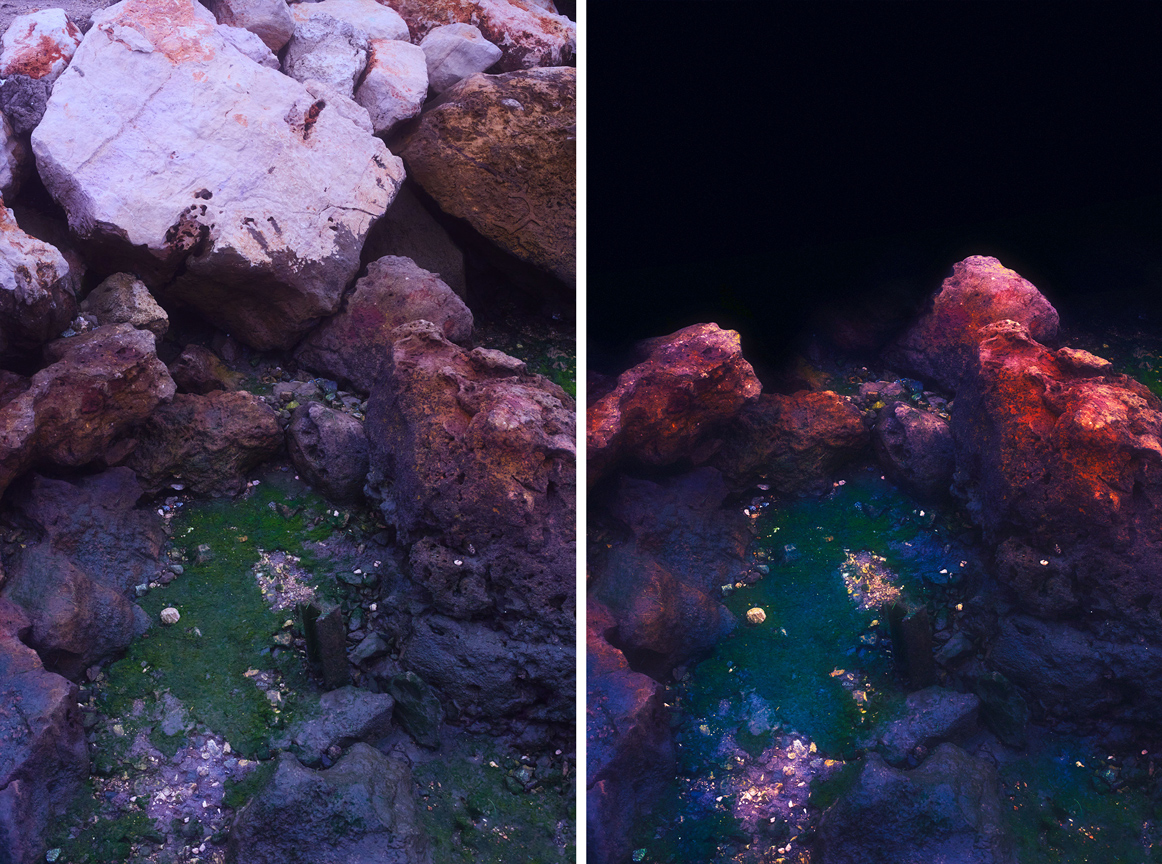
Canon EOS 6D | Canon EF 50mm f/1.8 II | f/8 | 1/160 | ISO 400 | Left: before editing | Right: after editing
Tips and tricks for processing RAW images
Last but not least, here are some beginner-friendly ways you can process your RAW images.
If you’re using Photoshop, play around with blending modes and opacity. Make a duplicate of your image and change the blending mode in your layer palette. This can be a really interesting and fun way to really apply effects to your image—in terms of colours, contrast and mood—without being destructive to the base image. Who doesn’t love layers? Change the opacity to see how the chosen blending mode looks when it's turned down a notch, sometimes just a little bit of the blending mode can be really effective.
If you’re using Capture One, play around with the colour editor and colour balance. They’re really nuanced and fun to use. In the colour balance, you can change the tone of the shadows, the midtones and the highlights. In the basic colour editor, you can change specific colours and their saturation, hue and brightness. And, in the advanced colour editor, you can ink-drop and change specific colours in your image. These options, combined, can be a very satisfying and creative tool to achieve a certain look.
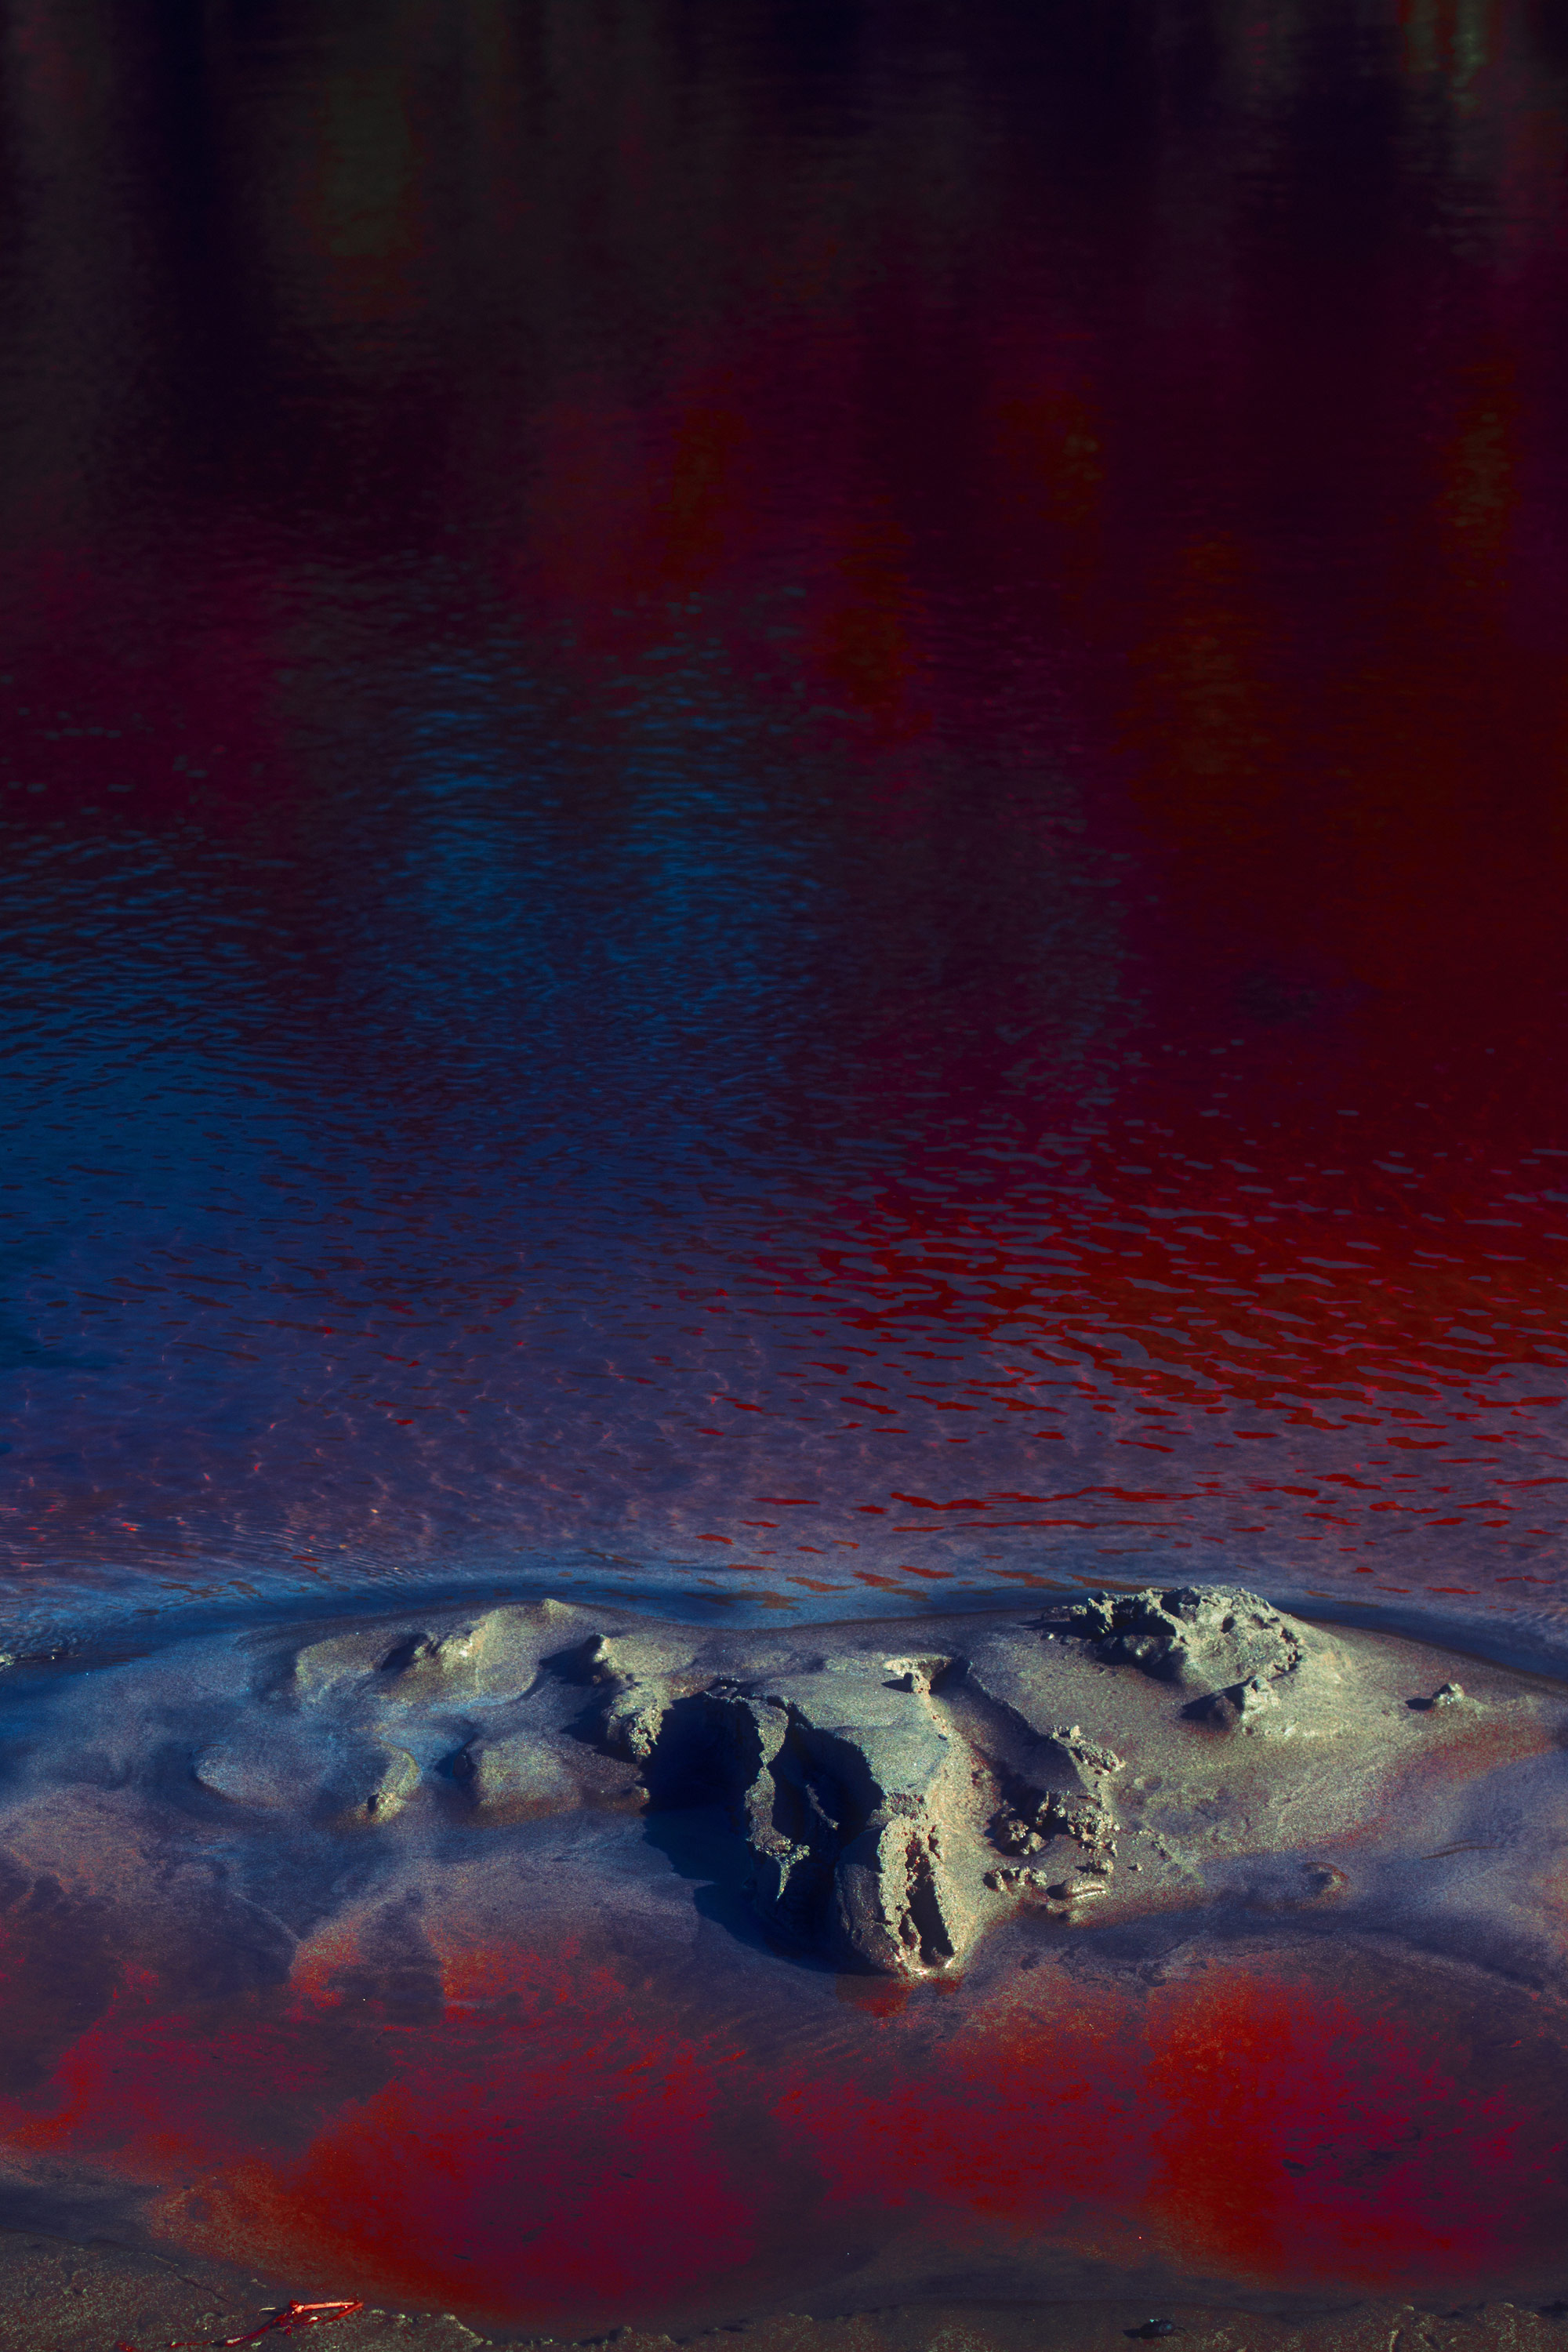
Canon EOS 6D Mark II | Canon EF 50mm f/1.4 USM | f/5 | 1/640 | ISO 100
Useful filters and plug-ins for a vintage look
A popular goal in image editing is to create a vintage look in digital images, making them look like they were taken with an analogue camera.
First, find some images you love and then emulate them. This is how you learn. Look and copy, but then find your own voice and hone your own style.
You can emulate analogue film shots using plugins and manual tweaking. For Lightroom and Photoshop, you can use the ‘grain’ slider to replicate film grain in your images. Or, you can purchase DXO Photolab, a helpful filter for achieving analogue looks. For Capture One, there is a plugin called RNI—which stands for Really Nice Images—mimicking the aesthetic of countless film stocks.
If you don’t have these filters and plugins, train your eye to understand the difference and what makes a certain aesthetic special. Is there a high contrast or low contrast? Are the blacks dark or light? What about the highlights? Are the blues based in purple or cyan? Is there a pinky-green cast over the image, like in Kodak Portra? Or deep, rich block colours, like in Fujifilm Provia? This way, you can start to get a sense of what you like.
Canon EOS 6D Mark II | Canon EF 50mm f/1.4 USM | f/8 | 1/4000 | ISO 800
As with most subjects in photography, it's important to just try things out, imitate photos you like and gradually find your own style. Hopefully, the advice in this article will help you get started.
Read more tips and techniques on the MPB content hub.
You can sell or trade your camera kit to MPB. Get a free instant quote, free insured shipping to MPB, and get paid within days.