Learn: Top 8 Types of Portrait Lighting
Published 20 December 2024 by MPB
Good lighting is essential for creating professional portraits that bring out the best in your subjects. The setup and positioning of your lighting dramatically affect the look, feel and mood of a portrait. With some basic lighting equipment and an understanding of lighting placement fundamentals, you can create beautiful, sculpted light that flatters your subjects.
In this article, you will learn about portrait lighting from Kaylah Sambo, a New York City-based photographer and member of Black Women Photographers, an organisation that highlights the work of Black women visual artists. This in-depth guide will cover:
Broad and Short Lighting
Butterfly Lighting
Rembrandt Lighting
Split Lighting
Loop Lighting
Rim Light
Catch Light
Hair Light
Over to you, Kaylah.
Kaylah Sambo | type: entry-hyperlink id: nQpEZsnBscJBFiqM0GcK7 | XCD type: entry-hyperlink id: 63tA9MlnOsZewUpdMZAyl3 | 80mm | f/3.5 | 1/200 | ISO 400
The Fundamentals
Lighting is one of the most important parts of photography. By understanding the fundamentals of lighting, you can elevate your work. Through lighting, you can create a mood, develop a style and support your narrative.
Understanding Lighting
Decide the story you want to tell before considering your lighting setup. Split lighting creates a sinister mood while butterfly lighting makes for a romantic vibe.
How you use your gear is more important than the gear itself. Photographic styles don't come from a brand. While developing my photographic style, I found I tend to use loop and butterfly lighting. I photograph people to connect them to the viewer and my subjects are often well lit in soft lighting. With my photography, I often use Profoto lights with large diffusers, like umbrellas, octoboxes and scrims. These lighting techniques can be achieved with a variety of lights.
Kaylah Sambo | Hasselblad X1D-50c | XCD 80mm f/1.9 | 80mm | f/4 | 1/250 | ISO 400
8 Types of Portrait Lighting
Broad and Short Lighting
Broad and short lighting are two types of side lighting. With broad lighting, your subject’s face is well-lit and angled toward the camera. Short lighting is the opposite, with your subject’s face being mostly in shadow.
The best way to try broad and short lighting is by setting up one light and moving your subject. Bring your light source level with your subject and between a 34–45 degree angle from their centre. For broad lighting, have your subject turn toward the light. For short lighting, have them turn in the opposite direction.
Kaylah Sambo | Hasselblad X1D-50c | XCD 80mm f/1.9 | 80mm | f/3.5 | 1/250 | ISO 400
Butterfly Lighting
You can achieve butterfly lighting by creating a shadow under the subject’s nose. The term 'butterfly lighting' comes from this shadow.
To set up butterfly lighting, place your light directly in front of your subject. From there, raise the light above your subject and angle it down toward your subject.
Kaylah Sambo | Hasselblad X1D-50c | XCD 80mm f/1.9 | 80mm | f/4 | 1/250 | ISO 400
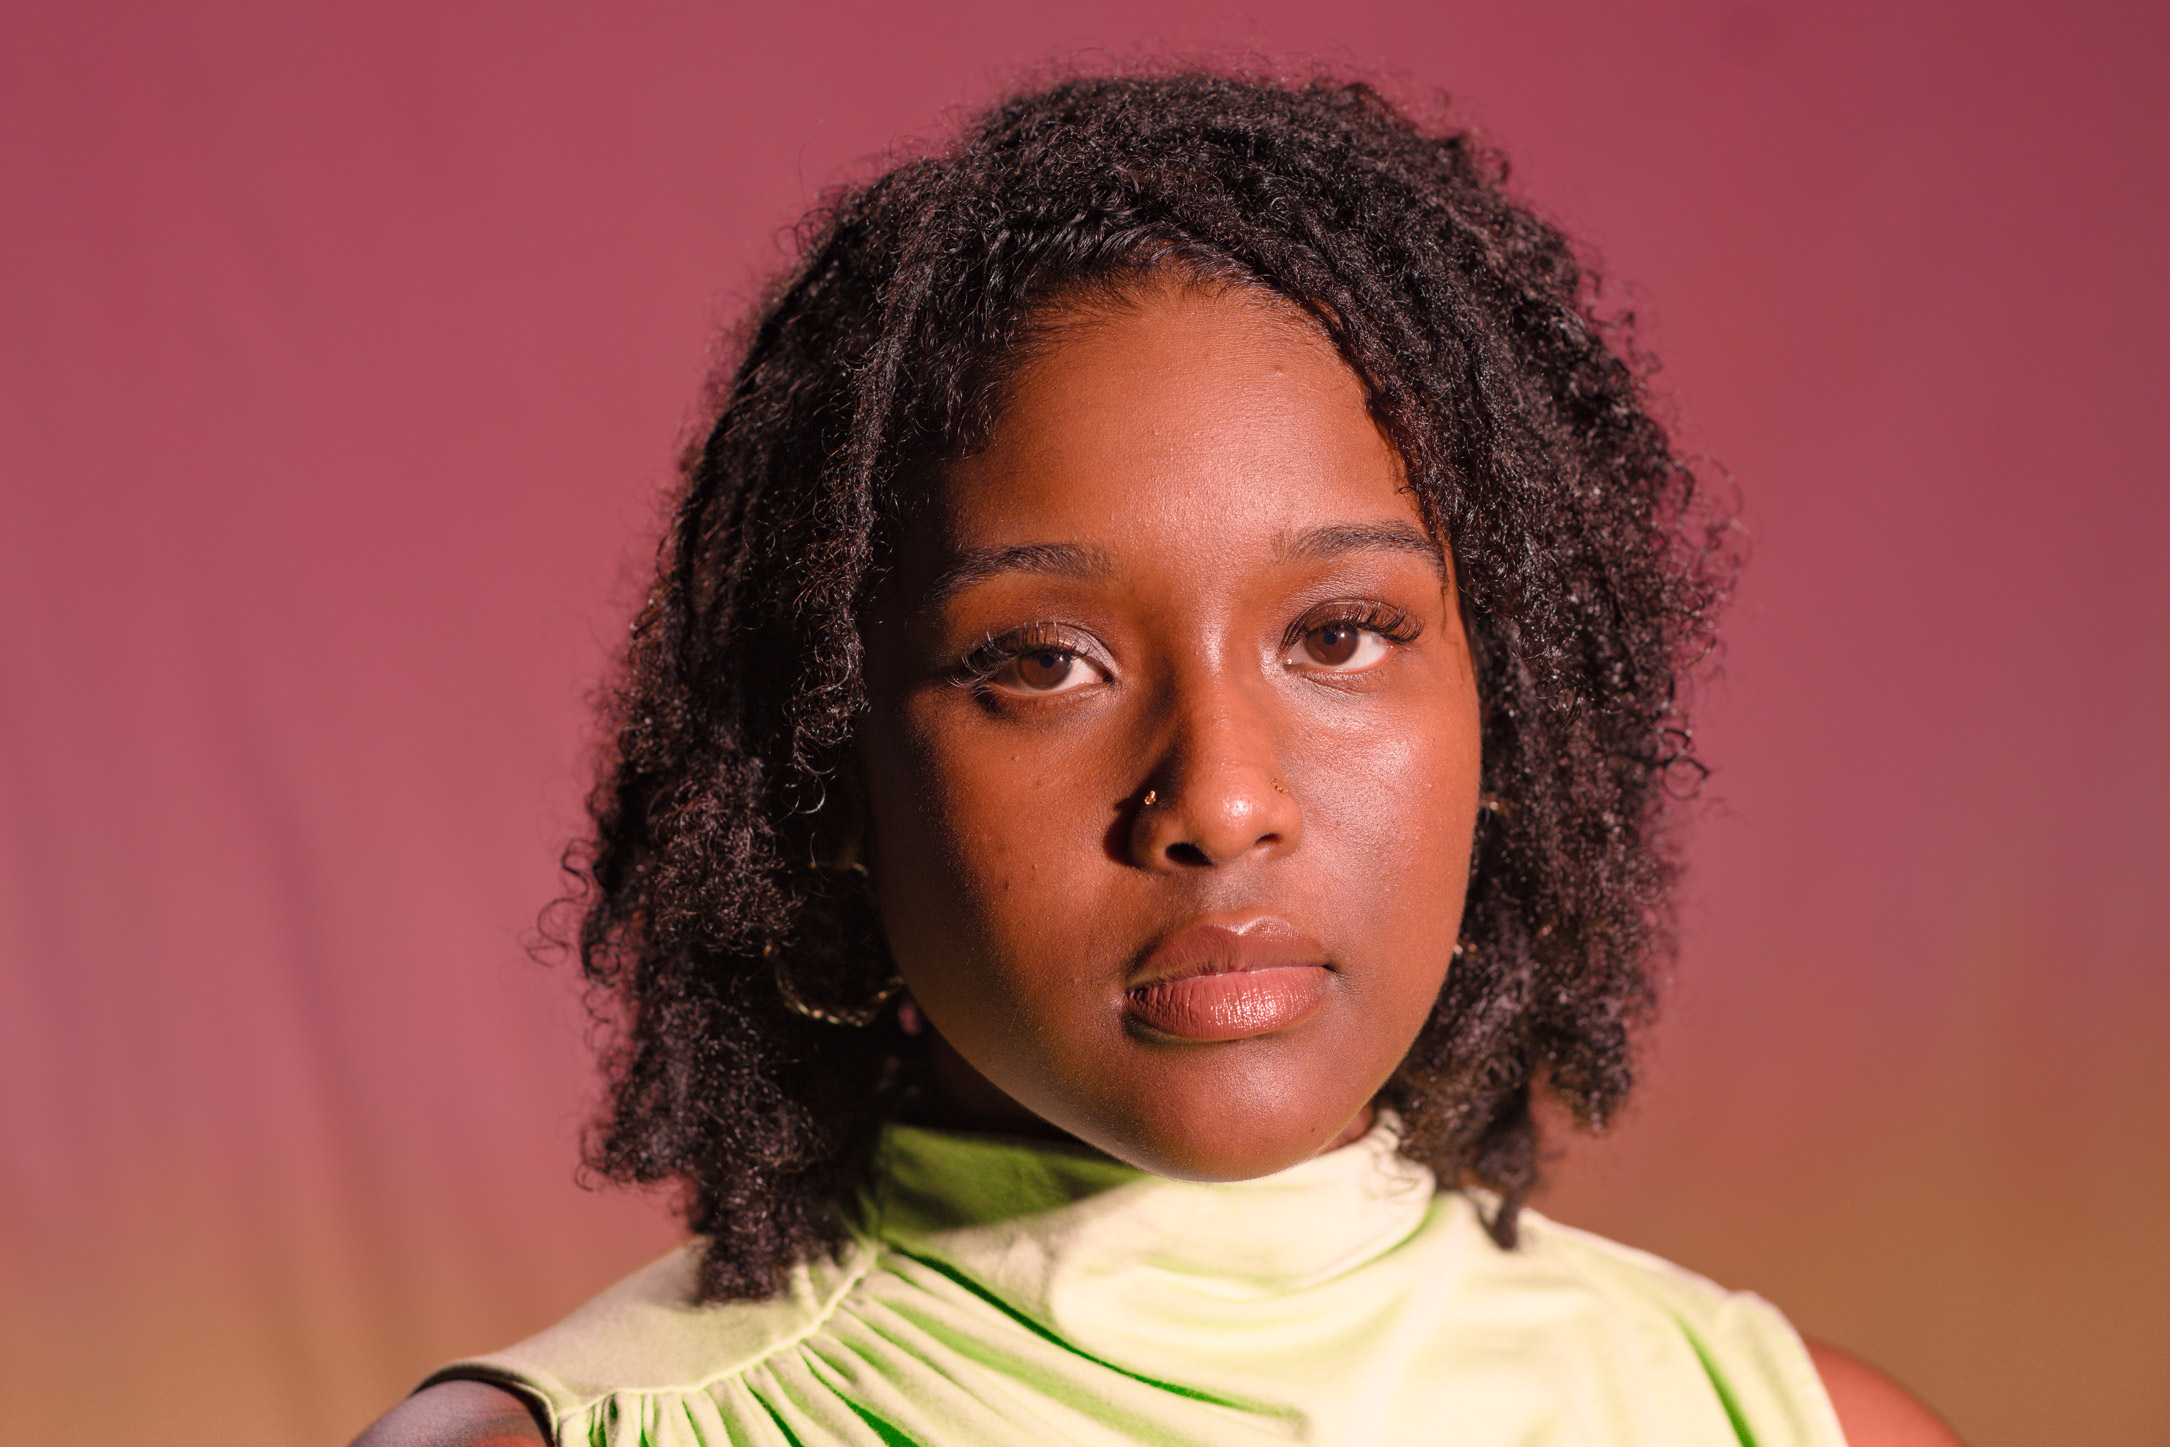
Rembrandt Lighting
You can achieve Rembrandt lighting by creating a triangle shape under the eye of your subject on the shadow side of their face. This lighting is classic and is a namesake from the 17th-century Dutch painter, Rembrandt. This lighting creates a dramatic feeling.
To set up Rembrandt lighting, pull your light about 20 degrees to the side of your subject's face and raise it slightly. Because everyone's nose is different, start with the light in this position and adjust as needed. For shorter noses, for example, you may need to move the light to 25 degrees.
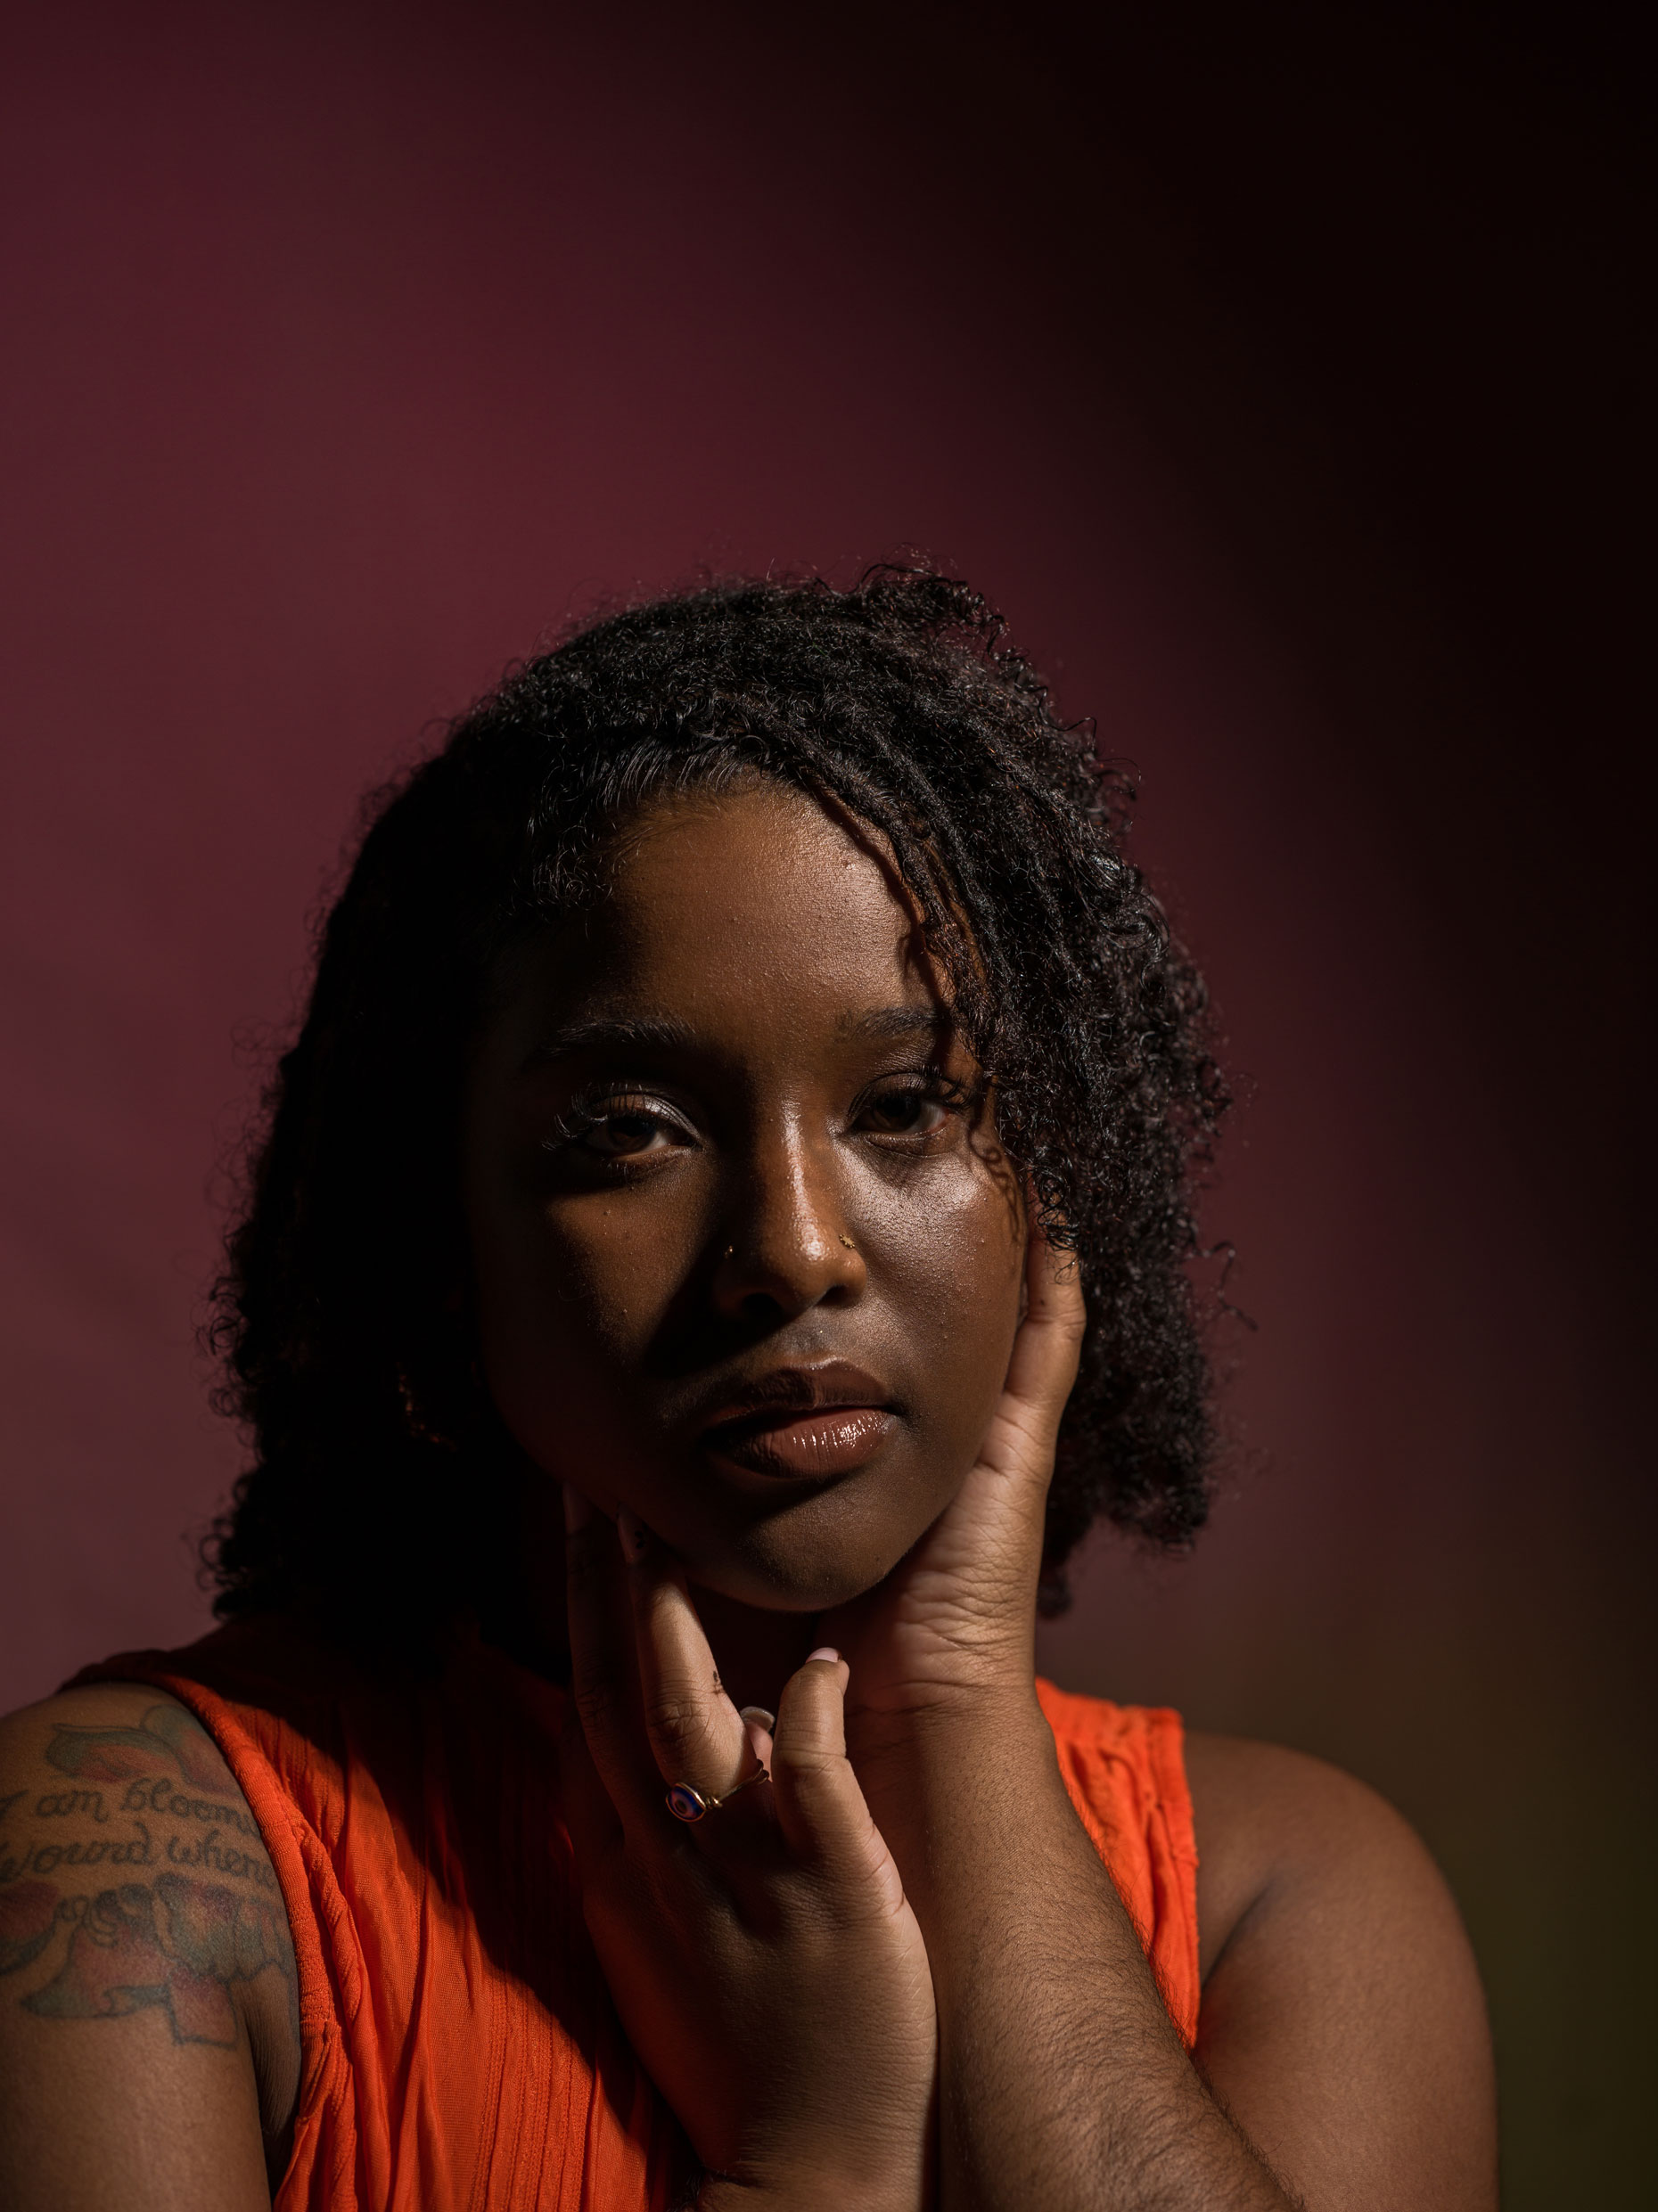
Kaylah Sambo | Hasselblad X1D-50c | XCD 80mm f/1.9 | 80mm | f/4 | 1/250 | ISO 400
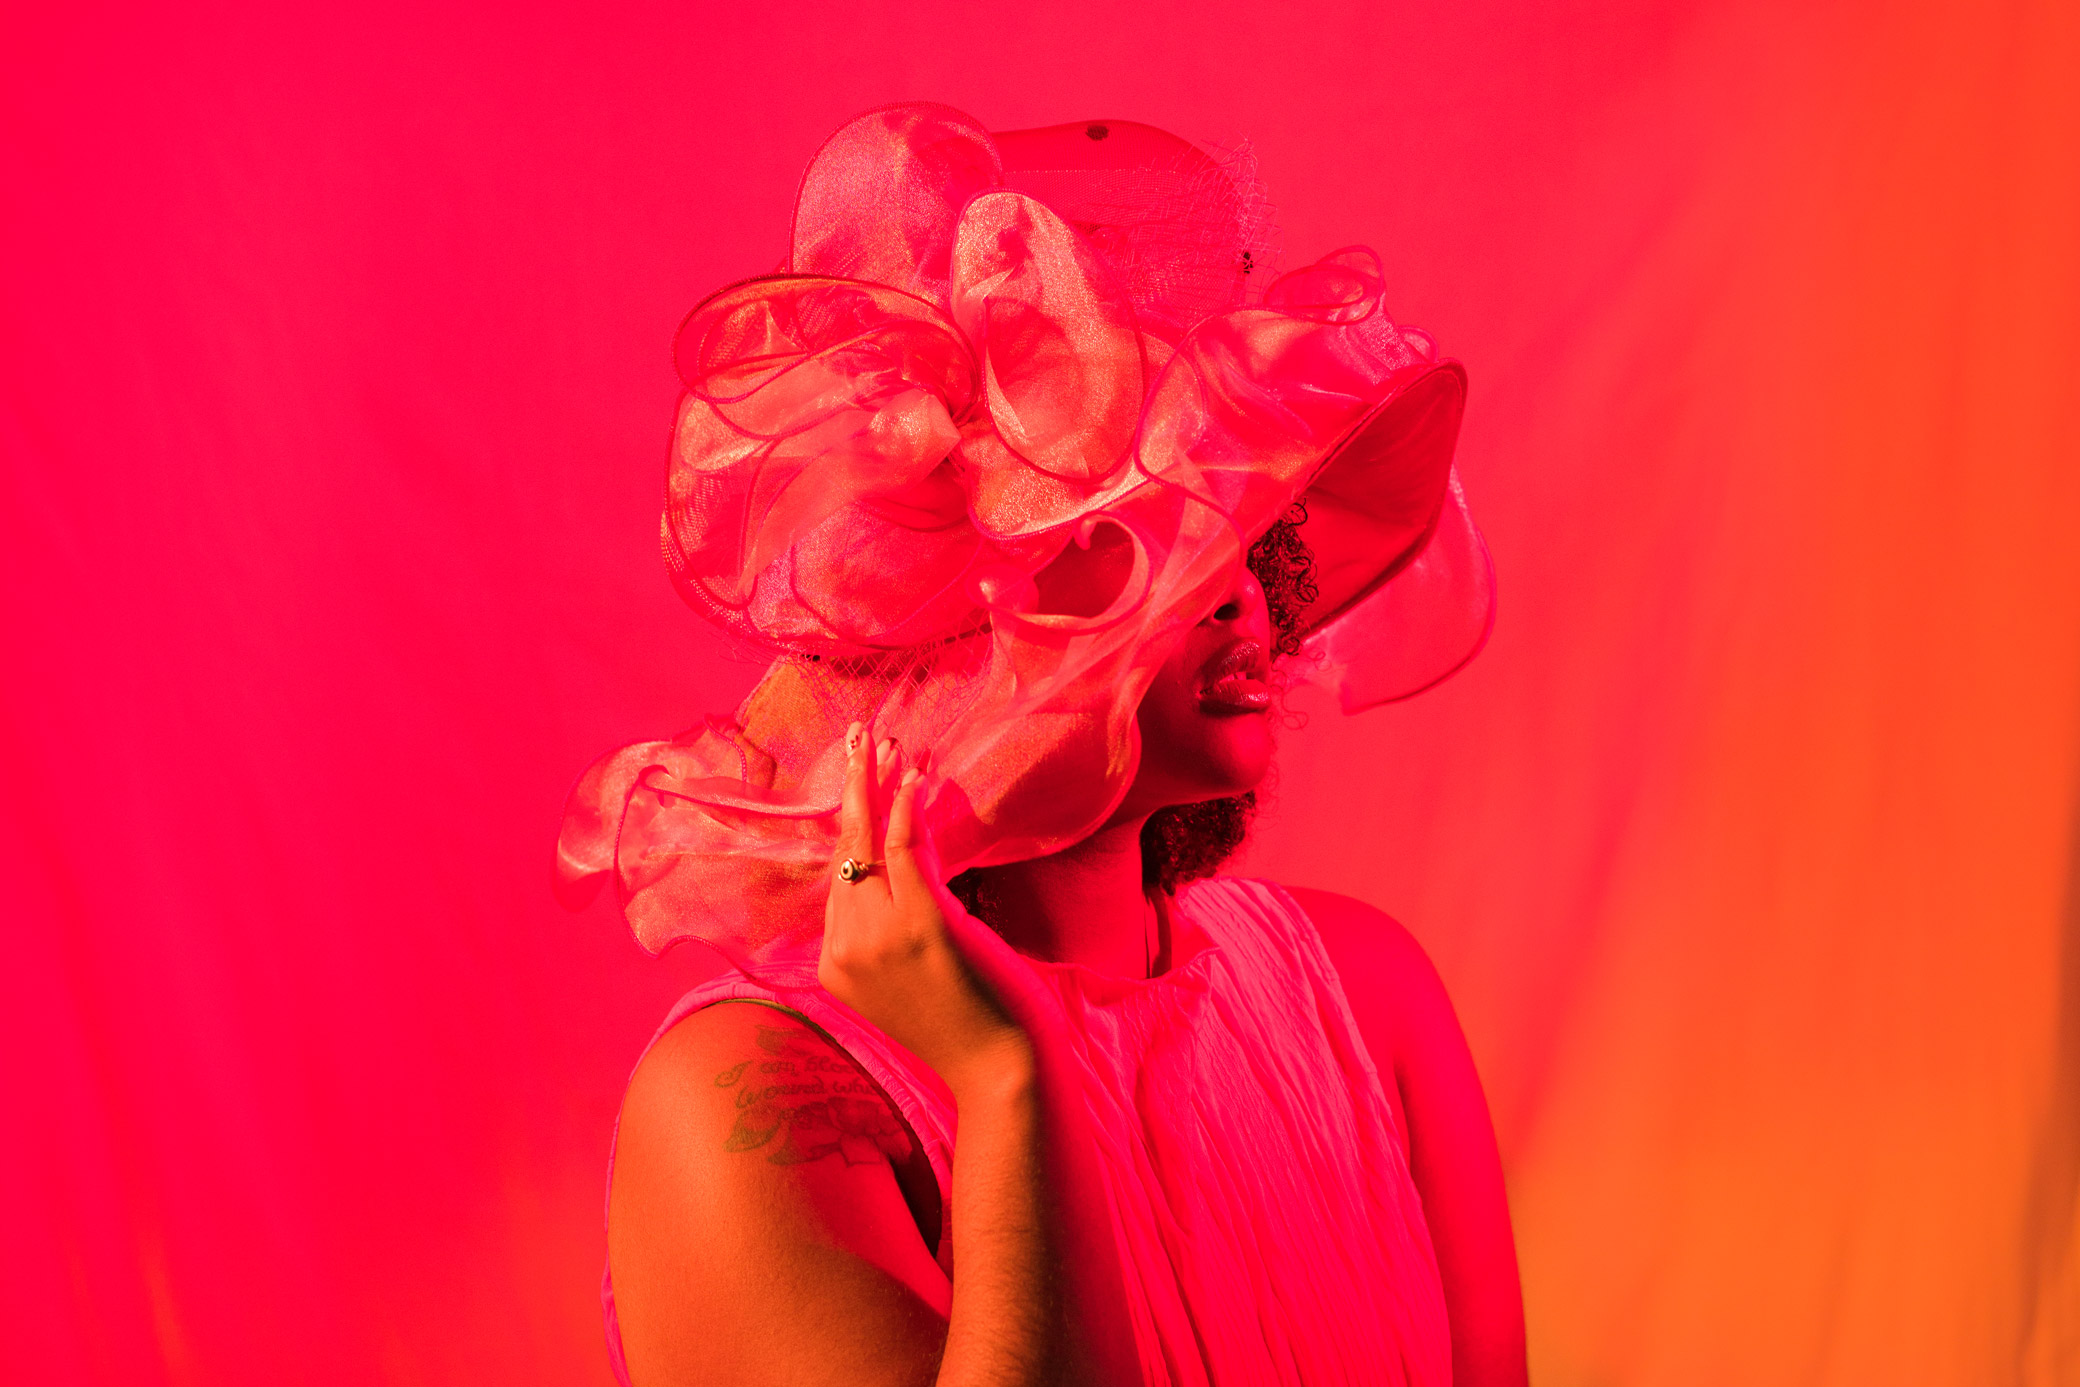
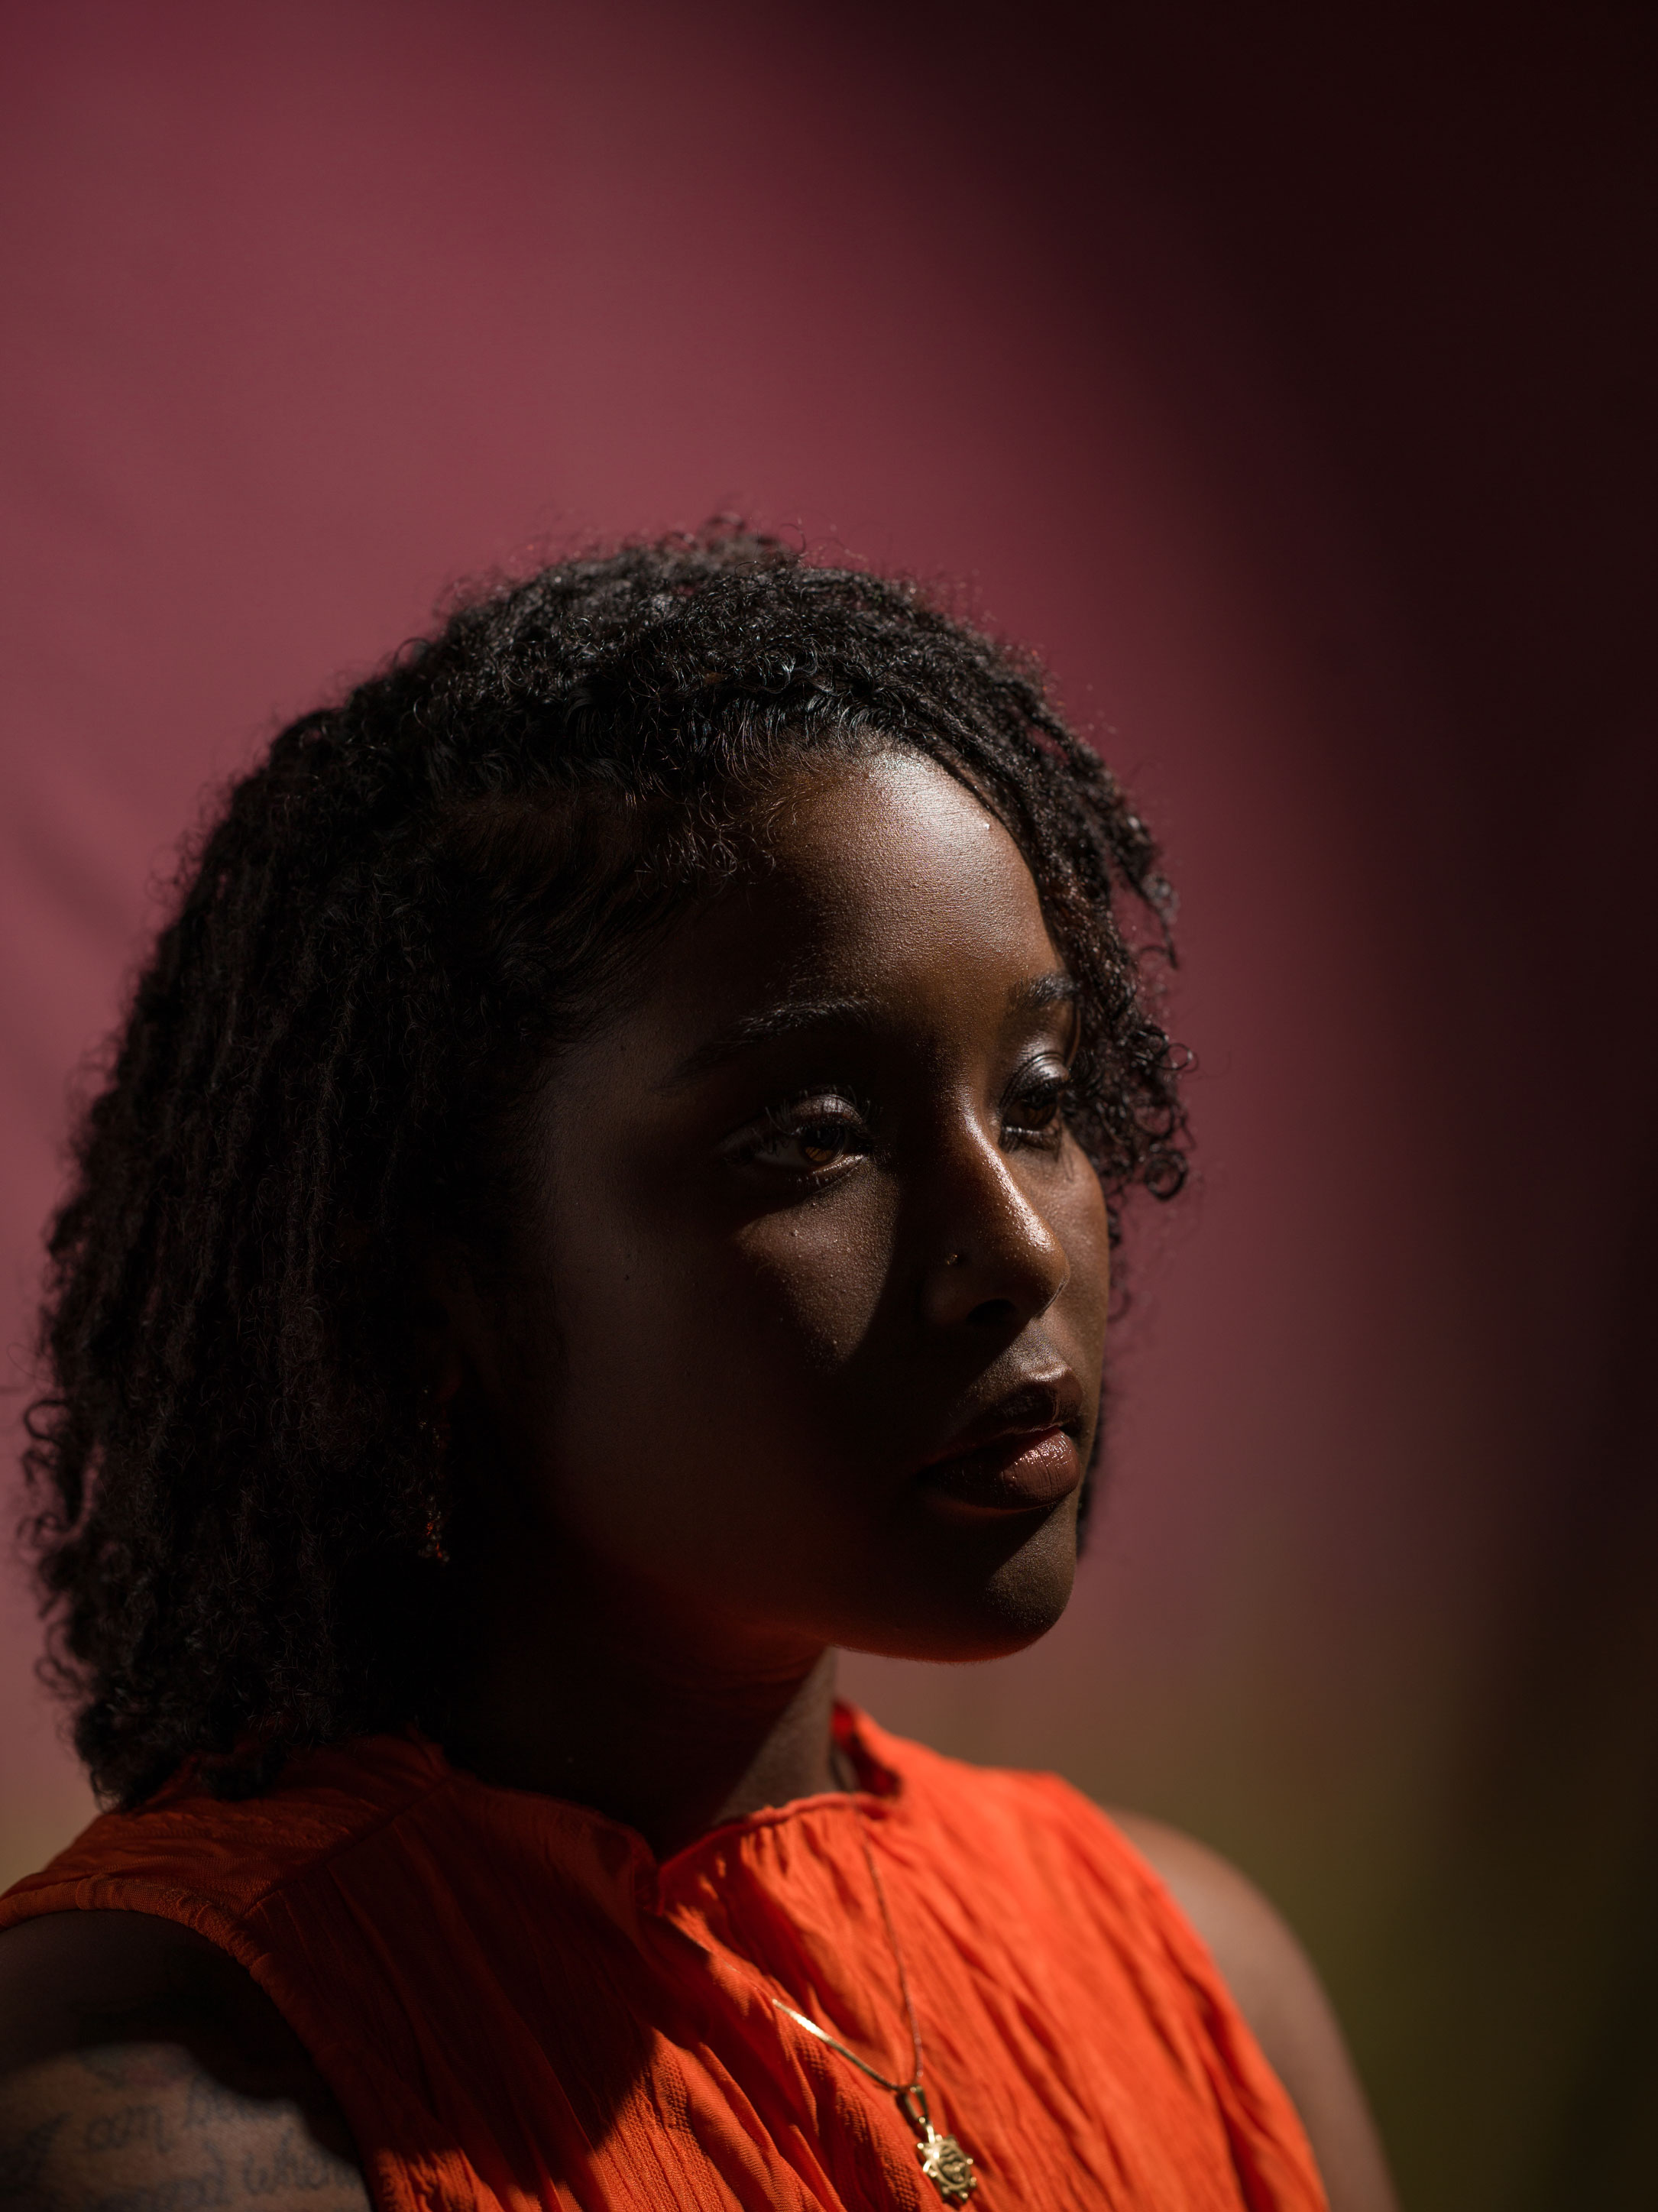
Split Lighting
Split lighting lights only half of your subject’s face, while the other half falls into deep shadow. This lighting is very dramatic and greatly supports intense stories.
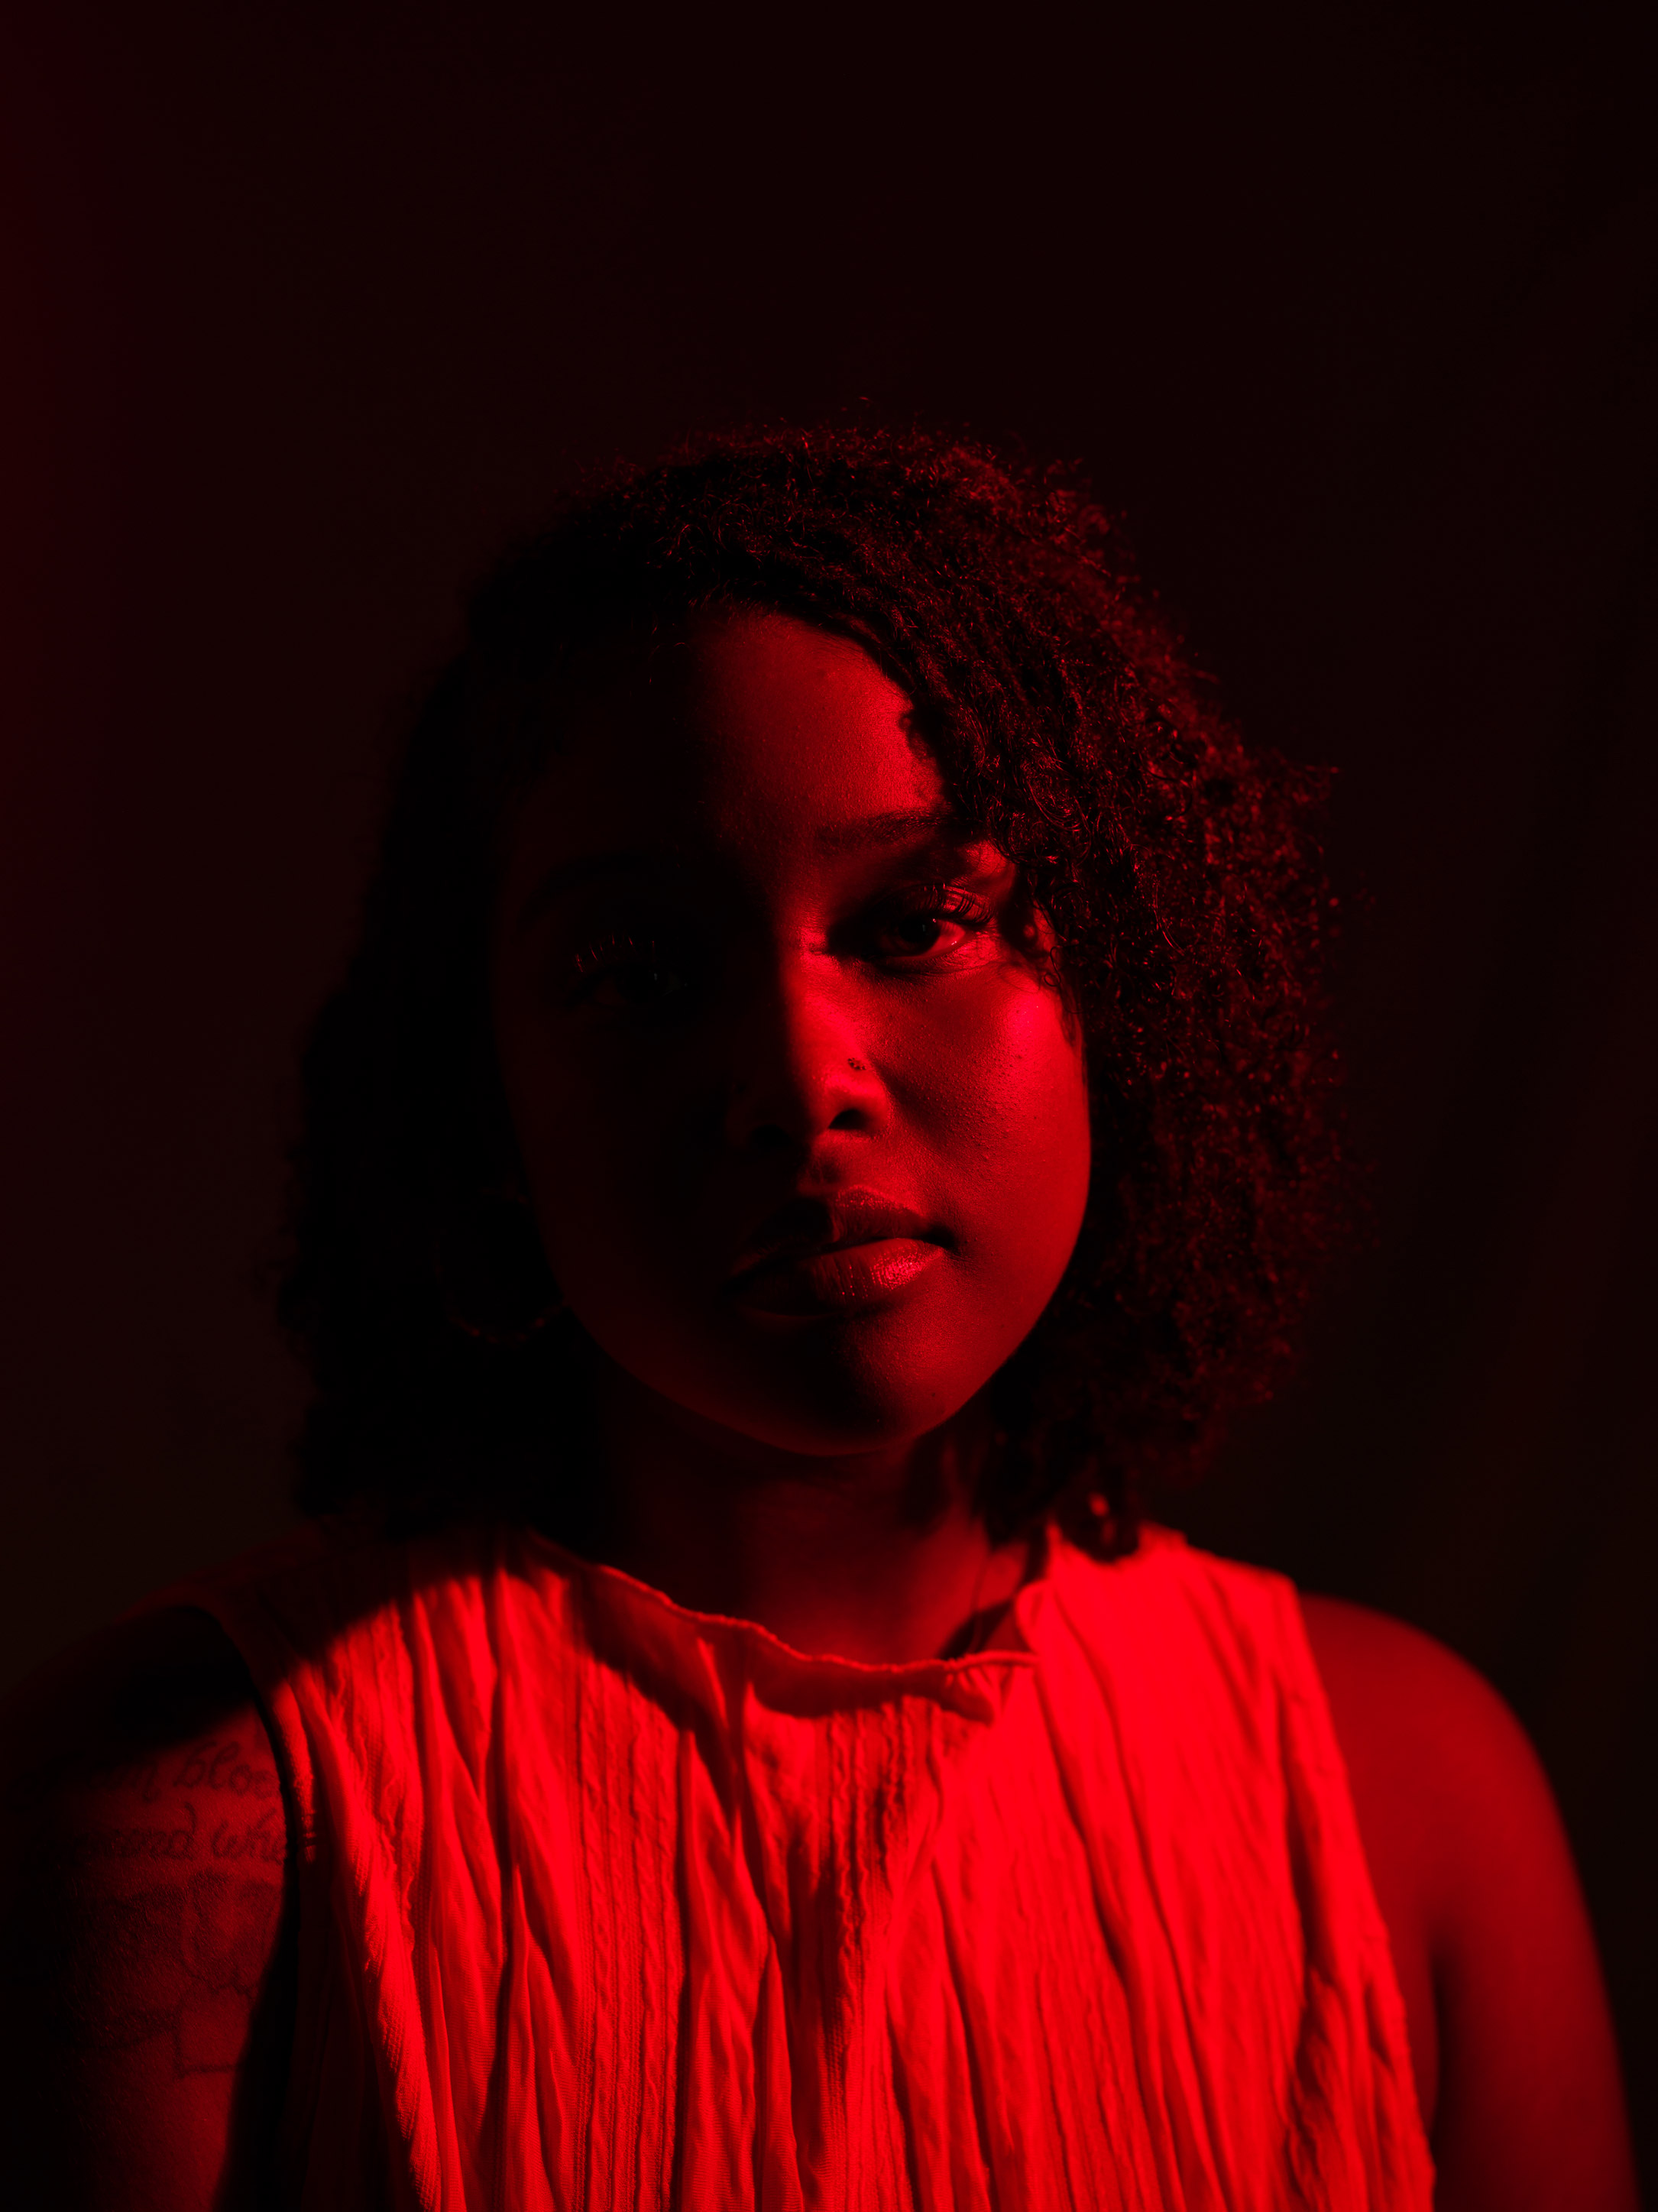
Kaylah Sambo | Hasselblad X1D-50c | XCD 80mm f/1.9 | 80mm | f/3.5 | 1/200 | ISO 400
To set up split lighting, bring your light 90 degrees from your subject and camera. To have fun with it, add a second light to the opposite side and add gels to both. This is still considered split or side lighting, but it drastically changes the mood of the set.
Kaylah Sambo | Hasselblad X1D-50c | XCD 80mm f/1.9 | 80mm | f/3.5 | 1/200 | ISO 1600
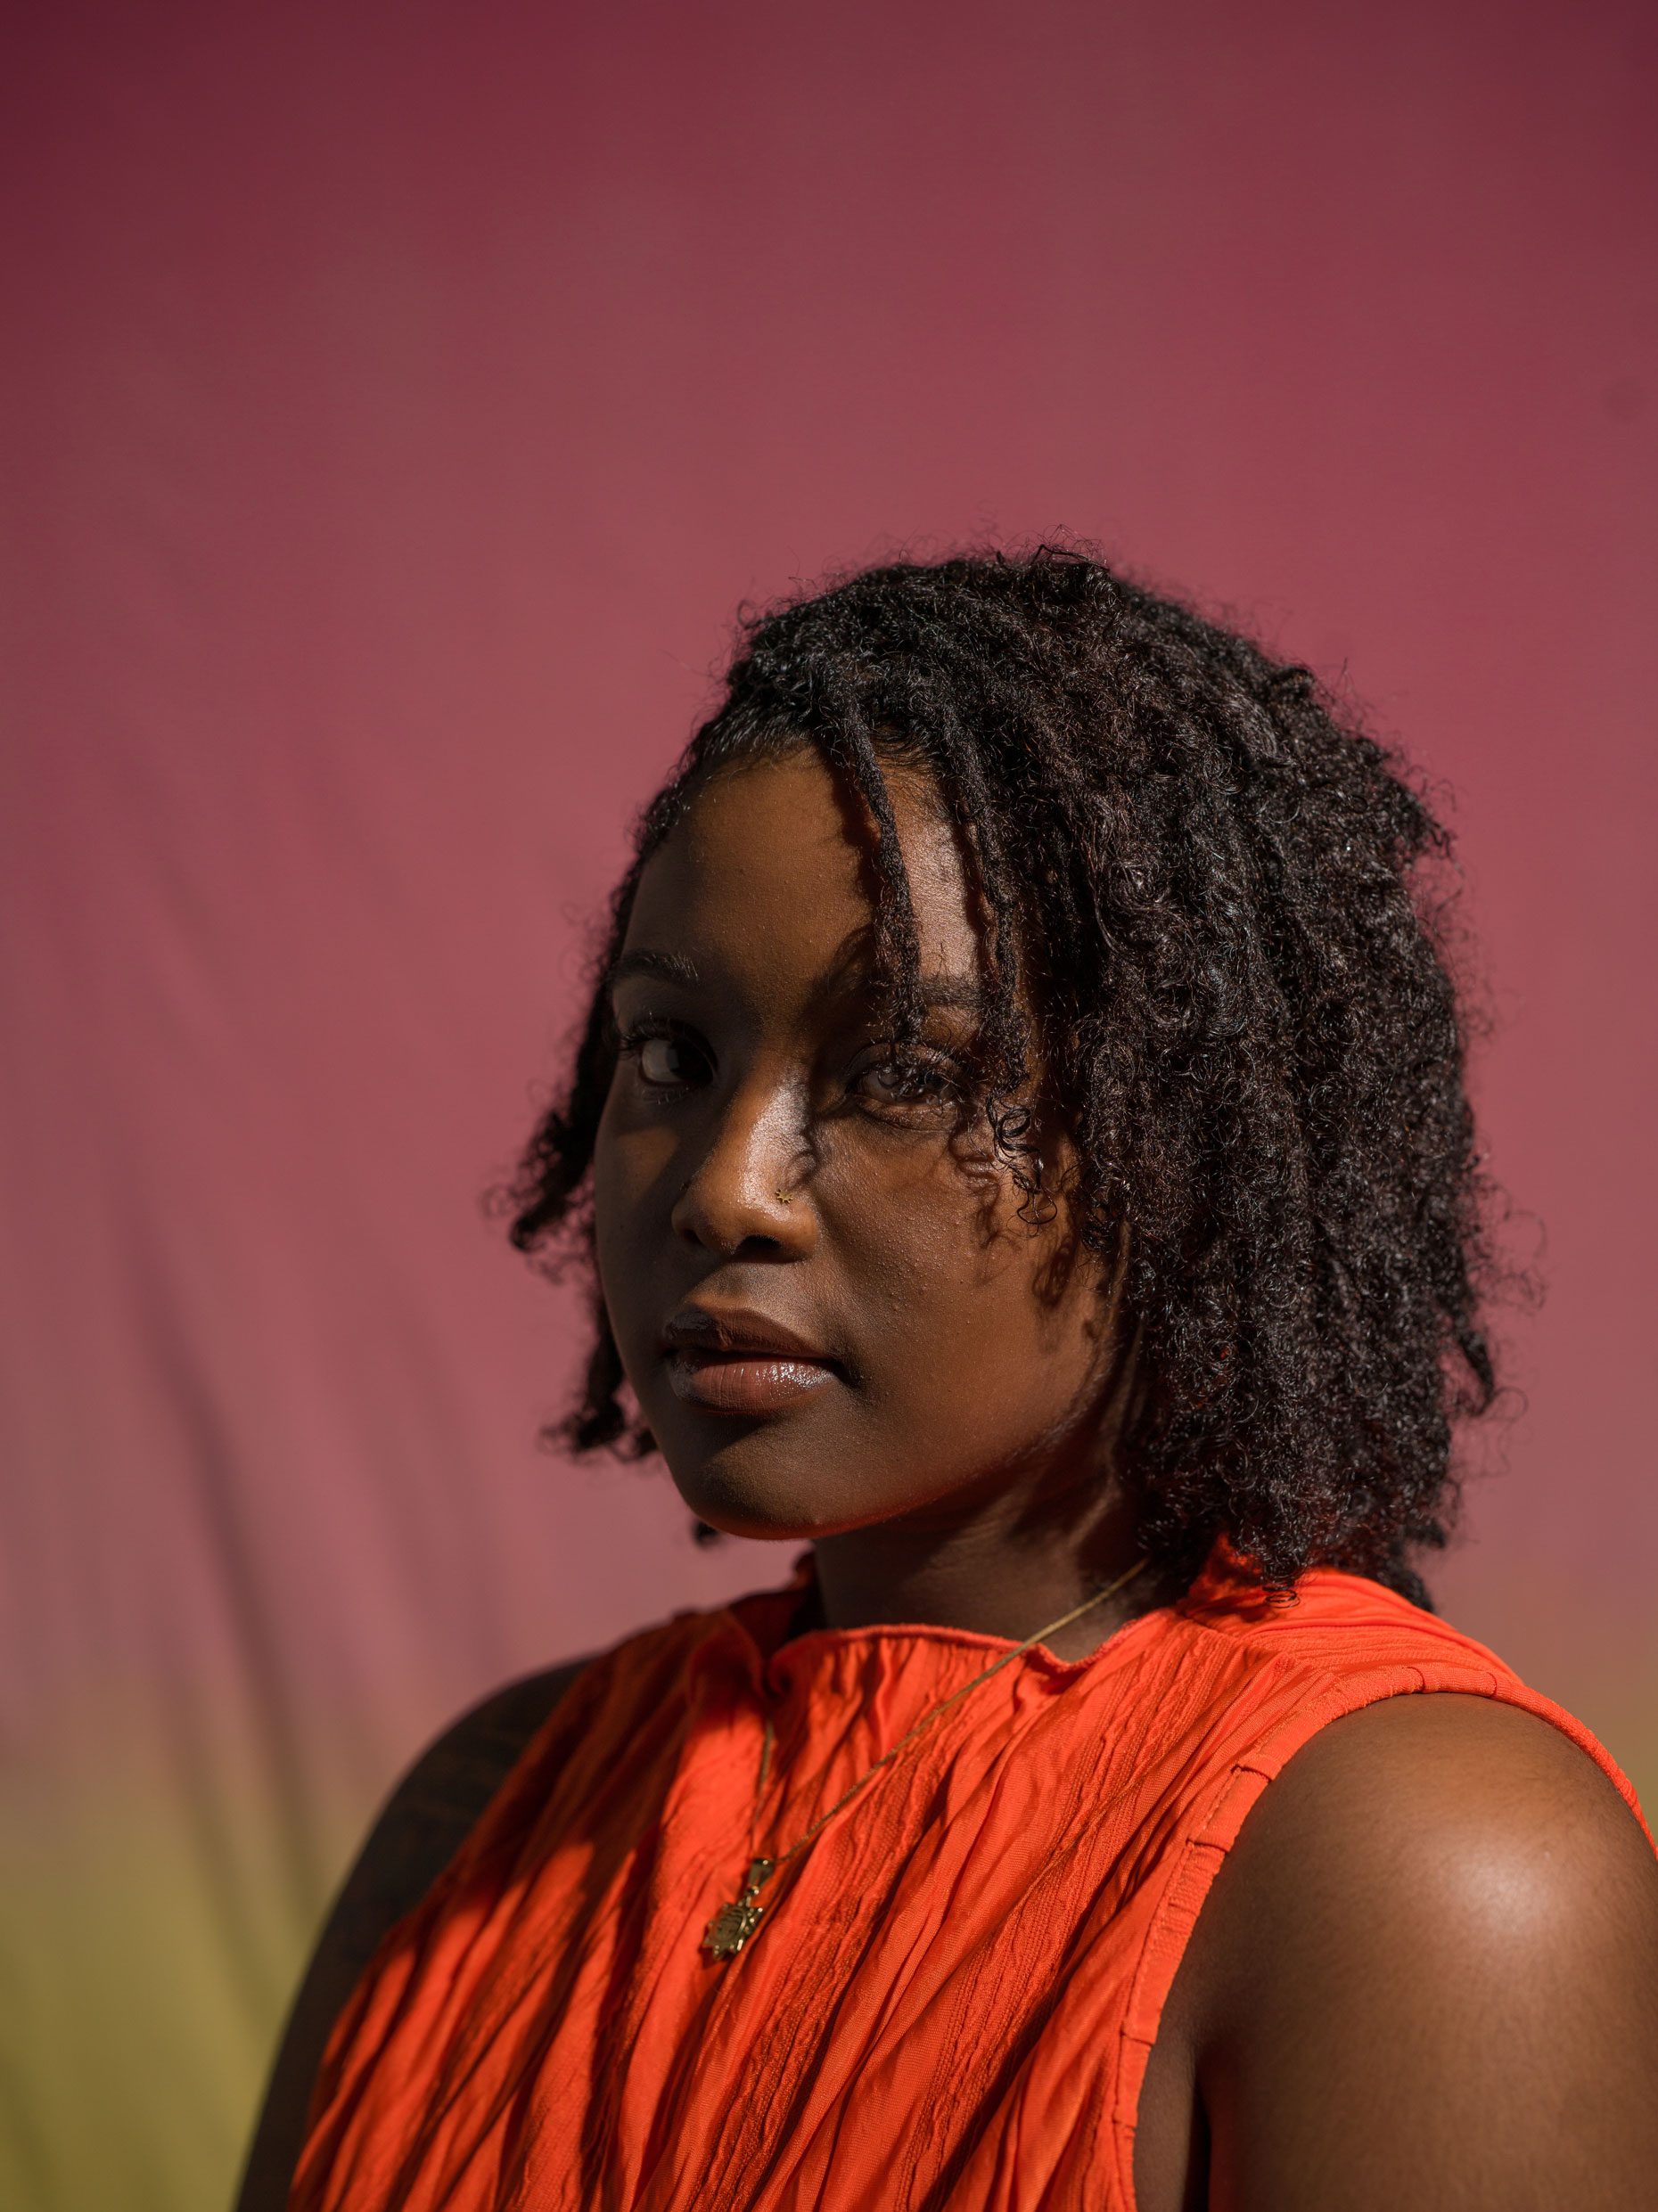
Loop Lighting
Loop lighting creates a shadow under the nose on the side of the face. Along with butterfly lighting, I use loop lighting the most. Loop lighting wraps around the face beautifully for a flattering effect.
To set up loop lighting, place your light 45 degrees to the side of your subject and raise it slightly above your subject.
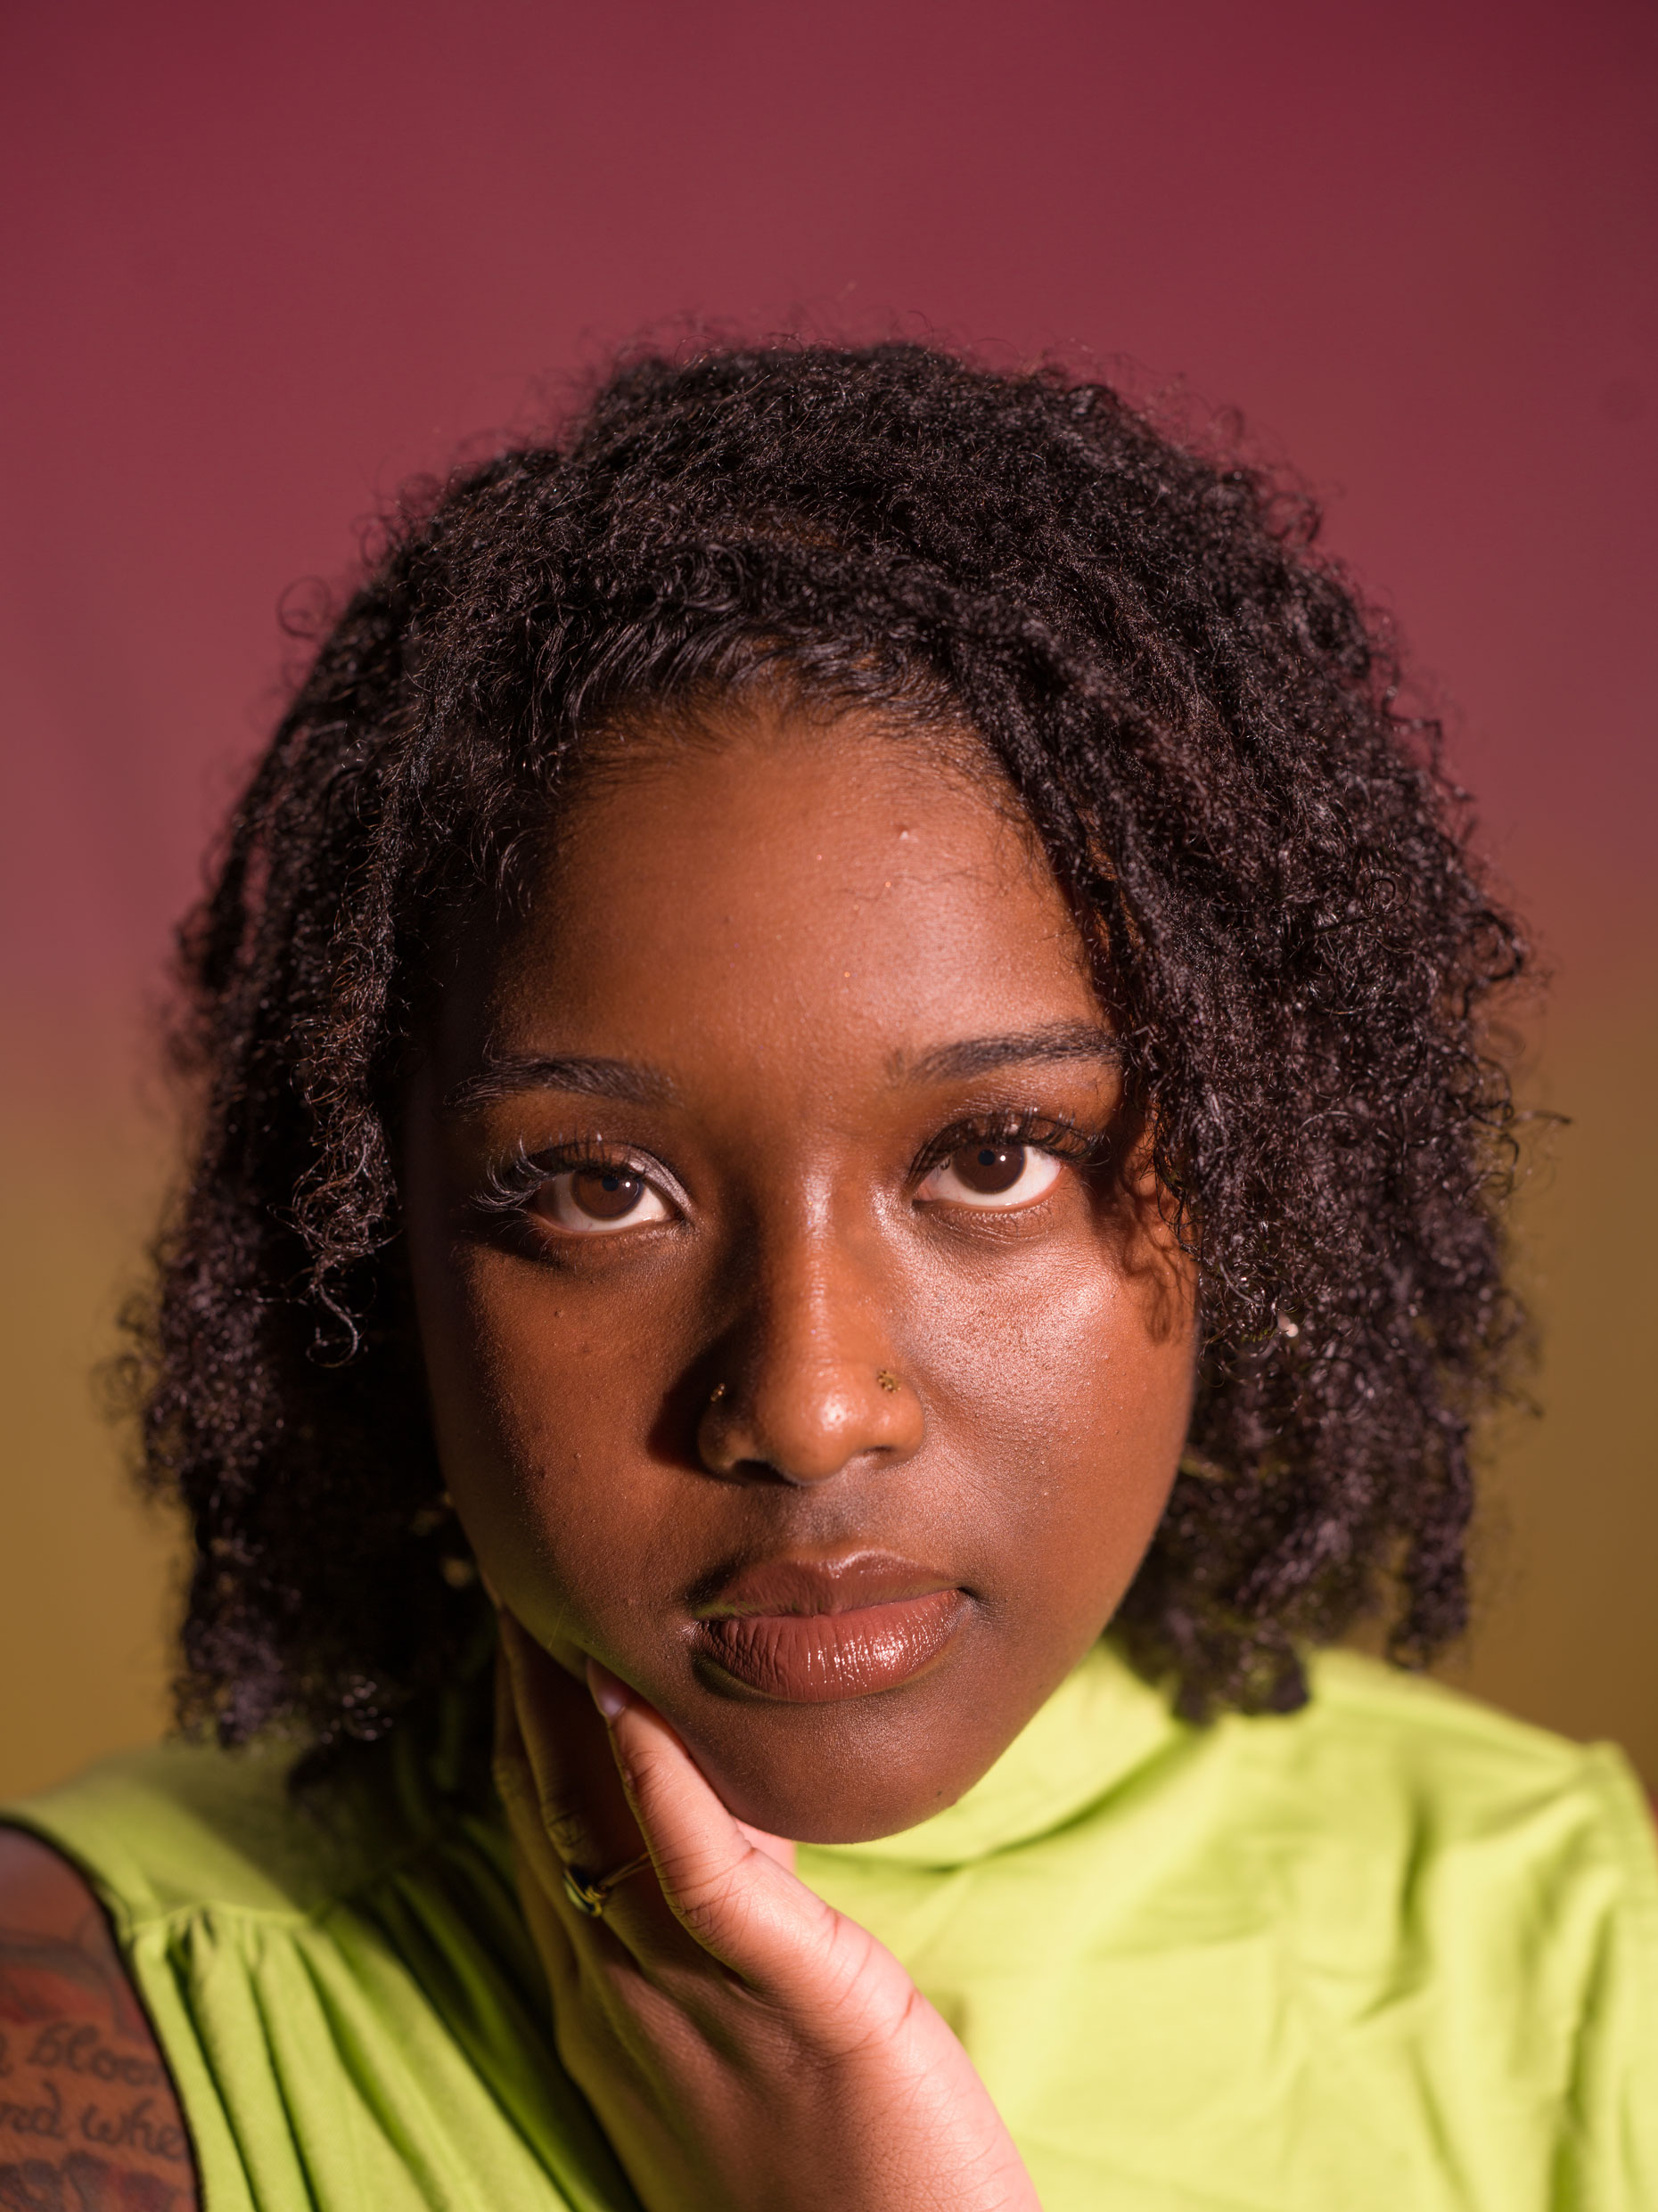
Kaylah Sambo | Hasselblad X1D-50c | XCD 80mm f/1.9 | 80mm | f/3.5 | 1/200 | ISO 1600
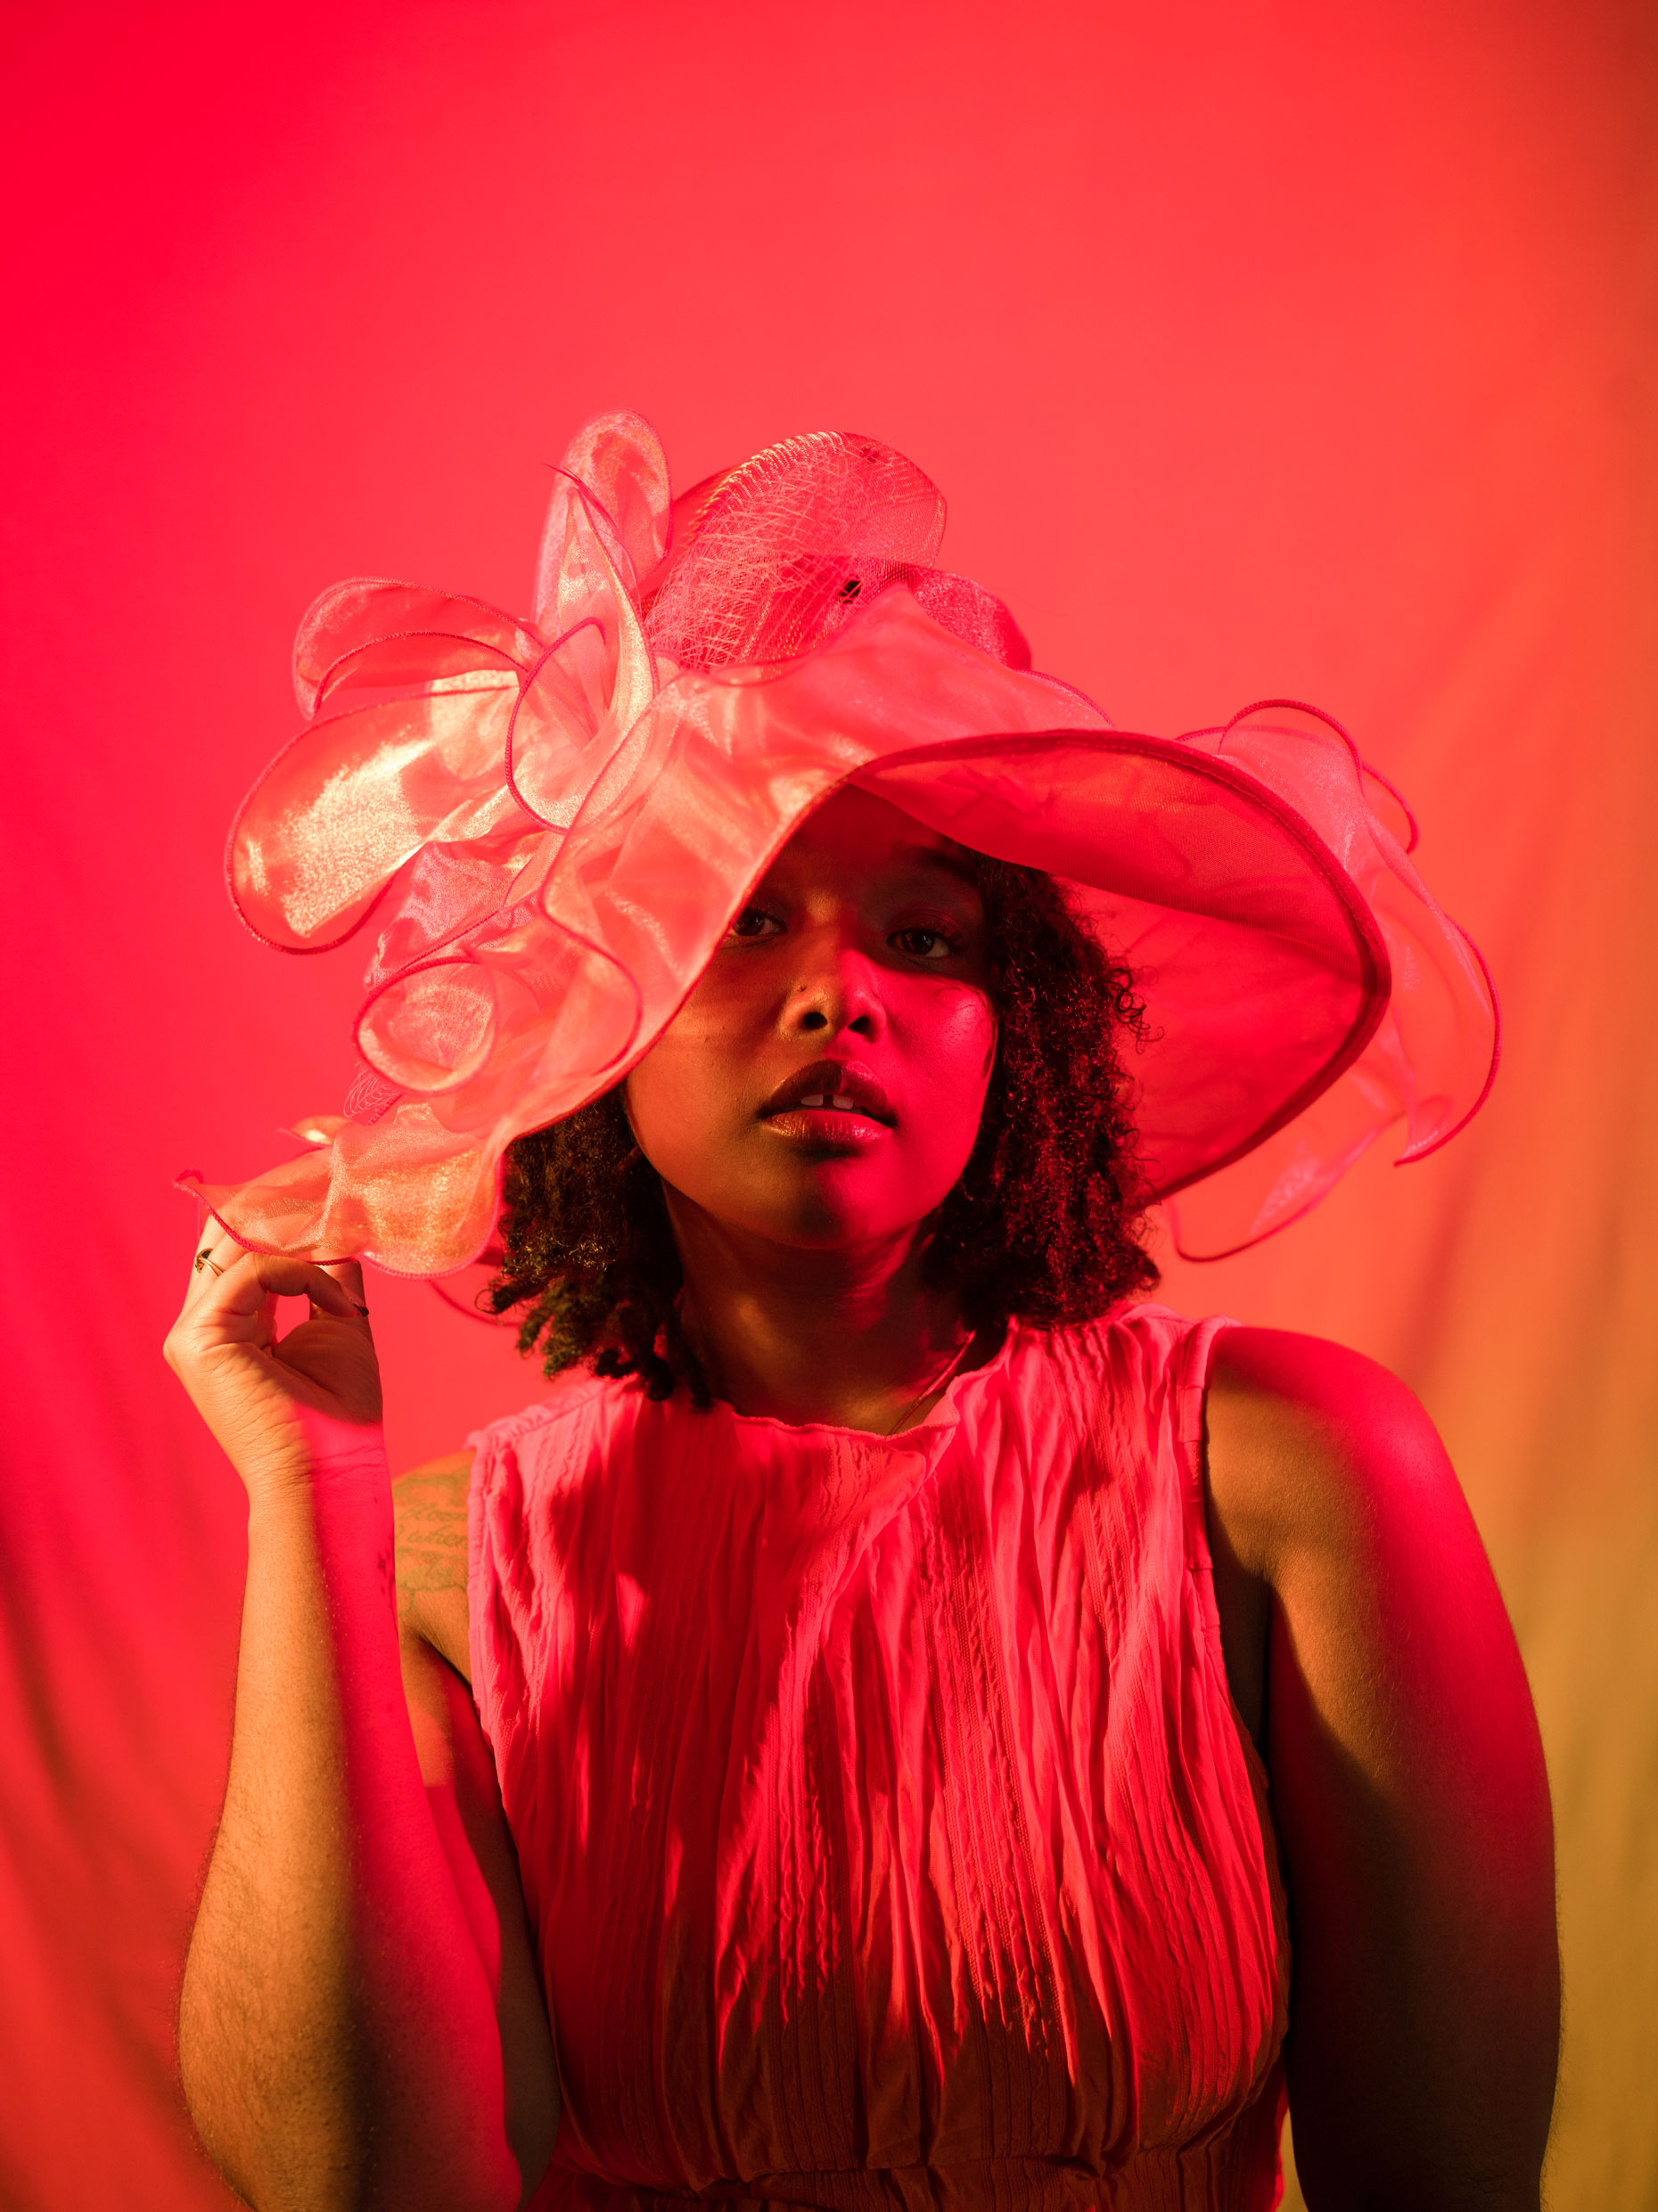
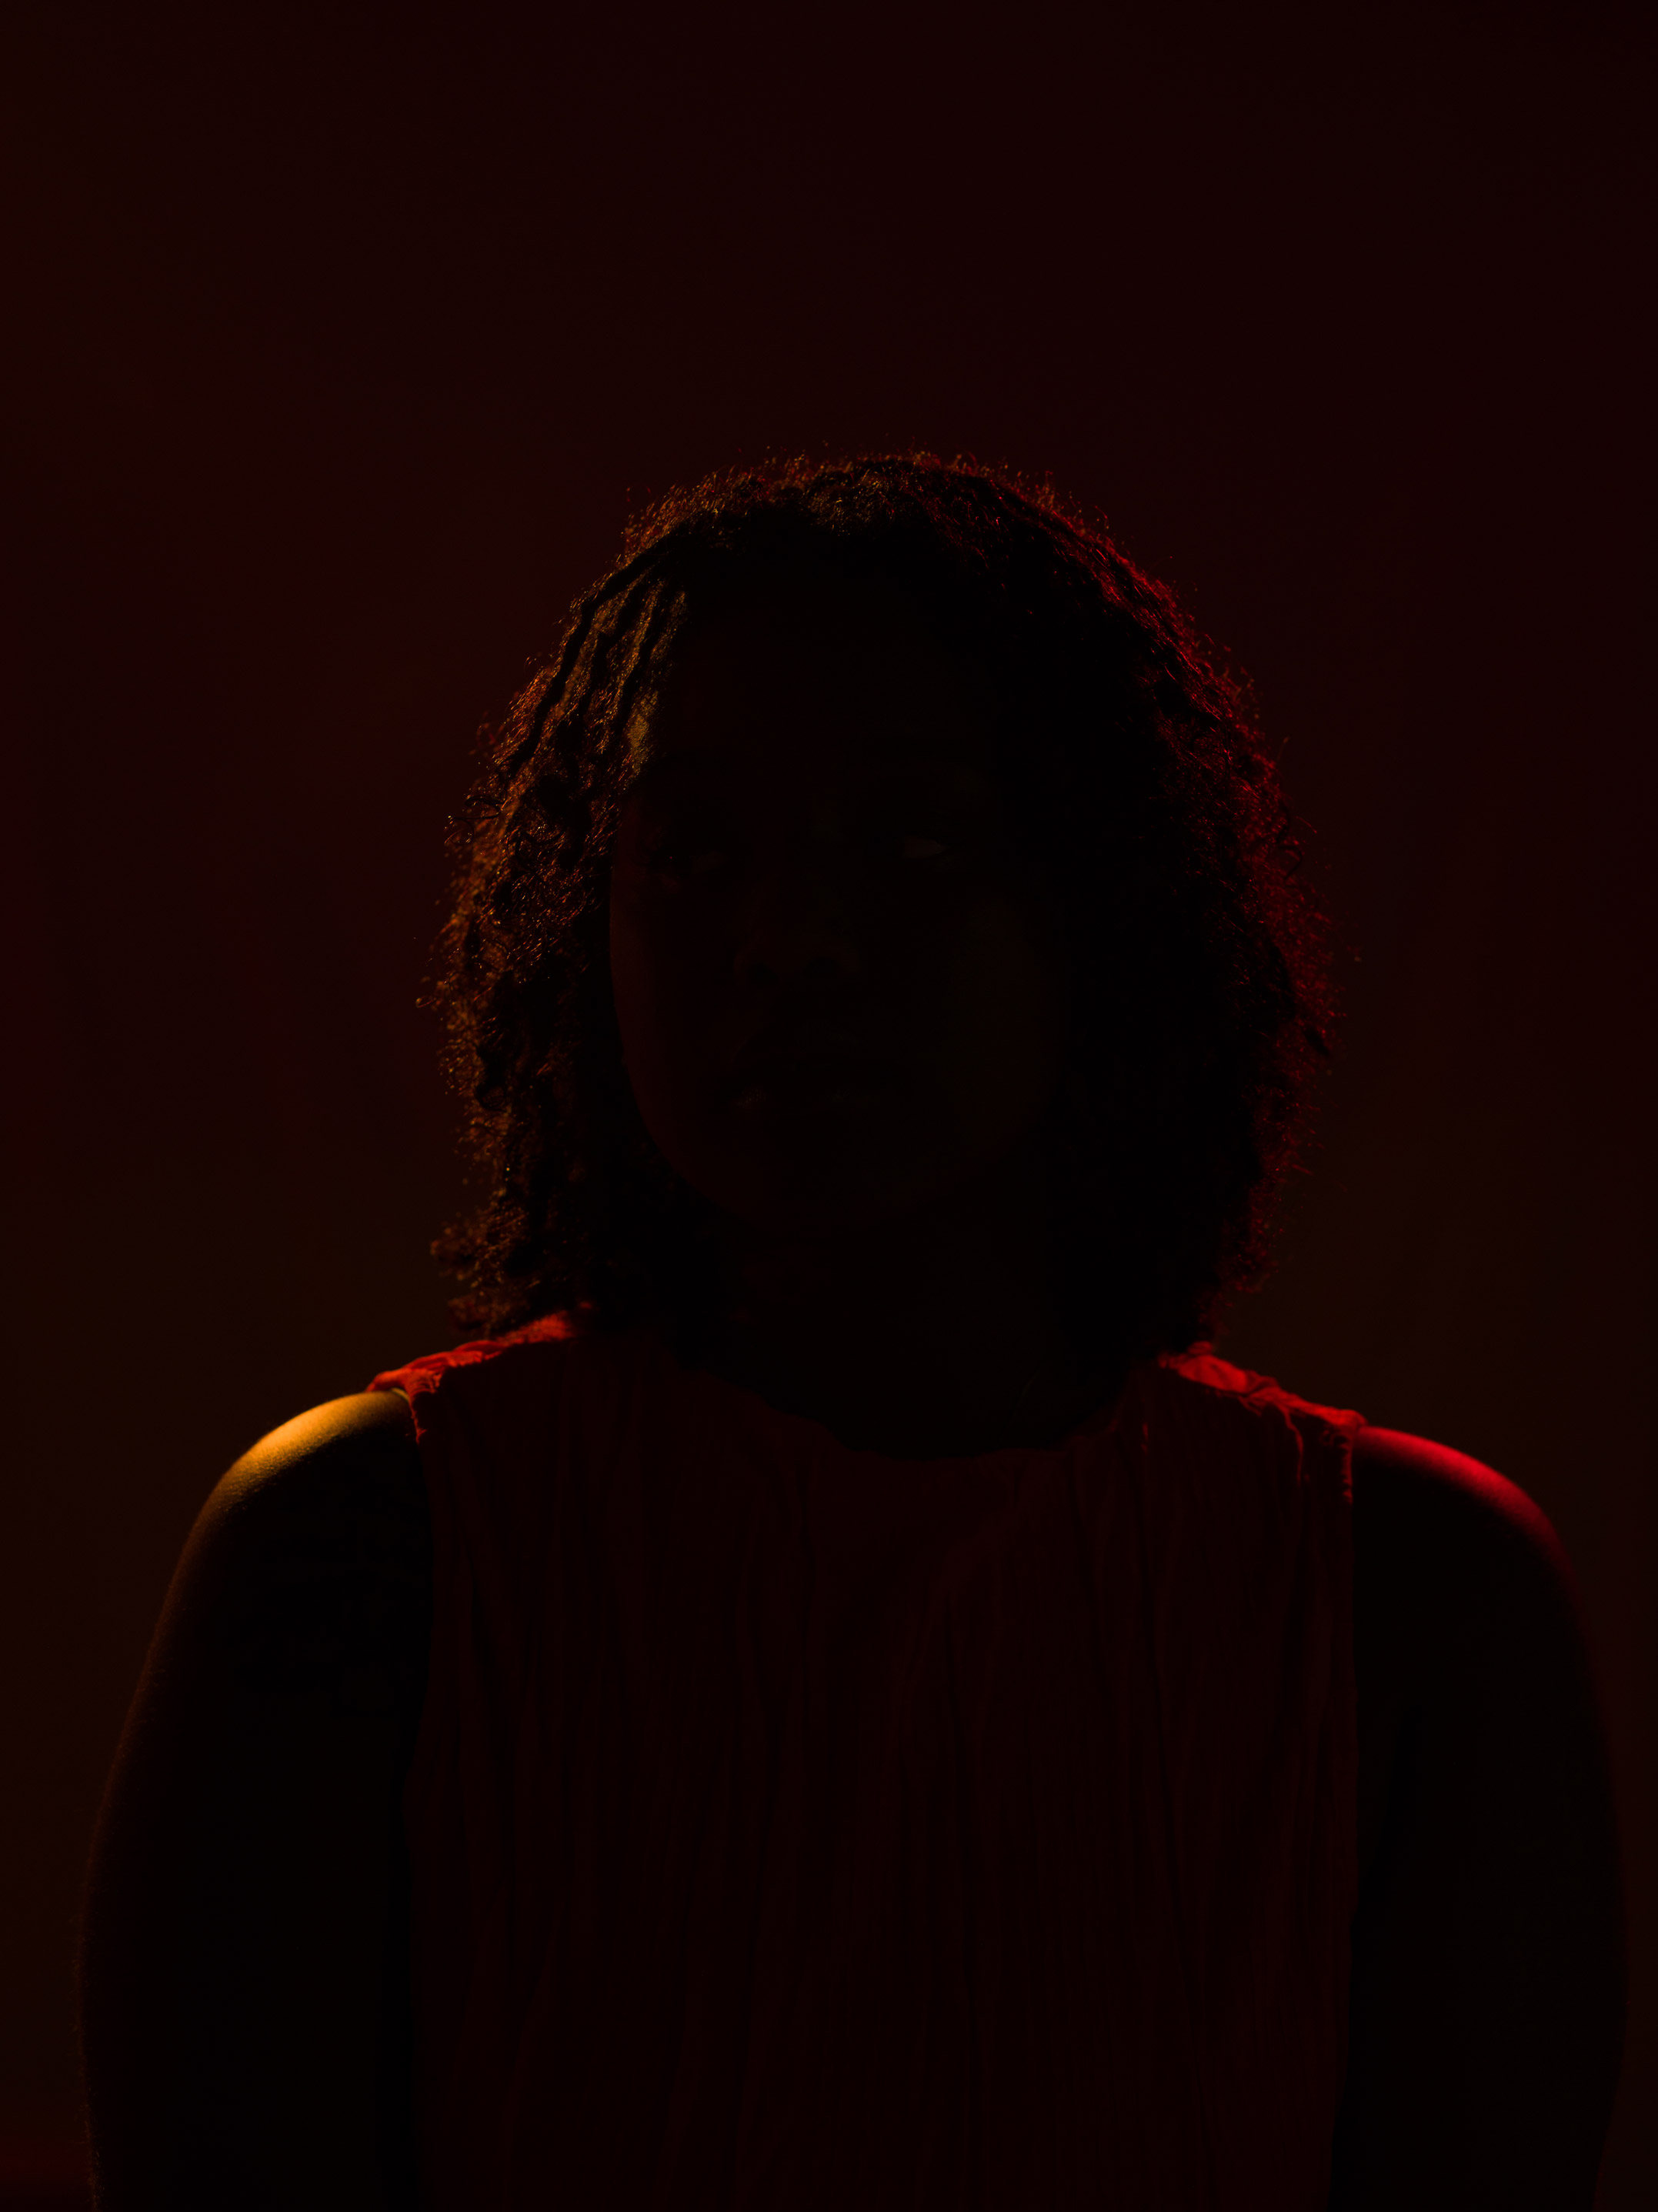
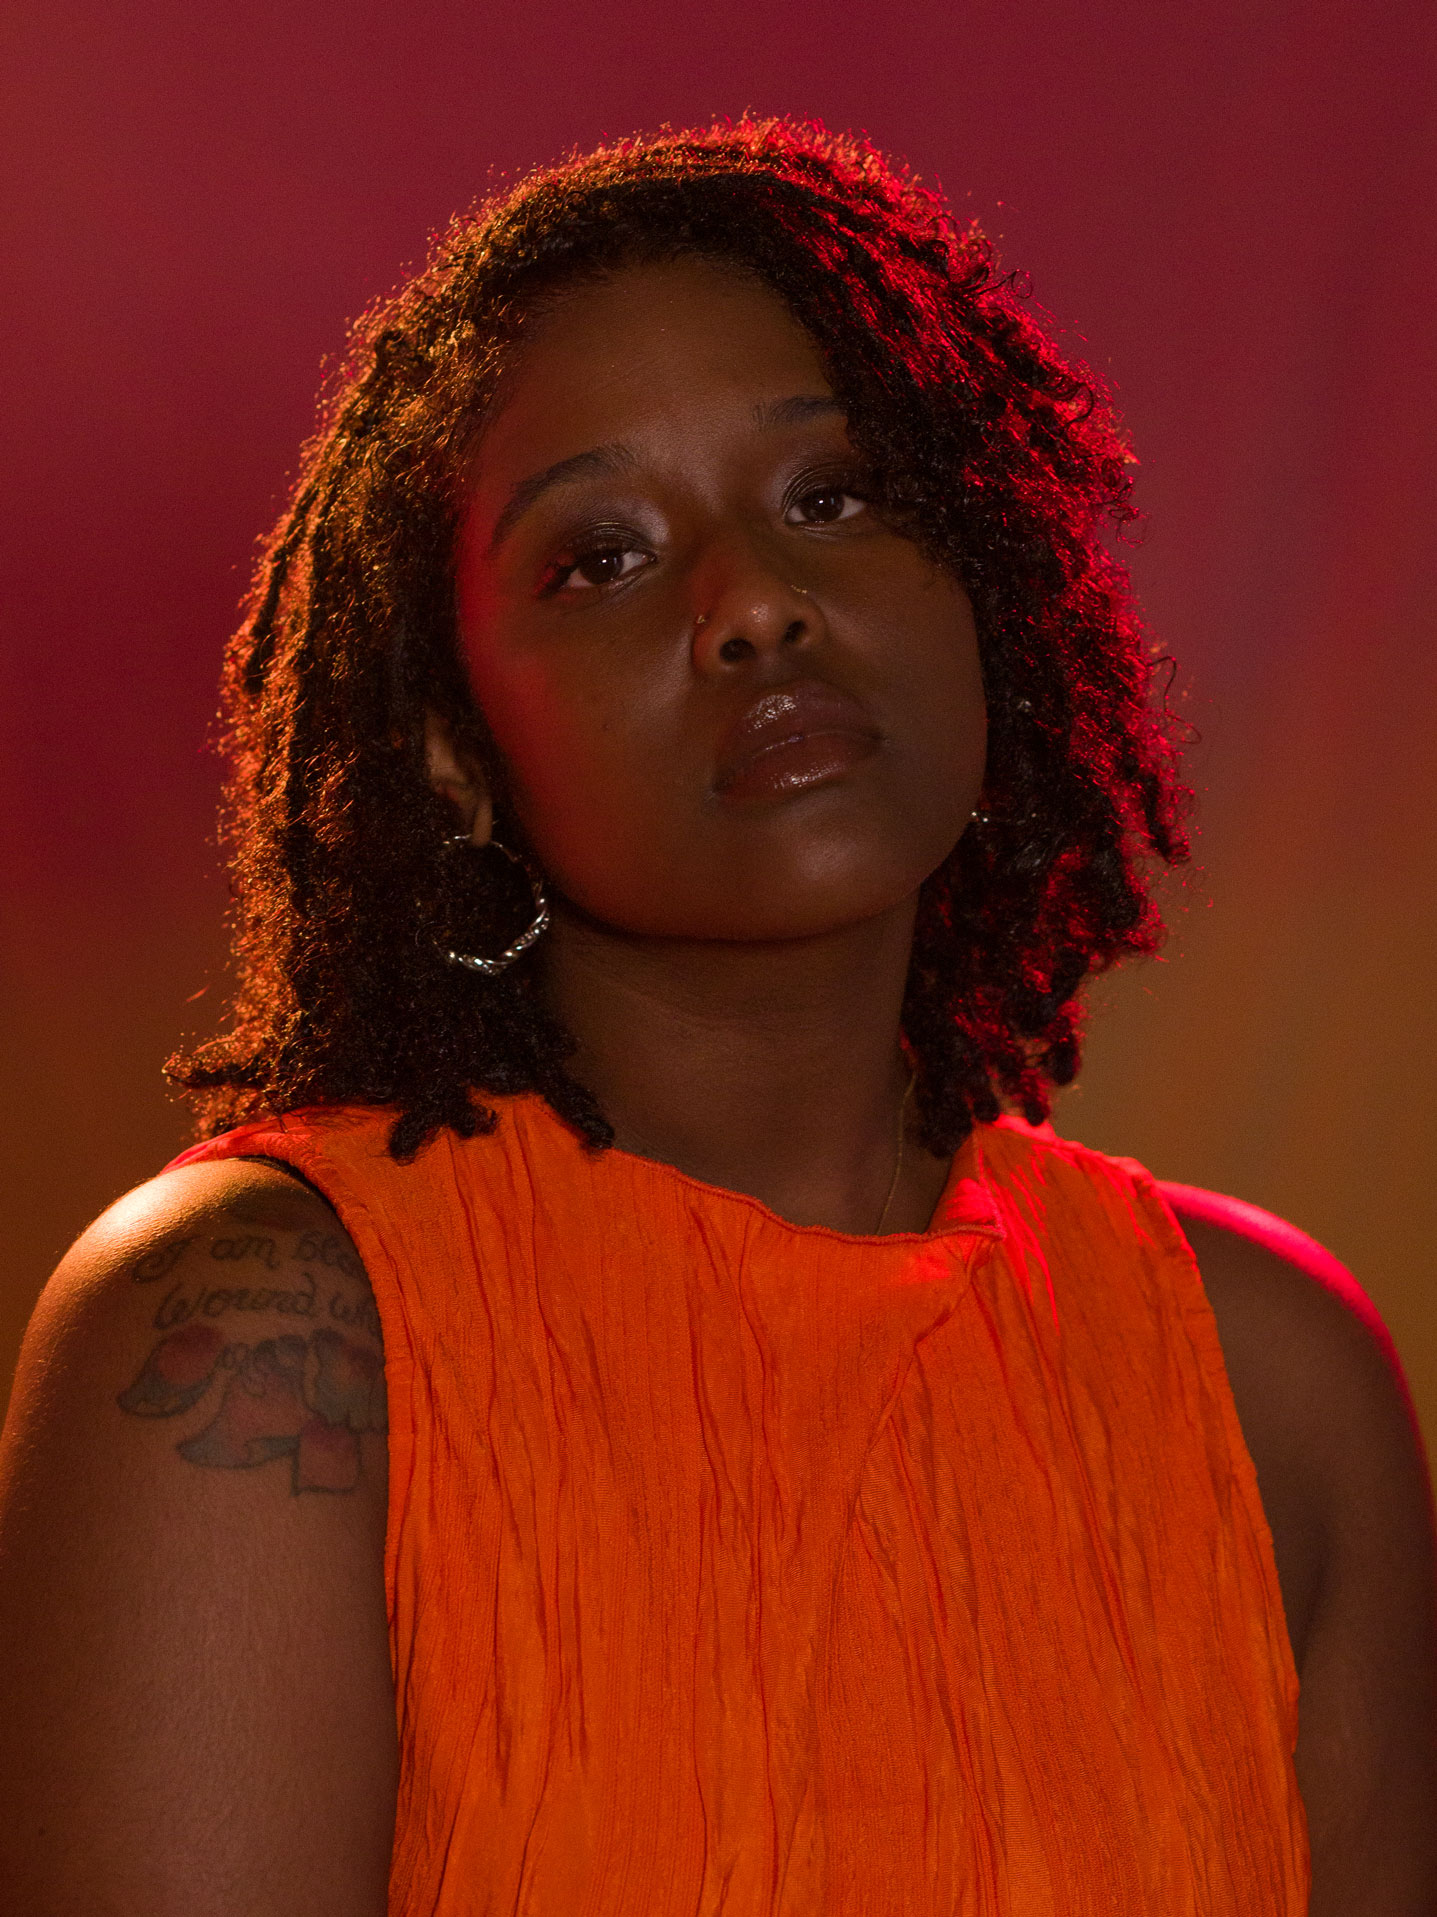
Rim Lighting
Rim lighting is the backlight that outlines the subject. In the first image, you see just the rim light on. In the second image, you can see the rim light is still present but we've added a fill light to light the model's face.
Kaylah Sambo | Hasselblad X1D-50c | XCD 80mm f/1.9 | 80mm | f/3.5 | 1/200 | ISO 400
To set up, take your light behind your model. You can leave the light directly behind your model or raise it and angle it down.
Kaylah Sambo | Hasselblad X1D-50c | XCD 80mm f/1.9 | 80mm | f/3.5 | 1/200 | ISO 1600
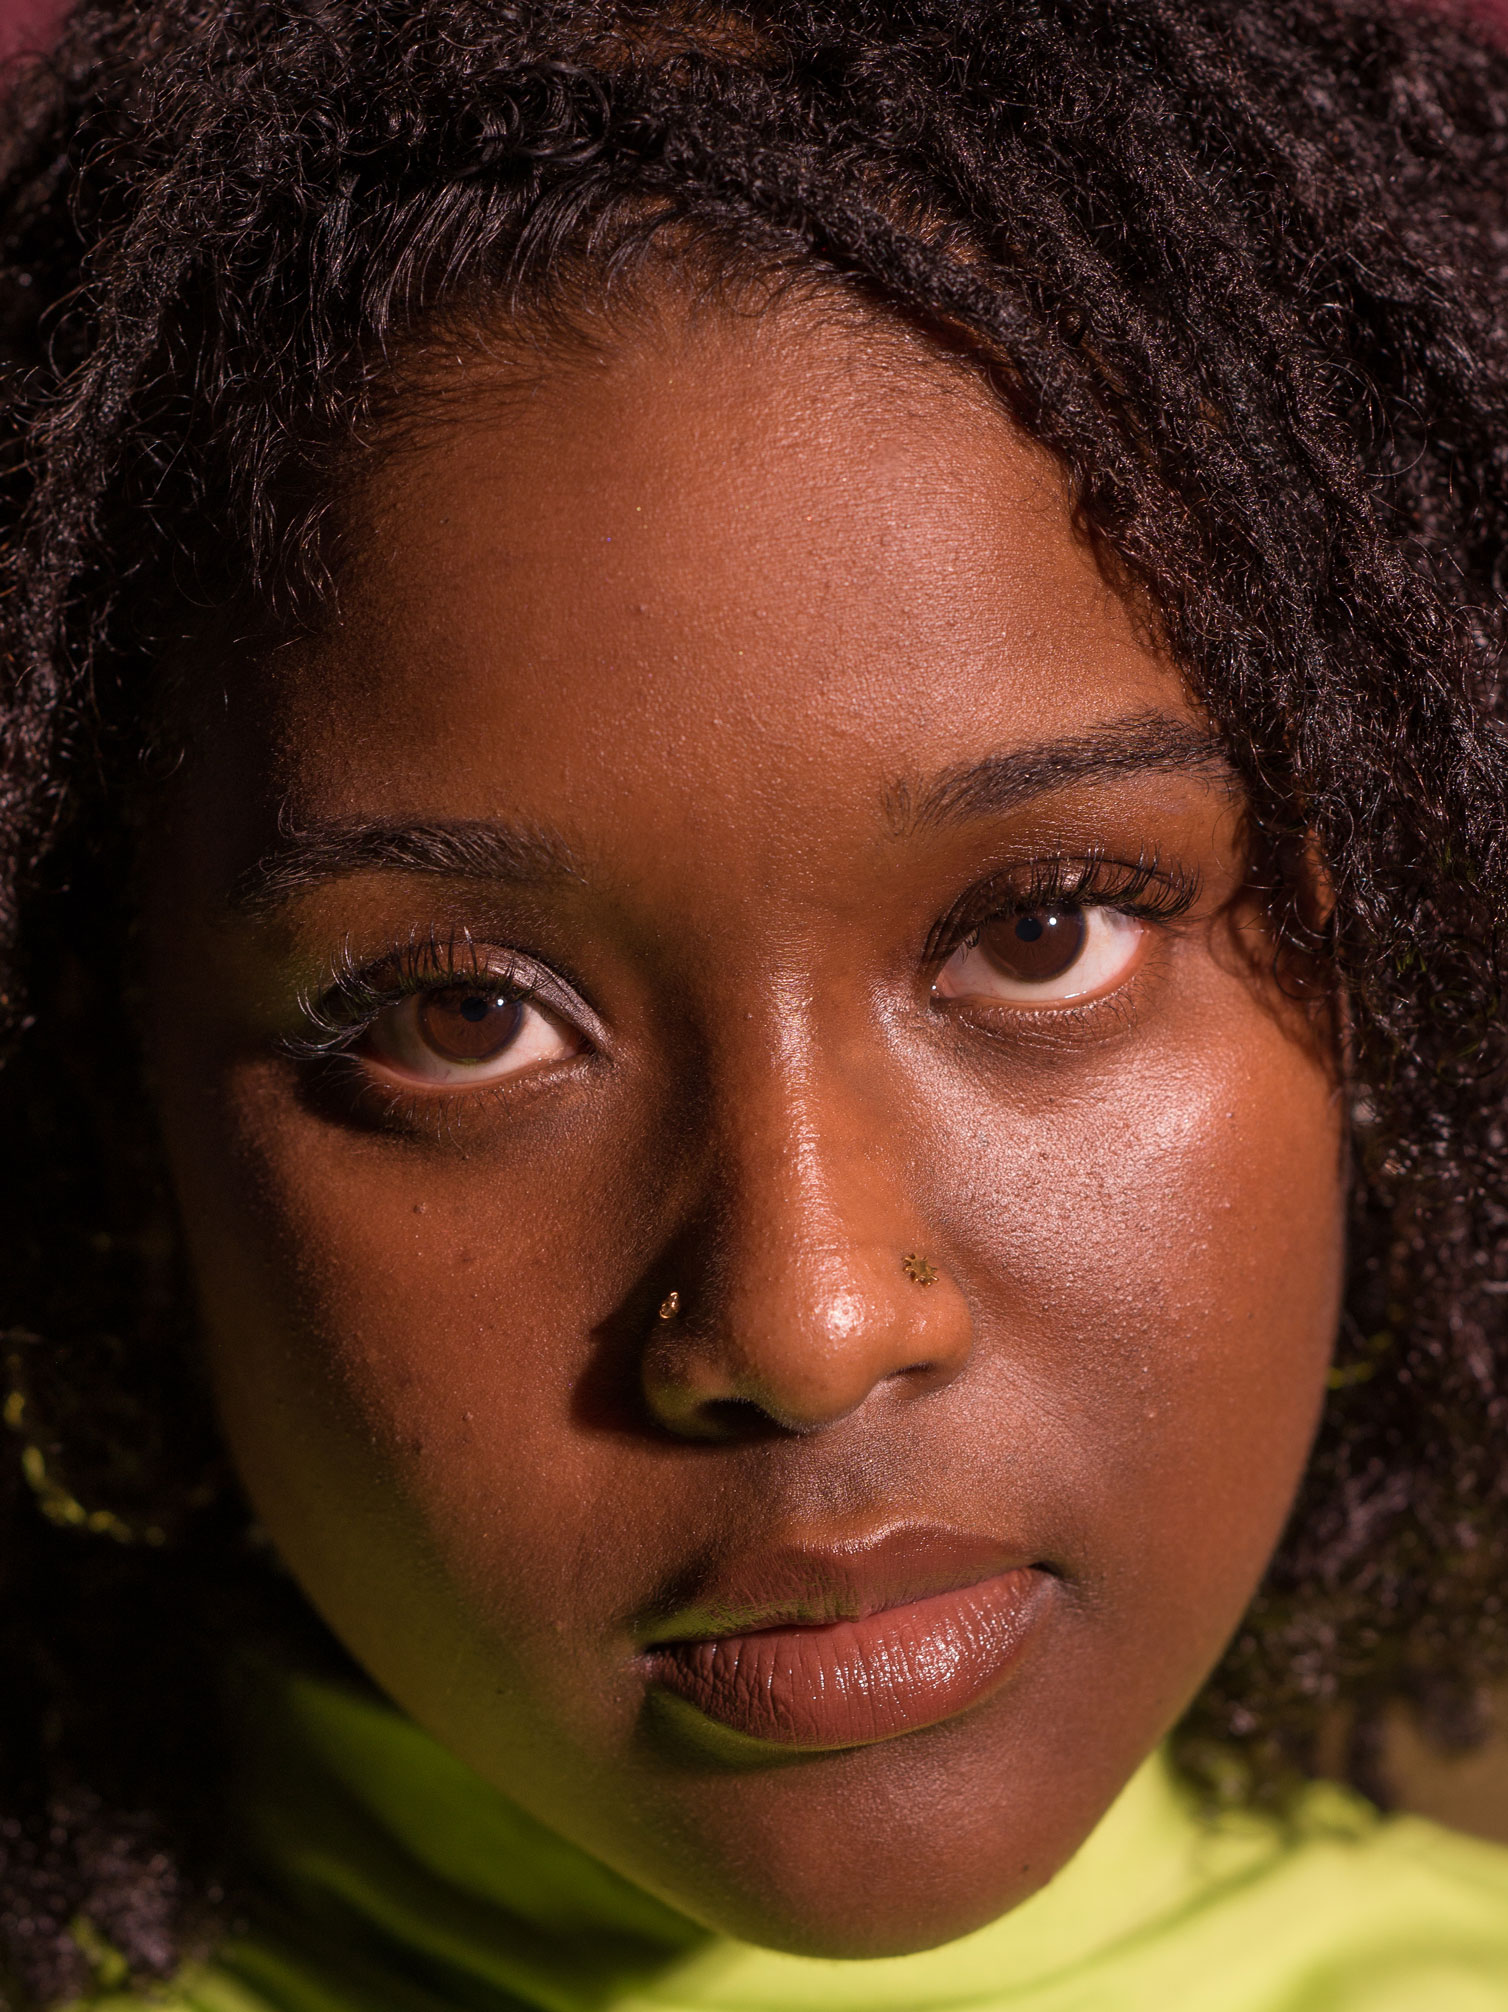
Catch Light
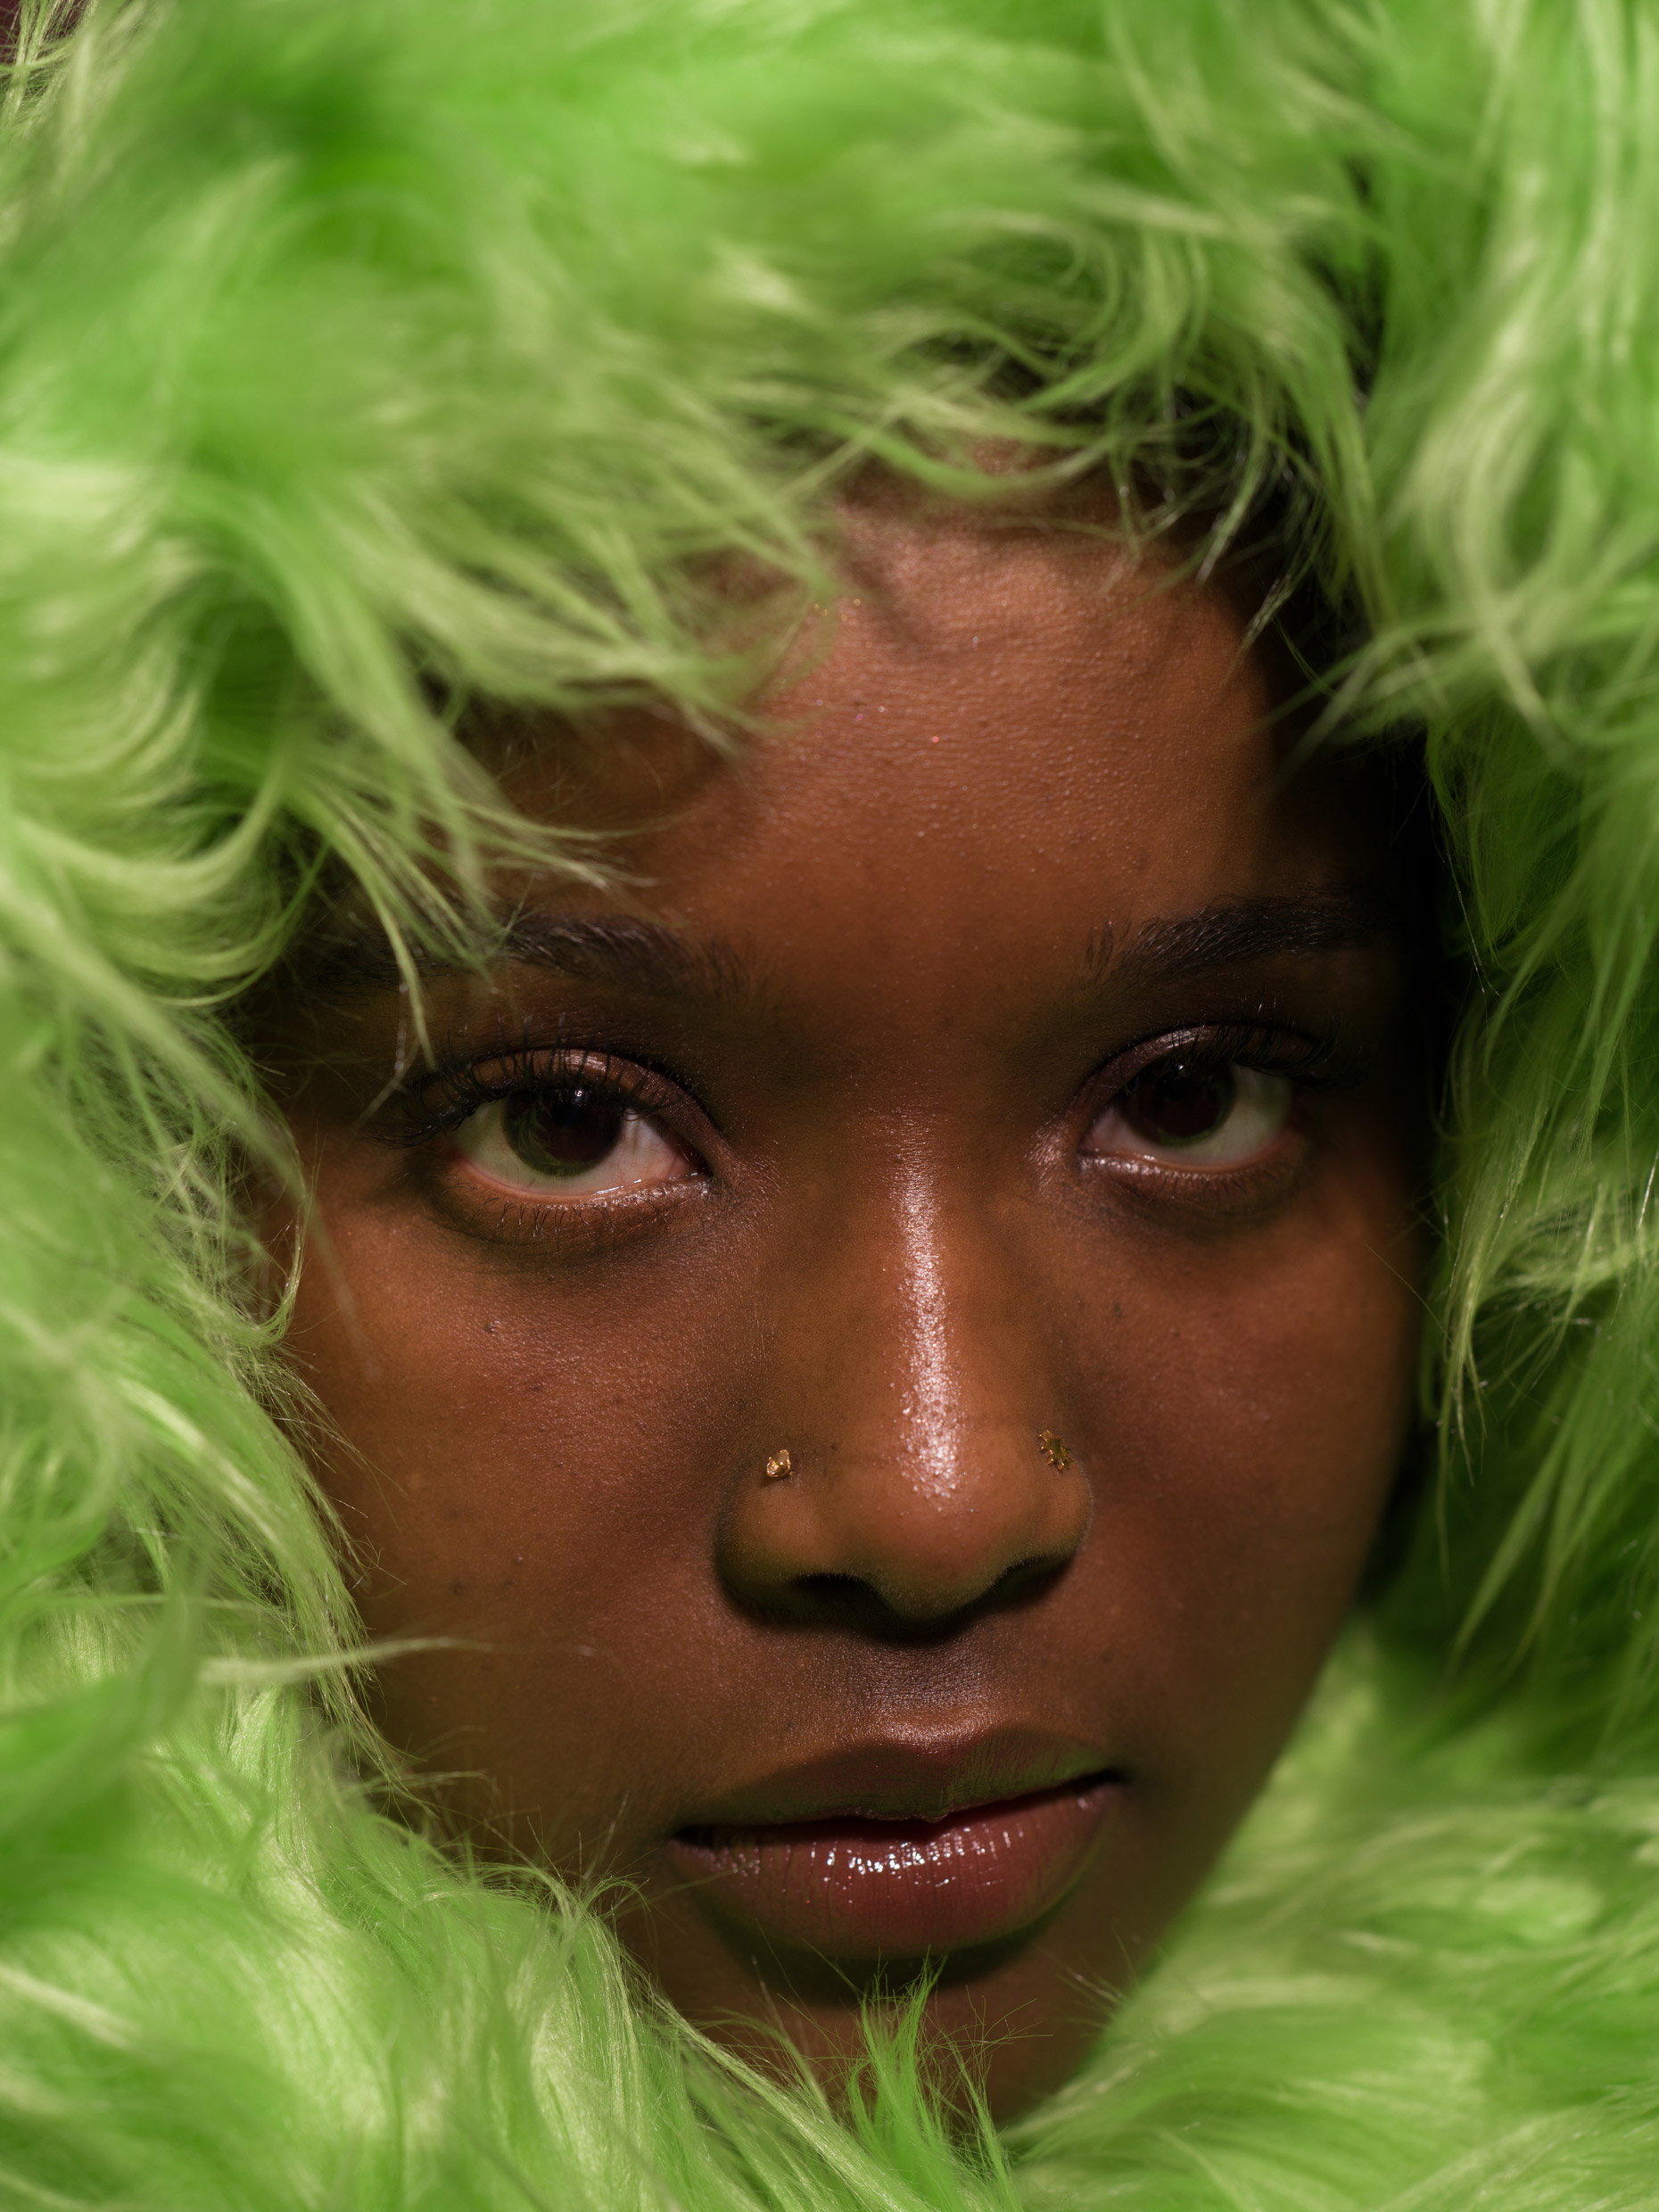
Catch light describes the light in your subject’s eye. We tend to look at people's eyes to connect with them, and a catch light allows more dimension in the eyes to support that connection. Some photographers believe catch light humanises your subject, whereas not having it dehumanises them.
Catch light isn’t a lighting setup, but a lighting element that can be achieved with any set-up. Most setups where the light faces your subject create a catch light, and in cases where that doesn't happen, you can bring a low-powered fill light that won't affect your lighting but will add that glint in your subject’s eyes.
Kaylah Sambo | Hasselblad X1D-50c | XCD 80mm f/1.9 | 80mm | f/3.5 | 1/250 | ISO 400
Hair Light
Hair light effectively separates your subject from the background. It is similar to rim light in that it almost creates an outline around the subject. As the name would suggest, it lights your hair more than the rim lights outlined look.
Hair light isn't a setup but an element. You can add this element to your lighting setup by taking a light behind your model at a 20–30 degree angle from their back on either side and raising it above their head, angling it toward them.

Kaylah Sambo | Hasselblad X1D-50c | XCD 80mm f/1.9 | 80mm | f/3.5 | 1/200 | ISO 6400
Conclusion
Lighting can elevate your style and support your story, so don’t be scared to explore. Try these lighting types and see what you gravitate toward. When shooting on a small budget, you can even use household lights, two or three 60-watt lightbulbs and a silver lamp plug-in. All you need is a subject and a background to create something special.
For outdoor portrait photography advice, check out our guide to environmental portrait photography. Or view more original content at the MPB content hub.
You can sell or trade your camera kit to MPB. Get a free instant quote, free insured shipping to MPB, and get paid within days.