Learn: Top 8 Tips for Creative Portrait Lighting
Published 7 April 2025 by MPB
Brandon Woelfel is a freelance photographer based out of Brooklyn, NY, and his work is known for soft tones, dynamic lighting and vibrant colours. Introduced to photography while studying Computer Art at the School of Visual Arts, Brandon uses different lighting techniques and edits to achieve his signature look.
Want to add some creativity to your portraits? Read on for lighting tips and inspiration from Brandon.
Nikon Z7 | 24-70mm f/2.8 S | 35mm | 1/125 | f/2.8 | ISO 800
Use Lighting Modifiers
Nikon Z7 II | AF-S Nikkor 35mm f/1.4G | 1/200 | f/1.4
With various attachments and modifiers, you can be in total control of your lighting. If you're aiming for a natural look, a lantern that mimics the sun can be a great choice. For a harsher, more dramatic effect, a reflector works wonderfully.
The more control you have over your lighting, the more accurately you can bring your creative vision to life. Lighting attachments come in many shapes and sizes, allowing you to choose based on your style of photography. As I dove deeper into studio photography, I began using larger lights and modifiers to gain greater control. But ultimately, photography is a personal journey, so it's all about finding the tools that work best for you.
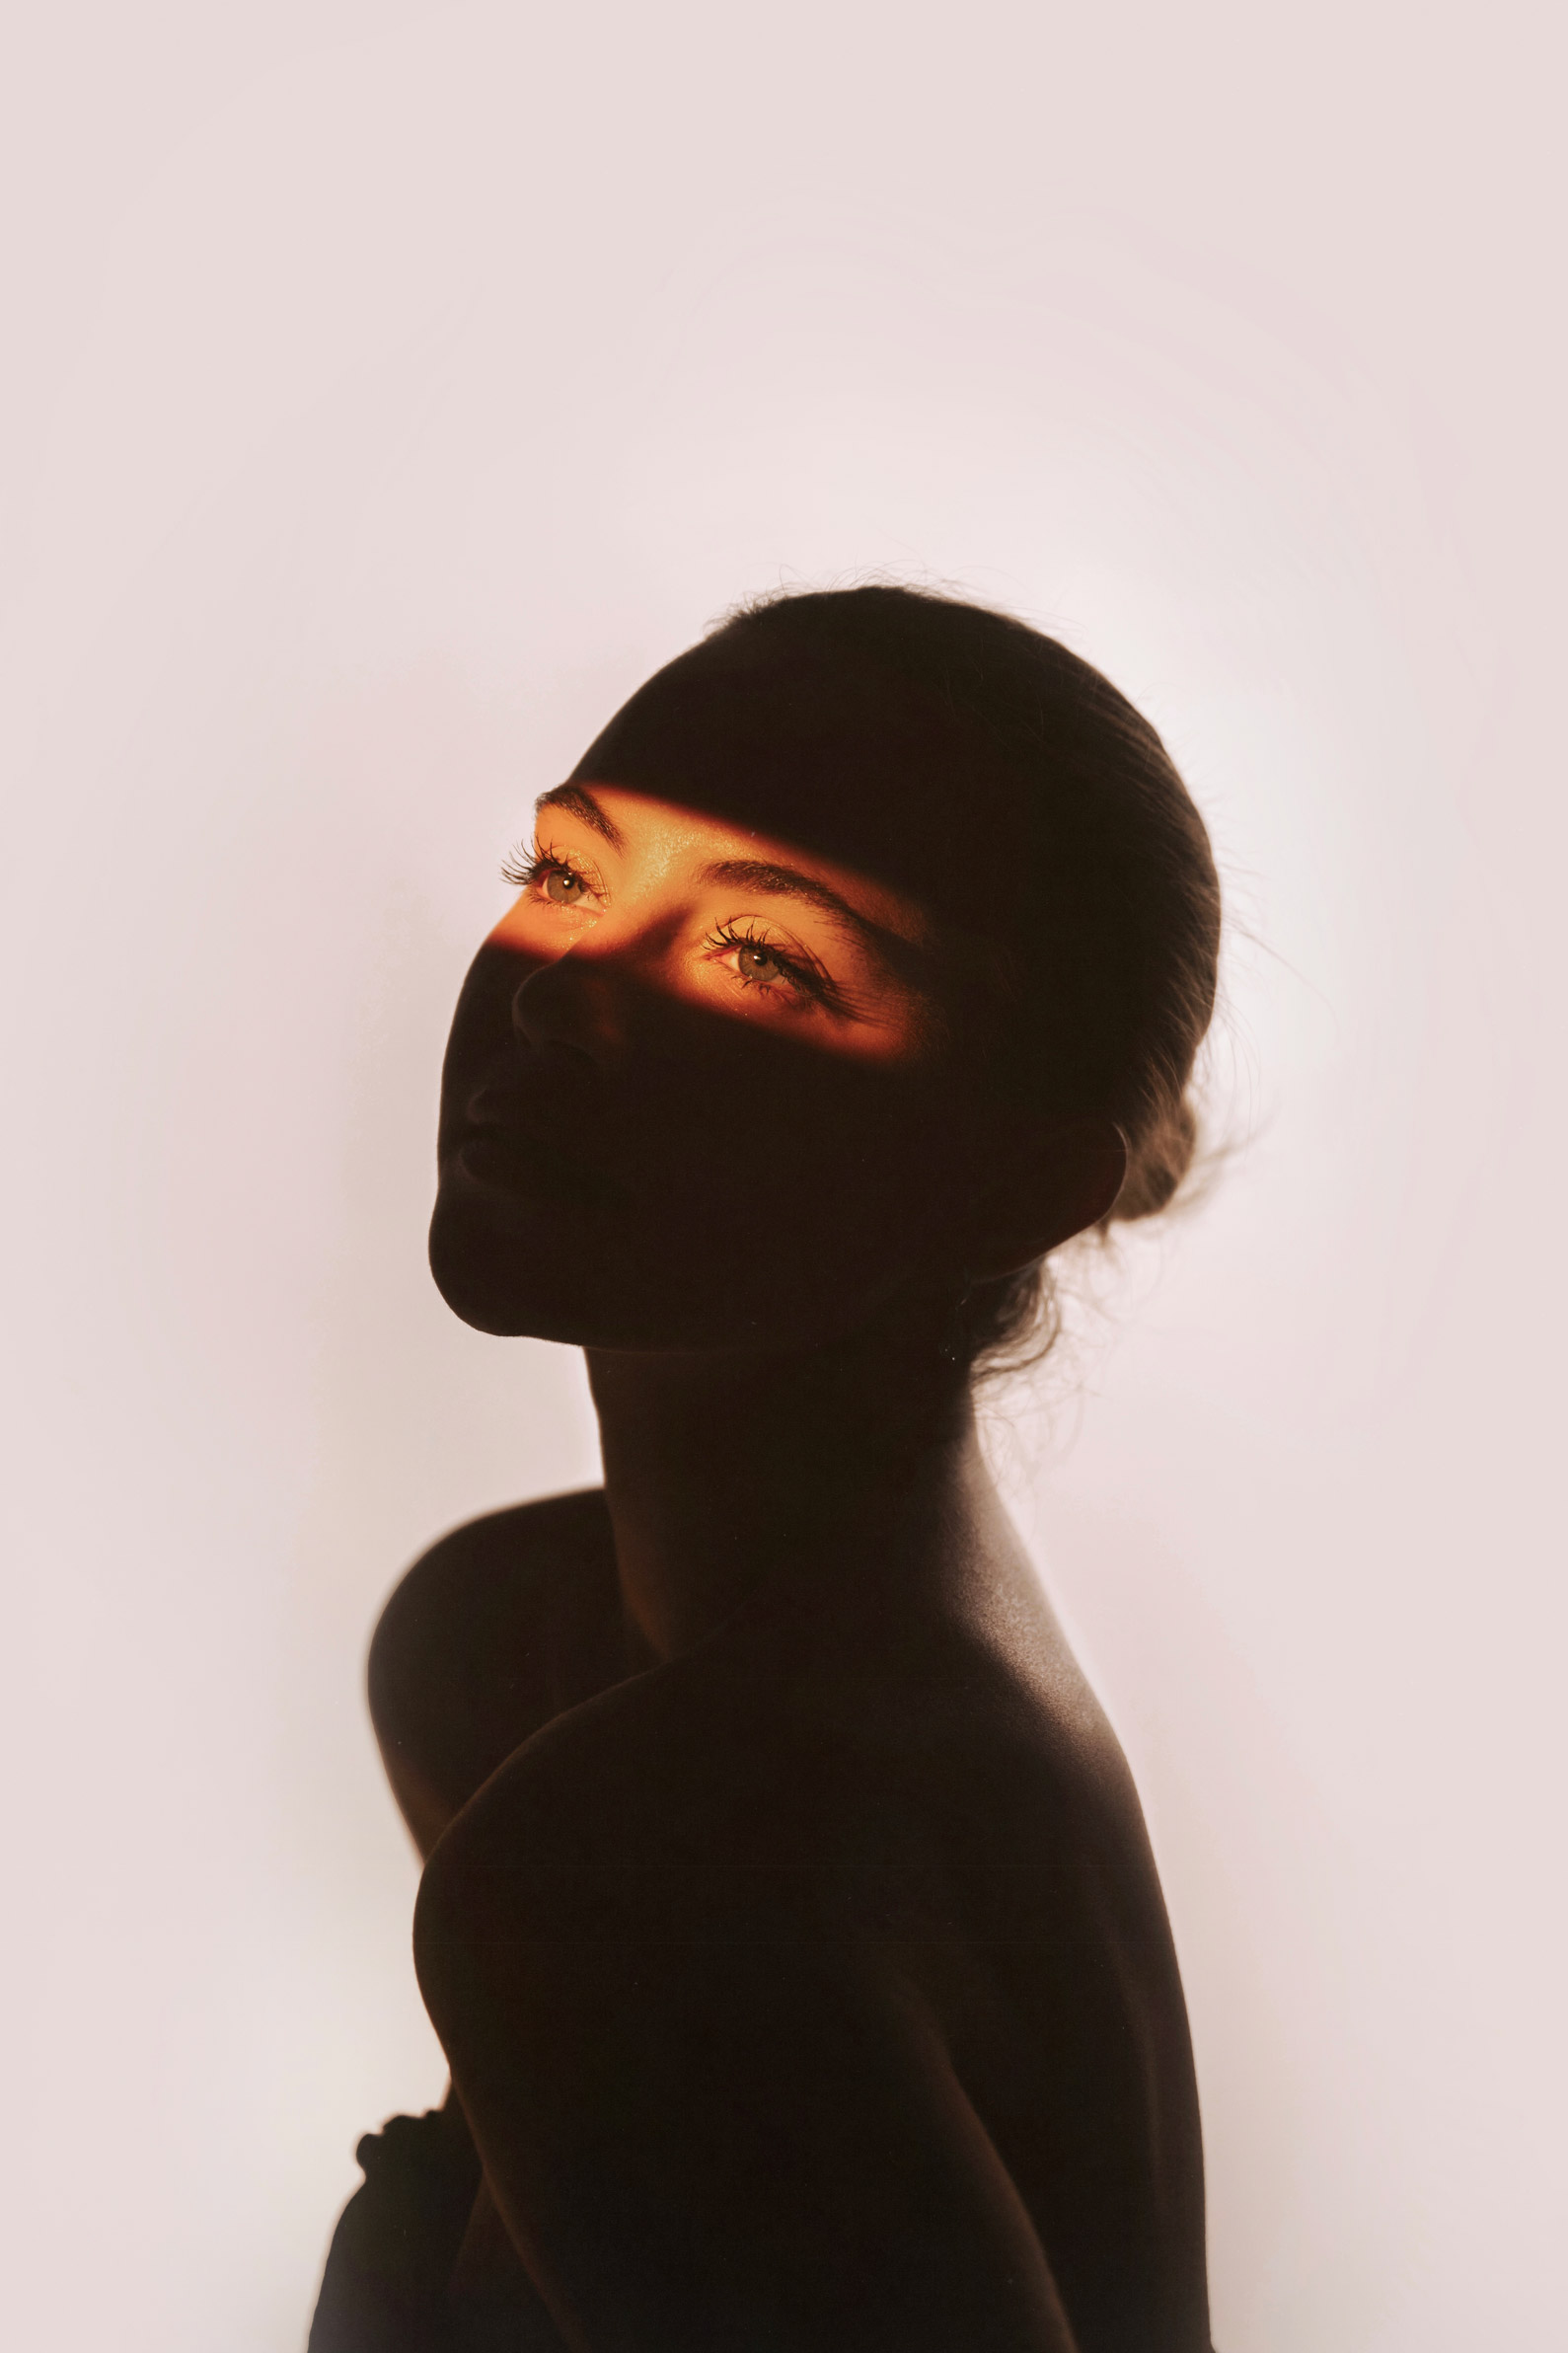
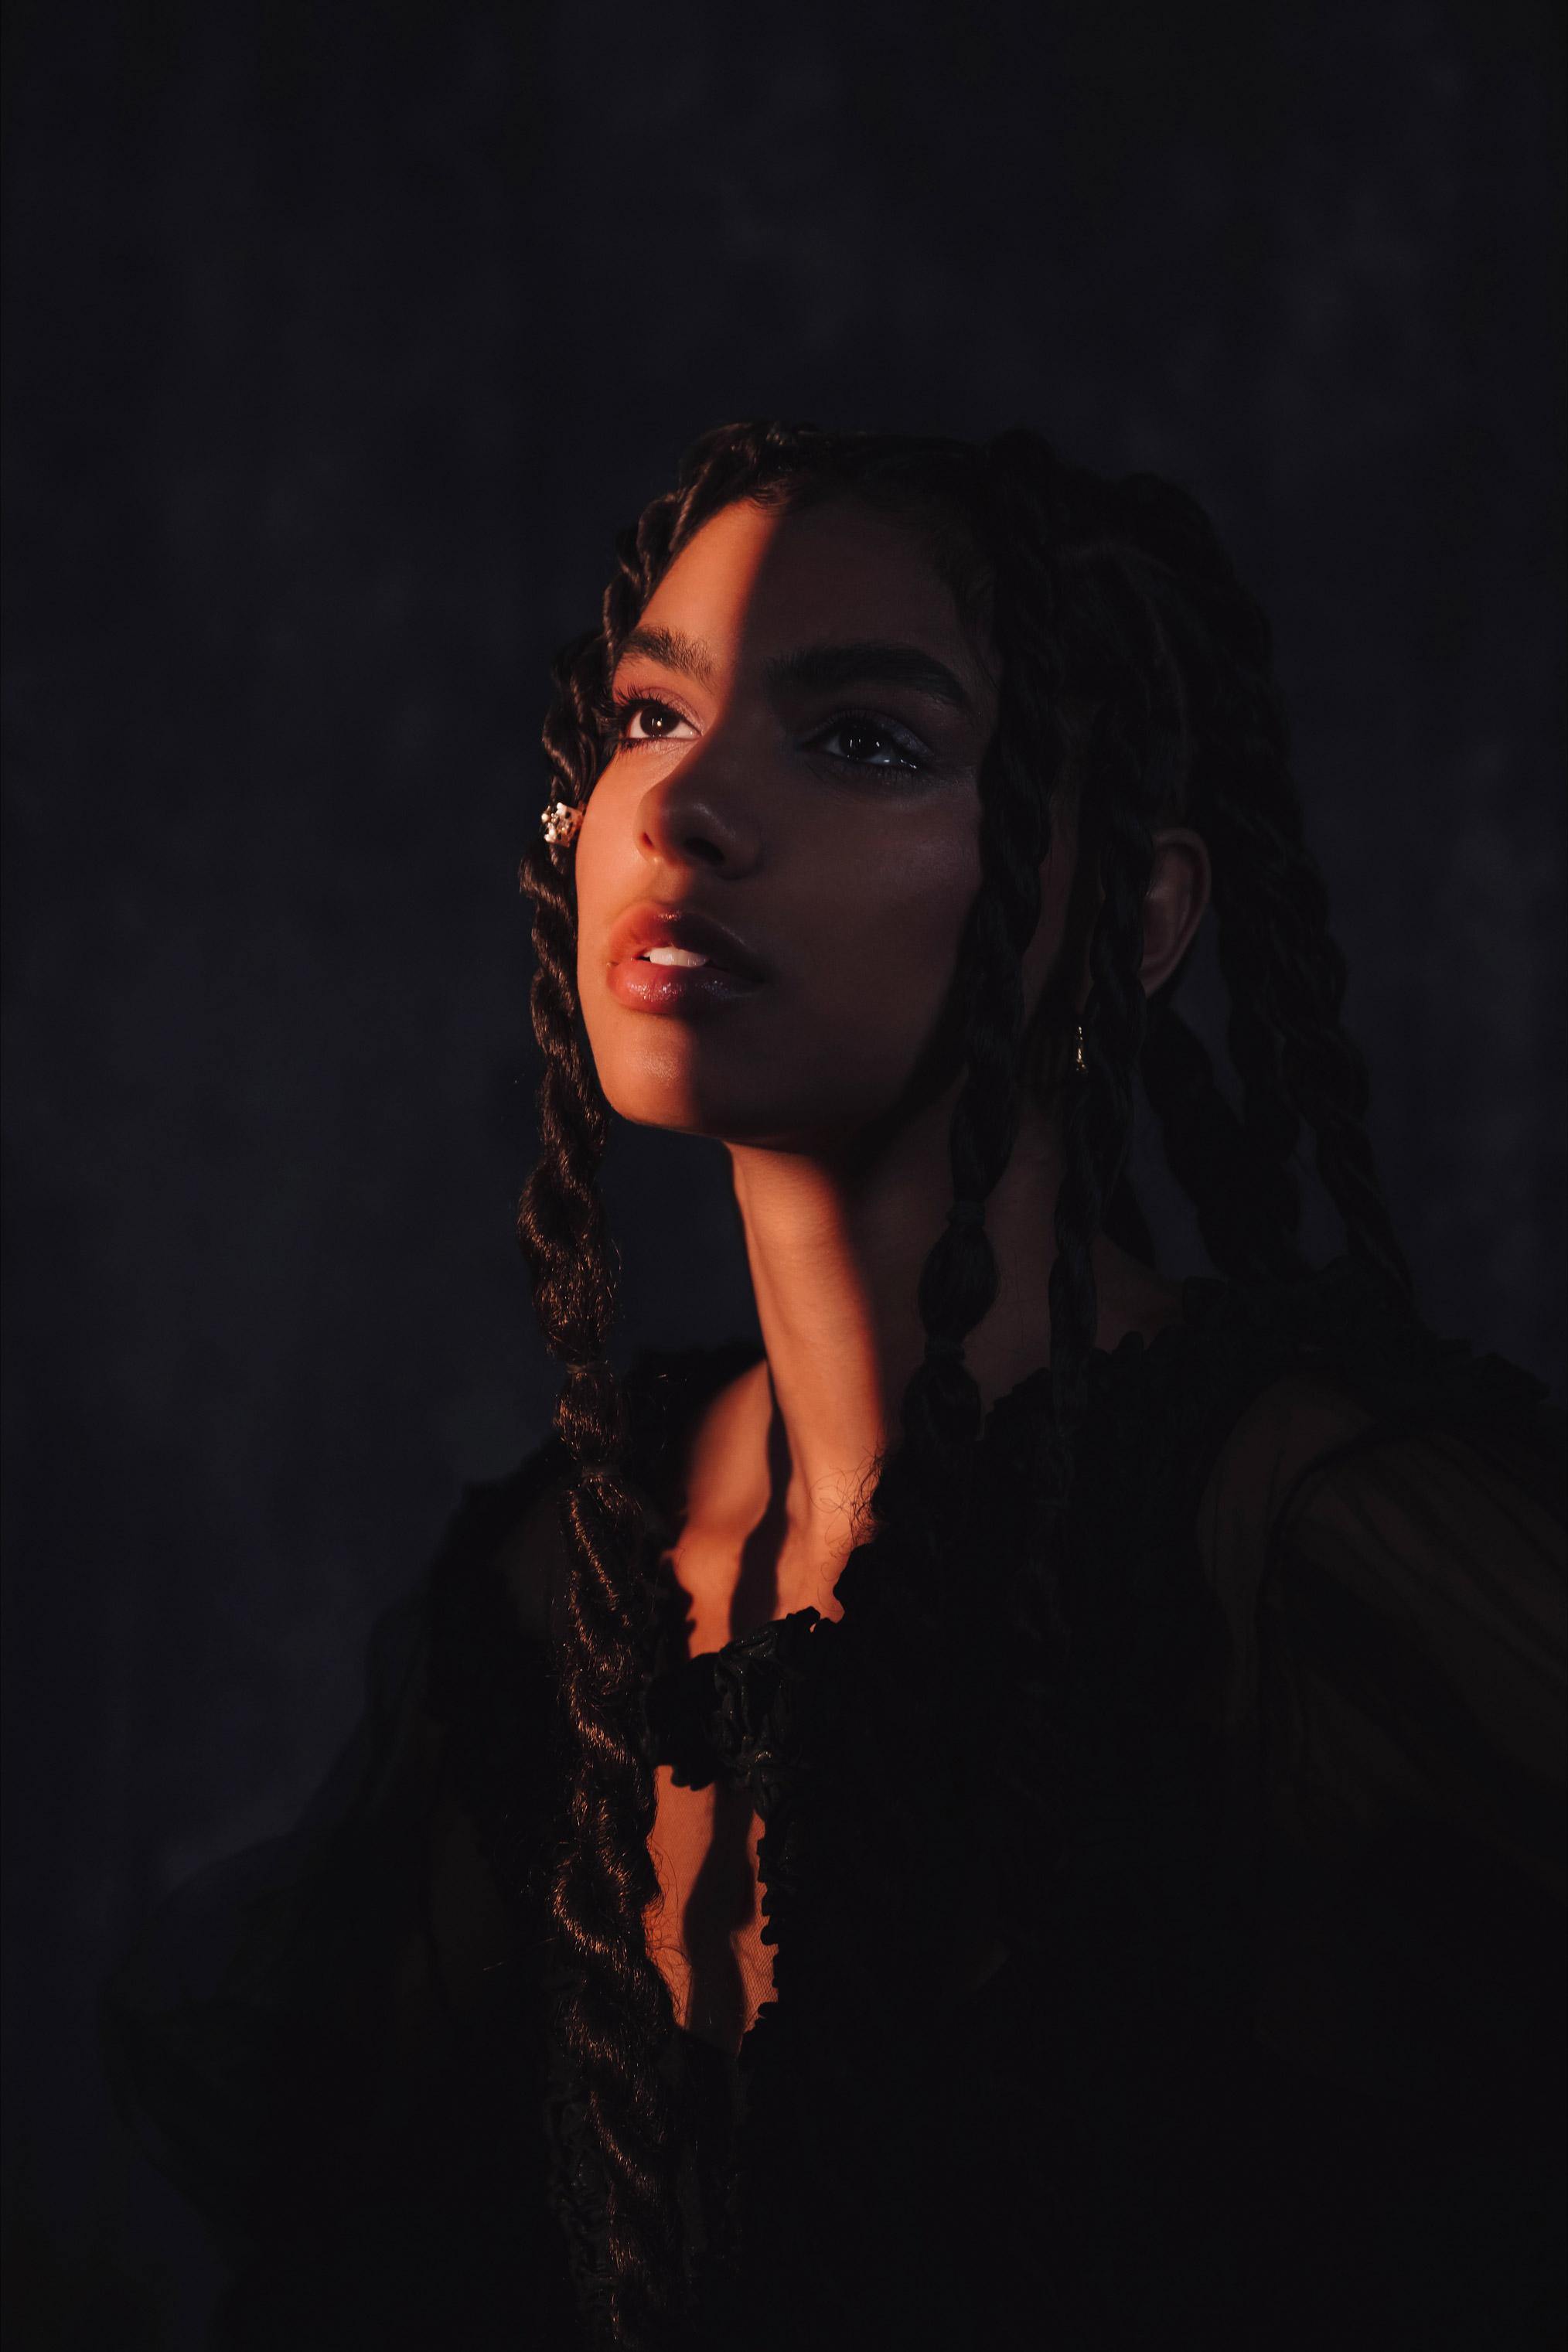
Master Lighting Placement and Mood
Nikon Z9 | NIKKOR Z 24-70mm f/2.8 S | 70mm | 1/200 | f/2.8 | ISO 160
Along with the modifiers you use, where you place your lighting is equally important. While you can take the time to learn the technical terms for various lighting setups, like Rembrandt, loop, and butterfly lighting, I've found that hands-on experimentation is just as effective. Each lighting setup you choose can cast unique highlights or shadows on a person's face, allowing a completely new mood to emerge.
As a portrait photographer, my main objective is to make my subjects look their best. To achieve this, I focus on the model's specific features, considering not only the placement of my light but the number of lights I'm using. Don't be afraid to experiment with the angles and distances of your light sources; this hands-on approach can help you discover the best way to achieve the look or mood you're aiming for.
Nikon Z7 II | NIKKOR Z 24-70mm f/2.8 S | 69mm | 1/250 | f/3.2 | ISO 250
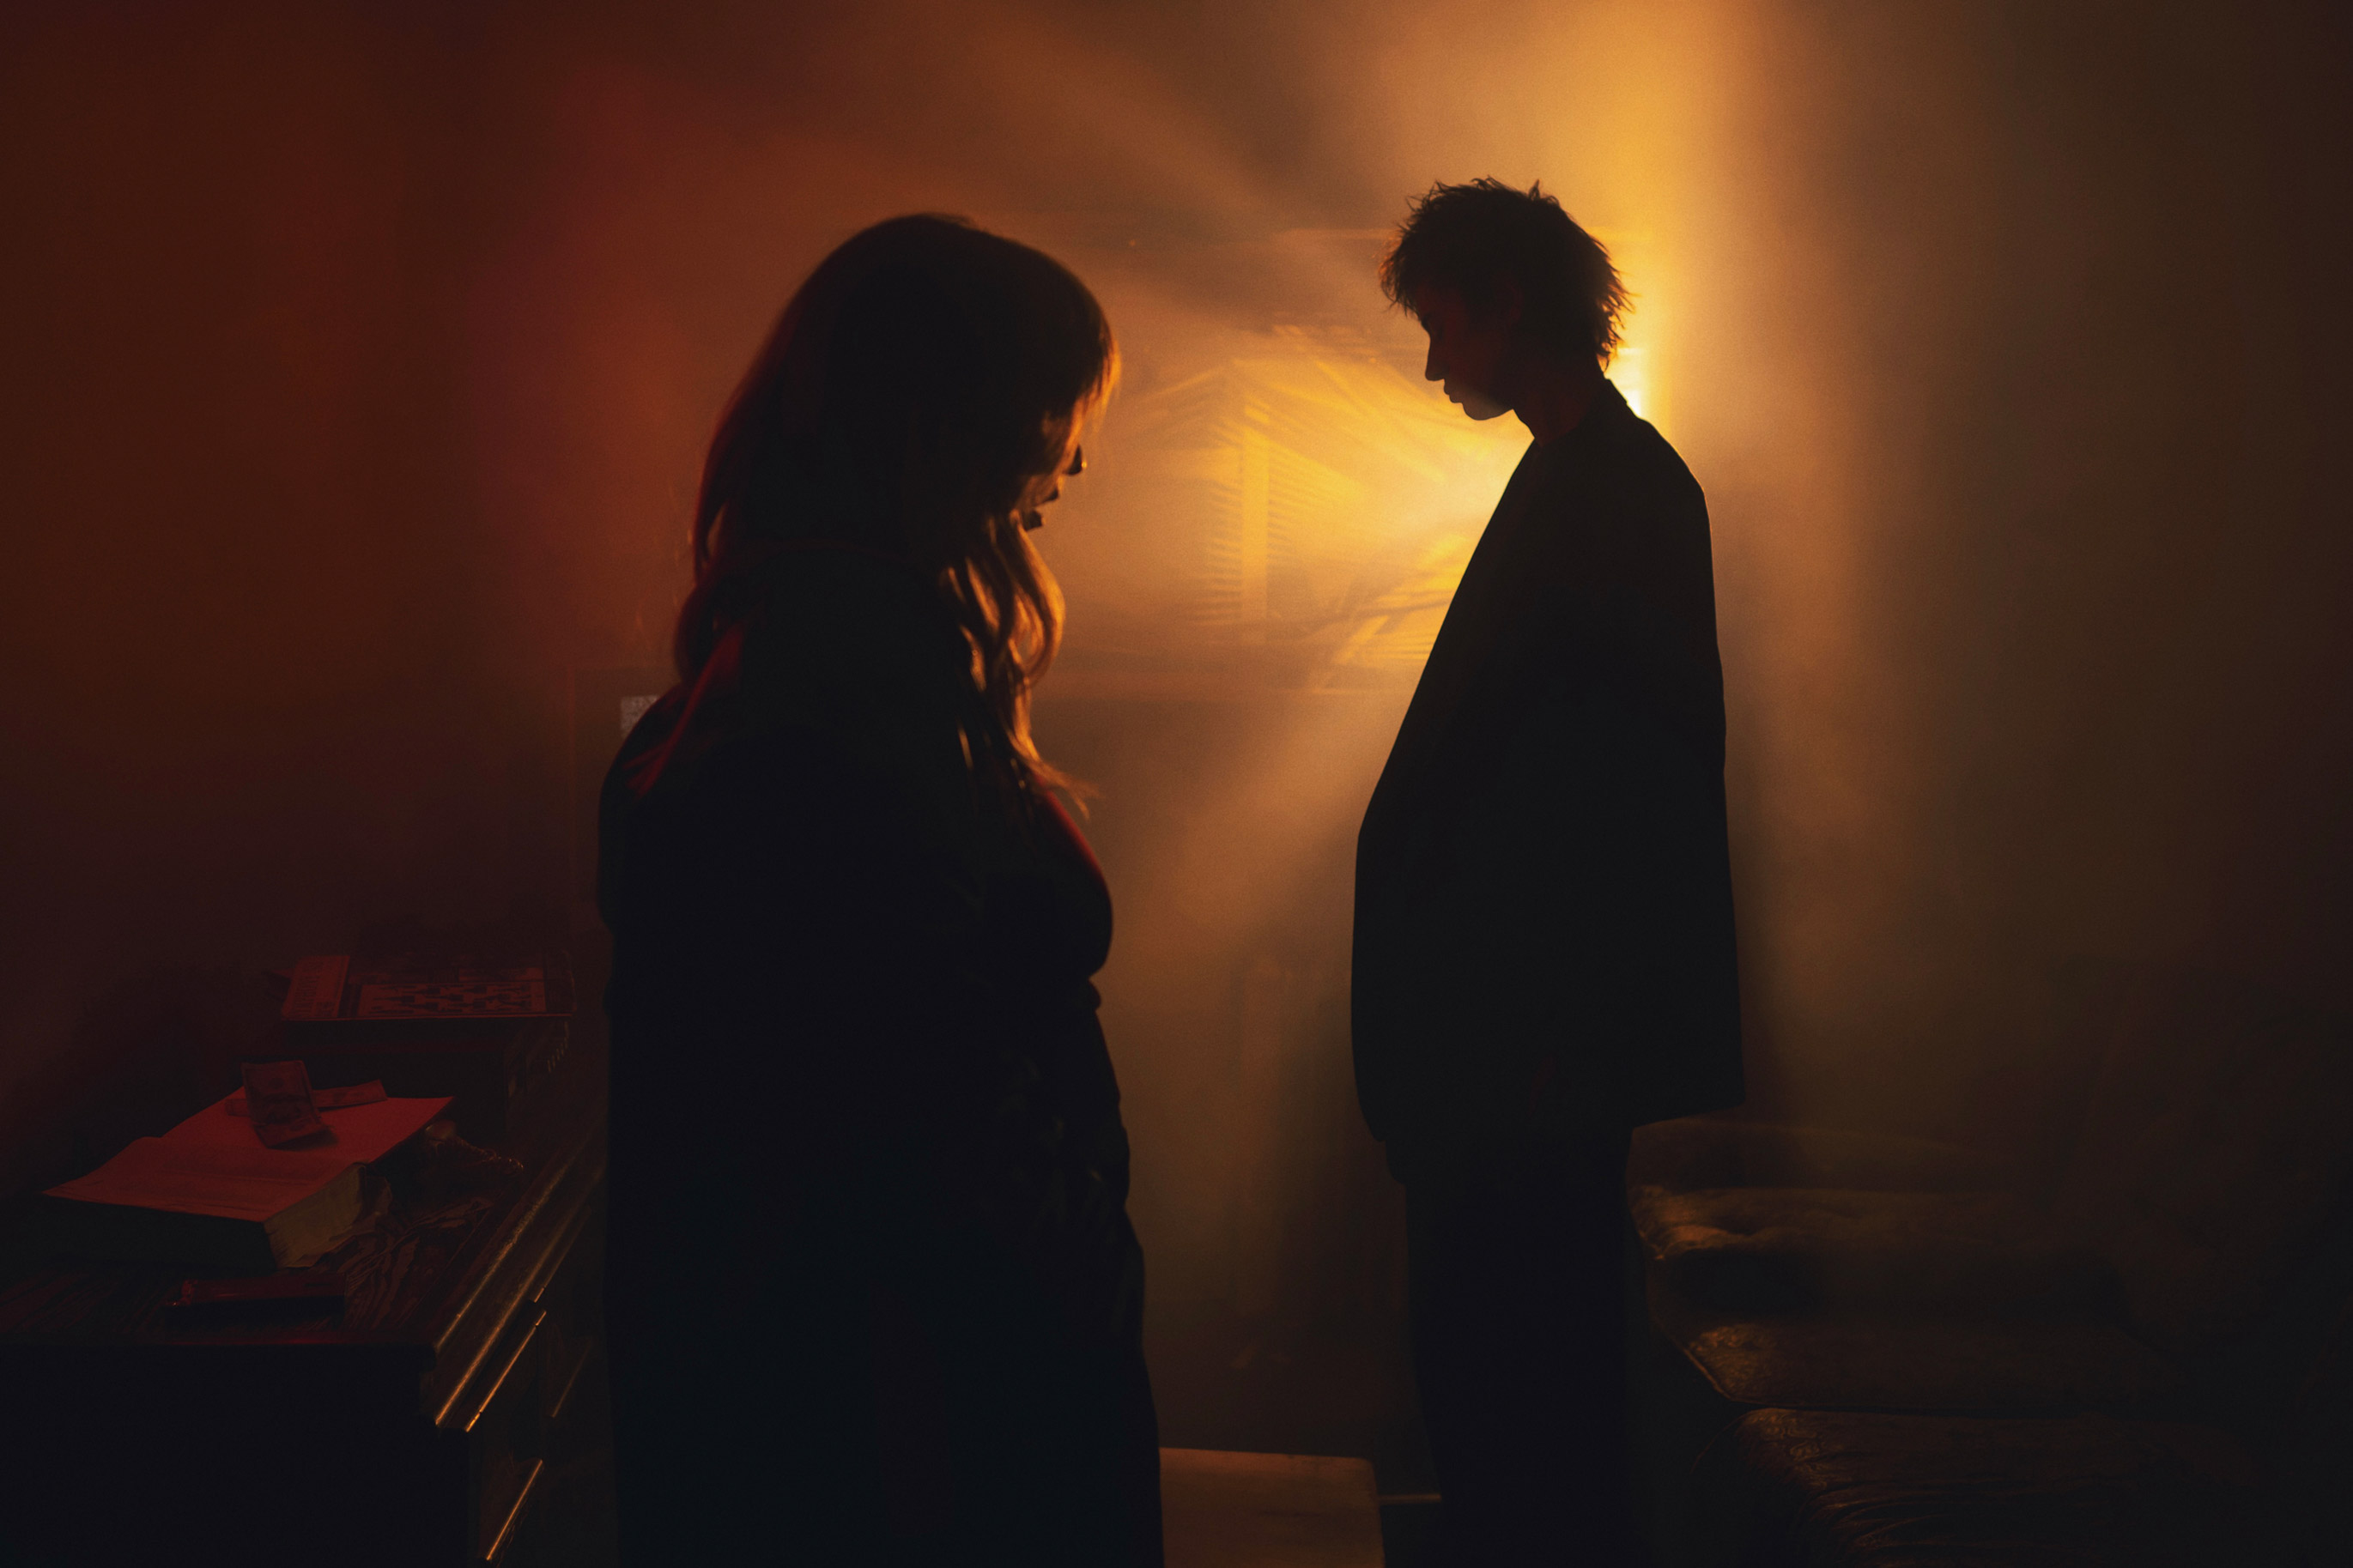
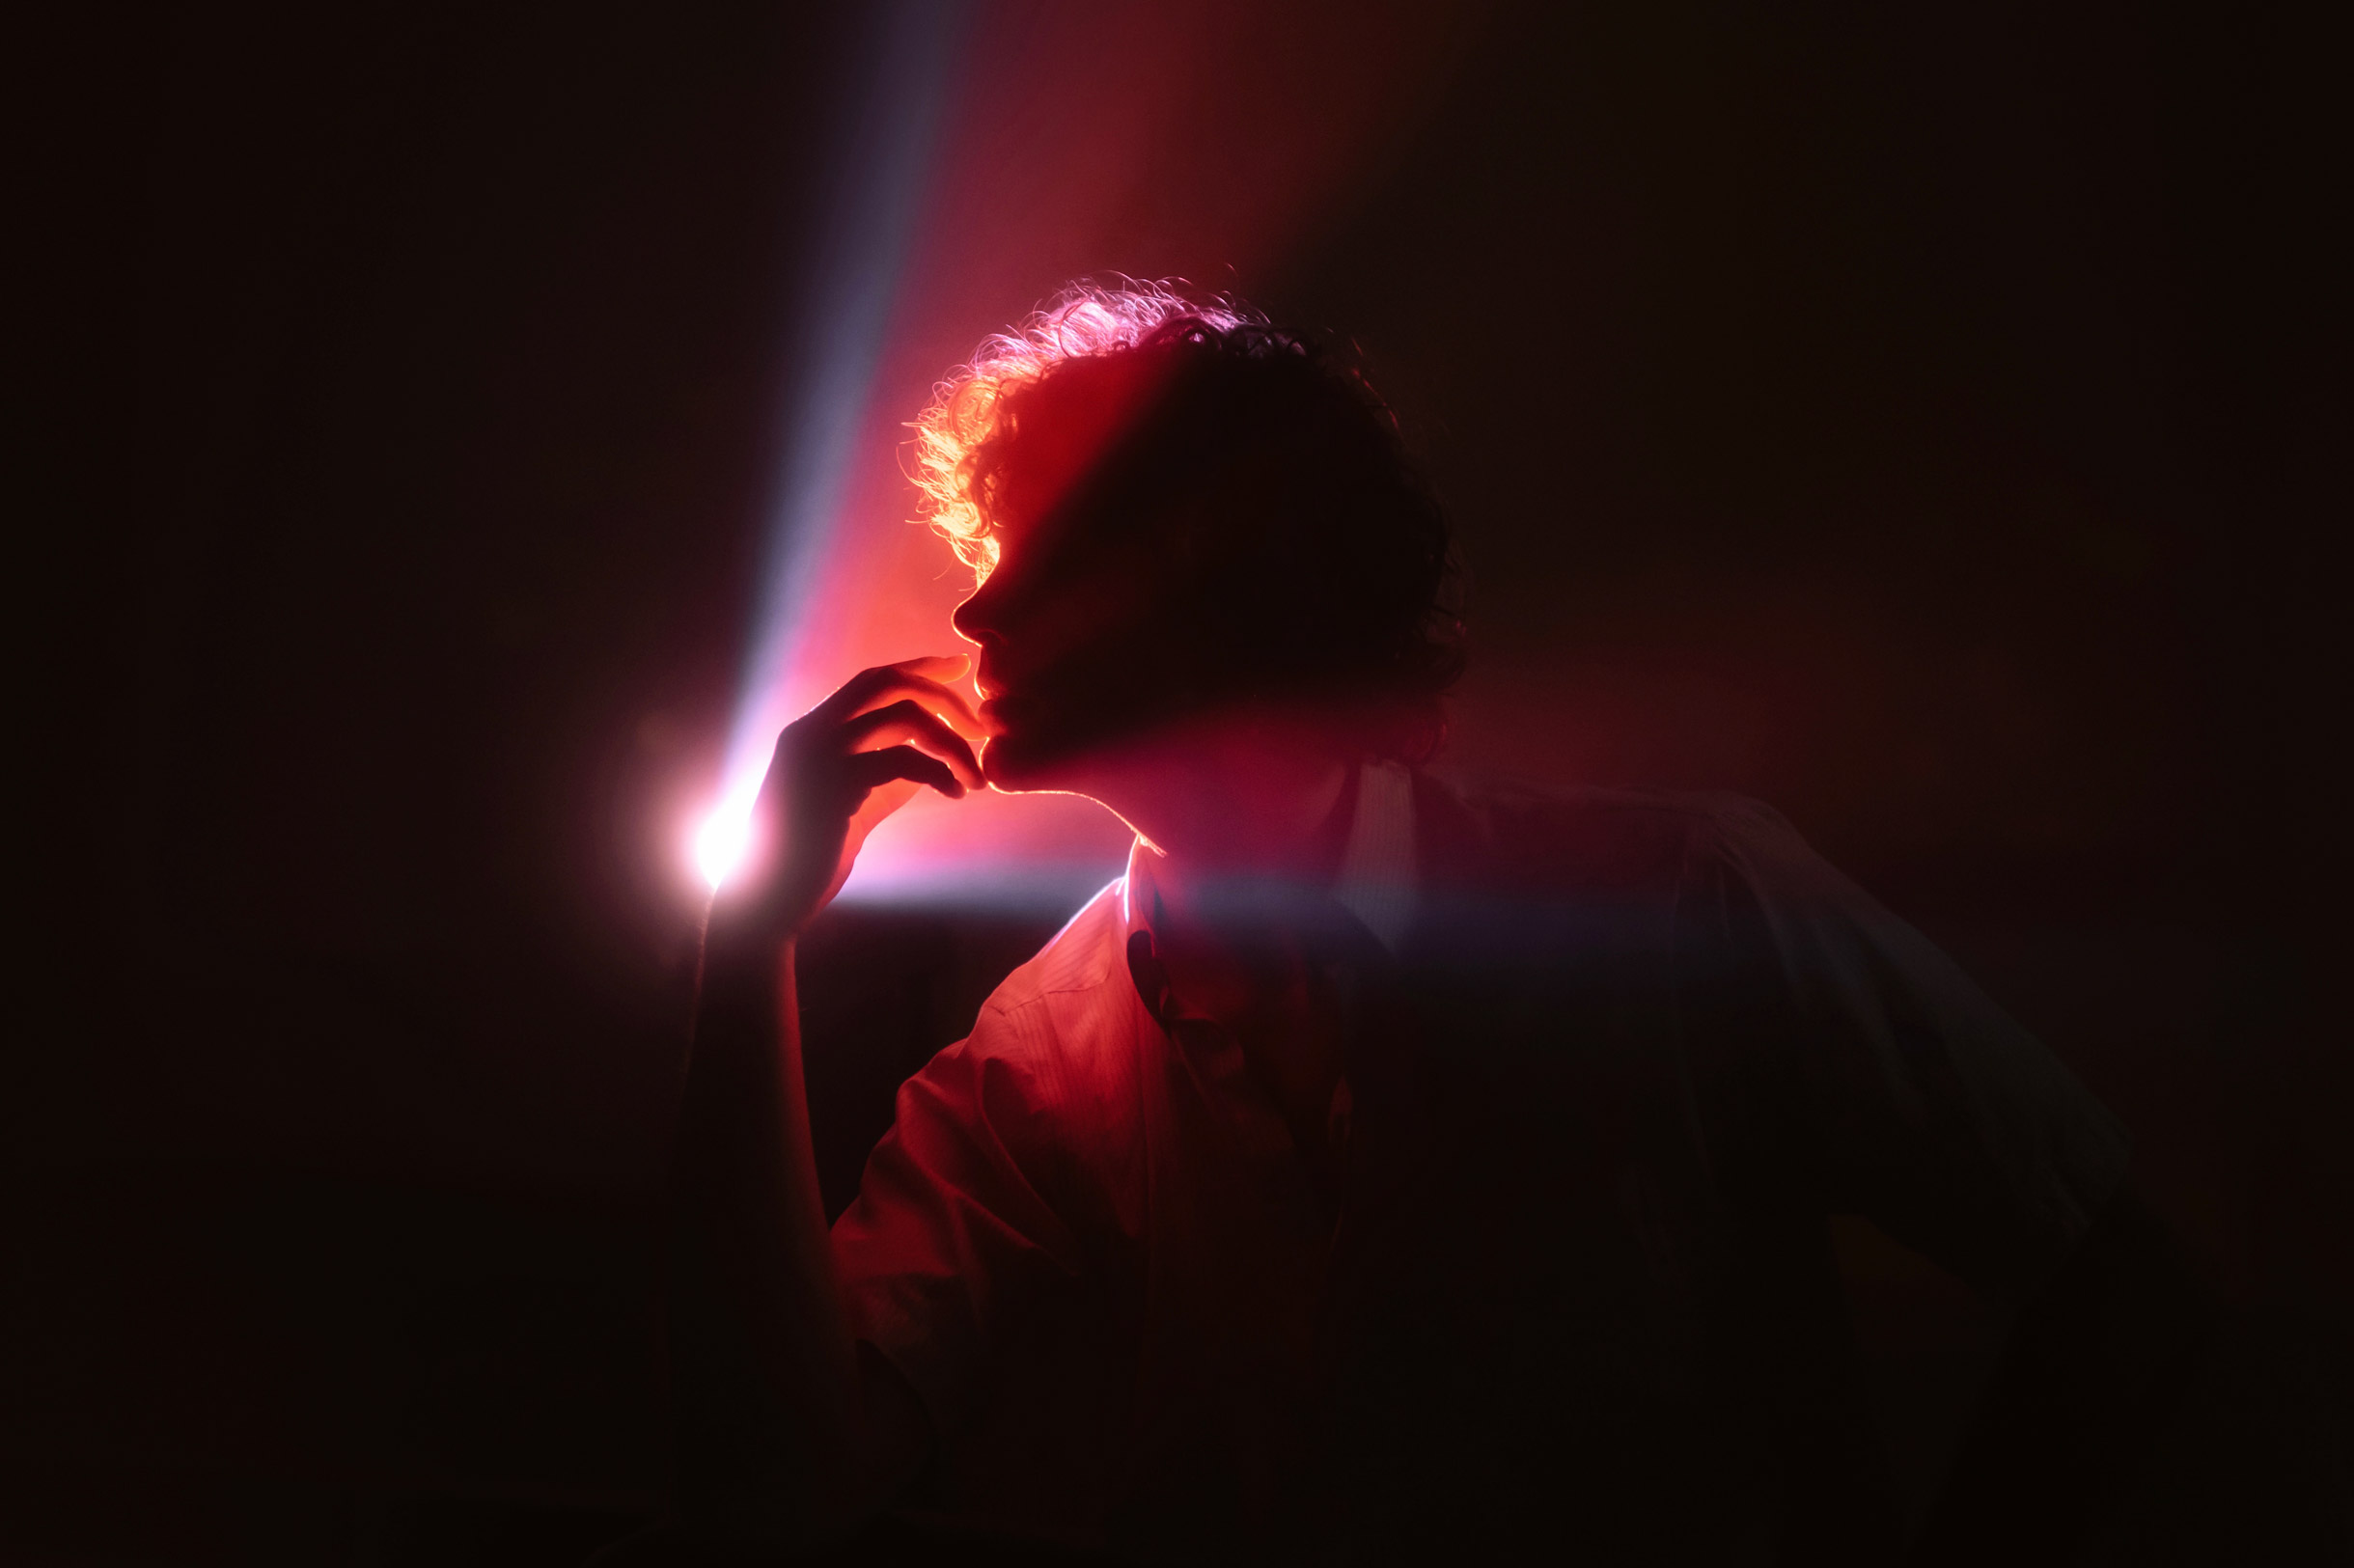
Use Silhouettes and Backlight Techniques
Nikon Z7 II | AF-S 35mm f/1.4G | 1/125 | f/2.8 | ISO 100
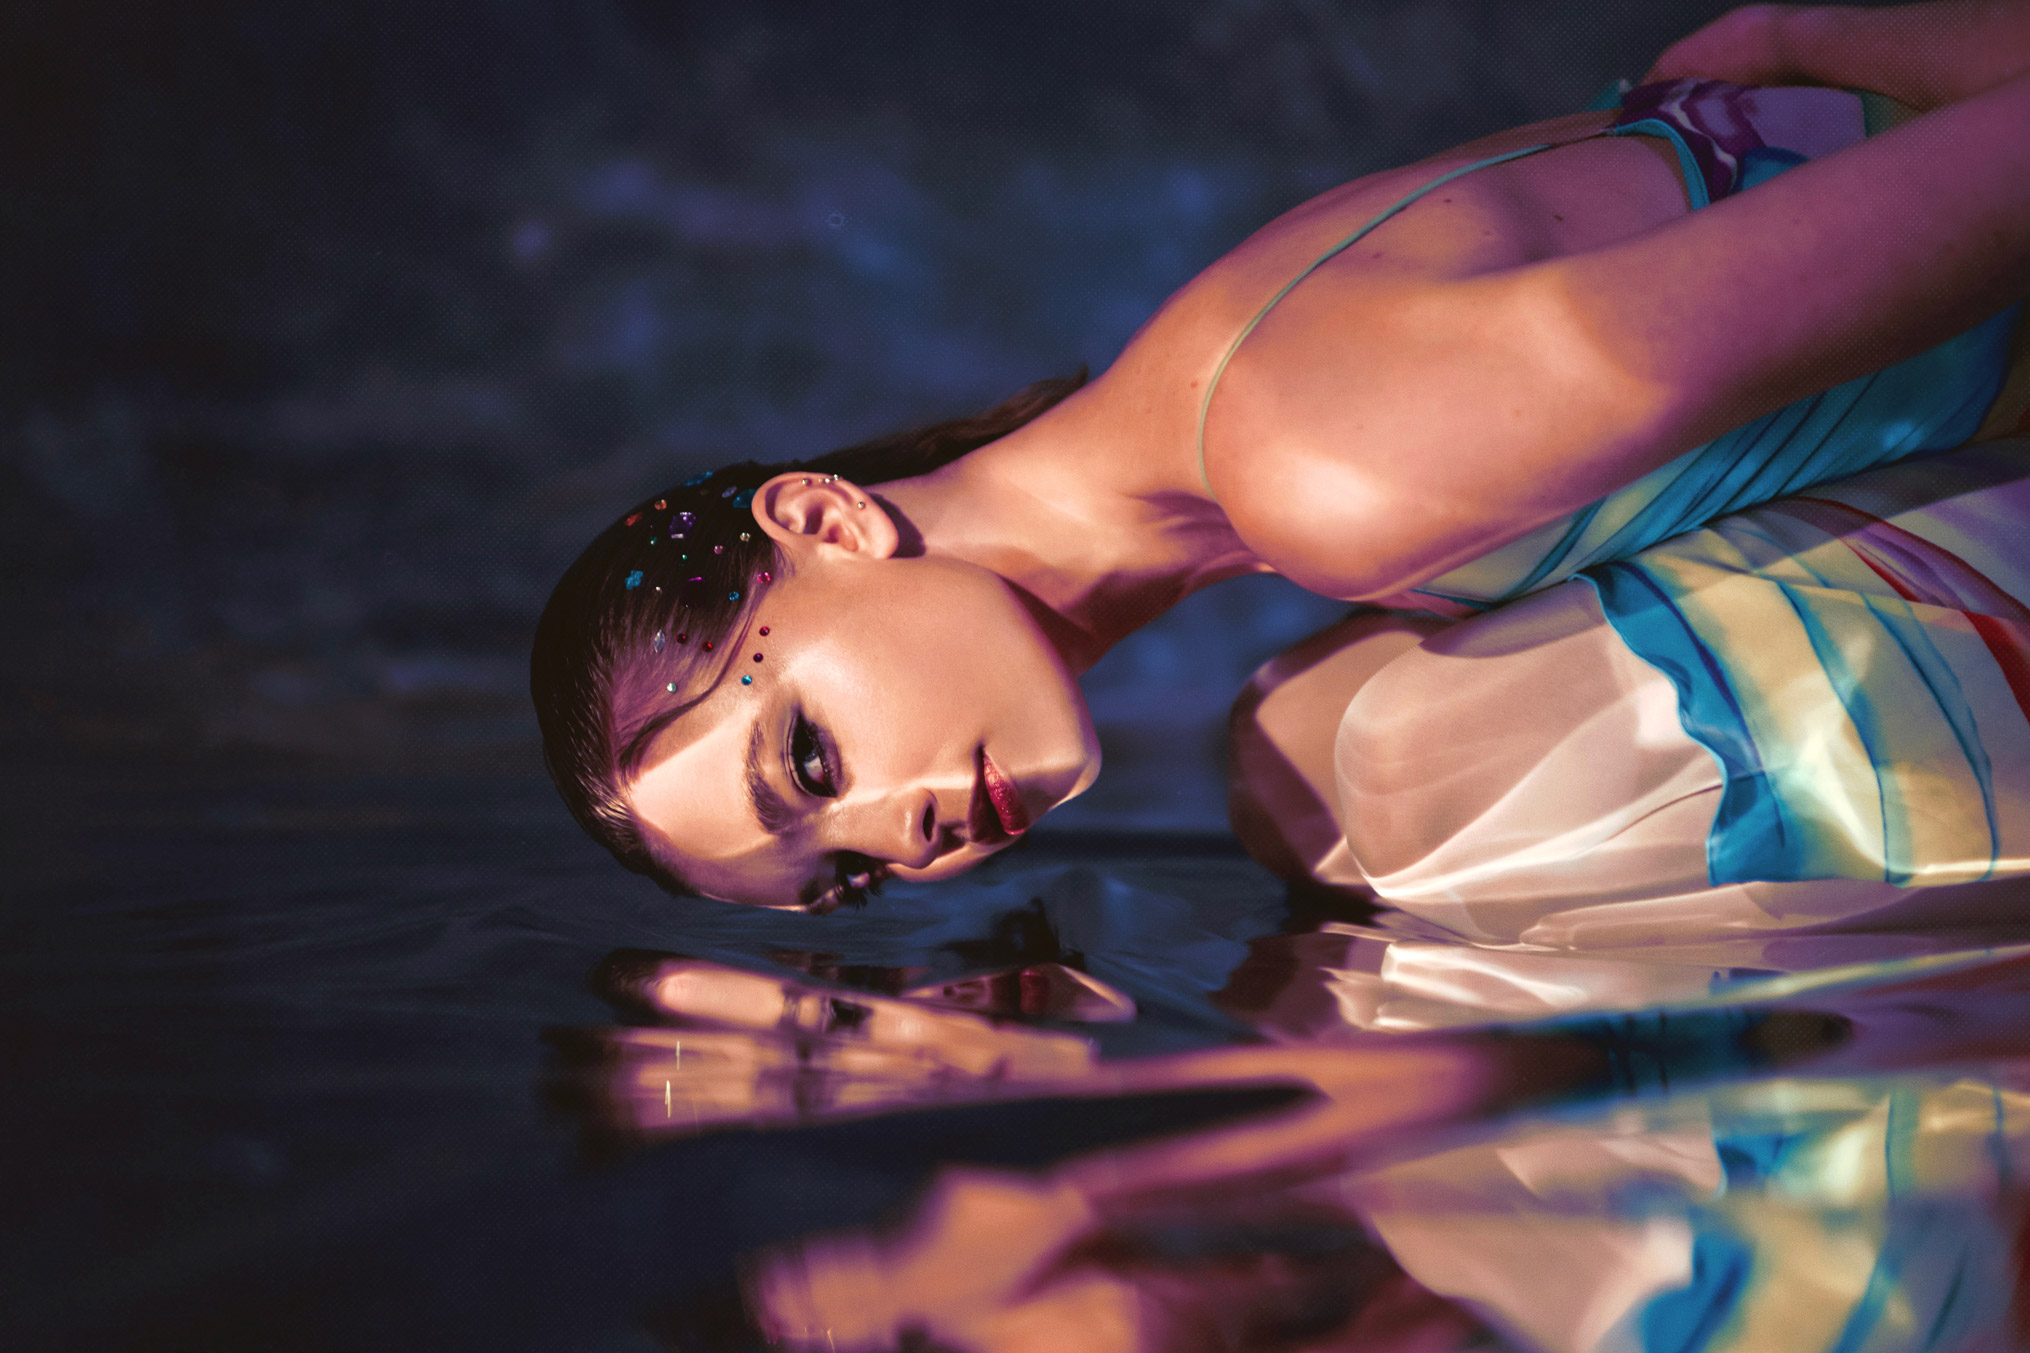
Using backlighting and silhouette techniques can significantly impact the mood of your photos too. When you place the light source behind your subject, you can create dramatic silhouettes that emphasise form over detail. This approach can introduce an element of mystery or drama to your images.
Alternatively, reducing the intensity of your backlight can create a soft glow around your subject, separating them from the background and adding a more dreamy quality to your photo. Experimenting with these different positions and intensities allows you to discover the mood that best fits your own creative vision.
Nikon Z7 II | Nikkor Z 50mm f/1.2 S | 1/200 | f/1.4 | ISO 125
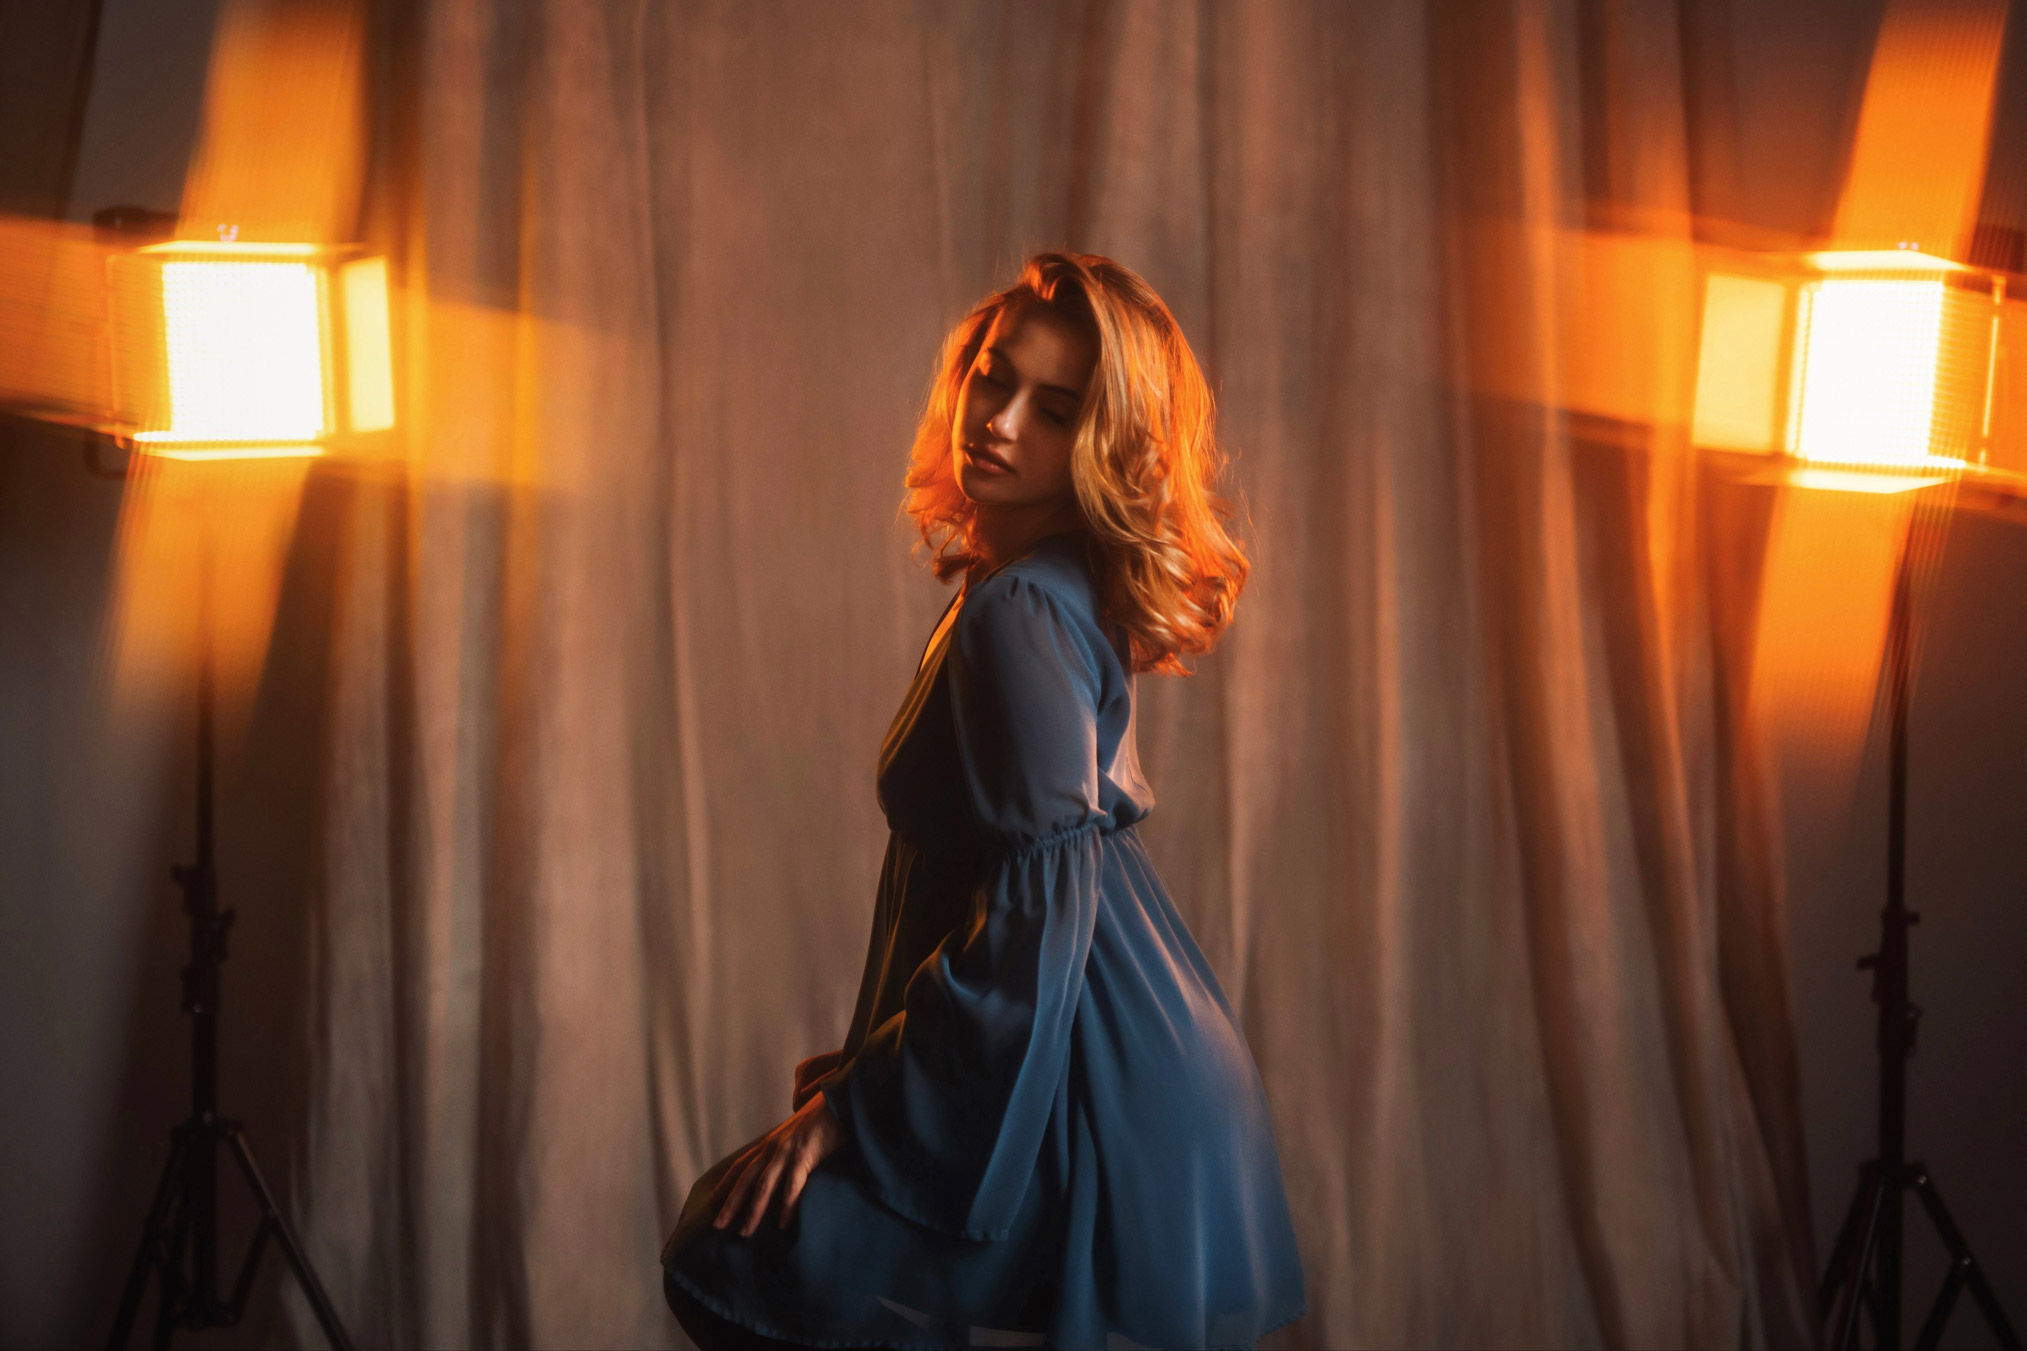
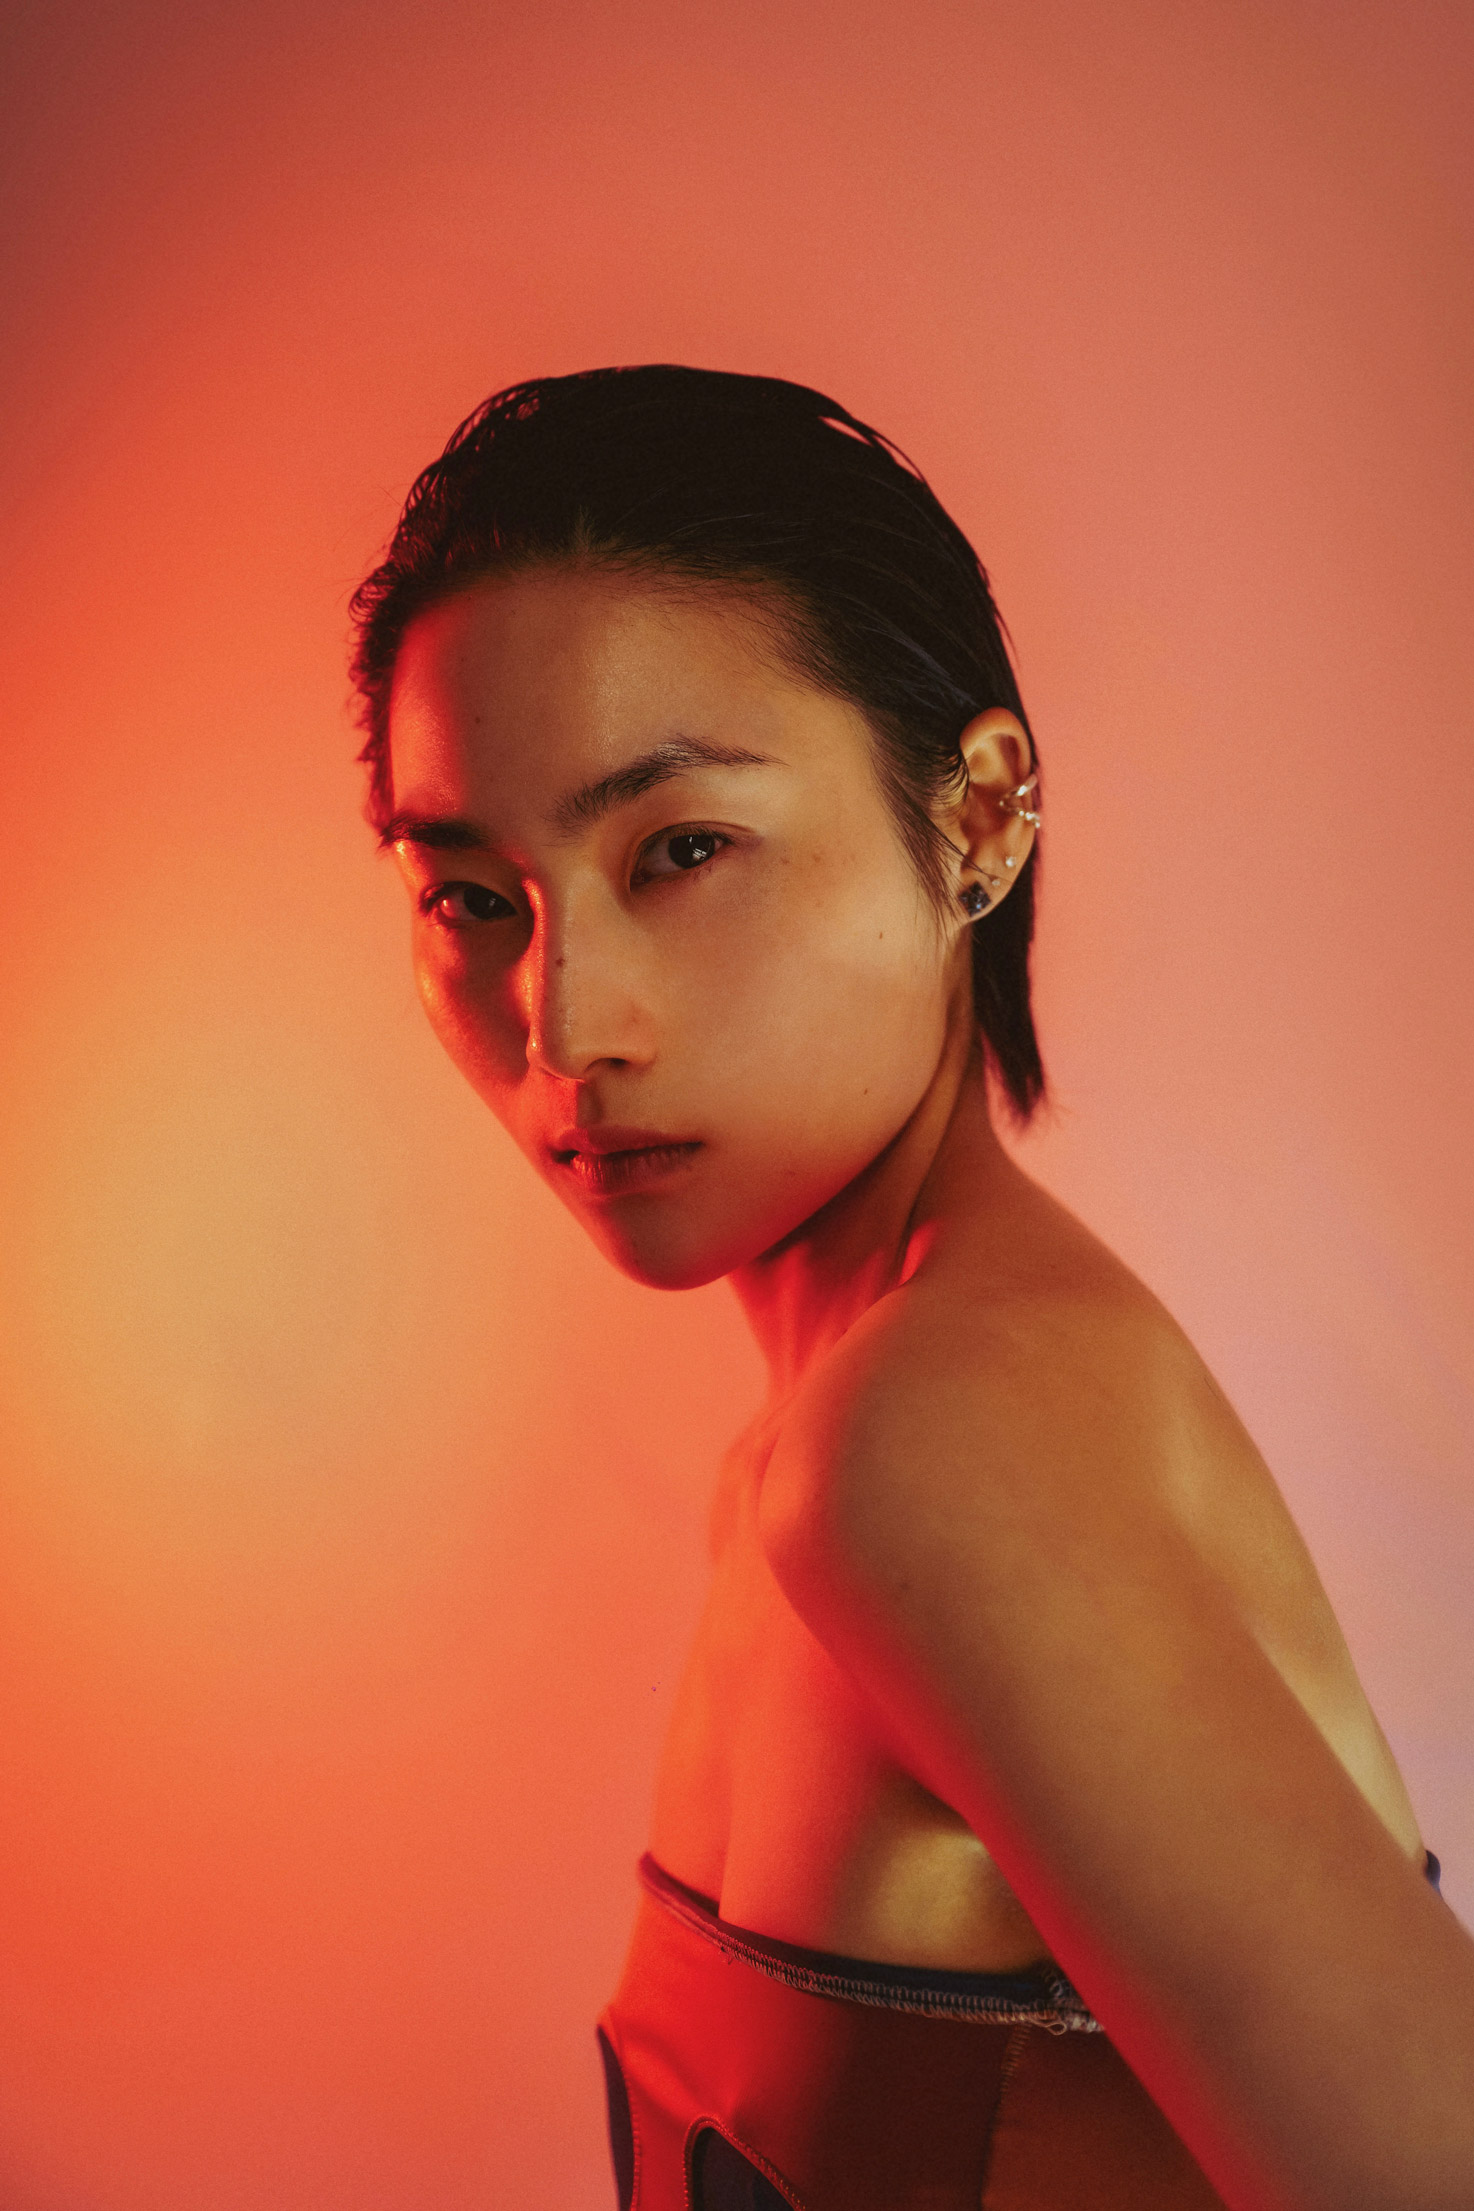
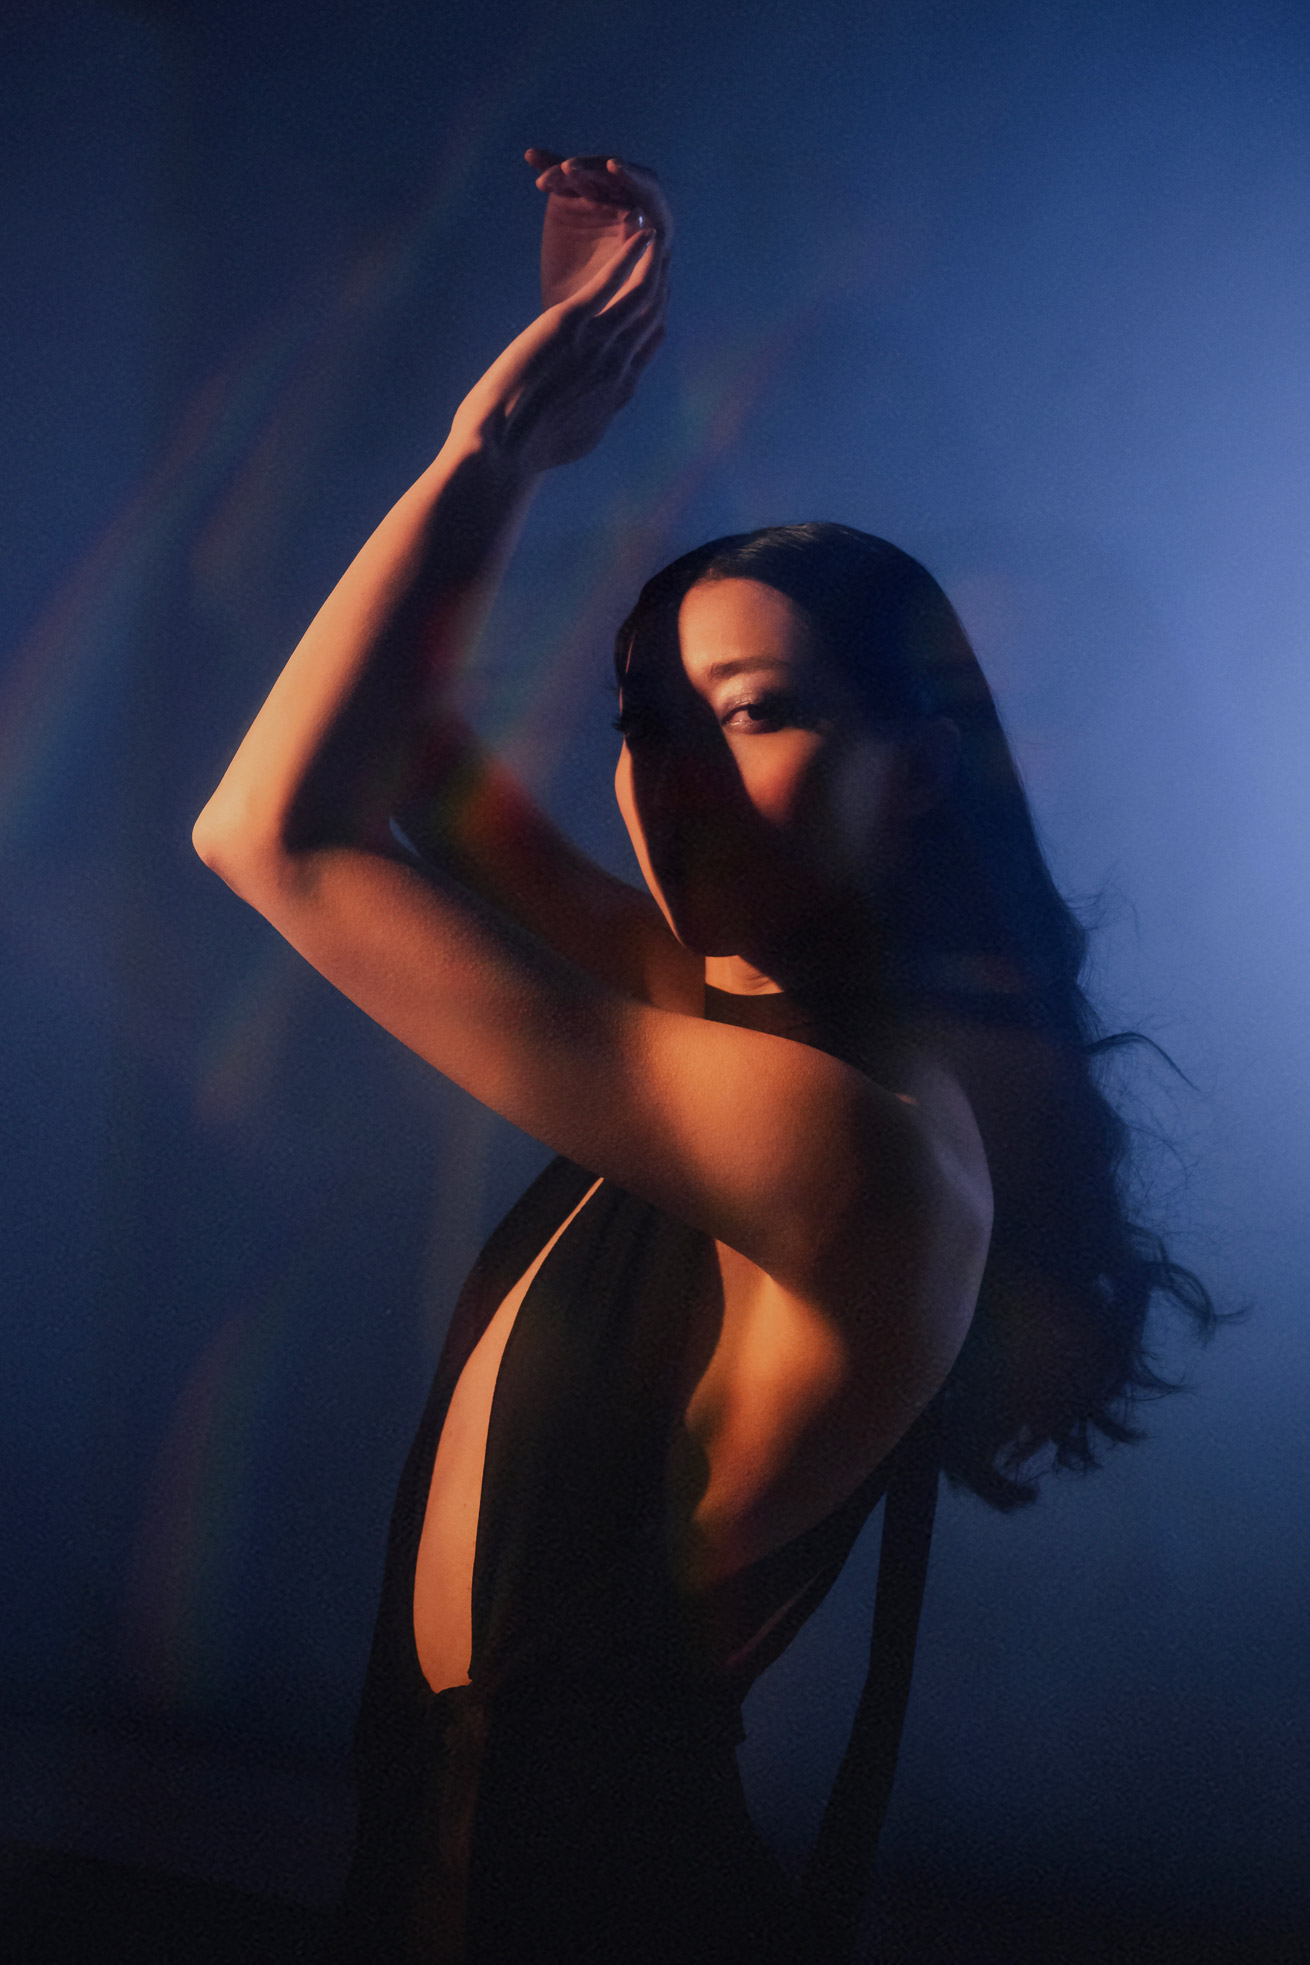
Elevate with Coloured Gels and Panel Lights
Nikon Z7 II | NIKKOR Z 24-70mm f/2.8 S | 39mm | 1/200 | f/2.8 | ISO 800
Introducing colored gels in front of your light sources can dramatically alter the feel of your photos. I personally love using RGB LED lights for their versatility. They offer more precise control over the intensity, saturation, and hue. Additionally, some of these lights come with preset modes that can recreate the ambiance of a lightning storm or even mimic the soft flicker of candlelight.
Don't hesitate to experiment with different color combinations to find what best enhances your subject. One of my go-to techniques is to use dual-colored lighting, positioning one light of each color on either side of my subject. This approach not only adds depth to the photograph but offers many creative options during the editing process.
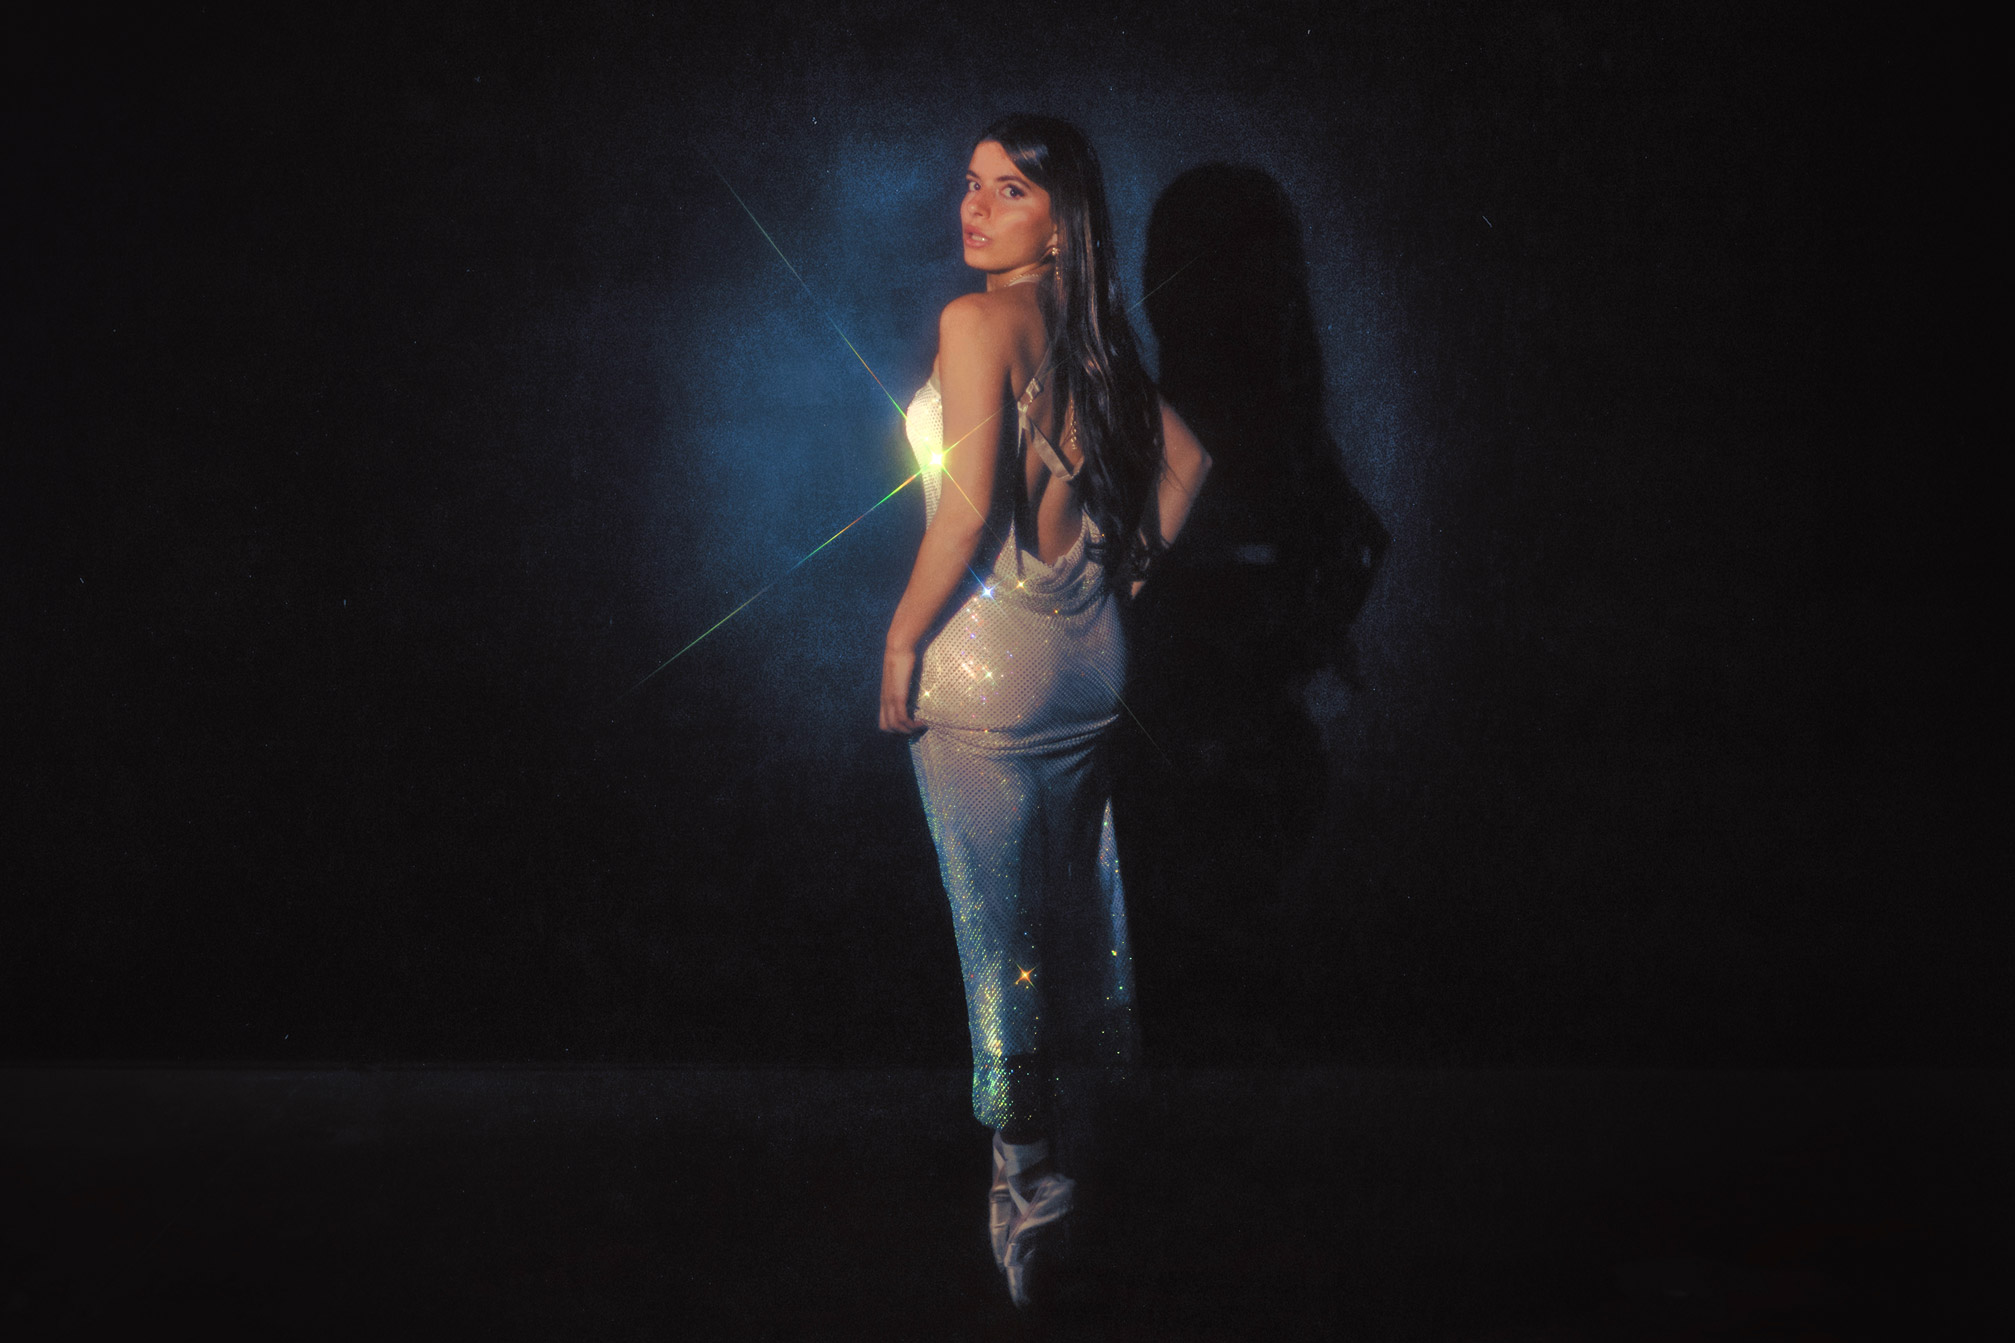
Use Atmosphere for Dramatic Impact
Nikon Z7 II | AF-S Nikkor 35mm f/1.4G | 1/60 | f/1.4 | ISO 800
Adding atmospheric elements to your photography scenes is another great way to enhance your images. While focusing on capturing your subject is crucial, the surrounding environment can significantly help the story or aesthetic you’re trying to convey. Elements like fog, rain, or mist can introduce layers of drama and mystery to your composition. When combined with the lighting techniques we’ve already covered, the result is a captivating play of light and shadow.
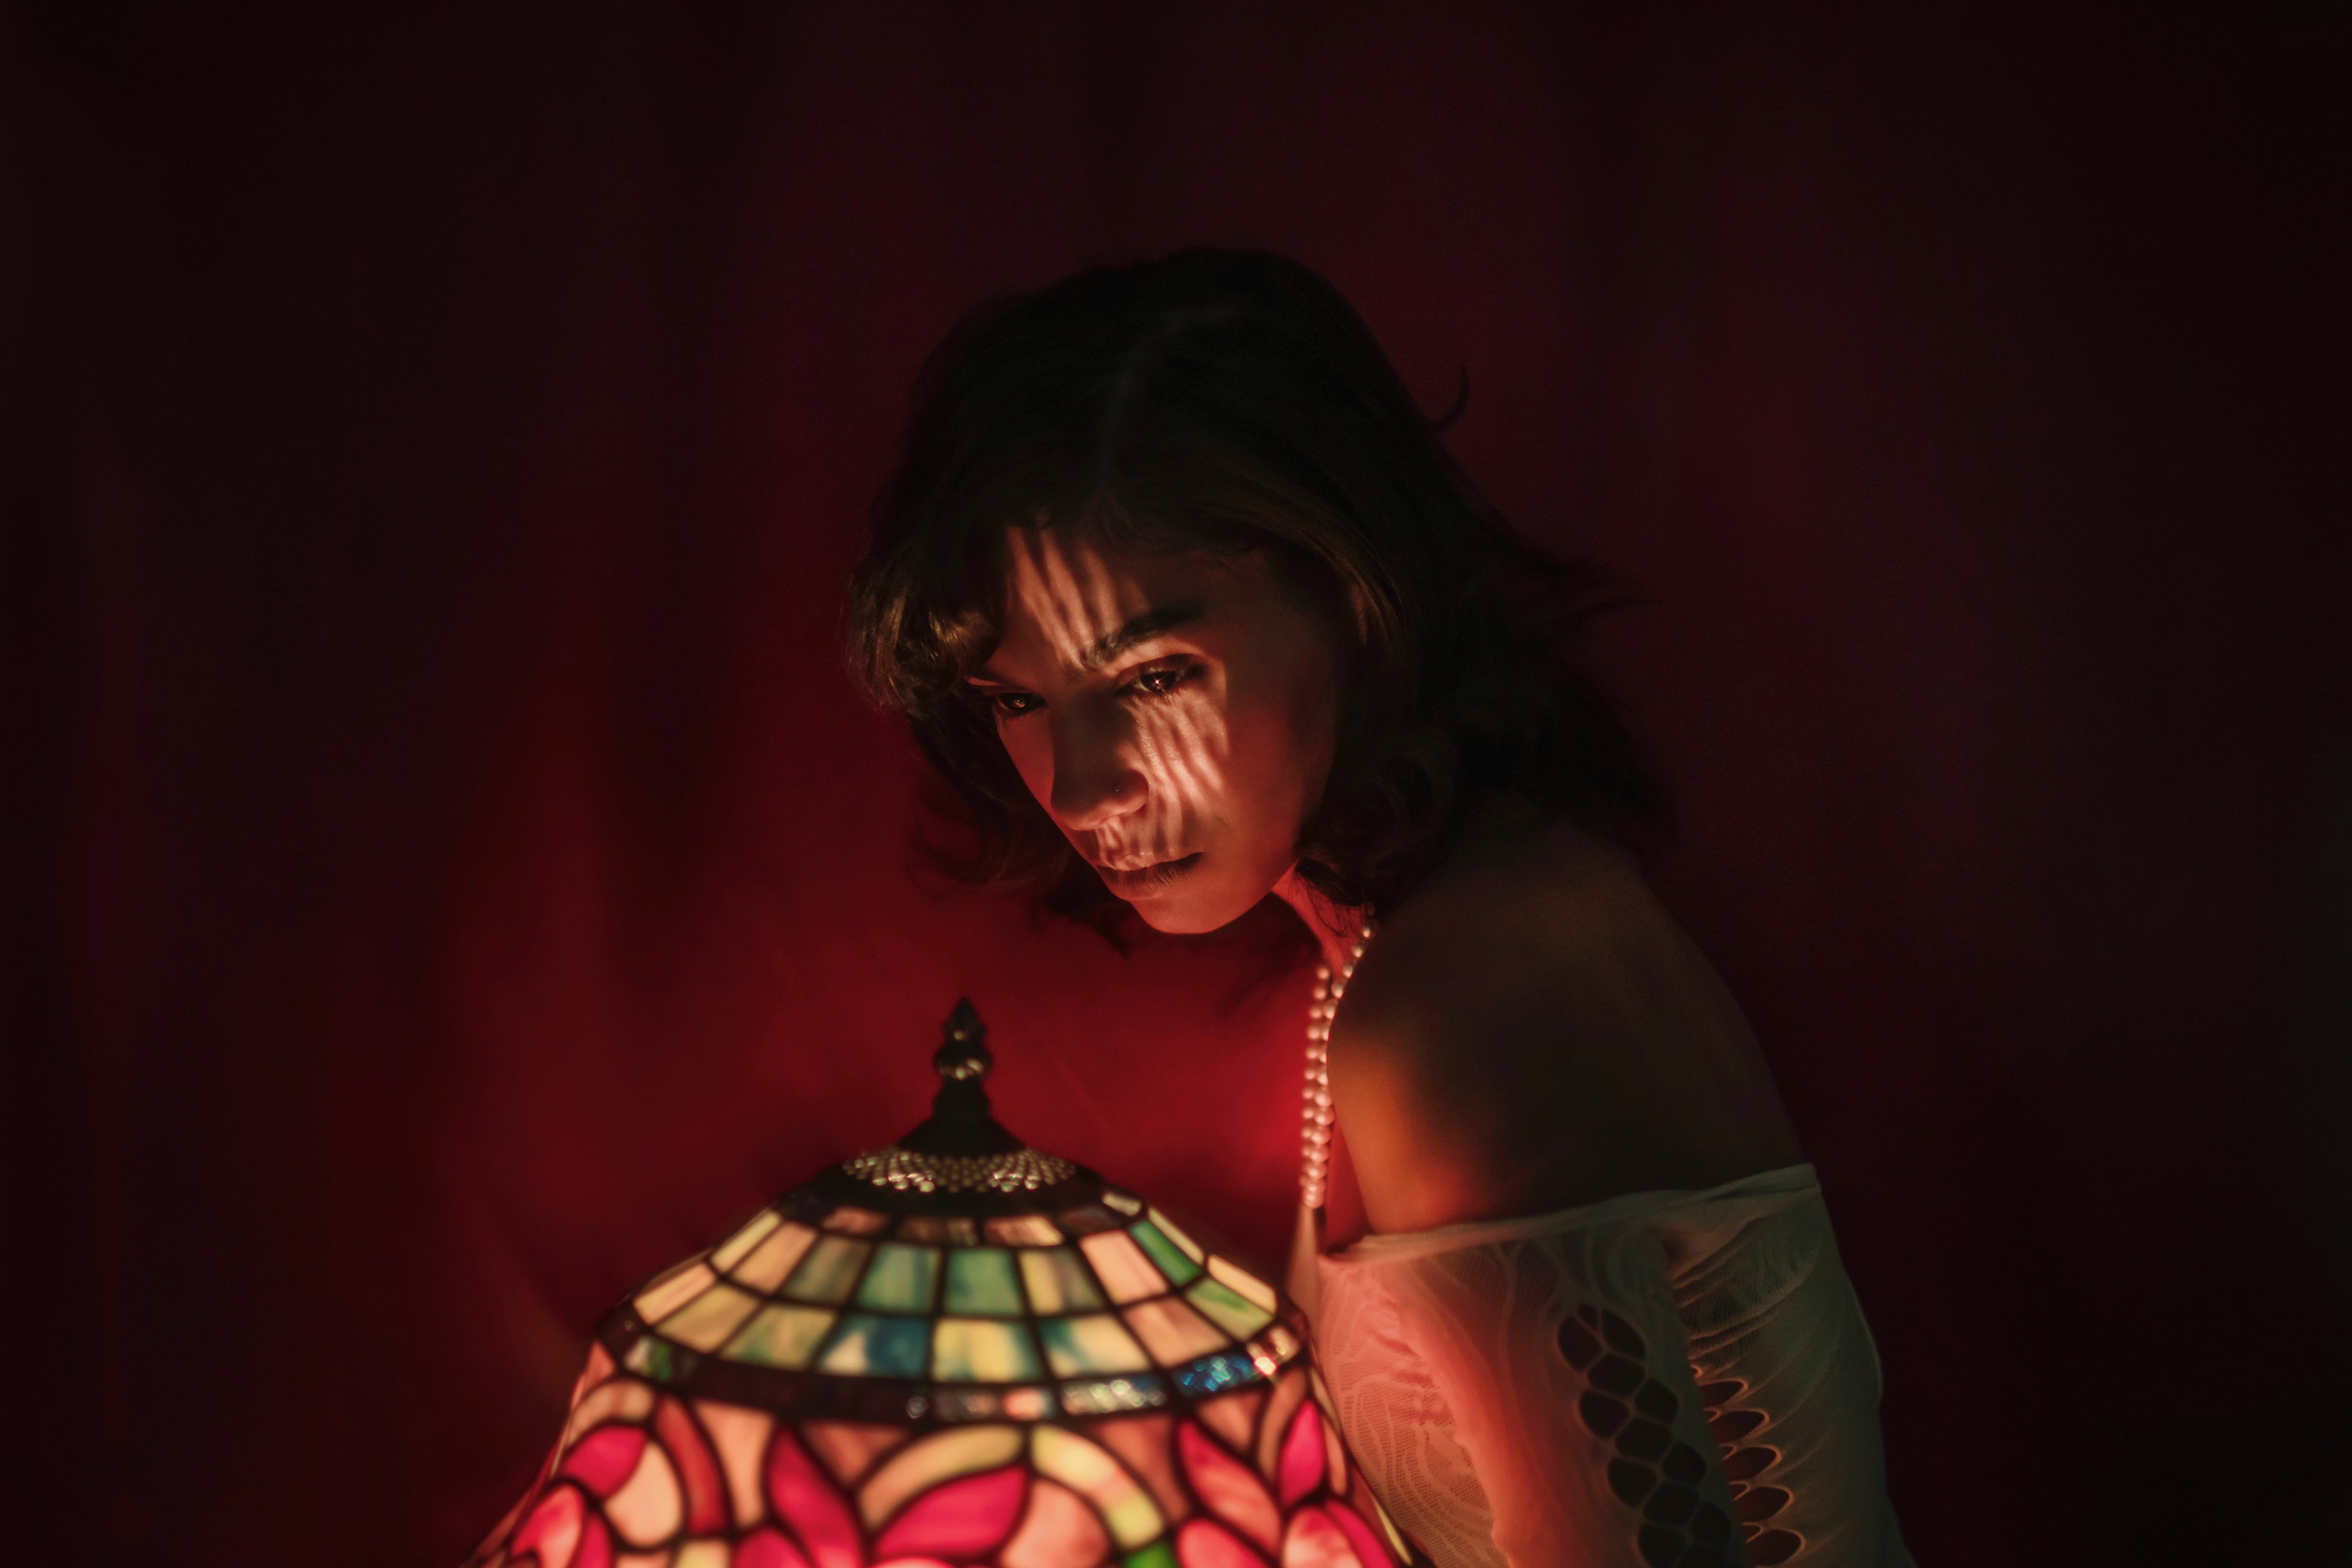
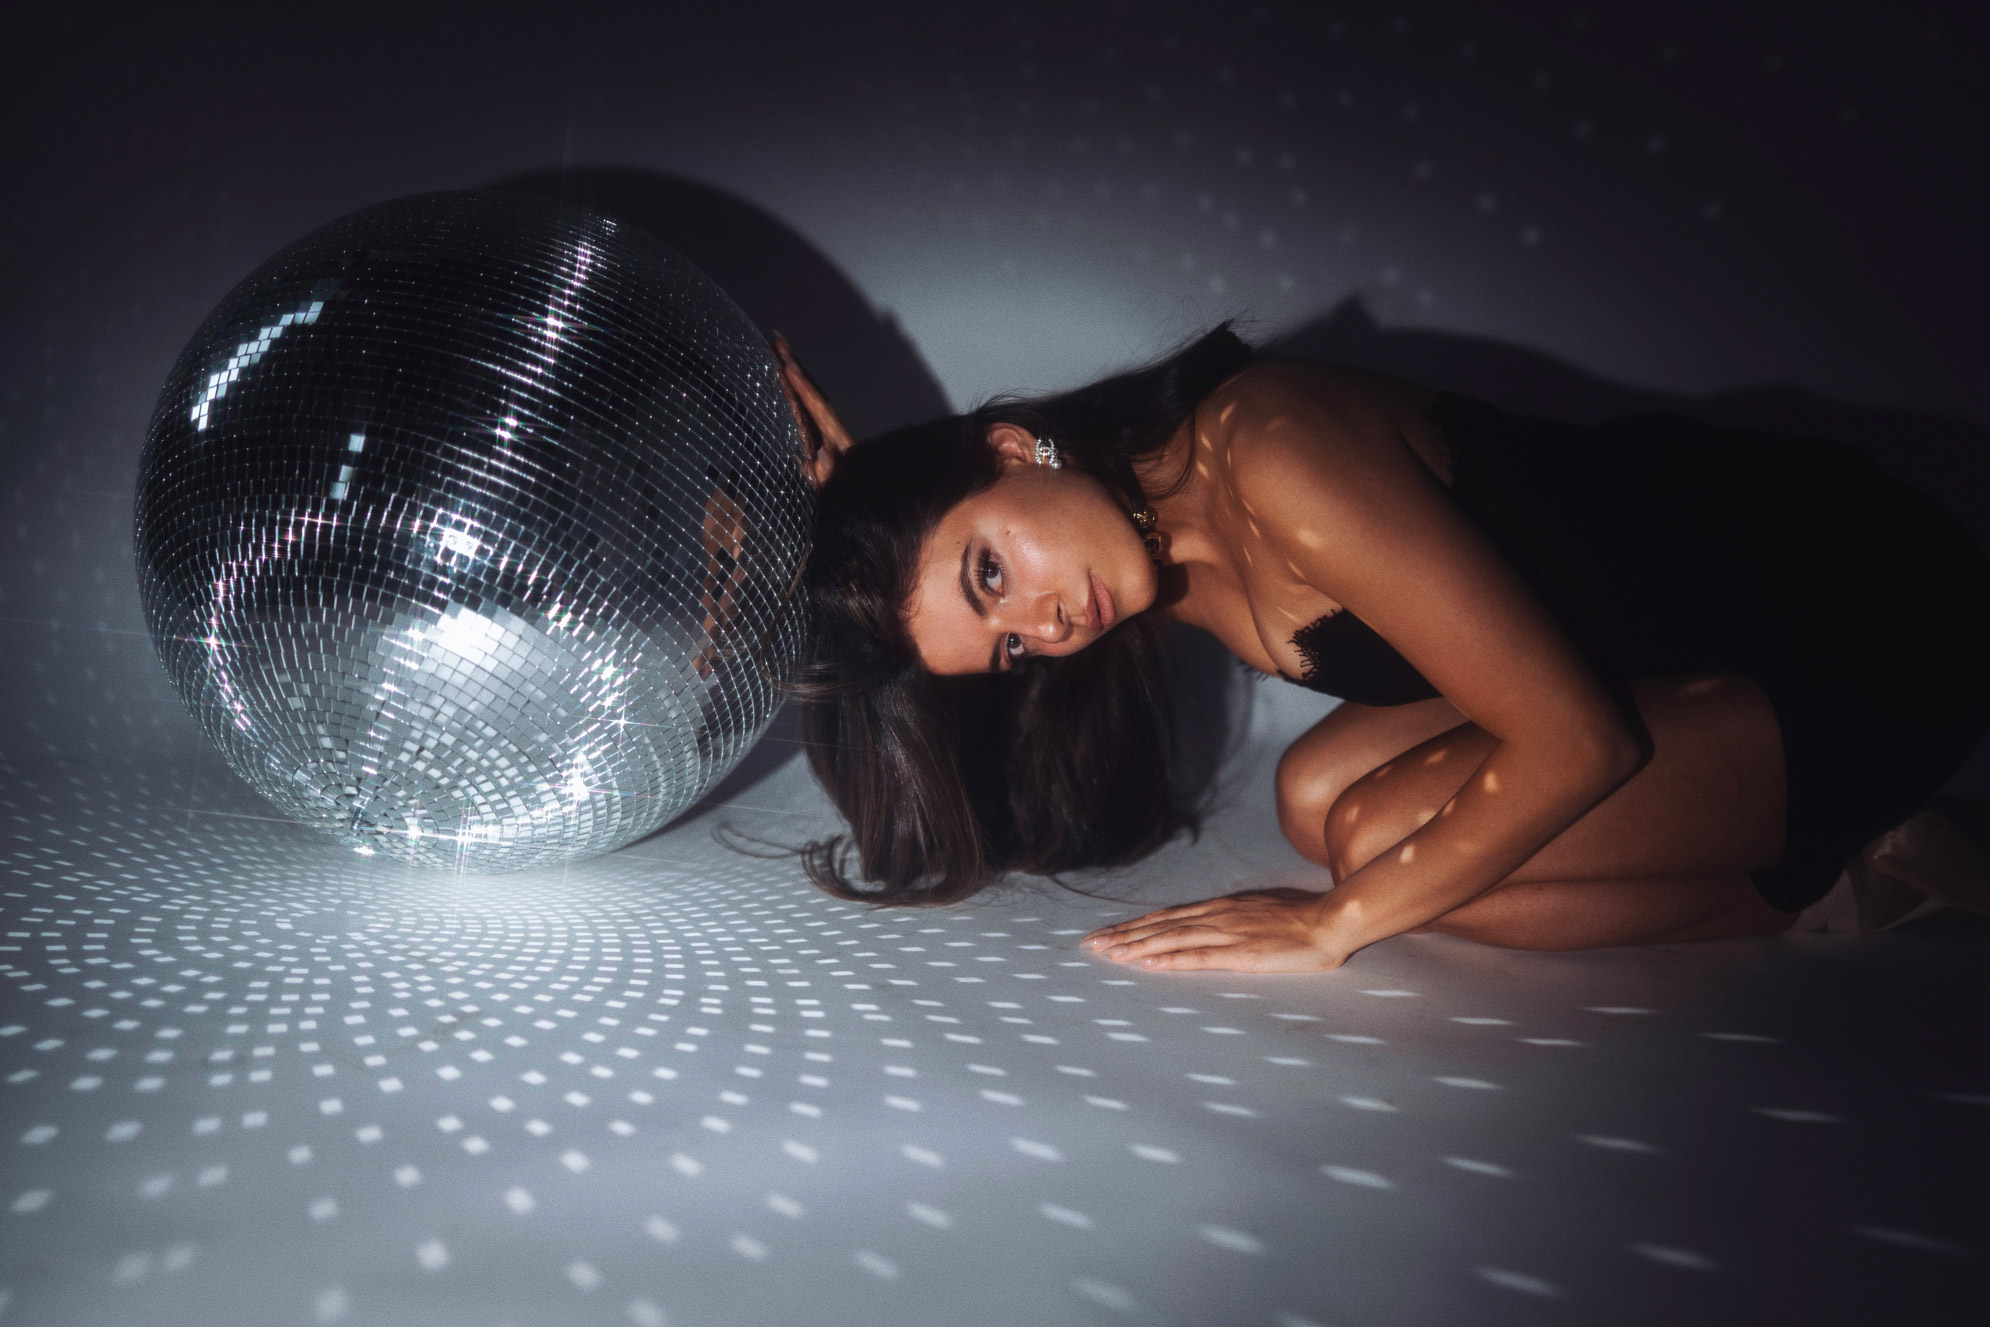
Introduce Props to Enhance Portrait
Nikon Z7 II | AF-S 35mm f/1.4G | 1/100 | f/1.4 | ISO 250
Using props in your photos can also make them much more interesting, and they can do more than just adding visual flair; they can tell a story and give your model something to interact with. Getting a natural pose from your subject can be challenging, but having a prop can make it easier for them to move with. Consider using household items you already own, like mirrors to add depth, lamps for unique lighting or a disco ball for a lively vibe. The perfect prop for your next photoshoot may be closer than you think.
Nikon Z7 II | Z 50mm f/1.2 S | 1/200 | f/1.3 | ISO 40
Use the Right Gear

Nikon Z7 II | AF-S 35mm f/1.4G | 1/200 | f/1.4 | ISO 800
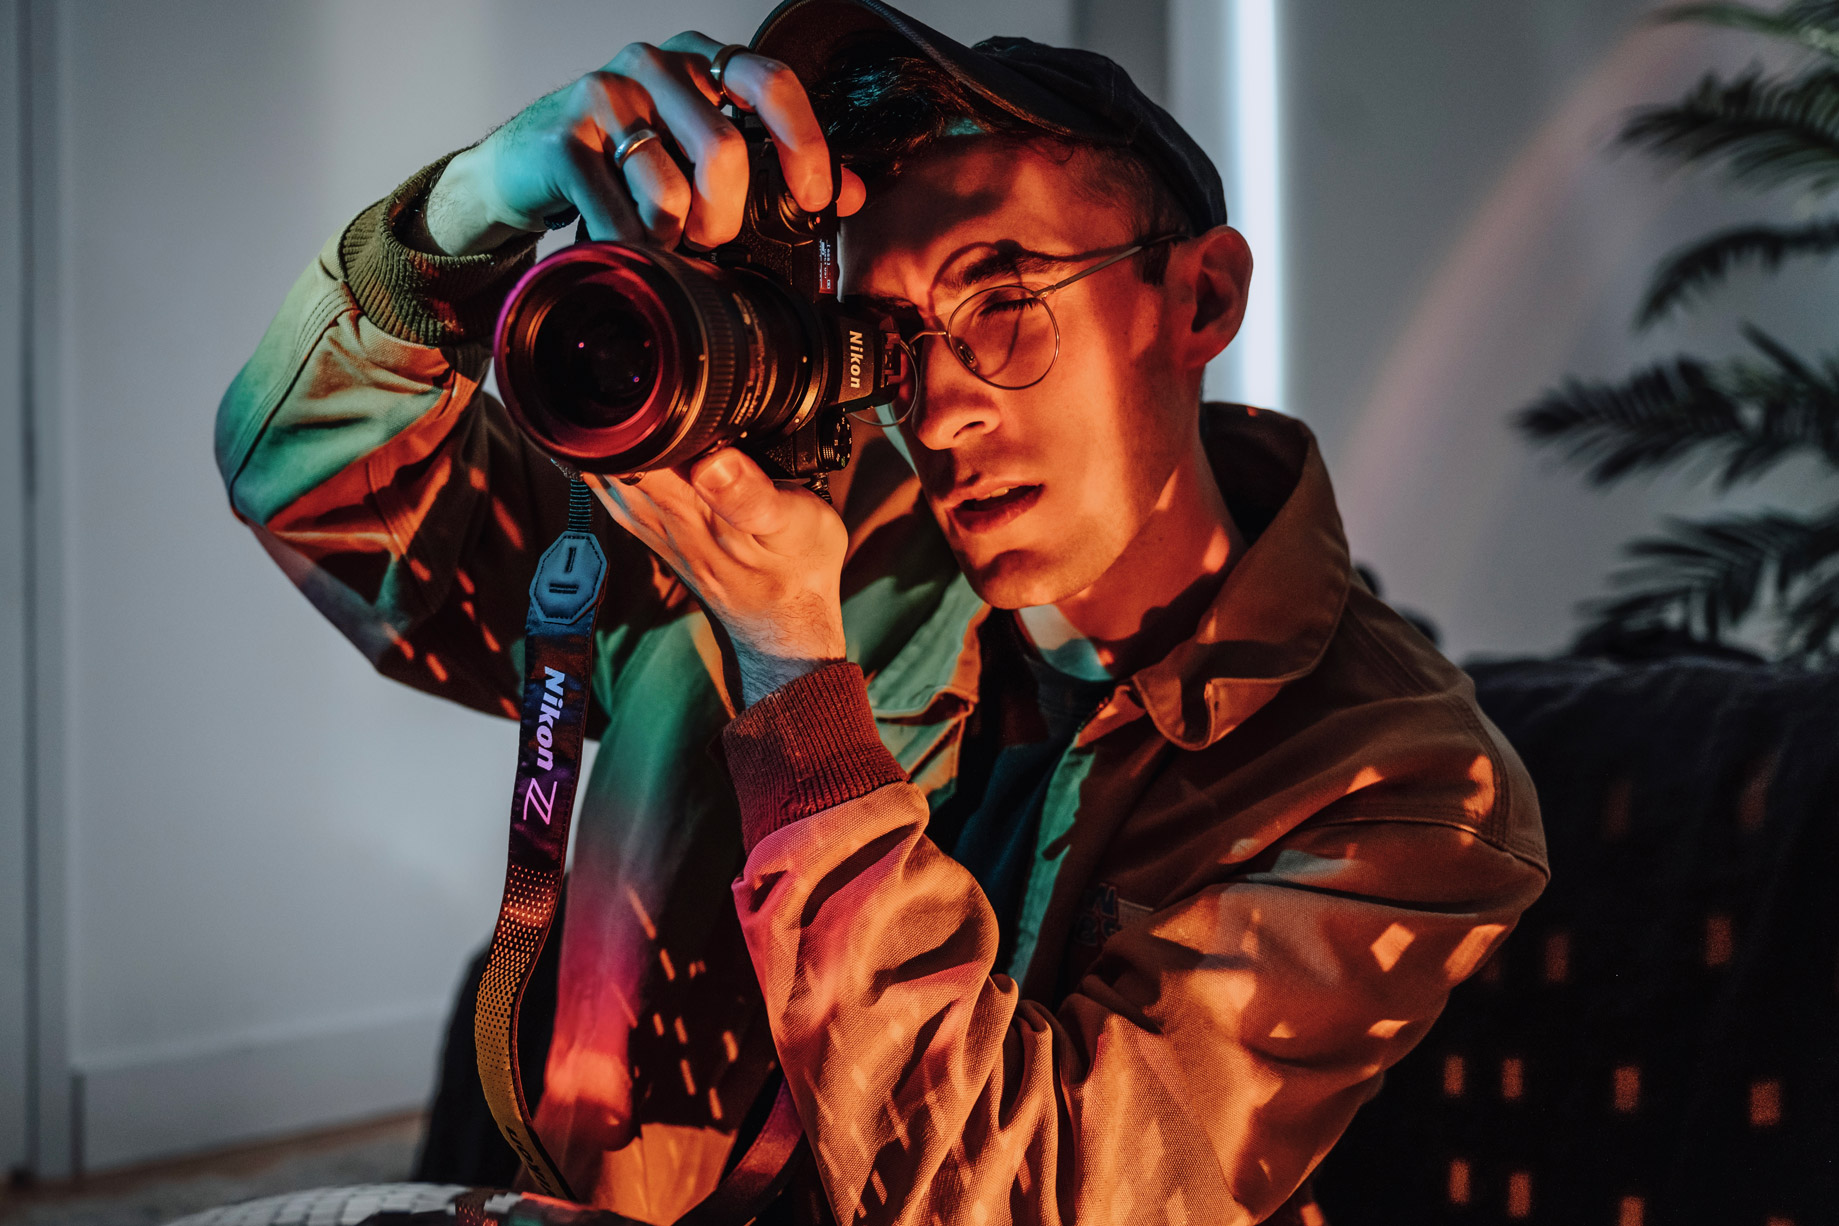
Investing in the right camera equipment can most definitely improve the quality of your photography. There may be times when you have the perfect vision for a shoot but lack the tools to bring it to life. Upgrading your camera body can provide benefits like higher resolution, improved colour accuracy and faster autofocus. Accessories like tripods and gimbals can help you capture shots that were previously out of reach. Having the right tools can certainly make it easier to bring your creative vision to life.
Nikon Z7 II | NIKKOR Z 24-70mm f/2.8 S | 38mm | 1/320 | f/4.0 | ISO 1600
Thanks, Brandon, for those tips on creative portrait lighting. Check out more of Brandon’s work on Instagram @brandonwoelfel. Discover more guides like this on the MPB content hub.