MPB guide: How to create your own Lightroom presets
Published 12 November 2021 by MPB
Lightroom presets are simply a collection of edits that you can apply to your photos. Think of them as filters. All of the adjustments you make in Lightroom can be recorded into preset. It’s an image filter used to simplify your post-production process and improve the lighting, contrast, shade, colour, brightness, and more in your photos.
Unlike Instagram filters, Lightroom presets allow you to make individual changes to all photos, giving them a distinct and high-quality look, in just one click. This can be helpful for creating your own stylized look or sending a multitude of options to send to clients. However, presets aren’t just for people who are starting out in photography. Nearly all professional photographers, bloggers and Instagrammers use Lightroom to edit their photos.
Whether or not you’re already familiar with Lightroom presets, keep reading to learn how these can profoundly affect your workflow and significantly reshape how you edit your photos.
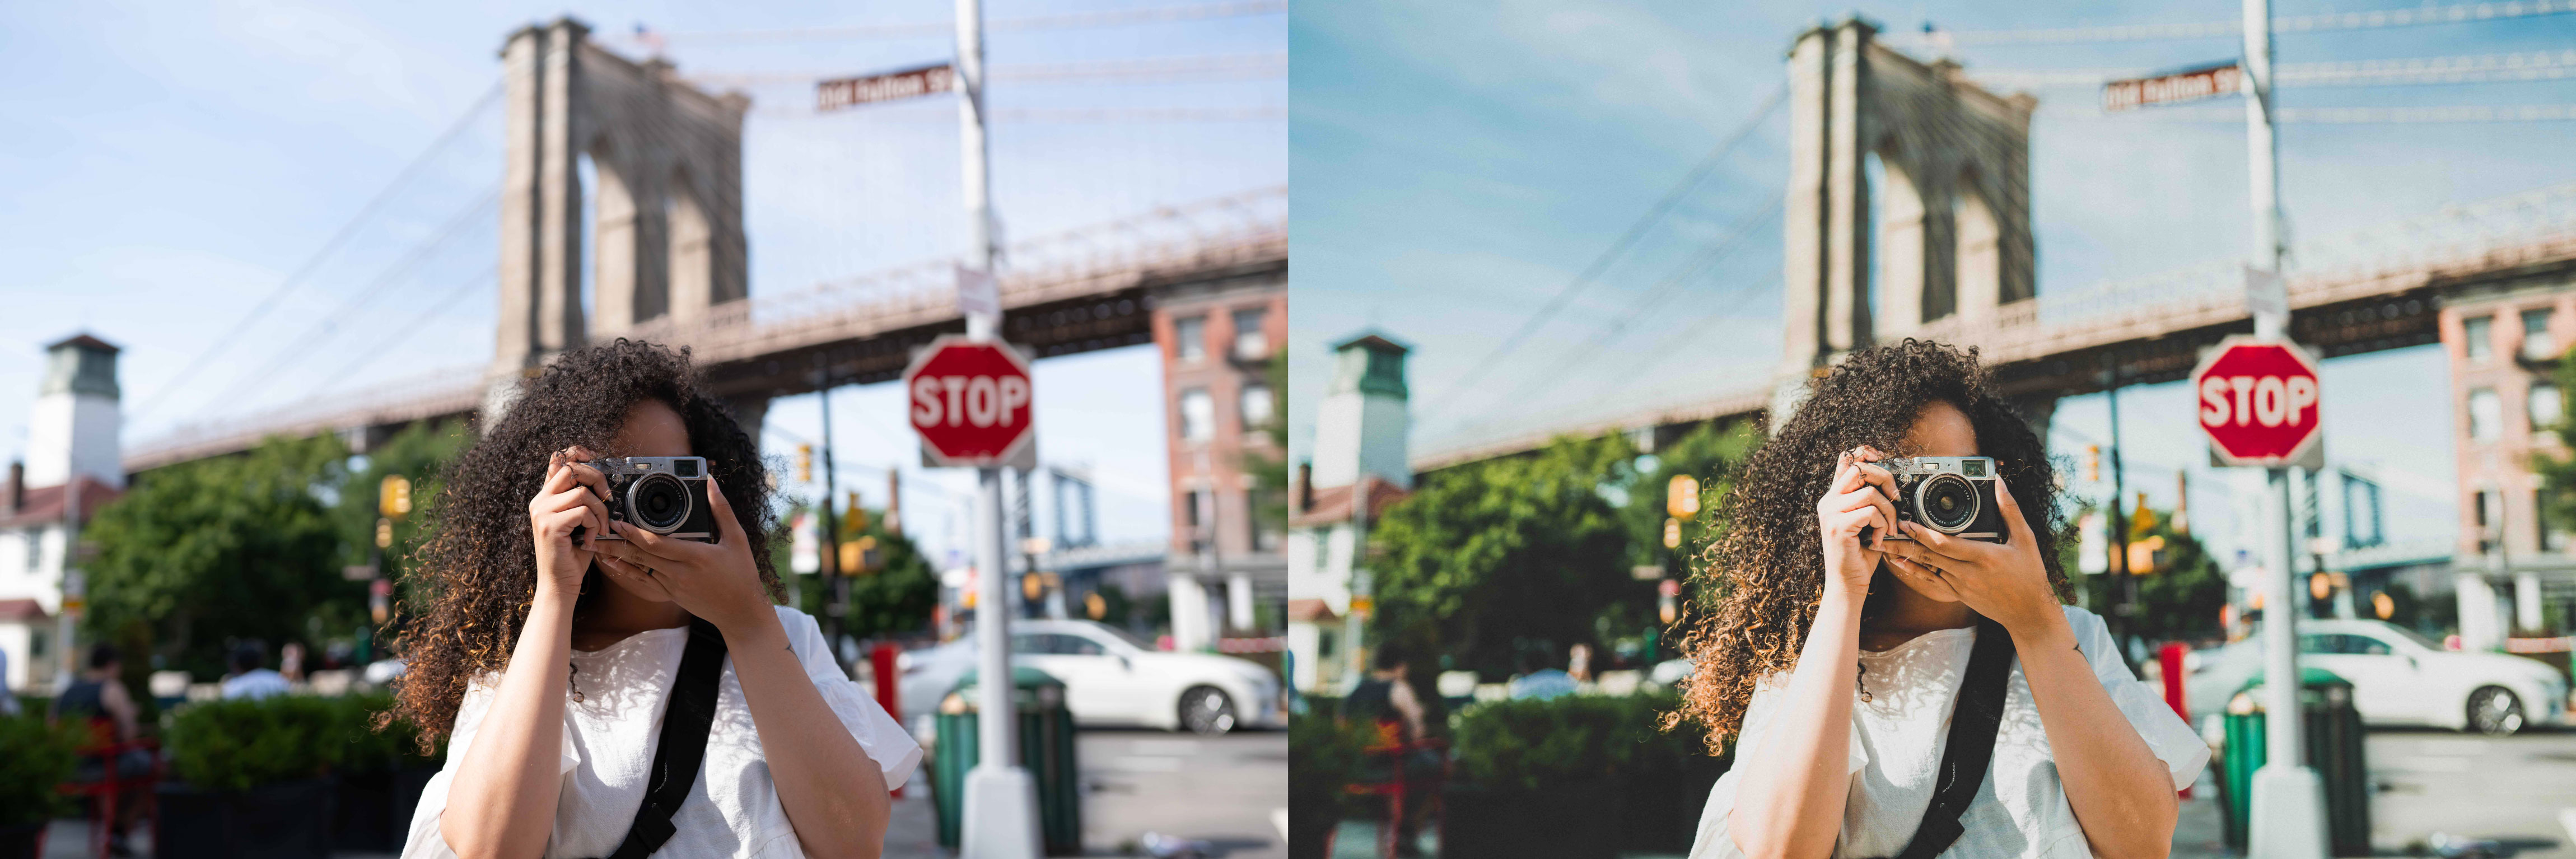
If you can, always shoot in RAW
RAW image files contain much more data than JPEGs. When it comes to editing your photos or applying presets, RAW image files will allow you much greater control over your levels and colours. They will appear ‘flat’ straight out of the camera, so if you like being able to see how your camera creates JPEGs—or to preview your images quicker on a desktop—then you should still be able to set your camera so it captures all your photos as both RAW and JPEG. This will take up a lot more room though, so it’s a good idea to invest in a higher-capacity SD card.
Fujifilm mirrorless cameras are renowned for their JPEG film simulations, you can still shoot in RAW on these cameras and apply their simulations as presets. This will give you the option to choose between simulations later, instead of being constrained to the one you chose on the camera. Once ‘baked in’ as a JPEG, you’re far more limited in your options. But some photographers will still prefer the ease of use of shooting JPEG, in which case you still have a little room to play with using presets in Lightroom. For the purposes of this guide, though, we would recommend using RAW files.
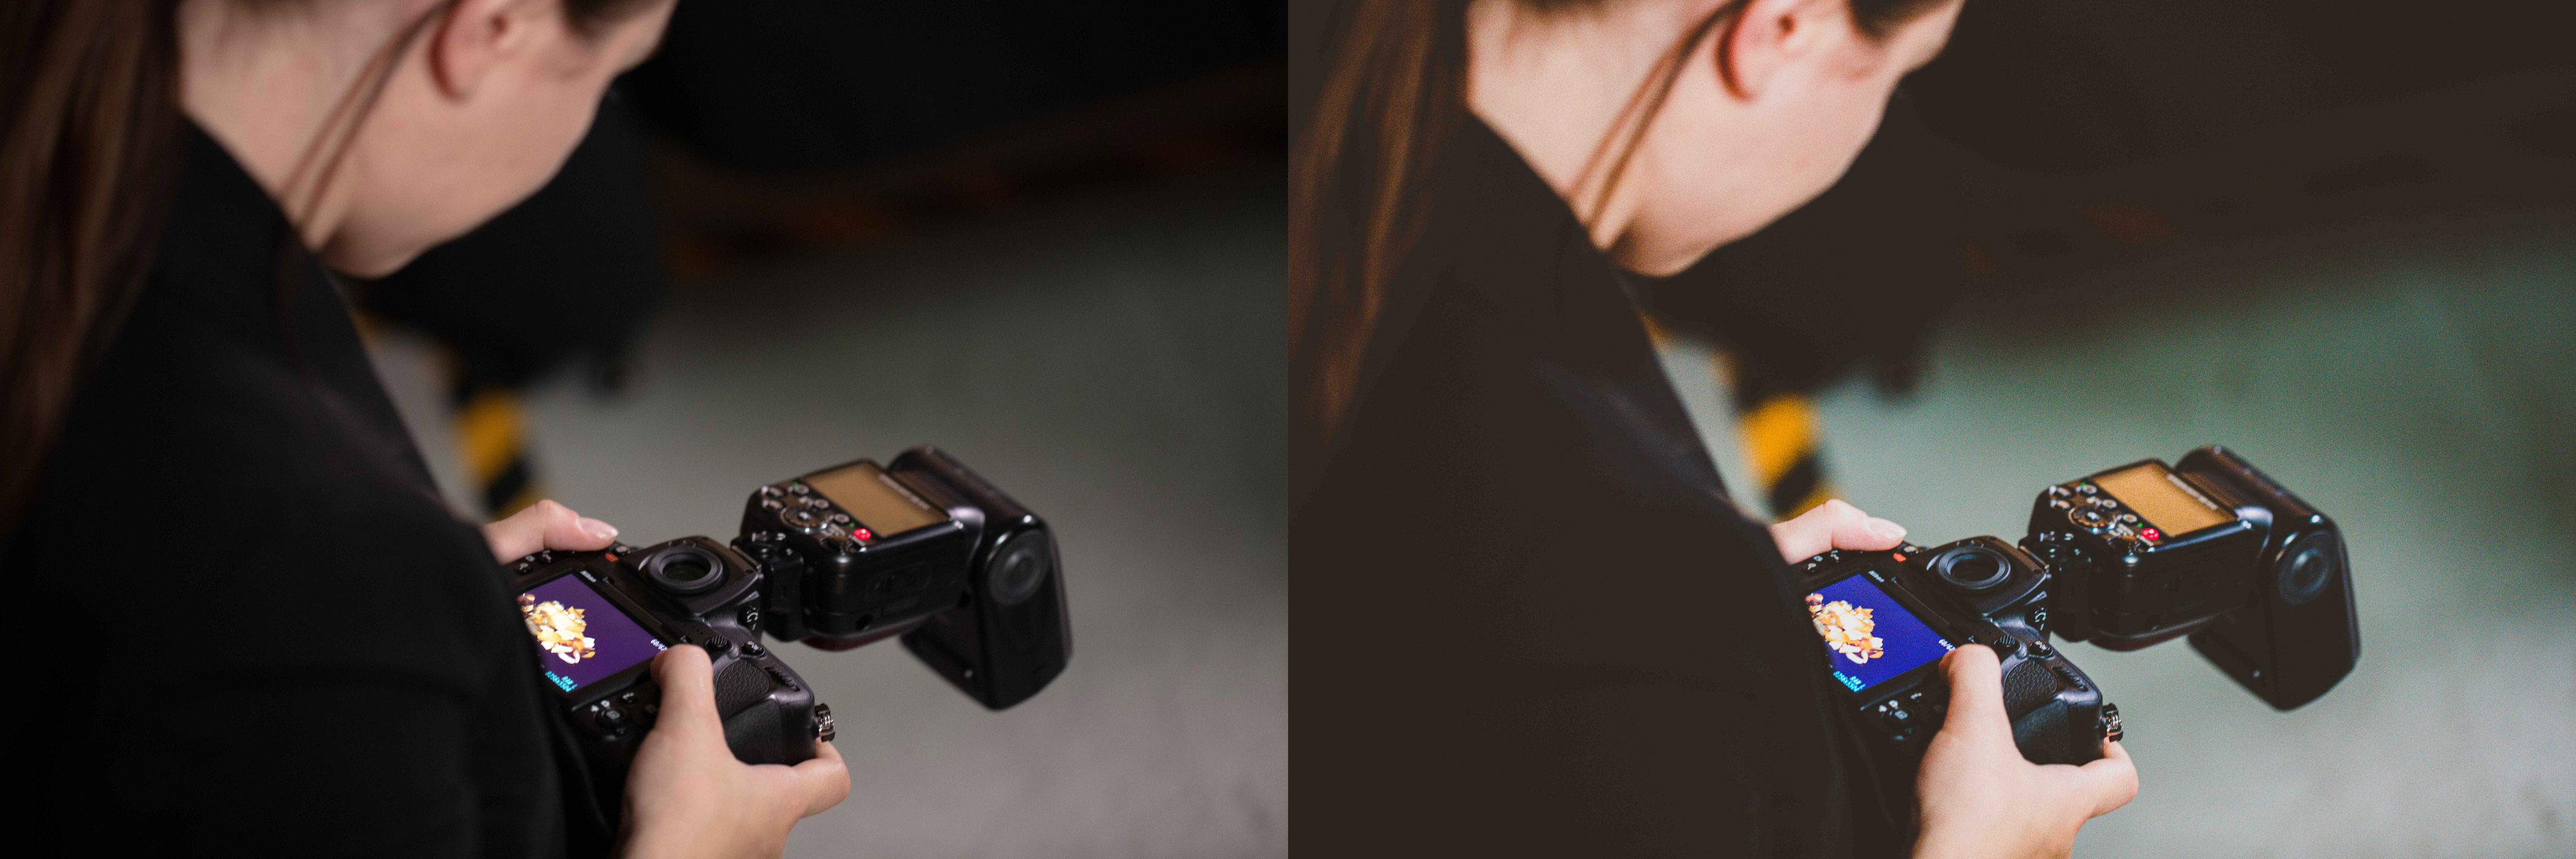
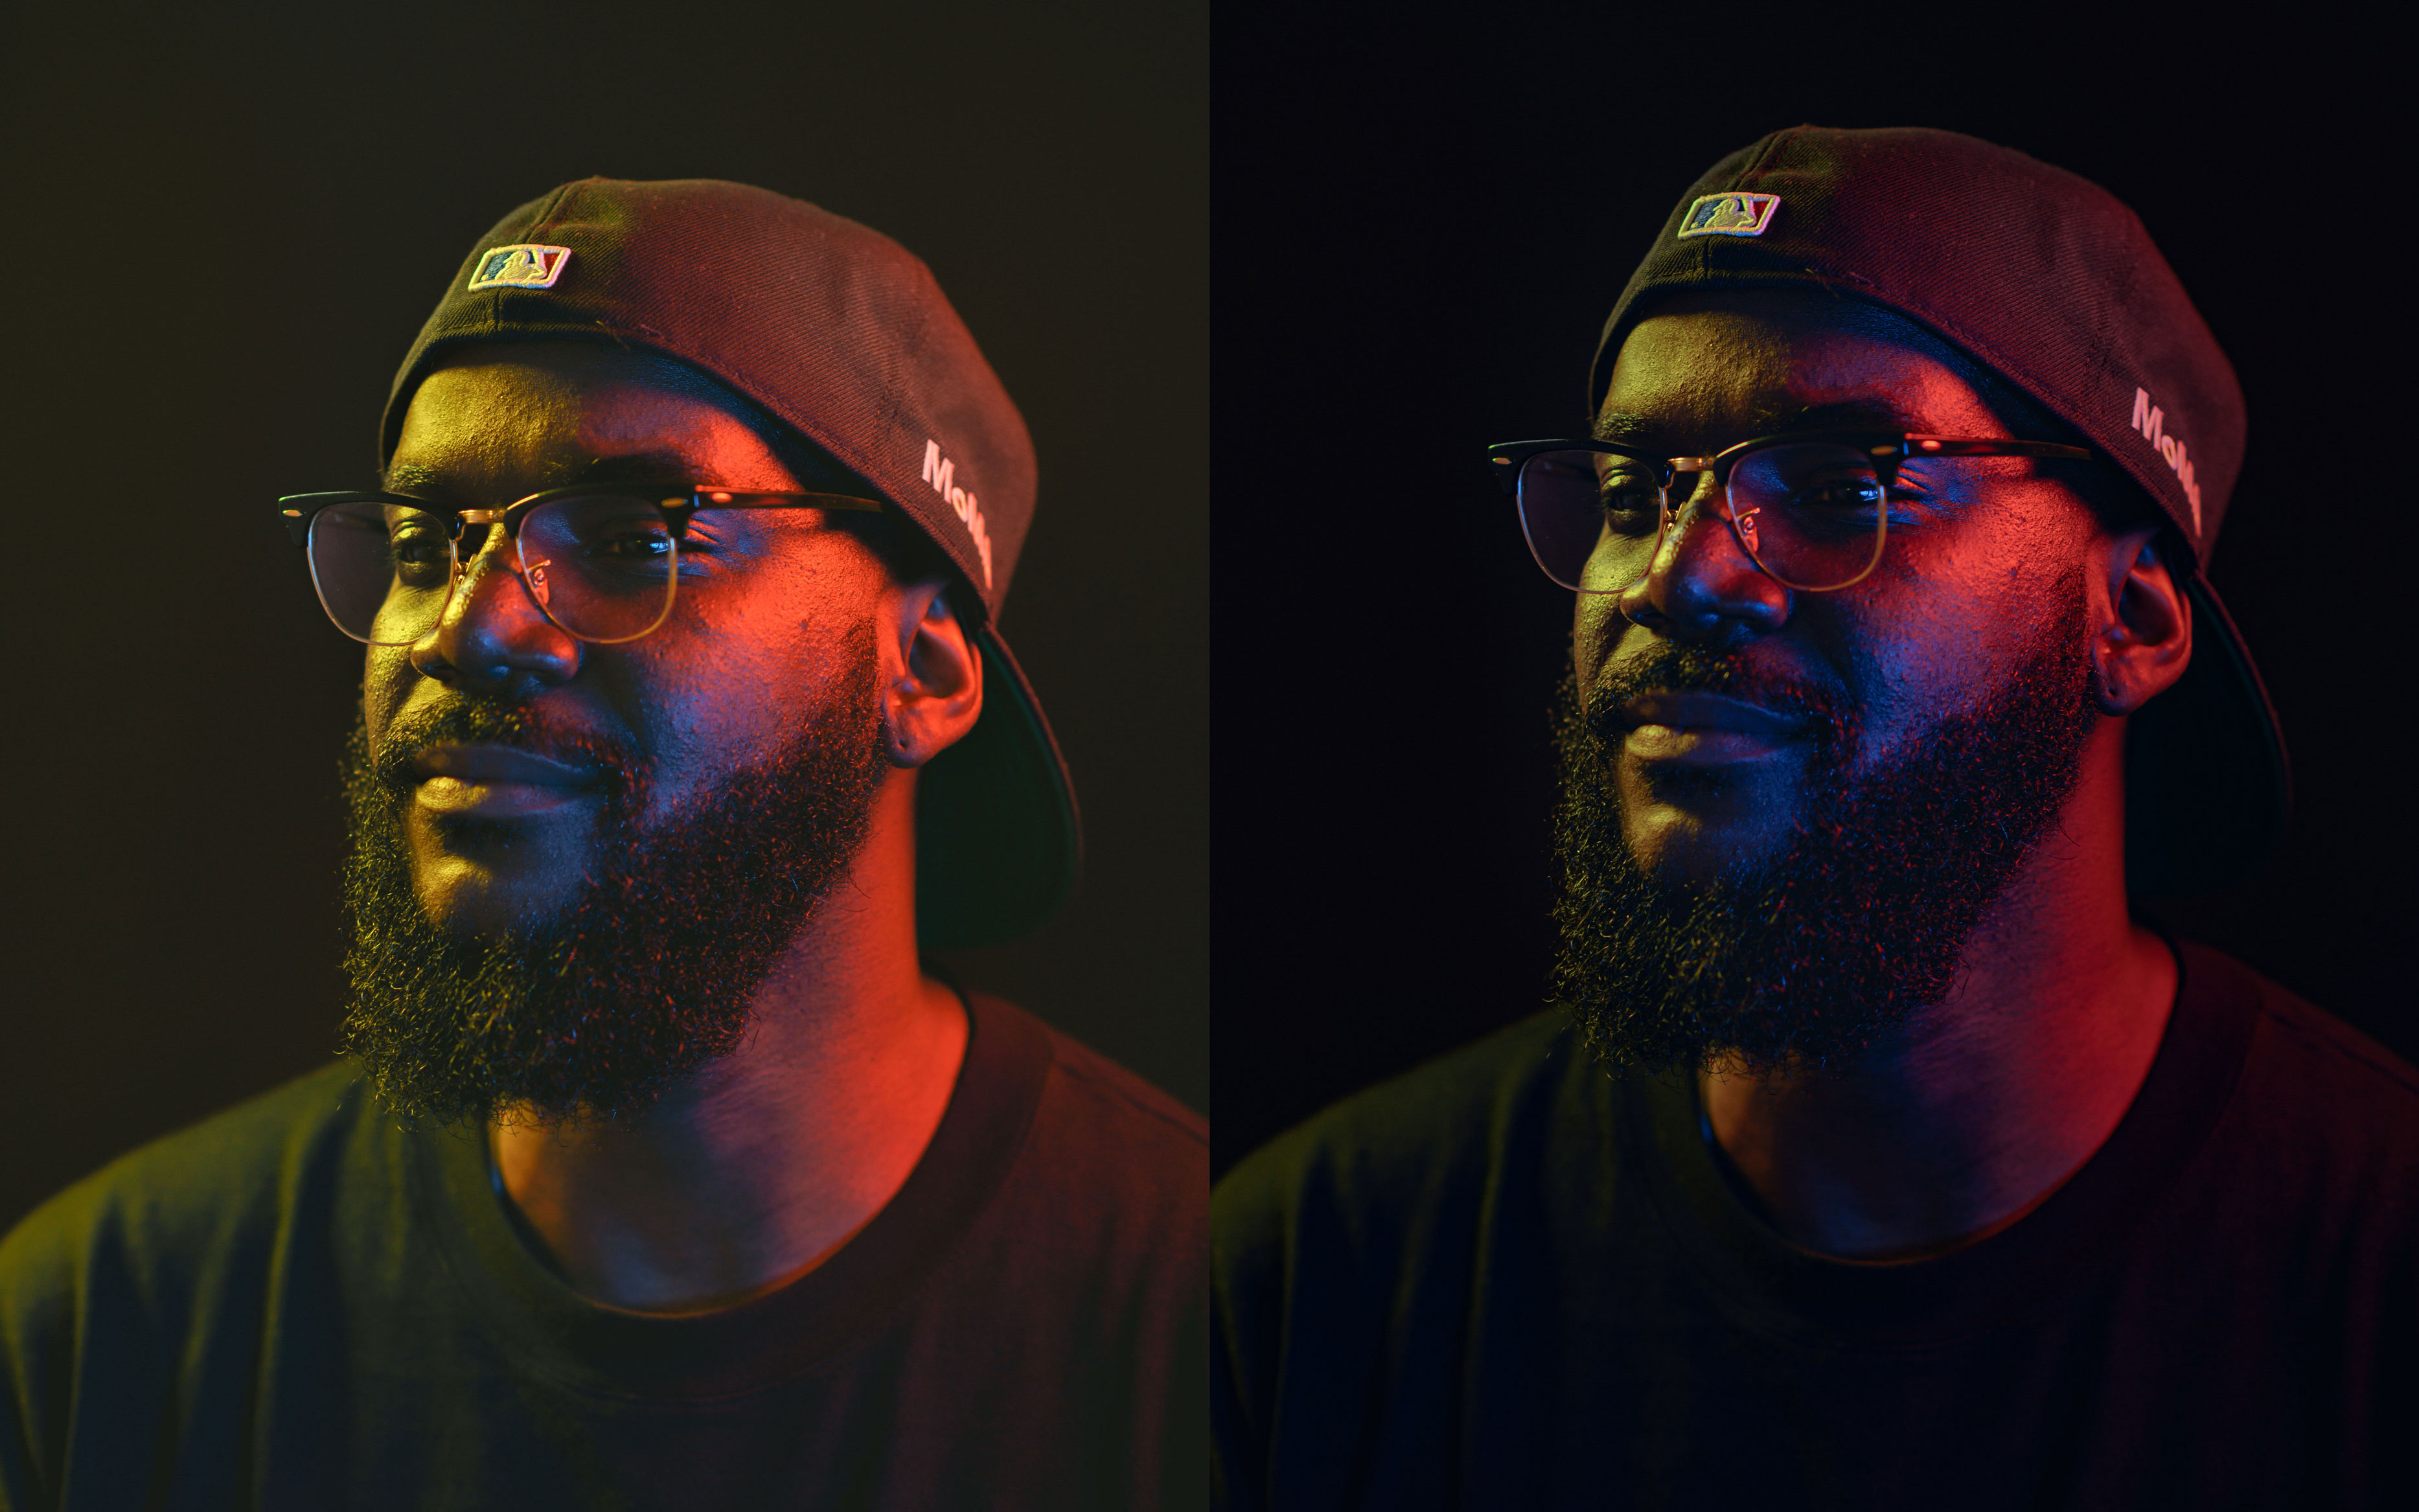
Create your presets
Before you work on new presets, it’s crucial that your exposure and white balance are correct. Adjusting the values will affect the RGB balance in every pixel of your photo. This is the best way to define how the colours will look with your presets. Choose a photo of a subject with the location that you often shoot. This will help you develop the look, common colours and tones of your work, and after a certain amount of time you develop an aesthetic and you can see that across your portfolio.
The next and most important step is to choose what settings from your current image adjustments you want to include in your preset.

You generally don’t want your white balance, exposure or photo-specific properties—such as filters or transformations—apply universally with just one preset. So, make sure those boxes remain unchecked.
Now you should test the presets out on other images, both from the same shoots and from completely different shoots. This is important to see how well your preset hold up across a variety of photos. That doesn’t mean you have to create presets that can be used on all of your images. The settings you use for presets will vary based on your personal editing style, but if you’re mindful of your common shooting conditions—such as shooting in hard light vs. soft light, for example—then you can create custom presets that apply to a wide range of sessions. Once you’ve created a few developed presets and get a feel for how they fit into your workflow, you can start to create your own library of presets.
Choose your editing style
The possibilities for developing presets are virtually endless. Although creating your own presets may seem intimidating at first, learning to use Lightroom’s functionality can save you a lot of time in the long run. Familiarise yourself with the different panels and you will be able to create photos that are not only visually appealing but also lets you become a better post-processor.
Do you use Lightroom presets? If so, what does your post-production workflow look like? Share your thoughts below or read more guides on the MPB content hub.