Guide: Bird Photography for Beginners
Published 20 May 2026 by MPB
Photographing birds isn't about luck. It's about observing, anticipating and understanding what could happen at any moment.
Jordi Woerts knows this better than anyone. He worked as a safari and trail ranger for four years in South Africa, where he photographed nature reserves every day. Spotting and recognising birds wasn't just a hobby; it was an essential part of the job. Guests came from all over the world specifically to expand their bird list, and that enthusiasm was contagious.
For this article, Jordi went out with the Sony A9 III and the Sony FE 200–600mm f/5.6–6.3 G OSS — not to show off what that gear can do, but to let beginner photographers experience how fun and accessible bird photography can be.

Jordi Woerts | Sony A9 III | Sony FE 200–600mm f/5.6–6.3 G OSS | 600mm | f/6.3 | 1/400 sec | ISO 4000
Why Bird Photography Is Never Predictable
Photographing birds requires a different approach than many other forms of photography. While some subjects are fairly predictable, you have no control over what birds do. A bird decides where it sits, when it moves and how long it stays.
One moment, it's in the sunlight; a second later, it's in the shadow. Light, composition and background are constantly changing. That requires staying alert, customising settings and moving with what's happening. That's exactly what makes it so much fun. You're constantly adapting.
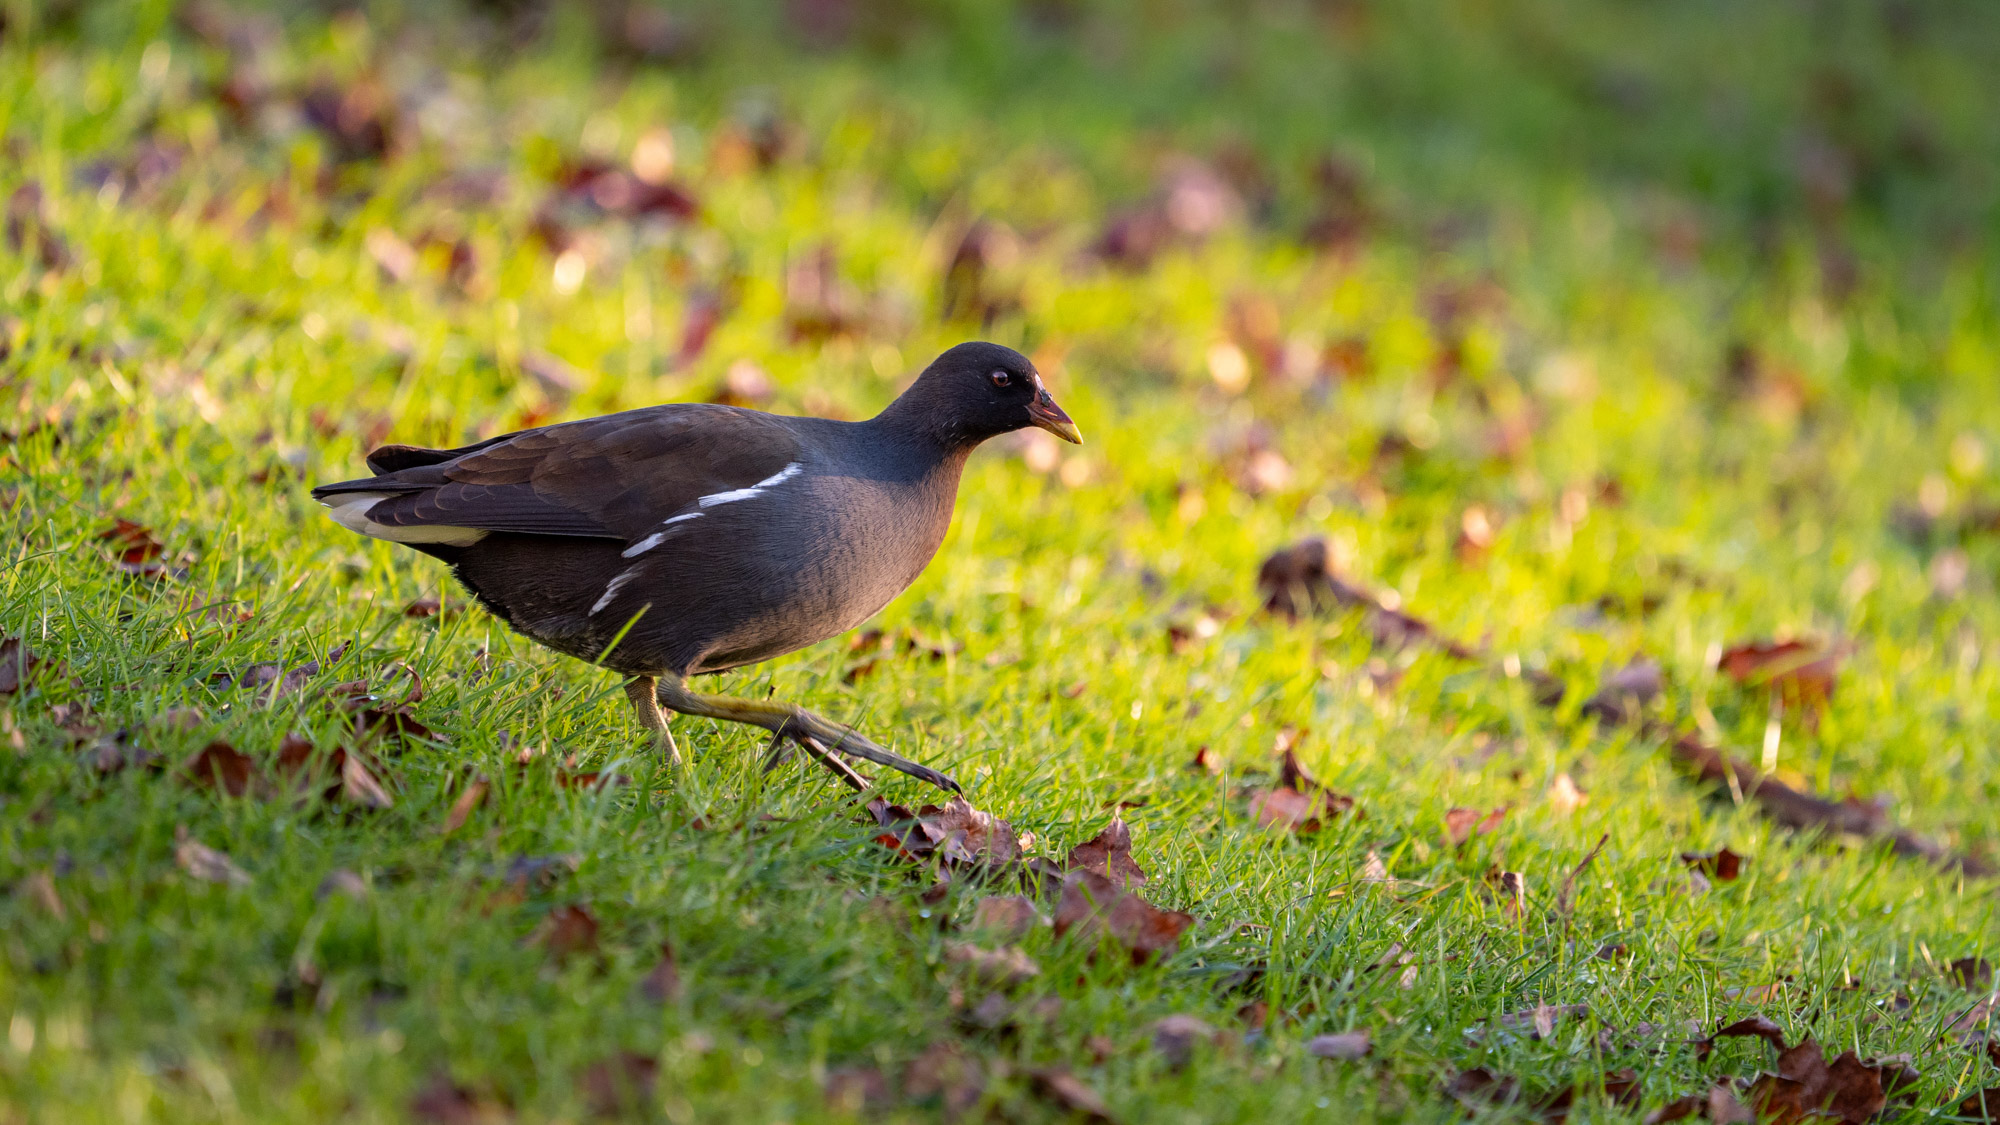
That unpredictability makes your garden an ideal place to start. Many bird species visit daily, and the environment is manageable. That gives you room to practice and to experiment without everything coming at you at once.
This approach to photography makes it easy to start close to home. By capturing birds in your own back garden, you'll learn to recognise species better and playfully develop your photography skills. At the same time, photos provide more insight into which birds are present and how they're doing, simply by looking closer and being more aware of the surrounding life.
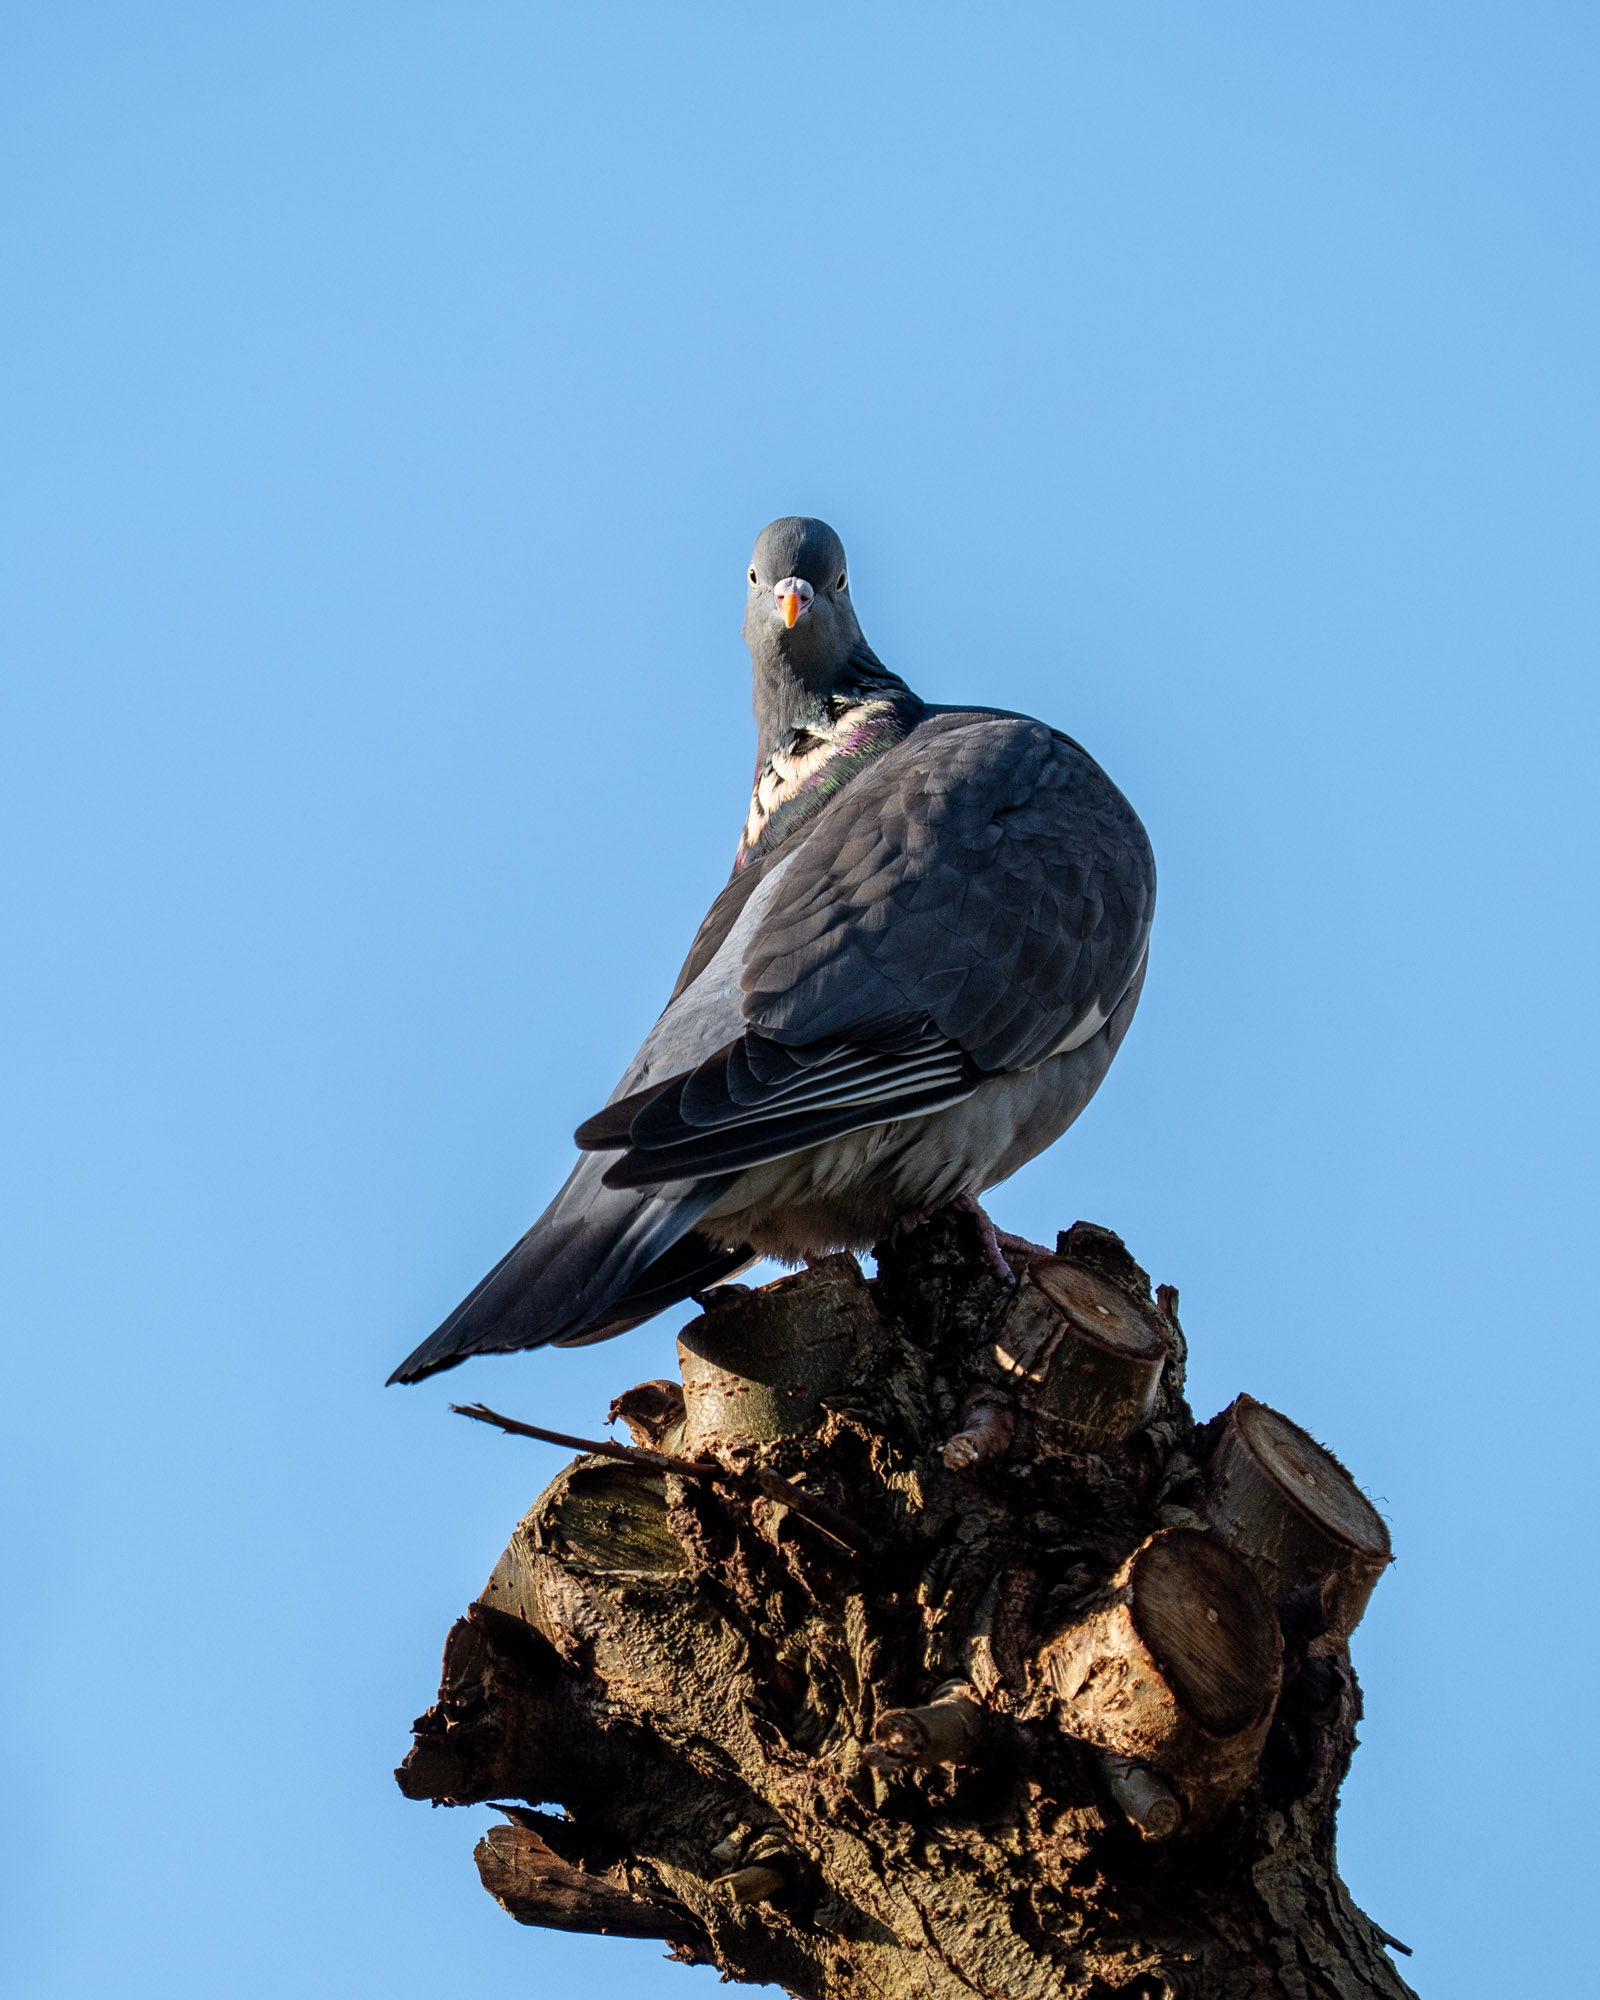
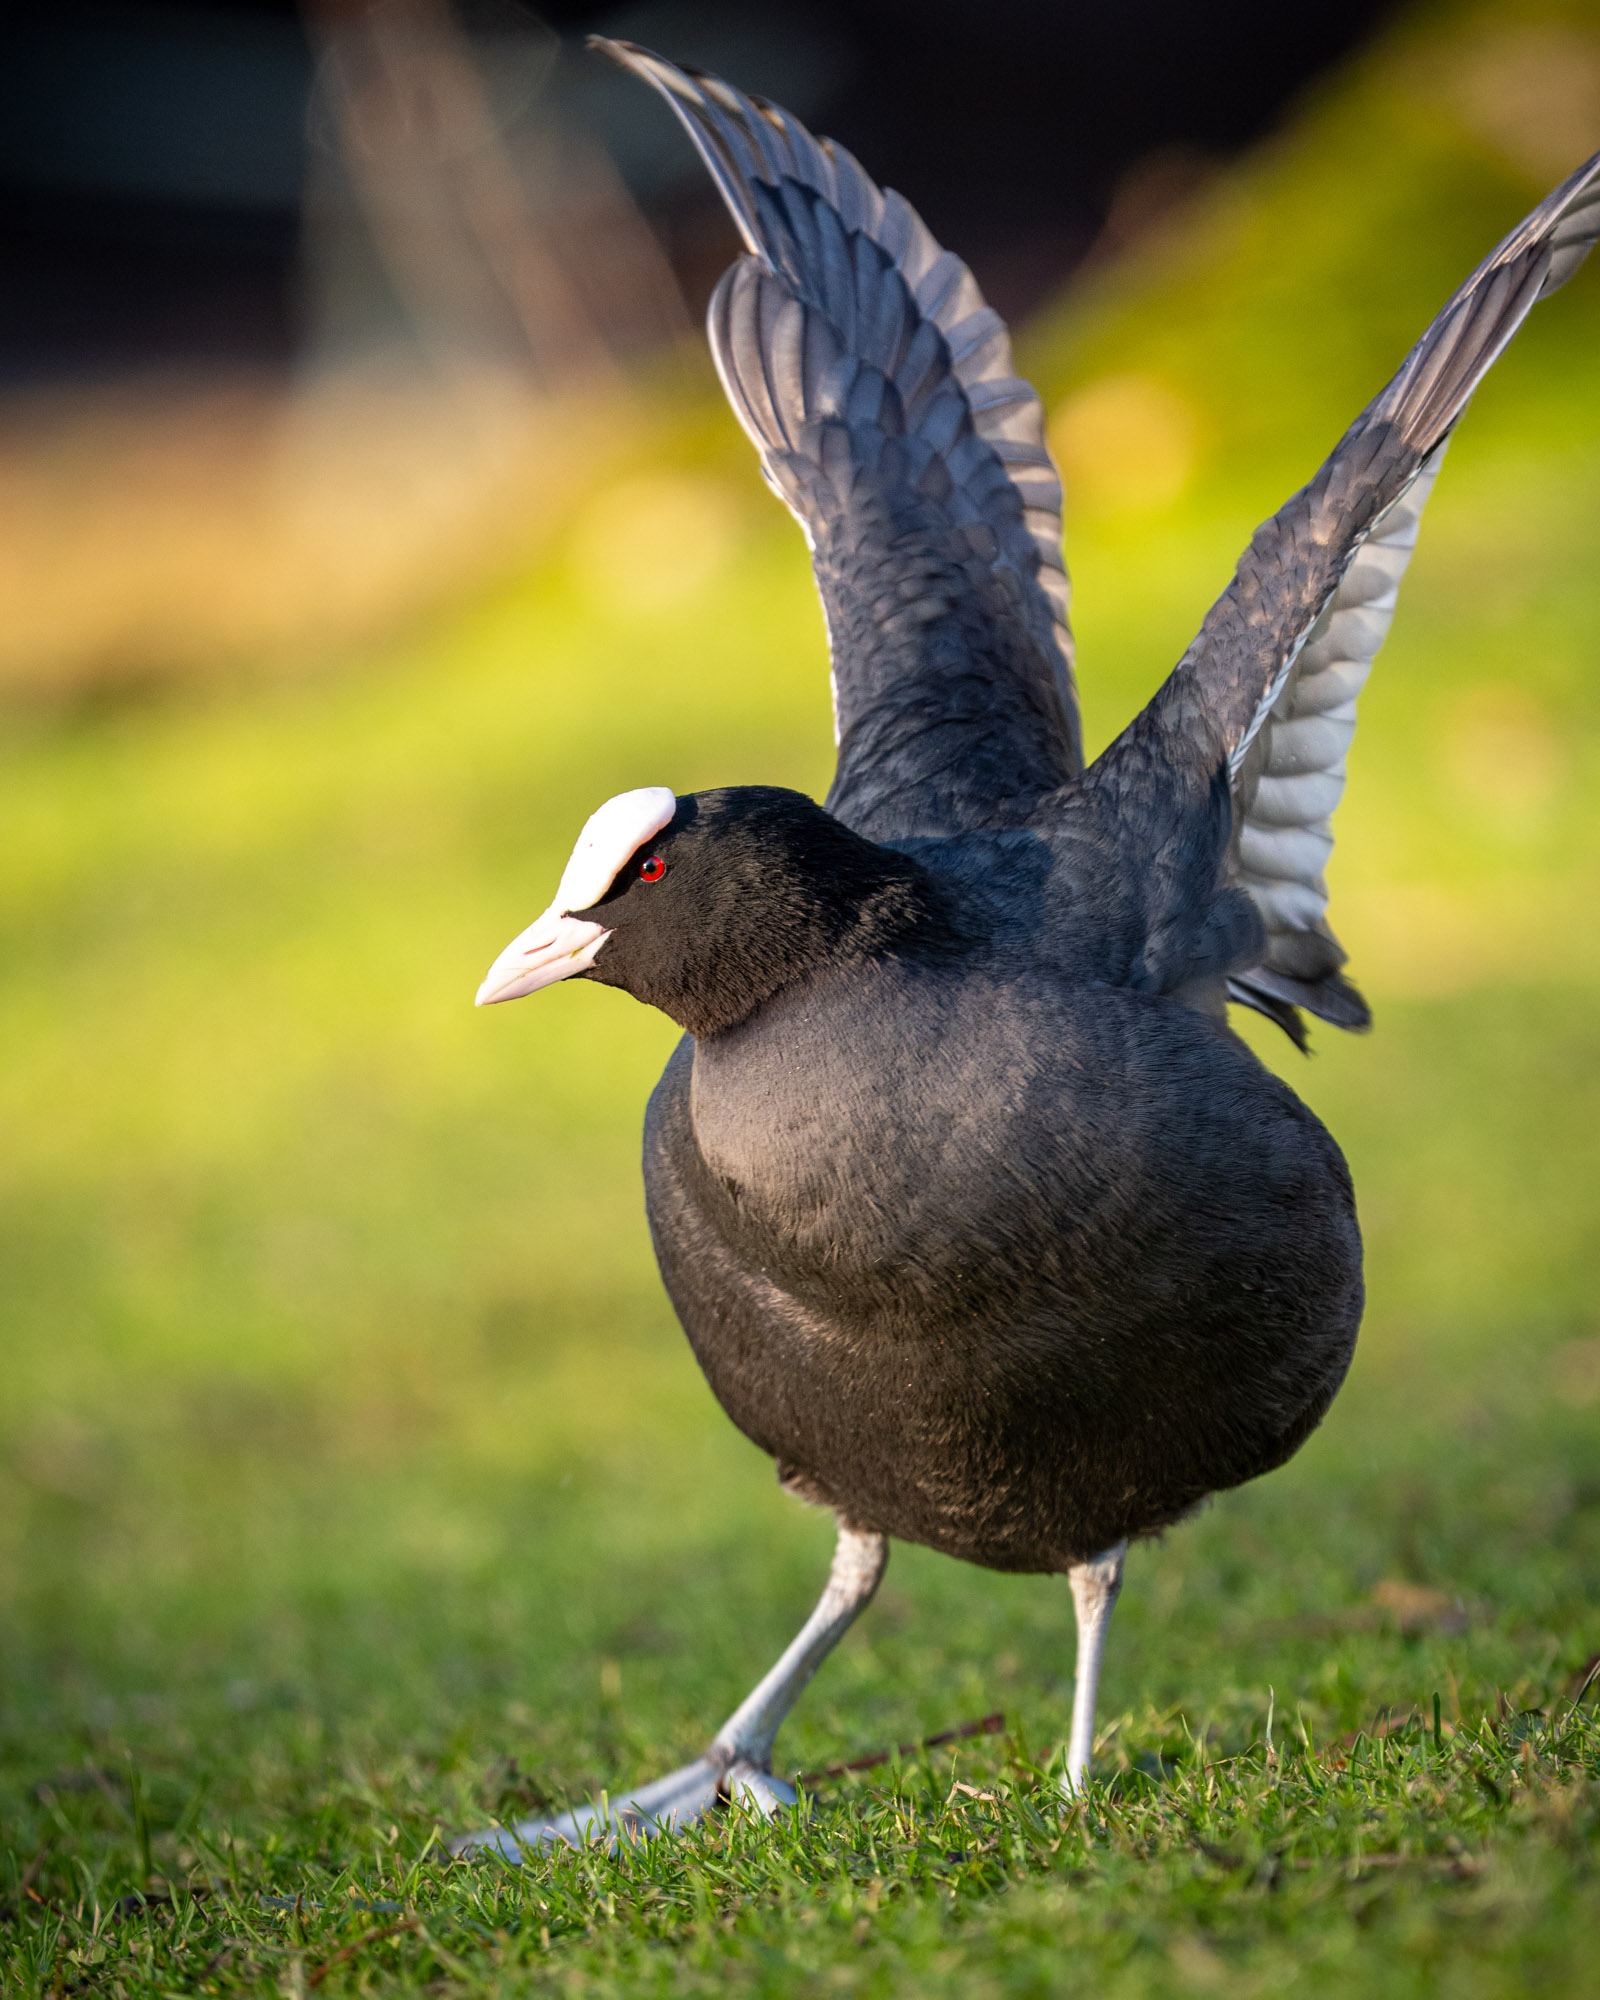
Jordi Woerts | Sony A9 III | Sony FE 200–600mm f/5.6–6.3 G OSS | 444mm | f/6.3 | 1/640 sec | ISO 250
The Right Gear
When you start bird photography, the question of which camera and lens are suitable quickly arises. Remember: there's no such thing as a "perfect" camera. What works for you mainly depends on your budget, preferences, and subjects. In any case, you don't need to immediately buy the best camera on paper to take great bird photos.
More importantly, your gear shouldn't get in the way during fast-changing moments. Birds move unpredictably, and the light can shift in seconds. That's why it's smart to consider low-light performance, fast and reliable autofocus and the required speed to shoot consecutive images when choosing a camera. This gives you more flexibility and increases your odds of capturing those moments.
Autofocus also plays a big role. Birds move quickly, and you don't want your camera constantly hunting for focus. Fast, reliable autofocus increases your chances of quickly snapping high-quality shots. Eye autofocus can be a nice extra feature, but it's not a requirement.
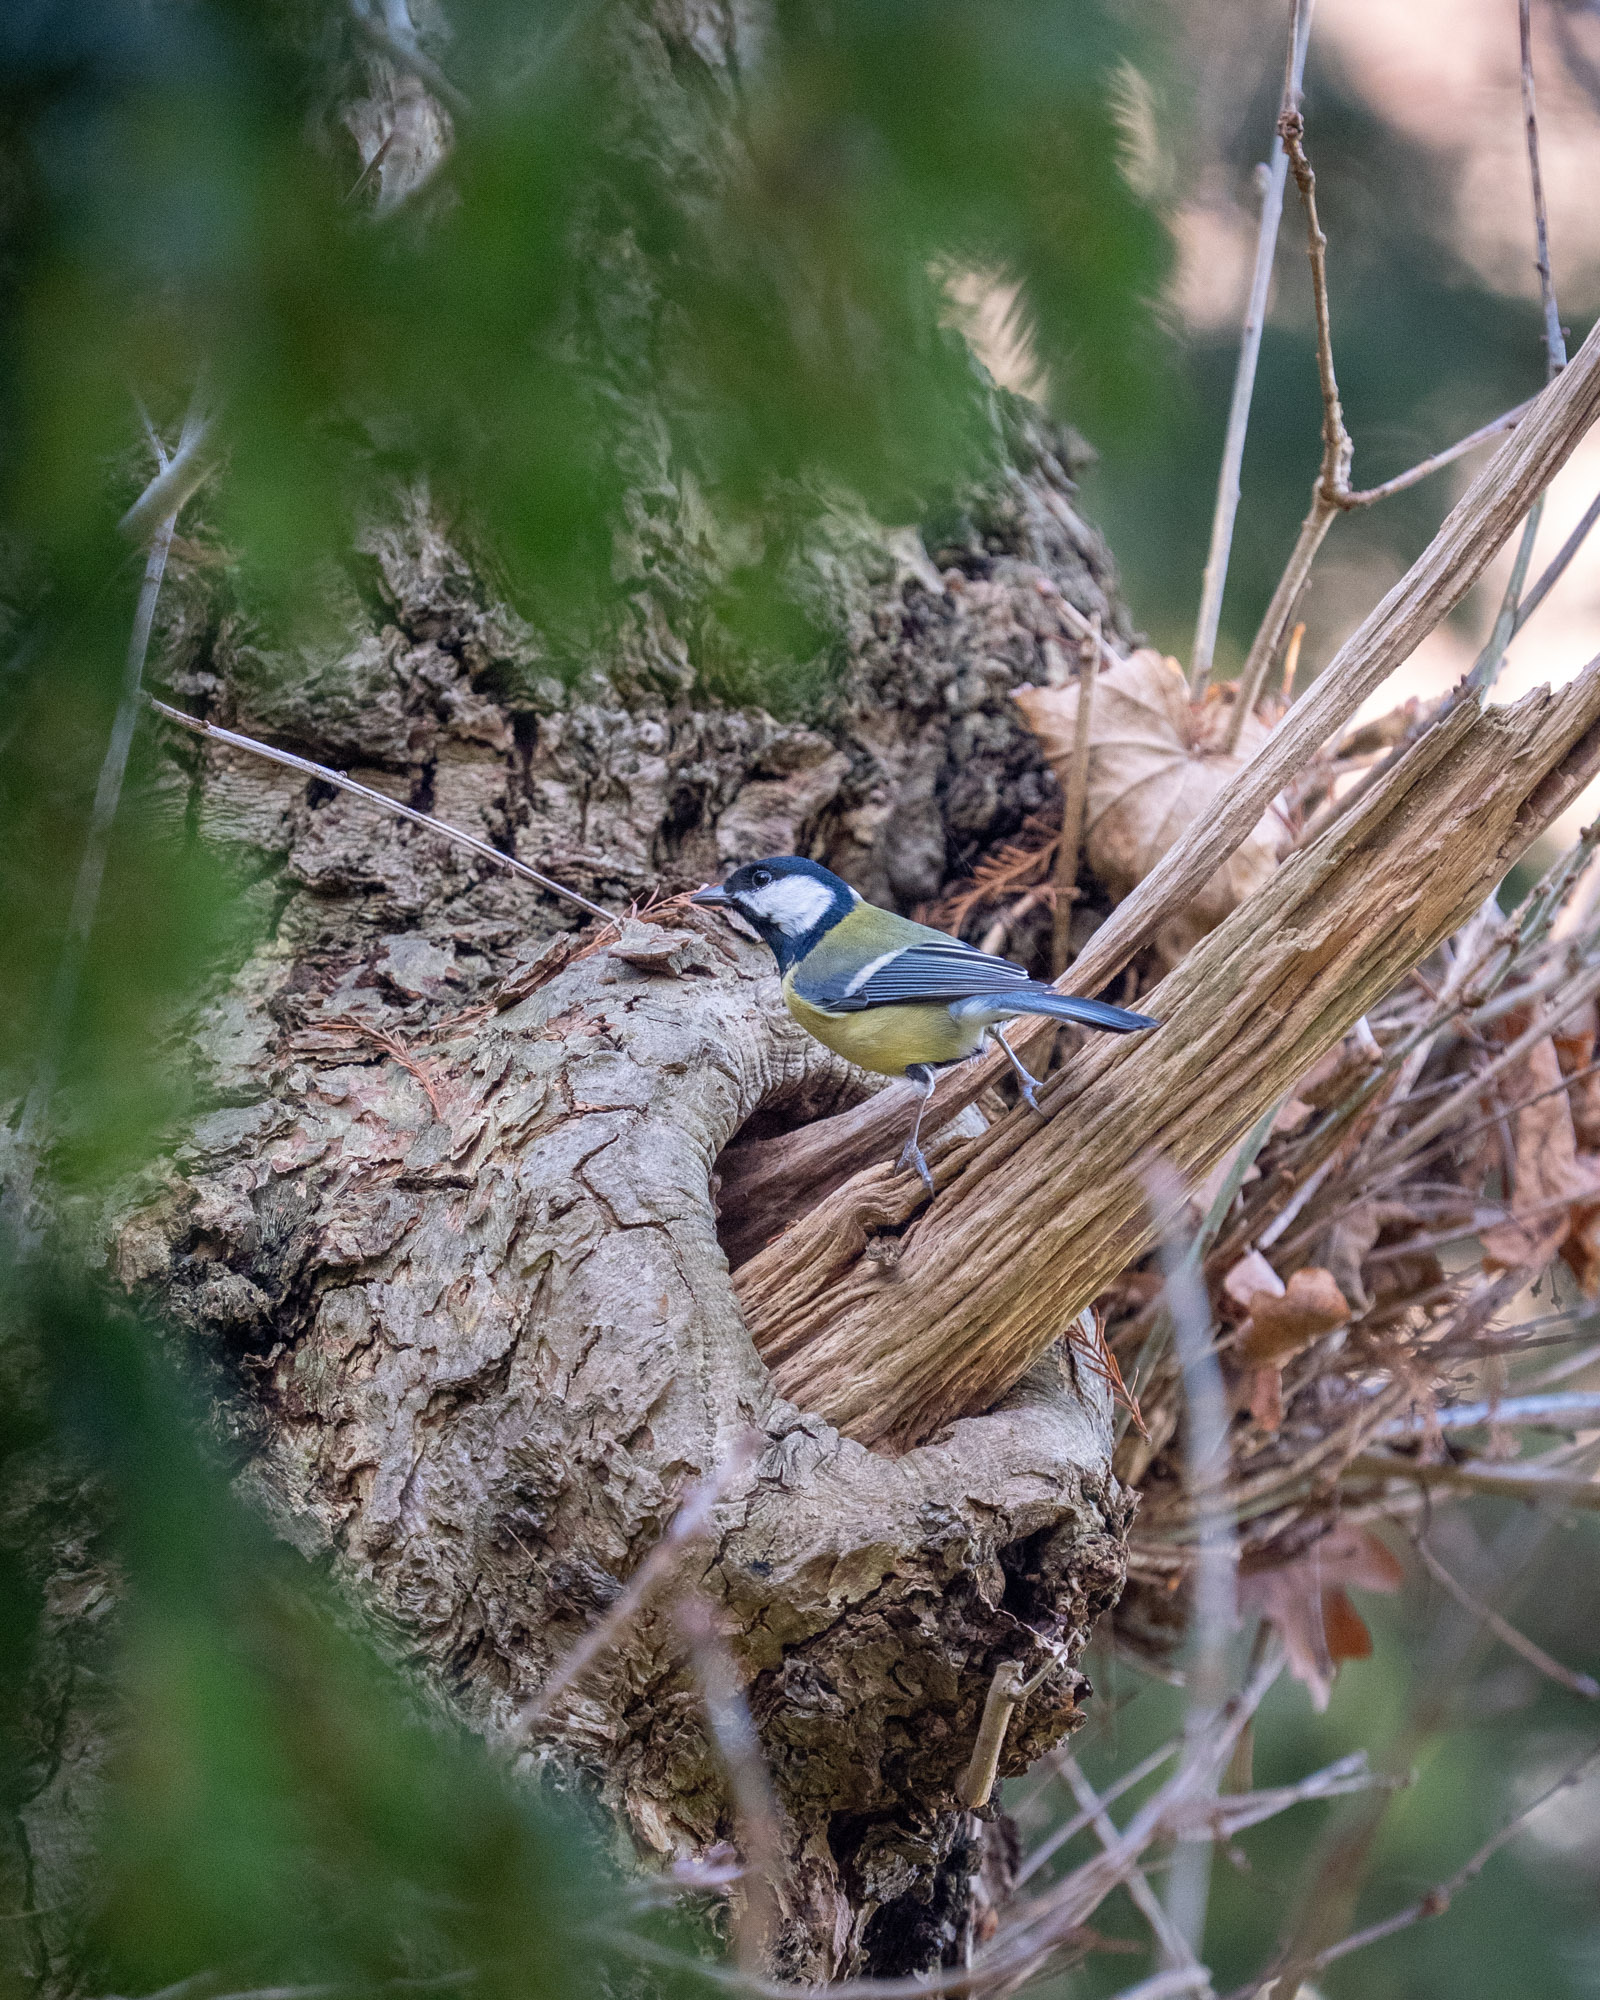
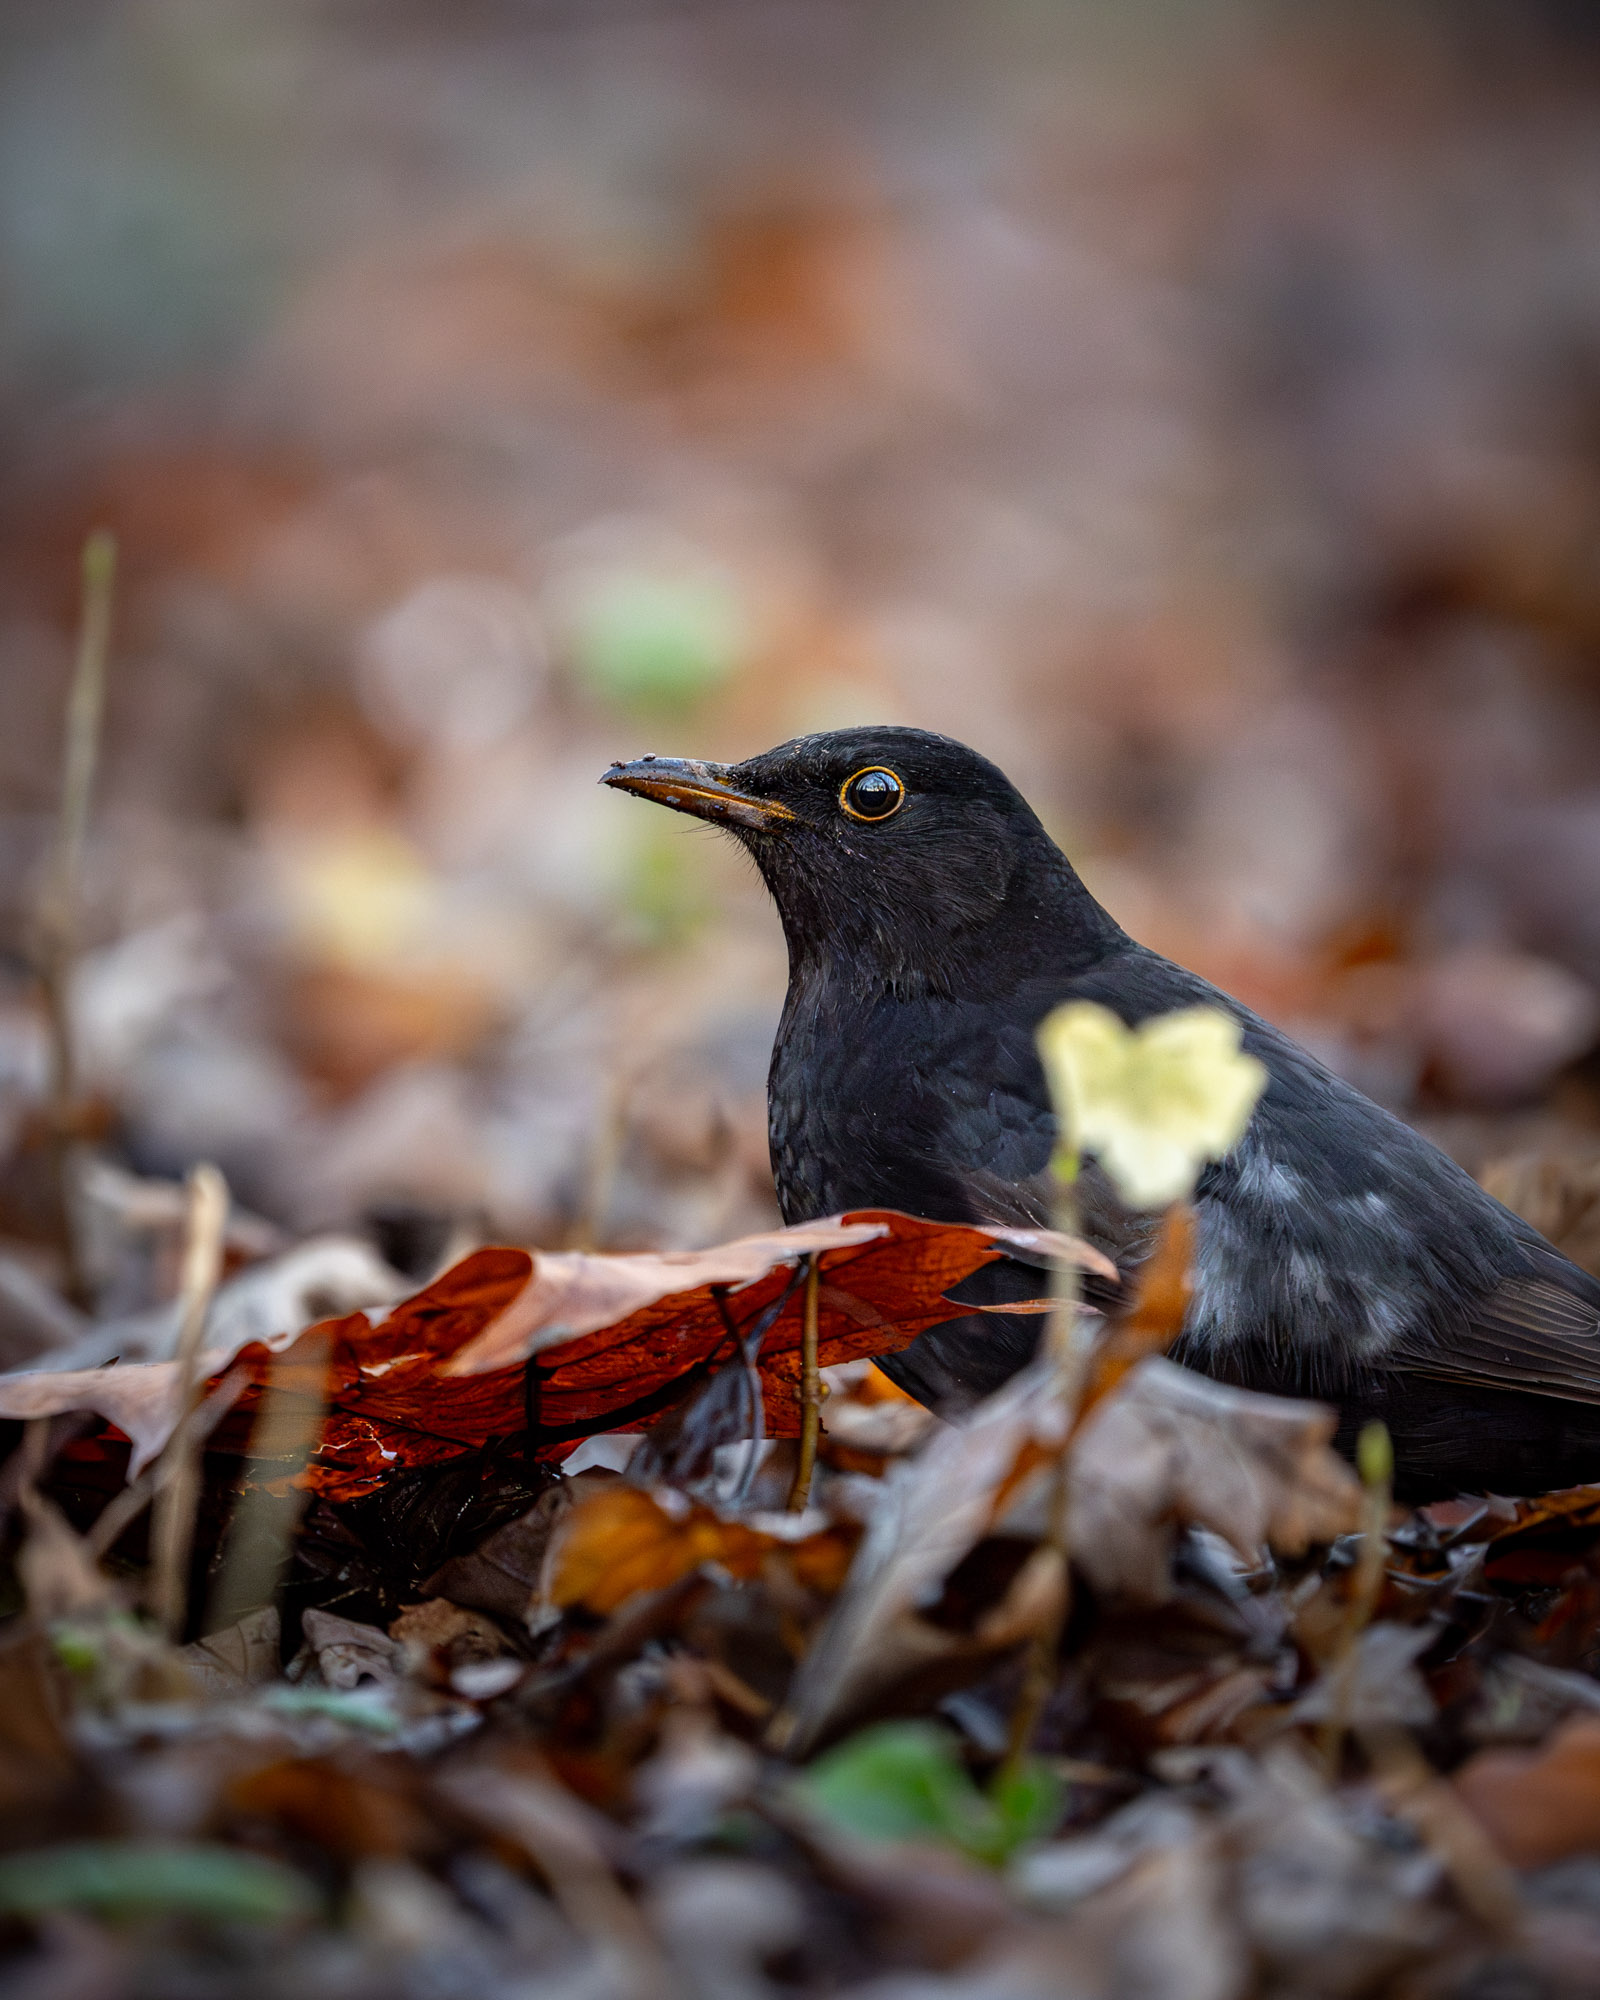
Jordi Woerts | Sony A9 III | Sony FE 200–600mm f/5.6–6.3 G OSS | 600mm | f/6.3 | 1/400 sec | ISO 4000
The number of frames per second is also worth considering. The more photos you can take in a row, the greater your chance of capturing the perfect moment. How long you can maintain such a burst depends on the combination of your camera and memory card.
You have several camera types to choose from...
Bridge Cameras
Bridge cameras are compact and combine a fixed lens with a large zoom range. They're easy to start with, but they quickly hit their limits. You'll especially notice the limited room for improvement in terms of autofocus, speed and low-light performance. Think of models like the popular Nikon Coolpix P1100 or the more advanced Sony RX10 Mark IV.
DSLRs
Traditional DSLRs can deliver excellent results and are still in use today. At the same time, they're increasingly taking a backseat. They often lag behind more modern systems in terms of speed, autofocus and further development. Good examples for beginners are the Canon EOS 2000D and the Nikon D3500.
Mirrorless Cameras
Mirrorless cameras are the most logical choice. They're faster, have modern autofocus systems and give you much more control over settings and lenses. You can use them longer and have more room to grow as you develop your skills. This is clearly the direction everything is moving in right now. Think of the popular Sony A7 series, Canon R series and Nikon Z mirrorless cameras.
The lens plays an equally important role. Birds are rarely close by, and even in gardens and parks, you often need a telephoto lens. A telephoto zoom lens is a practical choice for beginners because it offers plenty of flexibility — think of a range of approximately 100 to 400 millimetres. This allows you to capture birds from a distance and quickly adjust when they get closer.
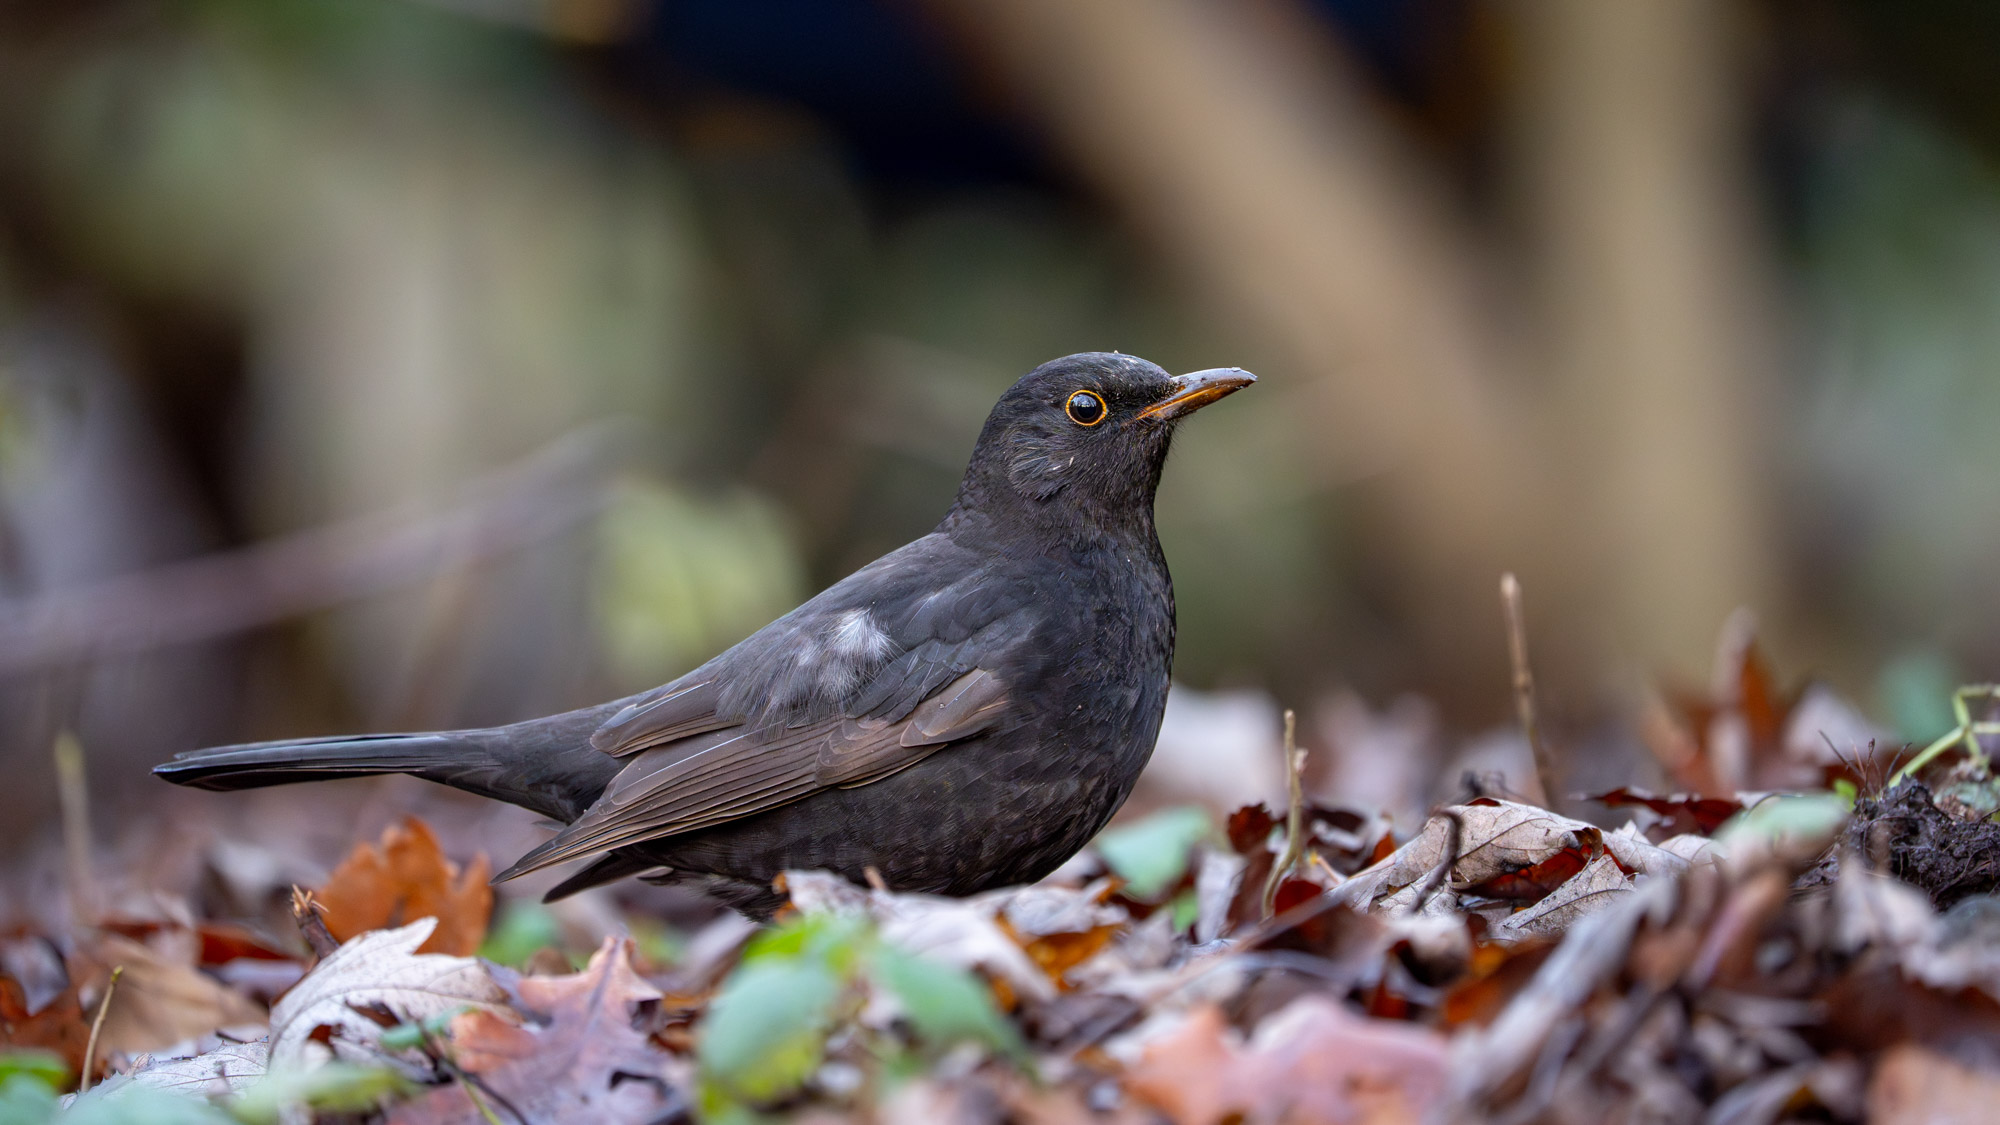
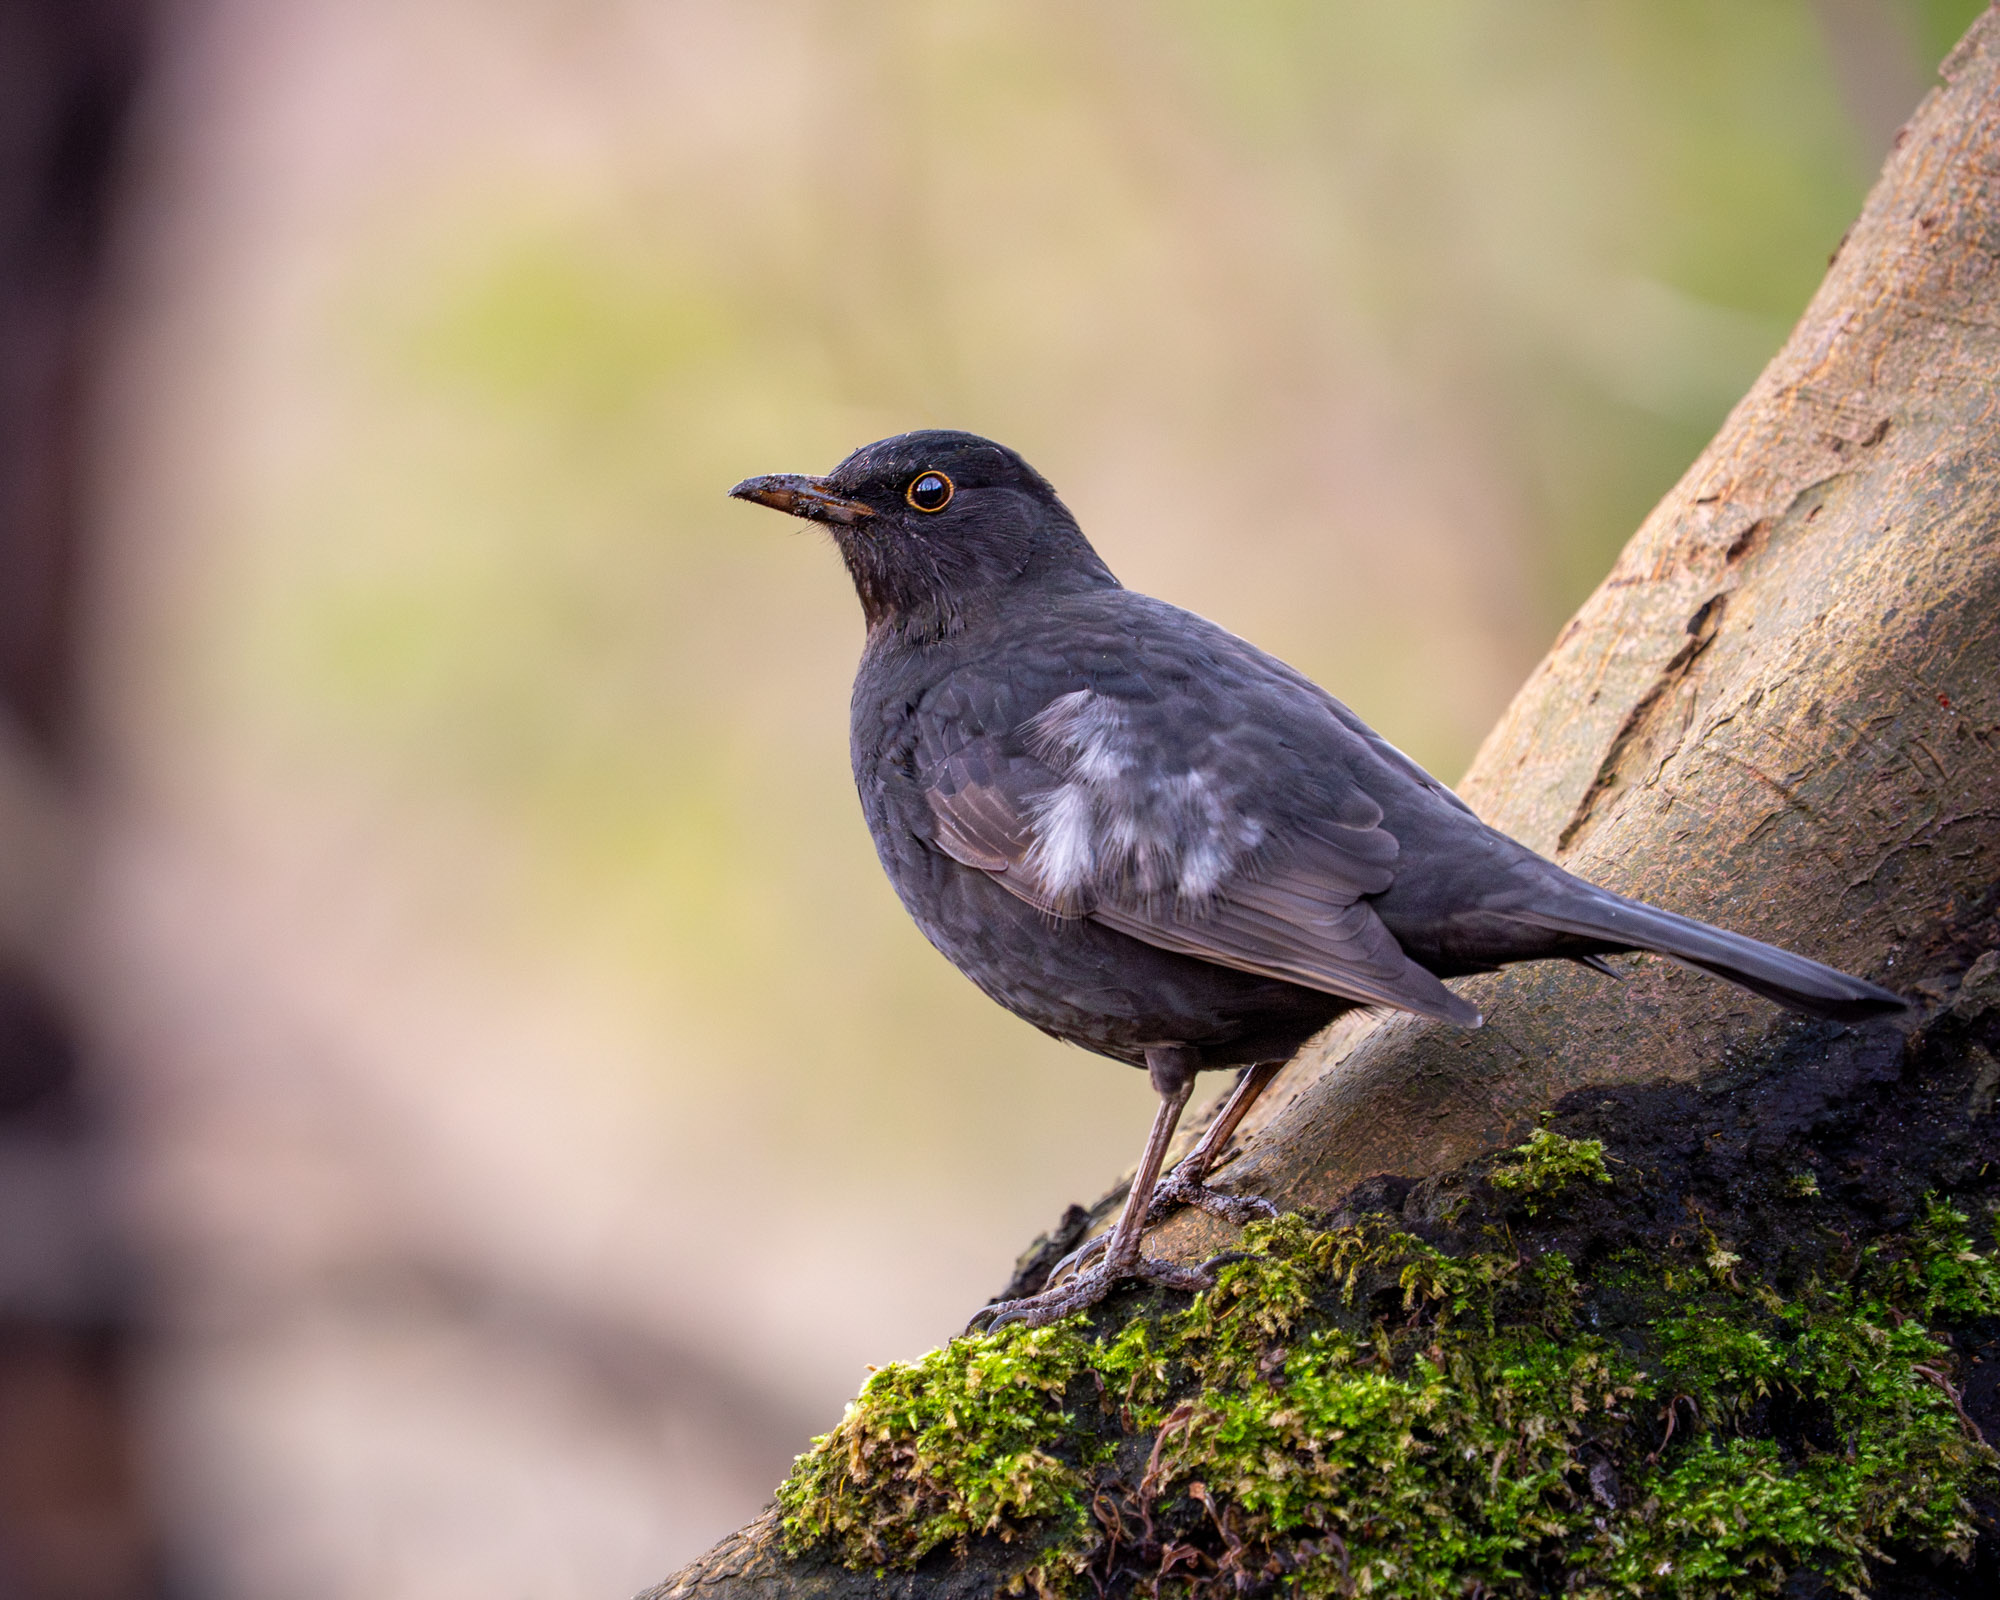
For this article, I worked with the Sony A9 III and the Sony FE 200-600mm f/5.6-6.3 G OSS. This isn't a beginner's camera, but it really showed me what's possible for bird photography. What struck me most was how reliable the autofocus remained, even in challenging lighting conditions. For example, I photographed a blackbird deep in the forest at sunset, with an aperture of f/6.3 and an ISO of 6400. Despite that, the autofocus kept tracking the eye well, even with a dark bird and a black eye. The high frame rate also gave me plenty of freedom. I'd rather have more images to choose from at the end of the day than feel like I missed a moment because my camera couldn't keep up, and the A9 III excelled at that.
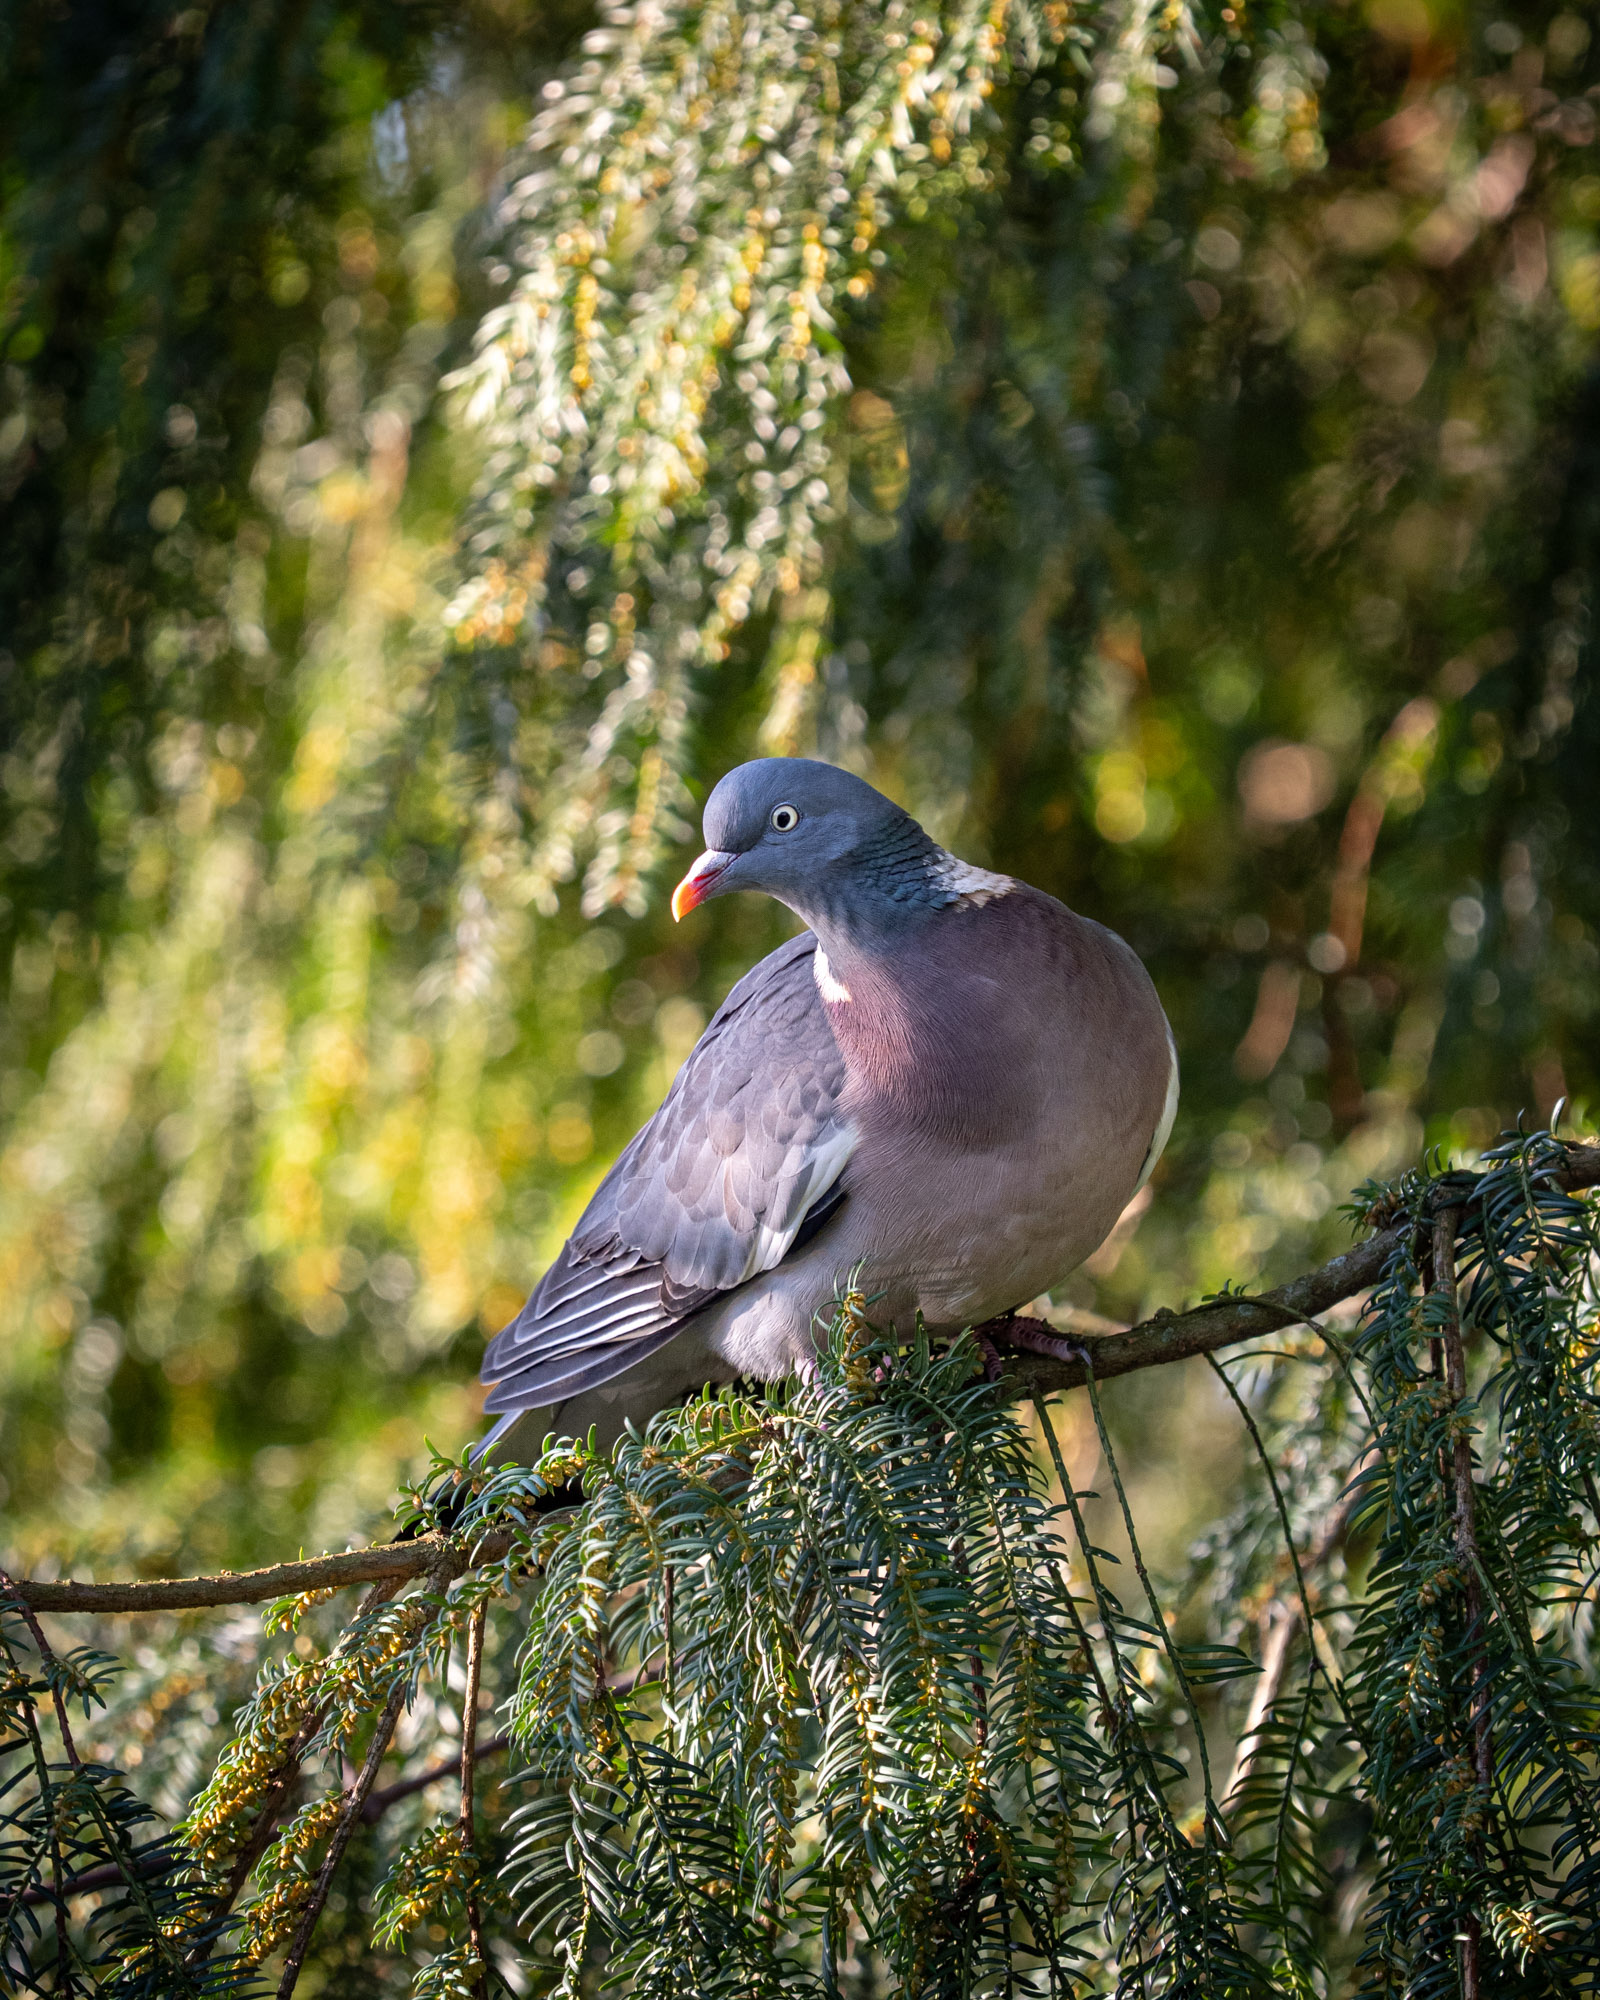
Jordi Woerts | Sony A9 III | Sony FE 200–600mm f/5.6–6.3 G OSS | 512mm | f/6.3 | 1/400 sec | ISO 1250
Camera Settings
For me, bird photography isn't about sticking to fixed settings or exact numbers. Instead, I make choices based on what's happening in the moment. What is constant for me is that I shoot in manual mode and use continuous autofocus. Birds remain unpredictable, even when they seem to be sitting still. A small head movement or a step to the side is enough to lose sharpness. With continuous autofocus, the camera keeps tracking the subject, so I don't have to actively manage it.
Jordi Woerts | Sony A9 III | Sony FE 200–600mm f/5.6–6.3 G OSS | 600mm | f/6.3 | 1/320 sec | ISO 1000
Stationary Birds
How much control I take in manual mode depends on the situation. If a bird is sitting still, I manually set my aperture and shutter speed, and I also choose my ISO myself. The light usually doesn't change very quickly then, so I can calmly adjust the exposure. If a bird becomes more active, I continue working in manual mode, but I set the ISO to automatic. This way, I maintain control over the settings that matter to me while the camera handles changes in lighting.
Jordi Woerts | Sony A9 III | Sony FE 200–600mm f/5.6–6.3 G OSS | 600mm | f/6.3 | 1/500 sec | ISO 2000
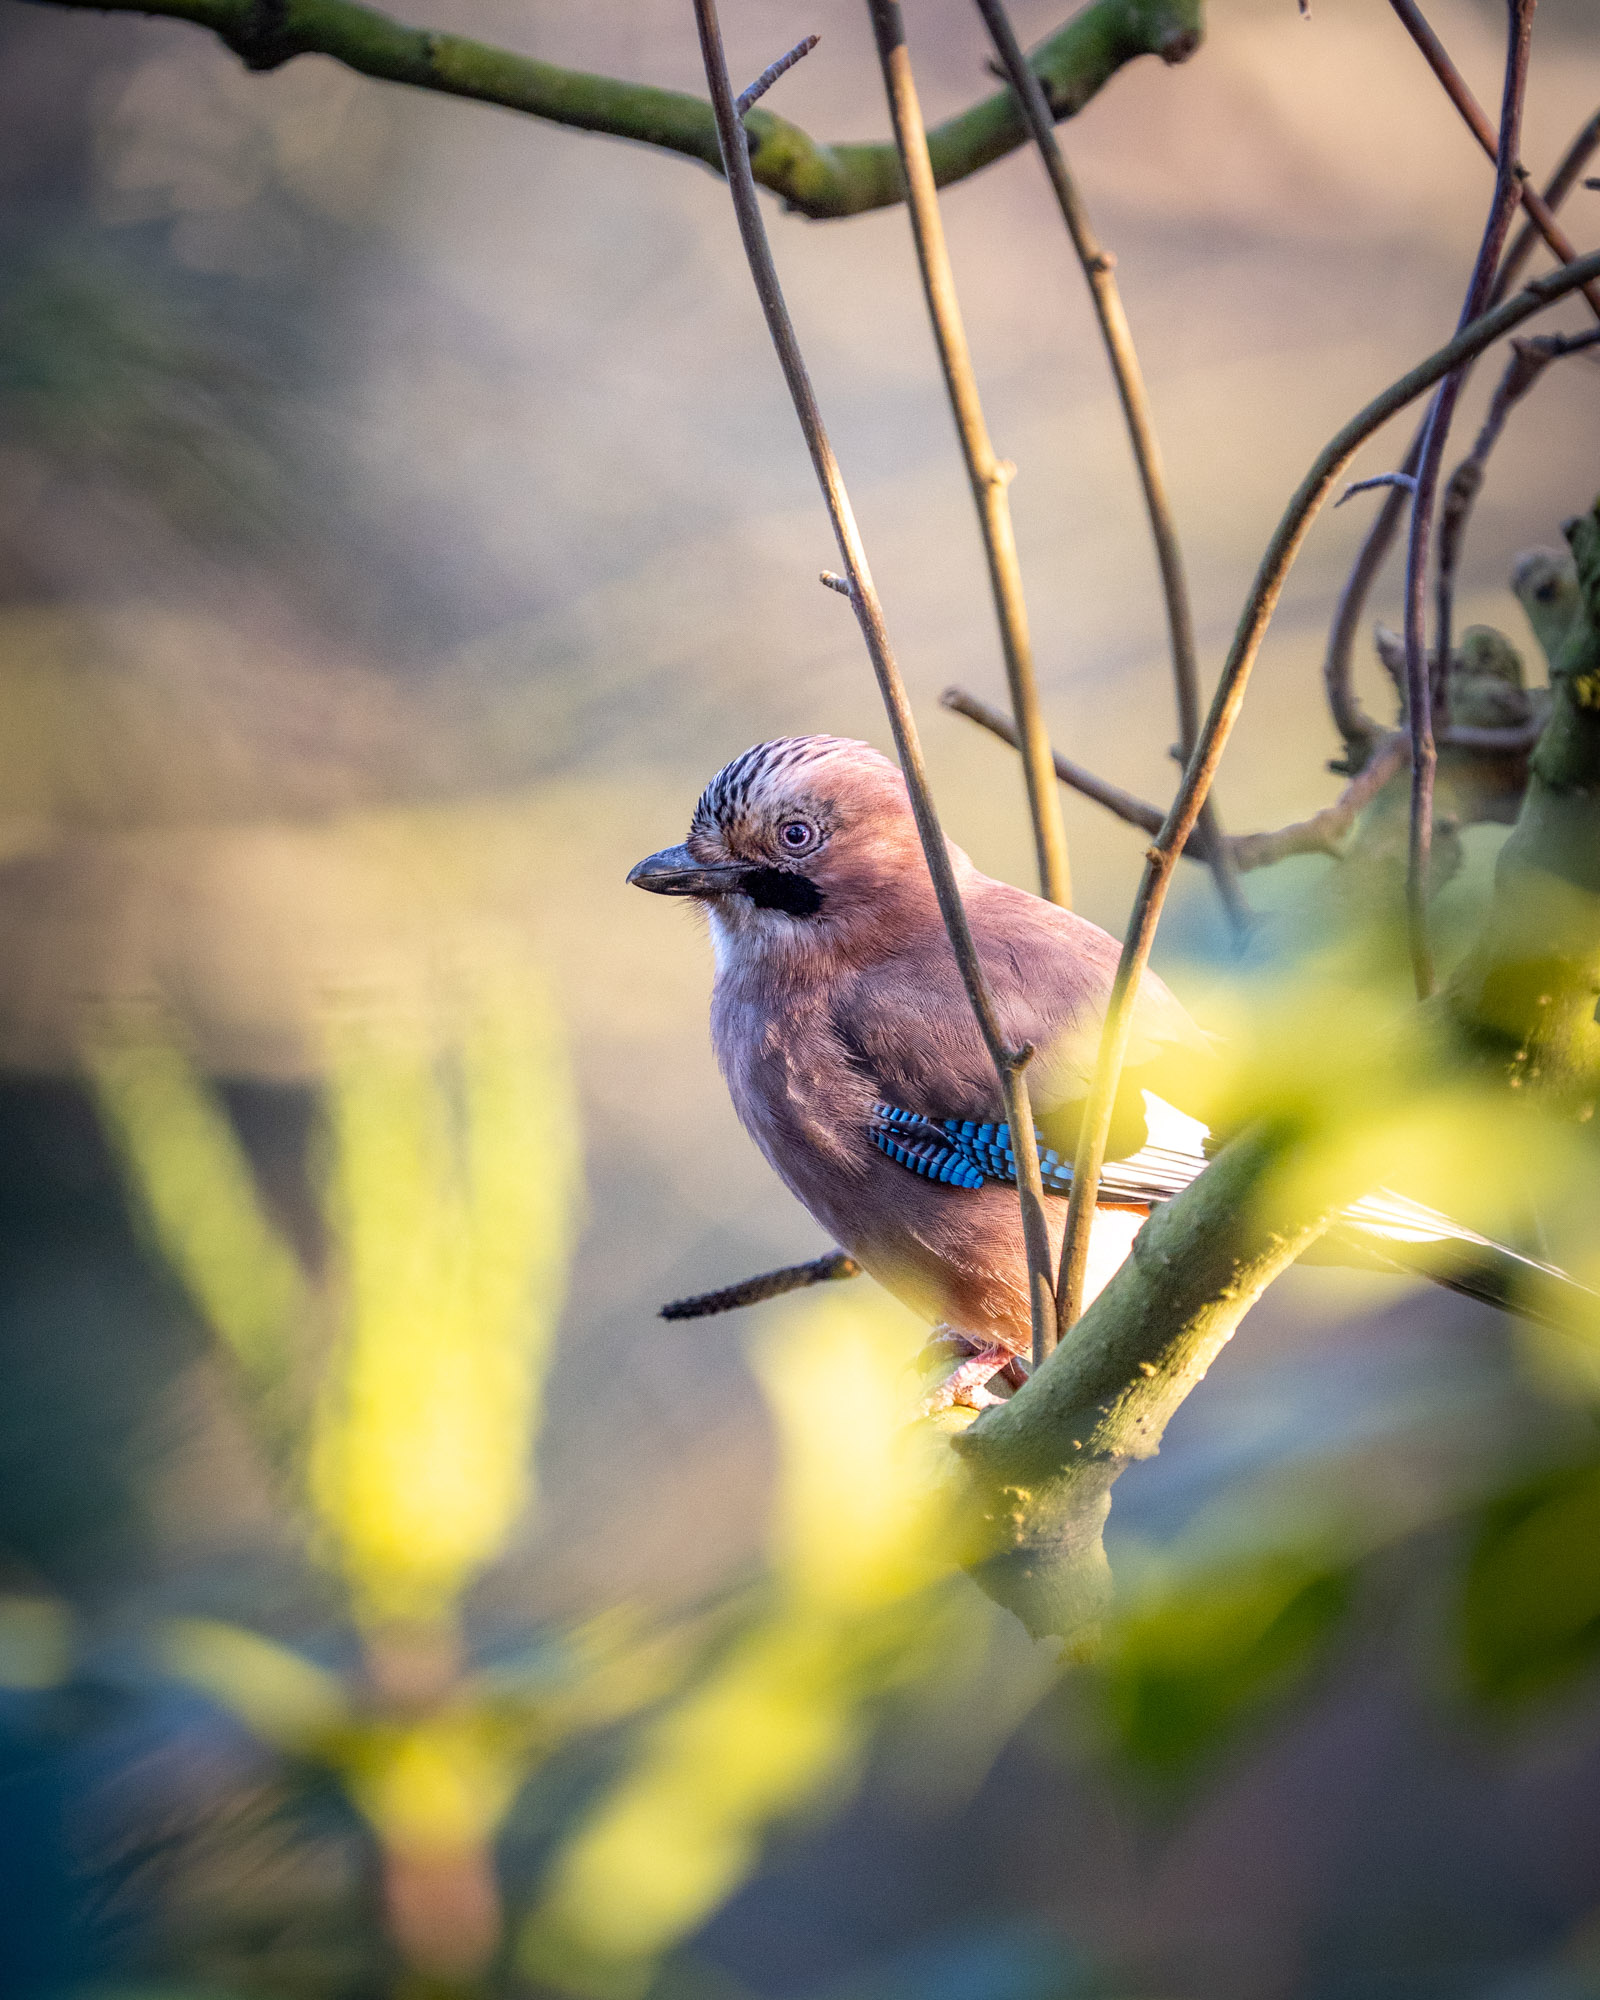
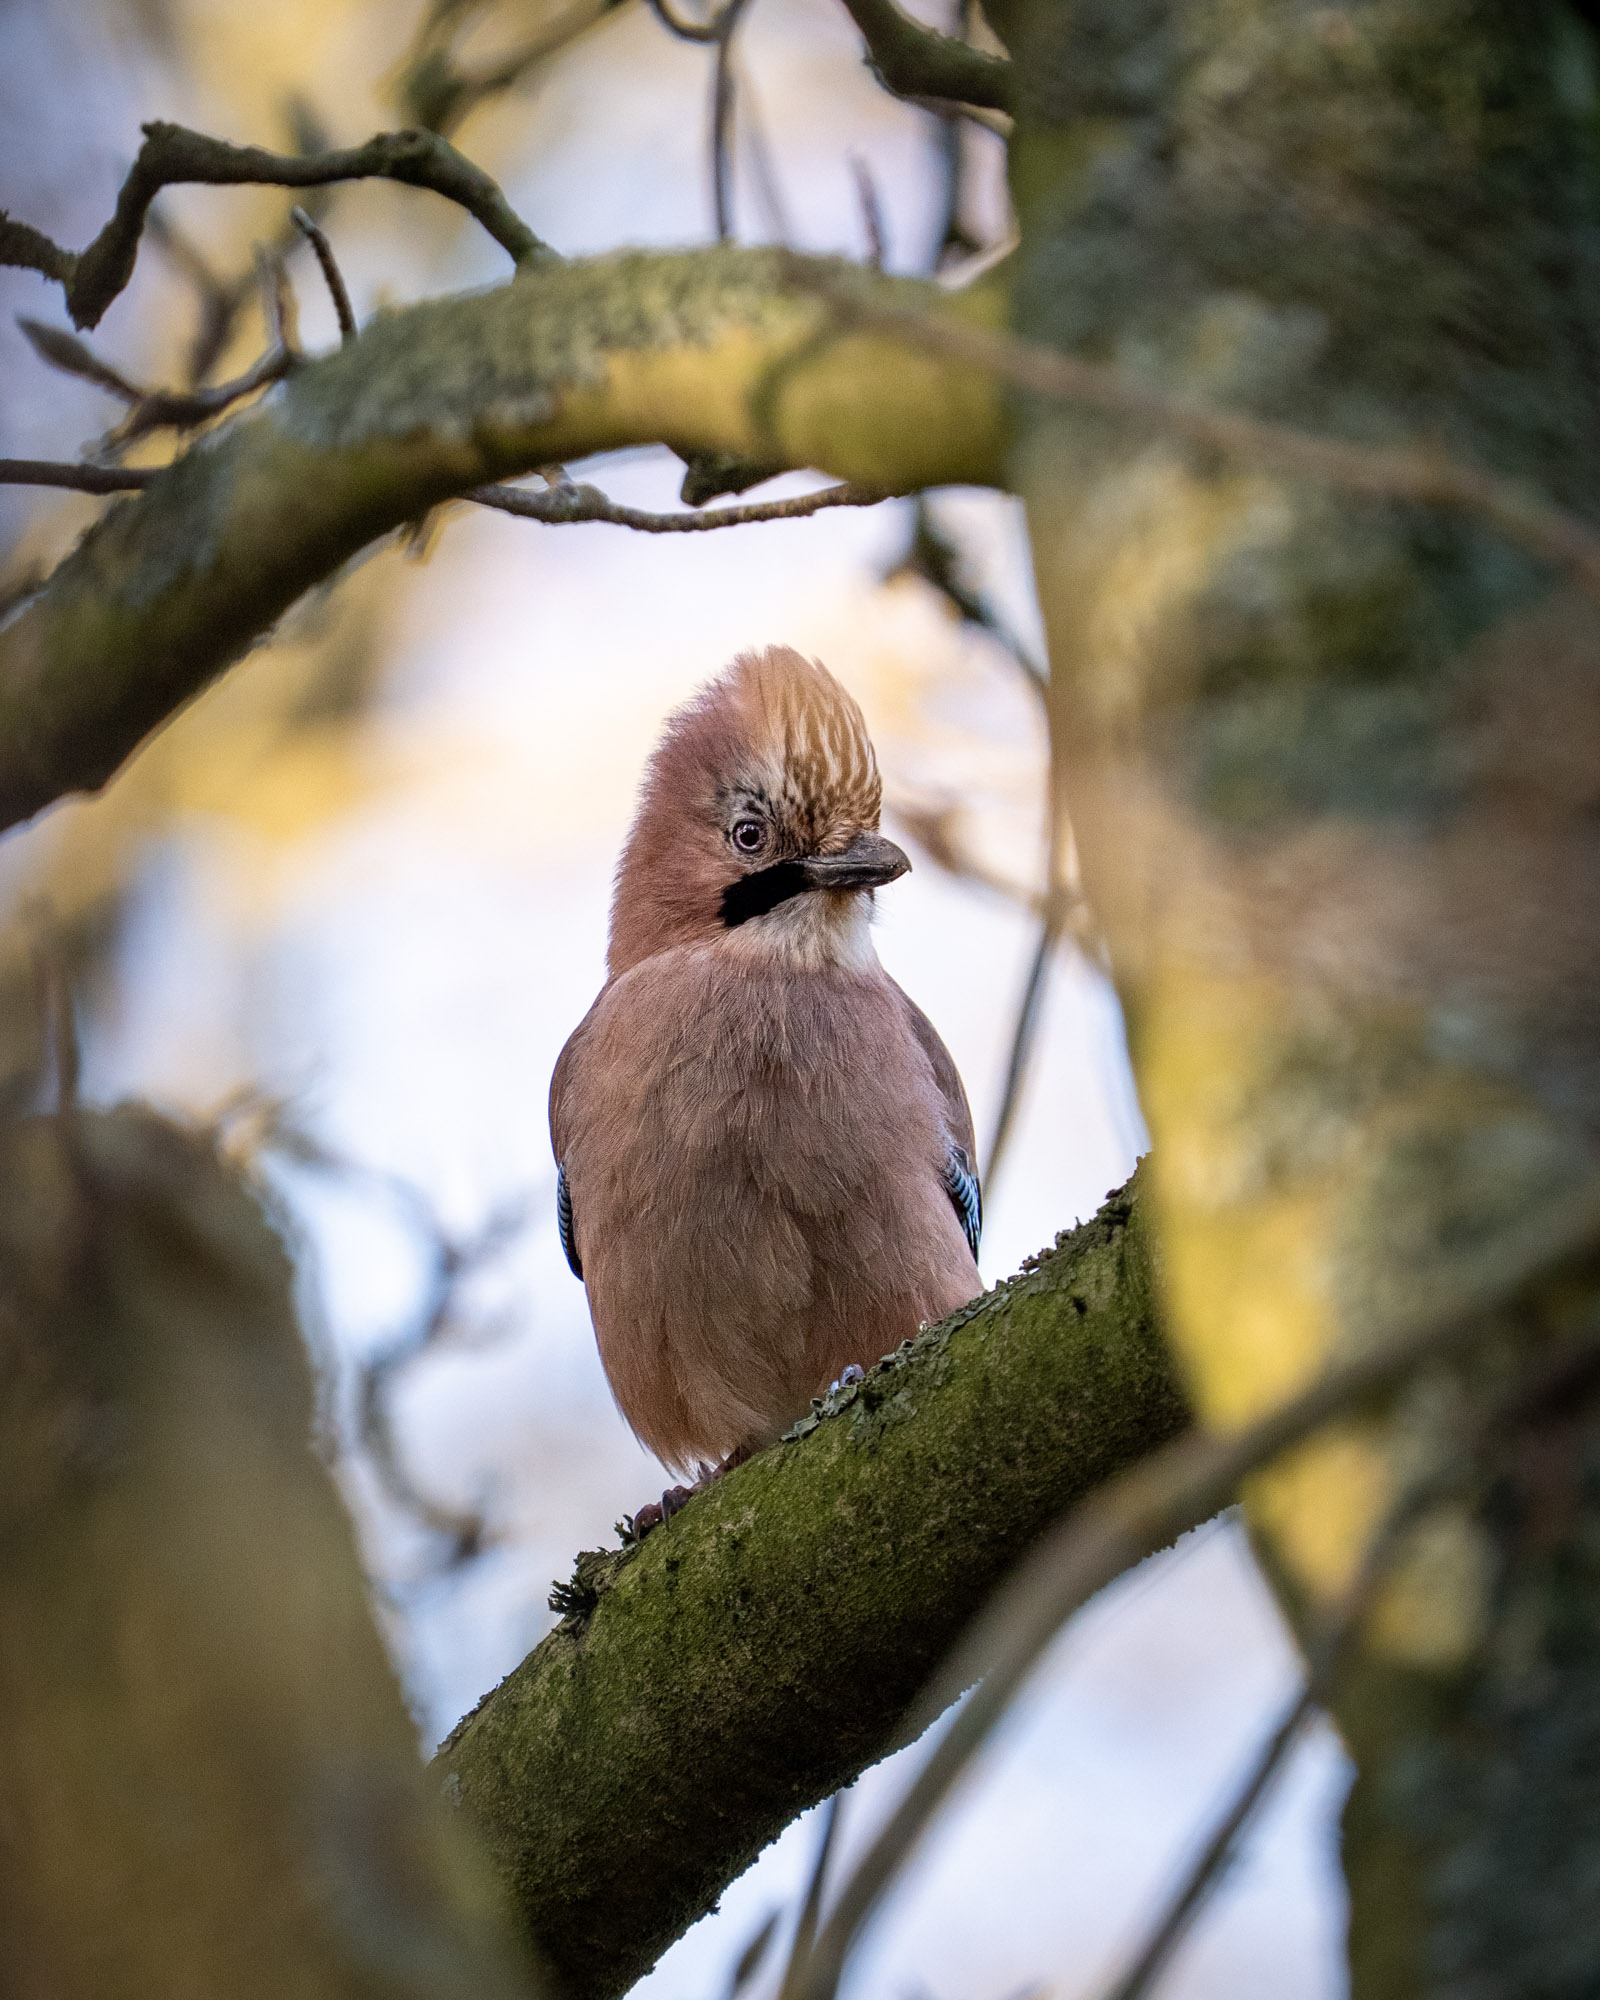
I also almost always work with a small focus area, usually a single focus point or a small spot. In bird photography, there's almost always something between you and the bird, like twigs or leaves. With a wide or automatic focus zone, you risk the camera focusing on that instead of the bird. By choosing a small focus point myself, I can determine precisely where the sharpness lies and prevent the focus from being off.
Jordi Woerts | Sony A9 III | Sony FE 200–600mm f/5.6–6.3 G OSS | 600mm | f/6.3 | 1/640 sec | ISO 1600
Birds in Motion
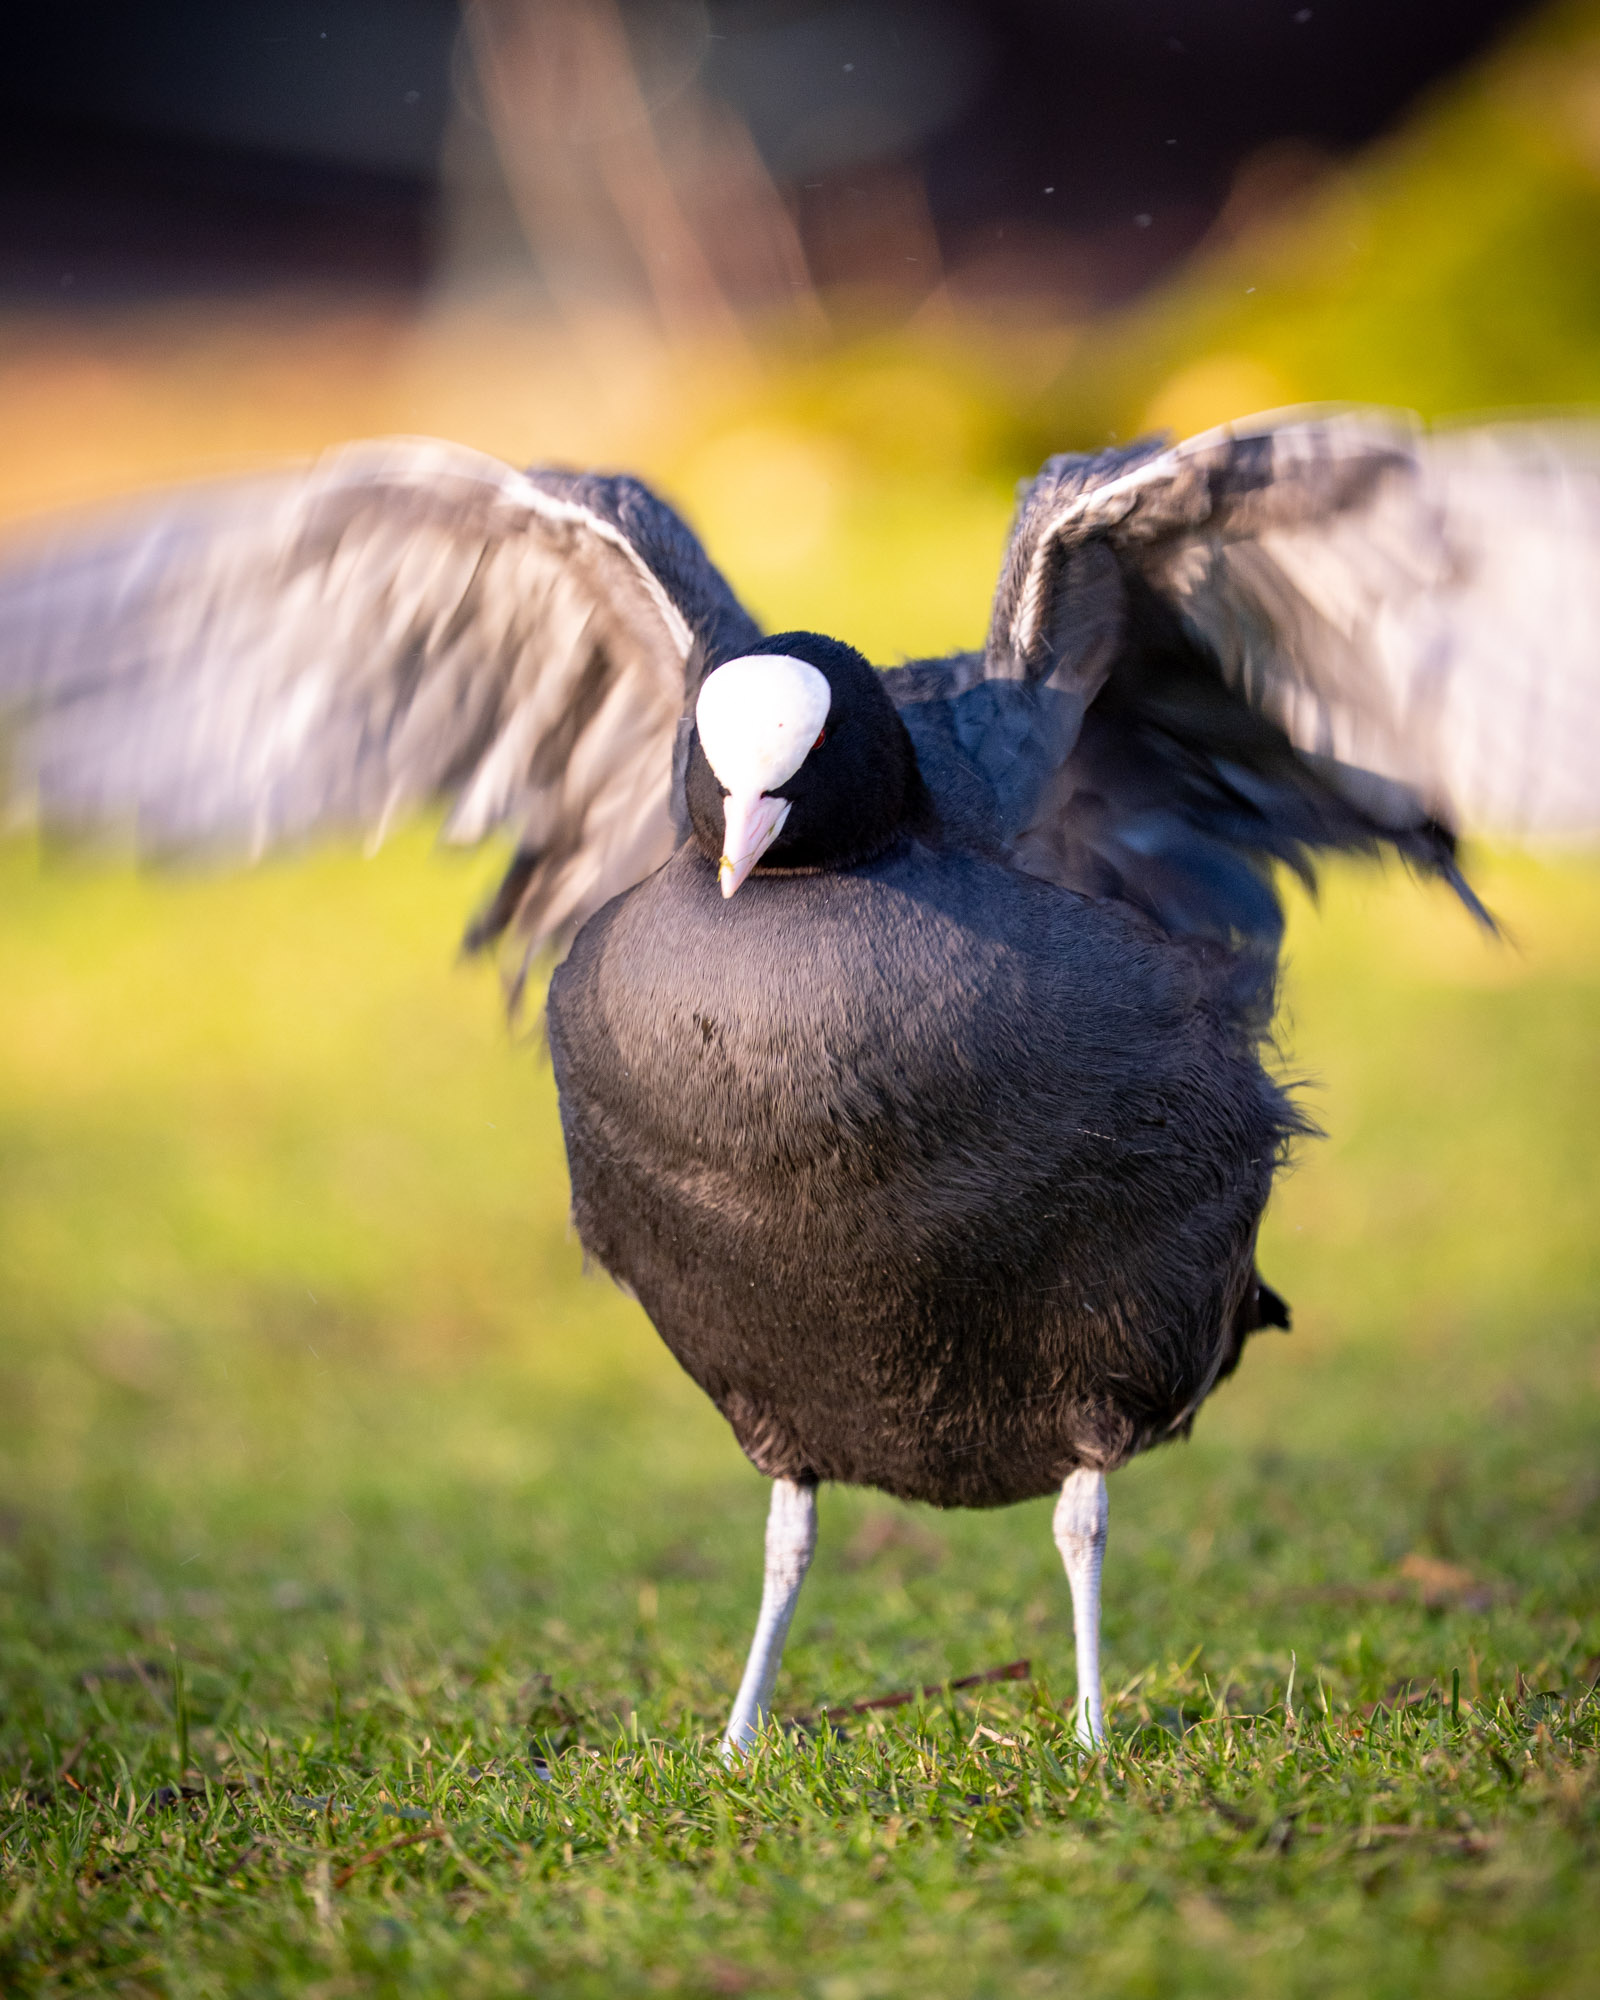
Photographing birds in flight is one of the trickiest things for beginners. A key difference from stationary birds is how you focus. While a small focus point works well in vegetation, it actually works against you with birds in flight. That's why I opt for a wider focus area or a larger focus zone, so the camera can track the bird more easily.
Shutter speed also becomes much more important when photographing birds in motion. Because the movement is fast and unpredictable, you need to significantly increase the shutter speed to get a sharp photo. In some situations, I also work with a slightly higher aperture, which gives you extra leeway when a bird quickly changes its distance.
Jordi Woerts | Sony A9 III | Sony FE 200–600mm f/5.6–6.3 G OSS | 600mm | f/6.3 | 1/400 sec | ISO 1000
What Really Helps When Photographing Birds
With a few practical tips and tricks, you can quickly make big strides in bird photography. You can often make a big difference through small customisations in how you move, such as how you position yourself relative to your subject. It's not about doing more, but about working more consciously.
Pay attention to the contrast between the bird and the background. When a bird clearly stands out against what's behind it, it will naturally pop more in the photo. This could be a dark bird against a light background, or vice versa. By paying attention to this, you'll improve your composition without changing anything technical.
Jordi Woerts | Sony A9 III | Sony FE 200–600mm f/5.6–6.3 G OSS | 600mm | f/6.3 | 1/500 sec | ISO 5000
Give space in the direction of a bird's gaze. If a bird is looking to the right, it often works better to leave a bit more space on that side of the image. This creates a sense of calm and makes the photo feel more natural. Taking a step to the left or right often changes the background enough.
Jordi Woerts | Sony A9 III | Sony FE 200–600mm f/5.6–6.3 G OSS | 600mm | f/6.3 | 1/400 sec | ISO 1000
Read the bird's behaviour. By recognising what a bird is doing, you can better anticipate its movements. Birds hopping around in search of food often keep moving in the same direction. The moment a bird pauses or lifts its head is often the perfect time to capture the shot.
Stay calm and predictable. The calmer and more predictable you are, the more likely a bird is to continue its normal behaviour. Move in small steps, avoid walking directly toward a bird and observe how it reacts. If it gets restless, backing away is often the best choice.
Patience pays off more than action. By giving the bird space and not forcing it, situations often unfold naturally. Staying calm, taking small steps occasionally and constantly observing will give you more opportunities to capture strong images.
Standing out is usually about behaviour, not clothing. Birds generally react more strongly to movement than to someone standing still. So, wearing camouflage isn't a requirement. By avoiding abrupt movements and bright colours, you'll already be well on your way. Sound also plays an important role. Some clothing, like nylon windbreakers, can make a lot of noise when you walk. That can unintentionally draw attention and alert birds prematurely. Choosing quiet, soft materials helps you stay unnoticed.
Jordi Woerts | Sony A9 III | Sony FE 200–600mm f/5.6–6.3 G OSS | 485mm | f/6.3 | 1/200 sec | ISO 6400
The Best Times and Places for Bird Photography
The location where you shoot and the time you head out really make a difference. Your garden or local park is a surprisingly good place to start. Many garden birds visit daily and are used to people, so they tend to be less shy. That gives you more room to practice, experiment and improve step by step.
The best time for me to photograph birds is, without a doubt, early morning. Birds are most active around sunrise, especially during breeding season. The light helps, too: in the early morning, you often get that soft golden hour light, which immediately adds more atmosphere to your photos. The light becomes harsher and flatter as the day progresses.
That doesn't mean you don't have opportunities during the day. In sheltered areas like forests, you're less dependent on the time of day since the light is already filtered by vegetation. As evening approaches, the light softens again. Birds are often still active before they find their roosting spot, which can lead to some beautiful shots.
Common Mistakes
One of the biggest mistakes I made early was trying to do too much too fast. I had a camera, I knew what I wanted to shoot, and in my head, it had to be perfect right away. That mostly worked against me. I set the bar too high for myself, which sometimes made photography frustrating rather than fun.
Many first attempts fail for this reason. Getting too close to a bird, acting too quickly, not taking enough time to see what's actually happening. The real learning happens when you take the time you need. The calmer you are, the more room you'll have to learn. Don't see it as failing, but as practice.
I love shooting in manual mode, but that doesn't mean you have to start there as a beginner. Starting in an automatic or semi-automatic mode is perfectly fine. It helps you get to know your camera and understand how it reacts in different situations. If you miss a moment or a bird flies away, don't stress too much about it. That's part of the process. If you accept that, photography will remain fun, and you'll naturally start to see progress.
Jordi Woerts | Sony A9 III | Sony FE 200–600mm f/5.6–6.3 G OSS | 600mm | f/6.3 | 1/200 sec | ISO 5000
In Conclusion
The main thing I want to tell you is not to be too hard on yourself. Get to know your camera, take your time and soak in your surroundings. Just get out there with your camera, whether it's close to home, in nature, or even in your own garden. You'll practice your photography skills and, at the same time, contribute positively to understanding the current state of birds in the UK.
Read more tips and techniques on the MPB content hub and see more of Jordi's work on his Instagram.
You can sell or trade your camera kit to MPB. Get a free instant quote, free insured shipping to MPB, and get paid within days.