Advice: 10 Tips for Underwater Wildlife Photography
Published February 19, 2025 by MPB
Wildlife conservation biologist Kaushiik Subramaniam is an expert on human-wildlife interactions, with an MSc in Wildlife Conservation and extensive in-the-field experience. He’s also an accomplished award-nominated photographer and filmmaker working for the BBC Natural History Unit. Kaushiik Subramaniam’s underwater photography is particularly awe-inspiring. In this article, Kaushiik Subramaniam shares his advice for beginners to underwater wildlife photography.
Looking to dip your toes into underwater photography but you’re not quite ready to jump in at the deep end? Or perhaps you’ve already made the plunge into underwater photography, but it feels like you’re just treading water? There are many elements to consider, it can make your head swim. Follow the tips in this deep-dive guide and your underwater photography will go swimmingly in no time at all. Let’s jump right in.
Underwater photography can be a daunting prospect for beginners. Just the idea of taking expensive camera gear into the water is enough to send a shiver down the spine of most photographers. If you understand the basics of photography and get to grips with editing and post-production, you can create some beautiful images and footage—even as a beginner. I started with a simple GoPro Hero7 Black and created some award-nominated images and a short film. If I can do it, you certainly can too.
1. Get comfortable in the water
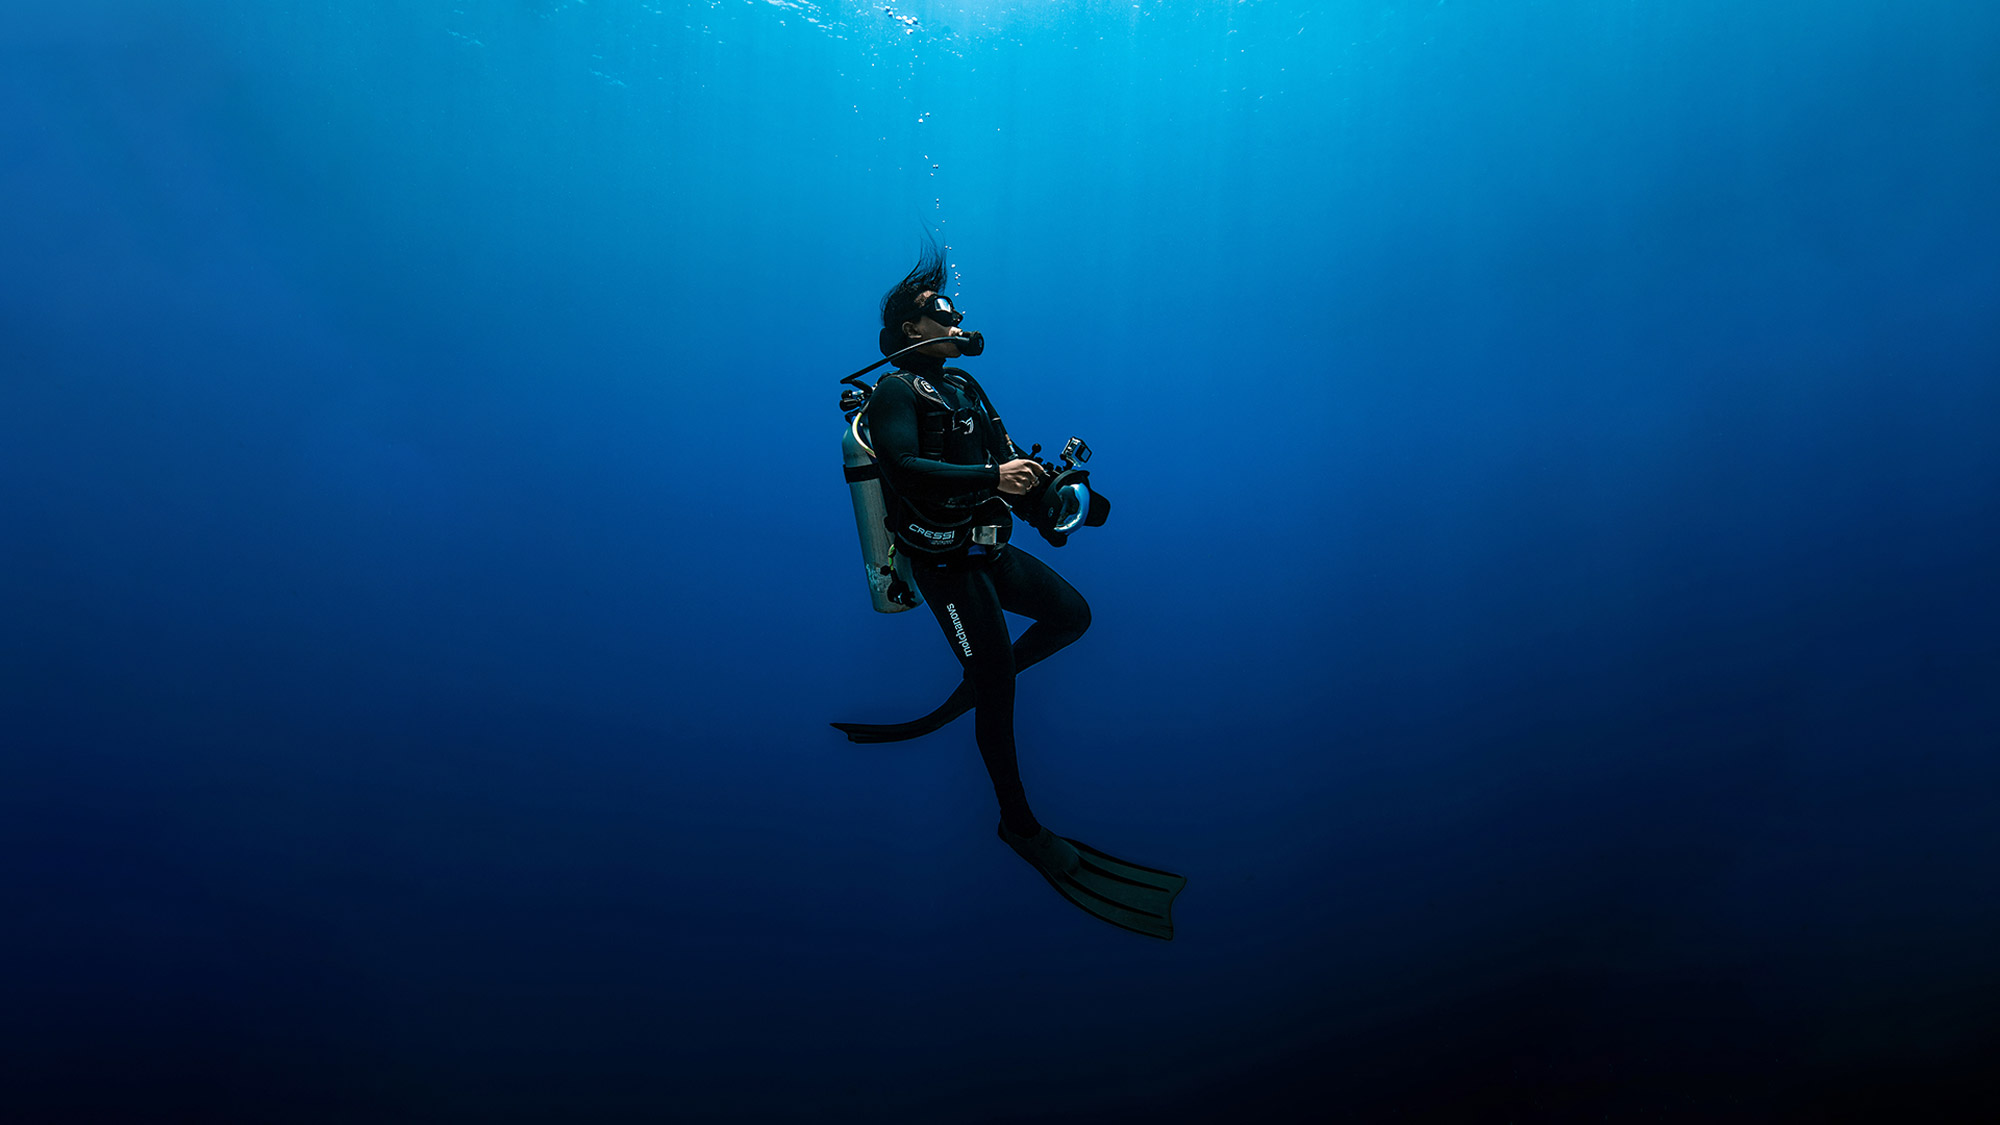
It is crucial that you are a good diver or freediver and that you have good buoyancy. Using a camera can be distracting, and it can be easy for a new diver to crash into the reef or lose track of their depth. You can't expect to get good footage or images if you're bouncing up and down a lot and not keeping your hands steady. You’ll also likely scare away wildlife. You have to walk before you can run. So, before you even think about taking a camera down with you, practice your diving first.
Kaushiik Subramaniam
2. Understand the basics of water and light
Understanding how light passes through water, and the effect that it has on light the deeper you go, will help you in choosing your camera settings as well as how you edit images. Red is the first color to disappear, then orange and yellow. At 70 ft, green will also be gone and all you will see are different shades of blue. You can bring back natural colors using artificial light, but this is a bit more advanced. If you can understand how to manipulate natural light, and what angles to shoot from, you can achieve some great images and footage.
Sony A7R III | Samyang AF 14mm f/2.8 (FE) | 14mm | f/7.1 | 1/1250 | ISO 1000
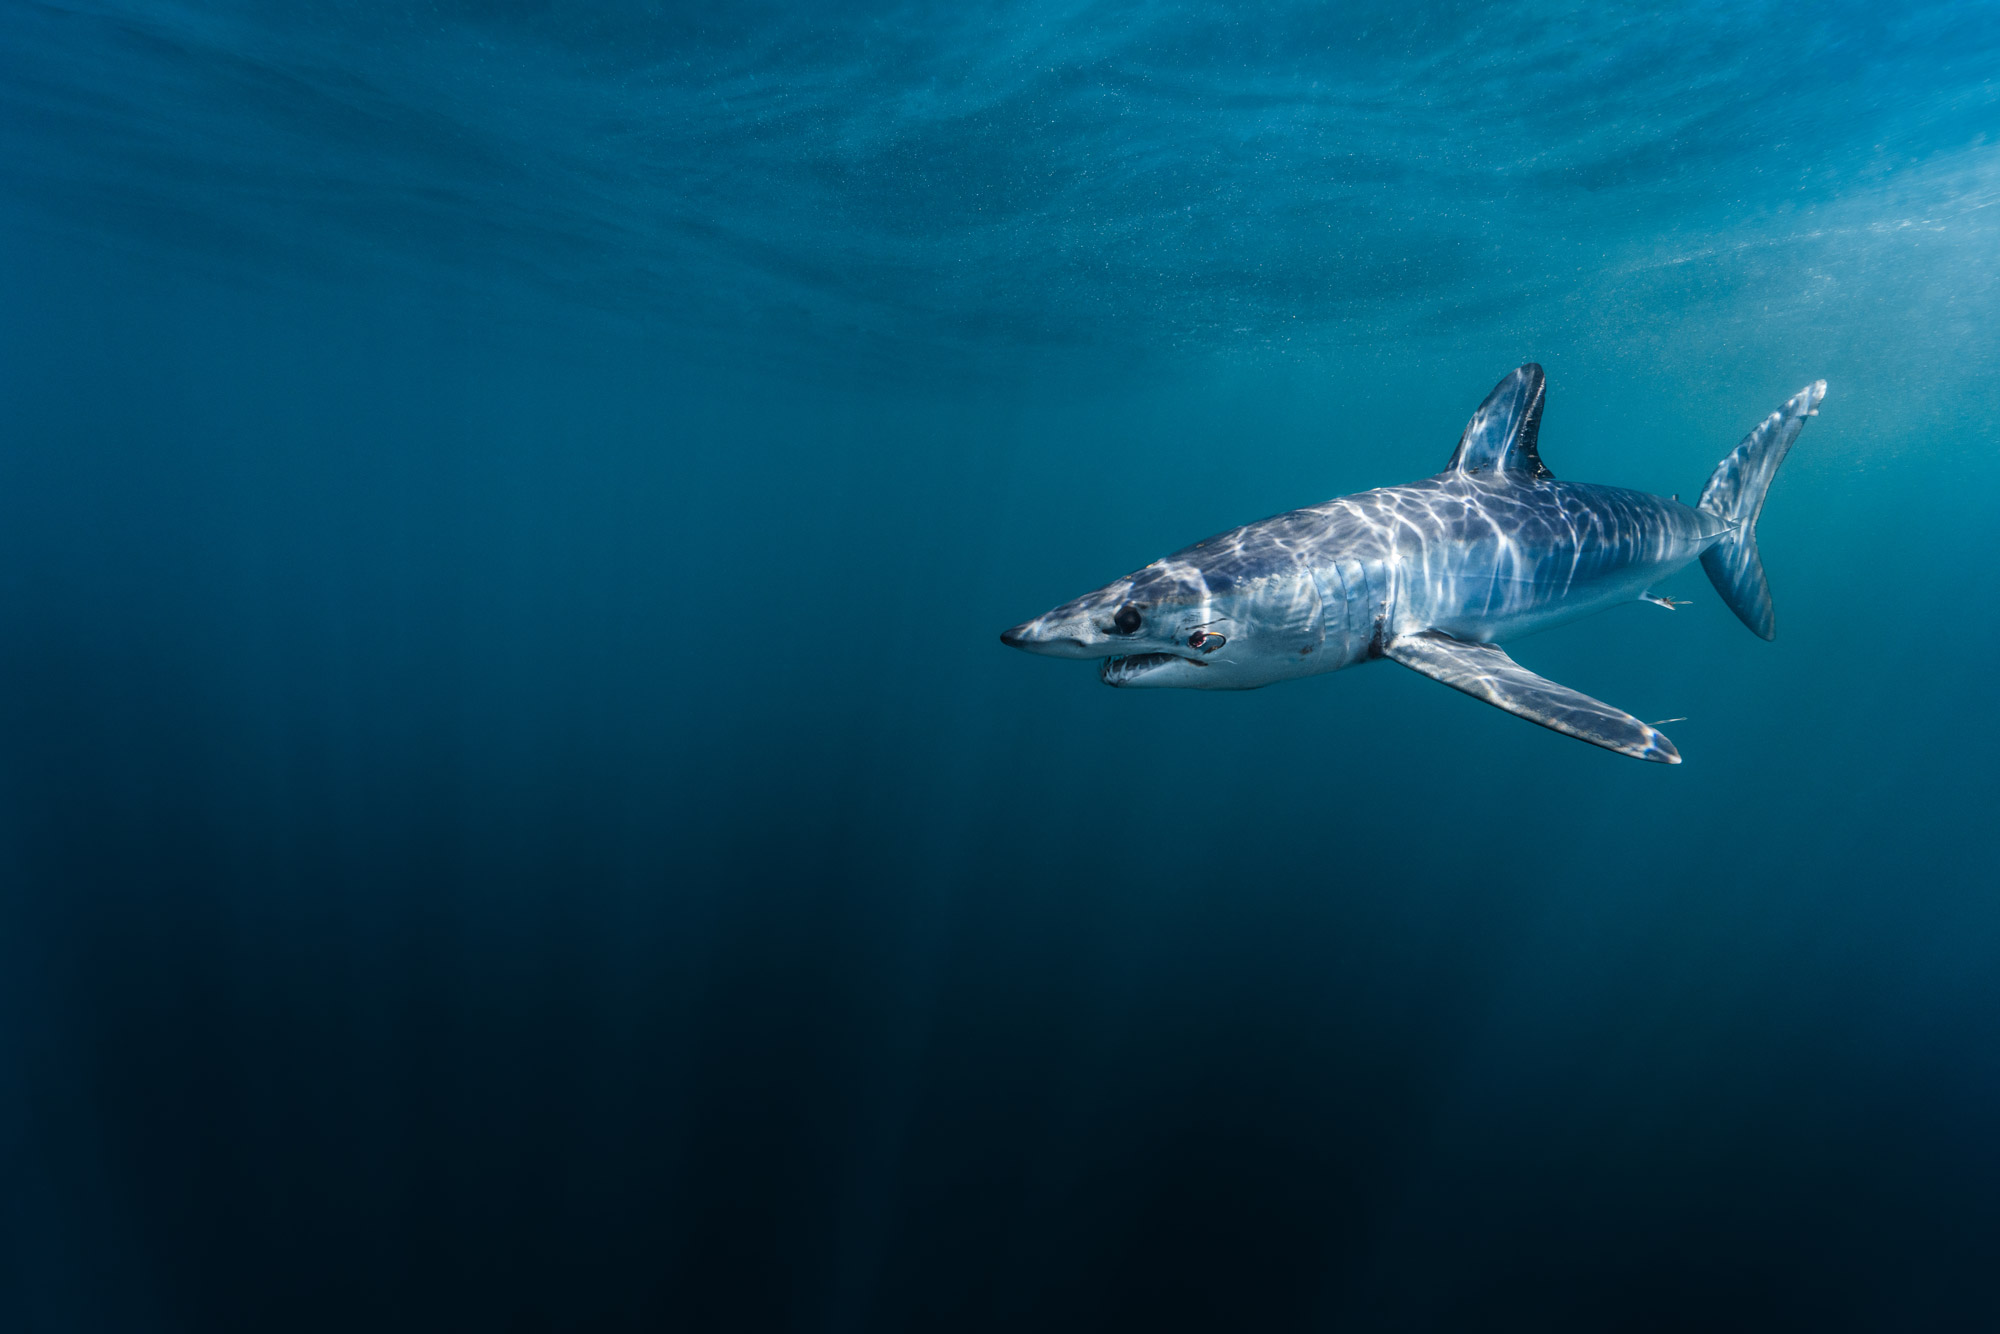
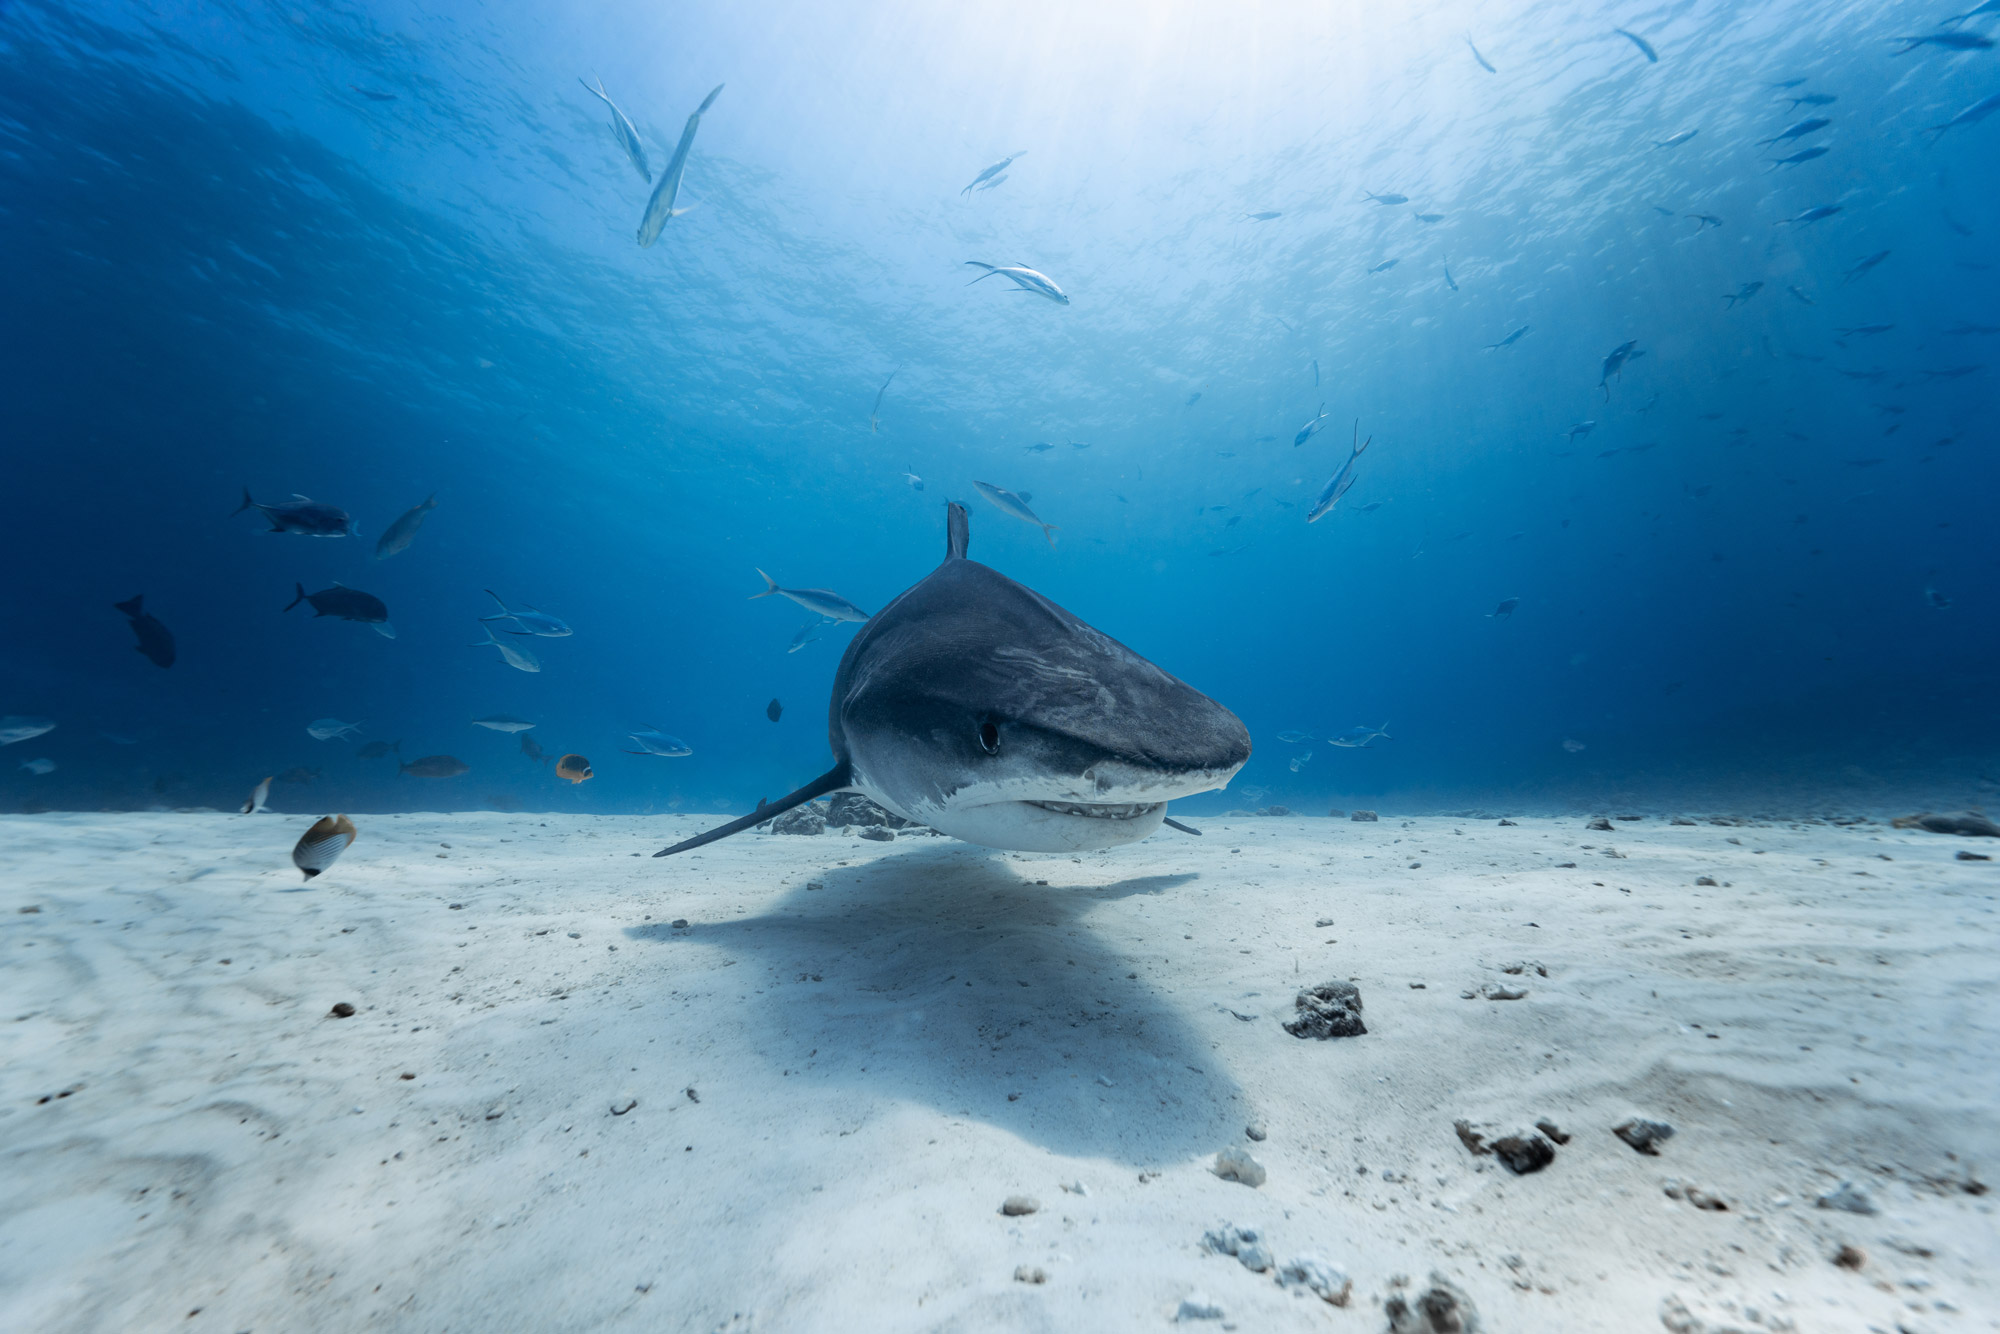
3. Get close to your subject
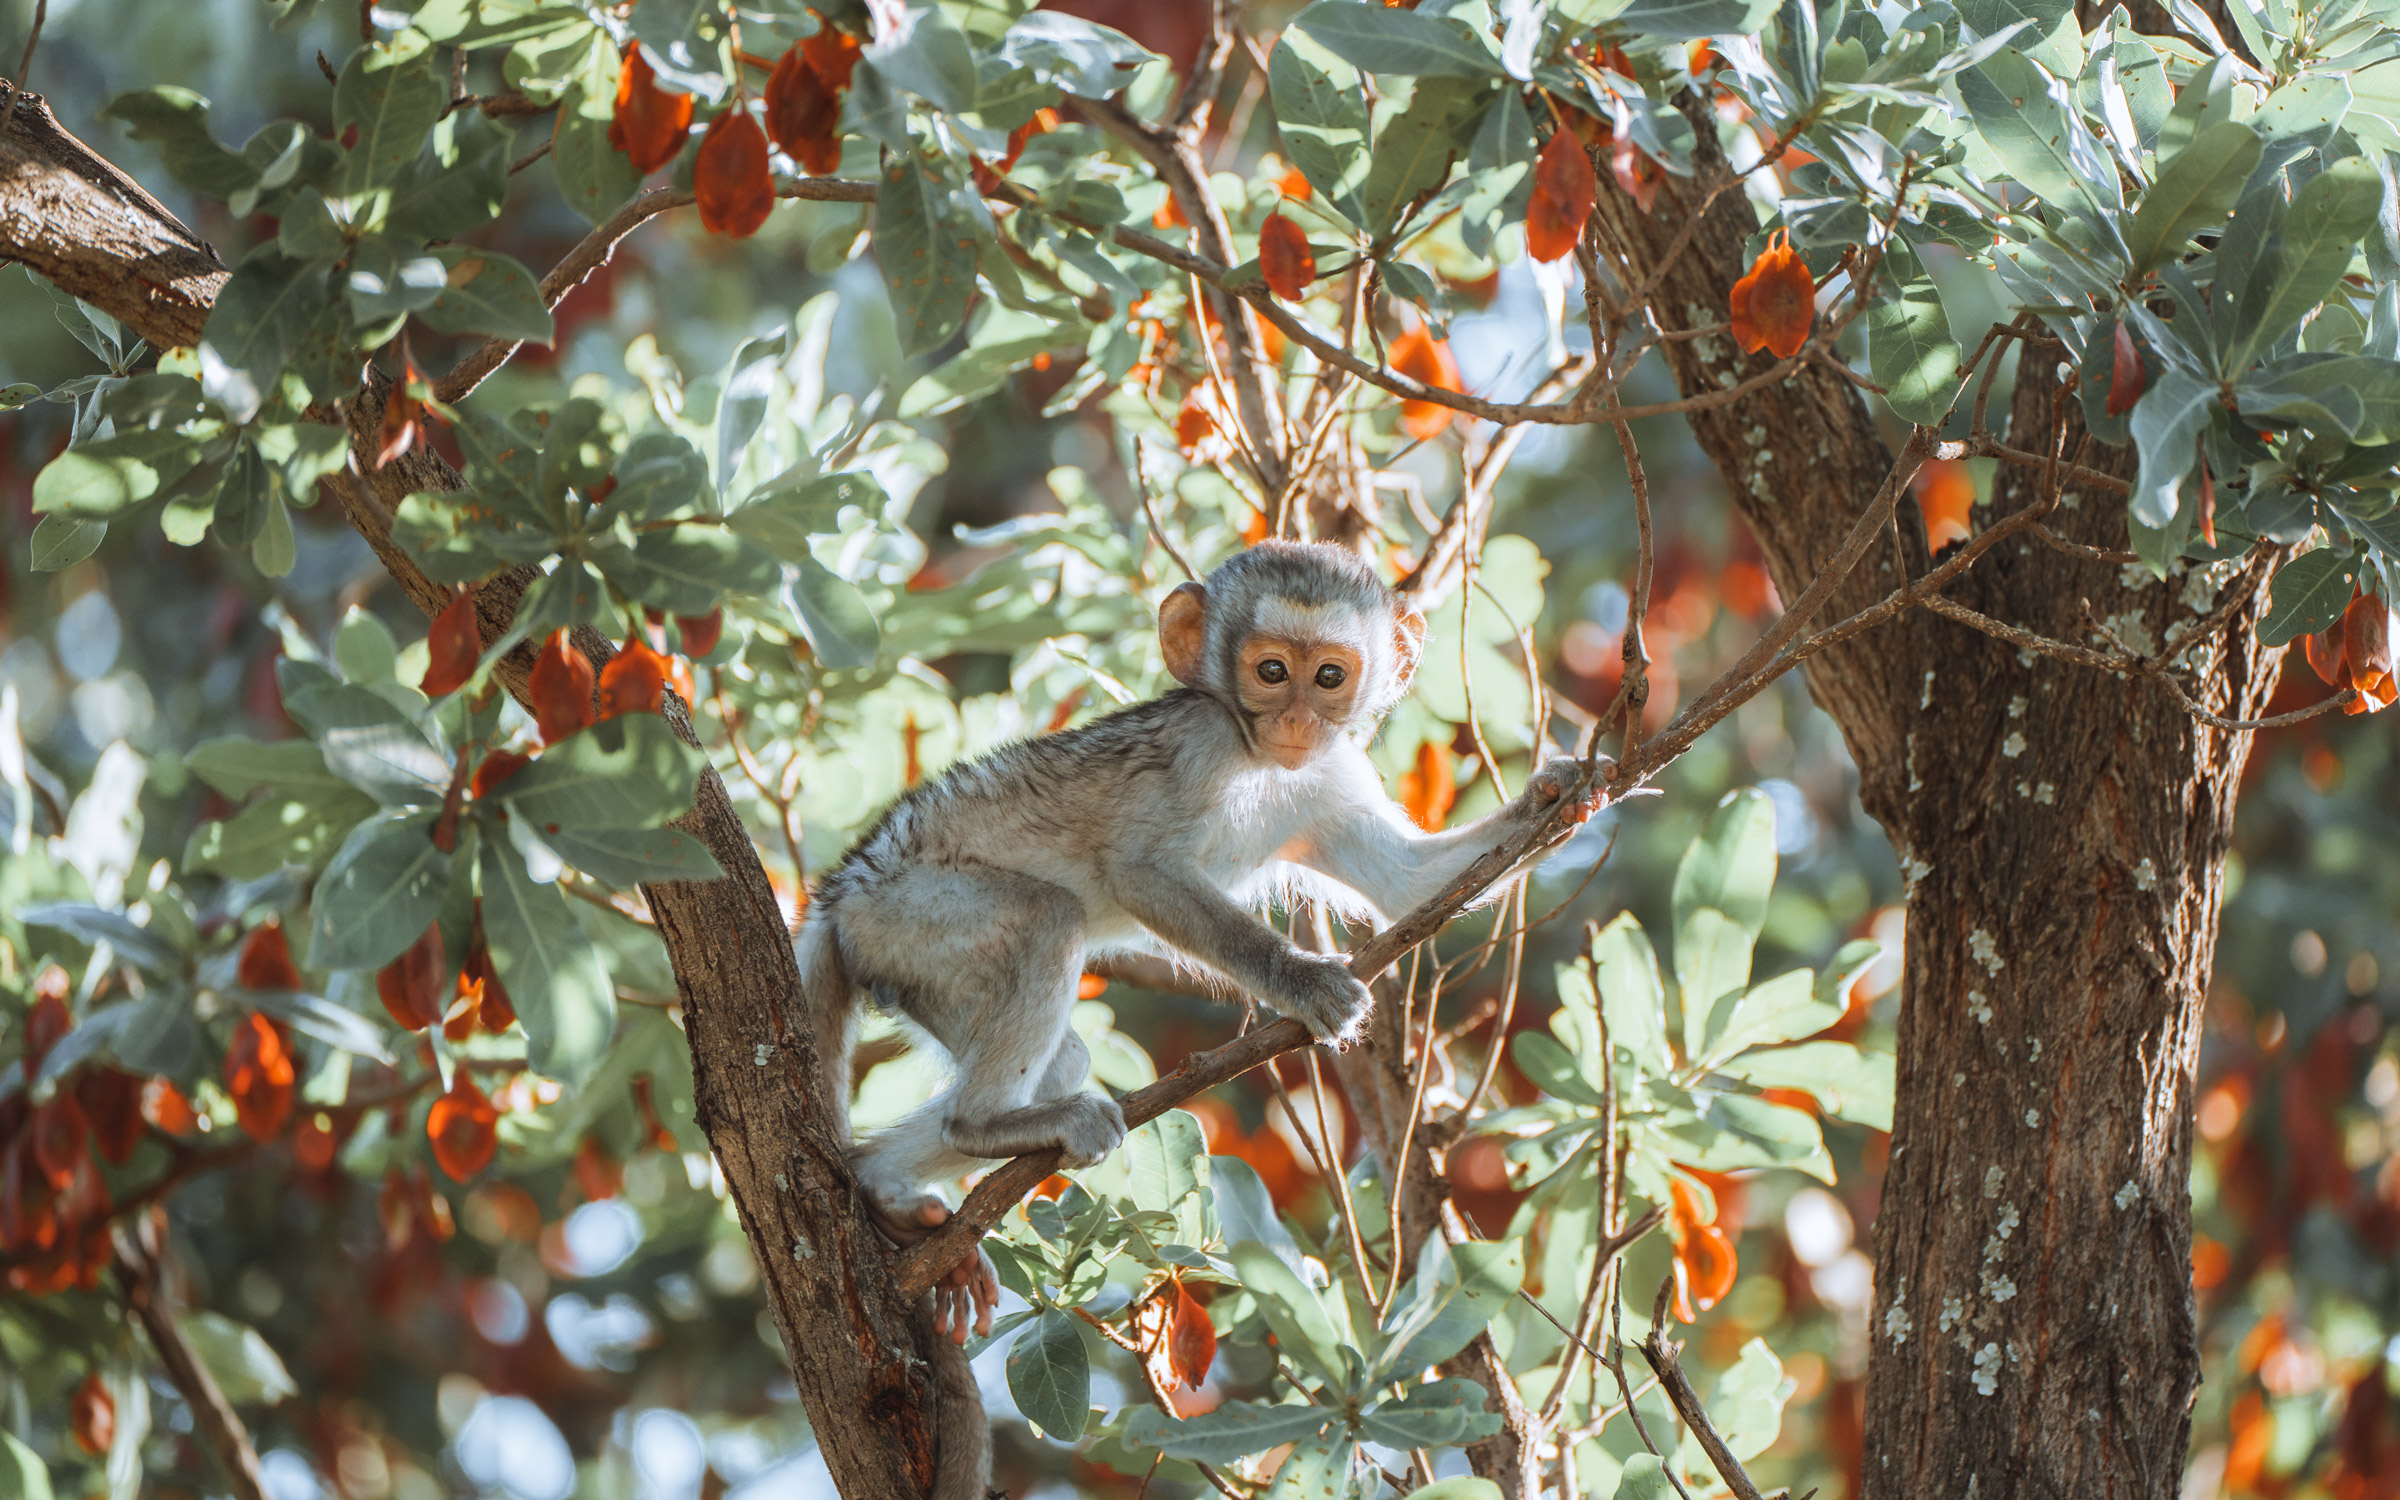
Water absorbs light and it also has a lot of particles within it. This can have a huge impact on visibility. On land, depending on the terrain and weather conditions, we can usually see to the horizon. But underwater, the amount of particulate matter in the water impacts how far we can see. If you have 100 ft of visibility underwater, that is considered crystal clear. The farther you are from your subject, the more it will fade into the blue and the less the contrast.
Luckily, a lot of underwater species are quite curious and happy to come close to us. If you look at these images taken on land, they were taken at what would be considered very close topside but would be way too far away to take usable shots underwater. Compared to these taken underwater, you can see that under the right conditions, underwater life will come very close to you.
Sony A7R III | Samyang AF 14mm f/2.8 (FE) | 14mm | f/14 | 1/640 | ISO 1250
4. Be respectful of underwater life
Always be respectful of nature, both on land and underwater. But when trying to get close to animals underwater, it is important to remember not to harass or stress them. You will have a much better encounter—and therefore more chances to get shots—if you maintain your distance and let the animals come to you. Chasing wildlife is a surefire way to spook them and you’ll only get shots of their tails as they swim away.
Sony A7R III | Samyang AF 14mm f/2.8 (FE) | 14mm | f/8.0 | 1/800 | ISO 320
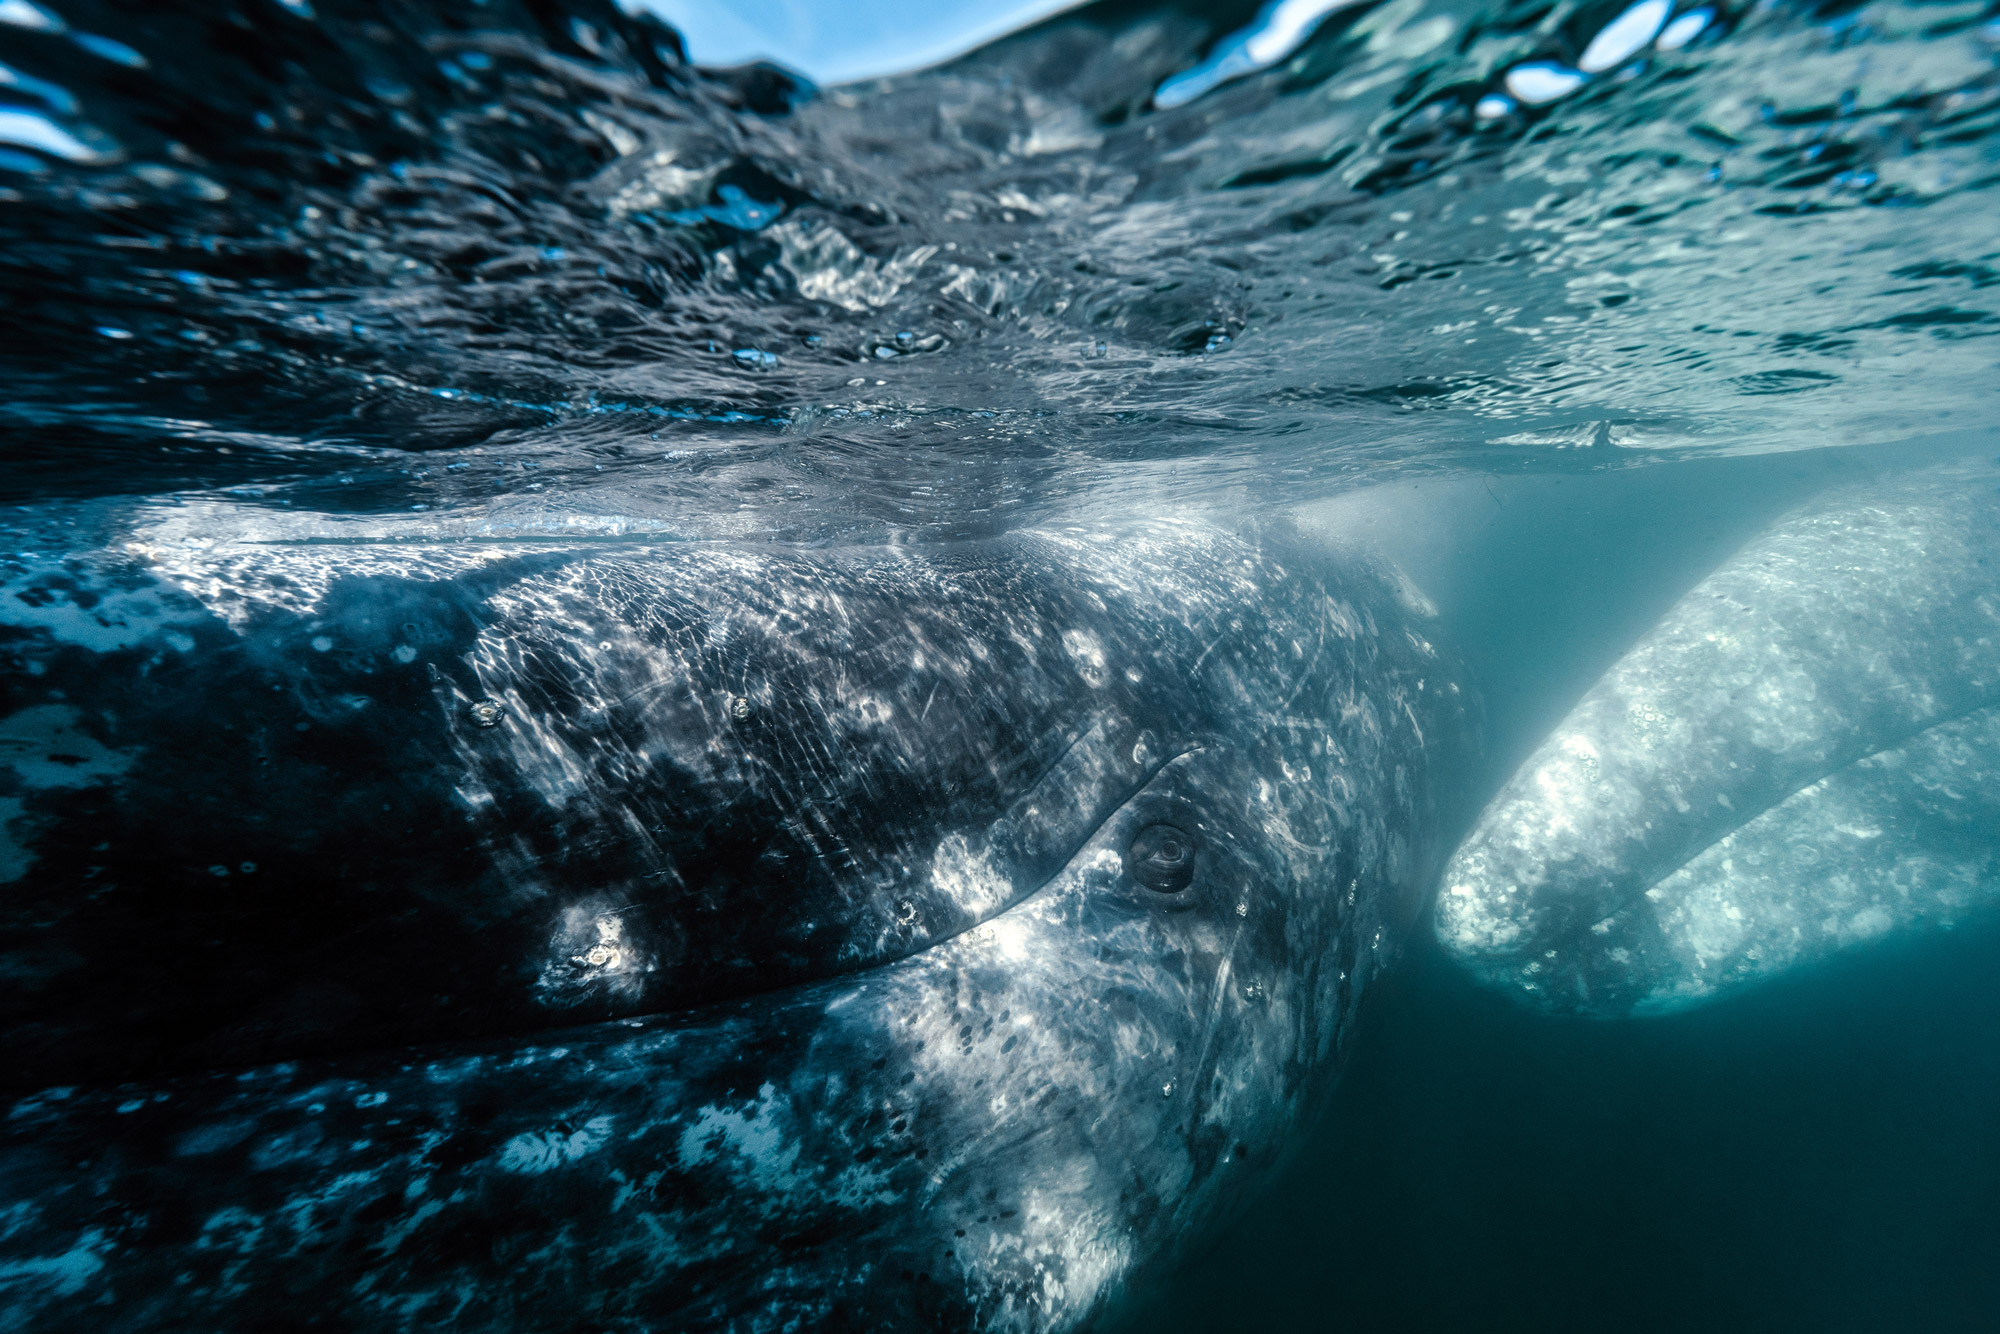
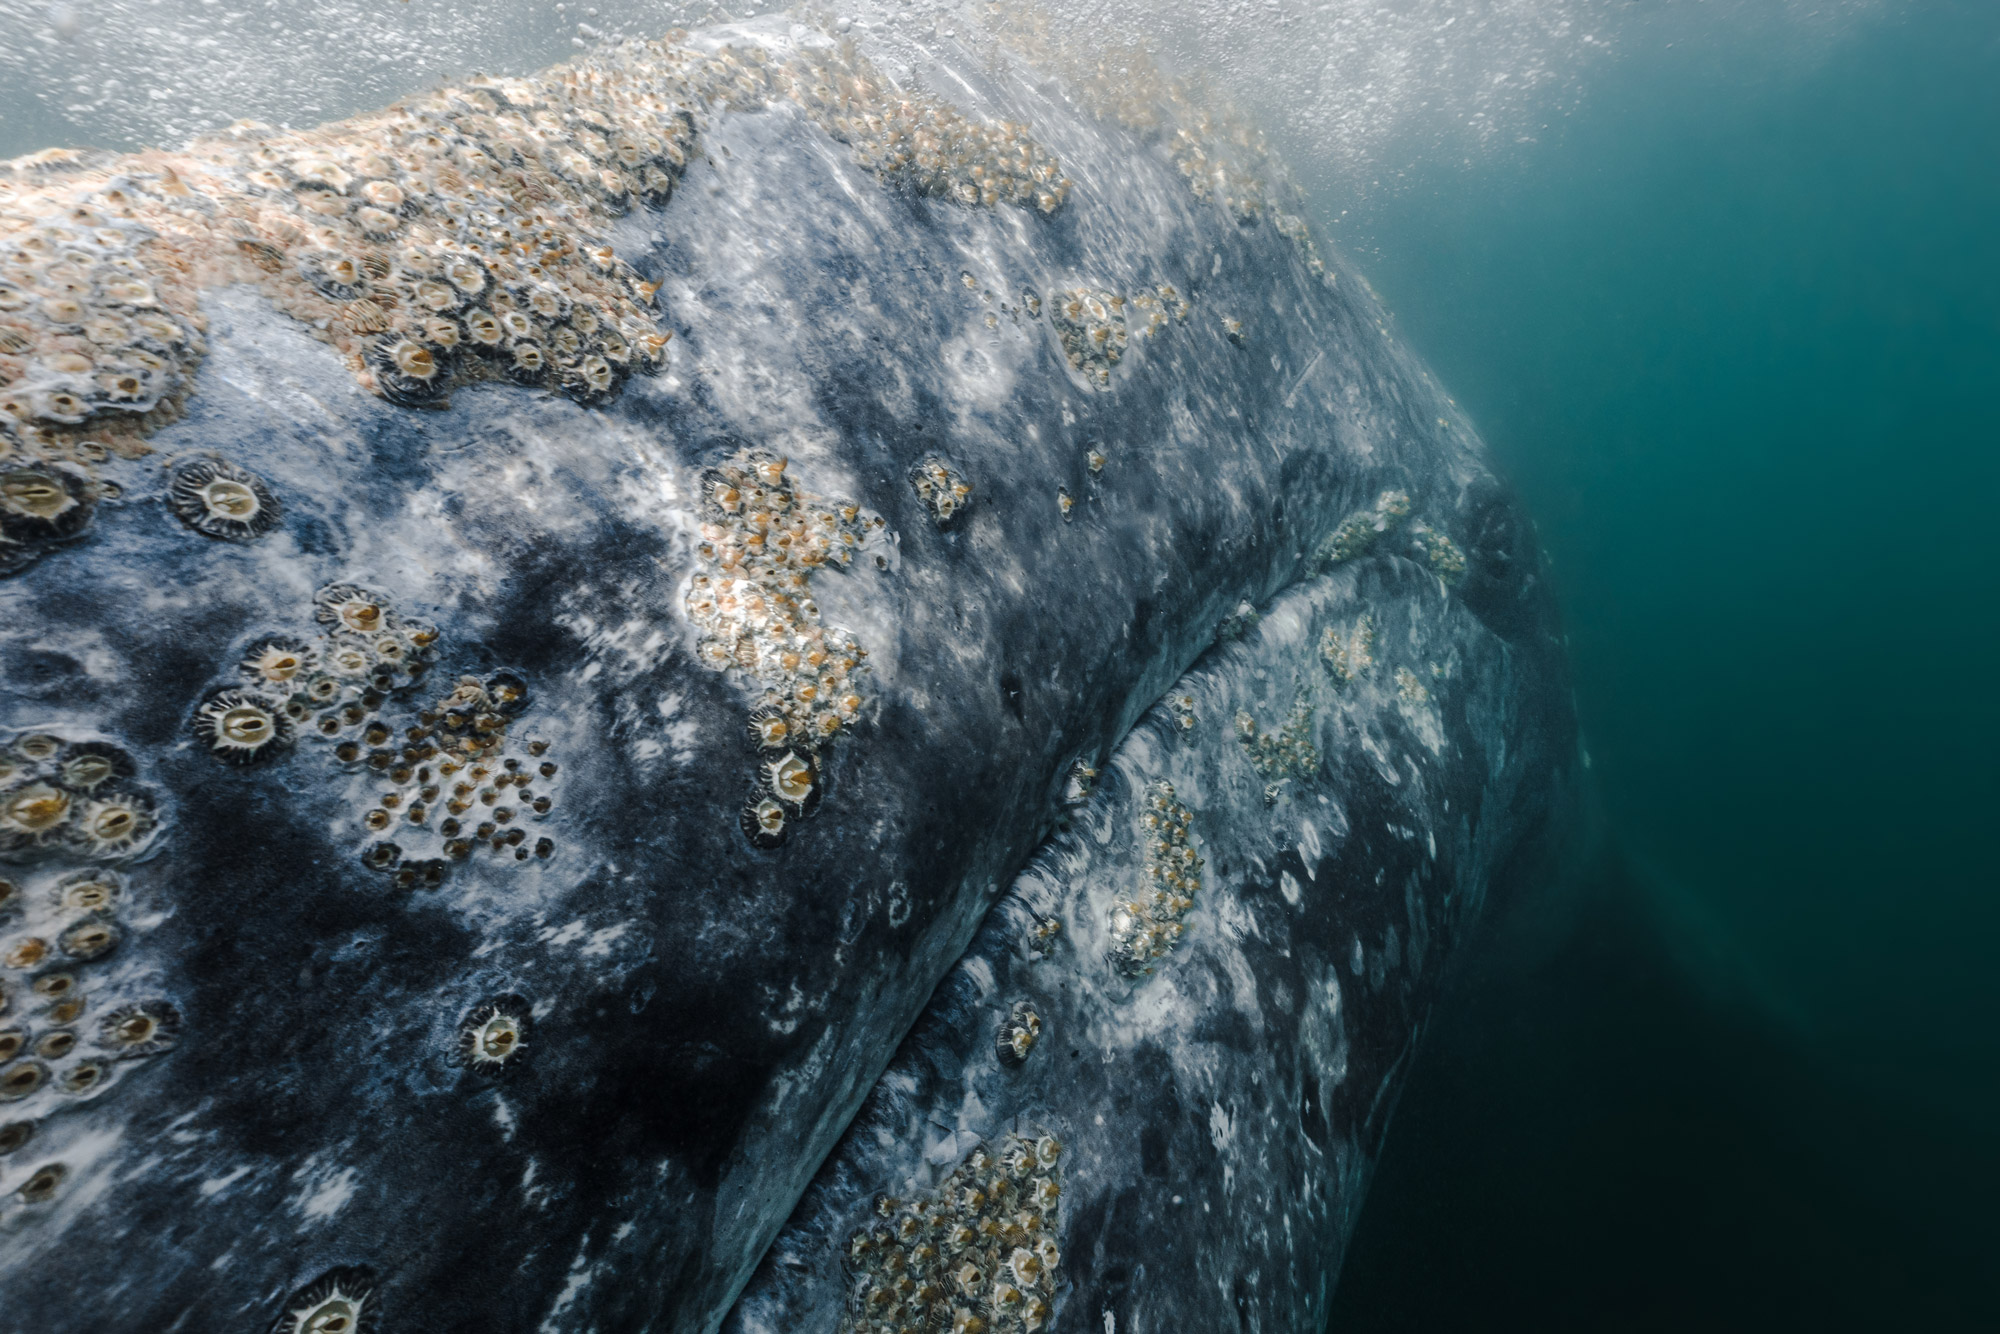
5. Get level
This rule applies to wildlife photography on land as well as underwater. It is often a point that beginner photographers overlook. On land, it is typical for beginners to stand upright and take the shot from where they are standing. The underwater equivalent of this is taking shots only from above the subject. Very rarely are these top-down images any good. Instead, for a more intimate connection, get to the same level as the subject’s eyes. The best images show a connection with the animal and make the viewer feel as if they were right beside it.
Sony A7R III | Samyang AF 14mm f/2.8 (FE) | 14mm | f/8.0 | 1/800 | ISO 320
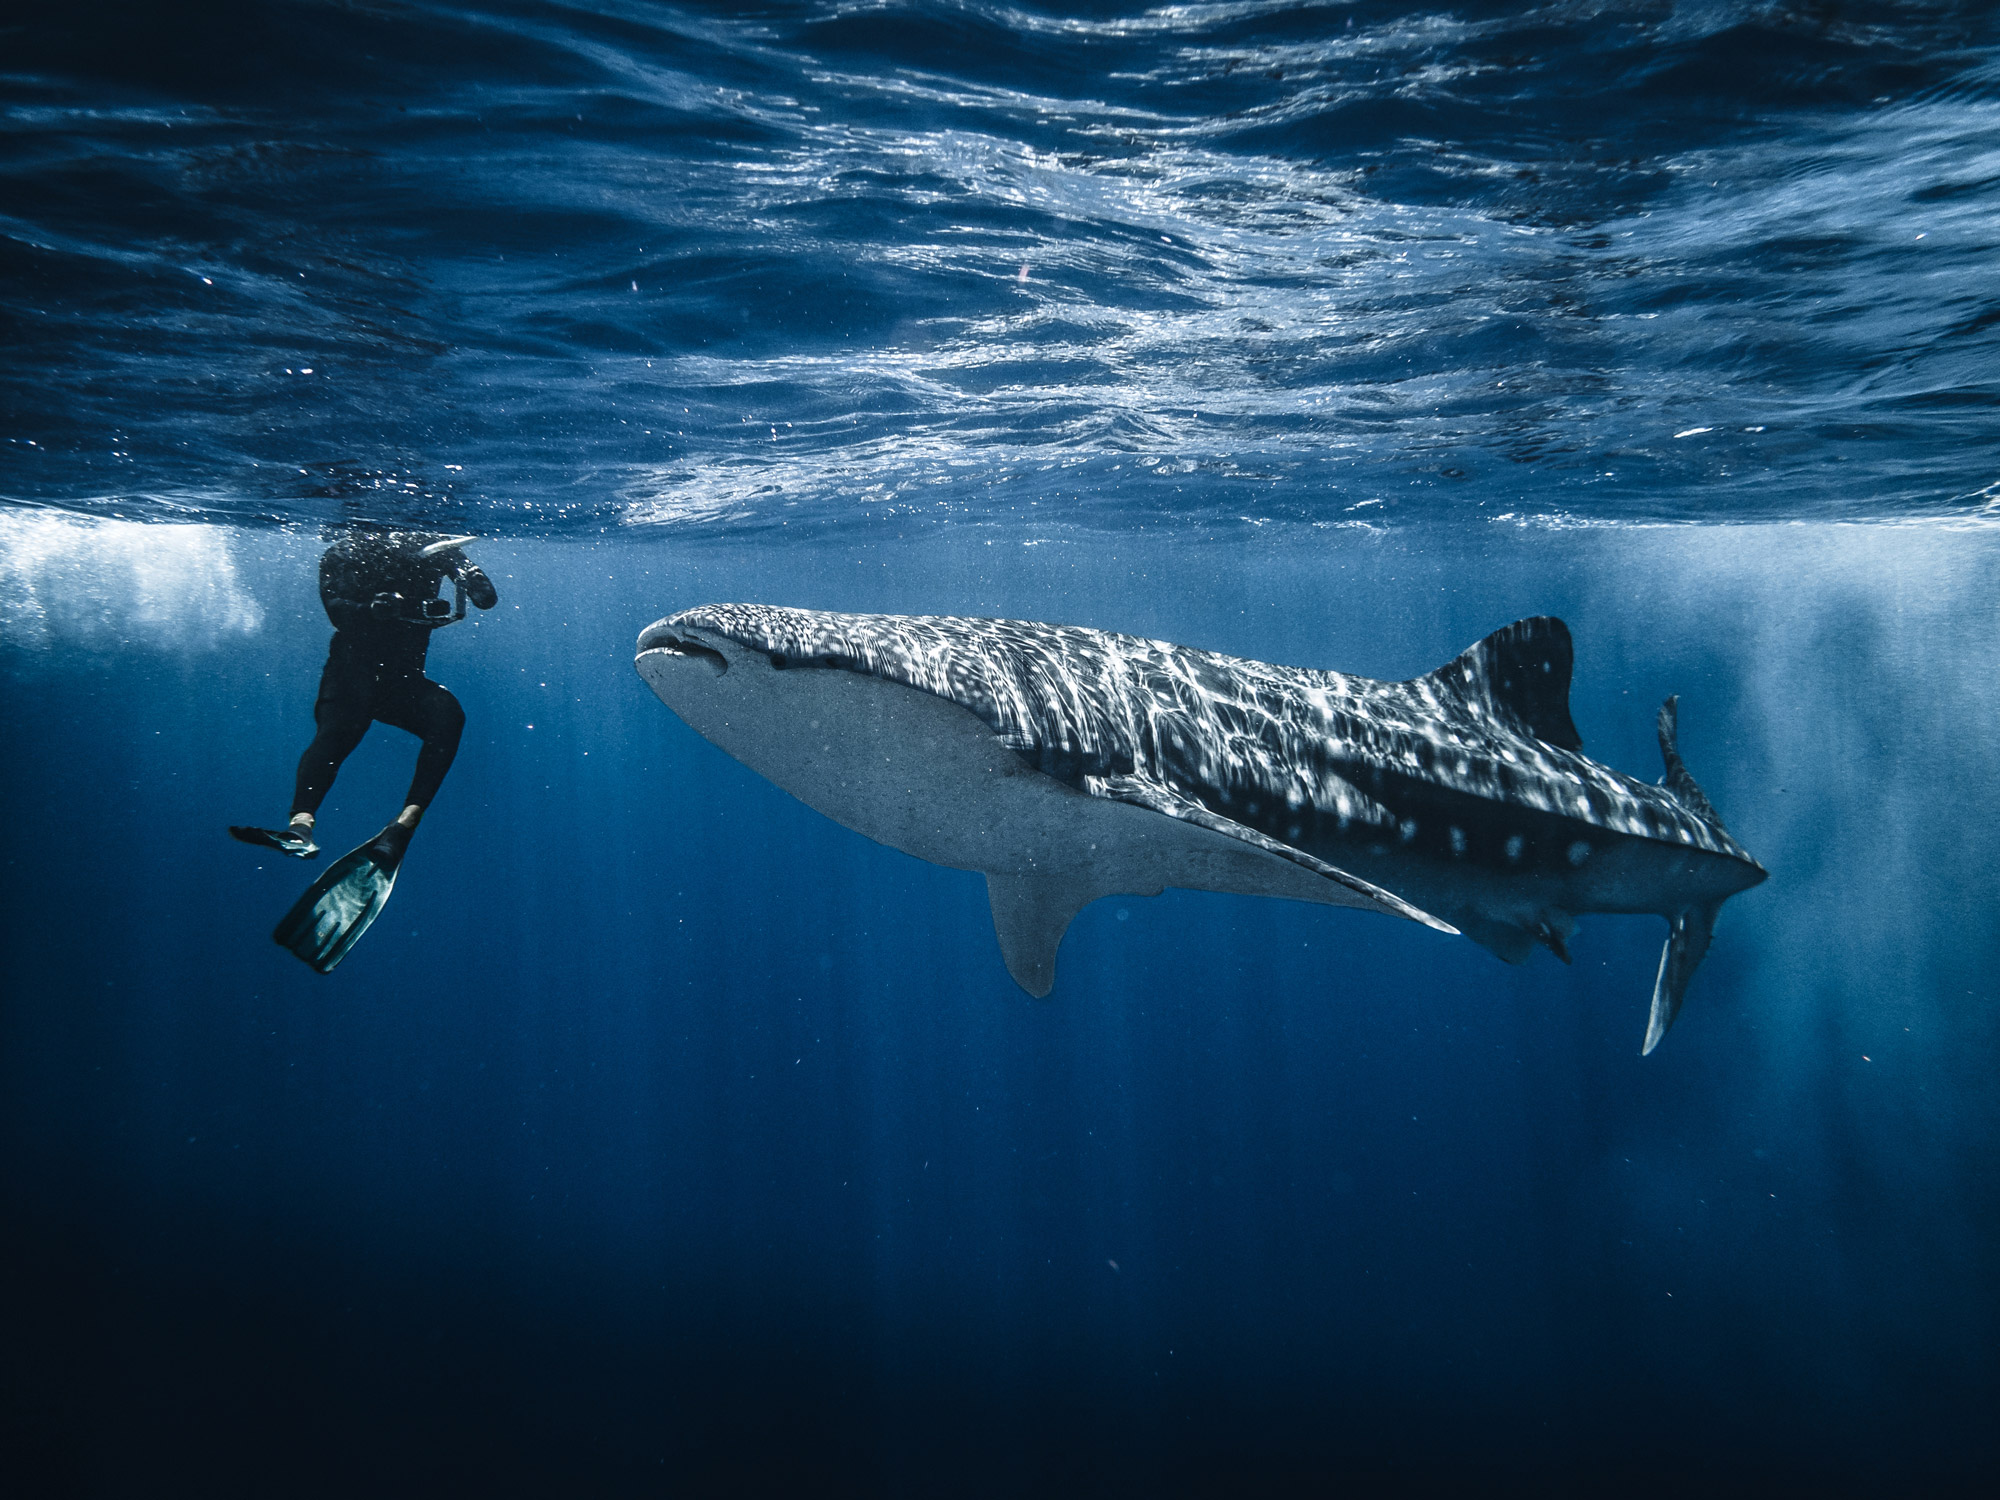
6. You don't have to be a scuba diver
It’s not only scuba divers who can get the best shots of marine life. You don’t have to dive deep to see wildlife. The majority of biodiversity is found in shallow reefs, which usually provide the best opportunities for photography with natural light. Up until the last year or so, the majority of my underwater content was taken while freediving.
If you have issues with your ears or if scuba diving just isn't your thing, don't worry. There are plenty of shallow marine habitats around the world that are perfect for snorkeling. The bonus of shallow water is that the natural light will be so much better than when scuba diving at depth. Being in the shallows also allows for taking split shots, which can be a bit tricky, but are epic when you pull them off.
7. You don’t need pro-level gear
Many people are put off underwater photography after seeing pro-level setups. While having a top-of-the-line camera for underwater photography can help achieve incredible results, it isn’t a prerequisite. It’s far more important to develop an eye for composition and understand what makes an engaging image.
I only recently upgraded from a simple GoPro to using a Sony A7R III underwater last year. While I can now produce higher-quality images, it’s the principles I learned—using a more basic camera—that really helped me achieve better images.
If you’ve just started photography, let alone underwater photography, having all the settings of a mirrorless camera or DSLR can be overwhelming. Starting with a simple point-and-shoot camera can help you learn the basics.
Try out the camera on land before you head into the water. You want to be as comfortable as possible with the camera and, ideally, be able to adjust settings without having to look at the camera. This will allow you to concentrate on your subject and your diving.
8. Find your style
At first, editing underwater images and footage can seem daunting. Especially if you don't have any experience editing images.
When you look back at the images you edited a couple of years ago, you’ll probably wonder what you were doing! It’s taken me years to get into a flow, to see an image understand how to achieve the look that I want. Take your time and be creative in your edits. It’s all part of the learning process and finding out what editing style you like best. I edit my images in Adobe Lightroom Classic, but there are a number of free options out there, too. The video below has a few tips on how to edit your underwater photography.
https://youtu.be/hlhP4PhIHR4&t=896s?rel=0Plus, here’s another video on which GoPro settings to use underwater. These settings should help make the editing process a little easier.
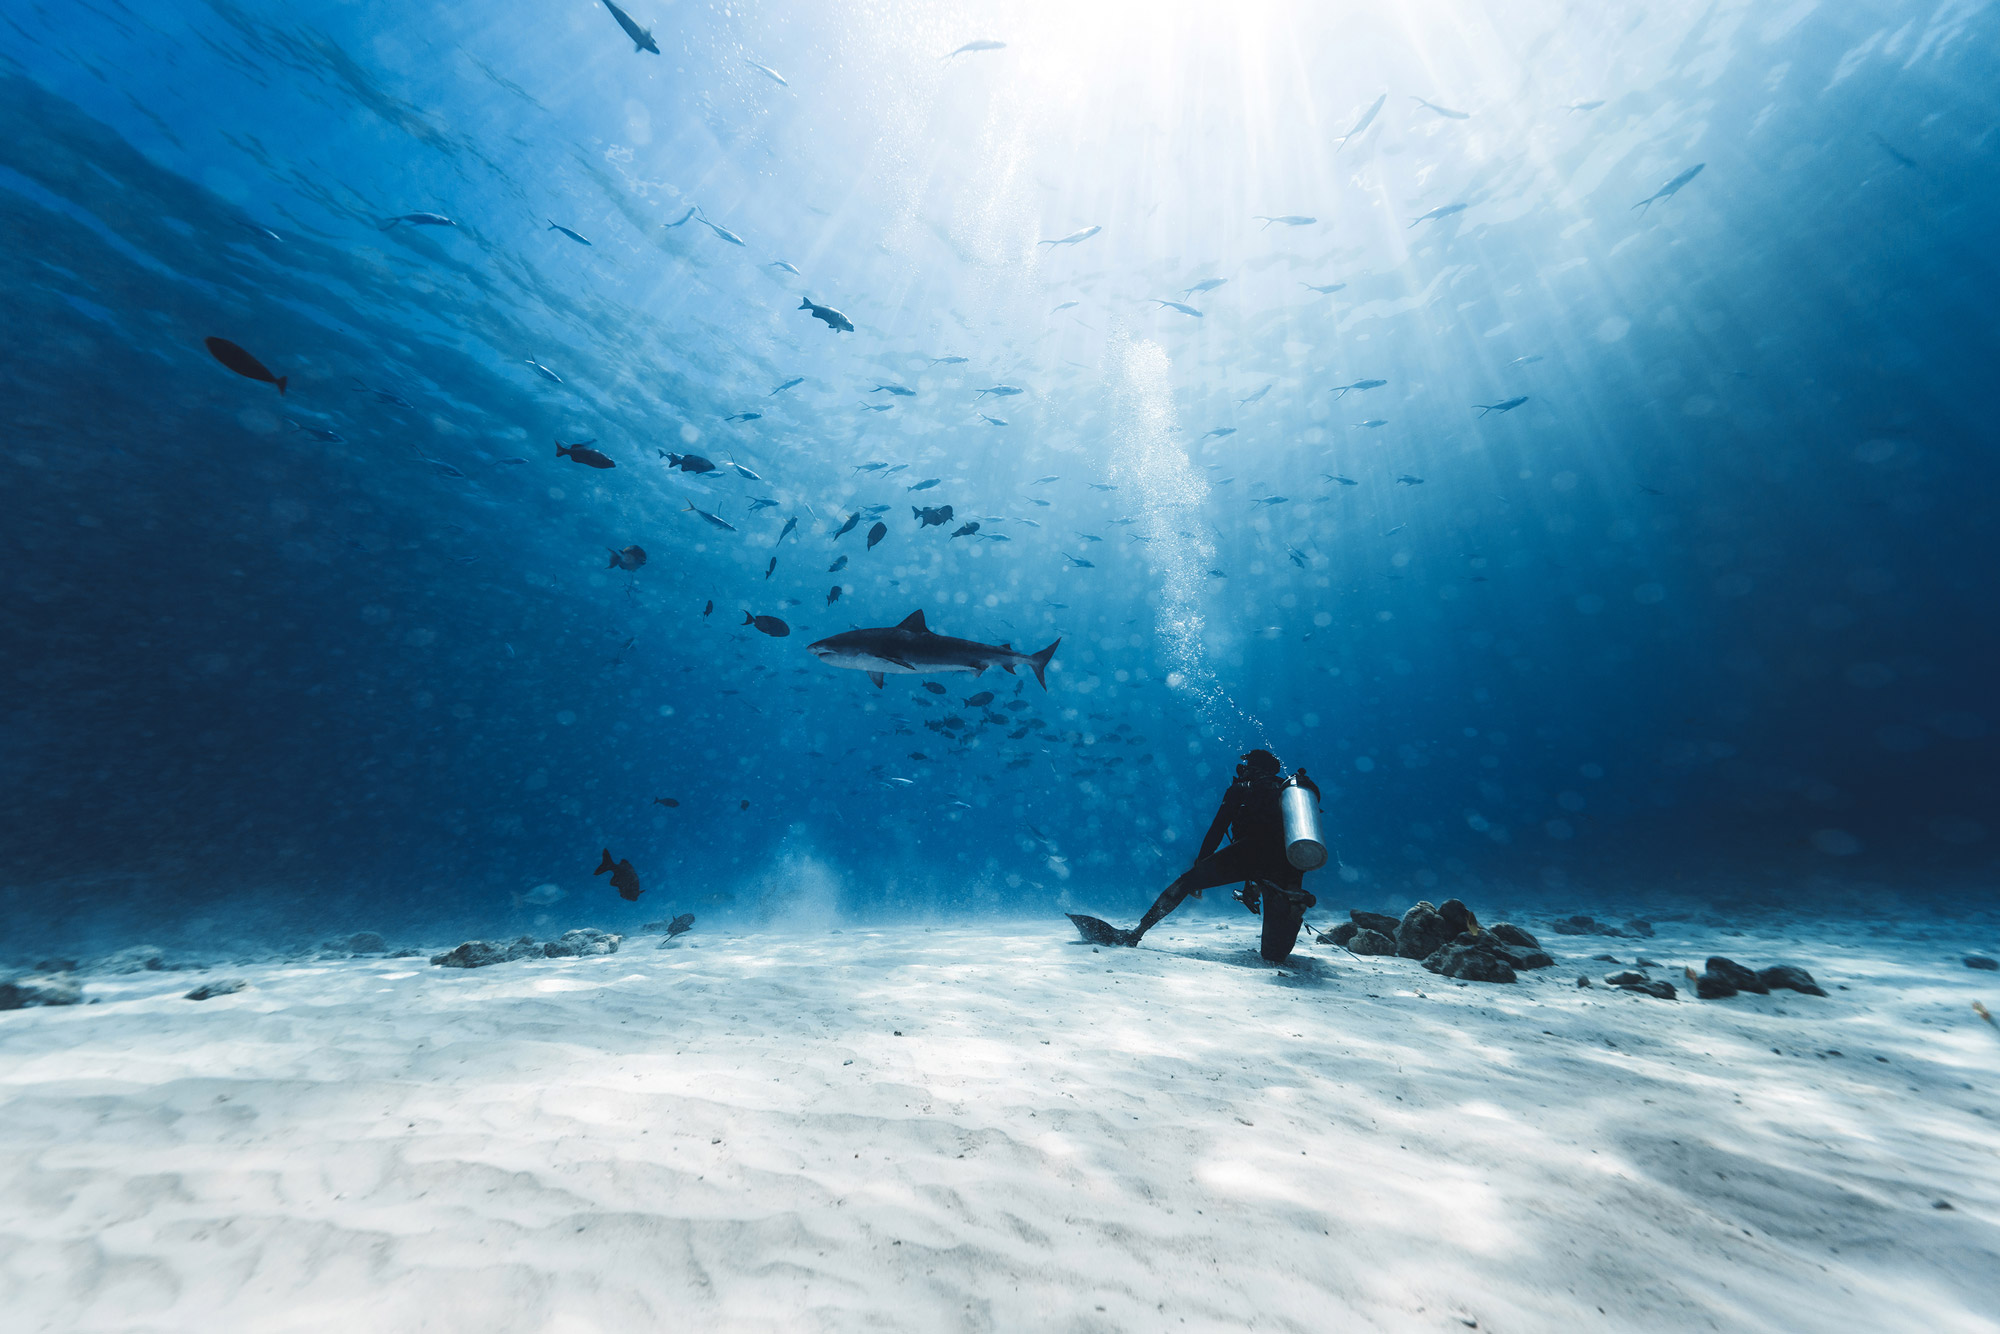
9. Be safe
This is a pretty basic one but nonetheless very important. The ocean is a beautiful but powerful entity and you have to respect that power. Conditions can change in the blink of an eye and you need to be prepared. If you’re scuba diving, listen to your dive guide at all times and avoid going into deco time. If you are snorkeling or freediving, always have a buddy with you and never go out alone. Never compromise your safety to get a shot.
Sony A7R III | Sony E PZ 16-50mm f/3.5-5.6 OSS | 16mm | f/9.0 | 1/500 | ISO 500
10. Get creative and have fun
You want to get into underwater photography because you enjoy being underwater and seeing all the amazing marine life. So it's important that you continue having fun underwater when you have a camera in your hand.
Get creative and experiment with different angles and techniques. When I was shooting on GoPro I used to go down and leave my camera in high-density areas of fish and then swim back to the surface to see what behaviors the fish show when people aren't around. It made for some nice videos, which I wouldn't have been able to get if I were holding the camera. Try different angles, different focal lengths and compositions. In the edit, play with different styles and find the styles that you prefer.
Looking for more wildlife content?
This article is part of the MPB Guide to Wildlife Photography & Videography, our comprehensive look at how to create wildlife imagery, with camera recommendations, advice and interviews with experts.
MPB Guide: Wildlife Photography and Videography
Discover the full MPB wildlife photo & video guide, where you'll find tips for wildlife photography beginners, advice on camera gear and interviews with inspiring photographers and filmmakers.
Selected: Top Video Camera Gear for Wildlife Filmmaking
Discover MPB’s recommended camera gear for wildlife video beginners, intermediates and pros.
How to Film a Feature-length Wildlife Documentary
‘The Eagle with the Sunlit Eye’ team on making their film about reintroducing white-tailed eagles to Britain.