Guide to Concert and Live Music Photography
Published June 3, 2026 by MPB
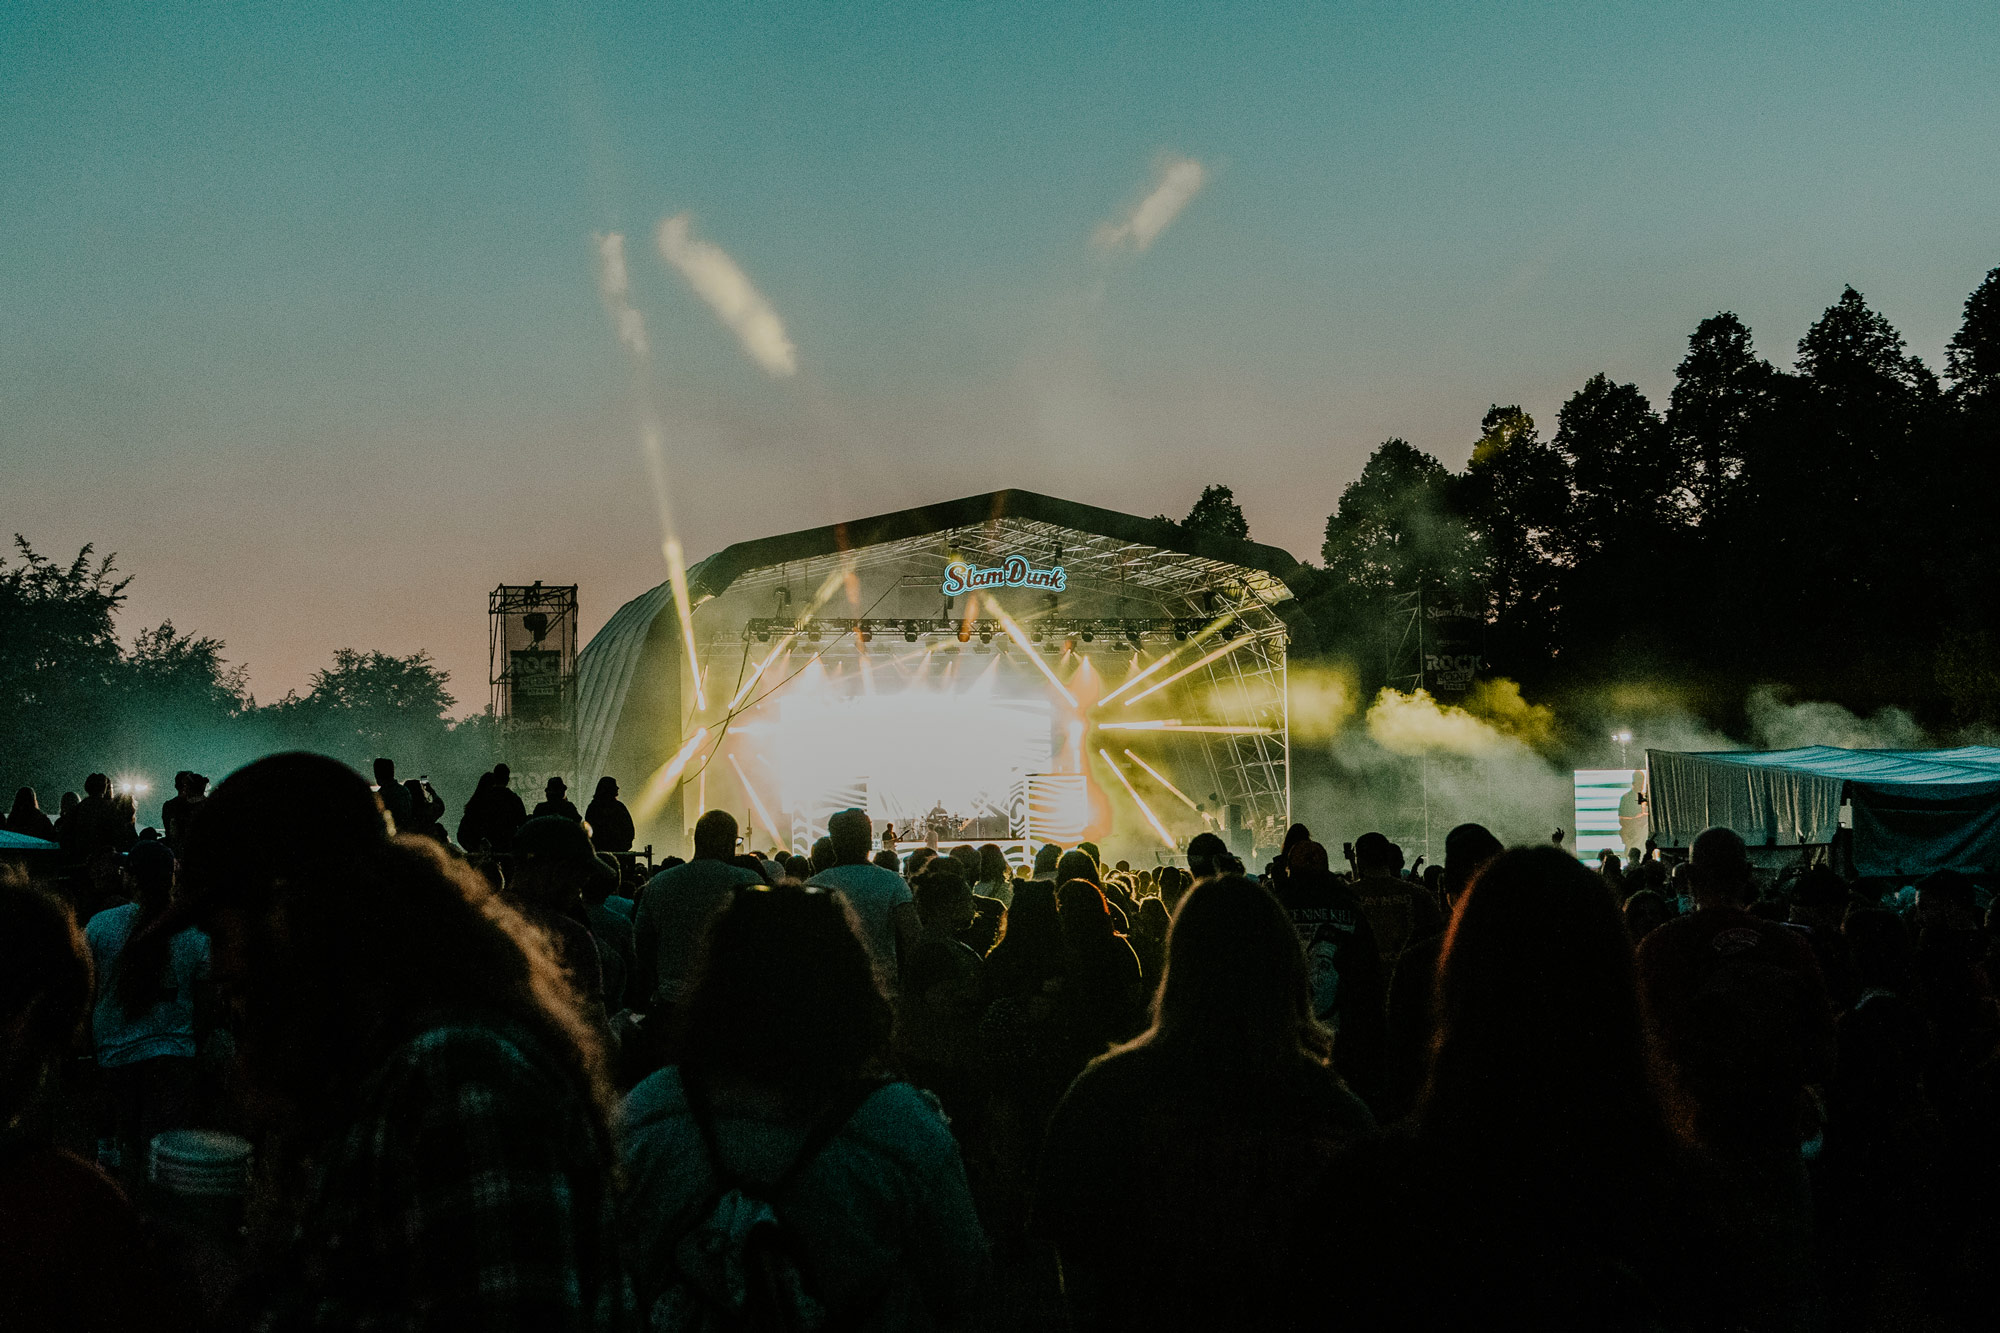
There’s a unique thrill to capturing live music—the energy of the crowd, the dramatic lighting, and those fleeting moments when performer and audience connect. But concert photography isn’t just about pointing your camera at the stage and hoping for the best. It requires technical know-how, timing, intuition, and respect for the craft and the environment. Whether you're hoping to shoot your favorite band at a small venue or land a photo pass for a major festival, this guide will help you build the confidence and knowledge to get started.
In this piece, seasoned music photographer and journalist James Joiner explains what gear is essential, how to set up your camera for low-light shooting, and how to navigate the social etiquette of the photo pit. James spent decades working in traditional journalism for Esquire and The Daily Beast, with his byline and images appearing in publications ranging from Rolling Stone, National Geographic, New York Times, GQ, Outside, and Cosmopolitan. With James’ guidance, you’ll pick up practical tips on composition, rules for working within venues, preparing for different environments, and building relationships with publications.
If you’re wondering how to land your first photo pass or why earplugs belong in your camera bag, you’re in the right place. Over to you, James.
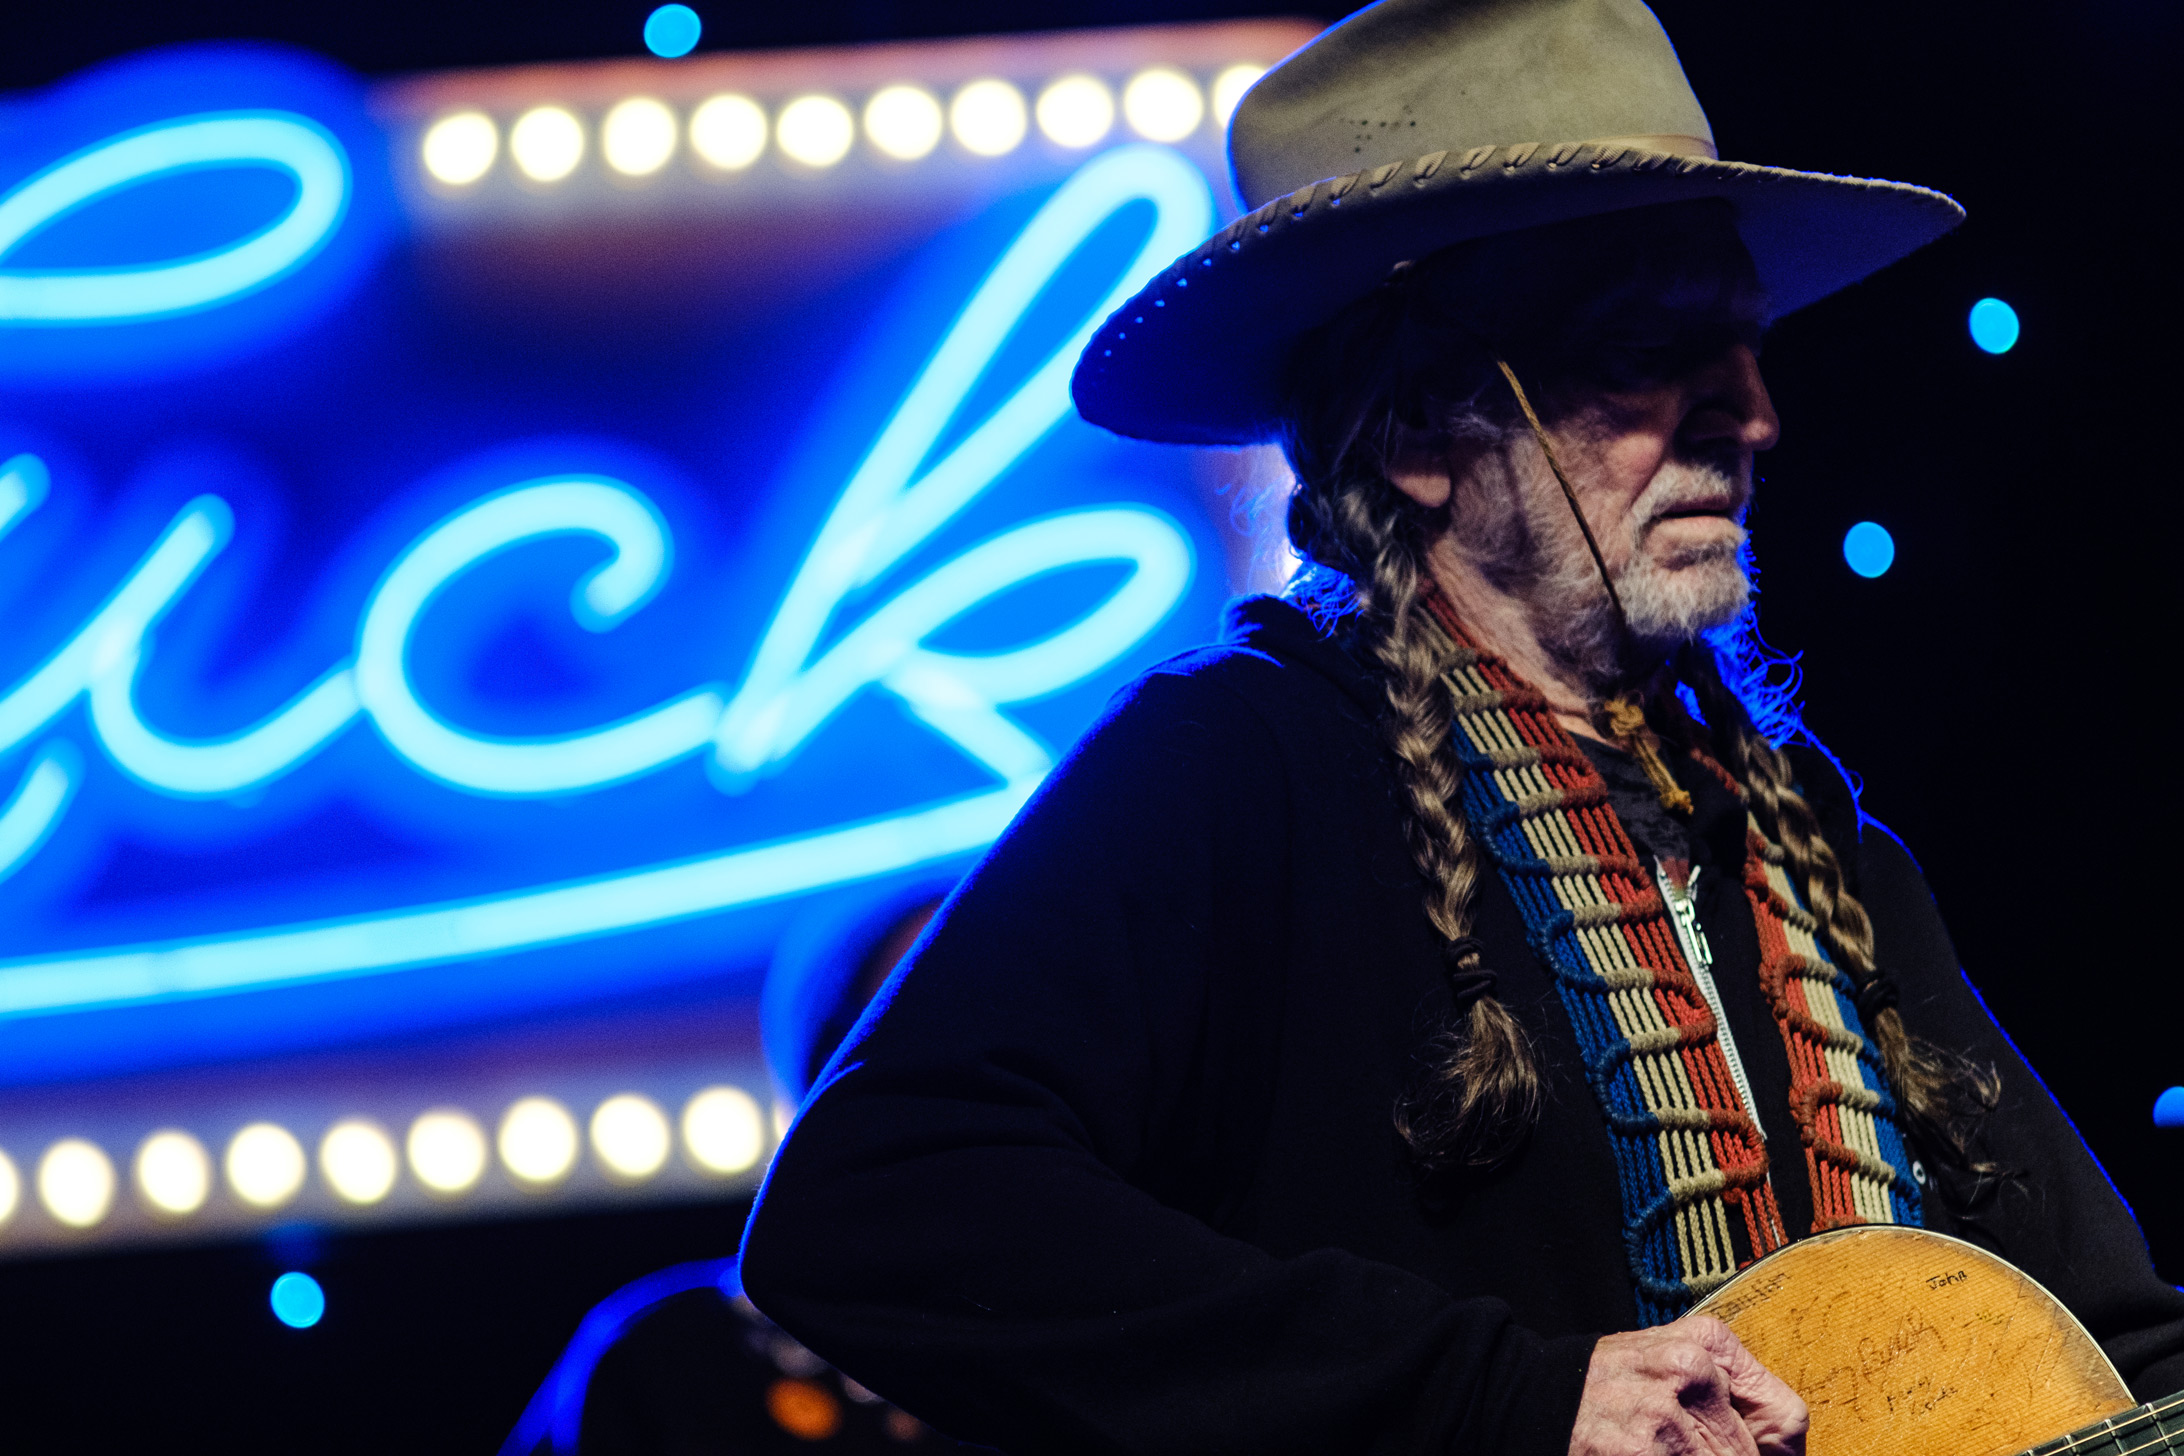
James Joiner | Willie Nelson | Fujifilm X-T3 | Fujifilm XF 50mm f/1.0 R WR | 50mm | f/1.0 | 1/500 | ISO 1600
Getting Started in Concert Photography
Concert photography is one of the primary avenues driving people, especially younger folks, to take up photography. Who hasn’t been to a concert and noticed photographers lurking in the wings or deftly maneuvering packed crowds? For those of us who want to be a part of it all but lack musical chops, it’s a perfect way to get in free, contribute to the scene, meet cool people, and, at least for the first three songs, get to take the best seat in the house.
Sounds rad, right? Wanna try your hand at shooting some shows? Of course you do! Let’s make it happen.
First, you’re gonna need a camera, and the one on your phone won’t cut it. Choosing your first pro setup can be a daunting process, with lots of brands and buzzwords to deal with. However, it’s easier when you remember that your camera is a tool. Yes, you need the right tool for the job, but that doesn’t mean you need to spend a fortune on some crazy newfangled product. Most mid-to-high-end digital cameras made in the past decade will do the trick, and even if there are three newer models of the one you get, the upgrades are incremental, not game-changing.
James Joiner | Cat Power | Nikon Z9 | Nikon Nikkor Z 24-70mm f/2.8 S | 32mm | f/2.8 | 1/640 | ISO 1600
Essential Gear for Concert Photography
Here’s the baseline of what you need to look for in a camera for concert photography.
Full-frame Sensor: This refers to the size of the image sensor, AKA the part of the camera that captures the photo. Full frame is the same size as a frame of 35mm film, while APS-C (sometimes called ‘crop frame’) is 1.6x smaller than that. My advice is to go full frame, and that’s what we’re going to focus on. A larger sensor gathers more light, meaning higher potential image quality, especially in low-light situations—like concerts.
High ISO Ability. Since you’re shooting in darker environments, you’ll need to gather as much light as possible. Any full-frame camera made after 2014 should be more than adequate.
Decent Autofocus. You’ll find that modern cameras have all manner of autofocus tech, able to recognise subjects and lock on to and follow birds in flight. That’s cool, but largely unnecessary for this application. You really just need to be able to lock a central focus point on a subject, and that’s a very low lift.
Dynamic Range. Dynamic range is, loosely, how much shadow and highlight detail the sensor captures. If you’re shooting RAW (again, more on that later), you’ll have plenty of range to edit.
Interchangeable Lenses. This is a non-negotiable for pros. Yes, there are high-end fixed-lens cameras that take amazing photos, but for music, you’ll want to be able to swap from a wide to a telephoto as the situation requires.
Great Cameras for Concert Photography
Used Nikon Z8
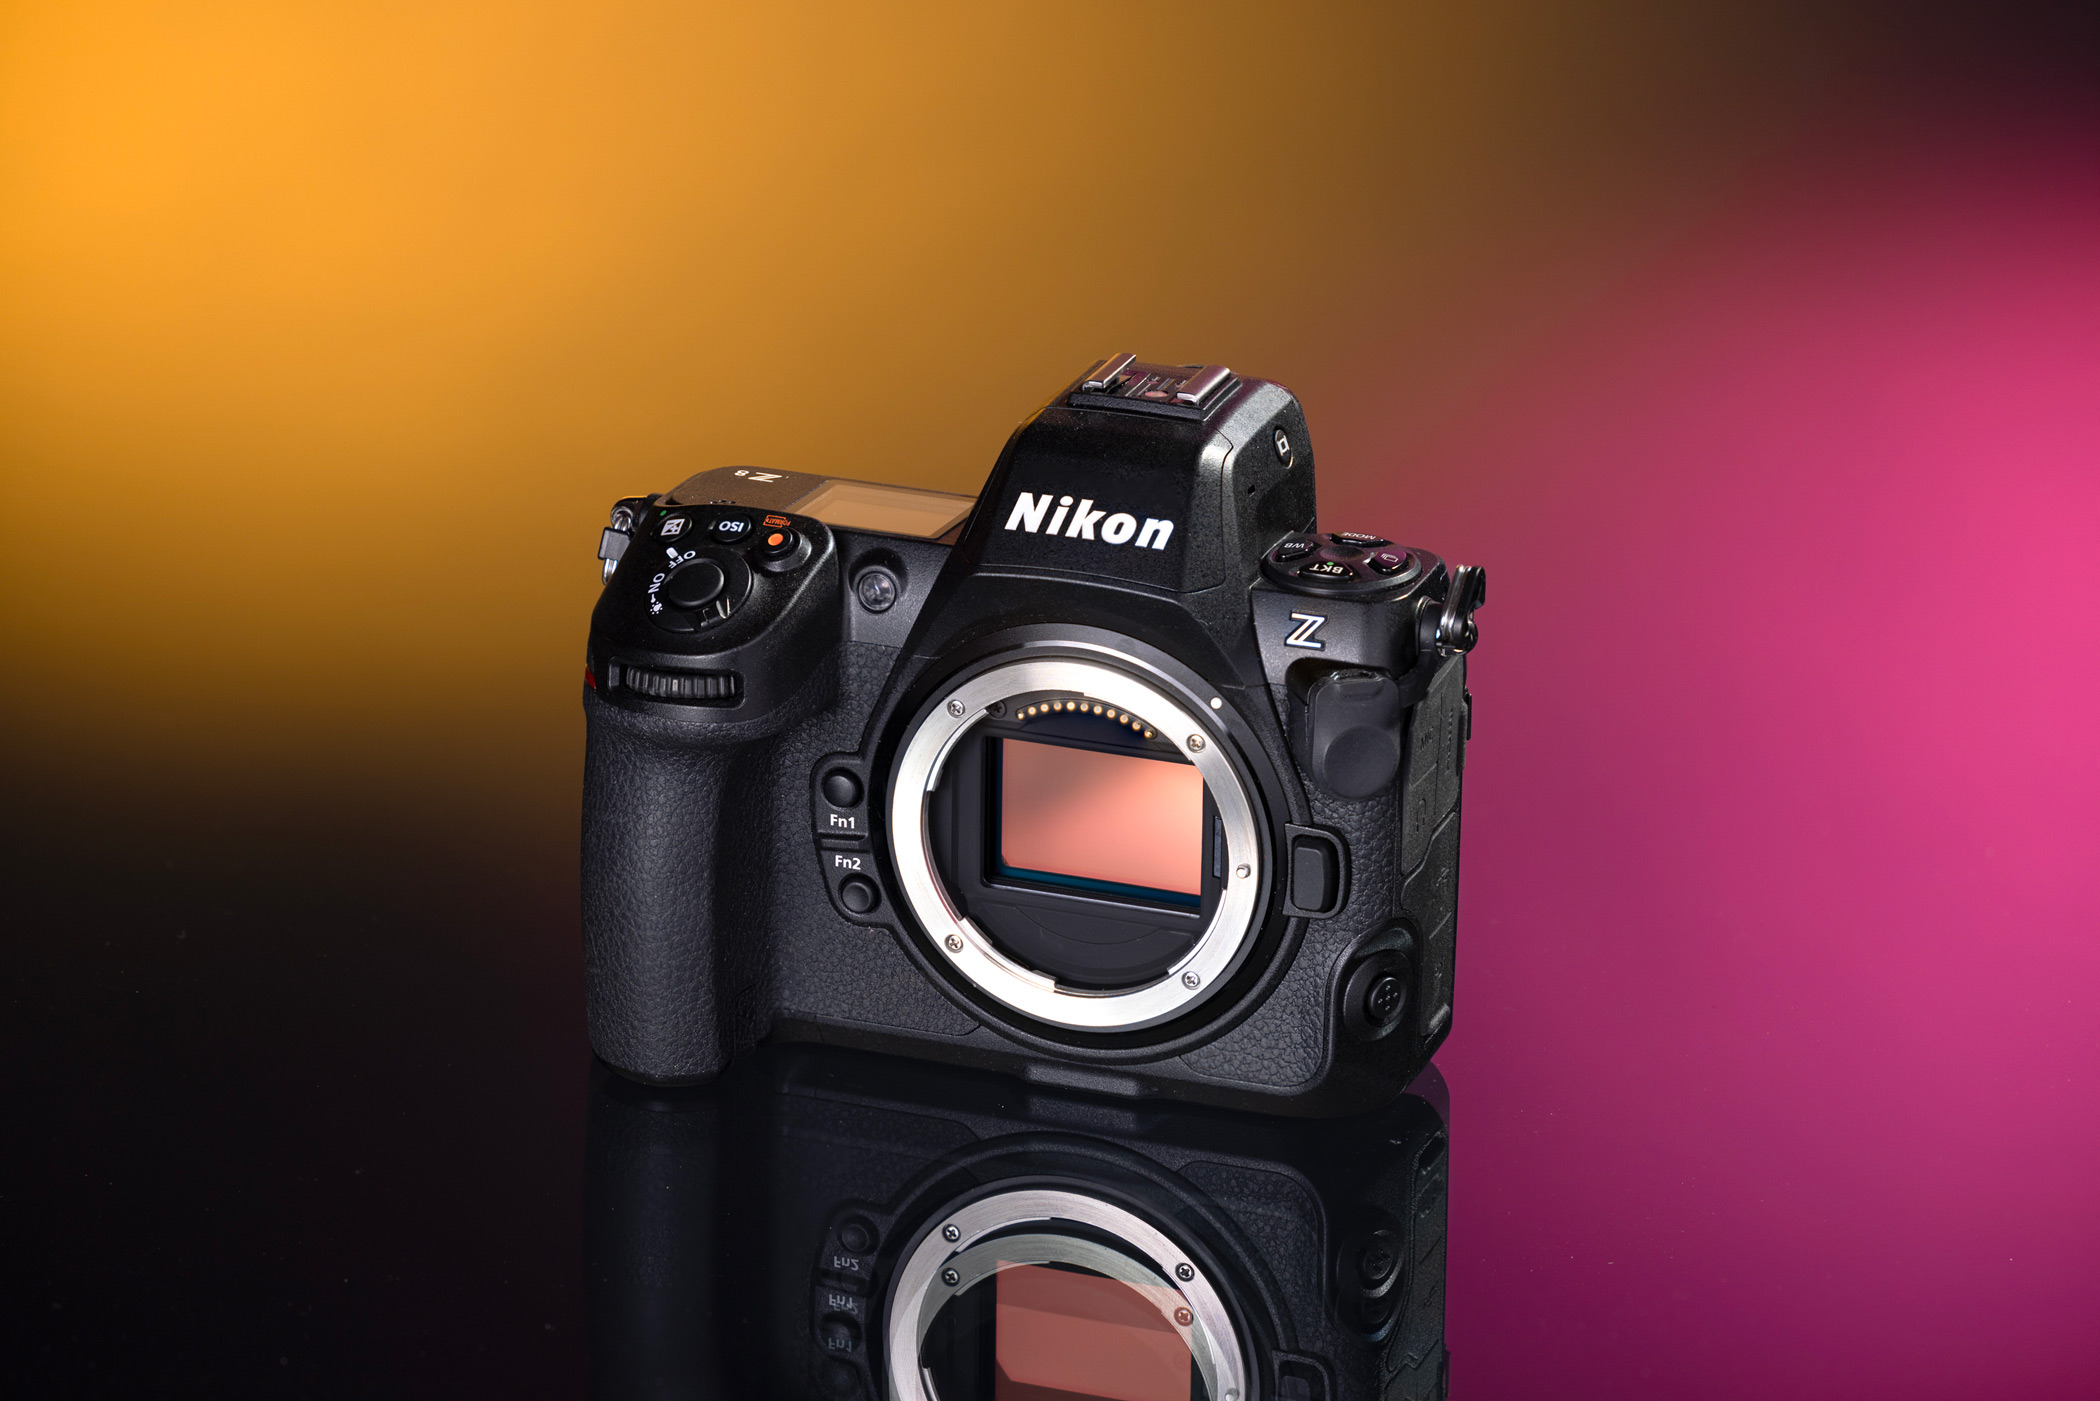
Nikon Z8
If you have some cash to spare, the Nikon Z8 is a solid investment in your future, as I can personally attest. A high-resolution sensor that magically contains high ISO noise issues and banding, a silent, no blackout shutter, rock solid image stabilization, and the ability to use most modern Nikon F lenses through the FTZ lens adaptor.
See how this powerful mirrorless camera performs out in the field, with Alex Armitage’s Nikon Z8 review for landscape photography.

Used Canon EOS R6
Canon EOS R6
A perfect balance of value (especially on the used market) and pro features, the Canon EOS R6 is an affordable full-frame option that’ll get you started and grow with you. Twenty megapixels is enough to capture all the detail you’ll need without massive file sizes or the high ISO noise penalties paid by higher-resolution sensors.
Emily Jade | Canon EOS R6 | Canon RF 24-240mm f/4-6.3 IS USM | 52mm | f/6.3 | 1/250 | ISO 10000
Add in excellent autofocus (even in low light) and a robust lens selection, and you can’t go wrong. Read Emily Jade’s Canon EOS R6 review for live music photography.
Used Sony A7R IV
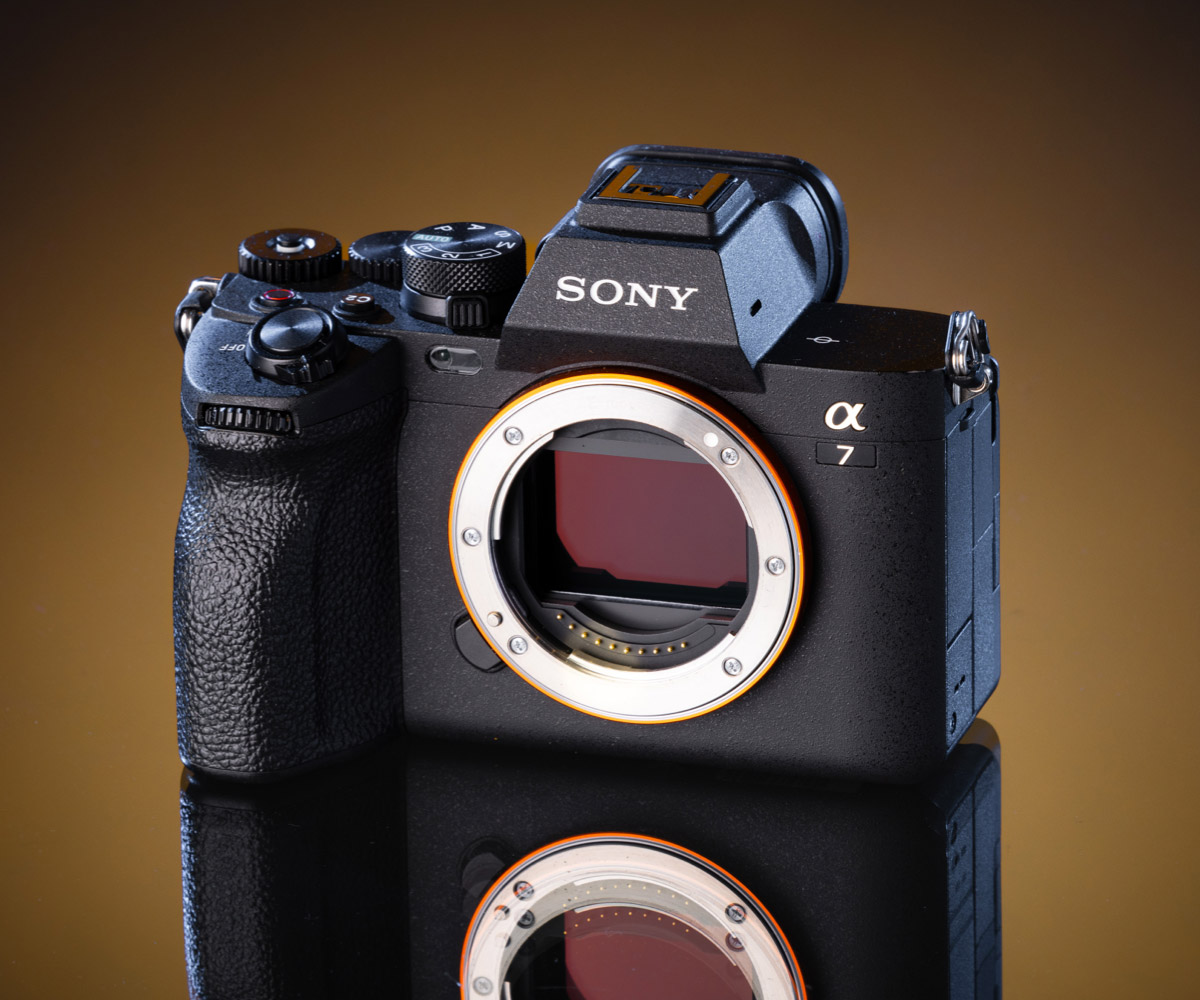
Sony A7 IV
The Sony A7 IV wraps standout speed, precise low-light performance, and top-notch versatility into one sleek package. Its 33 megapixel full-frame sensor delivers sharp, rich images even under tricky stage lighting, while the autofocus locks onto performers with precision. Throw in the A7 IV’s impressive dynamic range, and you’ve got a camera that thrives in the uncontrollable world of live music. Pair all that with fast burst shooting and outstanding high-ISO performance, and the A7 IV ensures you won’t miss a beat—literally.
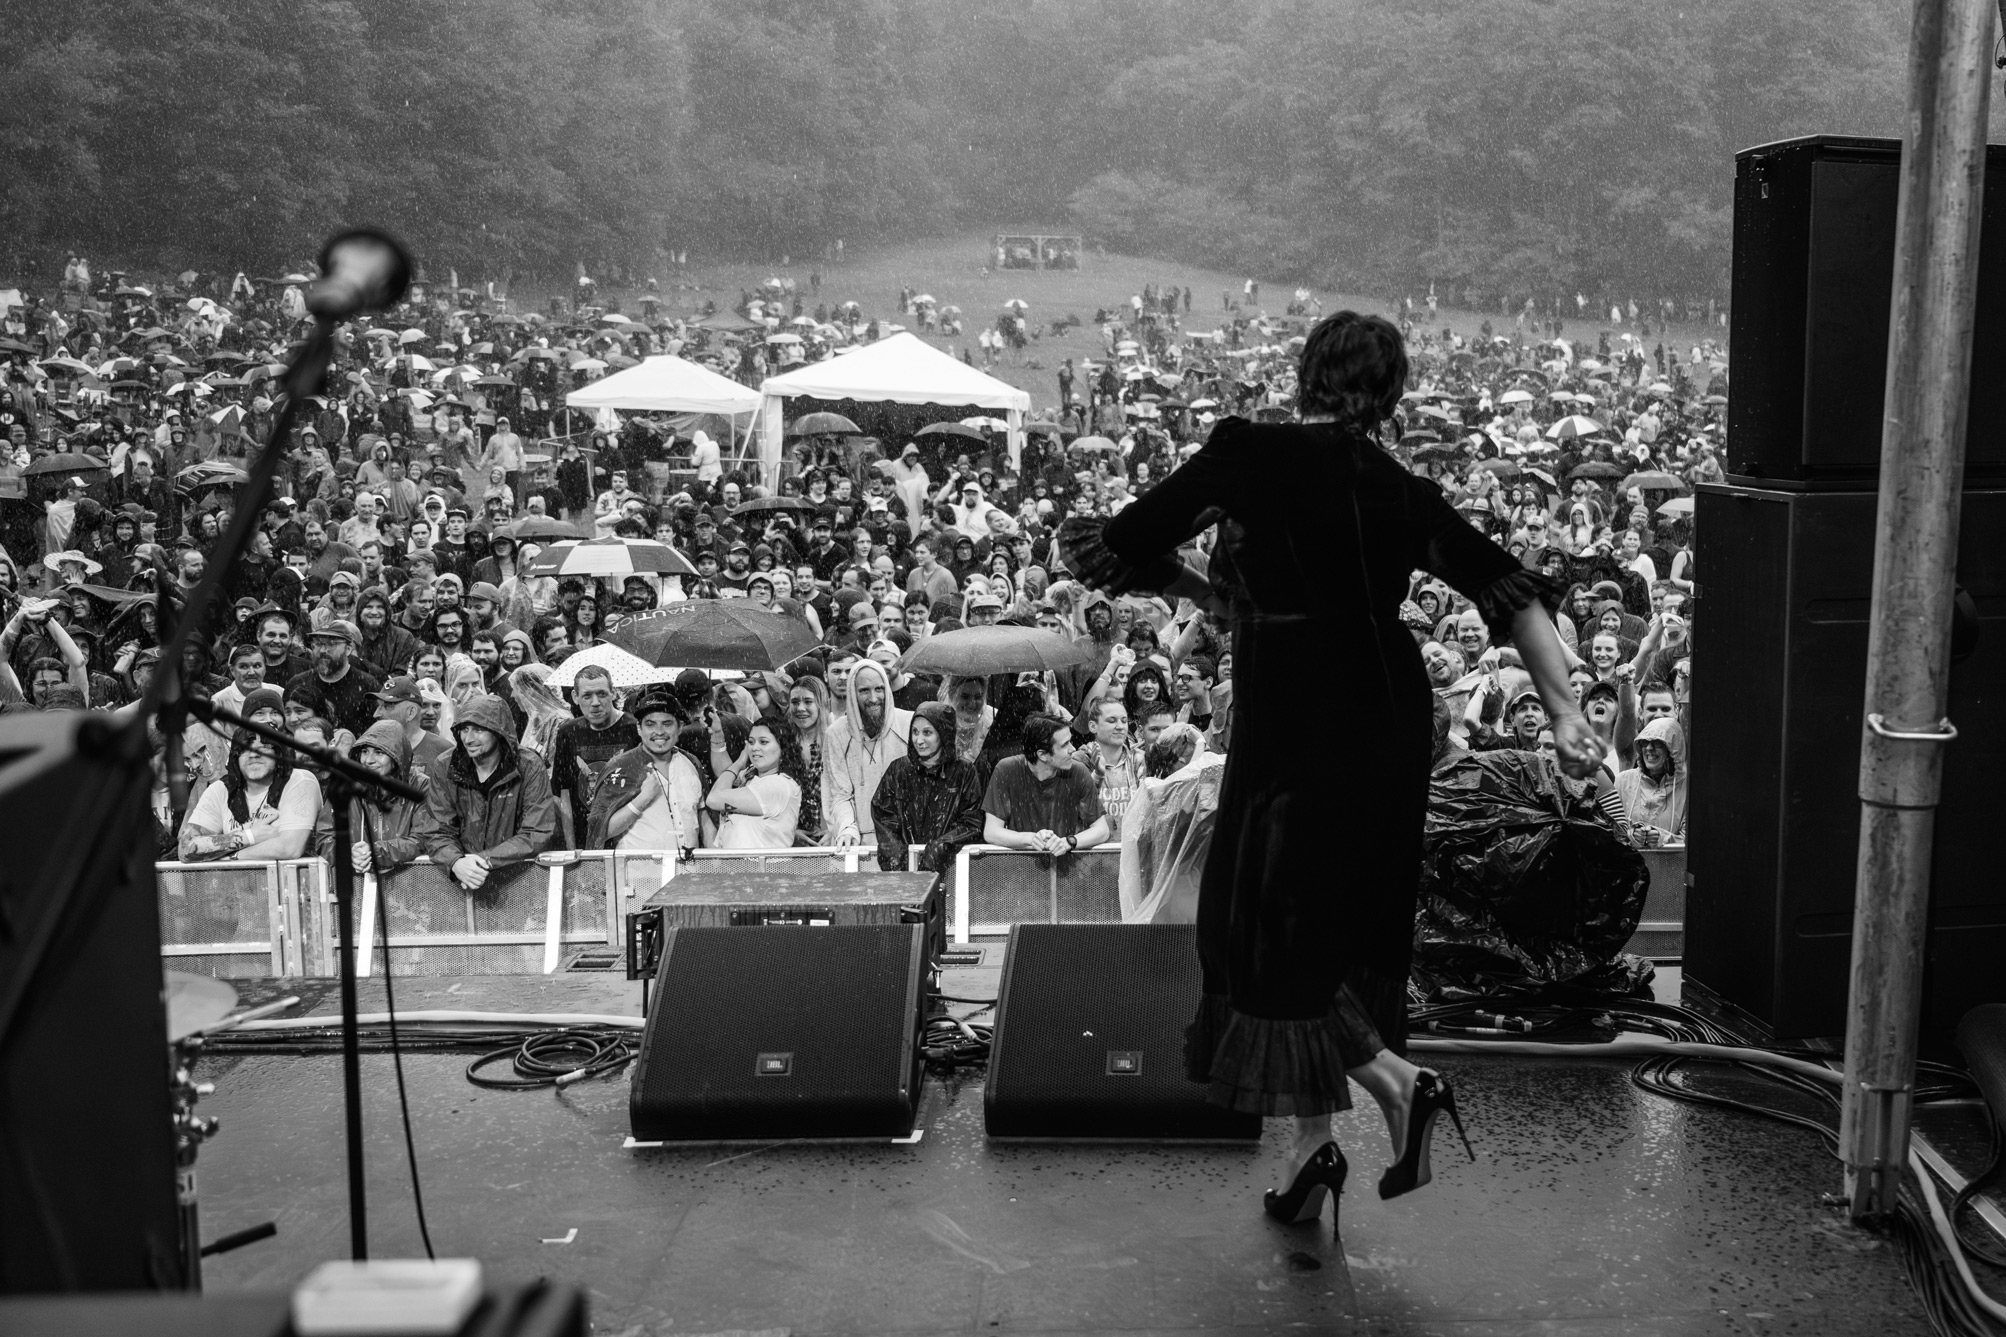
Deanie Chen | Sony Alpha A7R IV | 23mm | f/2.8 | 1/250 | ISO 640
Another honorable mention is the Sony A7 III. Take a trip out to Coachella Music Festival with photographer Deanie Chen to see how the Sony A7R IV & A7 III stack up for music photography.
Used Canon EOS 5D Mark IV
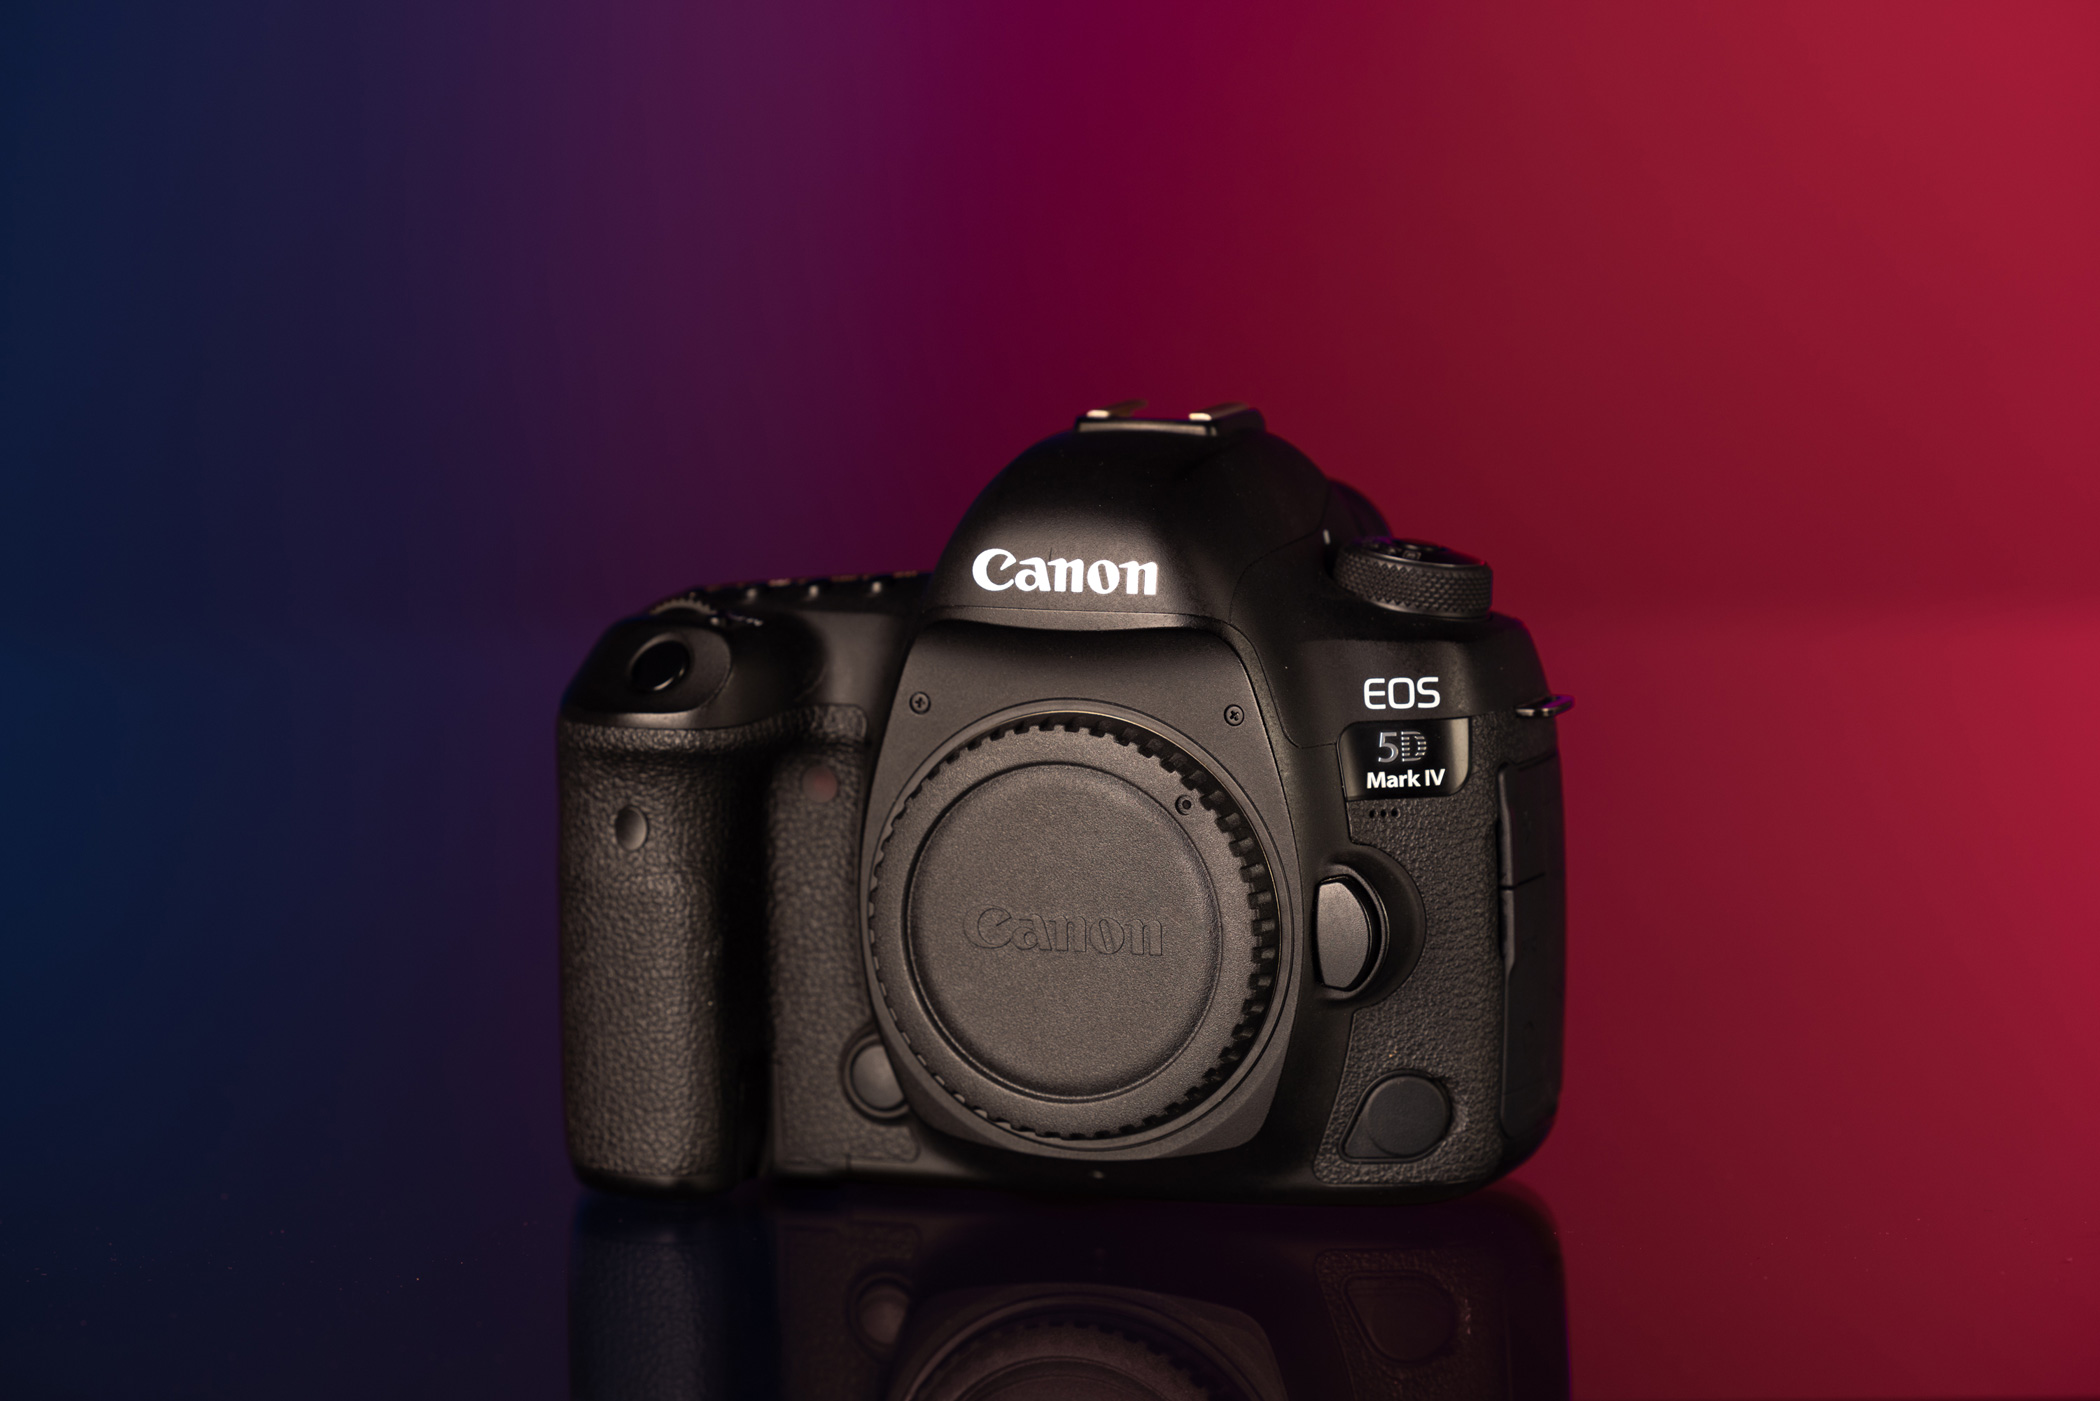
Canon EOS 5D Mark IV
Originally released in 2016, this iteration of Canon’s legendary, game-changing full-frame 5D series of DSLRs has been responsible for countless iconic images you’d recognize. And even though it’s a decade old, the Canon EOS 5D Mark IV still punches hard.
Its 30.4 megapixel full-frame sensor captures colour and details even in tricky lighting, and its wide ISO range gives you breathing room in tough exposures. Its 61-point autofocus delivers reliable subject tracking while the seven fps burst speed keeps you in the moment without missing key moments. Add in Canon’s tough build, dual card slots for peace of mind, and strong battery life (around 900 shots per charge), and you’ve got a concert-ready workhorse.
Read our article by travel blogger and wildlife photography couple Brock and Betty, Canon EOS 5D Mark IV review for wildlife, to see how this camera performs on location.

James Joiner | Charli XCX
Best Lenses for Concert Photography
Okay, now for the most important part of any camera setup: the lens. I don’t care how insane your camera is; your image will only be as clear as the window it’s looking through. As you grow as a photographer, lenses are the most important investment you’ll make. They’re also the ones that will hold the most value, should you ever decide to trade up or swap mounts
Zoom Lenses
Zoom lenses give you the flexibility to adapt on the fly while photographing shows. Effortlessly go from grabbing a dramatic close-up of the lead singer mid-scream to pulling back and capturing the full stage. Instead of juggling lenses in the middle of a show, you can move between wide-angle crowd shots and intimate performer portraits. That versatility doesn’t just save time, but it also helps you shoot more dynamic images. In an environment where countless elements are unpredictable, a zoom lens is your best backstage pass.
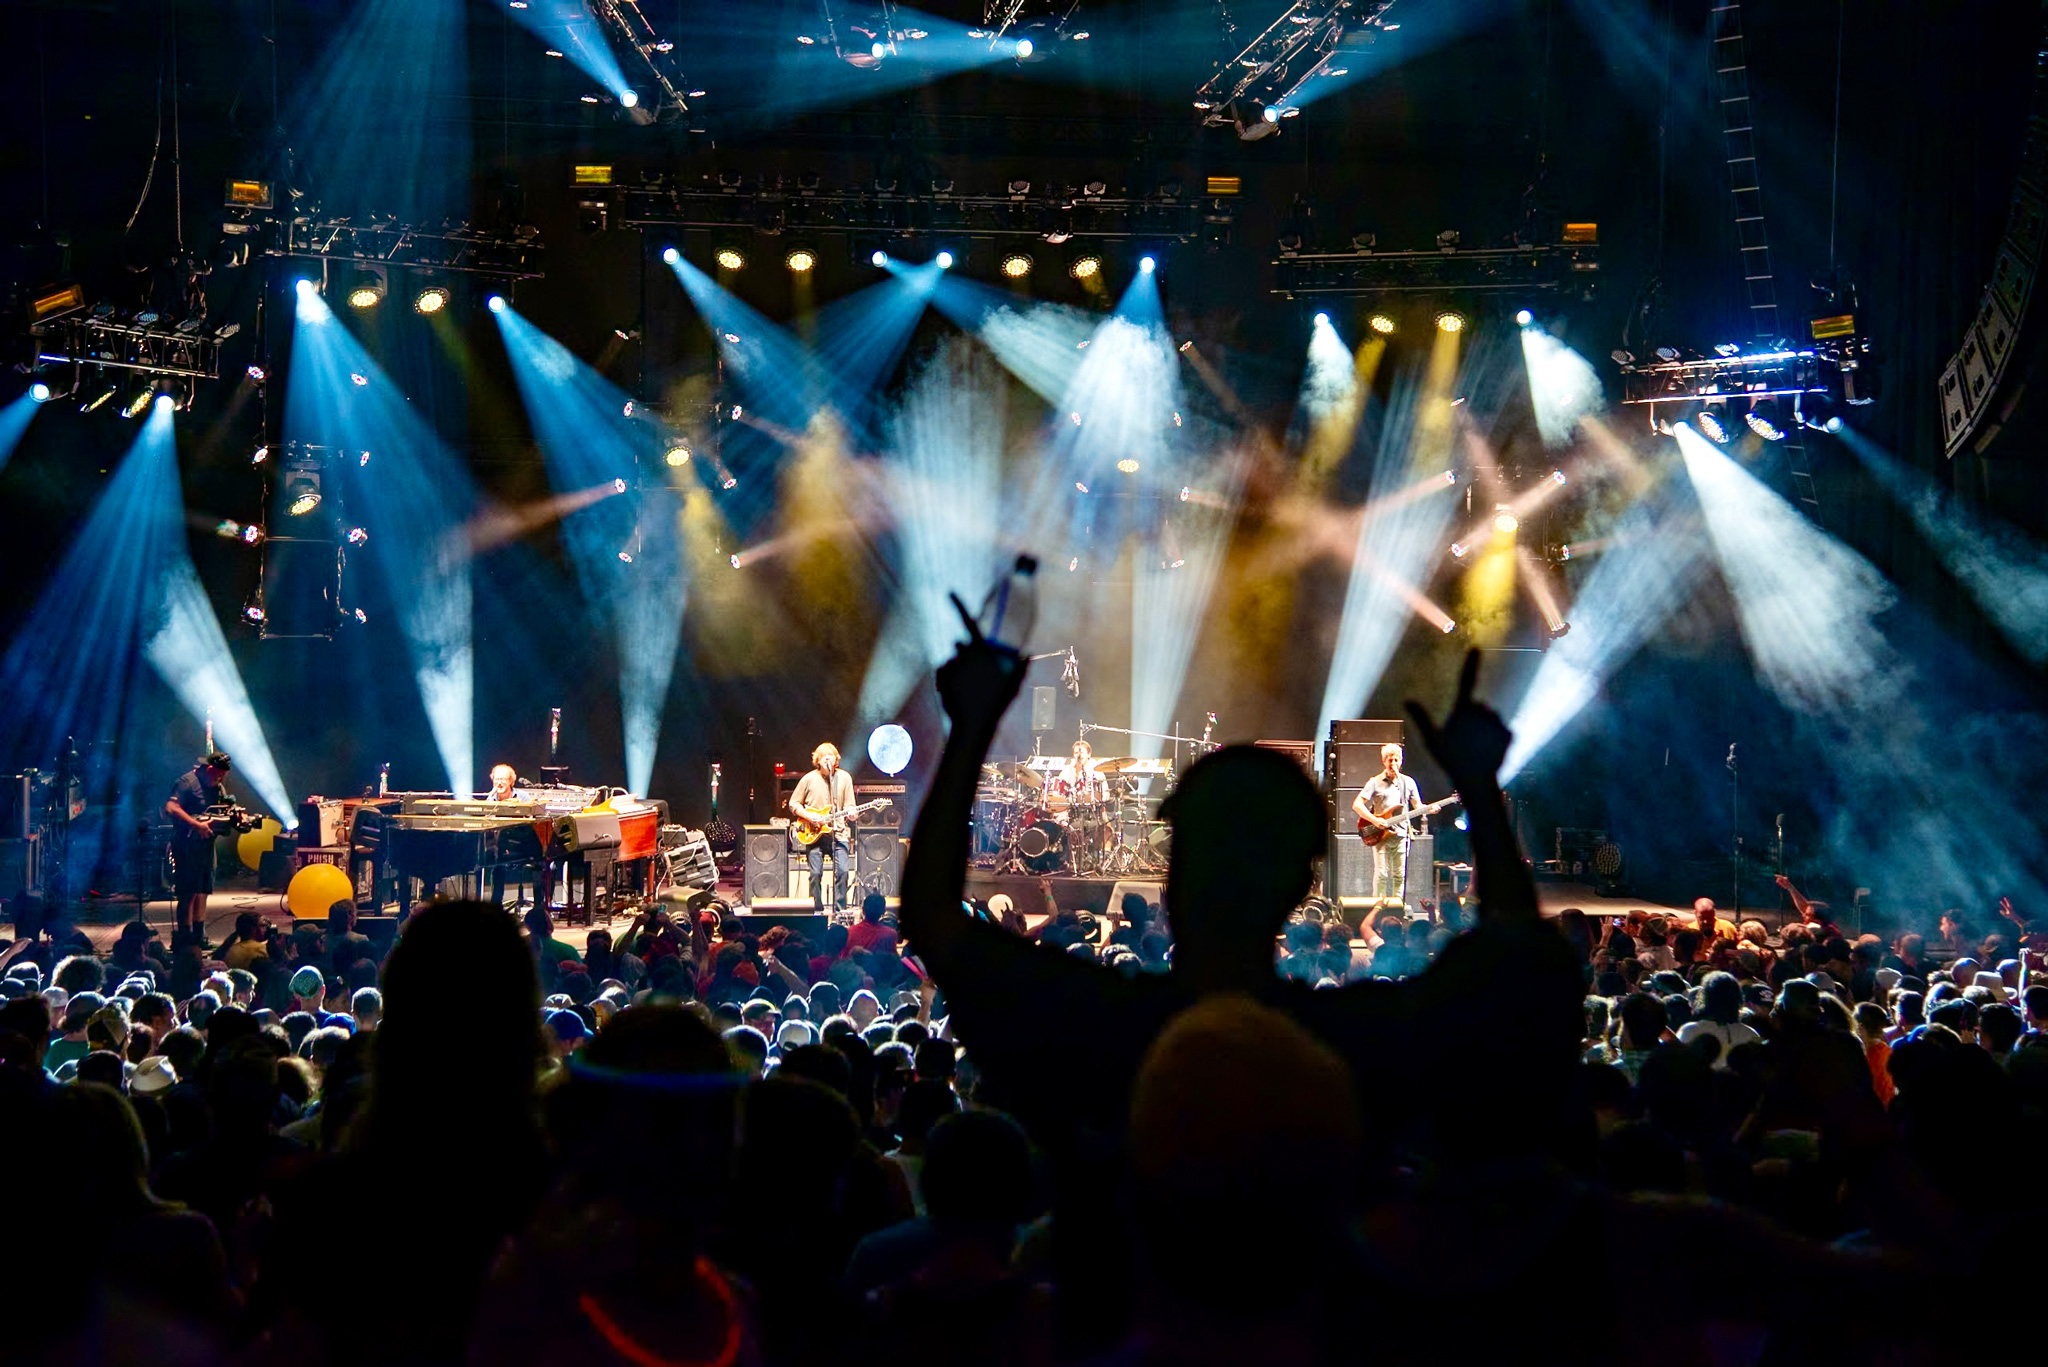
James Joiner | Trey Anastasio of Phish | Nikon D800 | Nikon AF-S Nikkor 24-120mm f/4G ED VR | 105mm | f/5.6 | 1/40 | ISO 1250
Prime Lenses
Prime lenses bring speed and sharpness to center stage. Primes let in loads of light with their wide apertures, making them perfect for dim venues with moody lighting. That extra light gives you faster shutter speeds so you can freeze a guitarist’s jump or capture a drummer mid-solo in perfect detail. On top of that, primes often offer buttery bokeh with razor-sharp precision to make your subject pop against the chaos of the crowd. They may lock you into one focal length, but that creative constraint can force you to find unique perspectives that capture the energy of the show.
Additional Gear and Accessories for Concert Photography
There are countless options for camera accessories, but a few true essentials.
Extra Batteries
Always have at least two extra batteries charged and ready to go. There’s nothing worse than a camera dying right as something epic happens. And something epic always happens right when your camera dies.
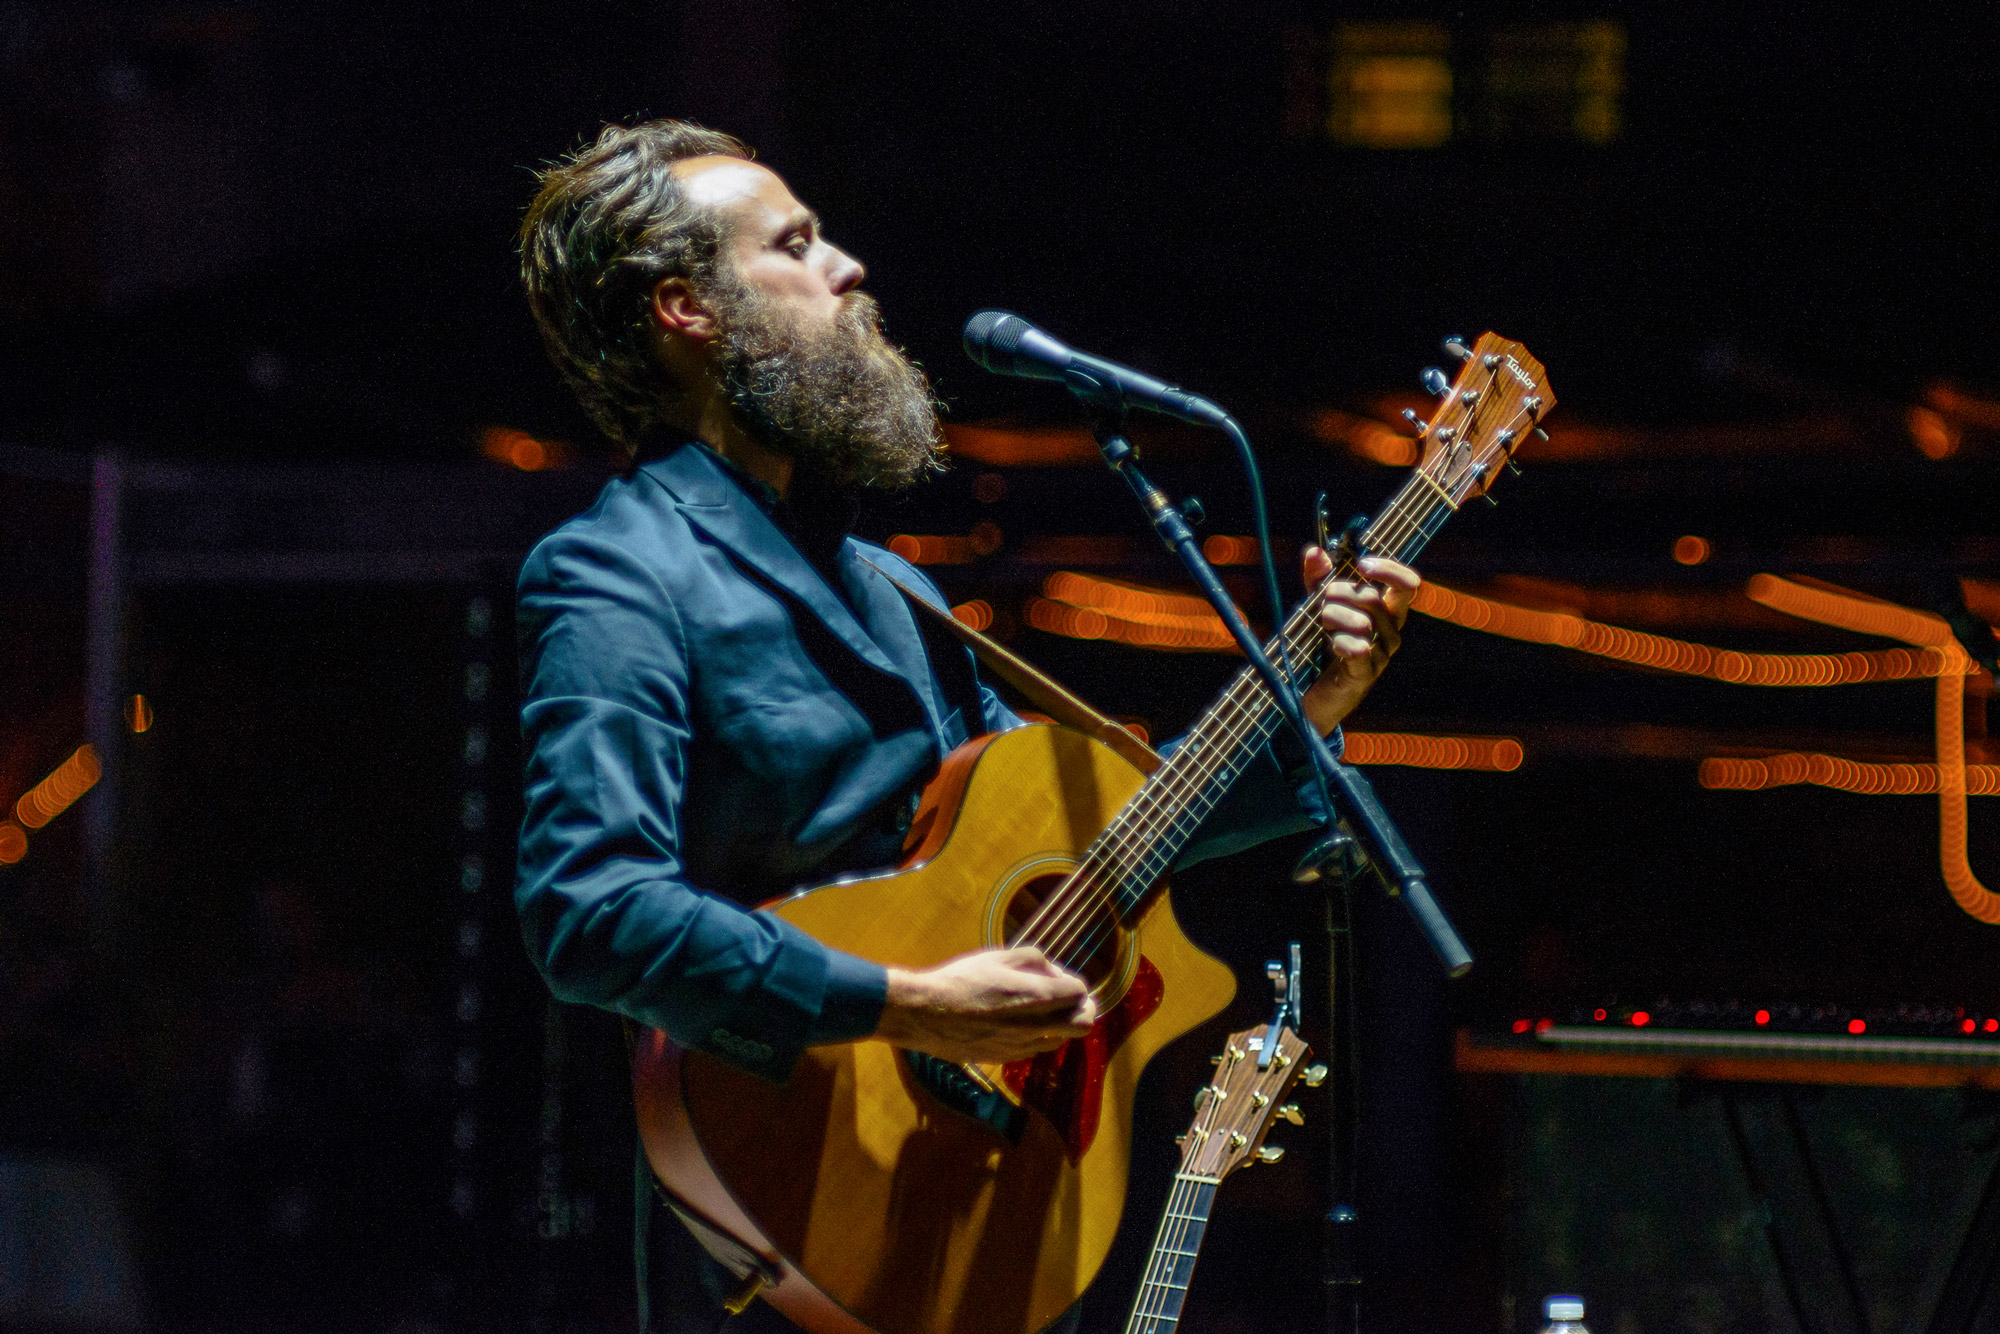
James Joiner | Iron & Wine
Backup Memory Cards
It’s rare that your SD card will fail, but it’s always good to have a backup. You also don’t want to have to play ‘kill your babies’ by deciding mid-shoot which pics to delete from a full card so you can keep shooting. Most pro cameras take two cards, so take at least two. Look for higher capacity cards that will hold a lot of data, and make sure you get high-speed ones. Even the fastest camera will bog down if it can’t save your images as fast as you’re shooting them, and you don’t want to have to worry about this mid-shoot.
A Good Camera Strap
Nearly every camera body comes with a branded strap, and they’re (almost) all junk. Aftermarket straps, such as Peak Design’s, are far more comfortable, durable, and stable for hours of shooting.
Low-profile Camera Bag
I avoid bags that look like easily stealable satchels of expensive gear, and instead gravitate towards sleek messenger-style bags with easy access for changing lenses on the fly. These tend to be low-key and won’t bog you down or make you feel like you need to set your investment on the ground in a dark place. Personally, I use Peak Design Everyday Slings and have never regretted it.
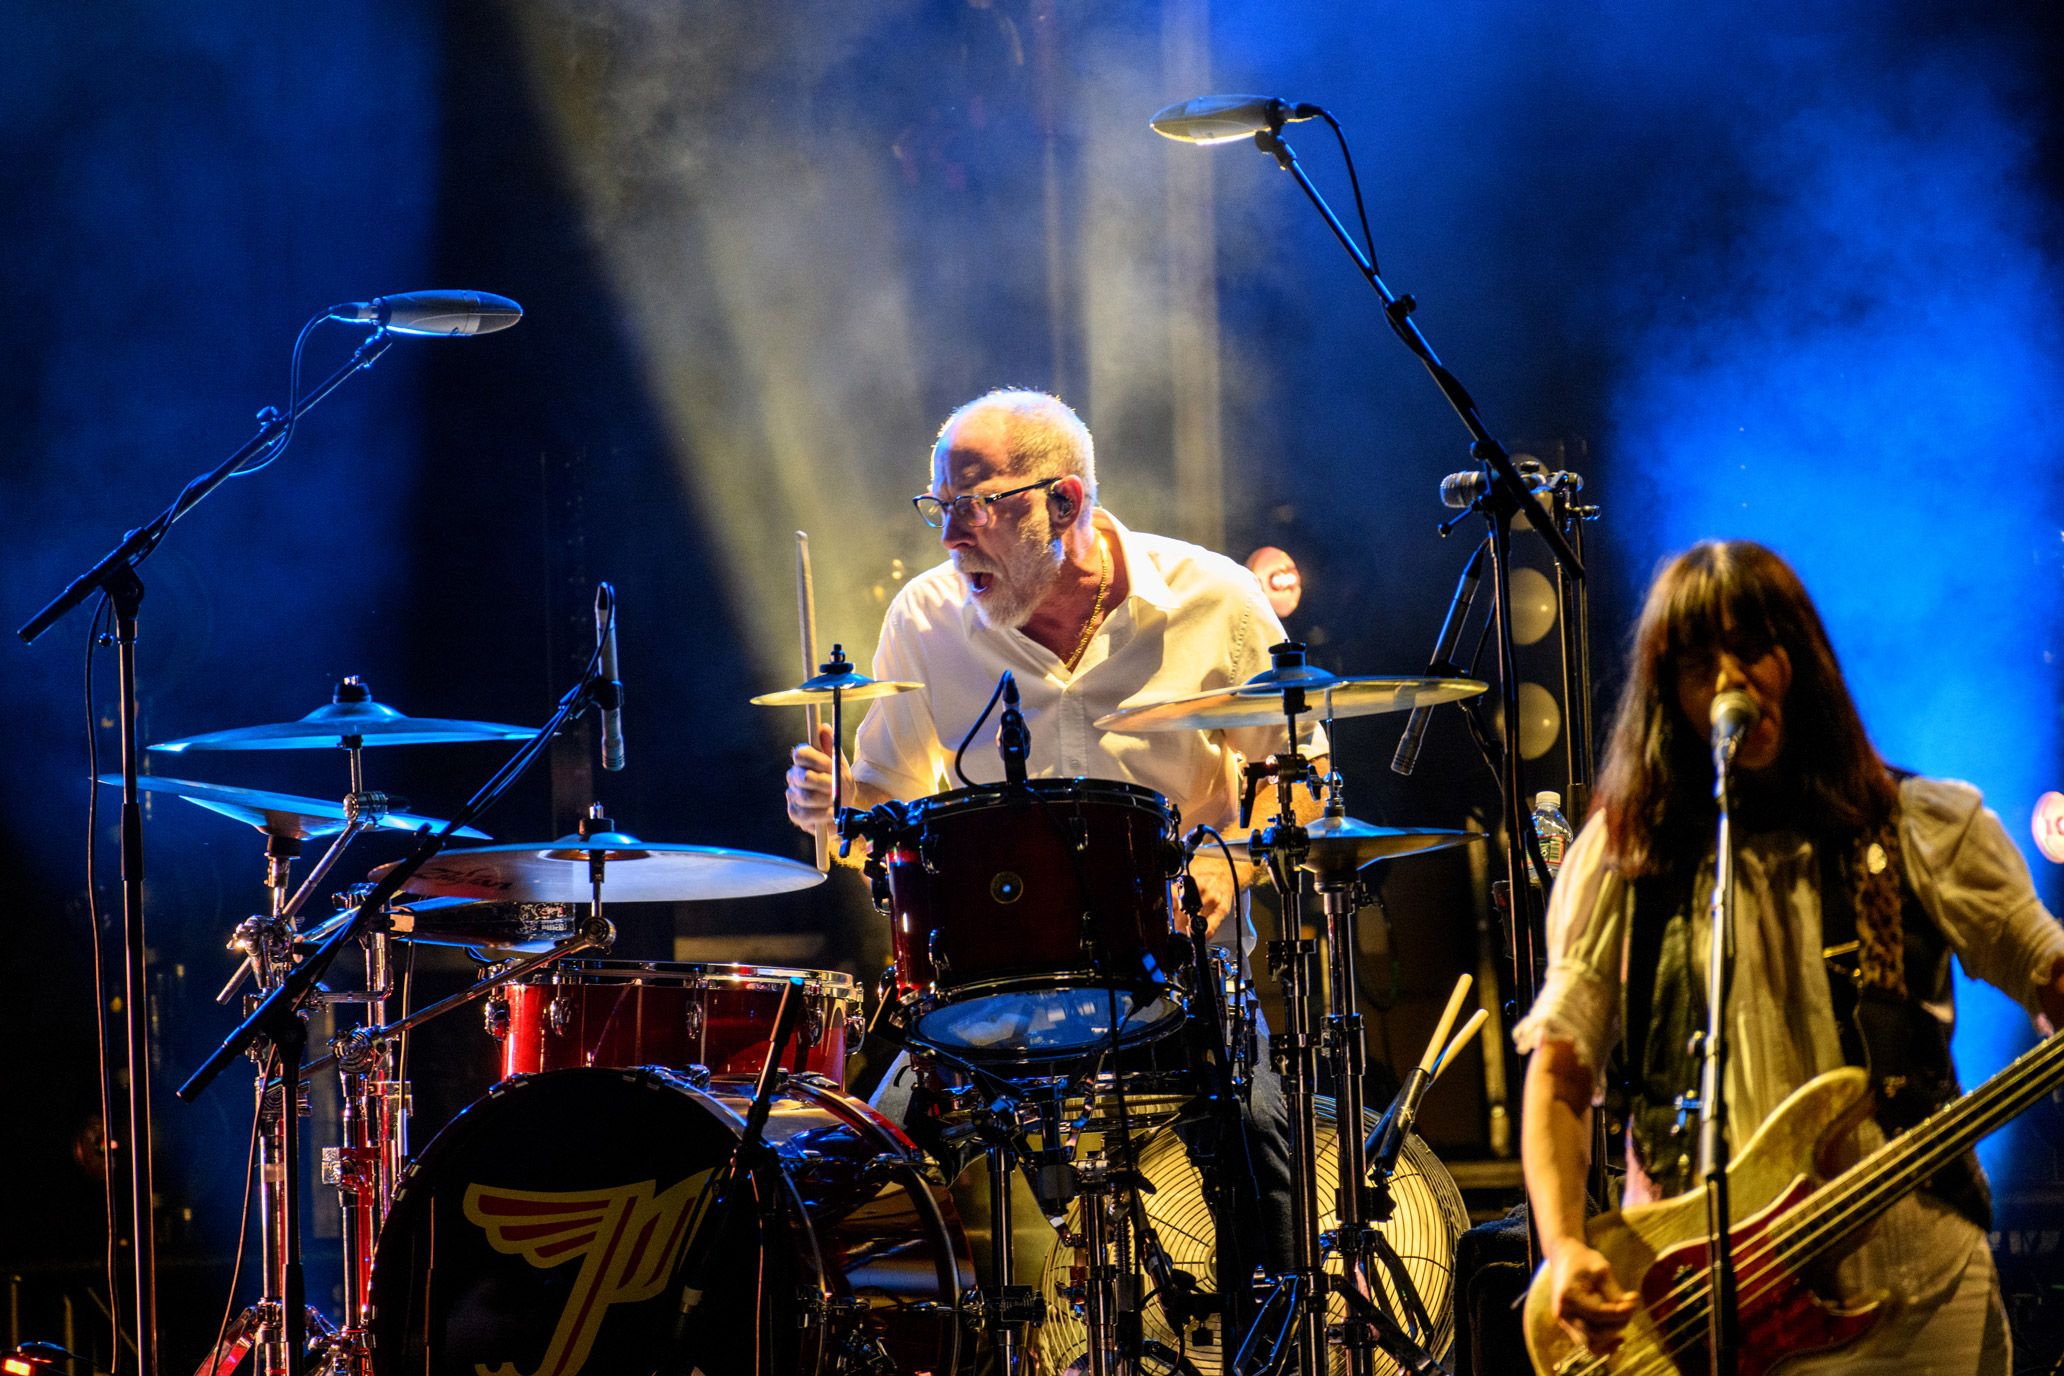
James Joiner | The Pixies | Nikon Z9 | Nikon AF-S Nikkor 200-500mm f/5.6E ED VR | 480mm | f/5.6 | 1/125 | ISO 3200
Best Camera Settings for Concert Photography
Shoot RAW Files
Most pros shoot RAW, and you should too. Learn your camera’s strengths and weaknesses and note what you find yourself messing with the most while editing.
For example, I’ve found that my Nikons have more shadow than highlight recovery, meaning I can pull details out of a dark region, but I’m basically stuck with a blown highlight. With this, I’ve learned to shoot about one stop under exposed to give myself the most options in post processing.
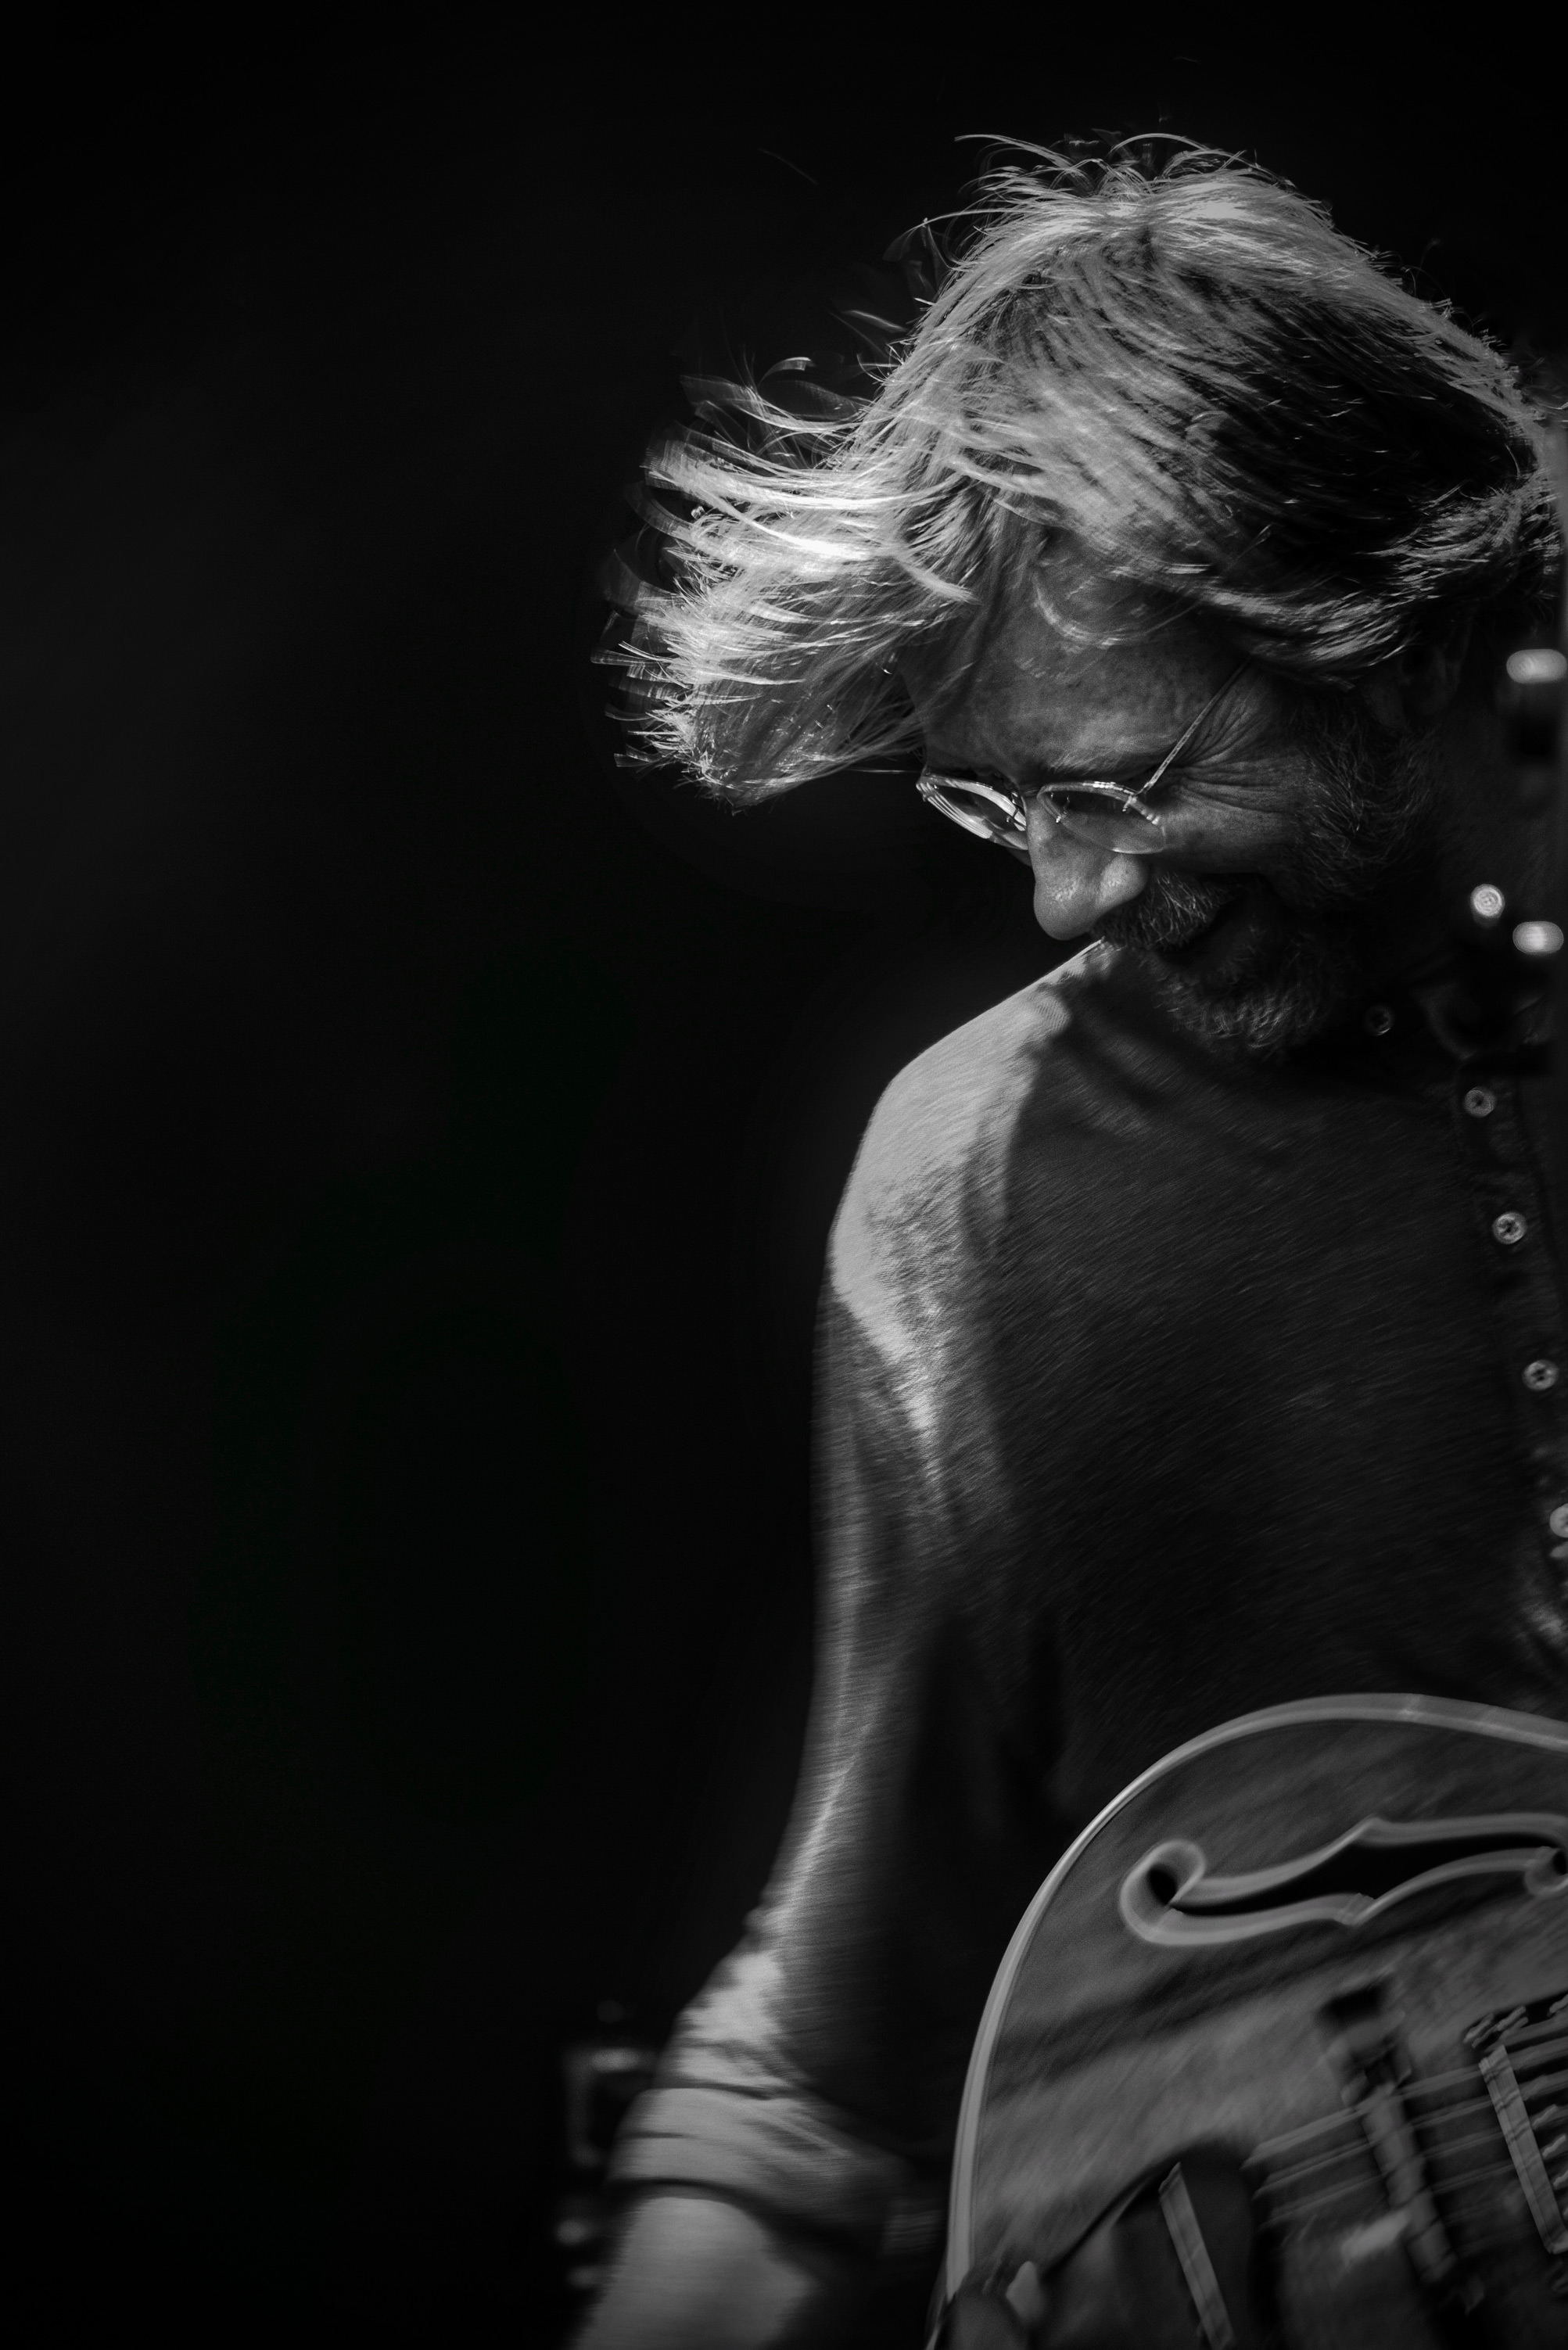
James Joiner | Nikon D750 | Nikon AF-S Nikkor 35mm f/1.4G | 35mm | f/1.4 | 1/160 | ISO 1250
ISO Settings
Modern full-frame cameras tend to have excellent low-light and dynamic range capabilities at higher ISOs, far greater than film ever did. Still, the higher the ISO, the more noise and image degradation there is, and the less editability even a RAW file will have. Images will ‘fall apart,’ meaning things like too much noise and graininess, less color saturation, and lower sharpness.
You can fix some high ISO issues with the noise reduction tools in editing software, but at a certain point, images start to look like heavy-handed paintings. For me, I find that I very rarely shoot over ISO 3200, and instead pay attention to things like the artist’s own stage lighting, which by design tends to brighten at dramatic moments. Also, don’t be afraid to embrace darkness. Sometimes what you don’t show tells a much stronger story than what you throw in people’s faces.
Manual Mode
You’re going through all the trouble to get this gear, learn how to use it, and get access to shoot… Why on earth wouldn’t you want to be as intentional as possible in showcasing your vision? Cameras have a variety of settings you can choose to shoot in, from fully auto to aperture and shutter priority—meaning you pick one or the other and the camera does the best—but ignore them. Pretend they don’t exist. You really wanna learn how to do this, shoot on full manual.
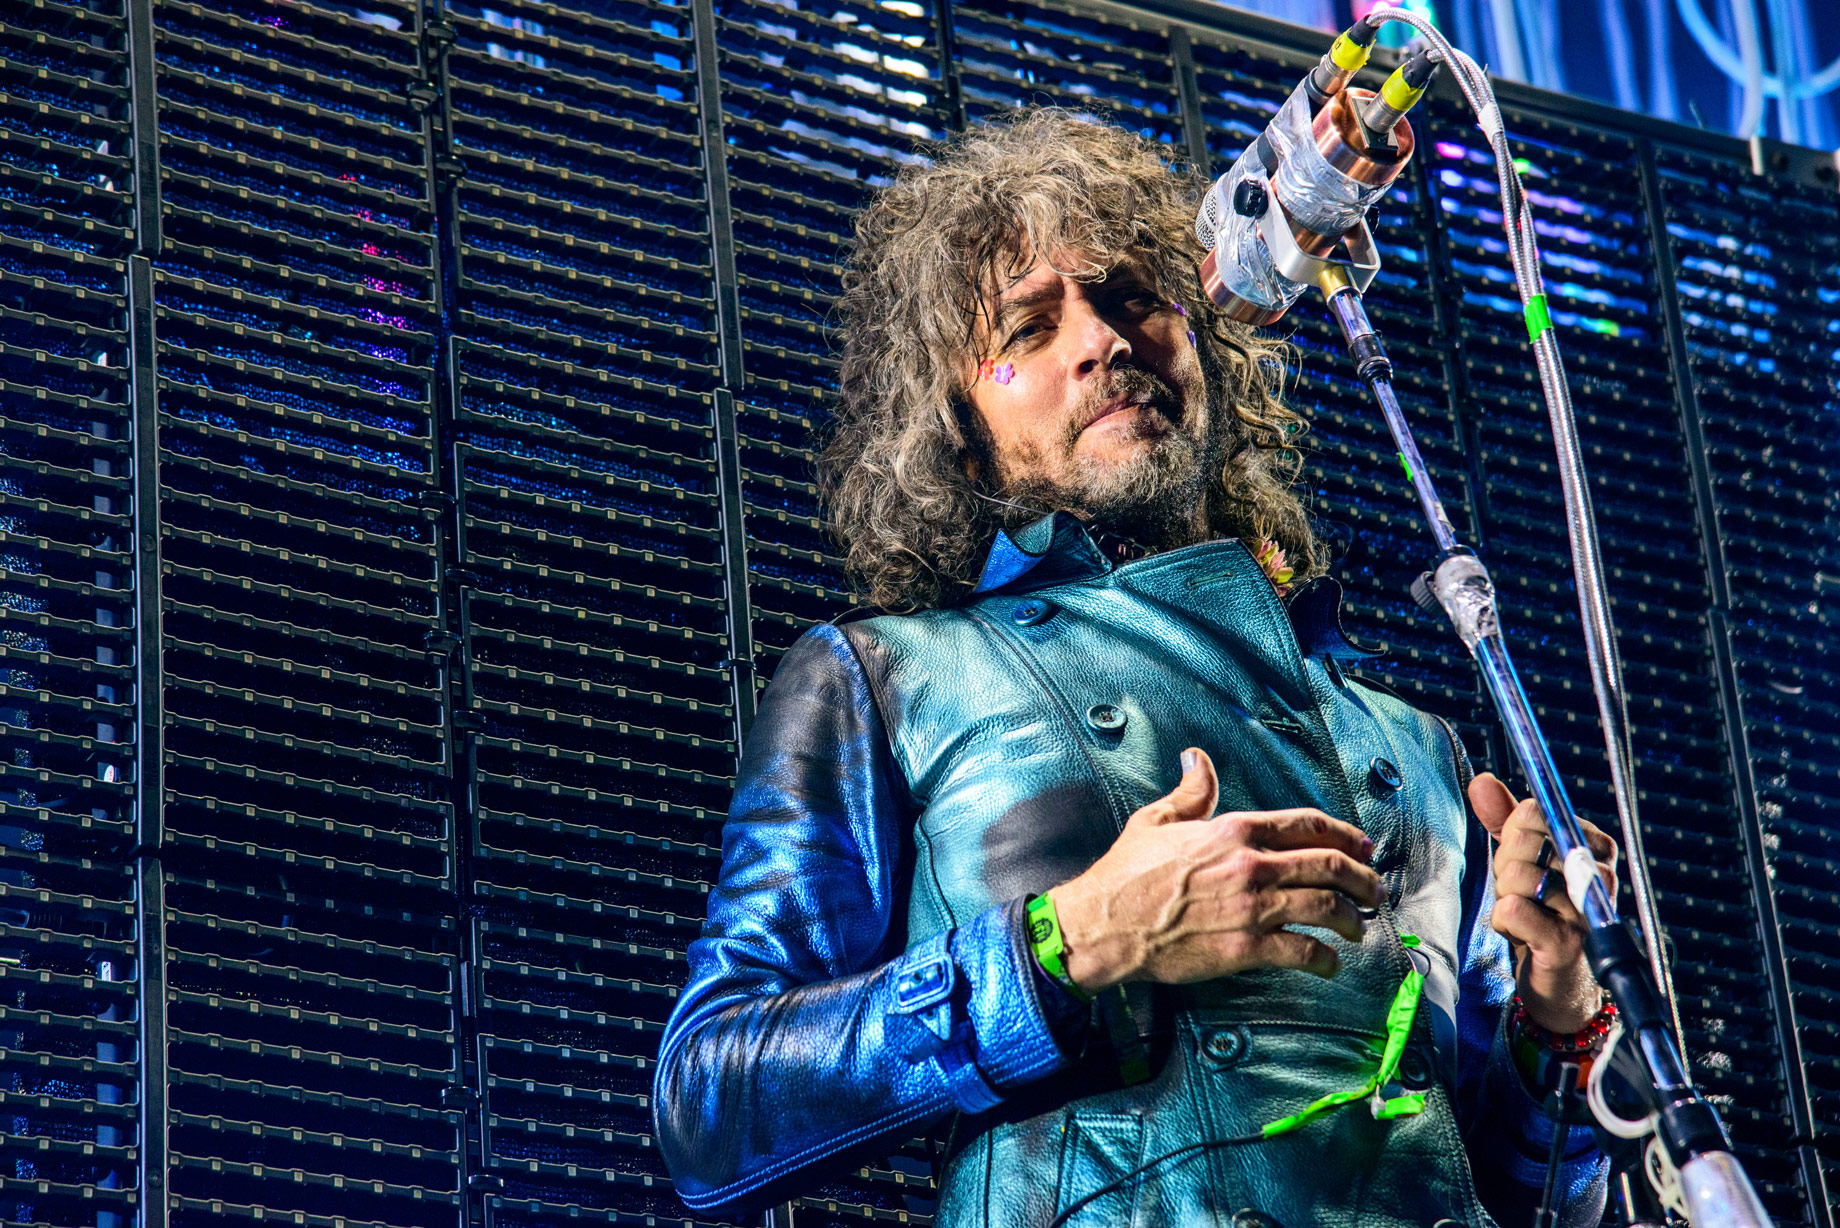
James Joiner | Wayne Coyne of The Flaming Lips | Nikon D800 | Nikon AF-S Nikkor 24-120mm f/4G ED VR | 120mm | f/5.6 | 1/160 | ISO 800
Shutter Speed
There are tricks, though. A rock band with a rapidly moving singer should require a fast shutter speed, right? Sure. But you can also experiment with ‘dragging’ the shutter (make it slower) to get a sense of motion via blur, or try to pan with the subject as they move to make it look like they’re in motion on the frame. Strobing stage lights work like a camera flash, freezing action even with a slightly slower shutter speed. You can also use these bright lights to bring the aperture down, resulting in greater plus effects like sun stars, where light sources appear as multi-pointed flares.
When setting up your new camera, run through the menu. I tweak settings like ‘focus point wrap around’ so when I push a focus point to the edge of the frame or viewfinder, it pops out on the opposite side. I also turn on ‘low-light autofocus’ and turn off ‘high ISO noise reduction.’ You’ll also want to disable the camera’s built-in autofocus assist lamp, which shoots a red laser at your target. Lastly, I turn off all camera sounds and disable auto review.
Pro Tip: Digital cameras have an infinite amount of ‘film’ to use. Shoot a ton. Don’t be shy. You don’t have to edit every image, and it’s easier to learn by doing and looking at the results than being precious about pressing the shutter. When in doubt, take the shot.
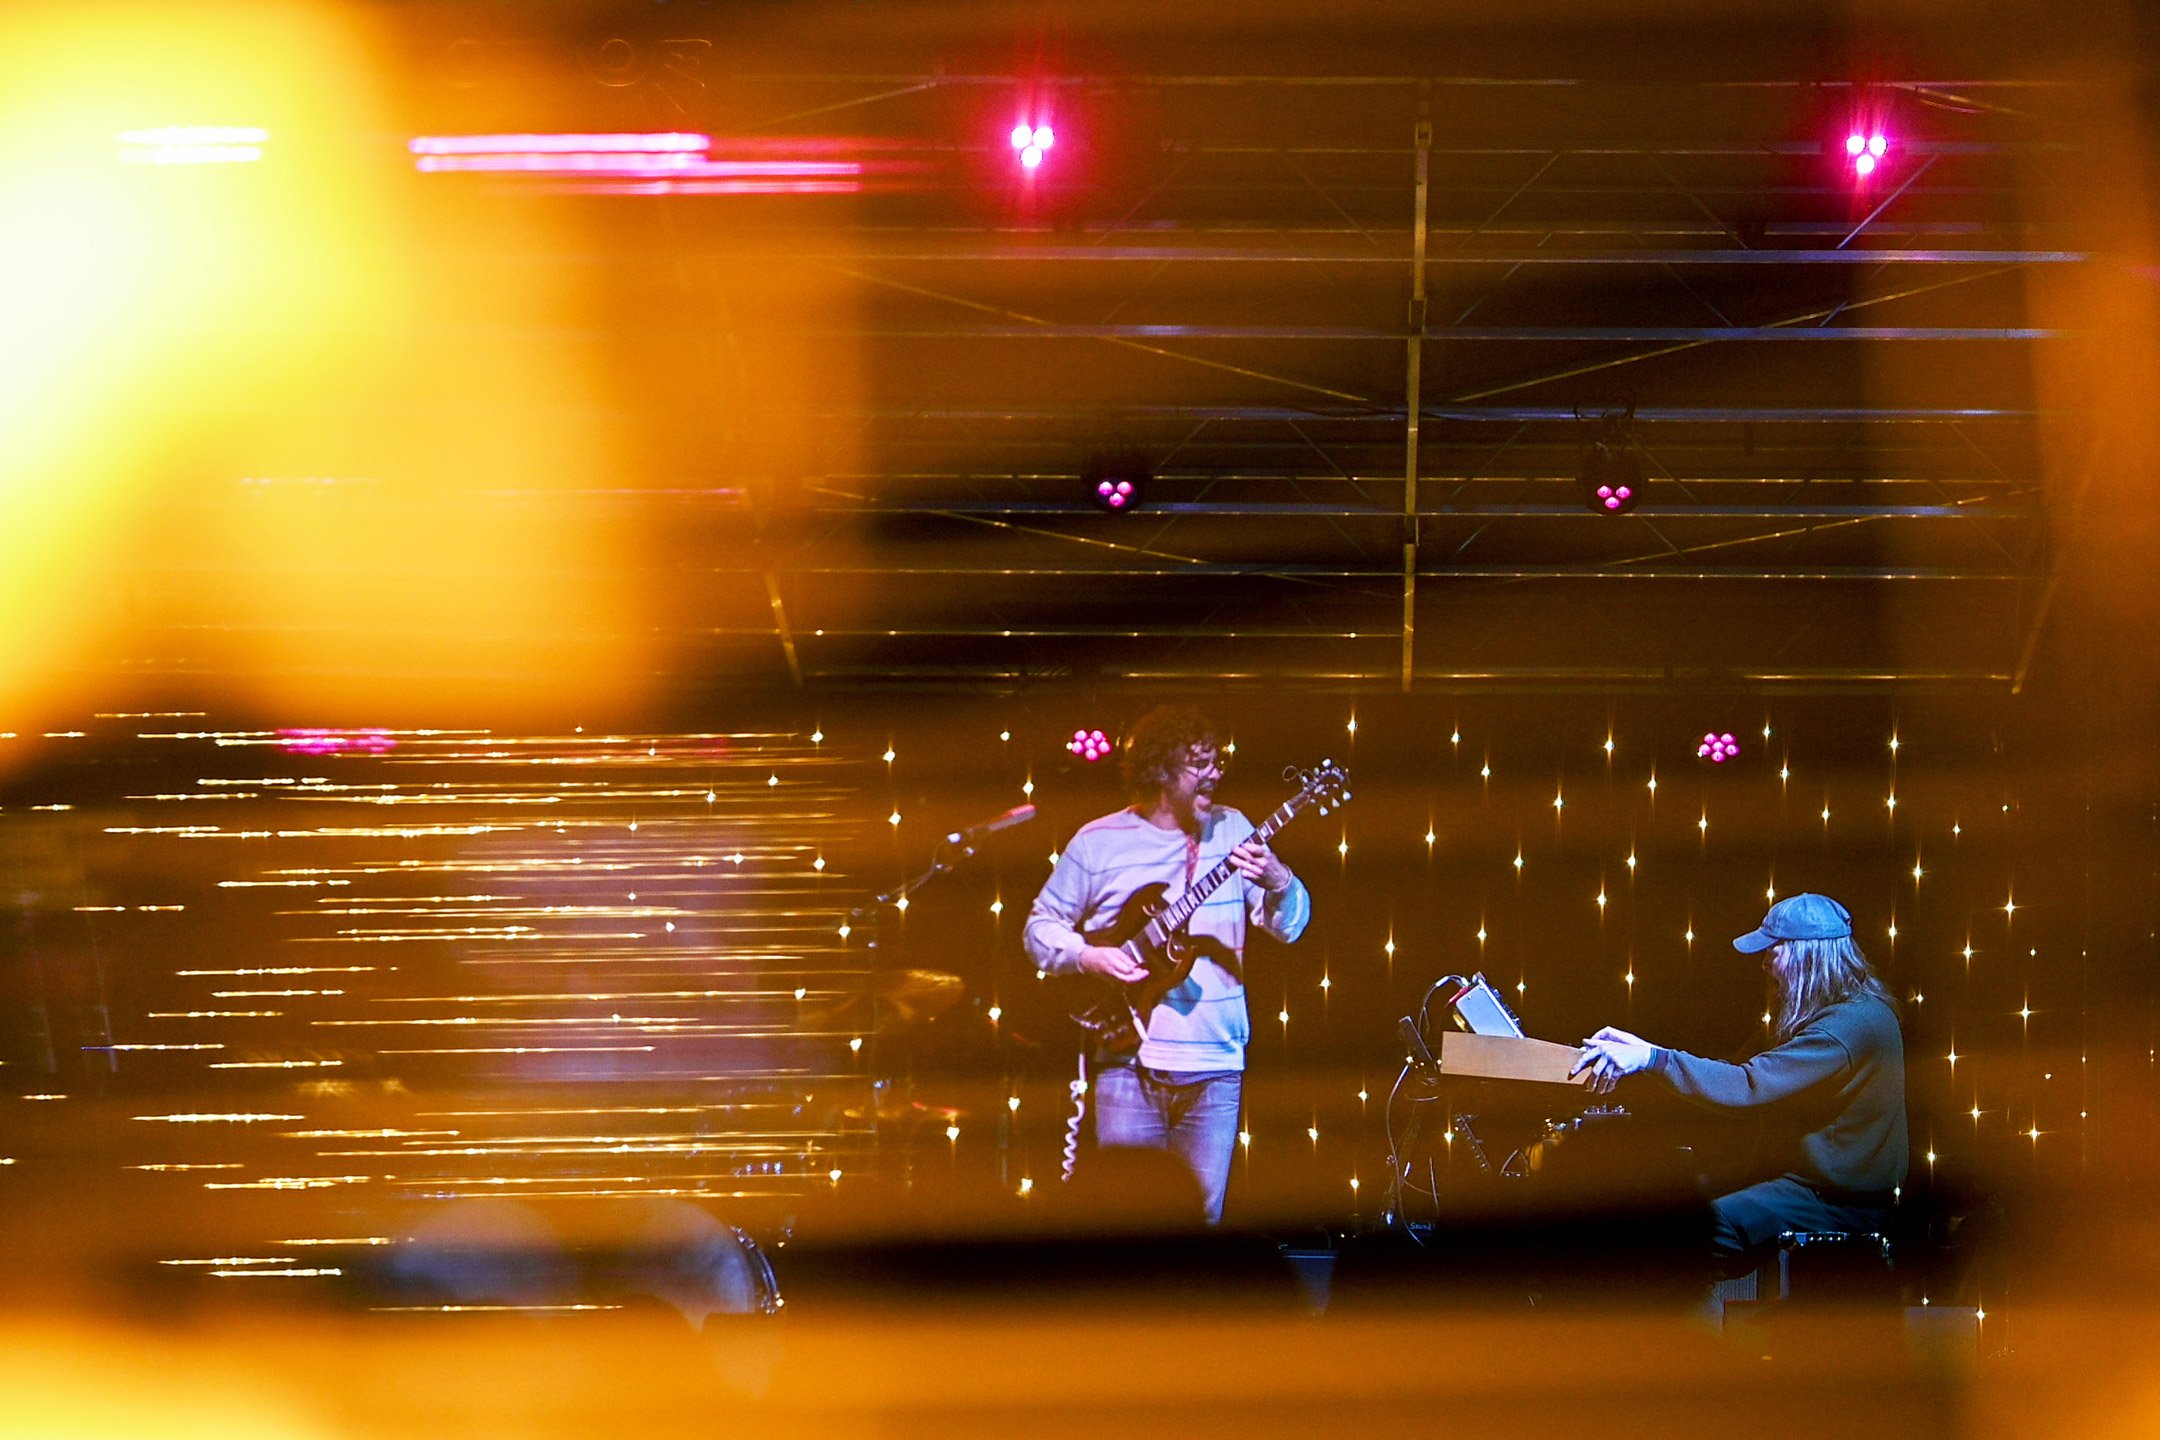
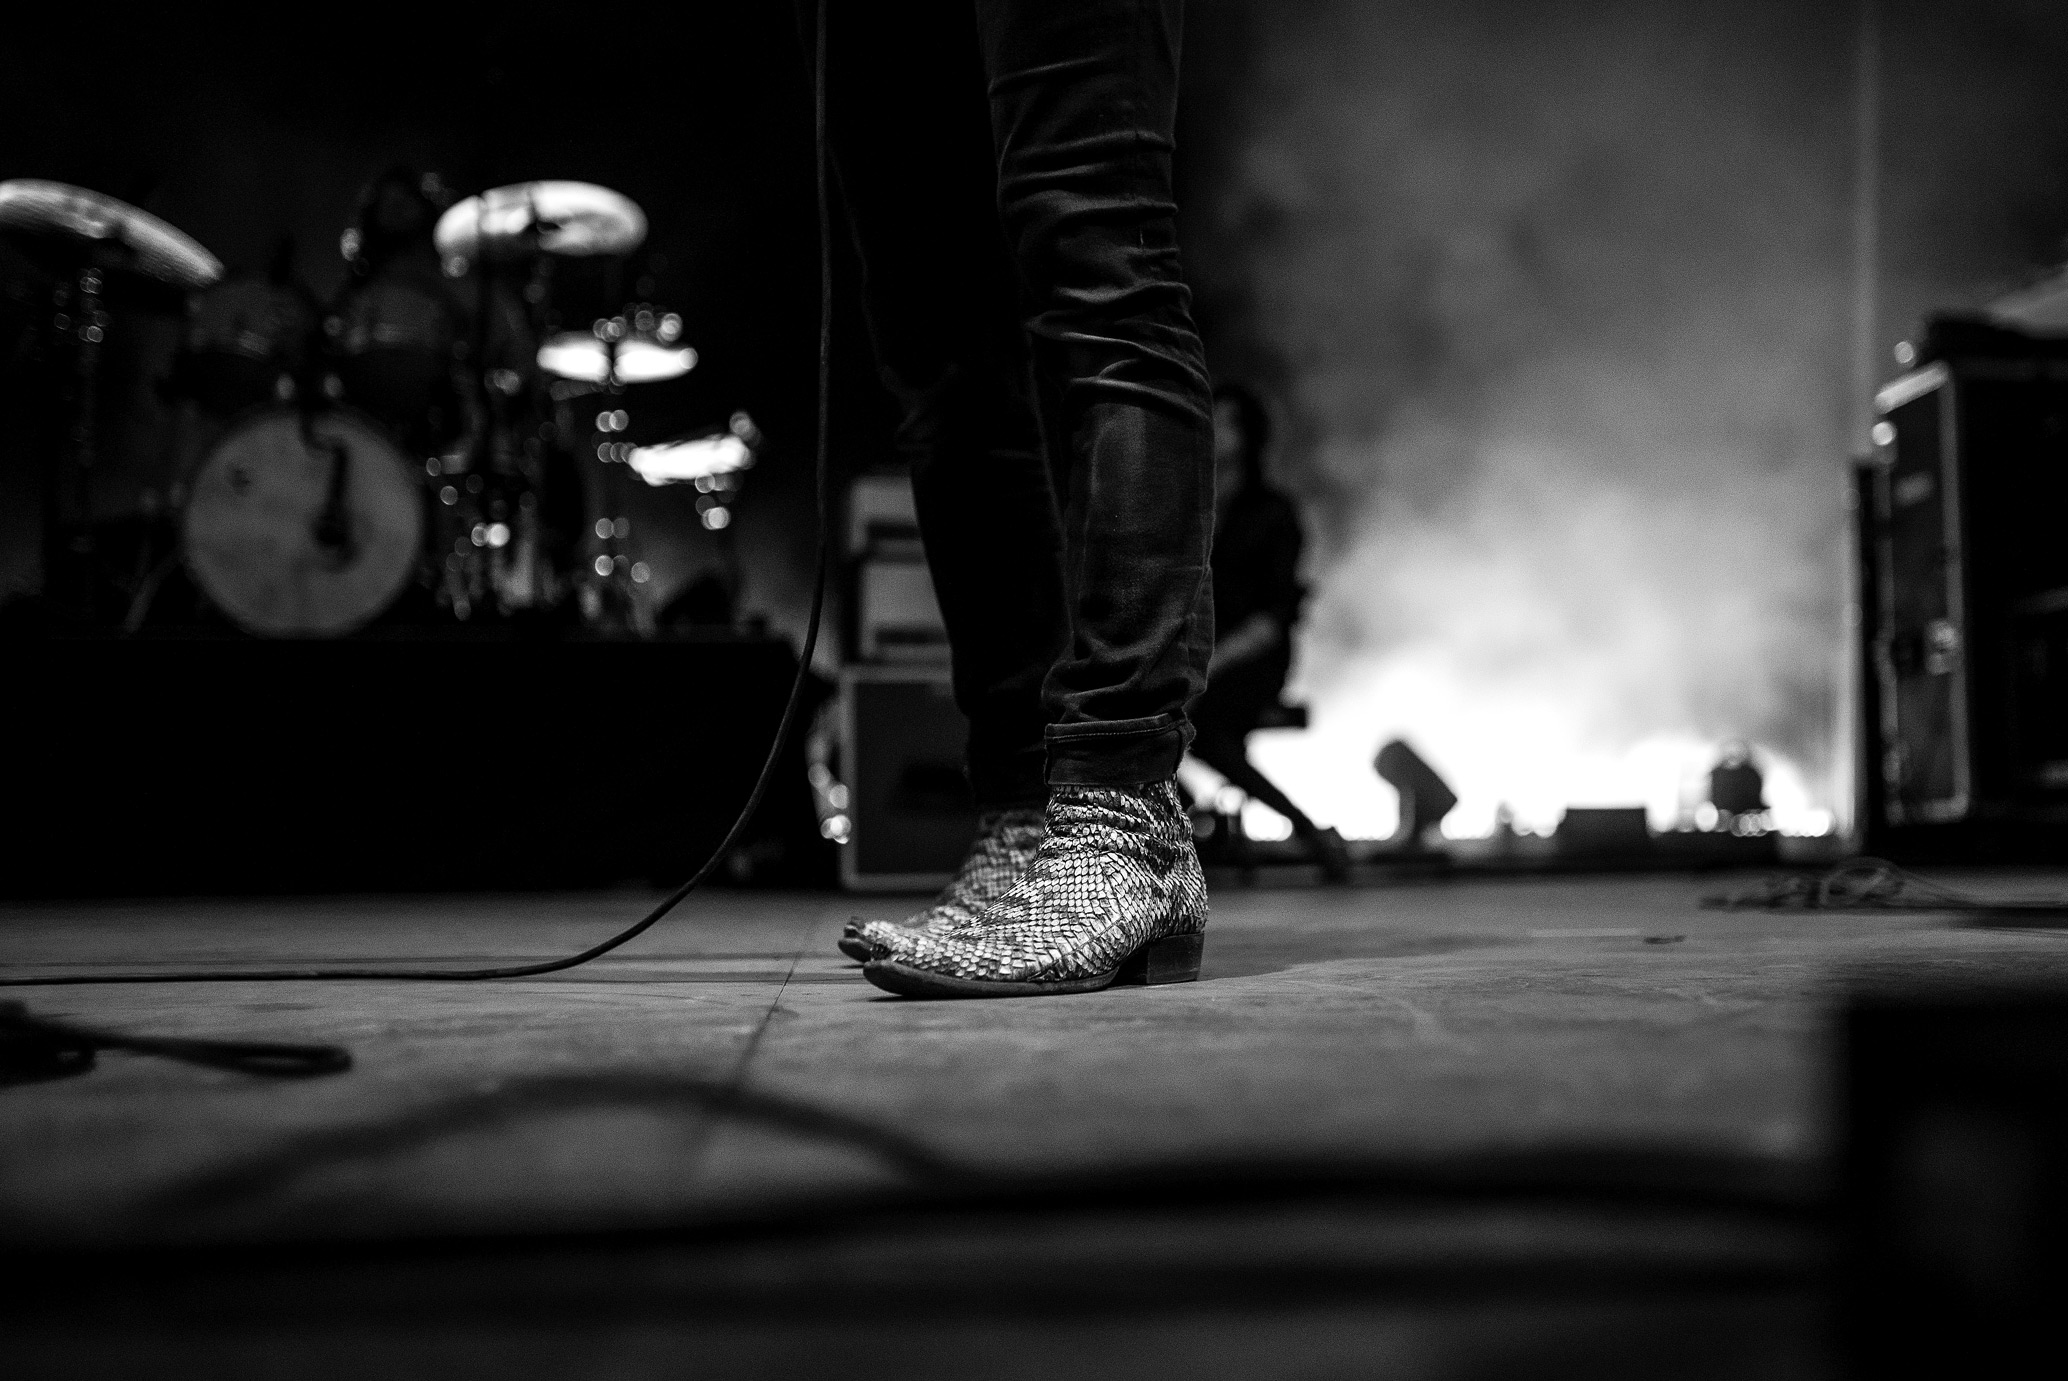
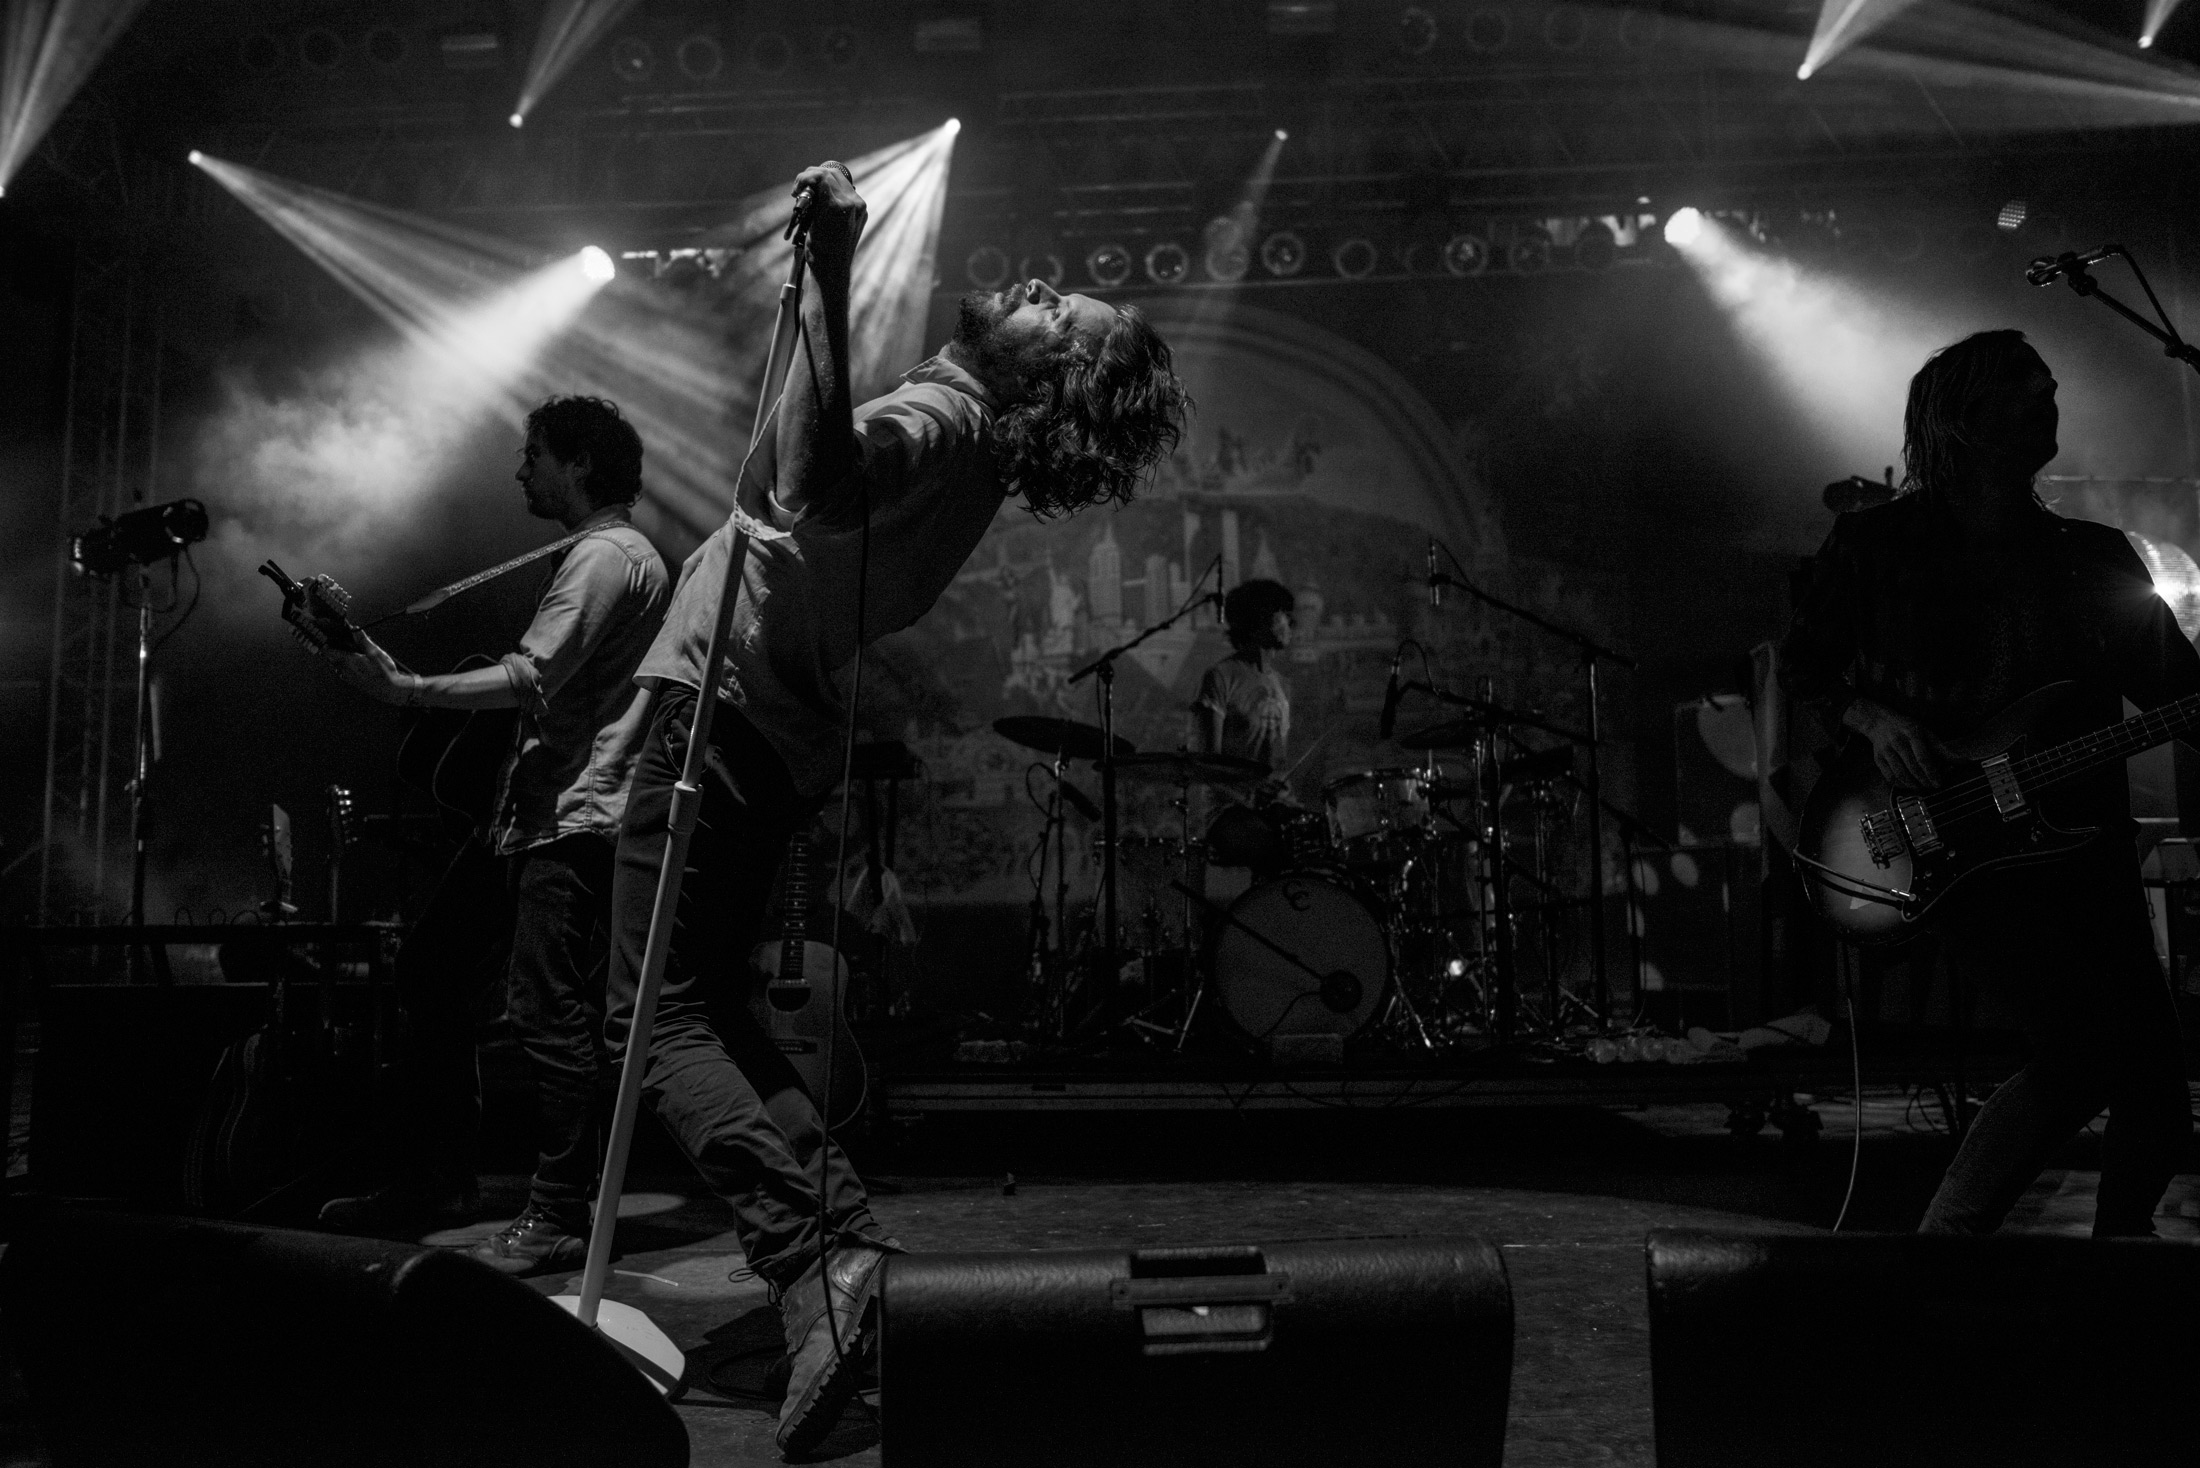
James Joiner | White Denim | Nikon Z7 II | Nikon Nikkor Z 70-200mm f/2.8 VR S | 77mm | f/3.2 | 1/100 | ISO 640
Getting in the Door
Start with shooting friends’ bands, or, better, find a small local venue you like and get to know the staff and artists and shoot there for a while. This will allow you to build your chops—how to interact with artists, audiences, staff, other photographers, etc., plus develop a portfolio—before trying something with higher stakes. Once you’re comfortable, reach out to local promoters and venues that are slightly larger than where you’ve been learning.
When doing this, make sure to keep perspective. You can’t expect to jump from shooting an open mic at a coffee shop to Charli XCX at Madison Square Garden. Single out places that smaller touring artists come through, and get to know the artists. Much of my early success with ‘larger’ bands happened because the bands I’d been working with got bigger.
Meanwhile, make sure to email and introduce yourself to arts editors at your local papers and websites. Send them images from time to time. Does your scene have a music blog everyone reads? Once you have some contacts, find shows coming up that interest you and are pertinent to their readership, and send a pitch to shoot ‘em. Be social and friendly from the get-go—the more people, artists, editors, and managers you know, the more access you’ll eventually gain.
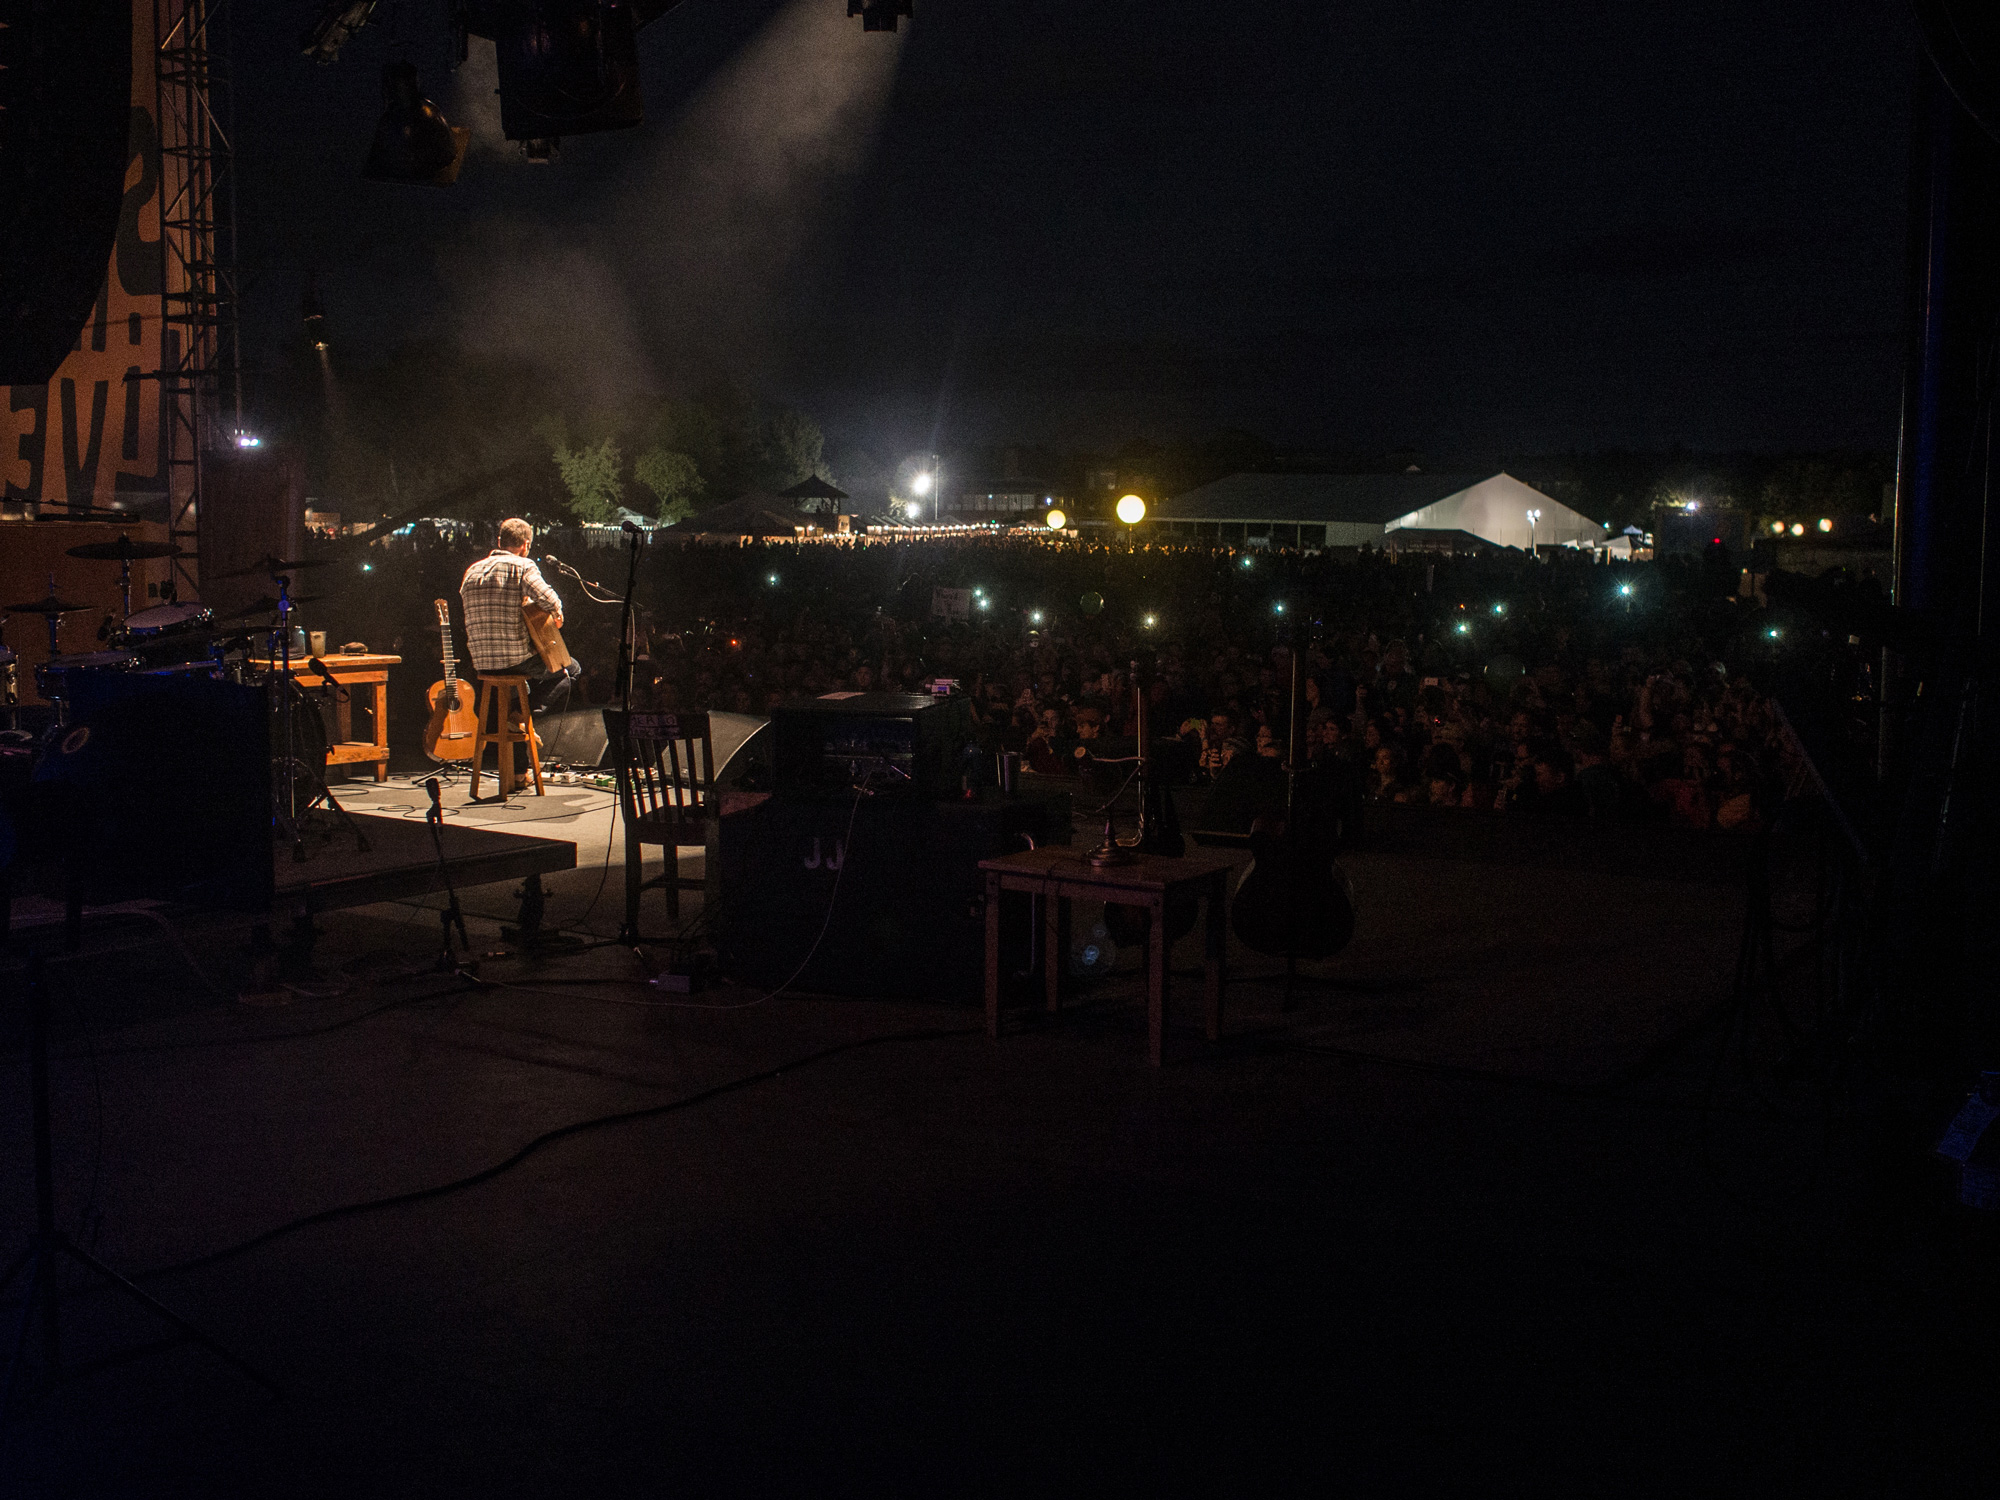
James Joiner | Jack Johnson
Pitching
There are three types of pitches: one to an editor, one to the venue or promoter, and one to a publicist.
A proper editorial pitch is short and sweet. Like, really short. Tell them the band, venue, and date, why they’re newsworthy, and share some examples of your work. That’s it. Trust me. Everyone gets too many emails, and if it takes more explanation, you shouldn’t be pitching it. They’ll ask questions if they want to know more. Once you’re established and have a relationship, you can push the envelope, but they have to trust and know you first.
If you don’t have an outlet to shoot for but really wanna shoot a particular artist, try the venue or promoter. Remember: until they know you and your work, this likely won’t be a paid gig. You’re gonna have to pay dues and share images, meaning this is one of the actual only times in your career it’s okay to do something ‘for the exposure’ instead of for money.
Lastly, you can always try reaching out to the artist’s PR team by using Google (search for the artist's name, plus ‘publicist’ or ‘press contact’) or social media.
Once you get the green light, make sure you keep up your end of the bargain. These are ideally contacts you’ll have for the rest of your career, and can introduce you to other folks as you grow. Next thing you know, you’re looking up PR people for a band and find you have a relationship with a co-worker, and you’re in.
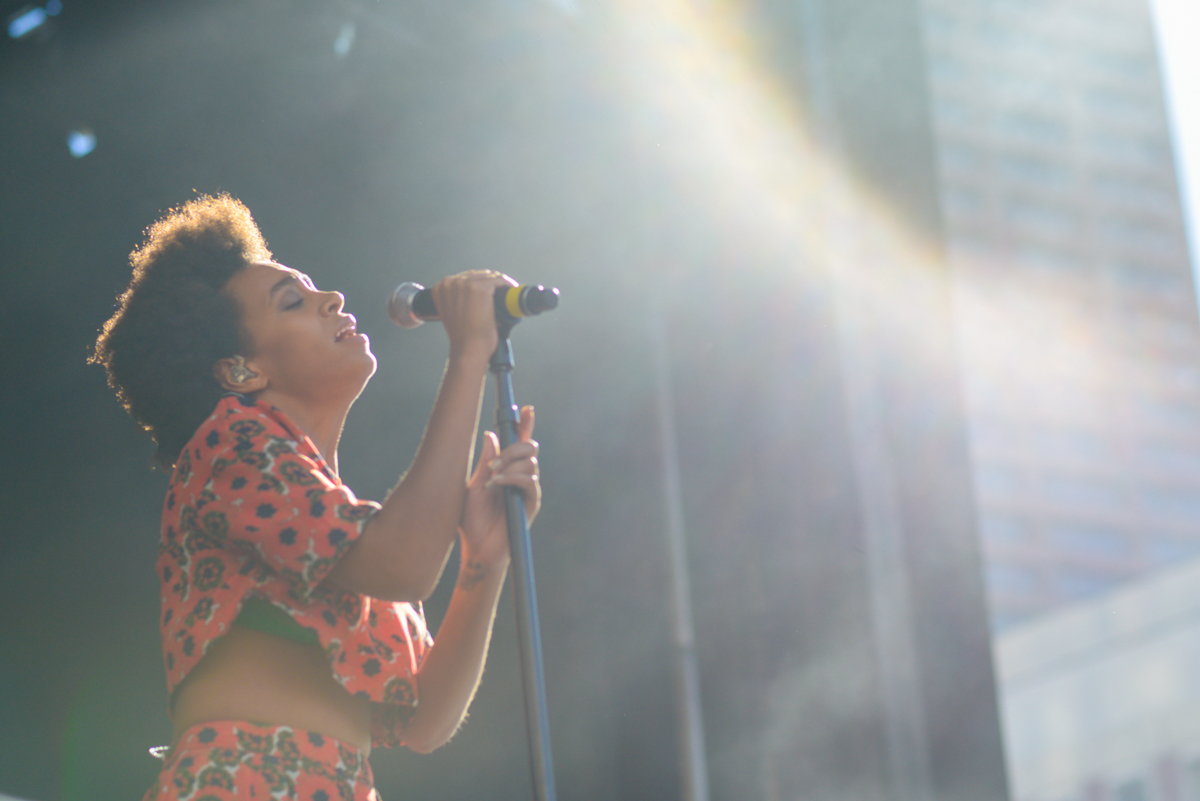
James Joiner | Solange
Top Tips for Concert Photography
Okay, you made it! You have permission to shoot, and it’s showtime. Now what?
Arrive Early, Introduce Yourself, and Don’t Post Credentials
Get to will-call and pick up your credentials as soon as doors open. Doing this early helps you deal with potential issues, like your name missing from the list, and gives you time to scope out the venue. Find out right away if there’s a photo pit and how accessible it is. Most shows only allow photographers to shoot the first three songs from the pit, but many are fine with you shooting from the rest of the room afterward.
Never post a photo of your credentials. It’s bad form, and while some people might not care, others definitely do. Everyone on the crew knows it’s a no-go, and doing it just makes you look unprofessional.
When you arrive, introduce yourself to security and be friendly to everyone. This is crucial. Make small talk, stay humble, and don’t get in anyone’s way—whether that’s staff, the band, or the venue’s photographers. If you’re in a prime spot, take your shots, then move around.
The artist will be gone tomorrow, but you’ll likely be back soon, so don’t annoy anyone. It’ll go a long way.
James Joiner | Father John Misty
Photo Pit Etiquette
When the concert gets started and you’re shooting, don’t annoy the audience! They bought tickets to see an artist they love, and they don’t care about you getting your shot. This show is for them, and any time you interfere with that experience, you’re blowing it. Be polite, apologize if you block a view, and don’t linger more than a few seconds.
Bring the earplugs and protect your hearing. The pit is often right in front of speakers, so bringing high-quality earplugs is just as important as packing your greatest camera gear. Spending hours in front of blaring speakers can take a serious toll on your hearing, but good earplugs don’t just protect your ears, they also help you lock in on your photography.
Also, don’t use flash at shows. It’s distracting to performers and audience members and can lead to unhappy individuals yelling at you. (At least you packed earplugs.)
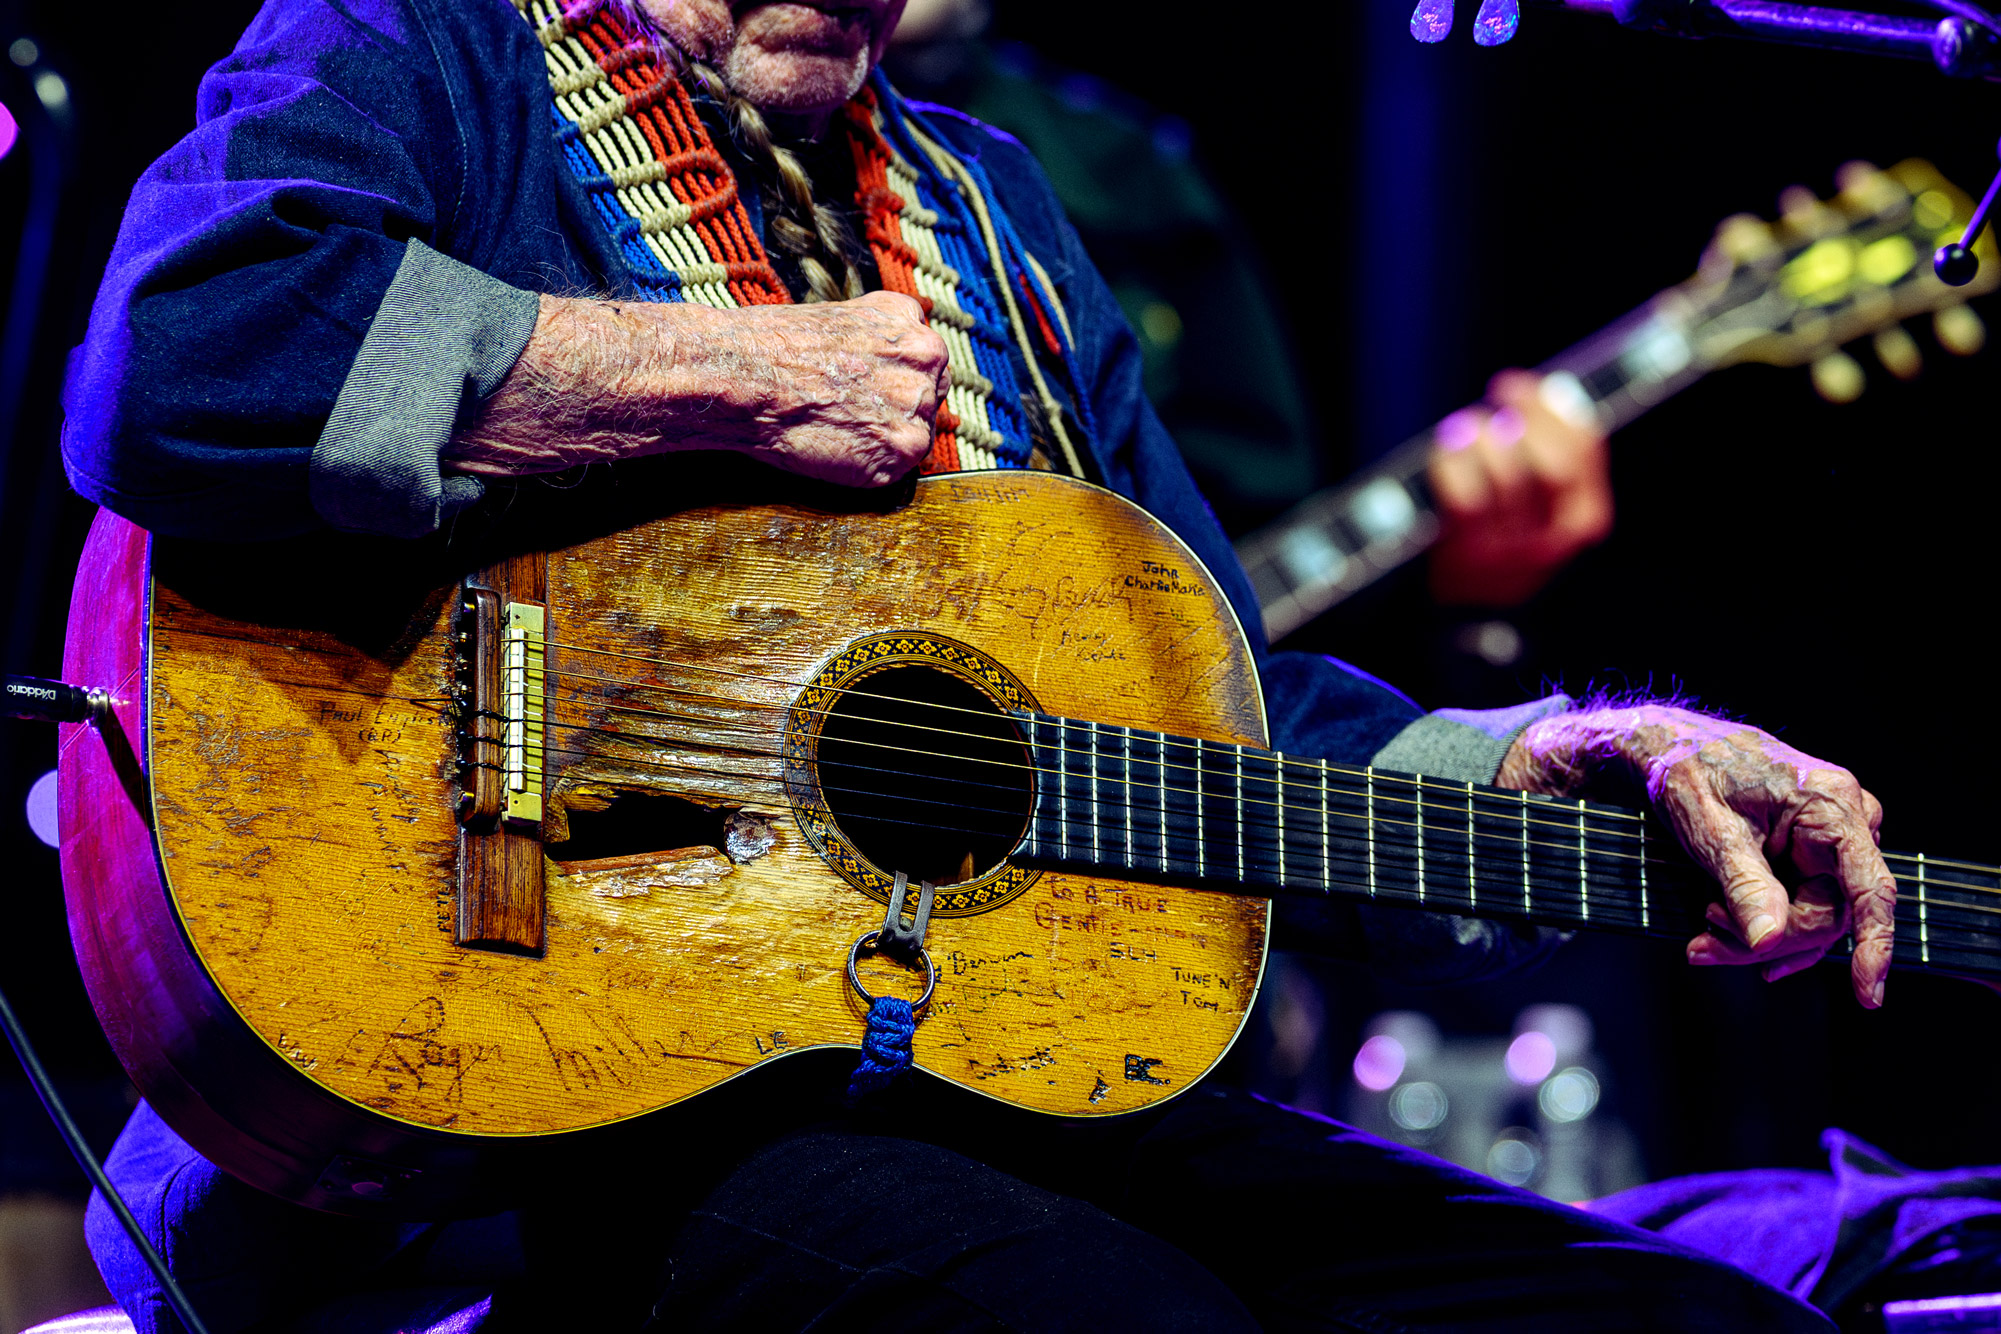
James Joiner | Willie Nelson | Nikon Z9 | 135mm | f/2.5 | 1/640 | ISO 800
Artist and Social Etiquette
If you capture an embarrassing, controversial, or just unflattering shot of someone, especially if it’s not during their performance, then delete it. Don’t share it. Whatever bump you might get on social media isn’t worth being the person who posts that image. Remember: if the artist looks bad, you look bad.
If you find yourself near an artist, don’t be a weirdo. Don’t fan out or tell them how much their second record changed your life. If you’re there with a photo pass, you’re not part of the audience; you’re working. Act like it and keep things professional.
If you’re hanging out with an artist offstage, keep the camera in your bag. Don’t try to sneak a behind-the-scenes shot or catch someone doing something they wouldn’t want public. Photography is built on respect and trust; it’s easy to lose, and nearly impossible to get back.
Know the Artist, and Connect With Them
If you’re shooting someone you aren’t familiar with, check out their catalog. Watch videos of the tour so you understand what will happen and when. Doing a little research can make the difference between decent shots and epic ones.
Same with venues. This is why it’s good to show up early and scout it out. Also, check their social media to see what the vibe is. Imagine yourself there: what are the best vantage points? Where are most of the ‘hero’ shots taken? Personally, I like to know that, so I can avoid taking the same photos everyone else does. If you find your own way to showcase both artist and environment, your images will stand out.
James Joiner | Modest Mouse
I’ve photographed tons of artists of all sizes and genres over the years, and you learn to make any situation work. But when you really click with someone, real magic can happen. I met Isaac from Modest Mouse because I was sent to interview him in 2013 or so. To be honest, I didn’t want to do it, so much so that I brought my barely teenage daughter along. Well, Isaac and I hit it off, and the whole Modest Mouse family welcomed me with open arms. We now have a collaborative body of work that spans over a decade. To get to document their world, behind the scenes, in the studio, on stage, with such comfortable intimacy has been one of the greatest privileges of my life, and I made a bunch of lifelong friends to boot.
Choose Selects and Share on Social Media
If shooting for a publication, don’t share any images before they do. Nothing bums a photo editor out more than seeing your amazing shots blow up on Instagram before they get a chance to showcase them. When you do post photos, make sure to tag the artist, band members, and venue. Only share your best shots.
Whether a single show or a whole tour, nobody wants a stop motion film of the whole event, and no photo editor or manager wants to wade through 250 shots of the same thing. Unless told otherwise, pick no more than 75 images per show, a mix of vertical and horizontal. Get wide ones that show the whole stage, wider ones that include audience interaction, and a couple of the whole venue. Get some of each band member, and try to capture key moments like sing-alongs or guest appearances.

James Joiner | The Pixies | Nikon Z9 | Nikon Nikkor Z 24-70mm f/2.8 S | 70mm | f/3.2 | 1/125 | ISO 1600
Avoid Mics in Front of Faces
Years ago, Rolling Stone’s photo editor had me drive four hours from my home to NYC to shoot The National, only to reject most of the shots because the top of the mic was covering part of Matt Berninger’s face. Lesson learned, but it was a tough one.
Avoid Tropes and Think Outside the Box
At least at first, avoid tropes. Multiple exposures and shooting through weird crystals can create exciting results, but they can also become a creative crutch and, when used too much, appear gimmicky. Work with what is naturally on hand, and, especially when you’re starting out, hone your basic skills first.
Something that blew my mind wide open when I started shooting was having another photographer tell me to always shoot from an angle nobody would ever expect, instead of just straight on. Find a view you wouldn’t normally be able to. Work in the environment you’re in, whether using Christmas lights to create a crazy bokeh effect or picking up reflections on a piece of glass. Yeah, I know I said to avoid being gimmicky. If the stuff you’re using is already part of the set, it’s fair game.
Last but not least: music photography is art. Feel free to forget all of this. You do you. Just remember: don’t be a jerk.
Get Inspired: Other Interviews with Music Photographers
Check out these interviews with some of MPB’s favorite music photographers.
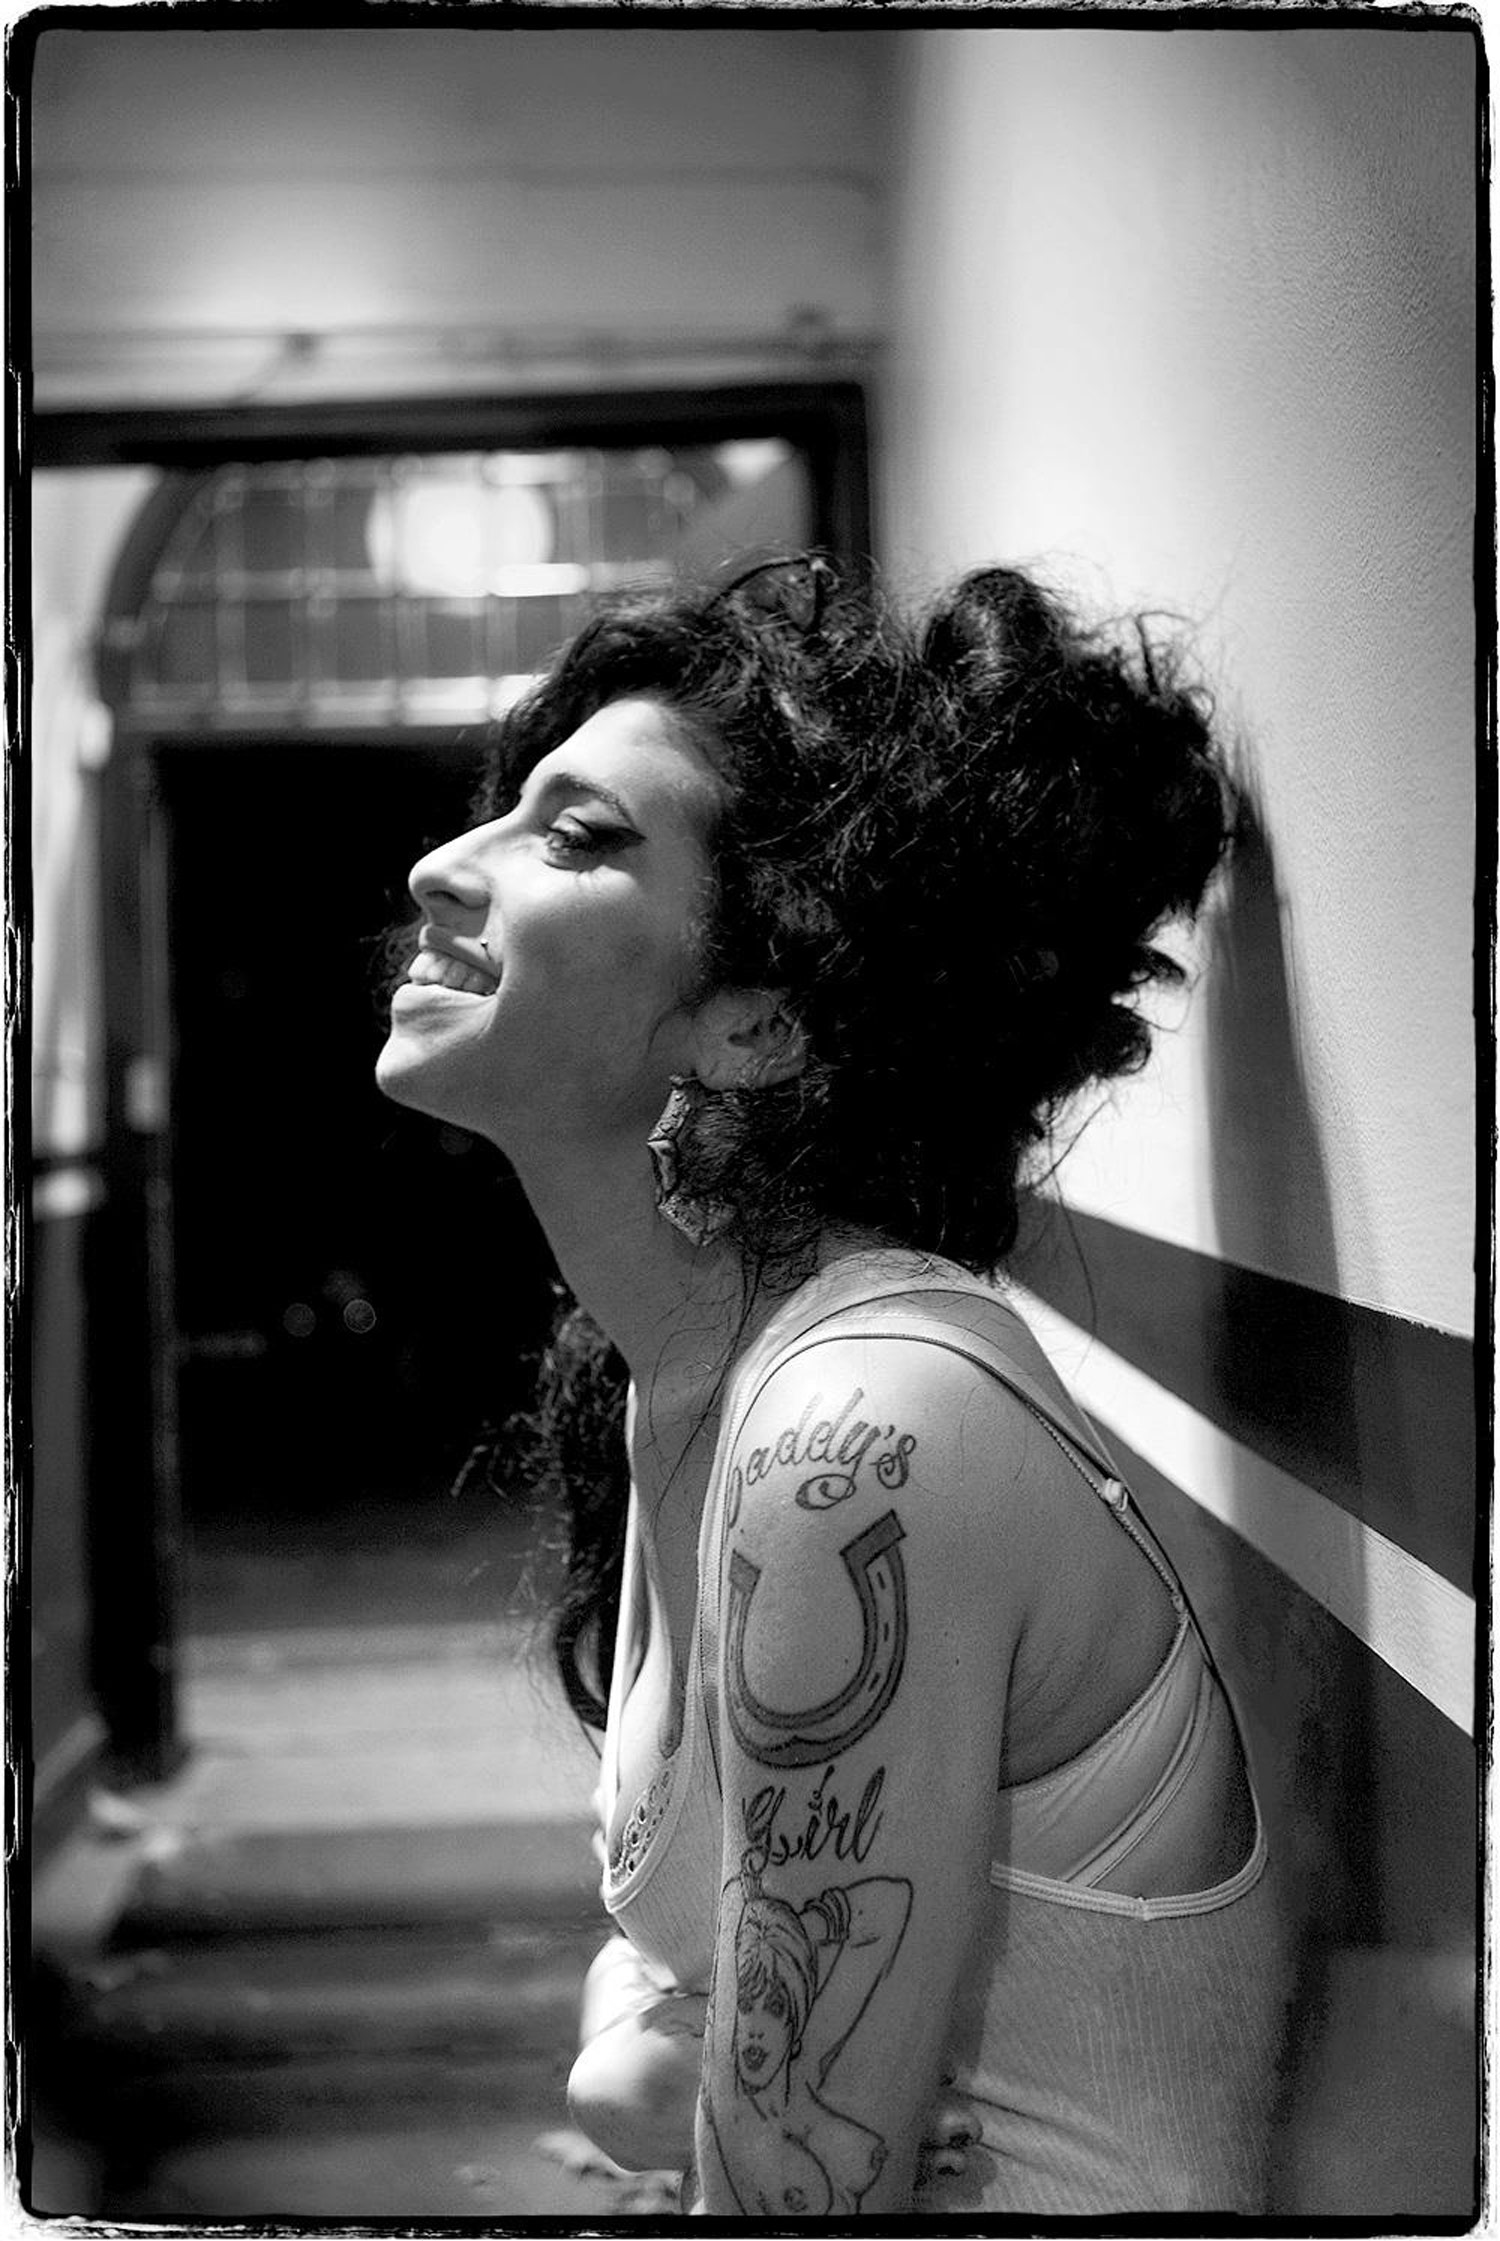
Amy Winehouse | Jill Furmanovsky
Jill Furmanovsky
Throughout her 50-year career, legendary music photographer Jill Furmanovsky has shot the world’s biggest artists and bands. During the 70s, Jill shot everyone from Bob Marley and B.B King to the Buzzcocks and Blondie, Led Zeppelin to Leonard Cohen, Miles Davis to Michael Jackson, Joy Division to the Jam, and the Rolling Stones to the Ramones—not to mention the Clash, Kate Bush, Chic and Queen. Nico, Pink Floyd and the Who, too.
Into the 80s, Jill captured the Cure and the Cramps, Morrissey and James Brown, and through the 90s, Oasis, Björk, KD Lang, Jeff Buckley, Grace Jones, Siouxsie Sioux, Sinead O’Connor and Tom Waits. Entering the new millennium, there was Elvis Costello, Amy Winehouse, Florence and the Machine, and many, many more.
Read our Jill Furmanovsky interview.
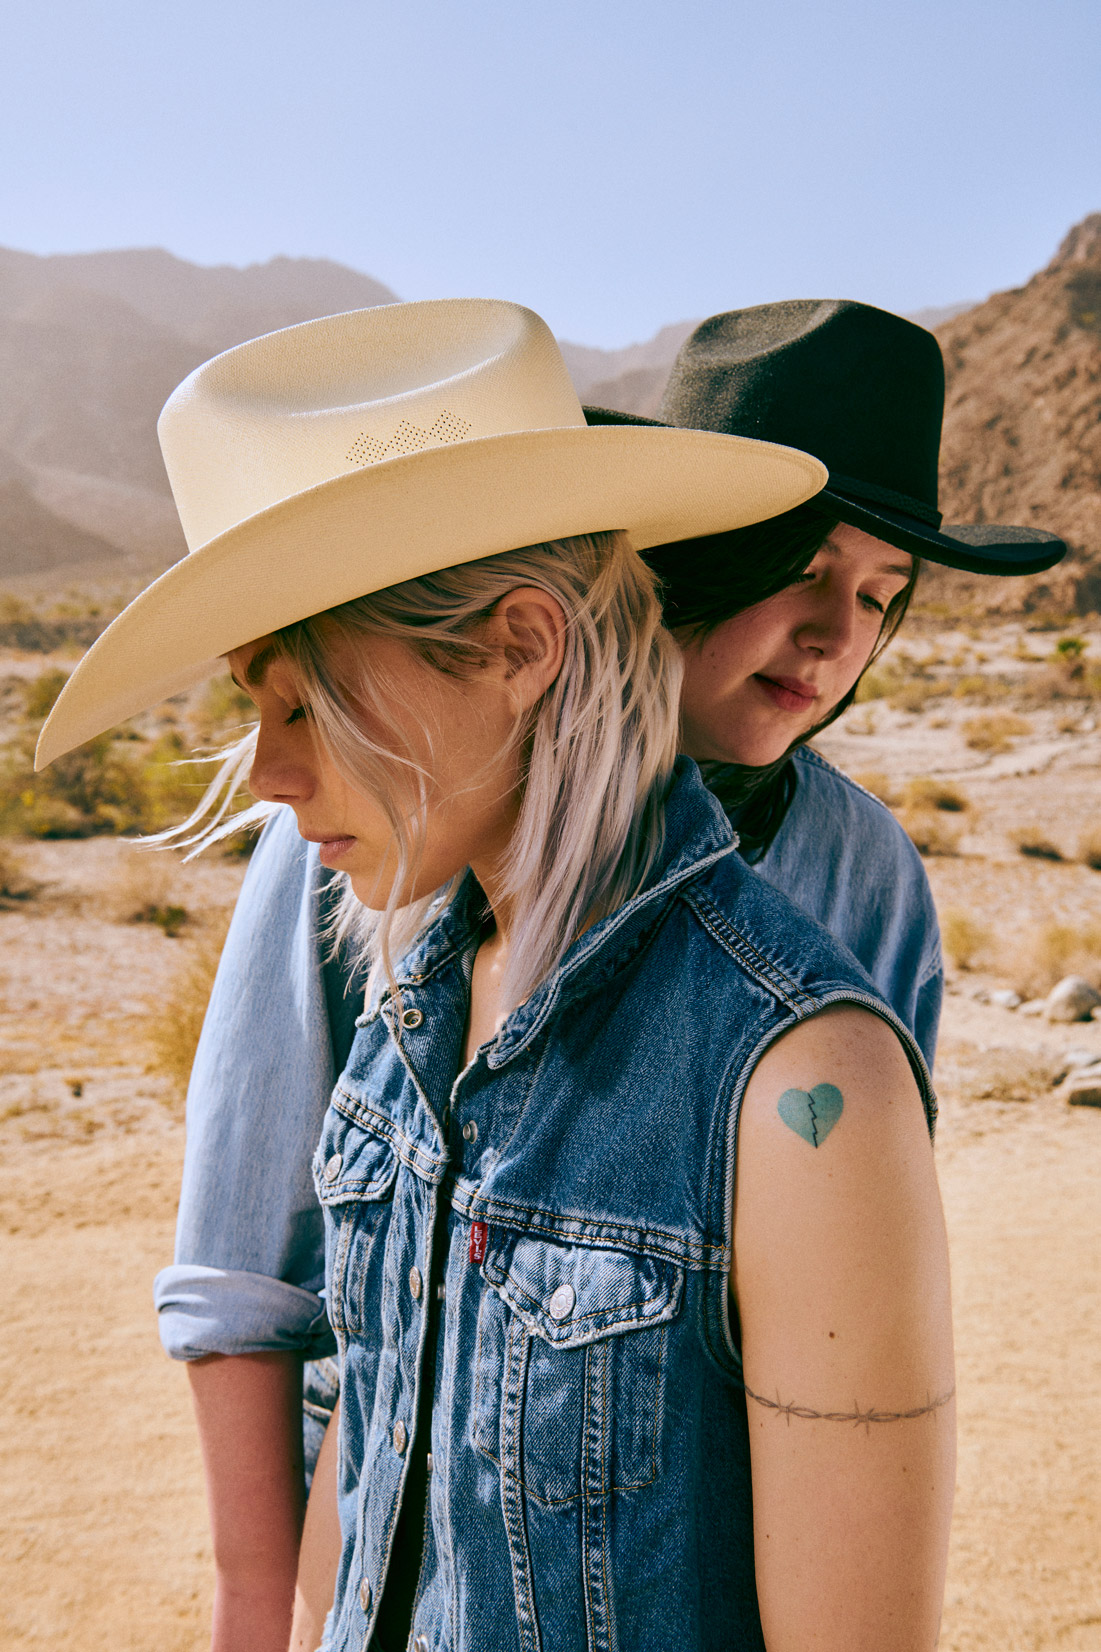
Phoebe Bridgers and Lucy Dacus of Boygenius | Nikon D850 | Nikon Nikkor Z 24-70mm f/2.8 S | 35mm | f/9 | 1/200 | ISO 100
Lindsey Byrnes
From her early days of shooting skaters in California to going on tour with Paramore and Tegan and Sara, Lindsey Byrnes has a wealth of experience in photography. We spoke with the music and entertainment photographer about her creative approach and the greatest moments throughout her career.
Read our Lindsey Byrnes interview.
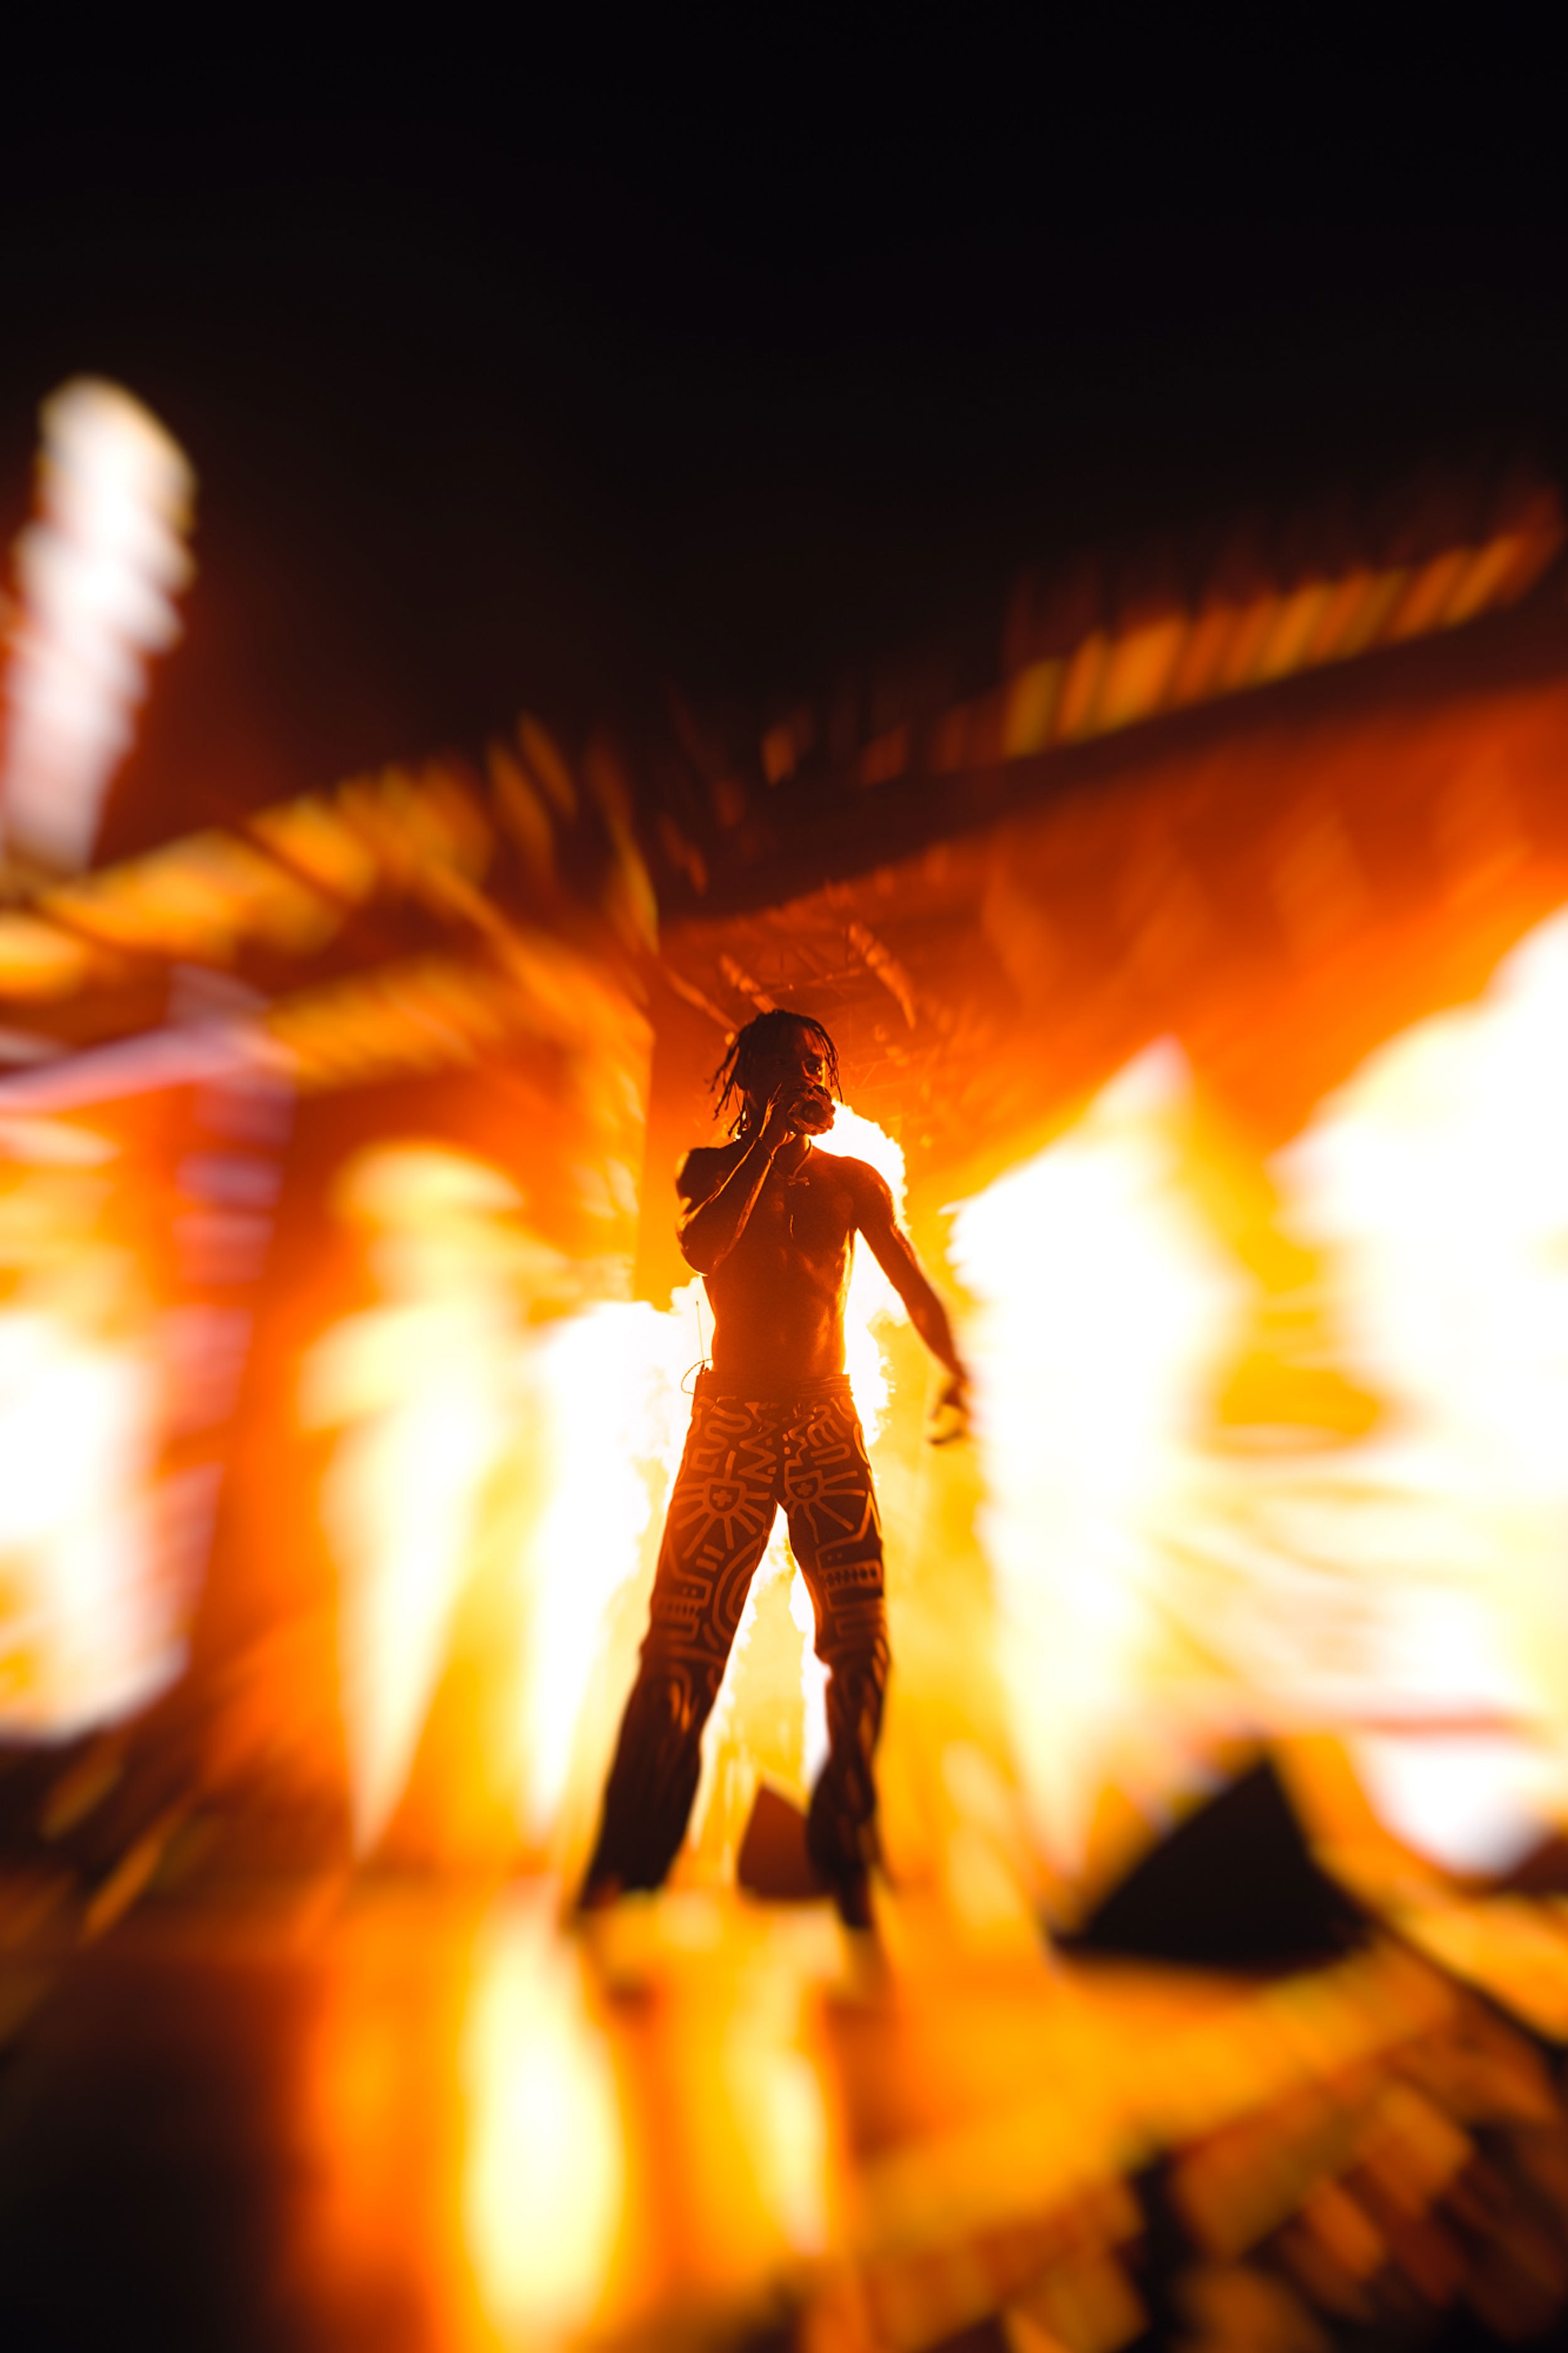
Marcus McDonald
Experimental artist and music photographer Marcus McDonald has taken portraits of musicians including Travis Scott, Kid Cudi and Swae Lee. We hear from Marcus about his camera gear, style of photography and navigating the industry as an artist, as well as his advice for anyone looking to get started in music photography.
Read our Marcus McDonald interview.
Thank you for reading the MPB Guide to Concert and Live Music Photography, our comprehensive look at how to get started in concert photography, camera recommendations, advice, and interviews with experts.
You can sell or trade your camera gear to MPB. Get a free instant quote, free insured shipping to MPB, and get paid within days.