Learn: Top 5 Tips for Pancake Photography
Published March 12, 2025 by MPB
Breakfast is the most important meal of the day, and who doesn't love a big stack of pancakes? If you have a weekend of photography planned, then photographing your breakfast is a great way to start. But what's the best way to photograph pancakes? This article serves up five ways to improve your pancake photography. With a little cleverness using your surroundings, you should be able to grab some tasty pancake photography.
Our pancake photography advice includes:
Shoot with a full-frame camera
Use 50mm and 100mm prime lenses
Bounce your flash
Spend extra time on your composition
Shoot in RAW and edit your photos
1. Shoot with a full-frame camera
We opted for two full-frame bodies from Canon and Nikon. The high resolution gives us more options in the post for cropping and reframing. You could opt for an APS-C or Micro Four Thirds camera, but we prefer a full-frame camera for a decent spread of color.
Between these bodies, we really couldn’t split them. The Nikon D850 wins in terms of dynamic range, giving you a ton of options in post. But the Canon EOS 5DS really gave the images a certain succulence, straight out of the camera.
If you’re in a dimly lit environment and don’t want to use flash, ISO performance will be the deciding factor.
To find out more about these cameras, check out the Nikon D850 specs and Canon EOS 5DS specs.
2. Use 50mm and 100mm prime lenses
We opted for a Canon EF50mm f/1.2 L USM and EF 100mm f/2.8 L IS USM for our Canon setup, and a 50mm f/1.4G and 105mm f/2.8G IF-ED VR Micro for our Nikon setup. Wide-angle lenses create too much distortion. You usually have enough space to move around with a 50mm, and while it still creates a bit of distortion, it’s a good compromise.
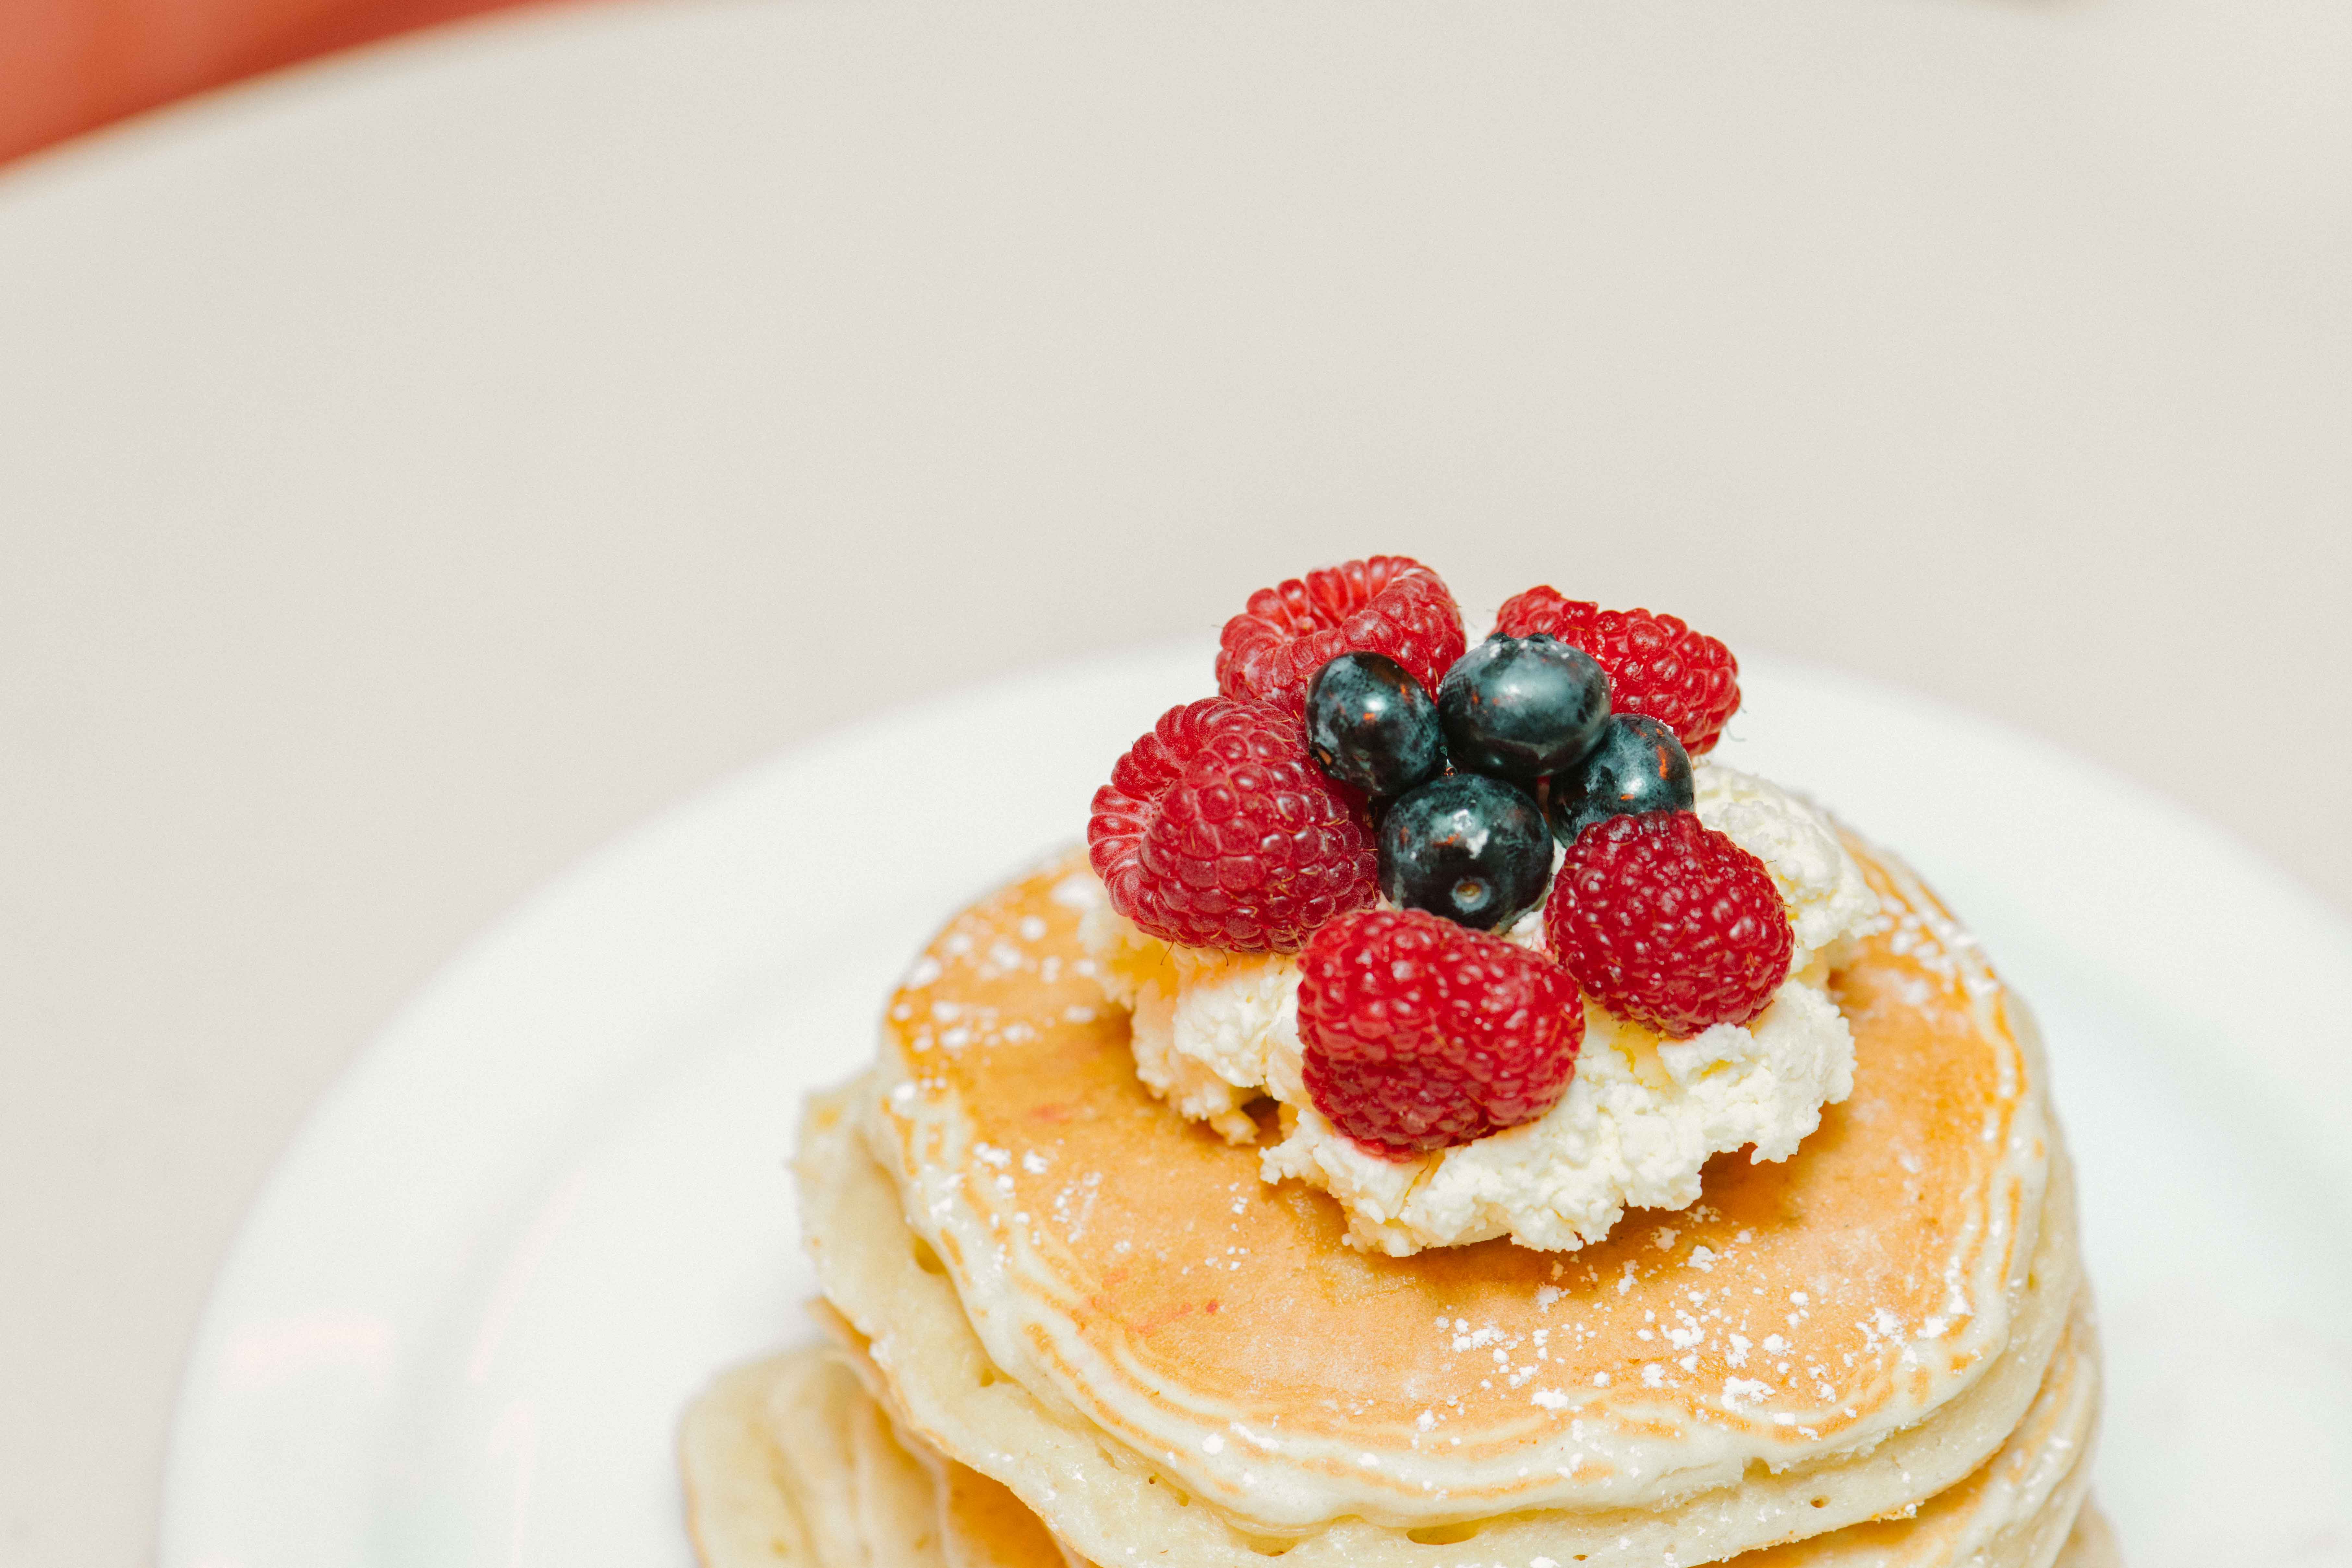
A macro lens offers a ton of flexibility without requiring you to crop to extract fine detail. Capturing things — like liquids dripping — with a macro will save you time, both during the day and in the edit. You can shoot fully open to isolate subjects or if you’re shooting somewhere where the background isn’t great.
3. Bounce your flash
How much gear do you really need? We used top-mounted flashes with a bit of bounce, both from the ceiling and from a reflector. The gear is pretty standard-issue—the Canon Canon 600EX-RT and the Nikon SB-910. It’s generally not a good idea to point the flash directly at the table. Always try to bounce light, as it creates a soft and even spread of light.
4. Spend extra time on your composition
This might seem obvious, but take time to compose your shot as well as possible. Adding a touch of complimentary color, bokeh or even just the edge of a wall or the floor will give the shot a bit of dynamism. Flatlays work well, but shots at 45 degrees replicate the angle from which you would normally eat when sitting down, so they work well too. Many pros only shoot from this angle, including the tighter macro shots.
5. Shoot in RAW and edit your photos
The key to photographing food is making it look organic, and although you might be awesome straight from the off, the likelihood is that you’ll have to do quite a bit of photo editing to make those colors pop and the oils shine. While you will be able to apply saved presets to a lot of images, most will require a little bit of brushwork to bring out the best in them. Remember to shoot in RAW to capture the most data for you to edit.
Looks good enough to eat, right?
Looking for more food photography advice? Read Bea Lubas' top tips for food photography, Donna Crous' recommended camera gear for food photography and more tips and techniques on the MPB Content Hub.
You can sell or trade your camera gear to MPB. Get a free instant quote, get free insured shipping to MPB and get paid within days.