Learn: Top 12 Tips for Astrophotography Beginners
Published July 8, 2026 by MPB
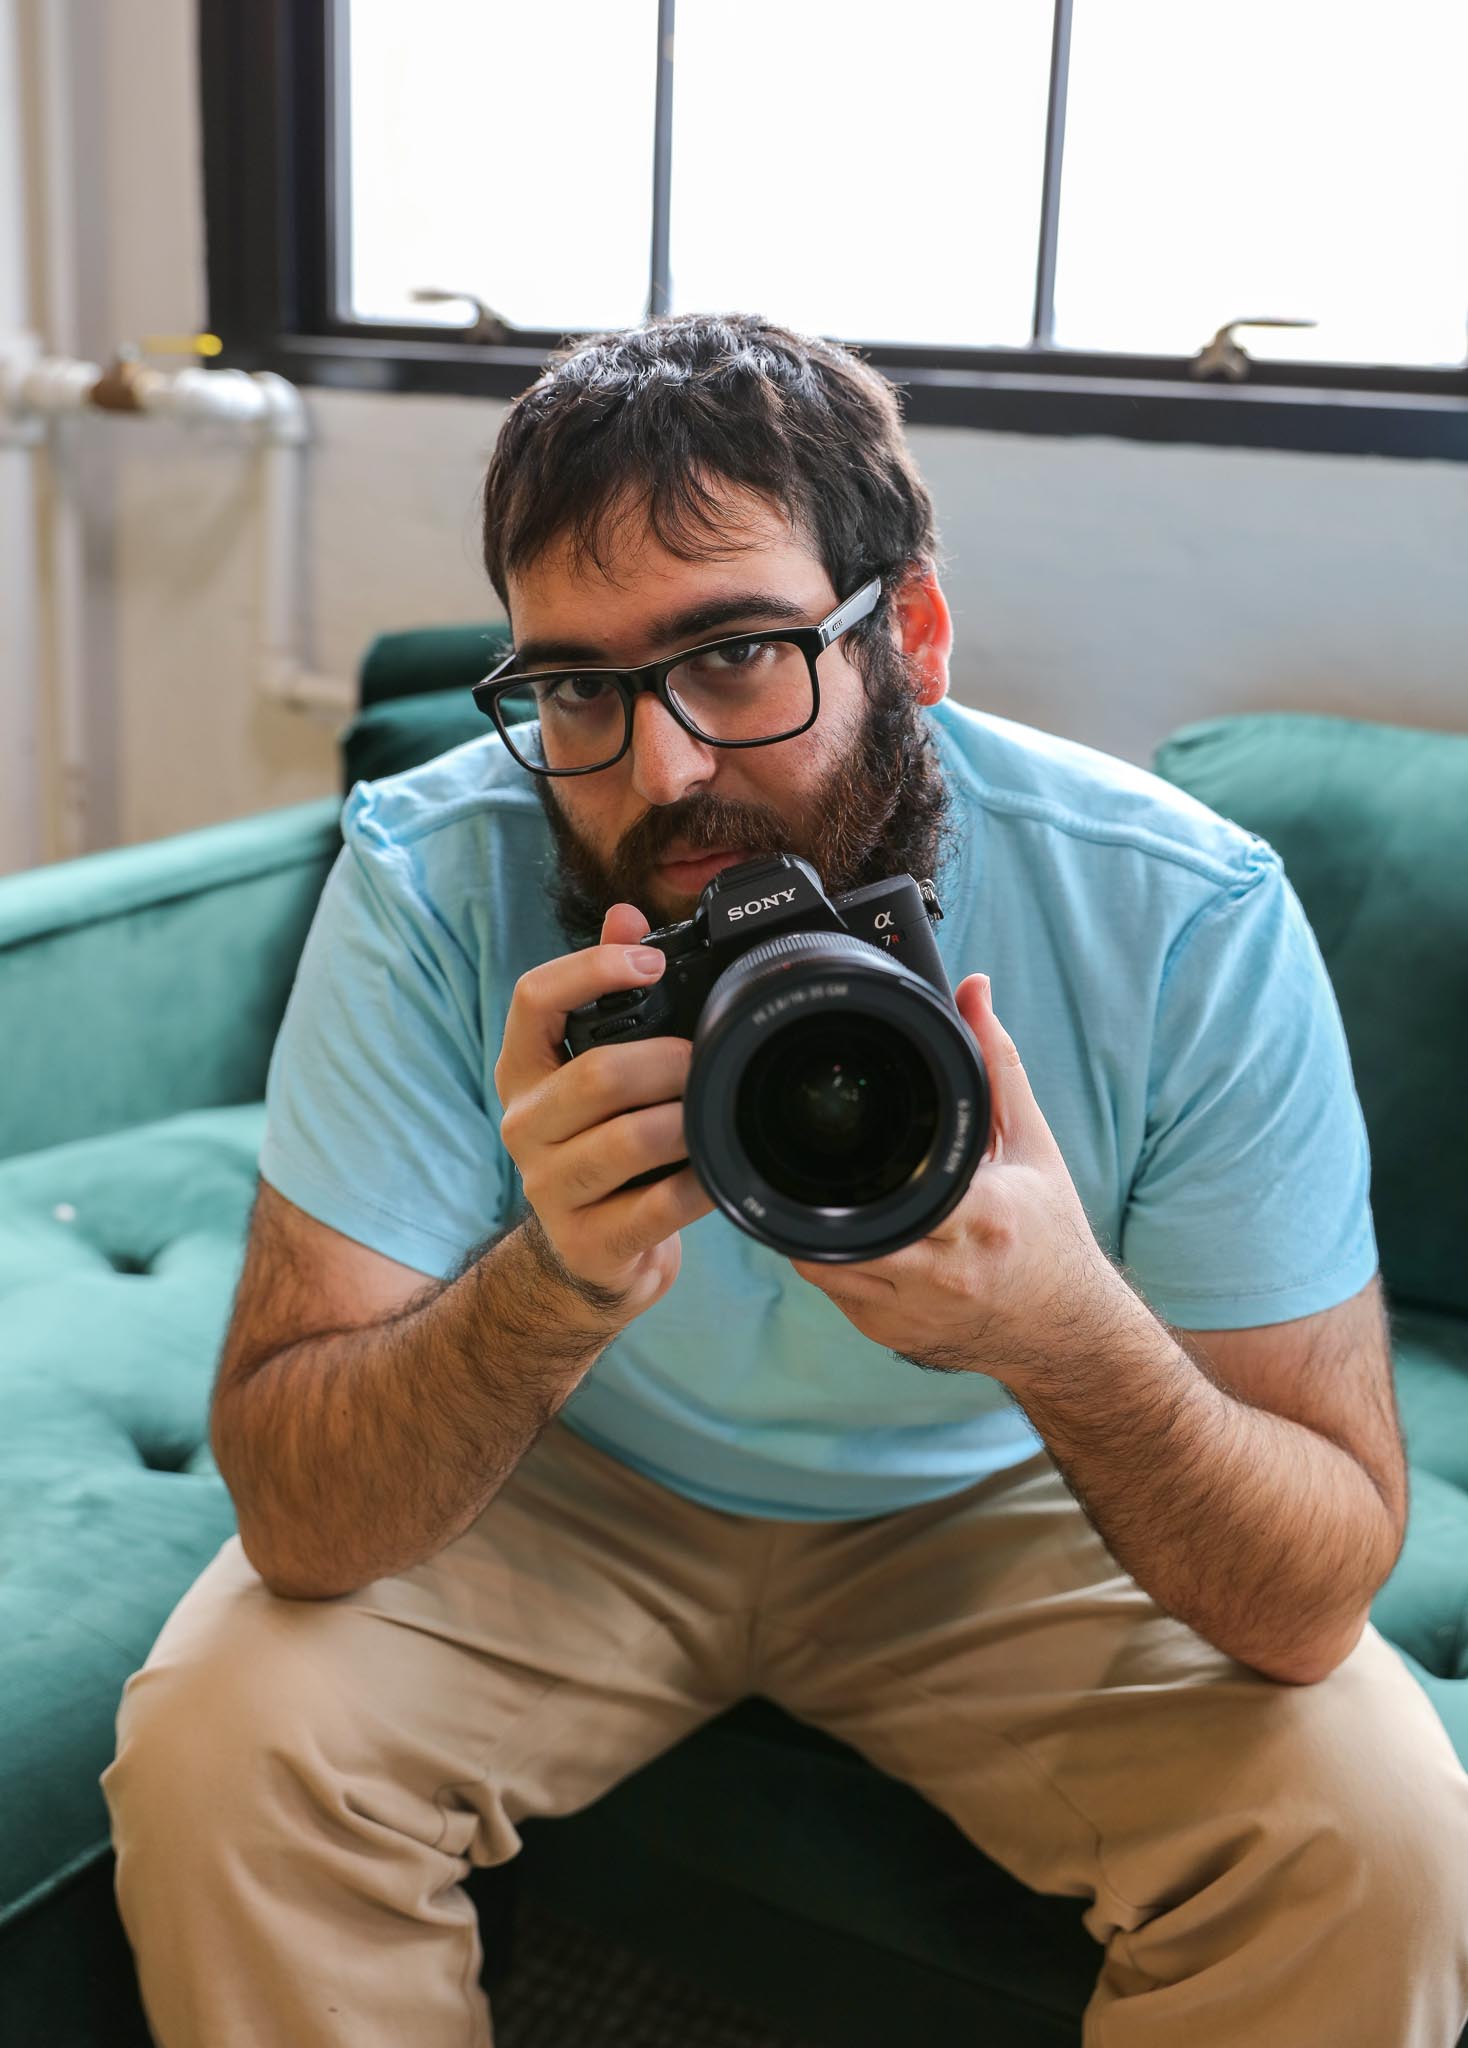
Astrophotographer Michael Pacheco headed to New Jersey for an astrophotography adventure, accompanied by a Sony A7R IV. In this article, Michael Pacheco shares his astrophotography experiences under challenging cloudy conditions and shares his astrophotography advice, tips and tricks for beginners. Are you thinking of starting your own astrophotography? Let's hear from Michael.
Canon EOS 5DS R | Canon EF 24-70mm f/2.8L II USM | 35mm | 1/40 sec | f/3.5 | ISO 160
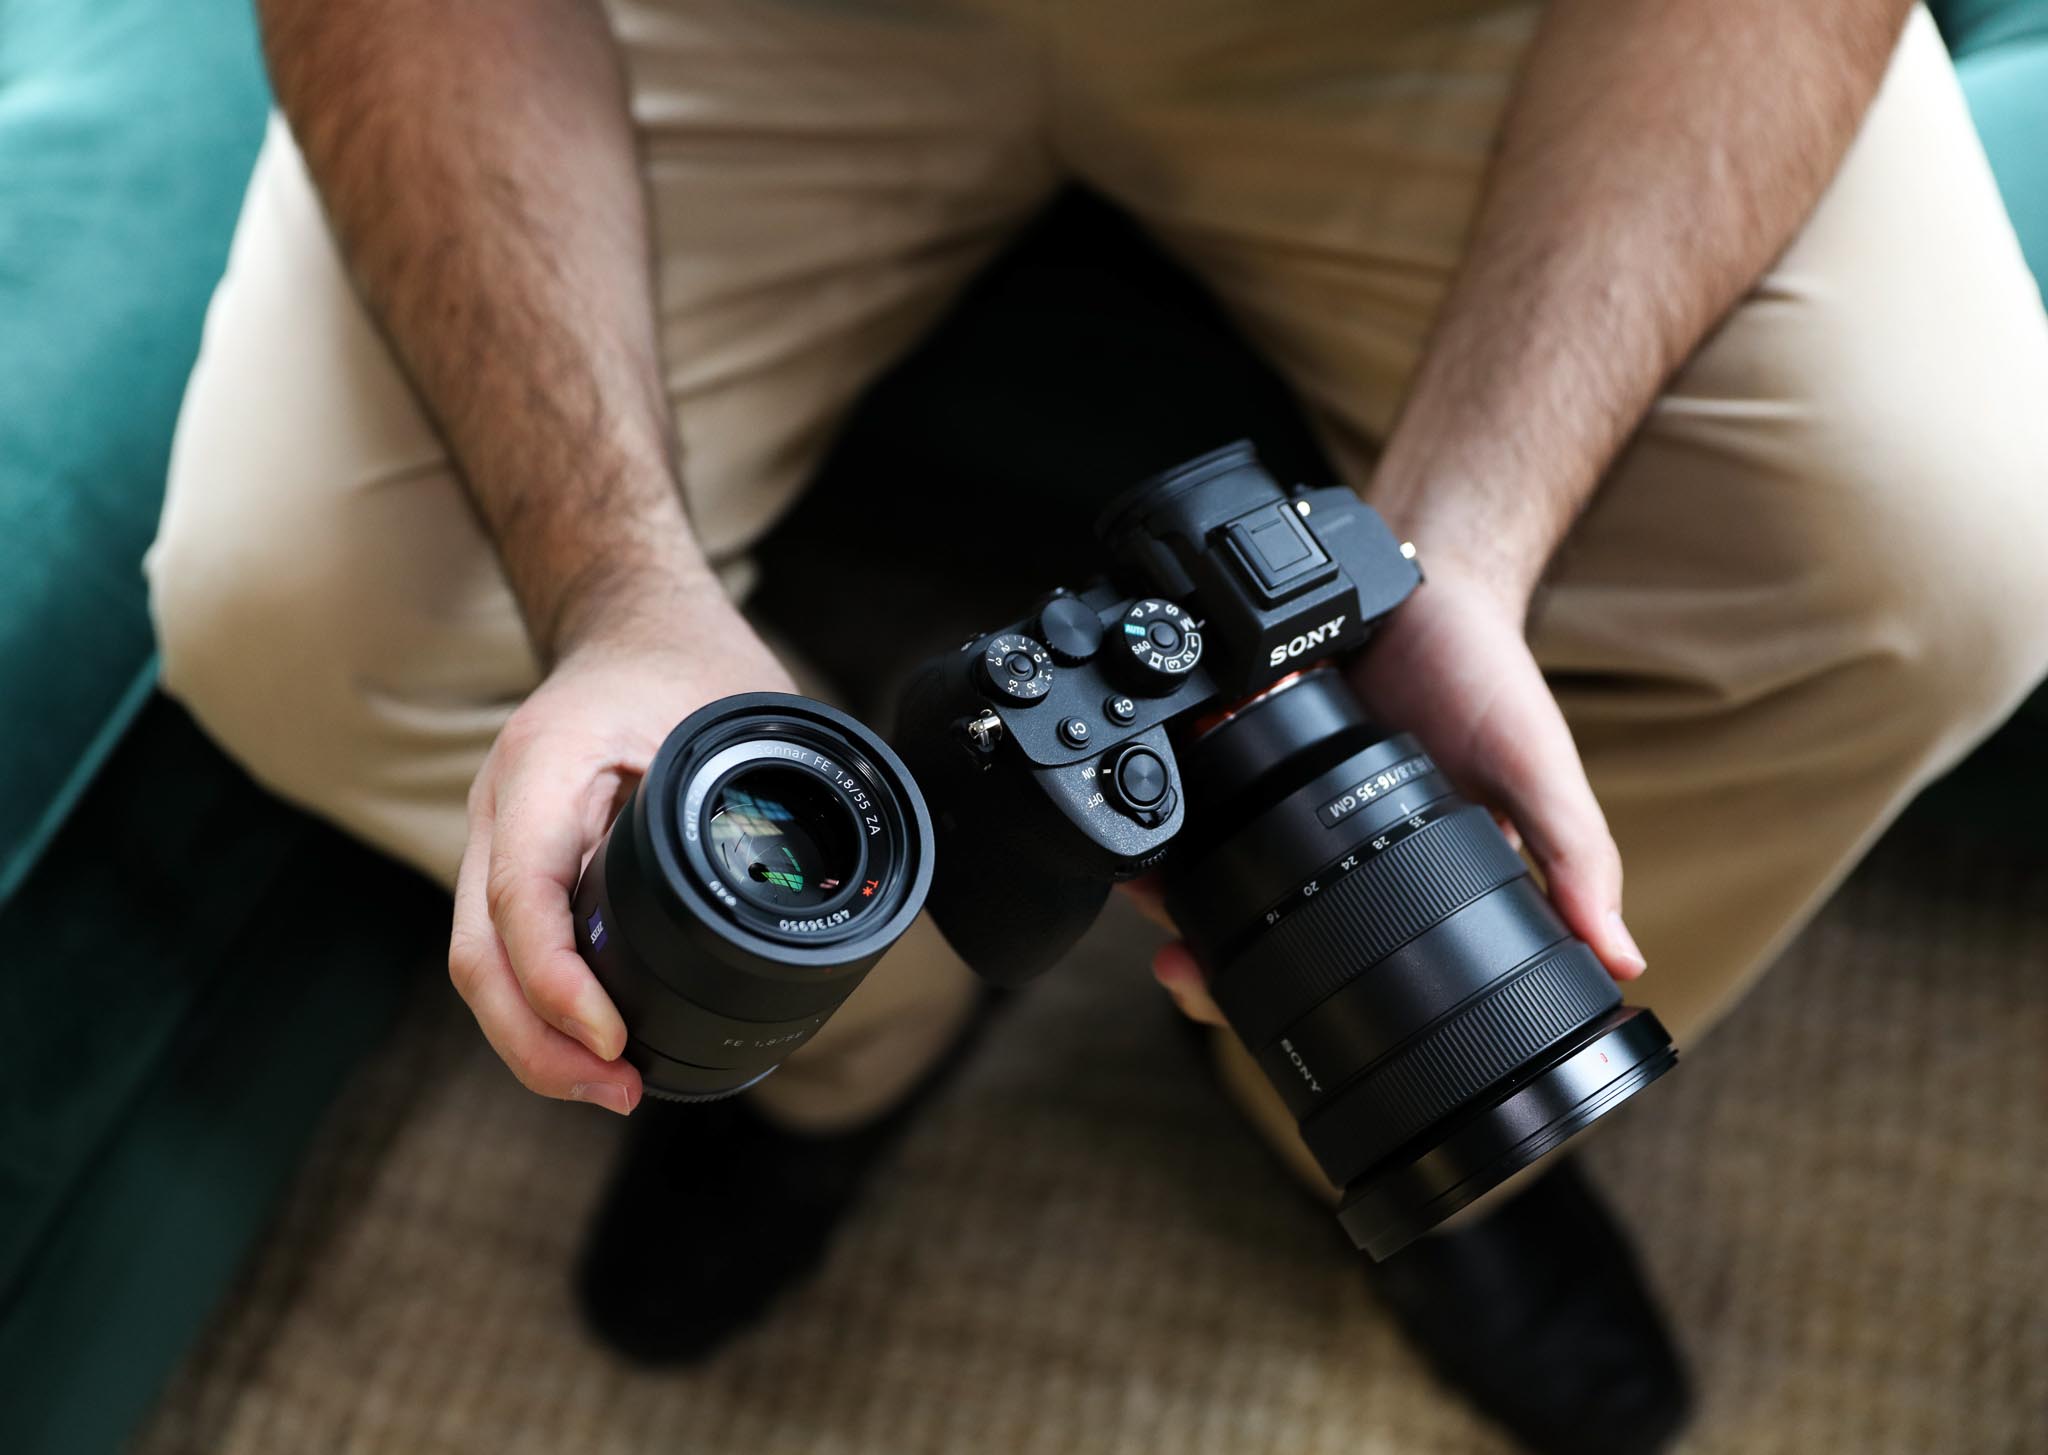
The plan for the shoot was simple. Apart from one partly cloudy night, the entire week would be clouded out. Would I be able to get interesting astrophotography photographs under poor weather? Would I be able to leverage the technology in the Sony A7R IV, FE 16-35mm f/2.8 GM and FE 55mm f/1.8 ZA Sonnar T* to help me achieve that goal? Yes, as it turns out.
Canon EOS 5DS R | Canon EF 24-70mm f/2.8L II USM | 45mm | 1/320 sec | f/2.8 | ISO 1250
I decided to go around northern New Jersey to get away from New York City's light pollution. Since the weather would be challenging, I didn’t plan to seek out any specific locations. I’d change locations as the clouds came in, and when there was nothing else to photograph at each given location, I’d move to a new one.
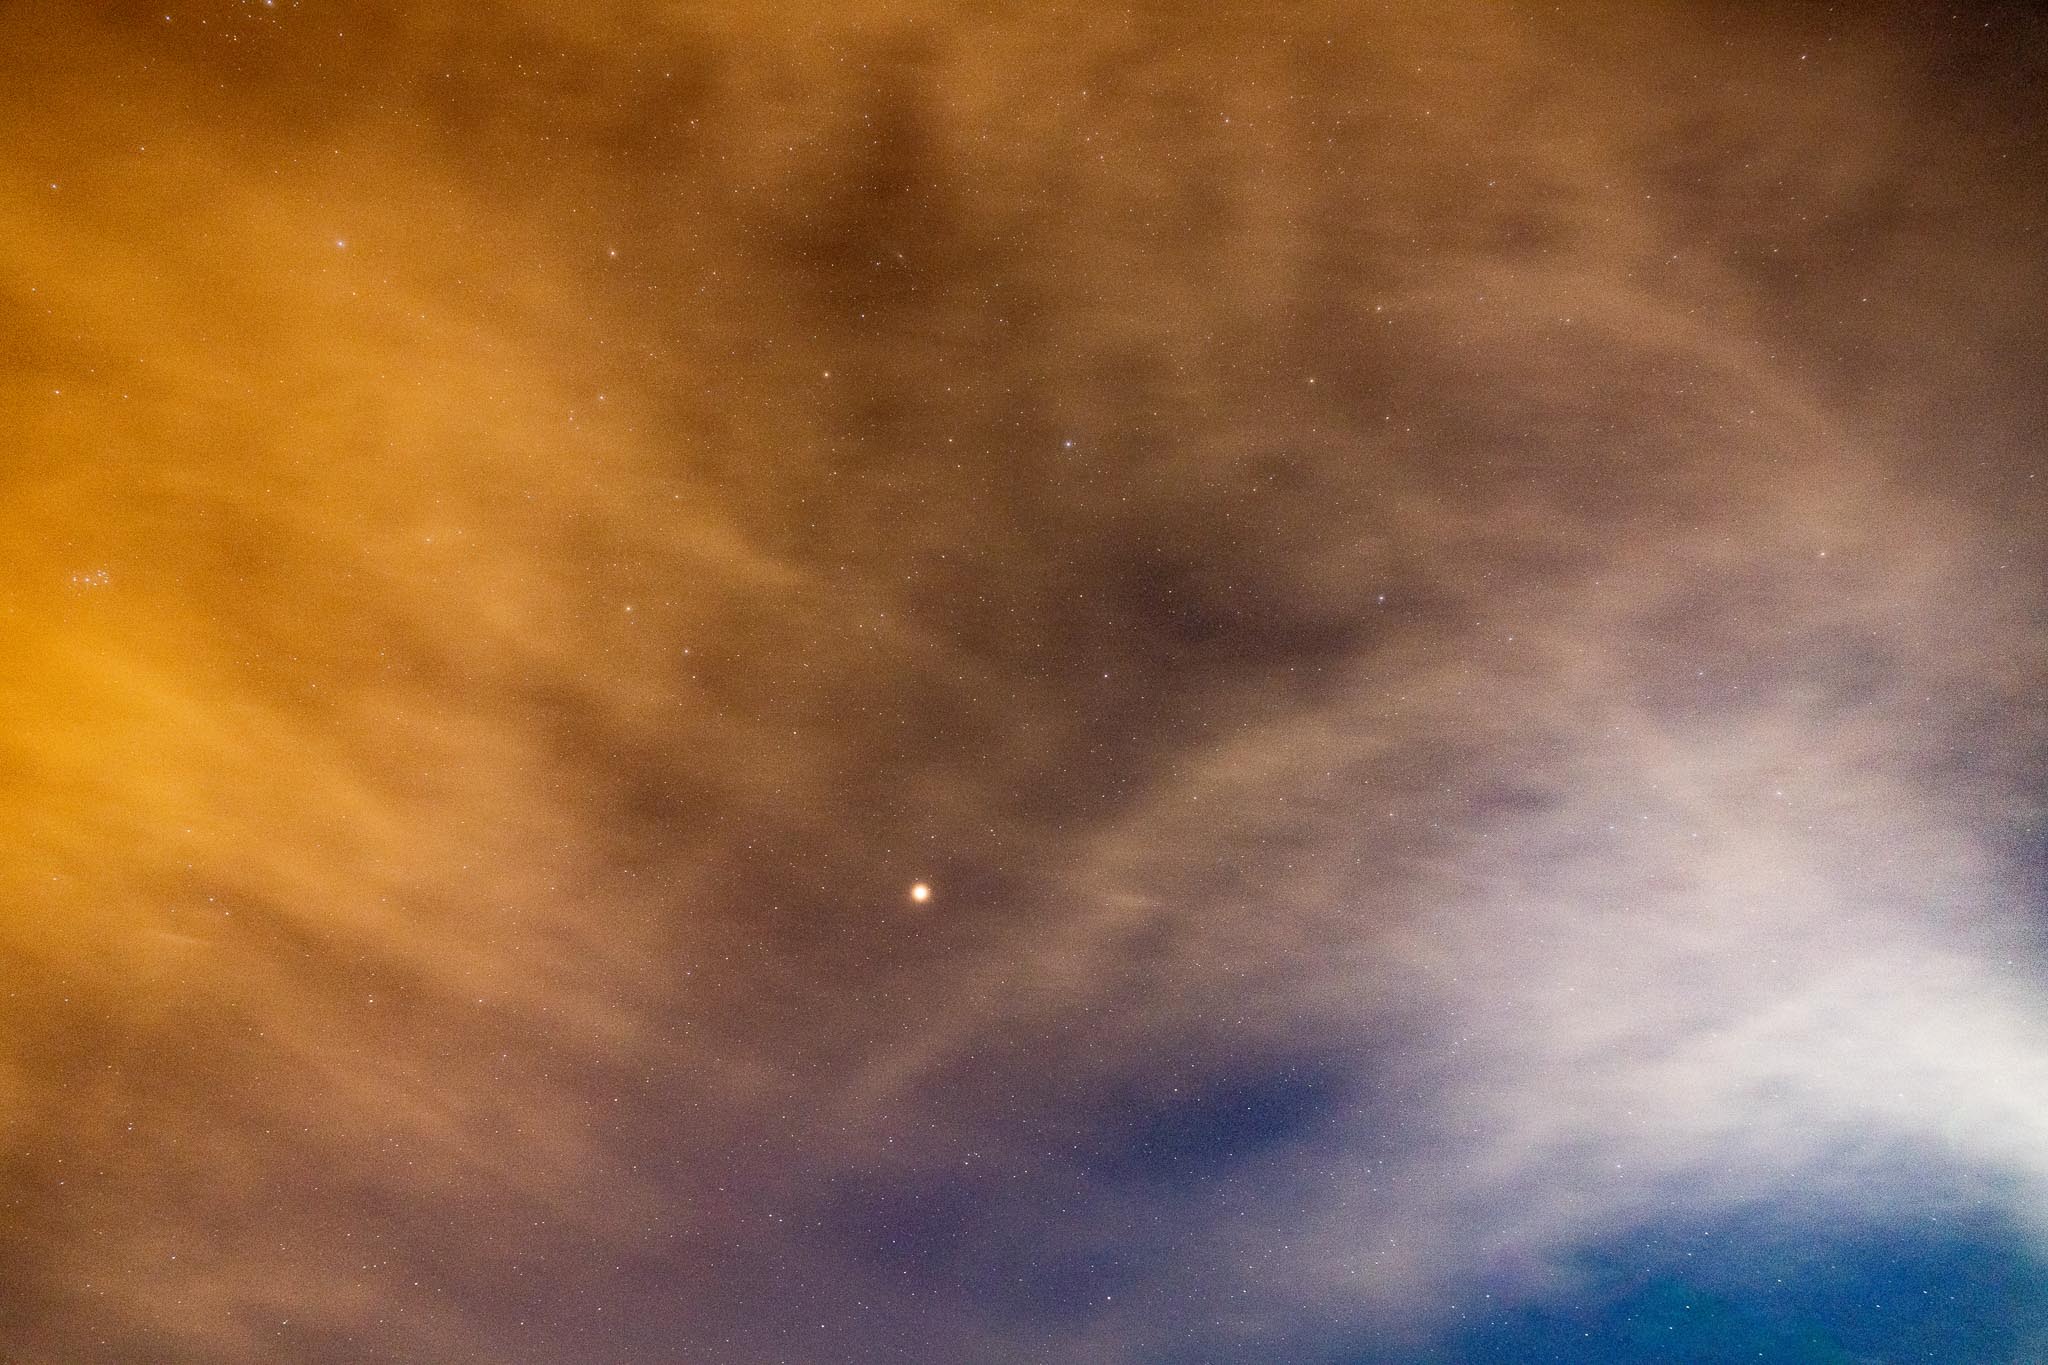
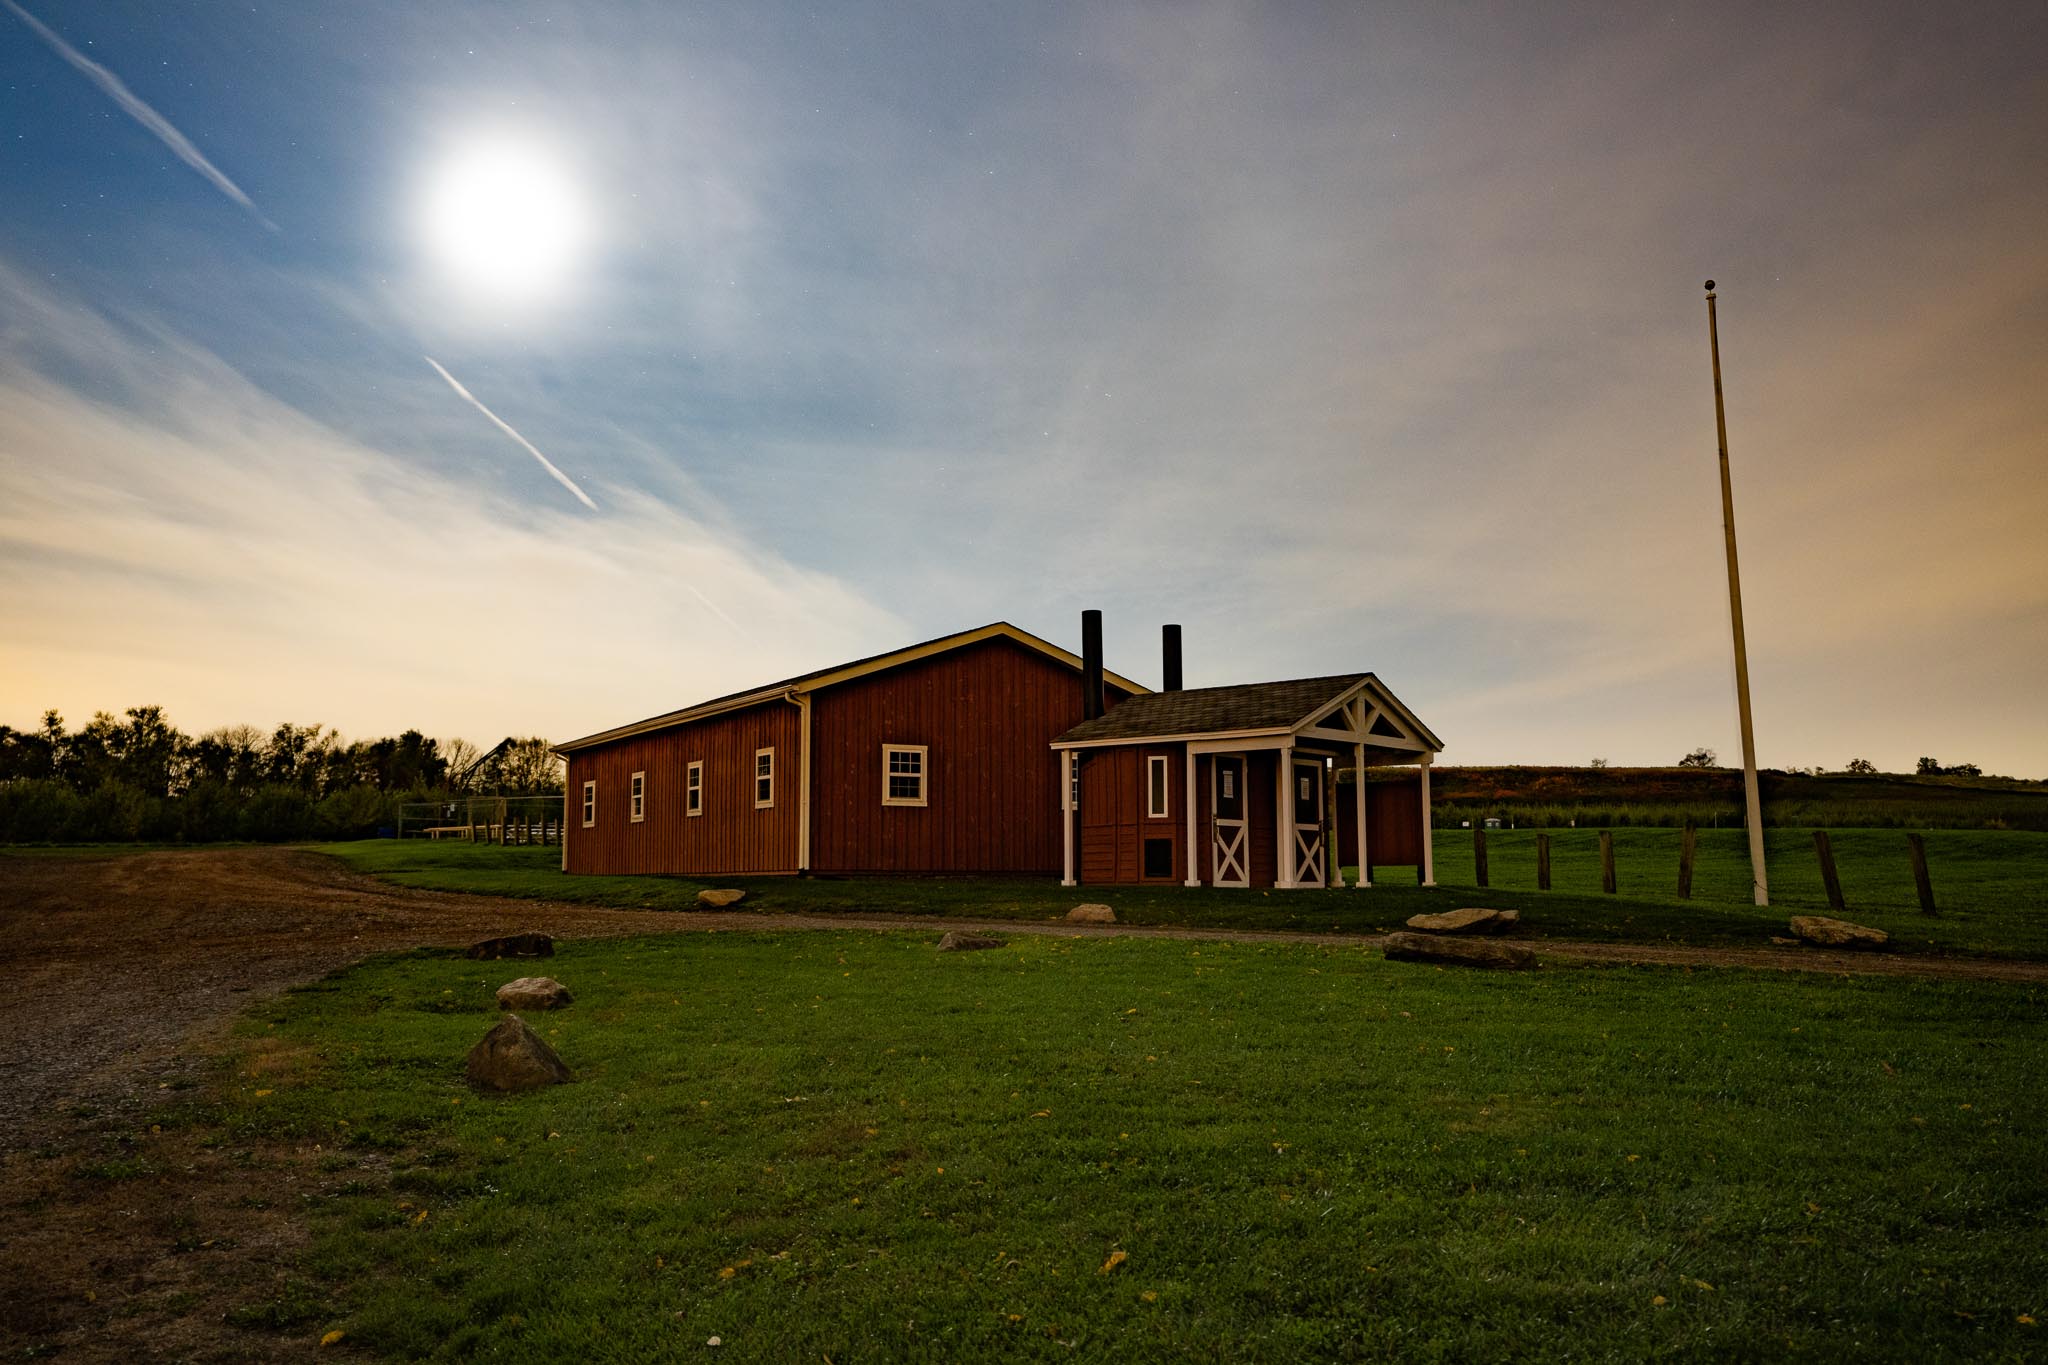
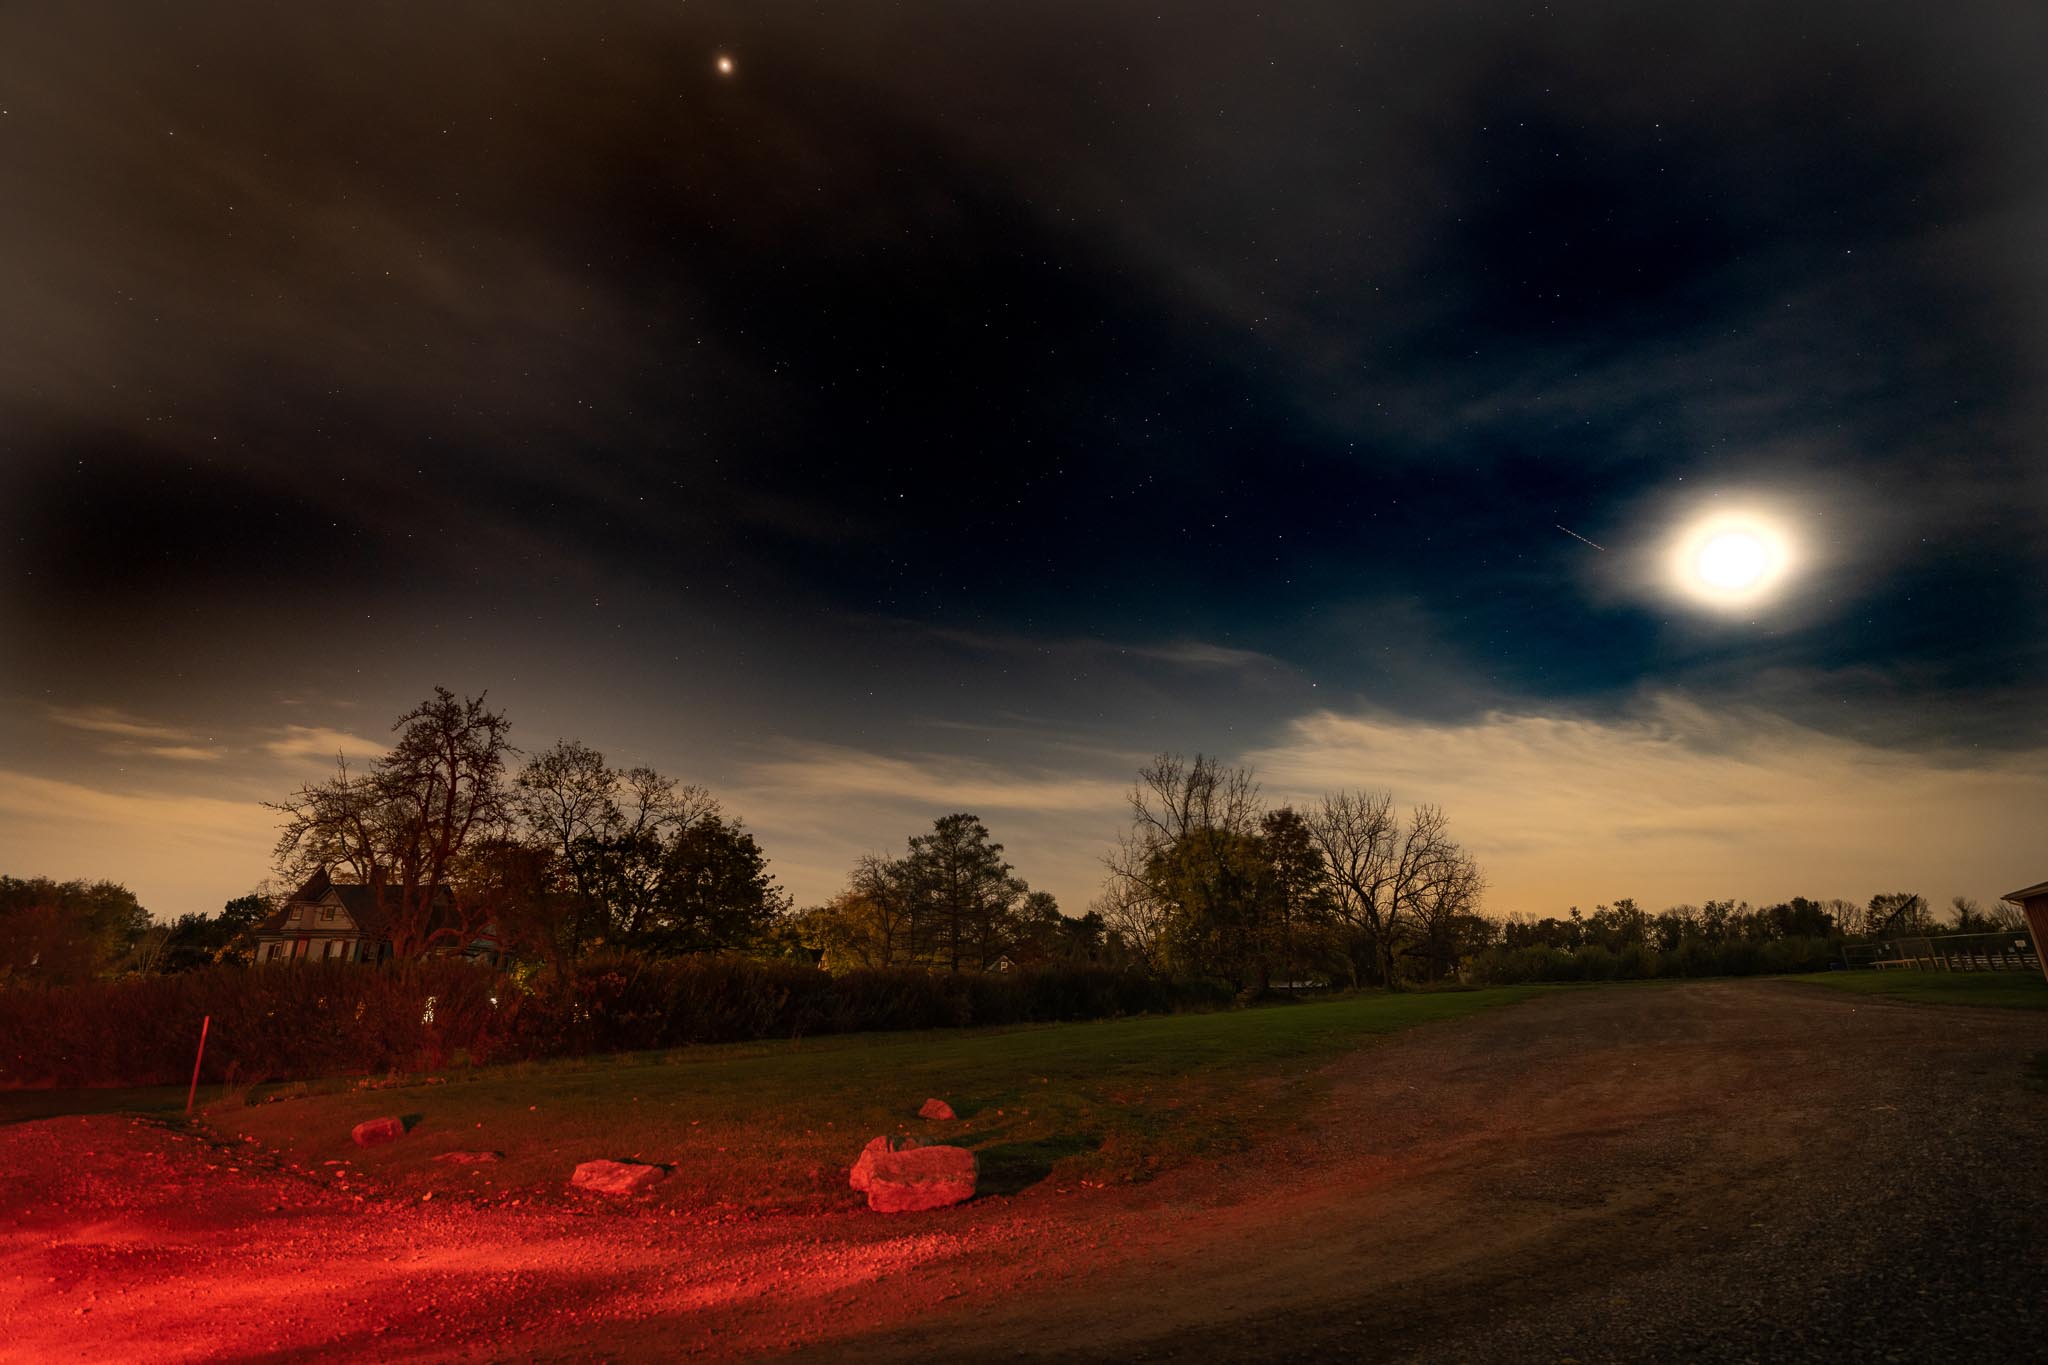
Michael Pacheco | Sony A7RIV | Sony FE 16-35mm f/2.8 GM | 16mm | 13 sec | f/2.8 | ISO 1600
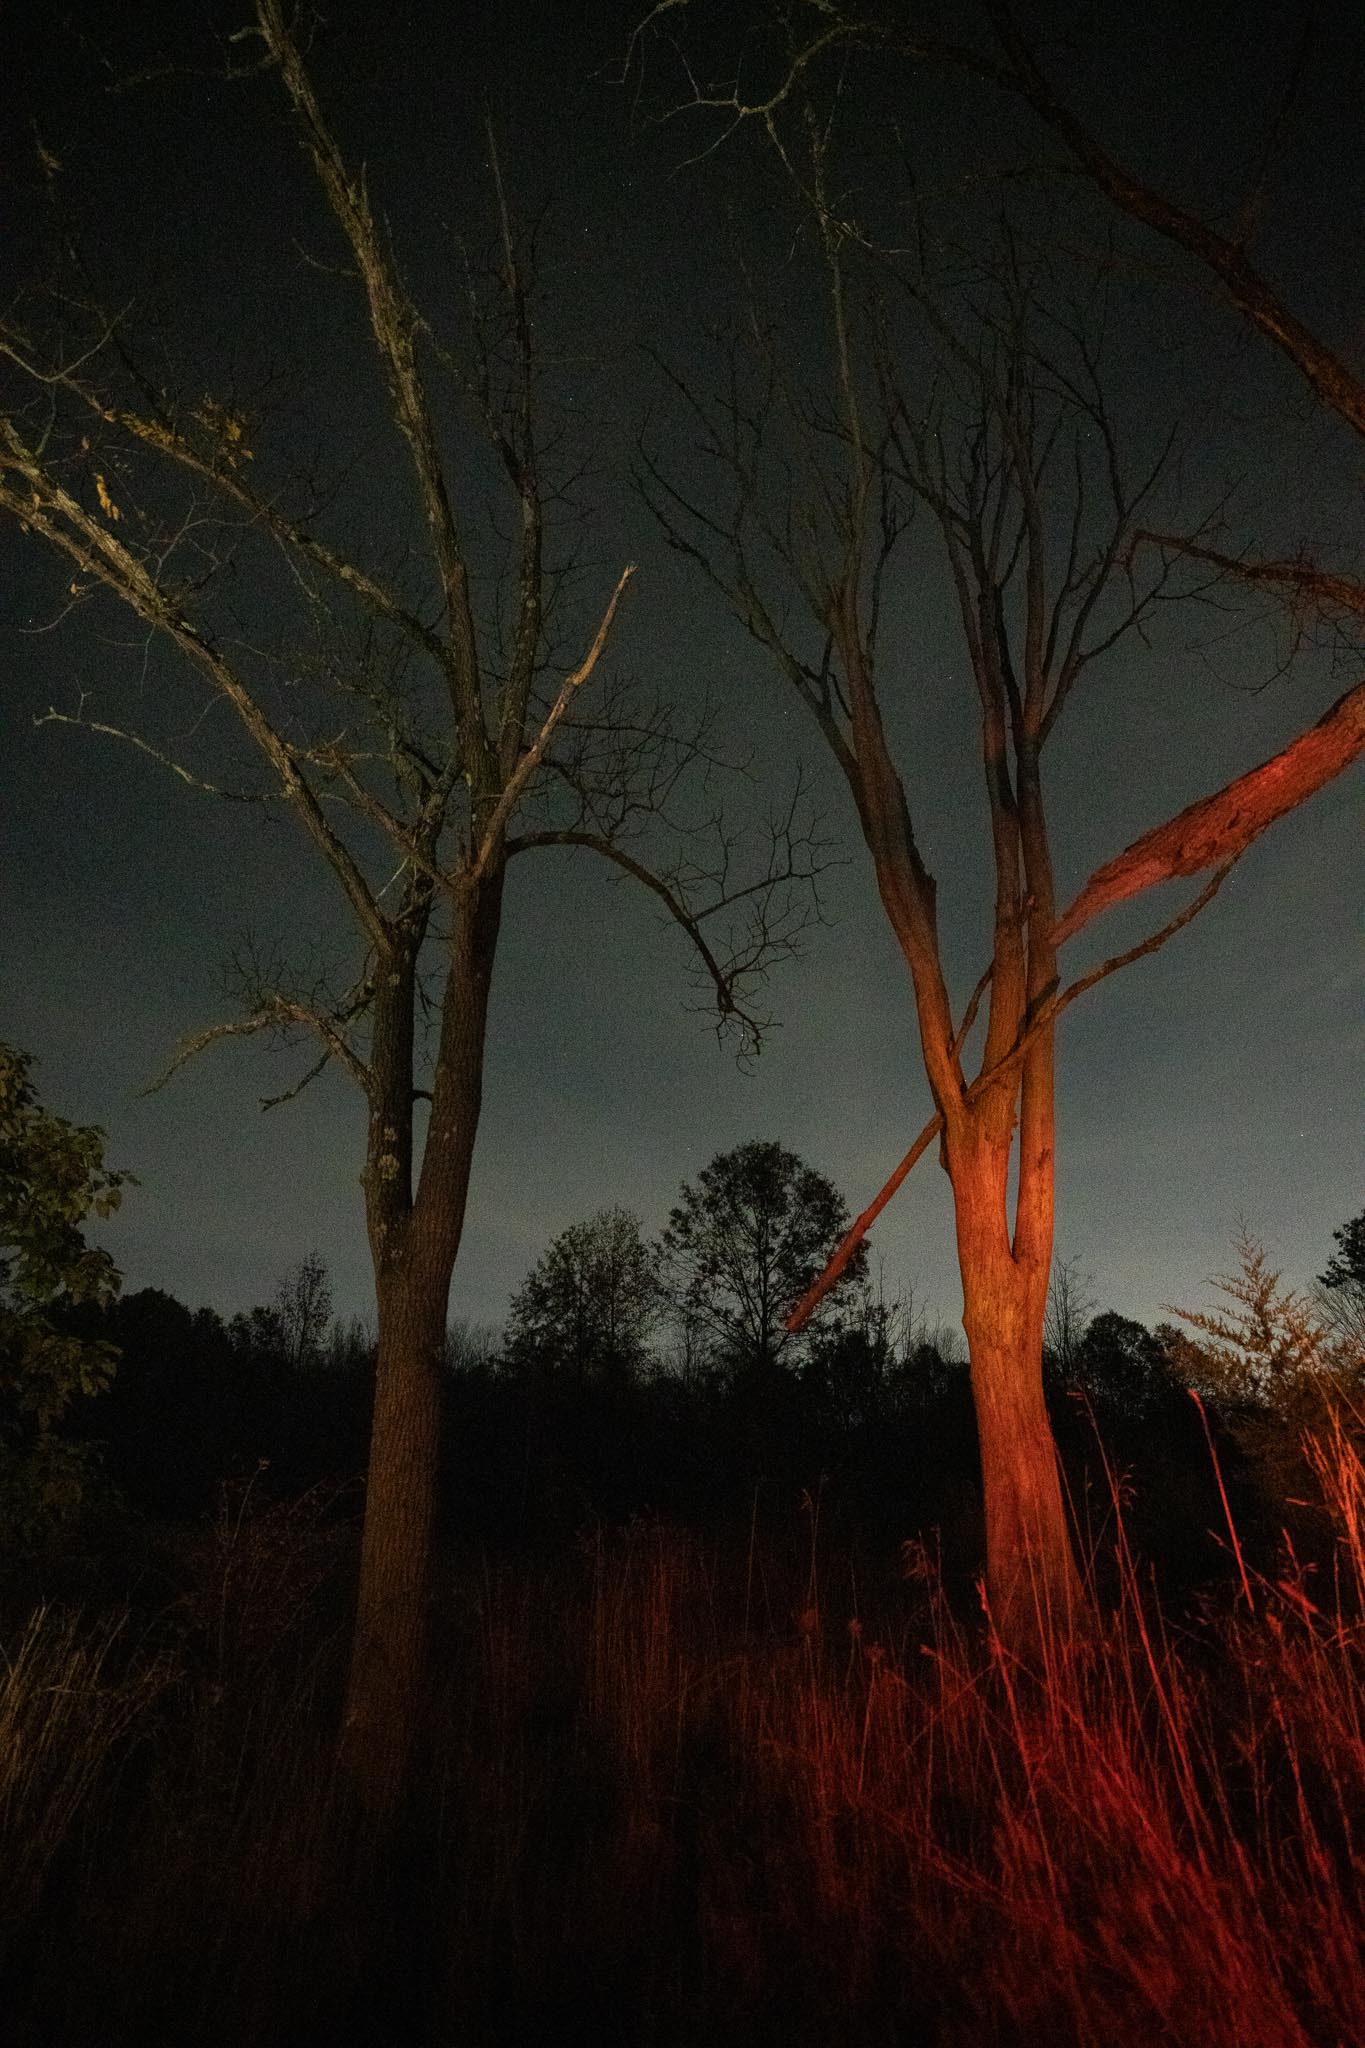
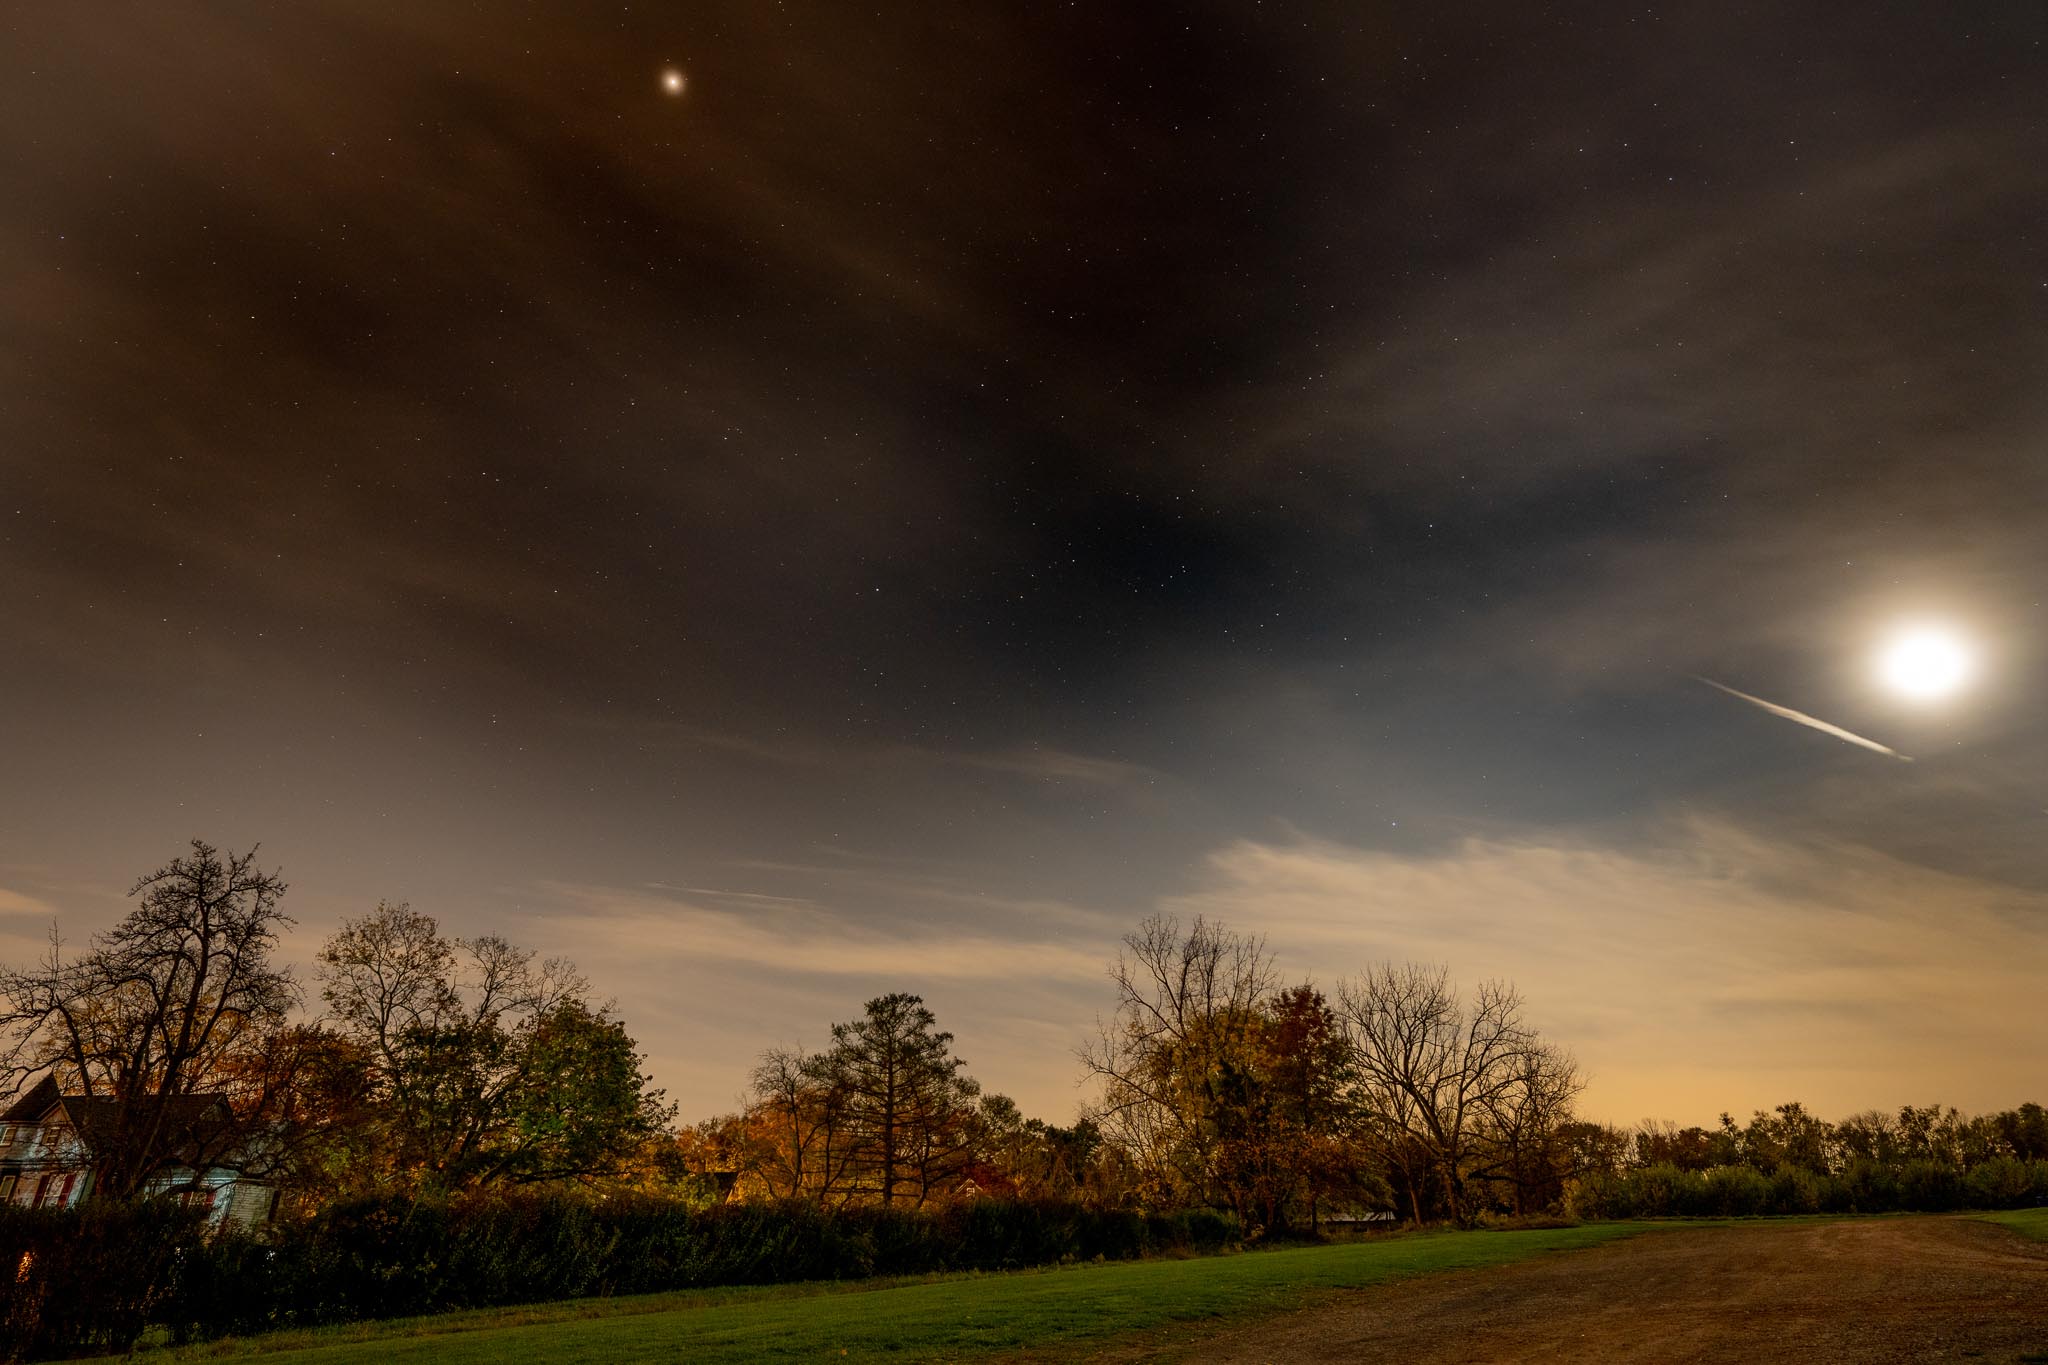
Michael Pacheco | Sony A7RIV | Sony FE 16-35mm f/2.8 GM | 31mm | 10 sec | f/2.8 | ISO 1000
After first testing the camera at Liberty State Park to catch the sunlight on the NYC skyline, I made my way deeper into New Jersey to try and find a good starting location. For the most part, everything went quite well. The camera didn’t give me any trouble. The Sony A7R IV specs were perfect for the task at hand. I made sure to use the camera’s strengths—specifically the high ISO and in-body image stabilization (IBIS).
Michael Pacheco | Sony A7RIV | Sony FE 16-35mm f/2.8 GM | 16mm | 1/10 sec | f/2.8 | ISO 32000
Of my two lenses, the 16-35mm was the natural option. It was all I needed to really bring out the best in the camera. While the 55mm was perfect for isolating subjects at a distance, the field of view was too narrow to effectively shoot my moonlight subjects. I shot between 21:00 and 23:00 at three different locations, constantly fighting the haze in the sky. By the end of the night, I felt that I had some keepers and headed home, ready to process my photos.
Michael Pacheco | Sony A7RIV | Sony FE 16-35mm f/2.8 GM | 16mm | 1/10 sec | f/2.8 | ISO 32000
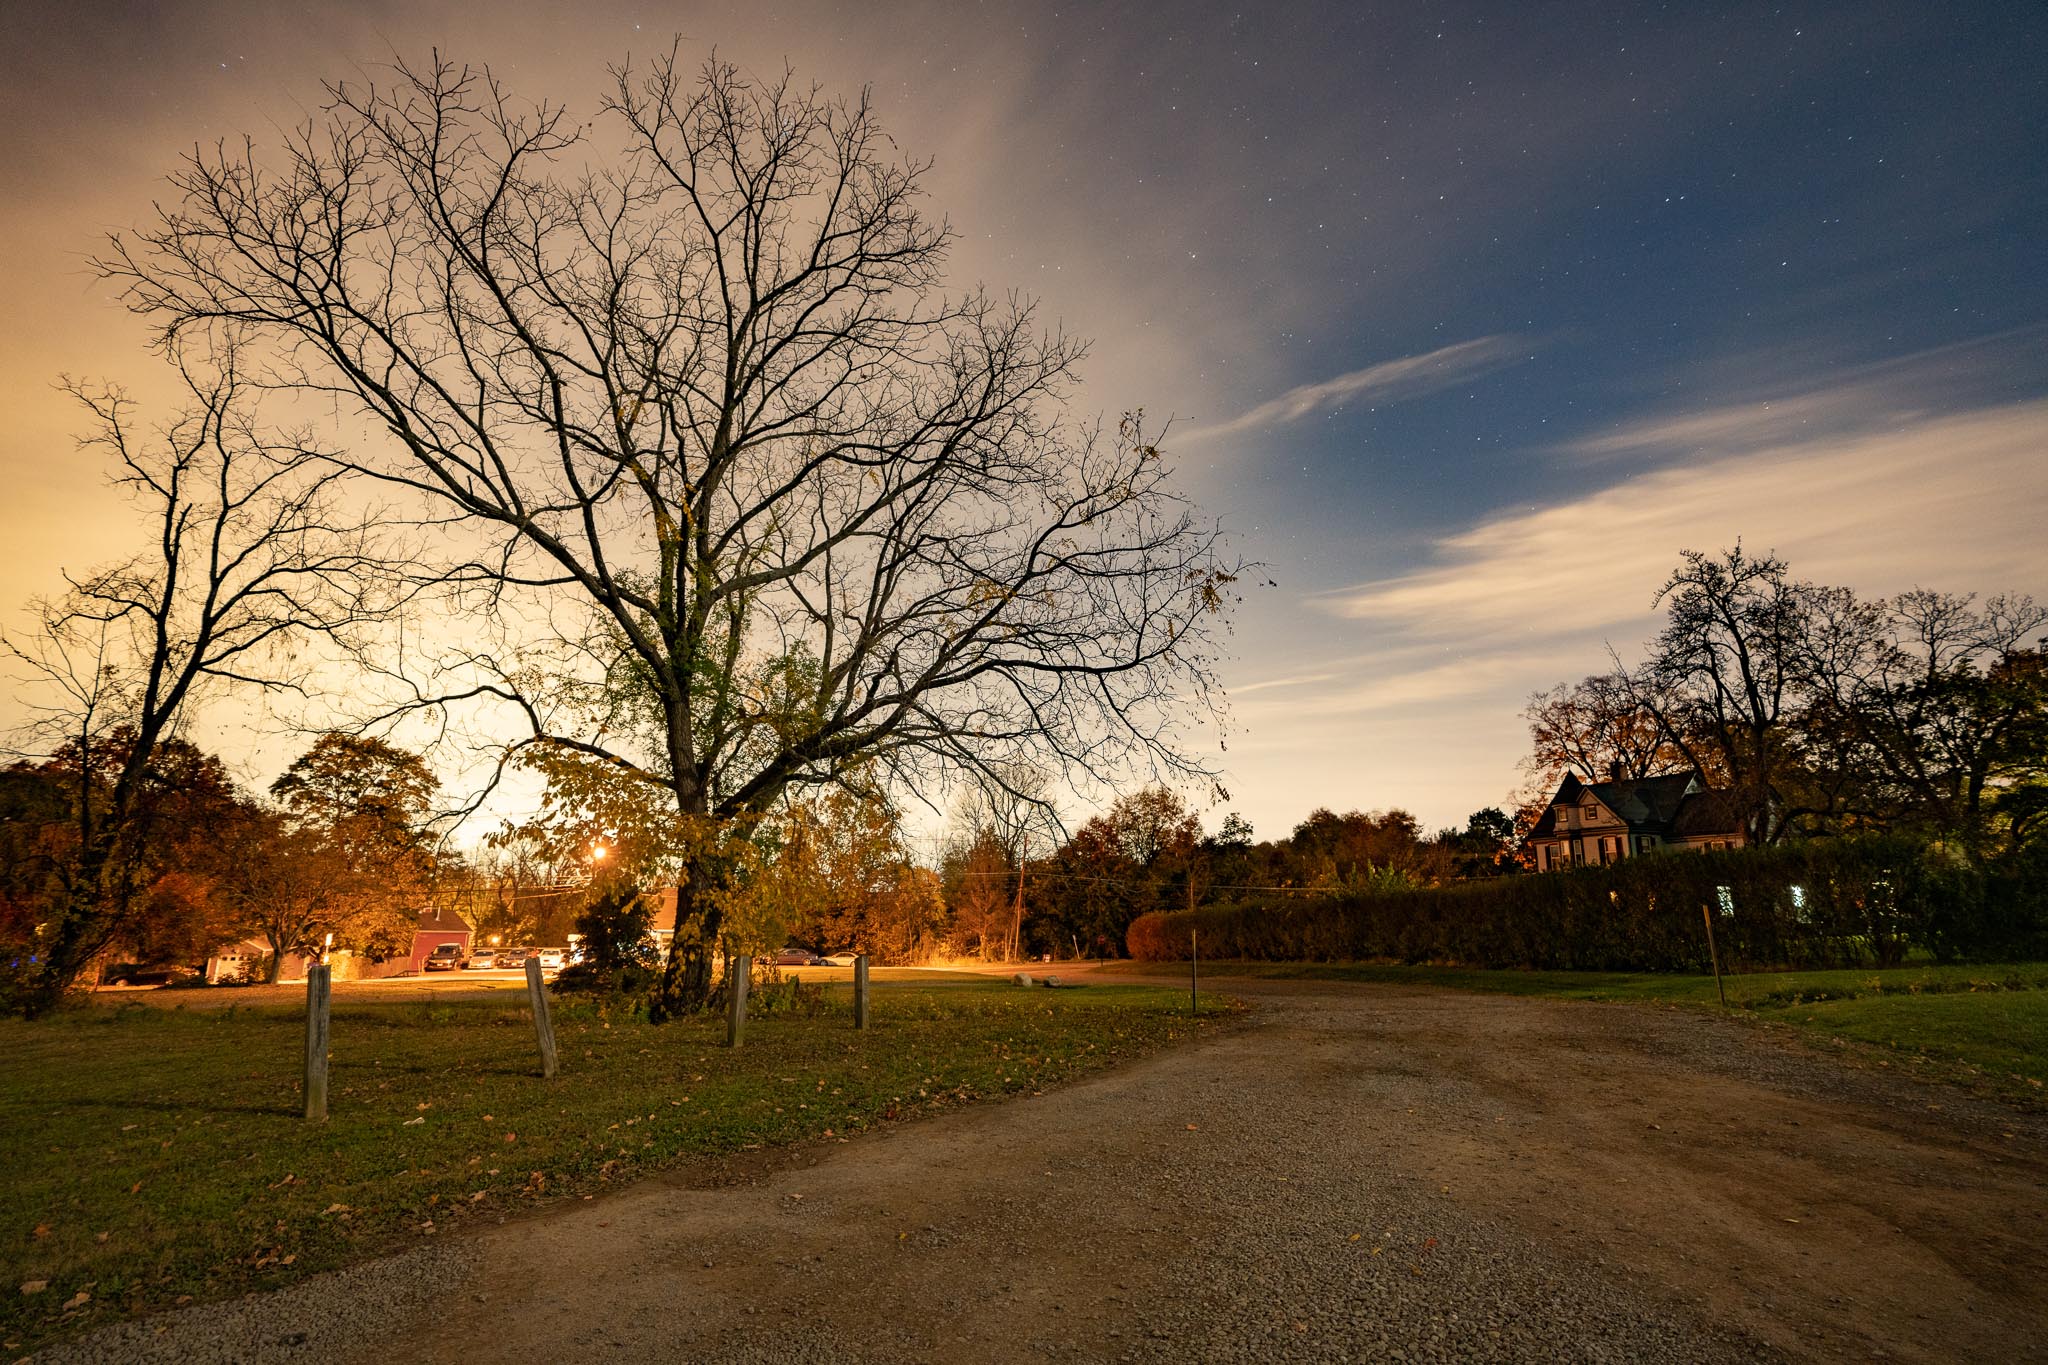
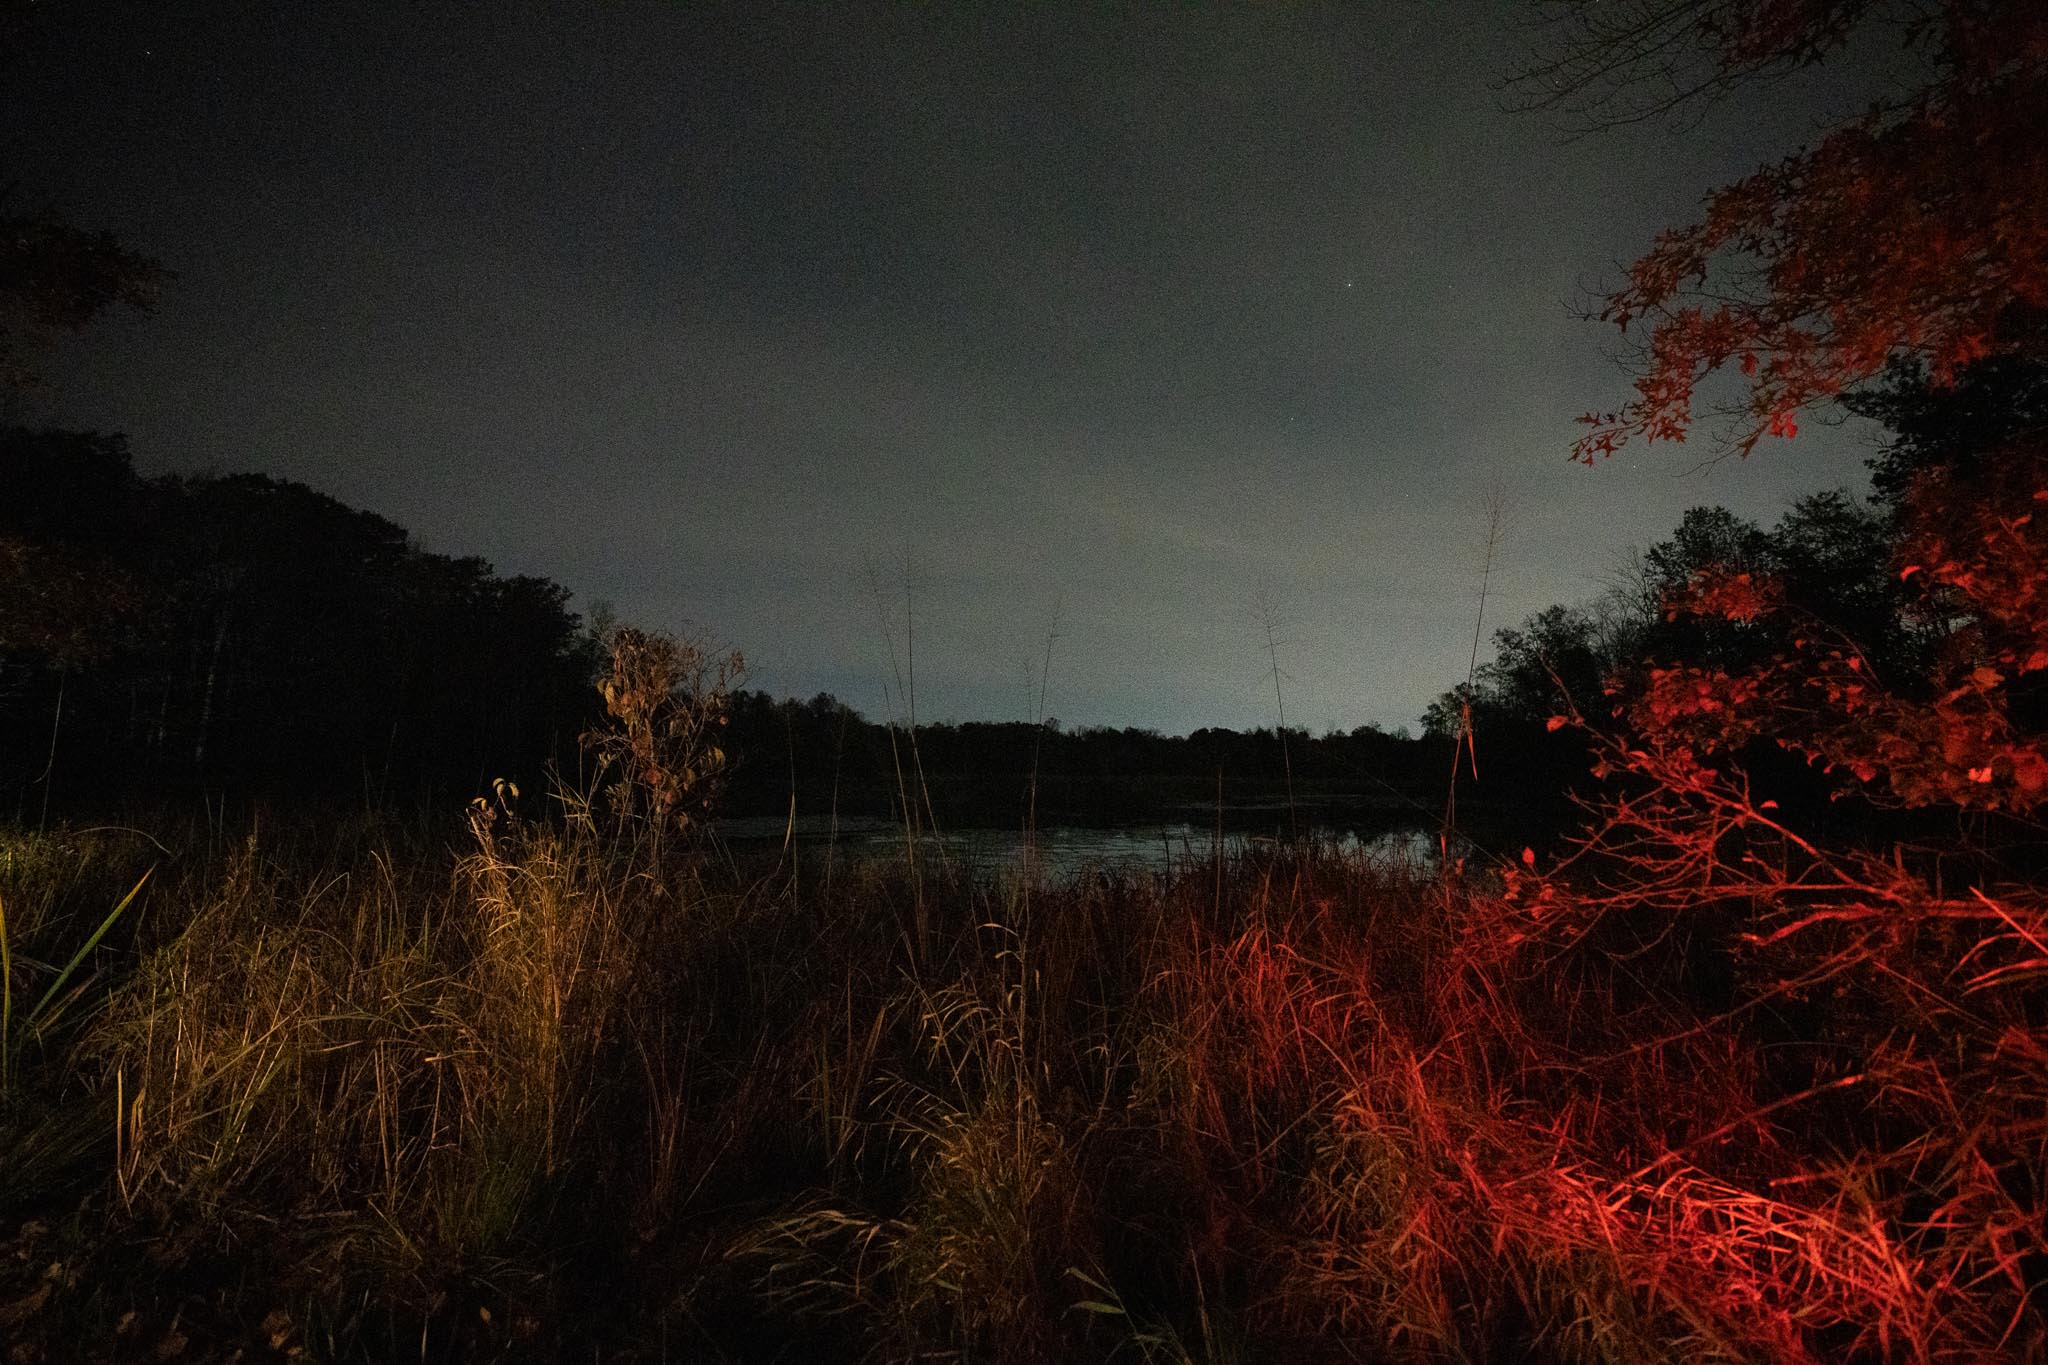
Michael Pacheco | Sony A7RIV | Sony FE 16-35mm f/2.8 GM | 16mm | 10 sec | f/2.8 | ISO 1000
Michael's 12 tips for astrophotography beginners
1. Don’t go alone
When working at night in remote areas, it’s always easier and safer with at least one other person with you.
2. Stay lightweight
Pack light—but with purpose—for yourself and your gear. I always have a phone charger, headlamp, jacket, gloves, multi-tool, and a red flashlight to help with keeping my eyes adjusted to the darkness. For my camera, I always have a backup battery, lens cloth, tripod and shutter cable release to help with the longer exposures.
3. Allow your eyes to adjust
It can take about 30 minutes for your eyes to fully adjust to the darkness. Keep this in mind if you’re trying to spot the Milky Way with the naked eye—it will look like a faint white haze across the sky.
4. Avoid the moon
To get the stars looking bright in your photos, try and go out when the moon is absent from the sky. Otherwise, it’s hard for starlight to compete with moonlight.
5. Keep your gear safe from temperature changes
Watch out for big changes in temperature. After being in the cold, bringing your gear inside a warm room can cause moisture to build up on the lenses’ back elements and the camera’s sensor.
6. Assess your location
While you think about elements you might want to have in a final photo composition, assess your location for points of interest. If there aren't any interesting physical foreground subjects, consider using light sources to fill in the foreground in a unique way.
7. Make sure you nail the focus
Pick the brightest star in the sky and focus on that. One of the most important parts of astrophotography is nailing the focus.
8. Feel free to push the ISO
If you want to make different compositions, pushing the ISO will allow you to be more flexible than focus-stacking—with the trade-off of a grainer final photo.
9. Go wide
Stick to wide lenses, between 10mm and 35mm. This will allow you to take a longer exposure before stars begin to streak in the sky due to the Earth’s rotation.
10. For more star streaks, get more megapixels
Higher-megapixel cameras can pick up star streaking more than cameras with fewer megapixels. This is due to how far one can crop in during the photo editing process.
11. You don’t need a pro-level setup
Having the best gear does not make for the best photographs. Astrophotography can be done with any level of camera gear. An affordable wide-angle lens and any camera, along with a shutter release cable, are fine.
12. Shoot in RAW and edit your photos
While I try to get everything to work in-camera and on location, post-production is a huge part of astrophotography. For a normal night when the stars are fully out, most of the adjusting I do is in Lightroom. Specifically, I work on increasing the contrast, shadows, and highlights of the stars until I feel the balance looks correct. Sometimes, when necessary, I edit individual sections of the image as well.
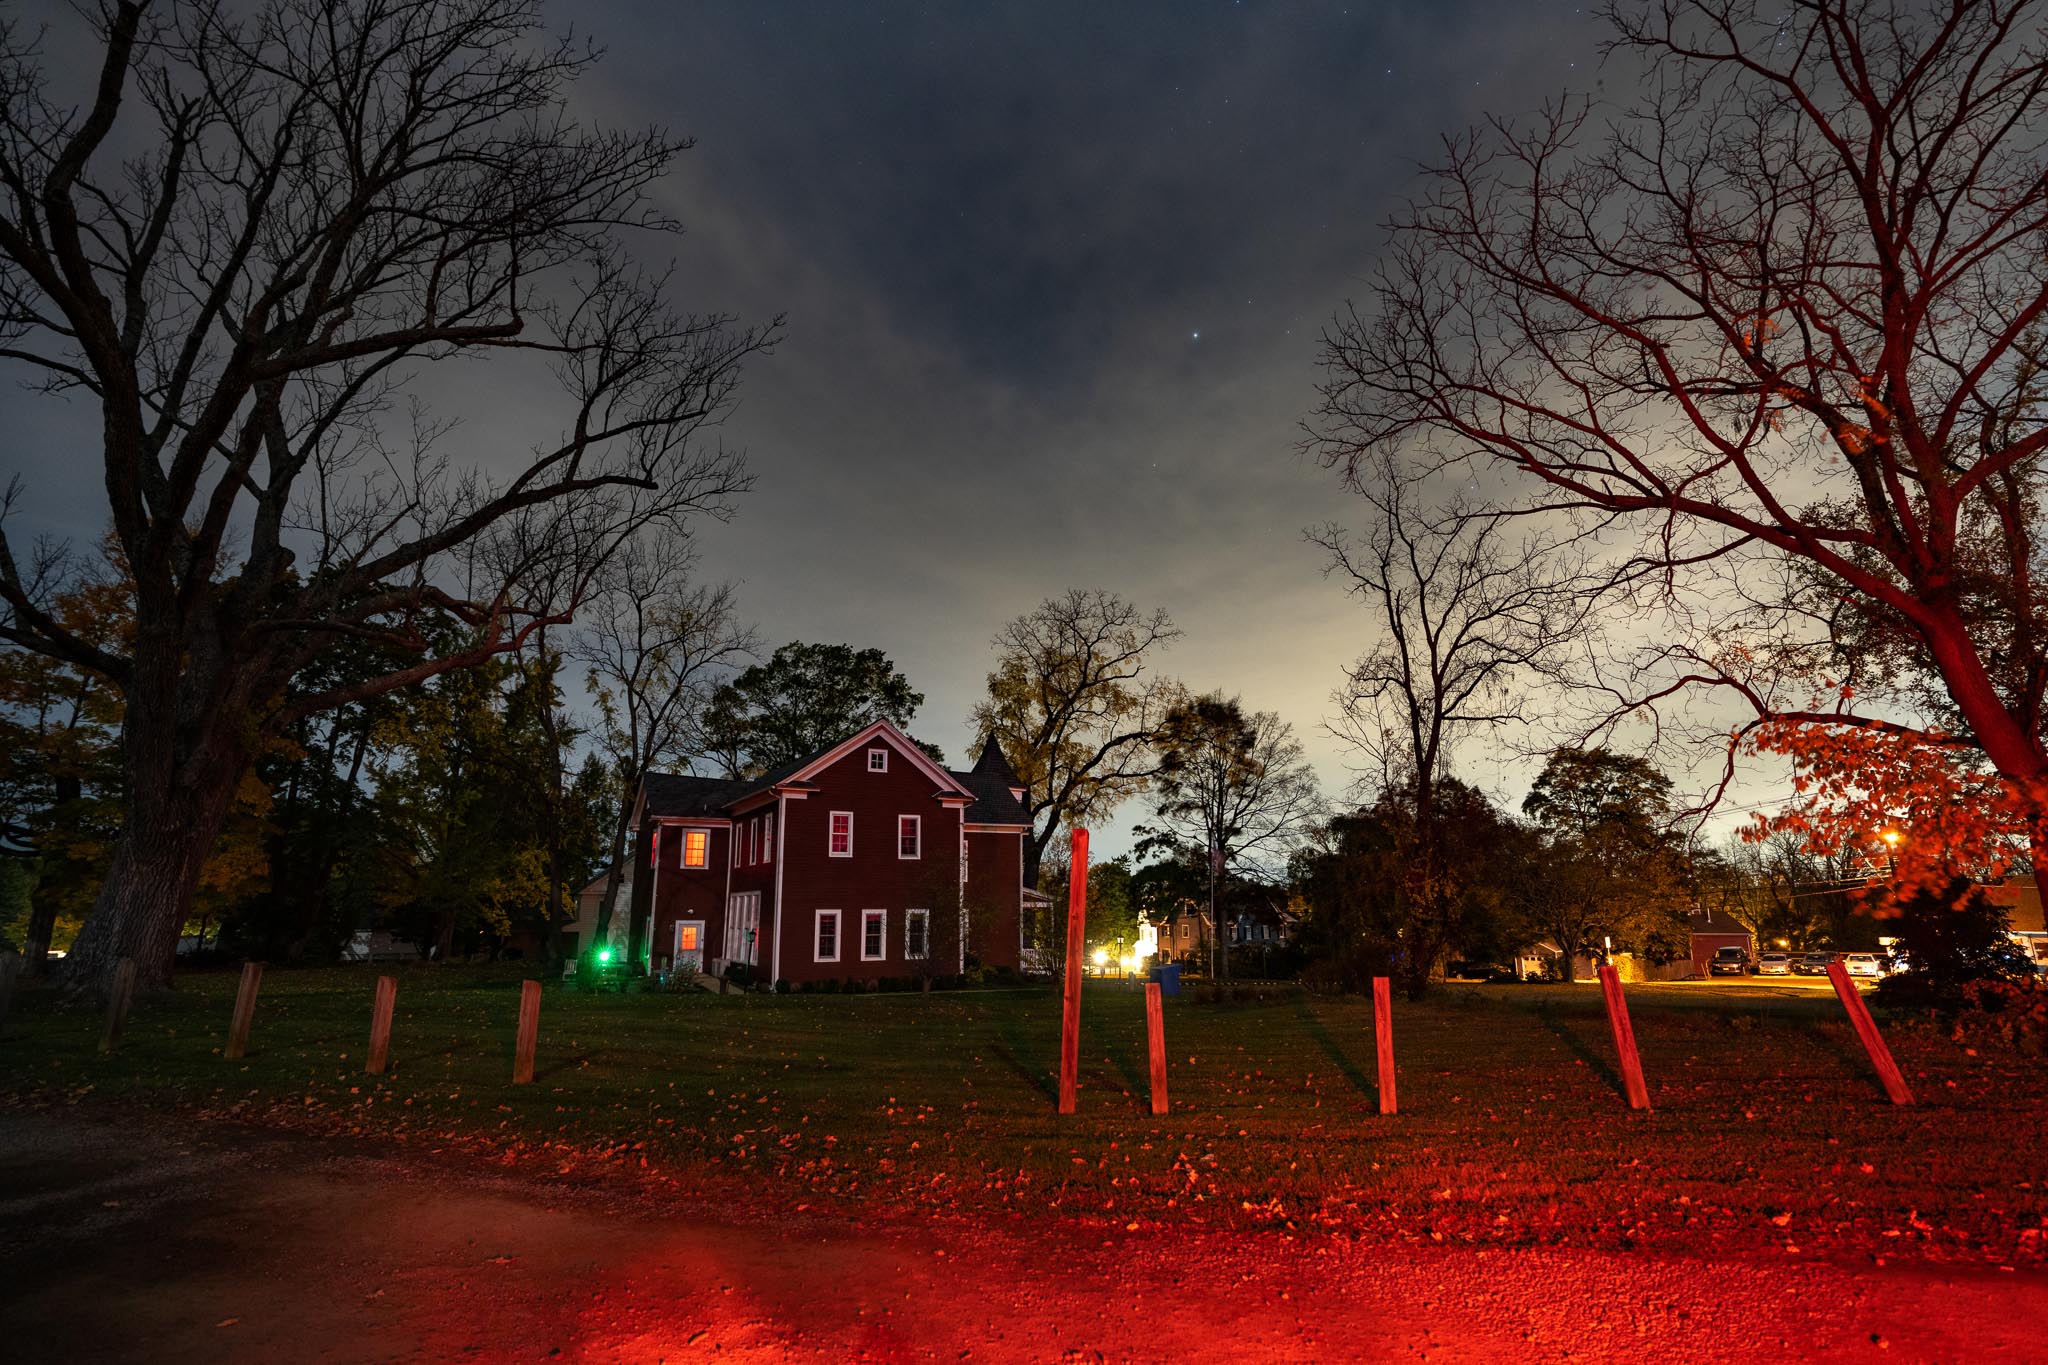
Michael Pacheco | Sony A7RIV | Sony FE 16-35mm f/2.8 GM | 16mm | 10 sec | f/2.8 | ISO 1000
For this batch of photos, since there was so much haze in the sky, the de-haze tool helped to clear the skies and allow the stars to shine through. However, there was a tradeoff—this introduced noise into the image. In normal cases, focus stacking can help to eliminate unwanted noise and to allow for a cleaner image. In the case of this outing, I wanted to push the Sony A7R IV to its very limits. For the most part, this was a success. Some images were pushed two full stops in editing. When a tripod wasn't an option, some were even taken at ISO 32,000.
Michael Pacheco | Sony A7RIV | Sony FE 16-35mm f/2.8 GM | 20mm | 10 sec | f/2.8 | ISO 1000
Michael Pacheco | Sony A7RIV | Sony FE 16-35mm f/2.8 GM | 20mm | 10 sec | f/2.8 | ISO 1000
Read our interview with astrophotographer Nicholas Römmelt, our top Canon EF lenses for astro and more tips and techniques on the MPB Content Hub.
You can sell or trade your camera gear to MPB. Get a free instant quote, free insured shipping to MPB, and get paid within days.