Guide to Wildlife Photography and Filmmaking
Published 19 September 2025 by MPB
From the tiny ant to the elephant, wildlife photography or videography is all about attempting to immortalise birds, beasts and any other kind of animal through still or moving imagery. This is MPB’s comprehensive guide to wildlife photography and videography. In this article, we’ll explore all tips and techniques you might need to improve your wildlife shots, recommended camera equipment and gear reviews to help build your wildlife setup, and introduce inspiring interviews with wildlife photographers and videographers.
Where to photograph wildlife in the UK
Top ten tips for wildlife photography beginners
Camera gear for wildlife photography
Video gear for wildlife filmmaking
Get inspired
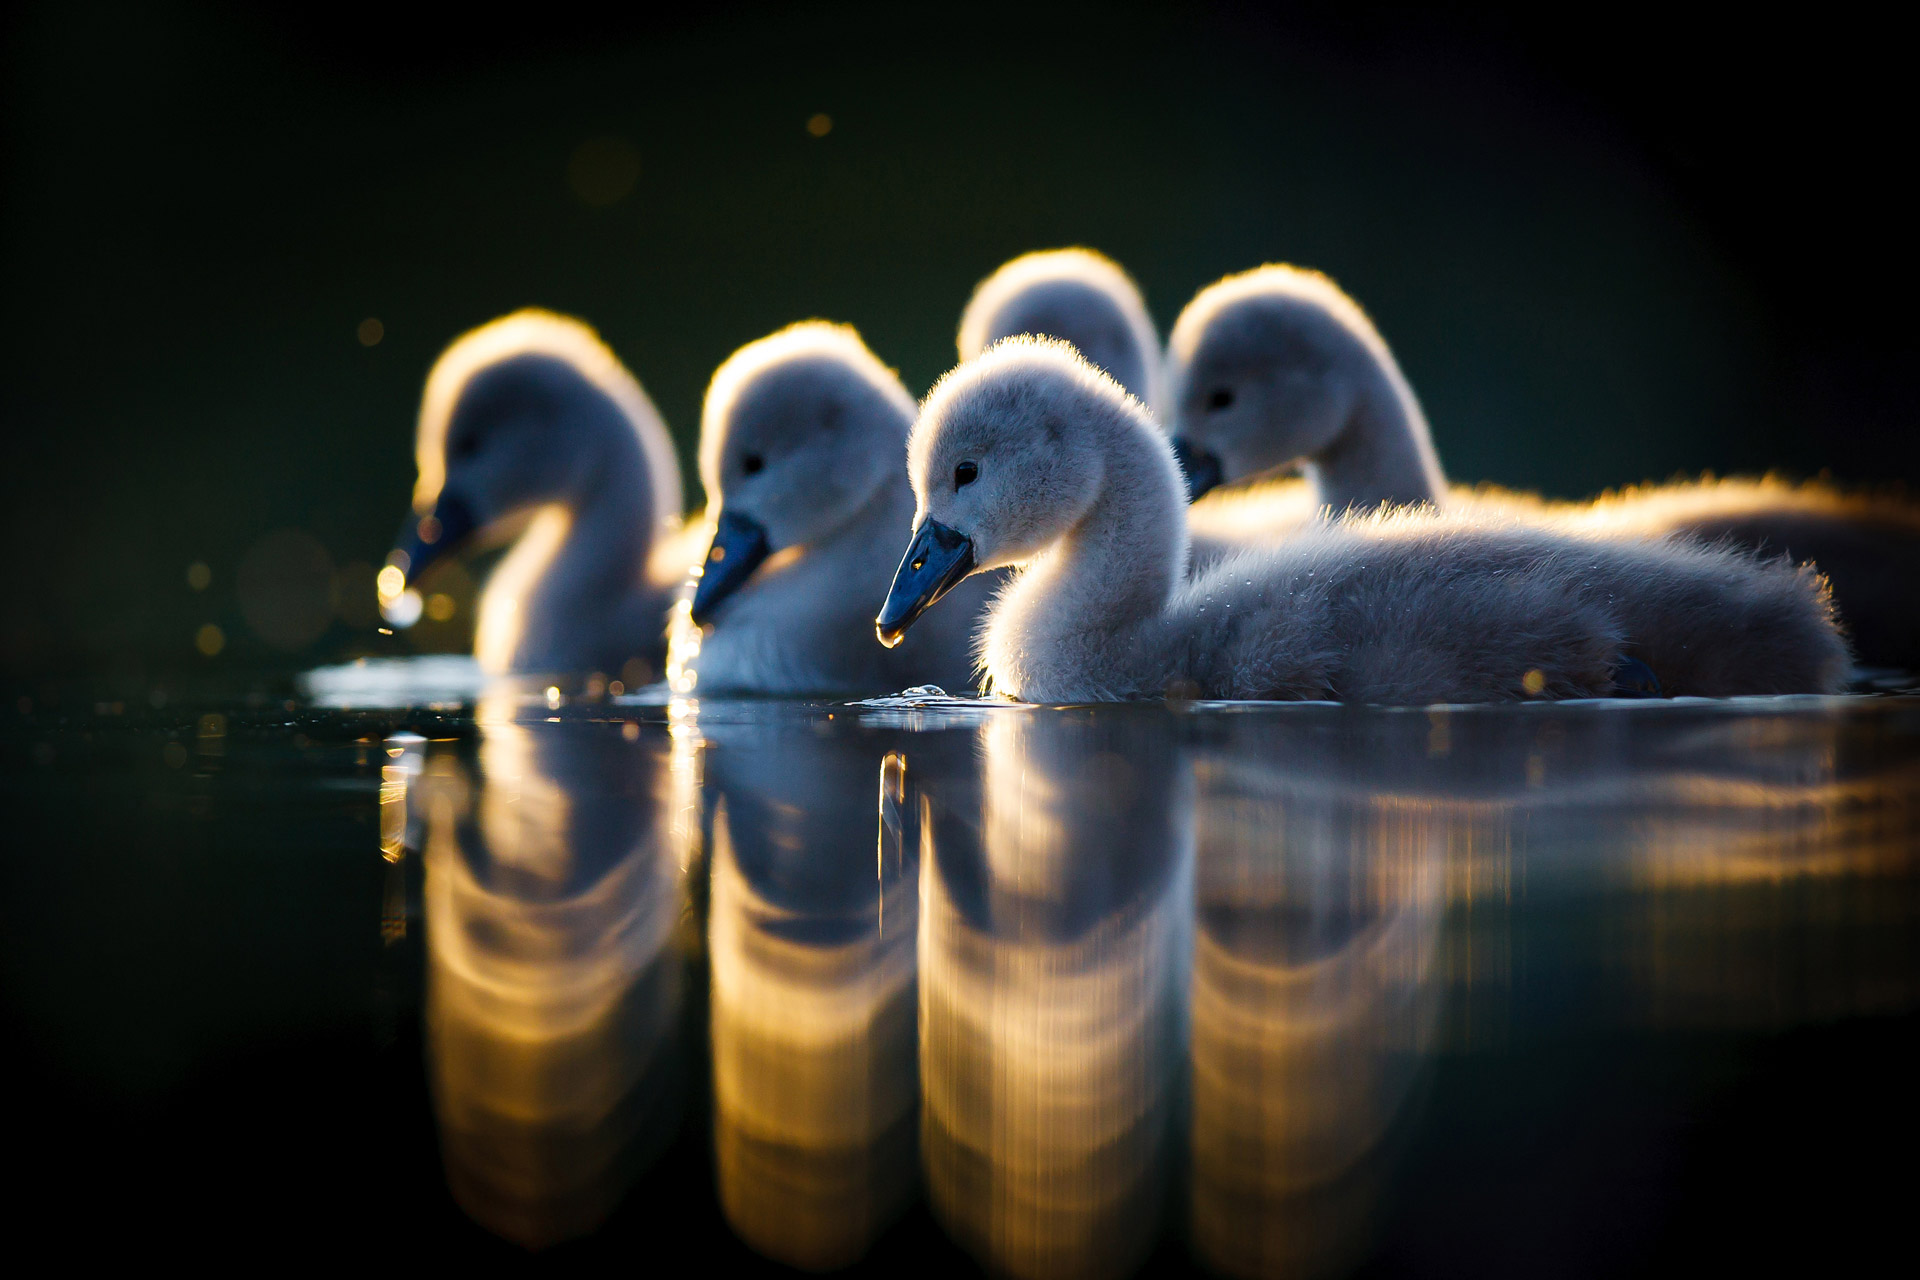
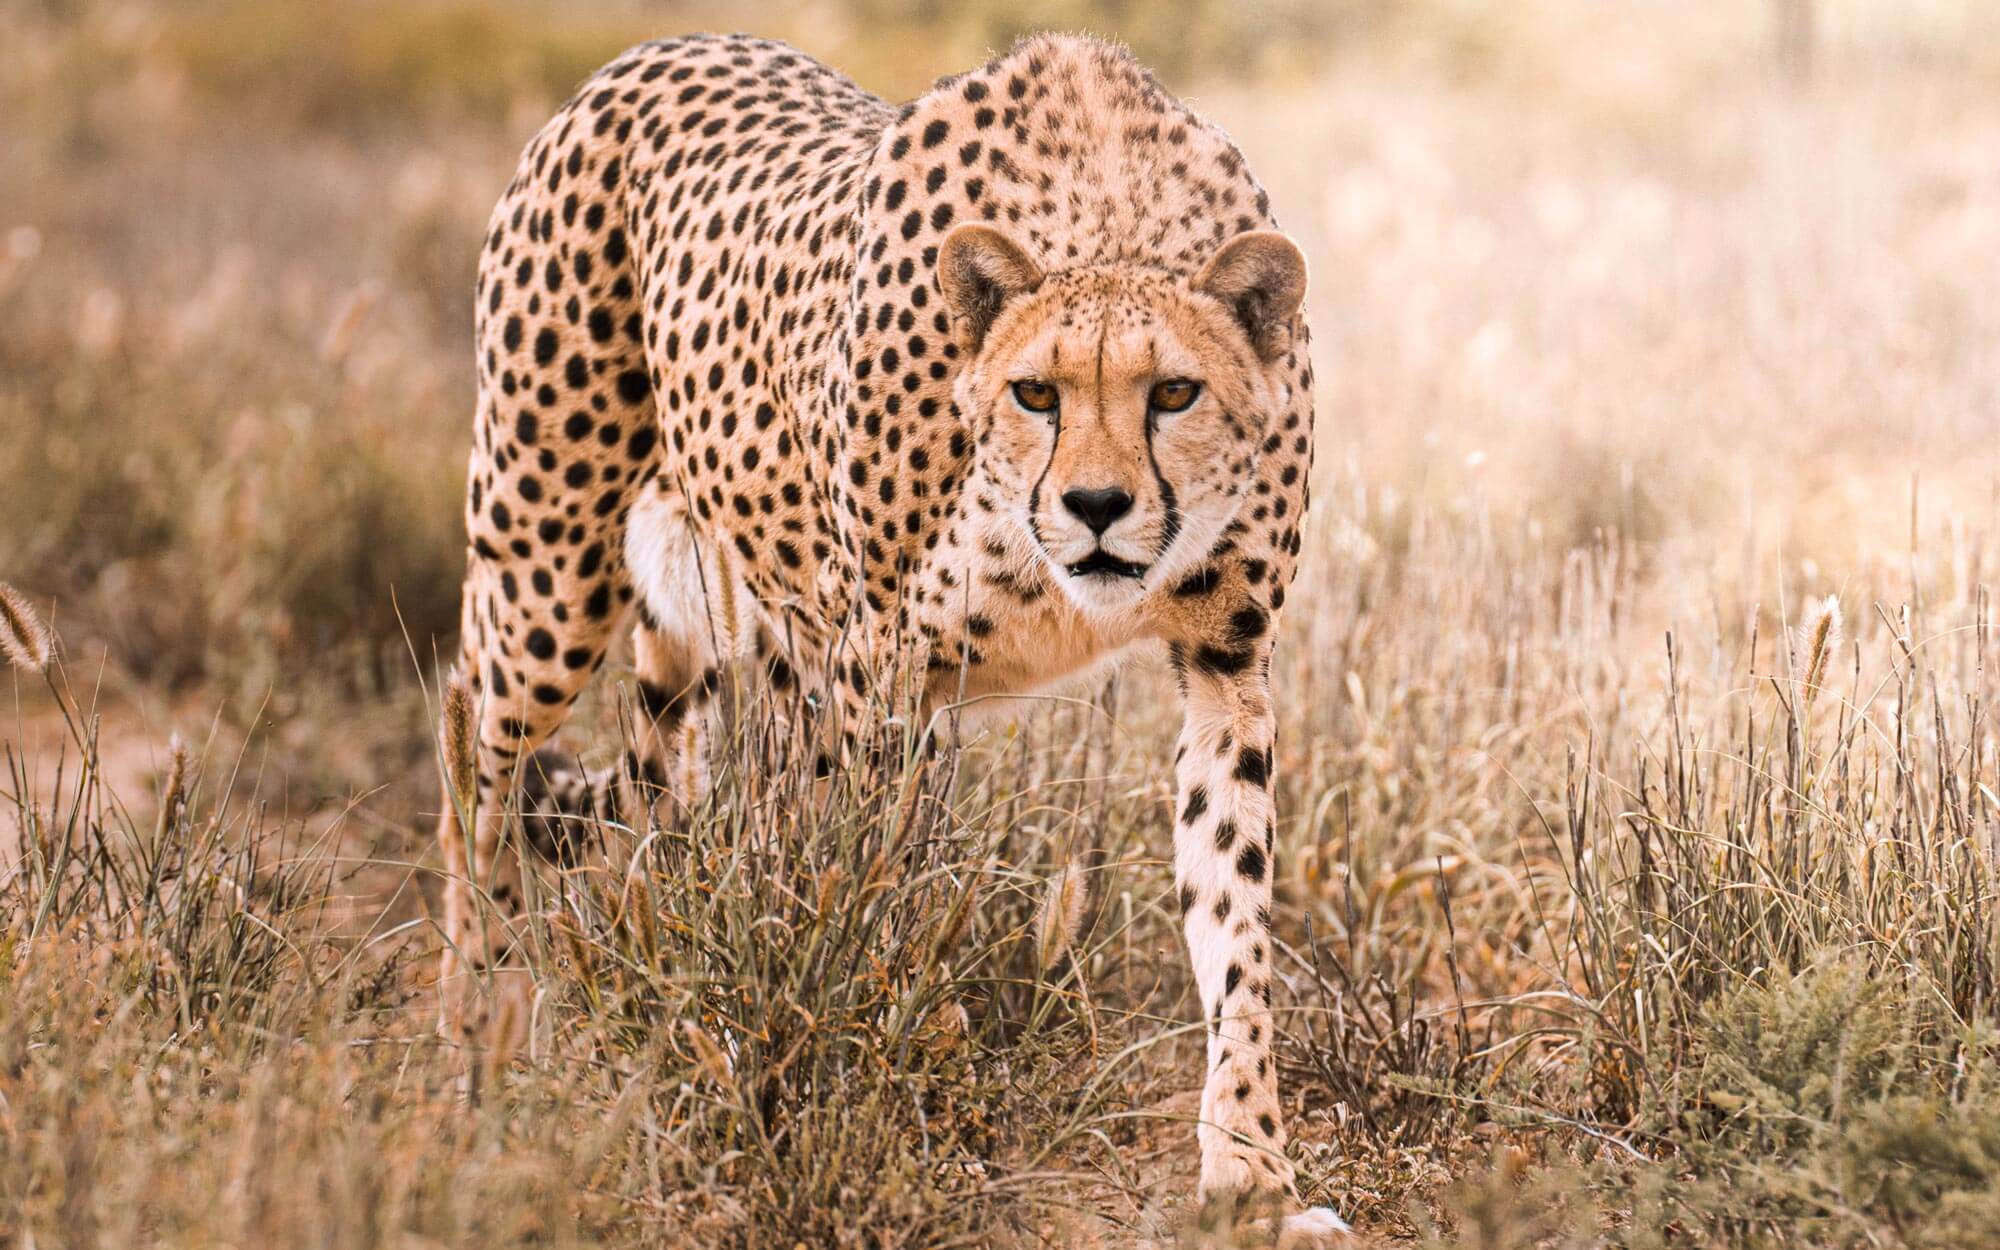
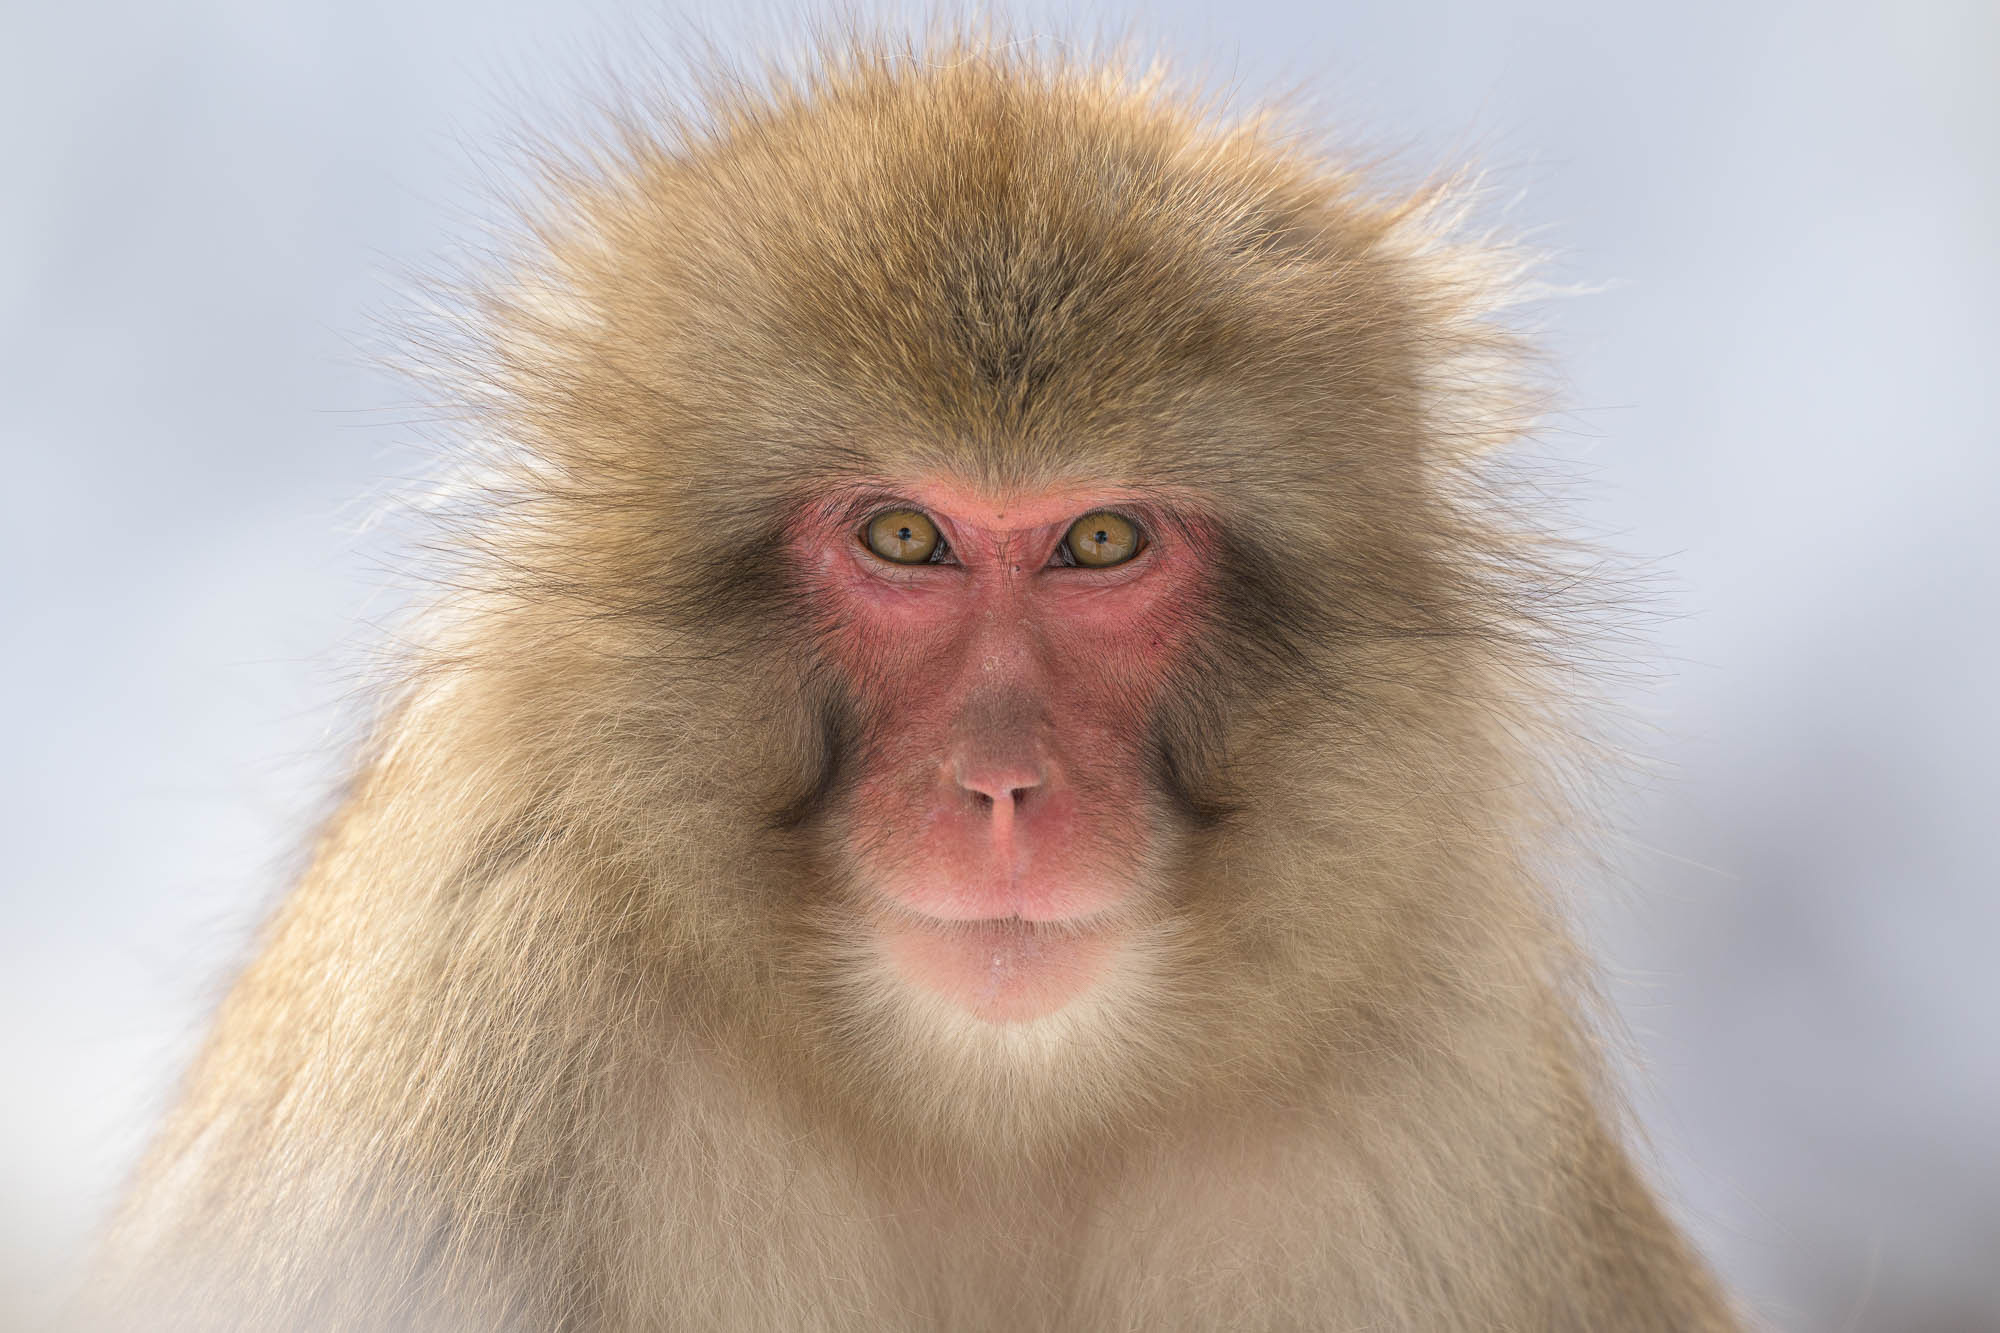
Hannah Stitfall | Canon EOS R5 | RF 100-500mm f/4.5-7.1 L IS USM | 500mm | f/7.1 | 1/500 | ISO 3200
Where can I photograph wildlife?
You can photograph wildlife anywhere, from your garden to your local nature reserve. In most countries, wildlife is protected by law. Their welfare should always come first. Consider the impact of your actions before capturing images of wild animals. Throughout this guide, we’ll explain how to create wildlife photography and videography from a distance.
Top ten tips for wildlife photography beginners
Where do you start? In this section, let’s go through a few of the basics of wildlife photography and a few extra pointers that could help you improve your wildlife photography.
If you’re seeking advice on getting into wildlife videography, check out Nina Constable’s guide to becoming a wildlife filmmaker.
1. Invest in a zoom lens
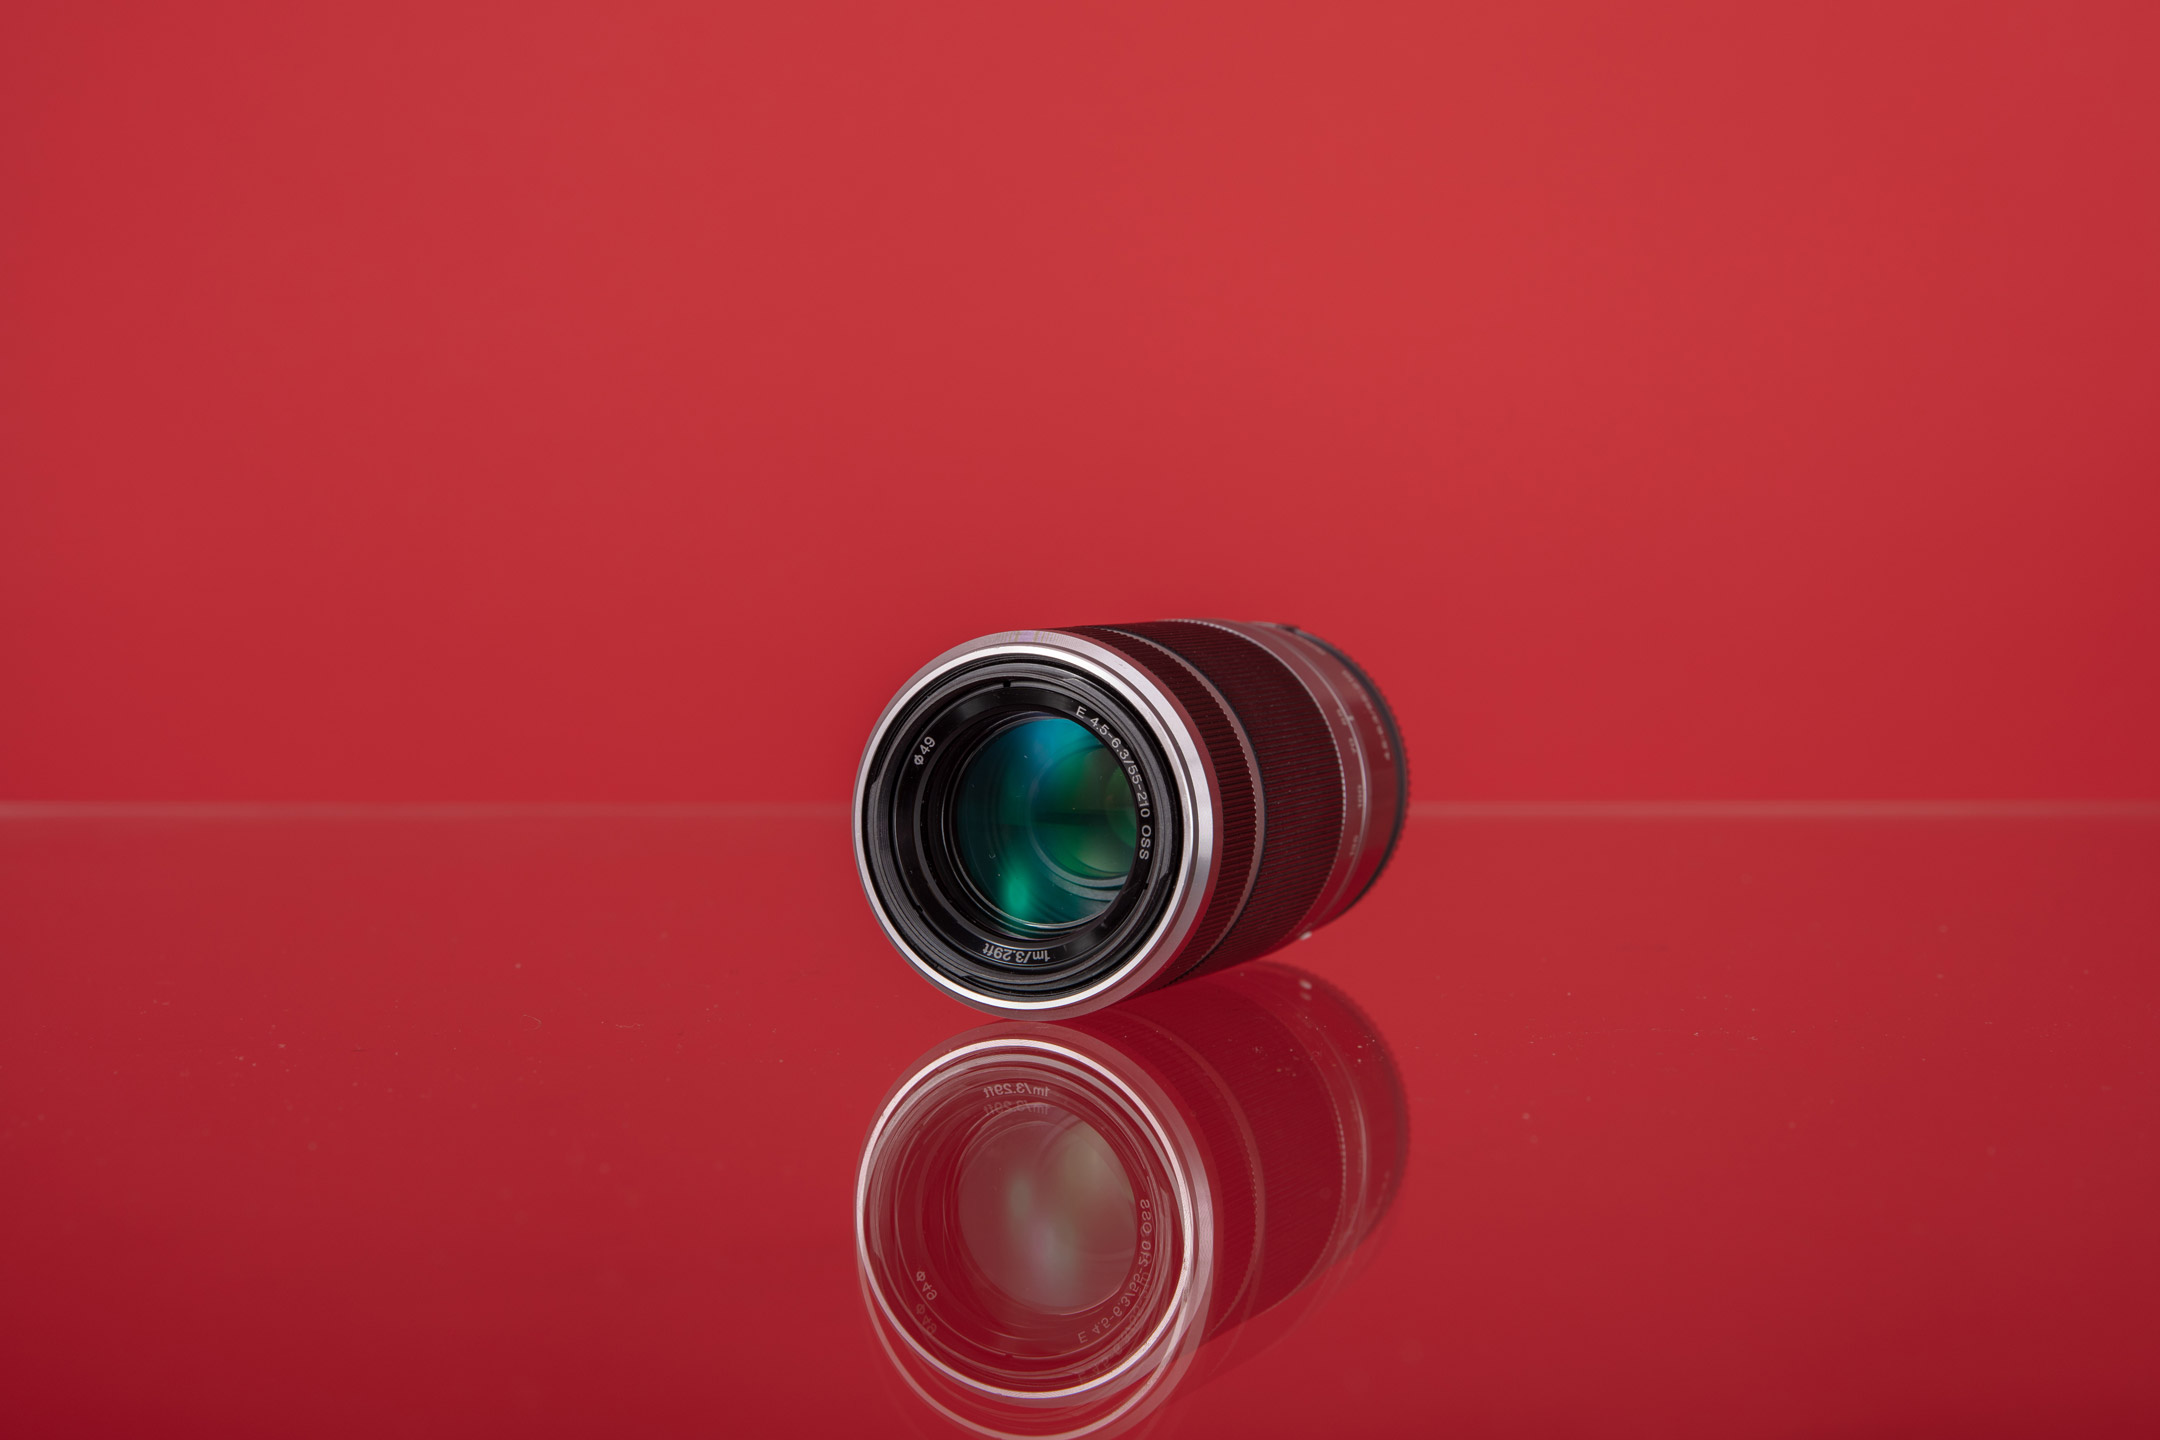
When starting, you won’t necessarily need all the latest tech. You don’t want to overpay for bells and whistles you might not ever use. But you will need—at the very least—a camera body and a versatile zoom lens. Any lens that enables you to access a focal length of at least 200 or 300mm will help you photograph animals and birds without disturbing them.

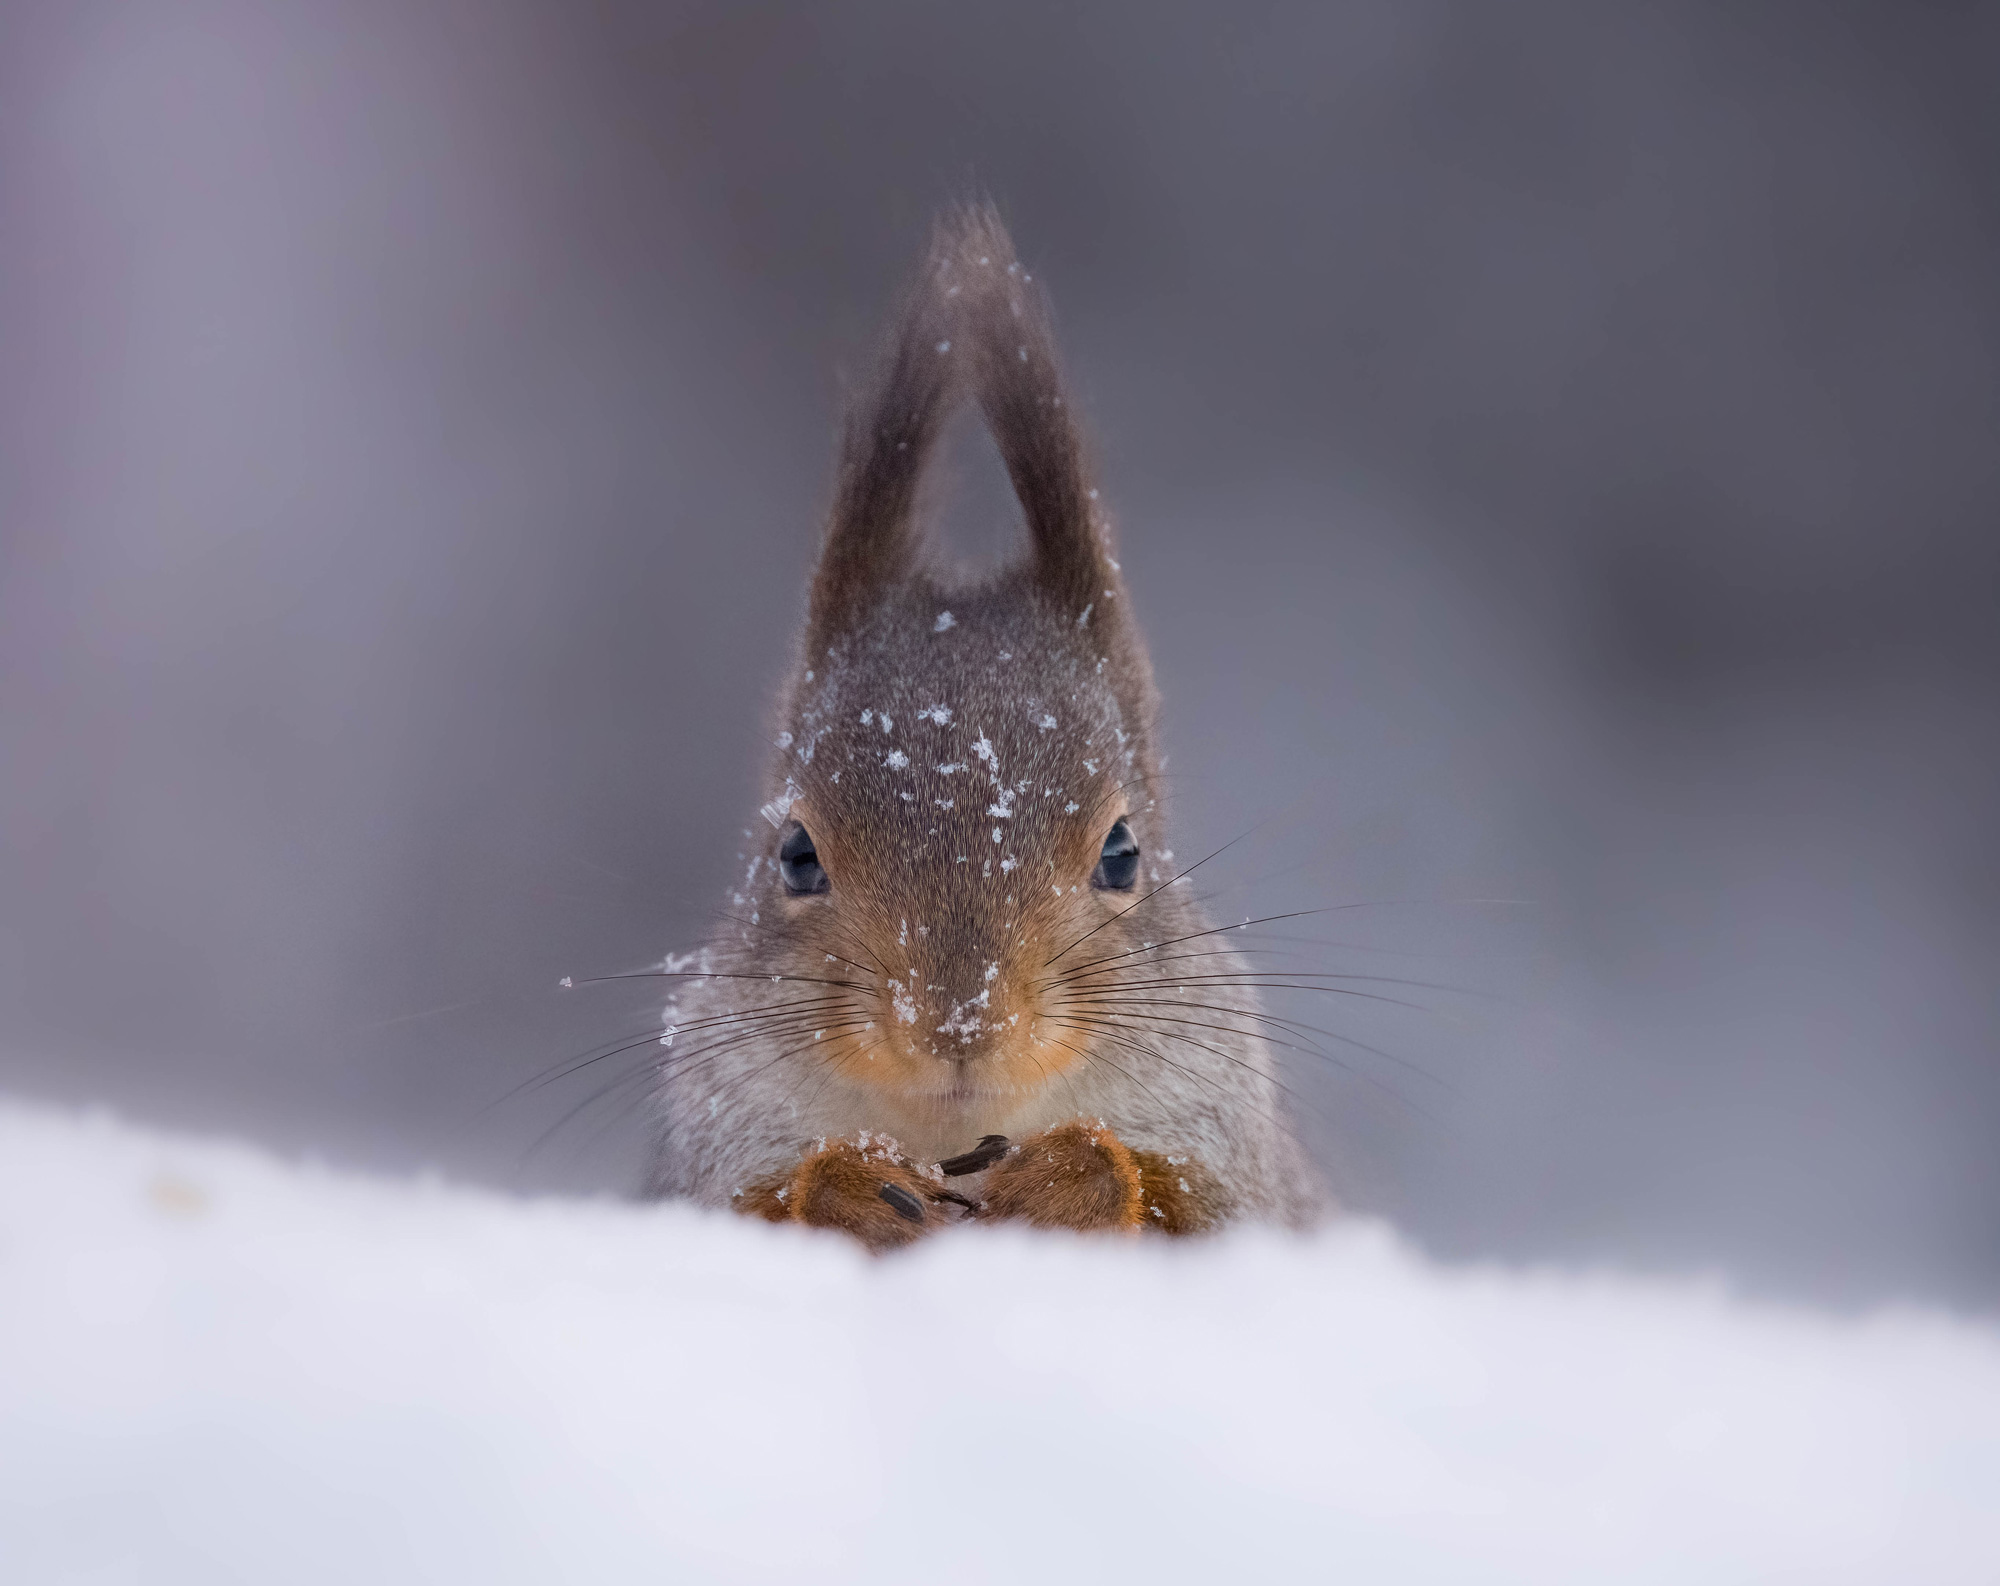
Nikon Z7 | Sigma 200-500mm f/2.8 EX APO DG | Sigma 2x EX APO | 1000mm | f/8 | 1/640 | ISO 100
2. Research the wildlife you’d like to photograph
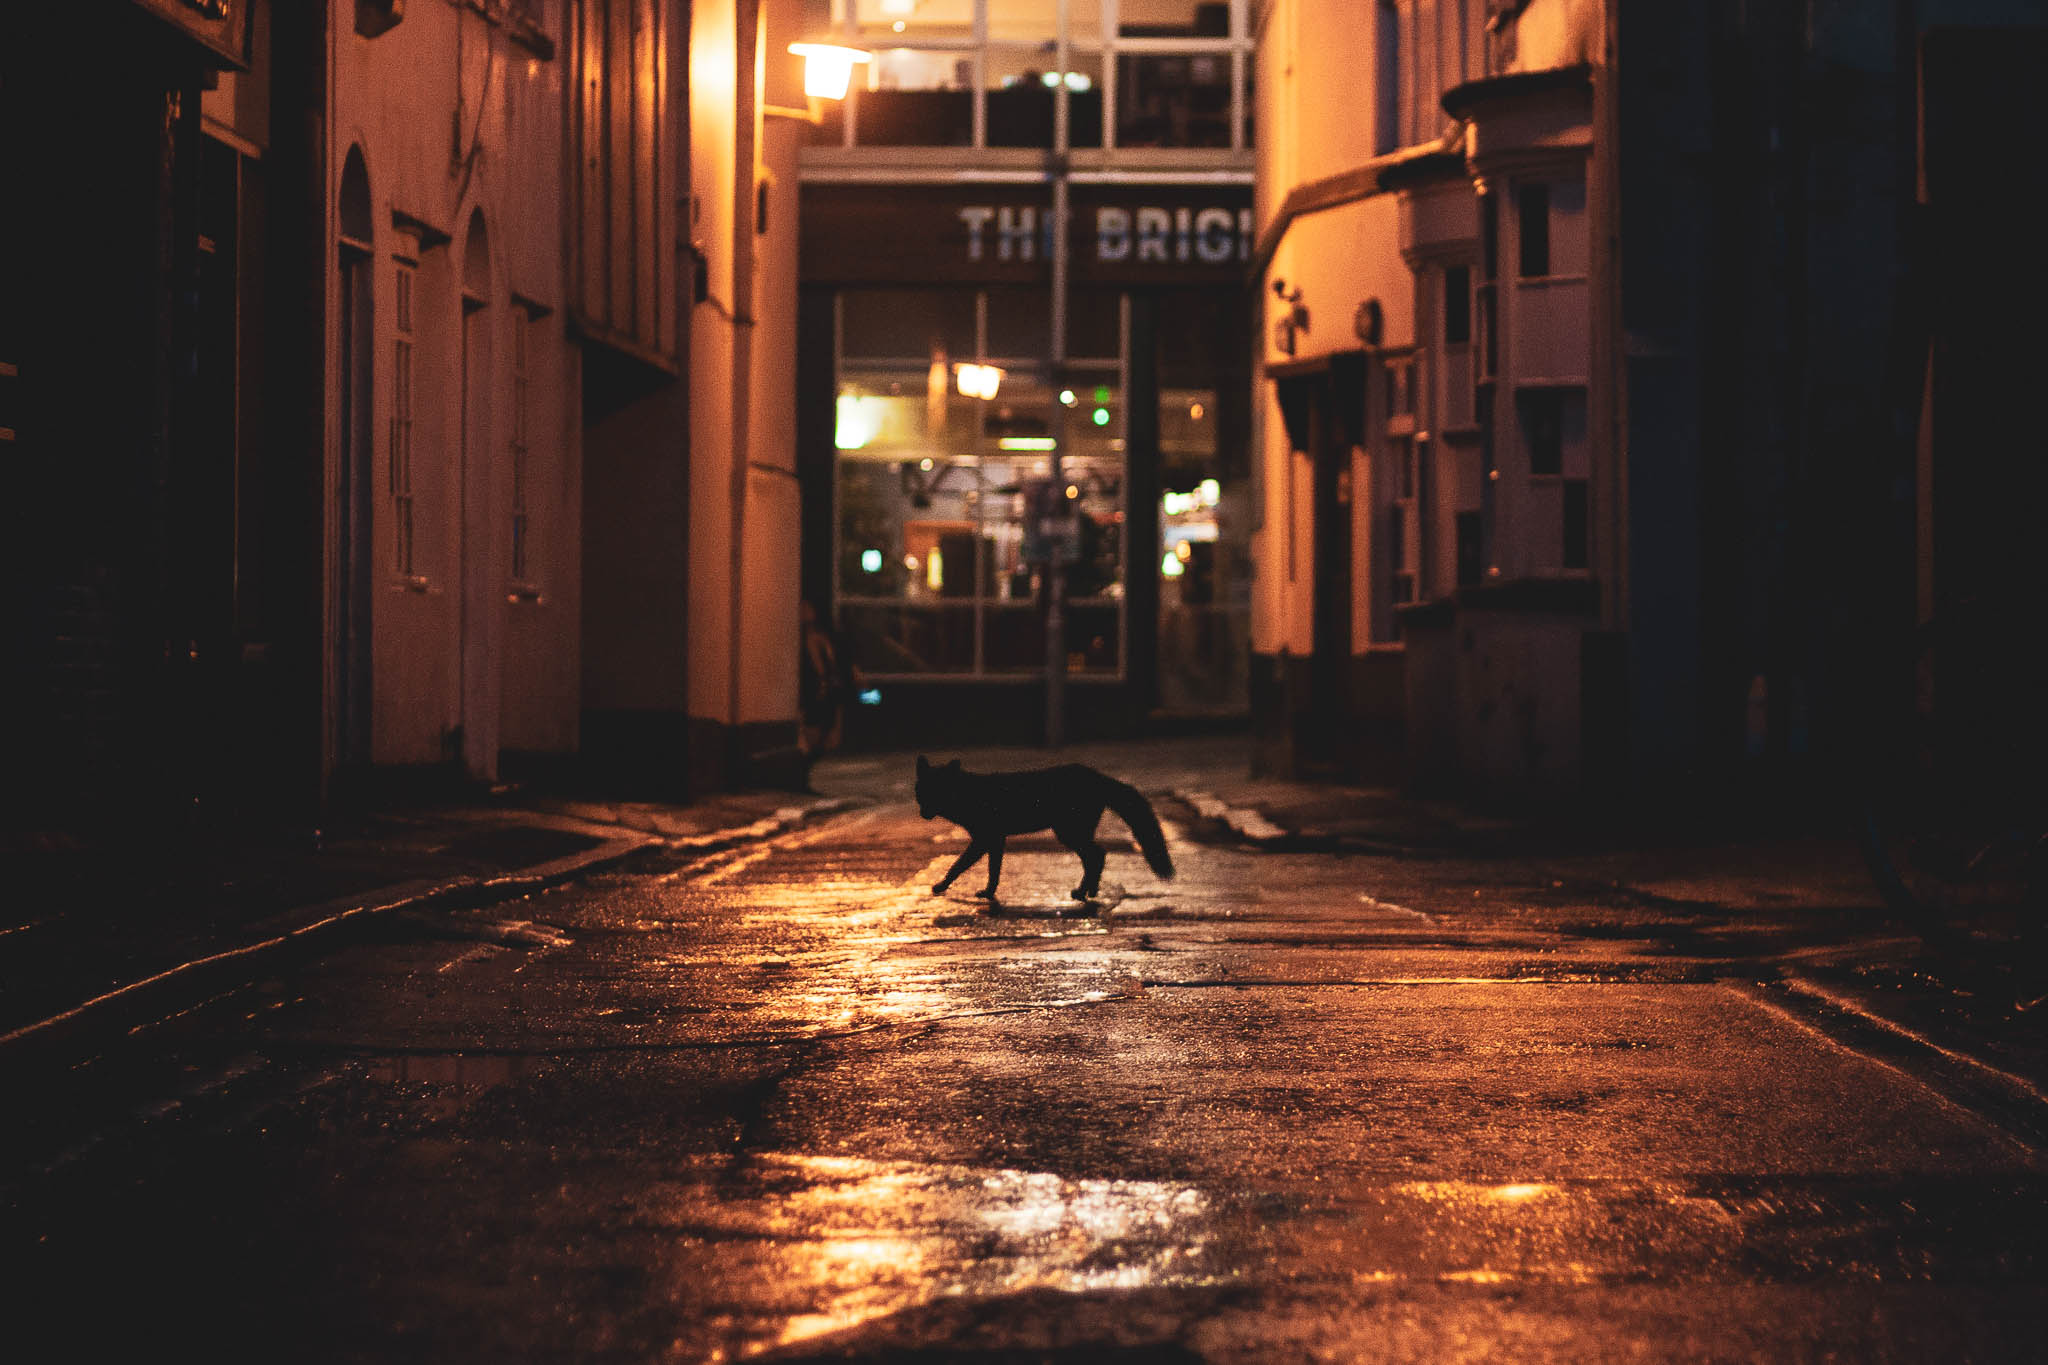
Start local. It can be tempting to throw yourself in at the deep end by booking that dream trip abroad—but save your funds for when you need them. Research which animals and birds live in your region. You might need to venture out into the countryside, but some cities are home to animals like urban foxes, pigeons and crows. Parks are always a good place to start. In this interview with Richard Peters, he shares some tips for capturing photos of animals in urban locations.
Study the wildlife you’d like to photograph. If you know enough about their feeding times, habitats and movements, you can predict where to find them and photograph them.
Your local area may have informal wildlife photography meet-up groups. Their members will know all about the different kinds of local wildlife and might be willing to share advice on photographing them best. You might even find an experienced wildlife photography mentor.
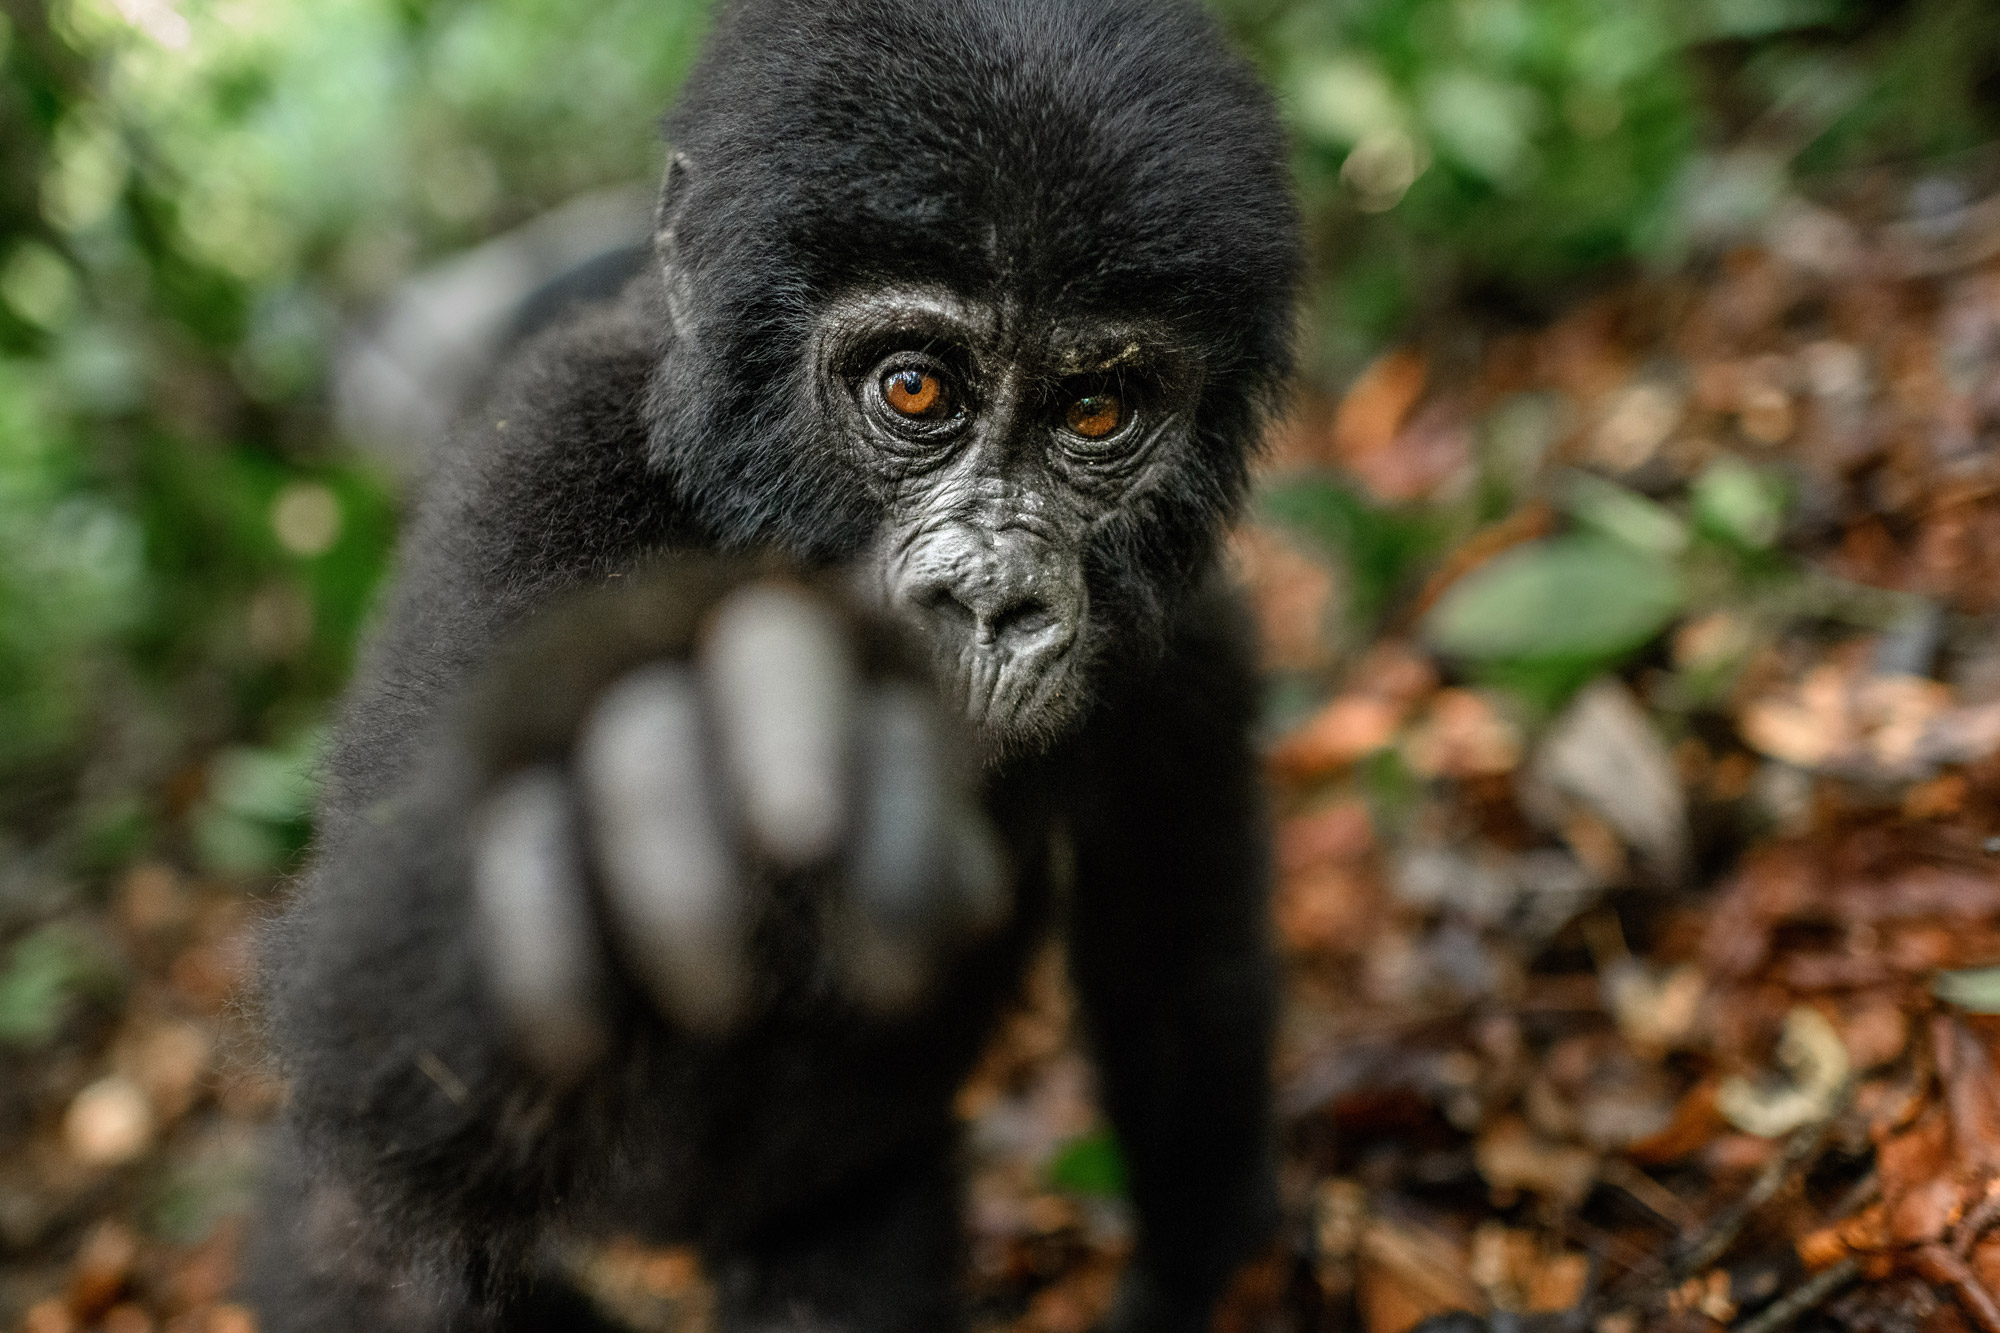
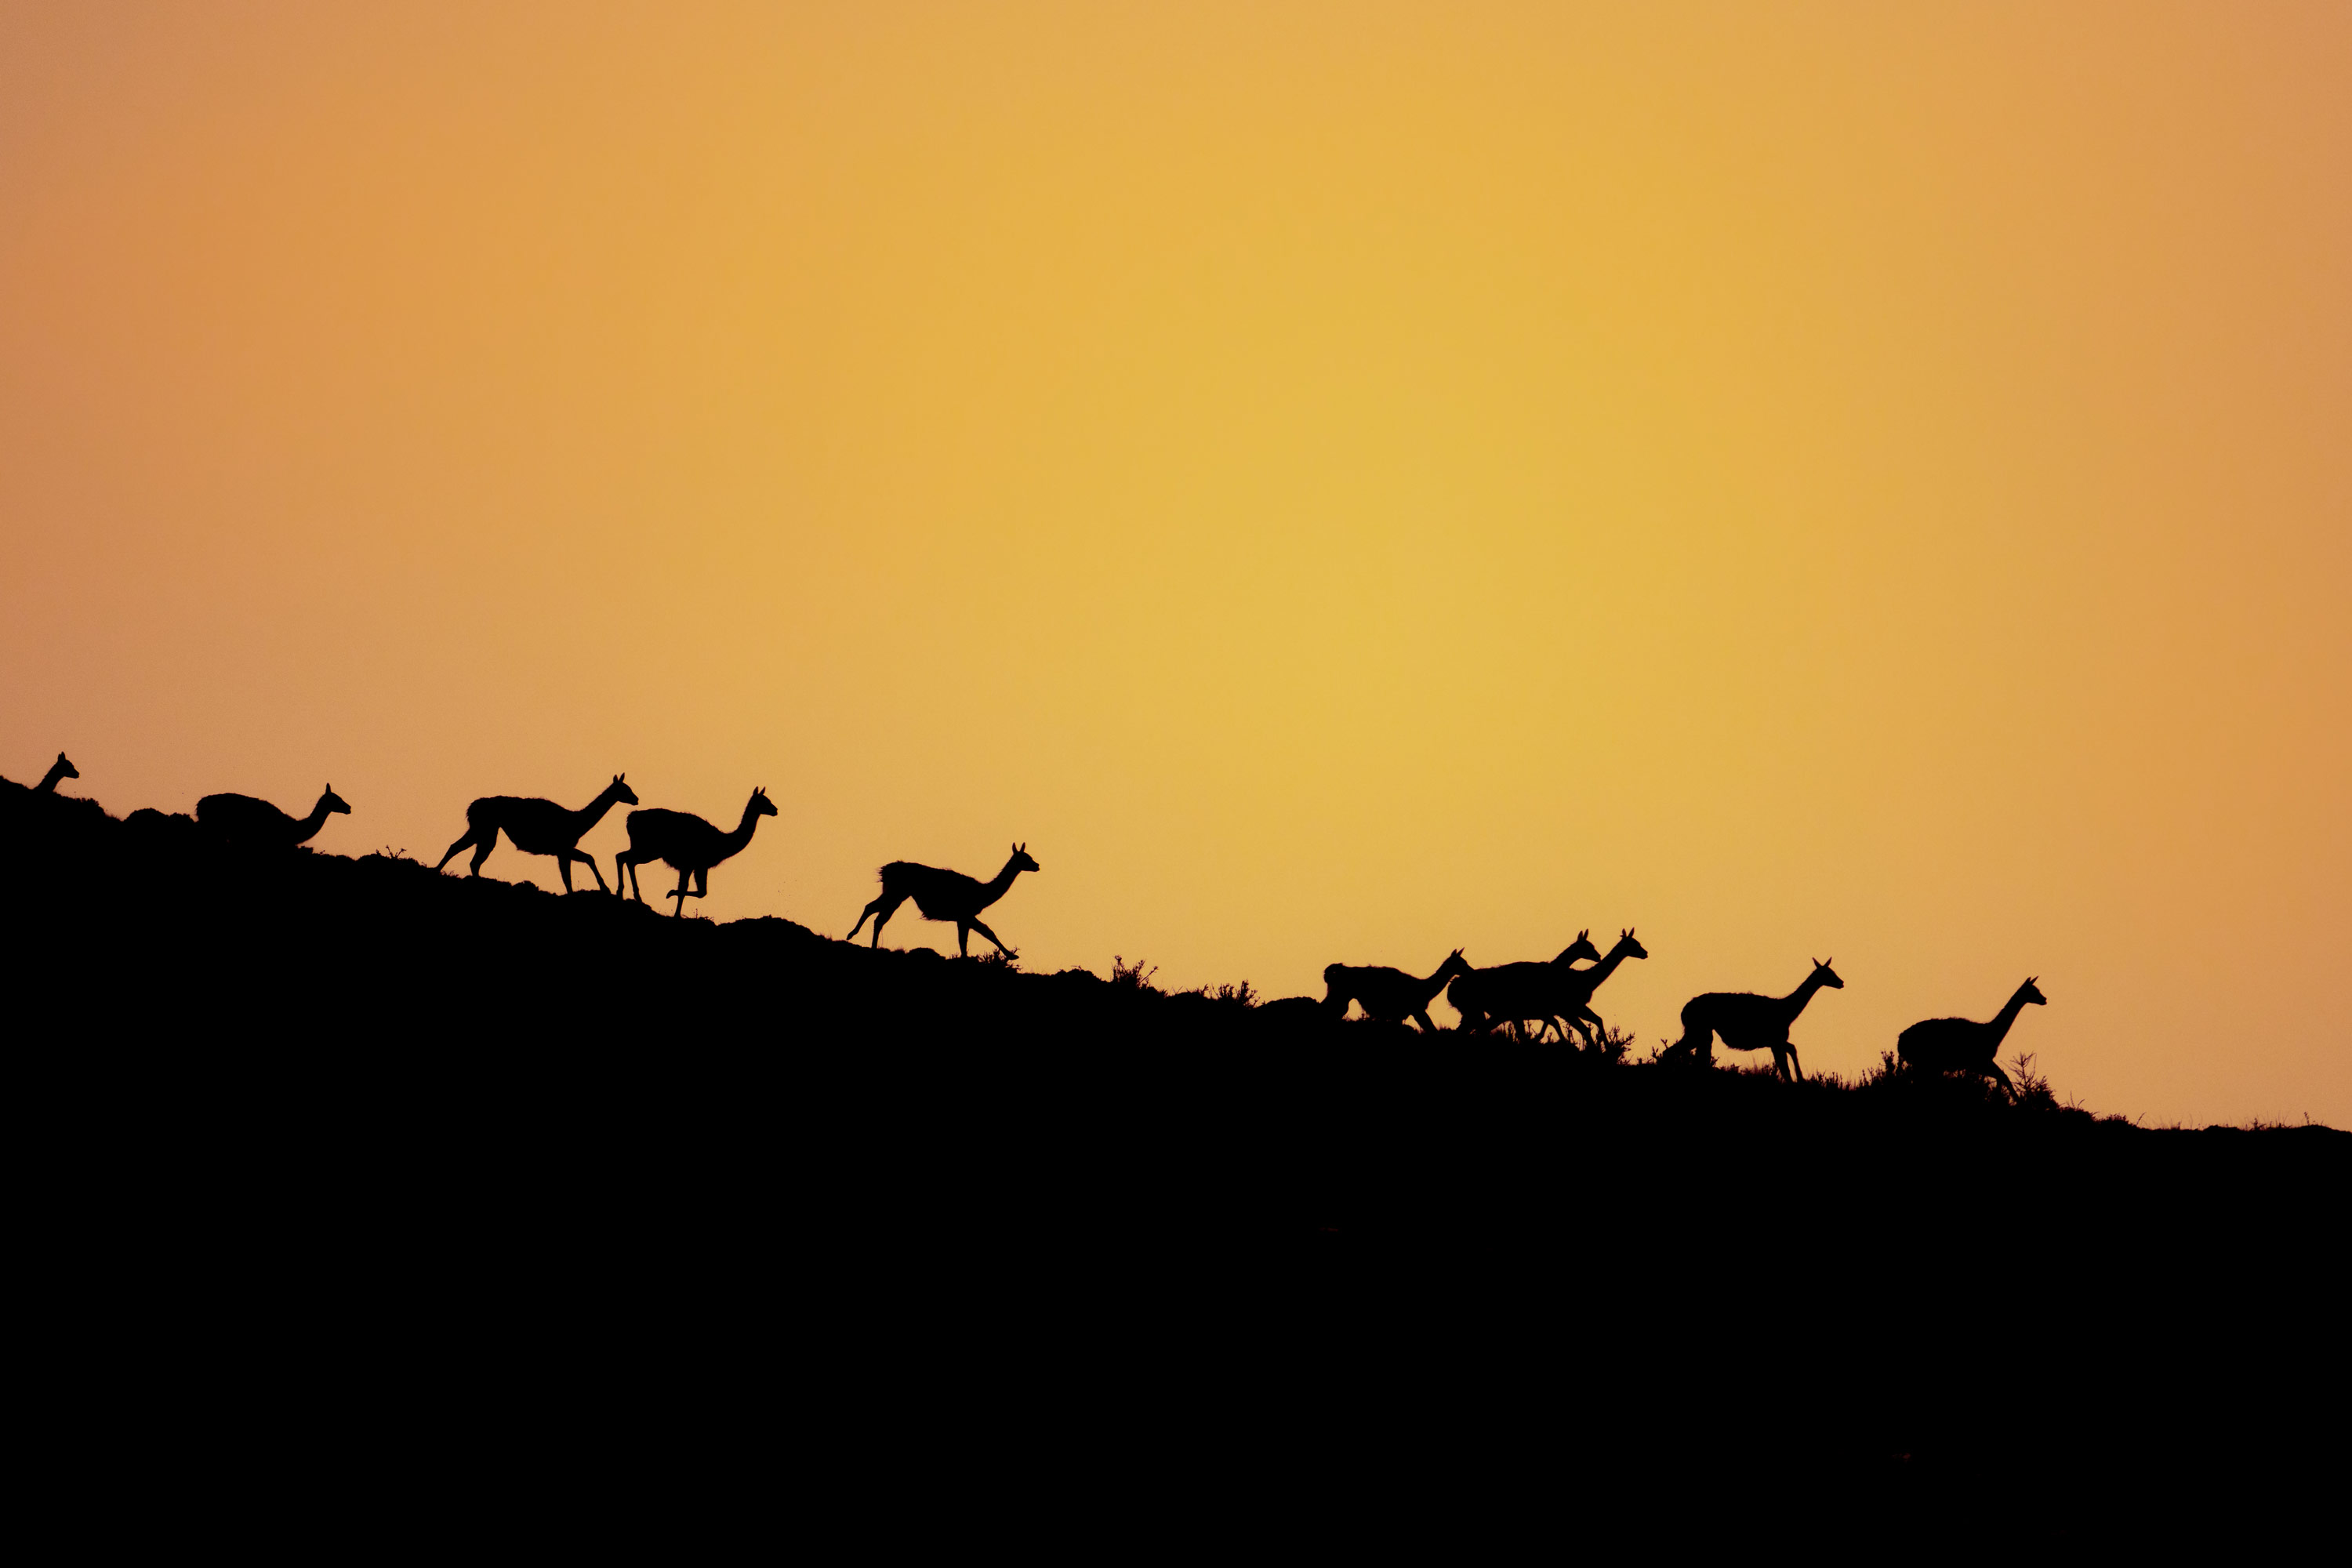
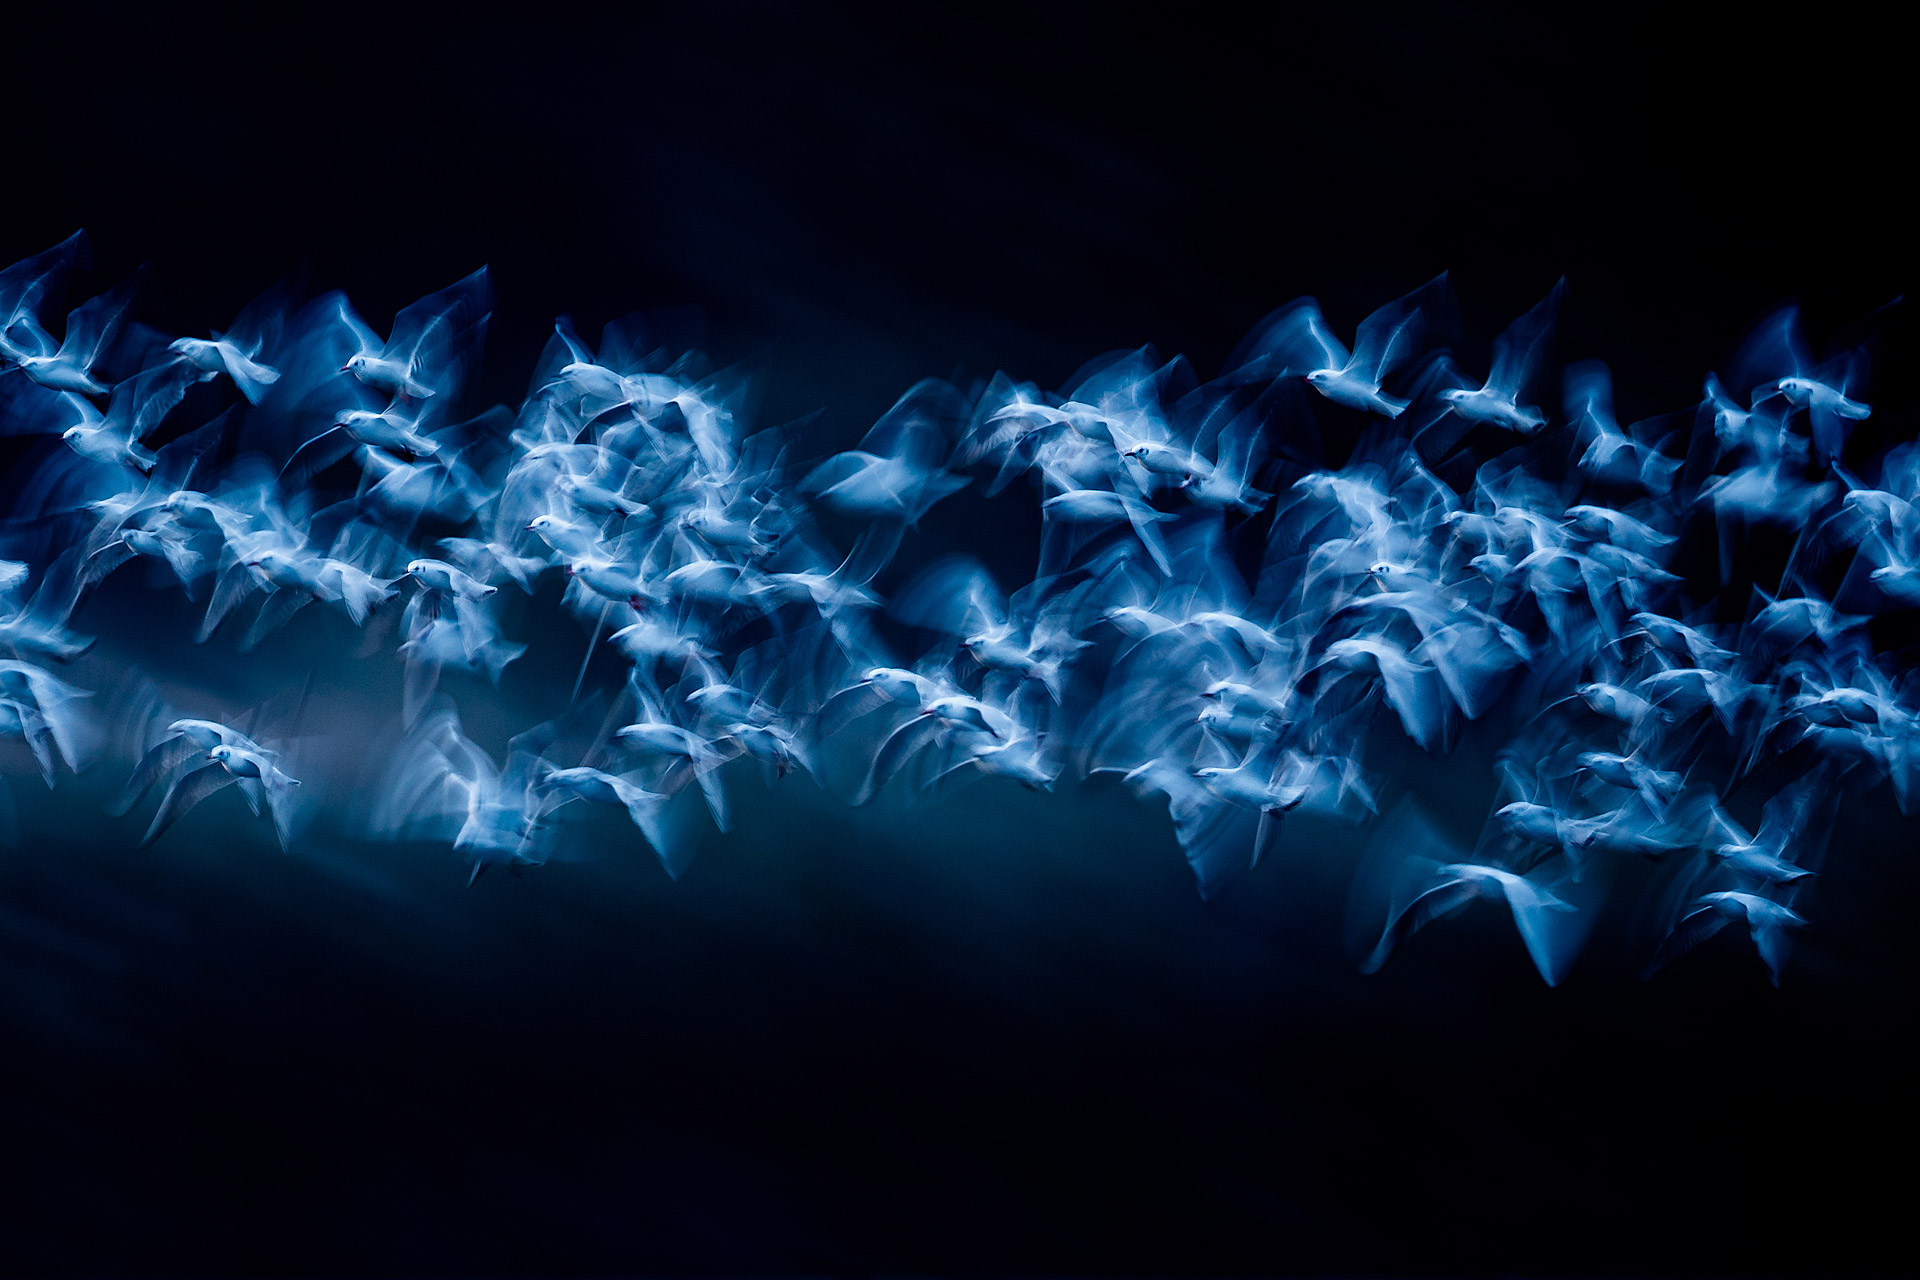
Mateusz Piesiak
3. Try a nature reserve
Head to your nearest nature reserve. Wear weather-appropriate clothing with muted colours and bring a little food and water to keep you going. Get yourself a camera setup that includes a long enough focal length—more about telephoto lenses later in this article—to get closer shots of the wildlife.
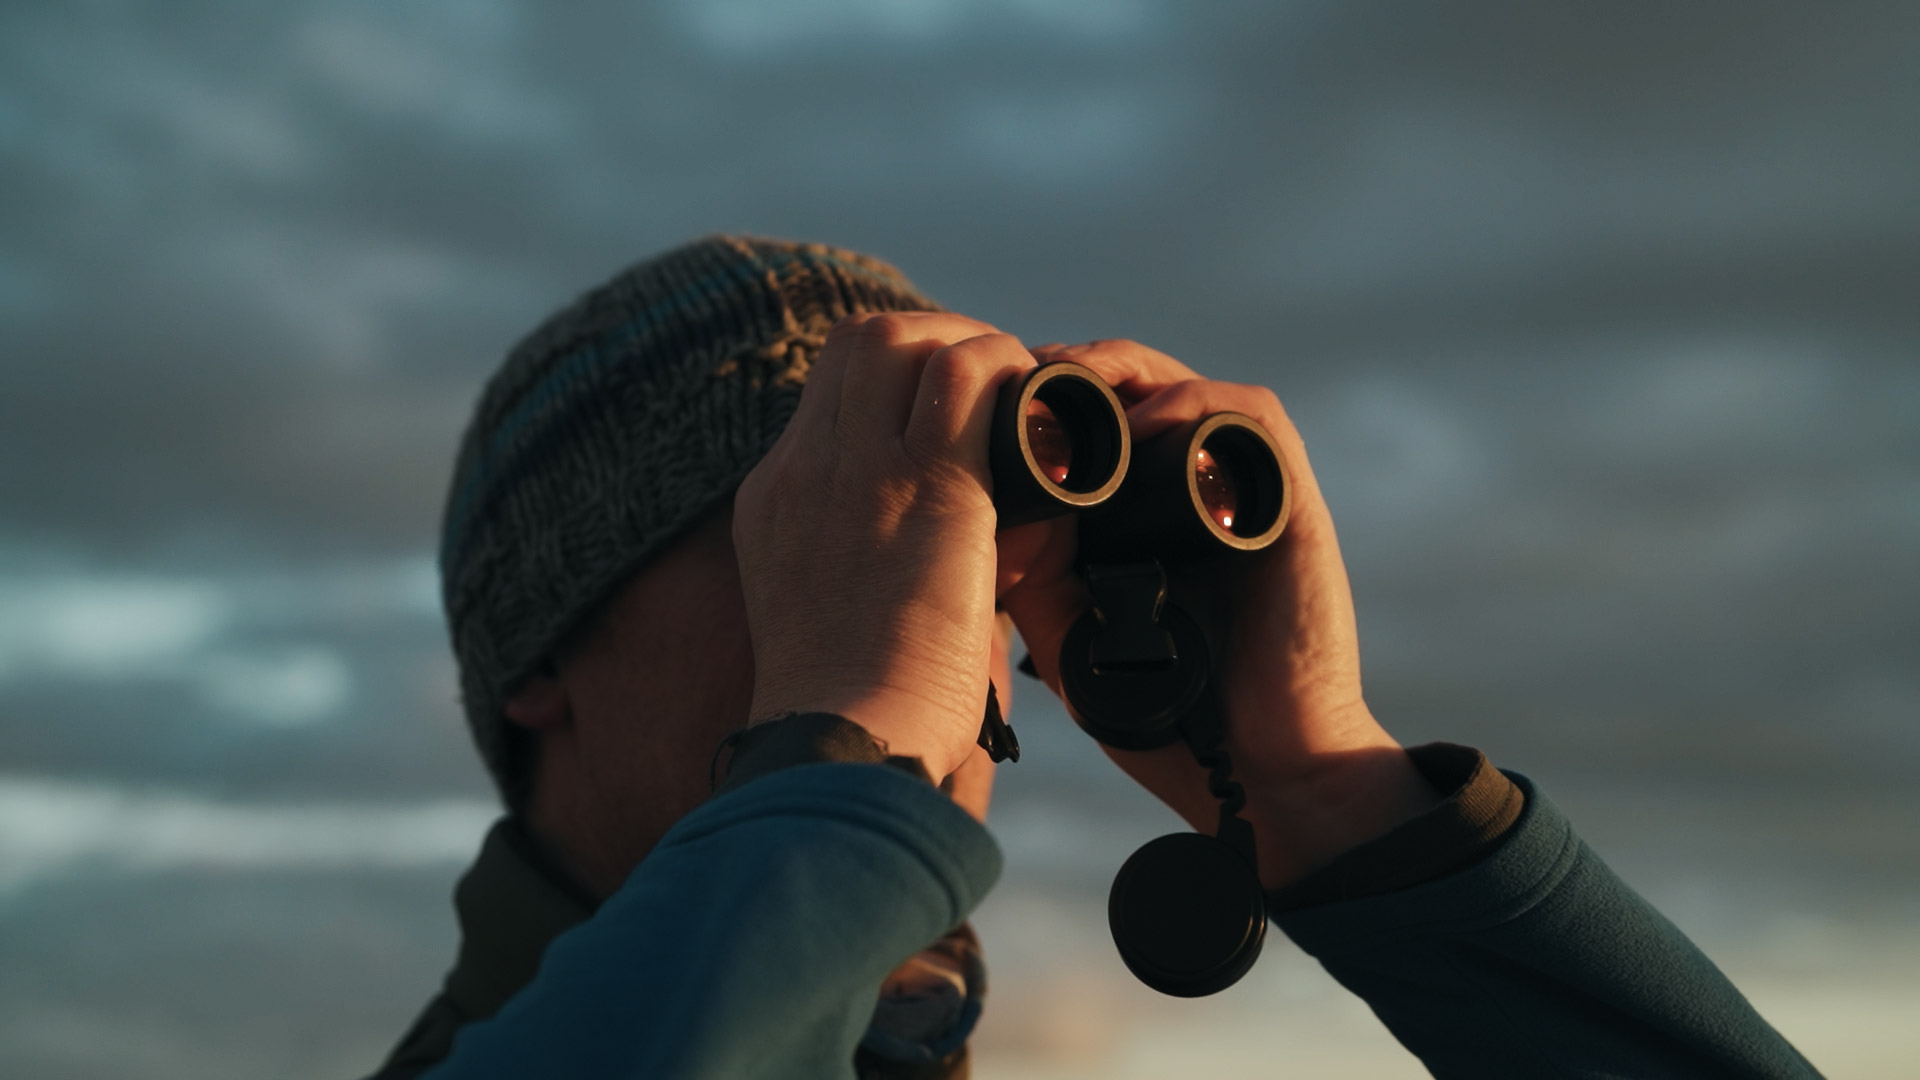
Within most nature reserves, you’ll find bird hides—small huts or shelters—to keep you camouflaged and get you close enough to birds and animals without disturbing them. Many bird hides will have seats or benches to keep you comfortable while you wait. These hides are the perfect place for wildlife photography. You might need some binoculars to help you spot the wildlife before adjusting your camera.
While you’re there, you can also try out forest and woodland photography too.
Mateusz Piesiak
4. Use a tripod
While you’re waiting, set your camera up. If your camera doesn’t have in-body image stabilisation, you’ll need to provide the stabilisation yourself, especially if you’re using long focal lengths. A tripod is great for keeping your setup steady. Keep your tripod axis firm enough to keep your camera in position, but loose enough so you can reframe to follow the wildlife.
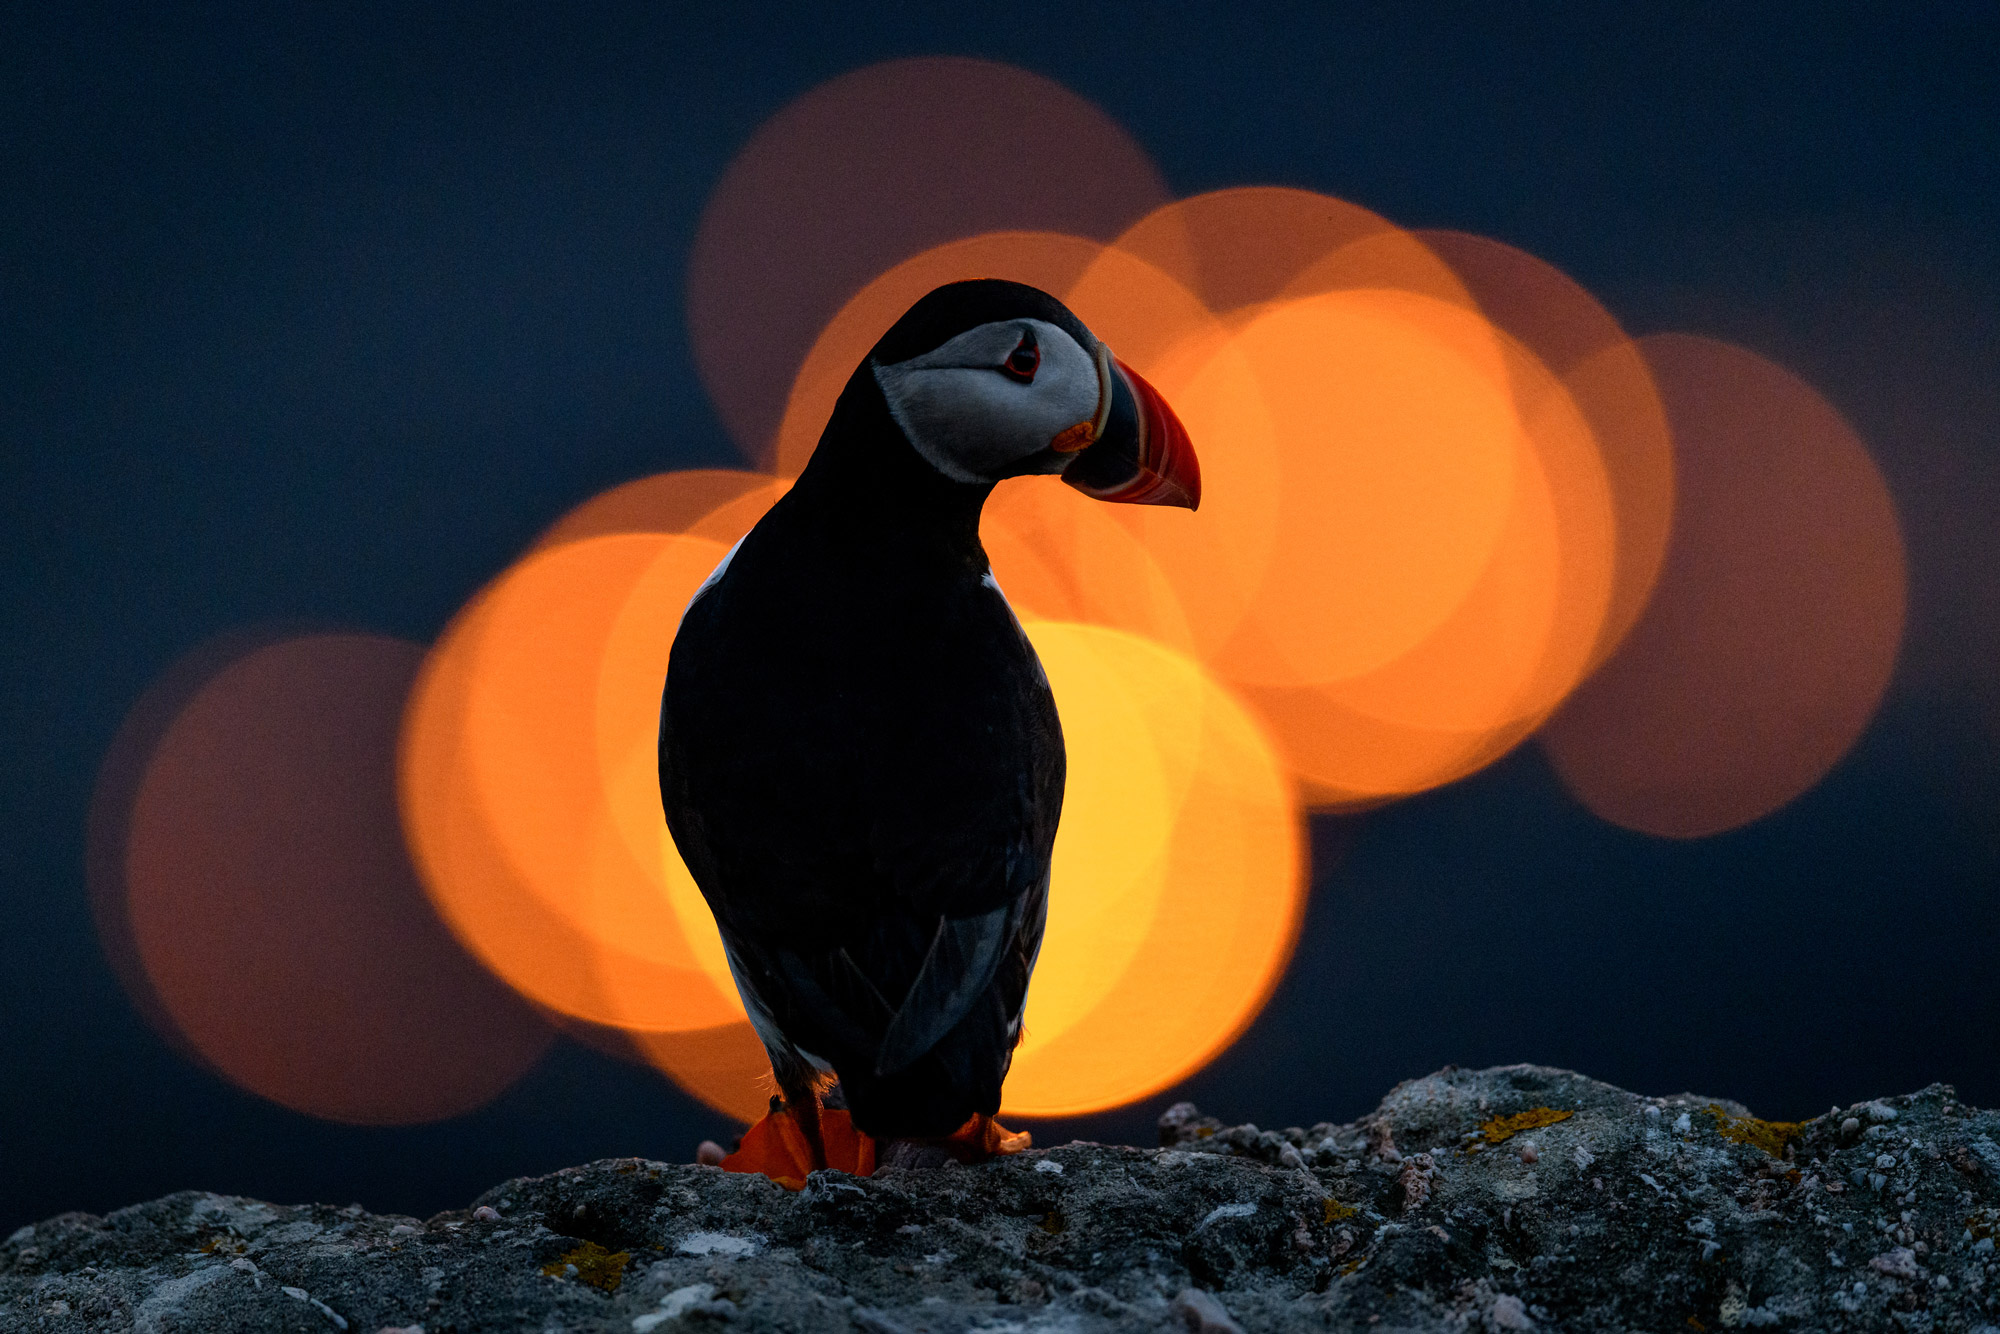
5. Consider the natural light available
Avoid the harsh midday sun. Generally speaking, the best light can be found in the hours around sunrise and sunset. However, you’ll also need to consider the movement patterns of the wildlife you’re attempting to photograph—if there’s an overlap, then that’s your window of opportunity.
Mateusz Piesiak
When shooting nocturnal wildlife, you may need to think creatively about any artificial light sources available. For urban wildlife, streetlights are always a good option. A full moon can be a good light source, albeit rather weak, so you’ll need to raise your ISO.
Marc Read | Canon EOS 50D | Canon EF 50mm f/1.8 II
6. Set your camera to continuous shooting
Increase your chances of getting a great photo by setting your camera to continuous shooting mode, or burst mode. Instead of a single image, you can choose between a few. This technique is especially useful when photographing wildlife in action — you might be waiting all day for something to happen, so capturing a few extra frames can be the difference between a good and a great photo.
Jason Fenton | Sony A1 | Sony FE 200-600mm f/5.6-6.3 G OSS | 200mm | f/6.3 | ISO 500 | 1/2000
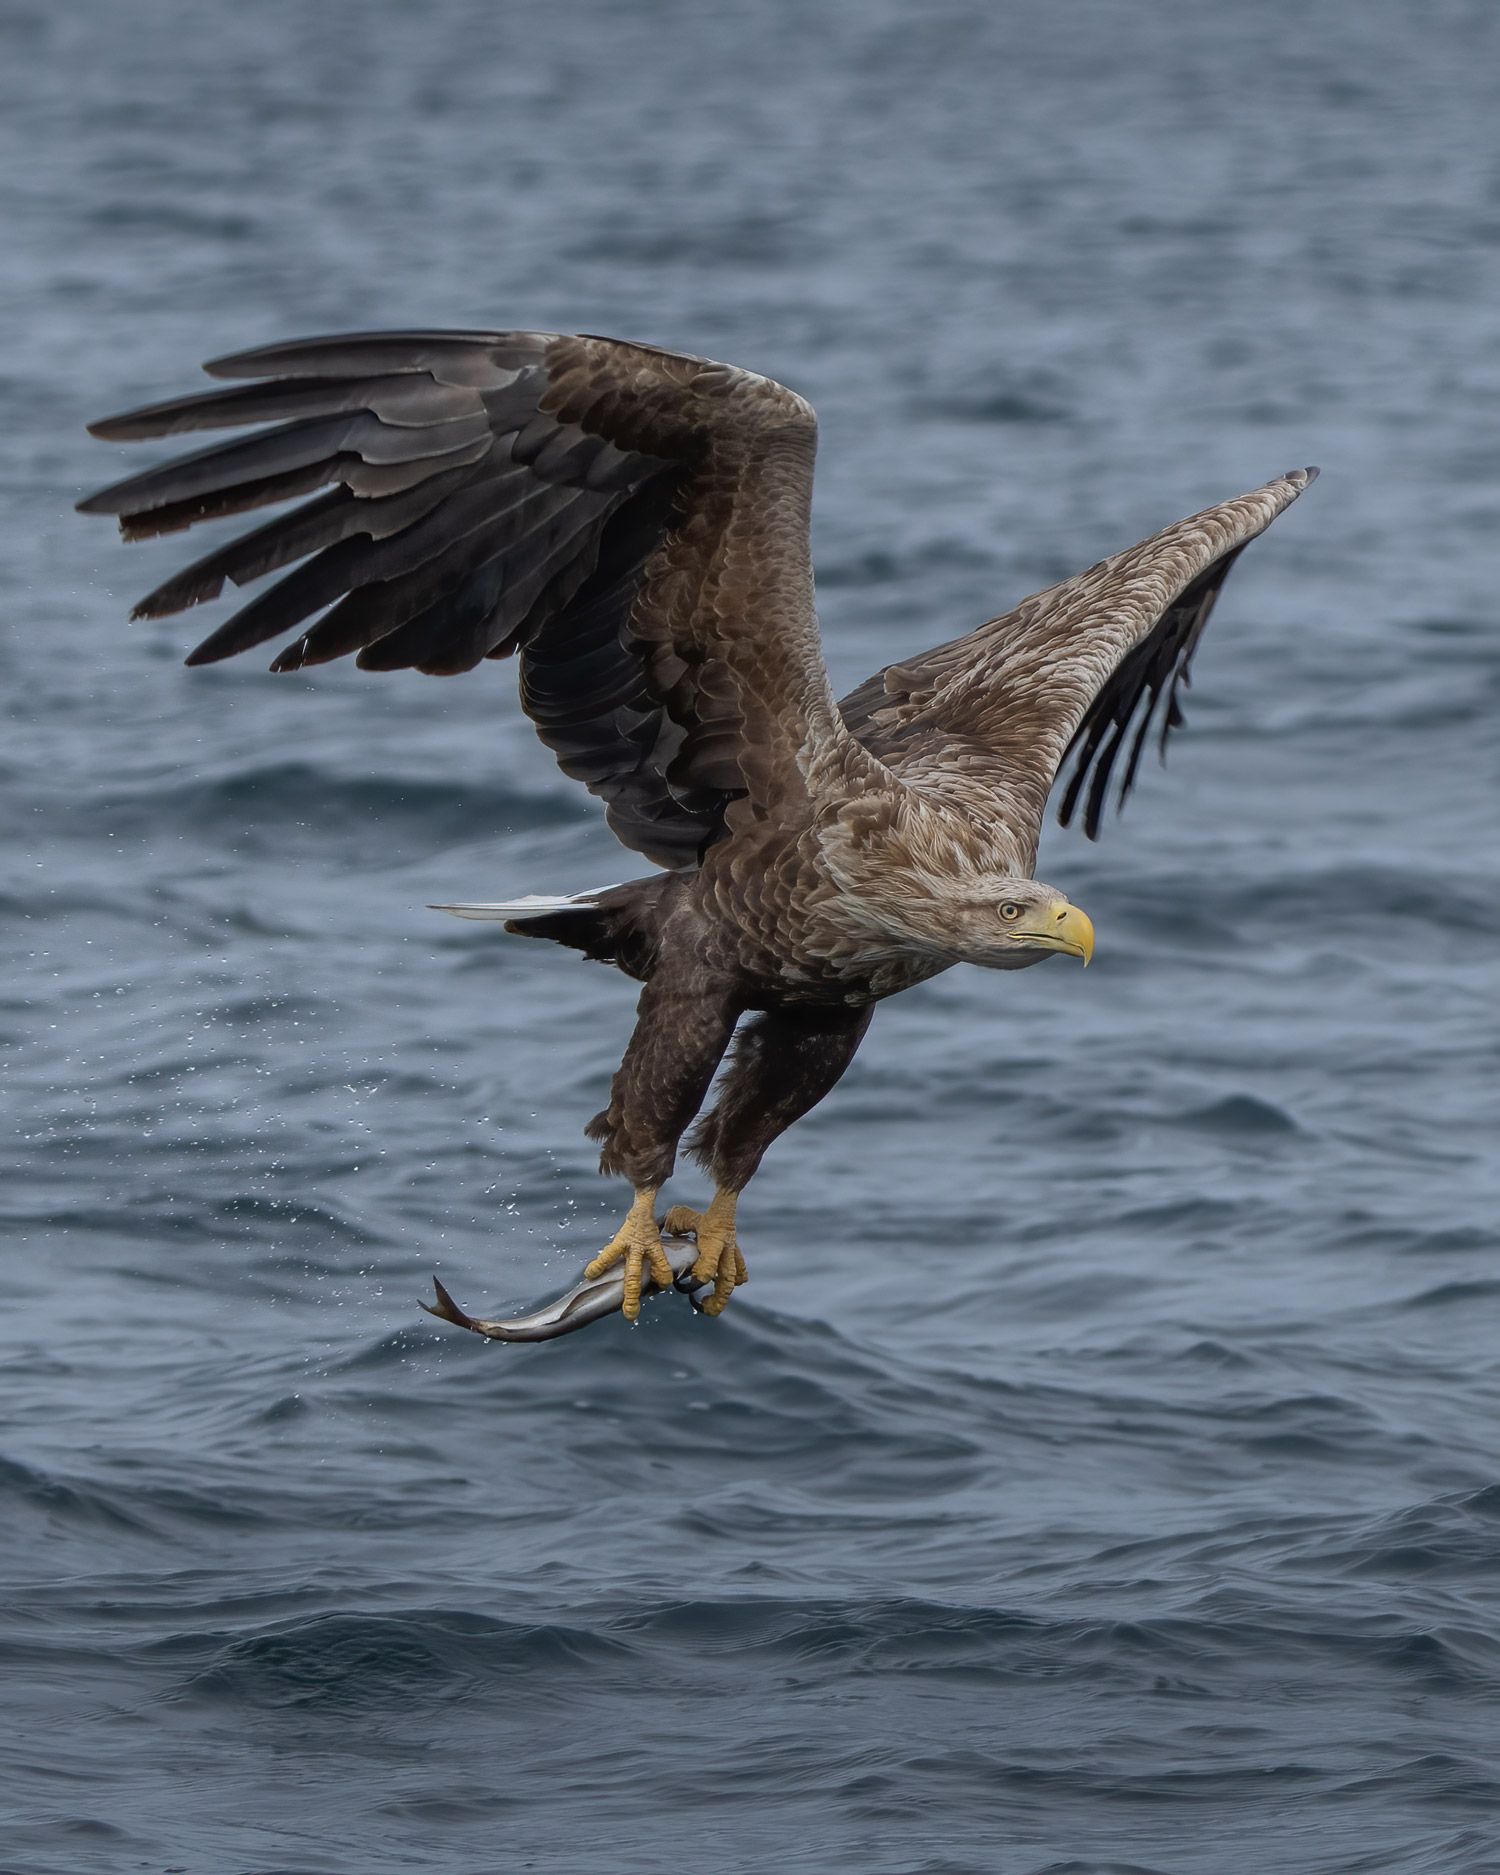
7. Focus on the eyes
Some of the more recent mirrorless cameras feature different types of autofocus. Animal eye autofocus will identify and track the eyes of the animal or bird in your frame, making sure they’re completely in focus.
If your camera doesn’t have animal eye autofocus, you can still use standard autofocus—or even manual focus with focus peaking on mirrorless cameras—but take extra care to make sure your subject's eyes are in focus.
There’s nothing worse than reviewing your images and realising the focus wasn’t quite right. You won’t be able to fix missing focus in post-production.
Richard Peters
8. Consider your composition
How can you position your subject and other elements within the frame to make your image stand out? You have to know the rules to break them. Get to grips with a few basic composition techniques, like the rule of thirds, leading lines and framing, by reading our beginner’s guide to composition.
9. Try auto and semi-auto modes before manual
The exposure triangle—balancing ISO, aperture and shutter speed—will take a while to grasp, especially if you’re a photography beginner. But don’t let that get in the way of understanding the other elements of photography. There’s no shame in starting with your camera set to full auto. As you learn more about the exposure triangle and the relationship between ISO, aperture and shutter speed, you can move on to using the priority modes. It does take a while, but once it has ‘clicked’ you’ll be able to shoot in manual all the time.
However, some beginners prefer to jump straight in at the deep end and keep their camera to manual. It’s entirely up to you. Keep at it, and don’t get discouraged. With time, patience and practice, you’ll get the hang of it.
10. Shoot in RAW, edit and curate your images
If you want to edit your photographs, set your camera to shoot RAW. Compared to JPEGs, RAW files will contain far more data to control highlights, shadows and colours through your editing software. Some cameras will allow you to simultaneously record each shot as both JPEG and RAW files, so you can quickly review and shortlist your photos as JPEGs and then edit the corresponding RAW file. But you will probably need a high-capacity, high-speed SD card to handle the amount of data you're recording.
For many photographers, photo editing is an integral part of the photography process. Wildlife photography is no exception. Whether it’s correcting white balance, adjusting highlights and shadows, or removing blemishes, editing your photos in Lightroom—or similar software—can help bring out the best in your RAW image files.
Richard Peters | Nikon D850 | AF-S 400mm f/2.8 | ISO 2800 | f/2.8 | 1/1000
It can be tempting to publish all the photos as soon as you’ve finished editing. But when you’ve been working on your images for a few hours, you risk overthinking things. Sleep on it first. Later, with fresh eyes, go through your photos—preferably with a friend—and pick out the best images. You should end up with one or two for each subject you’ve photographed.
Publishing hundreds of okay photos on social media can make you look like an okay photographer. And that’s absolutely fine. But image curation is always a good skill to develop. Showcase your very best, keep pushing yourself, and take positive criticism while staying kind to yourself. You’ll find that your average keeps improving.
What camera gear do I need for wildlife photography?
When you start, begin with the basics and grow your camera bag from there. It’s easy to trade in and upgrade and avoid overspending on features you might never need. A full-frame camera isn’t generally required at first. Some photographers prefer the further ‘reach’ offered by a camera with a crop factor of 1.5 or more.
For wildlife photography beginners, we’d recommend the Canon EOS 7D and Canon EF 75-300mm f/4-5.6 III USM or the Nikon D7100 and Nikon AF 70-300mm f/4-5.6G.
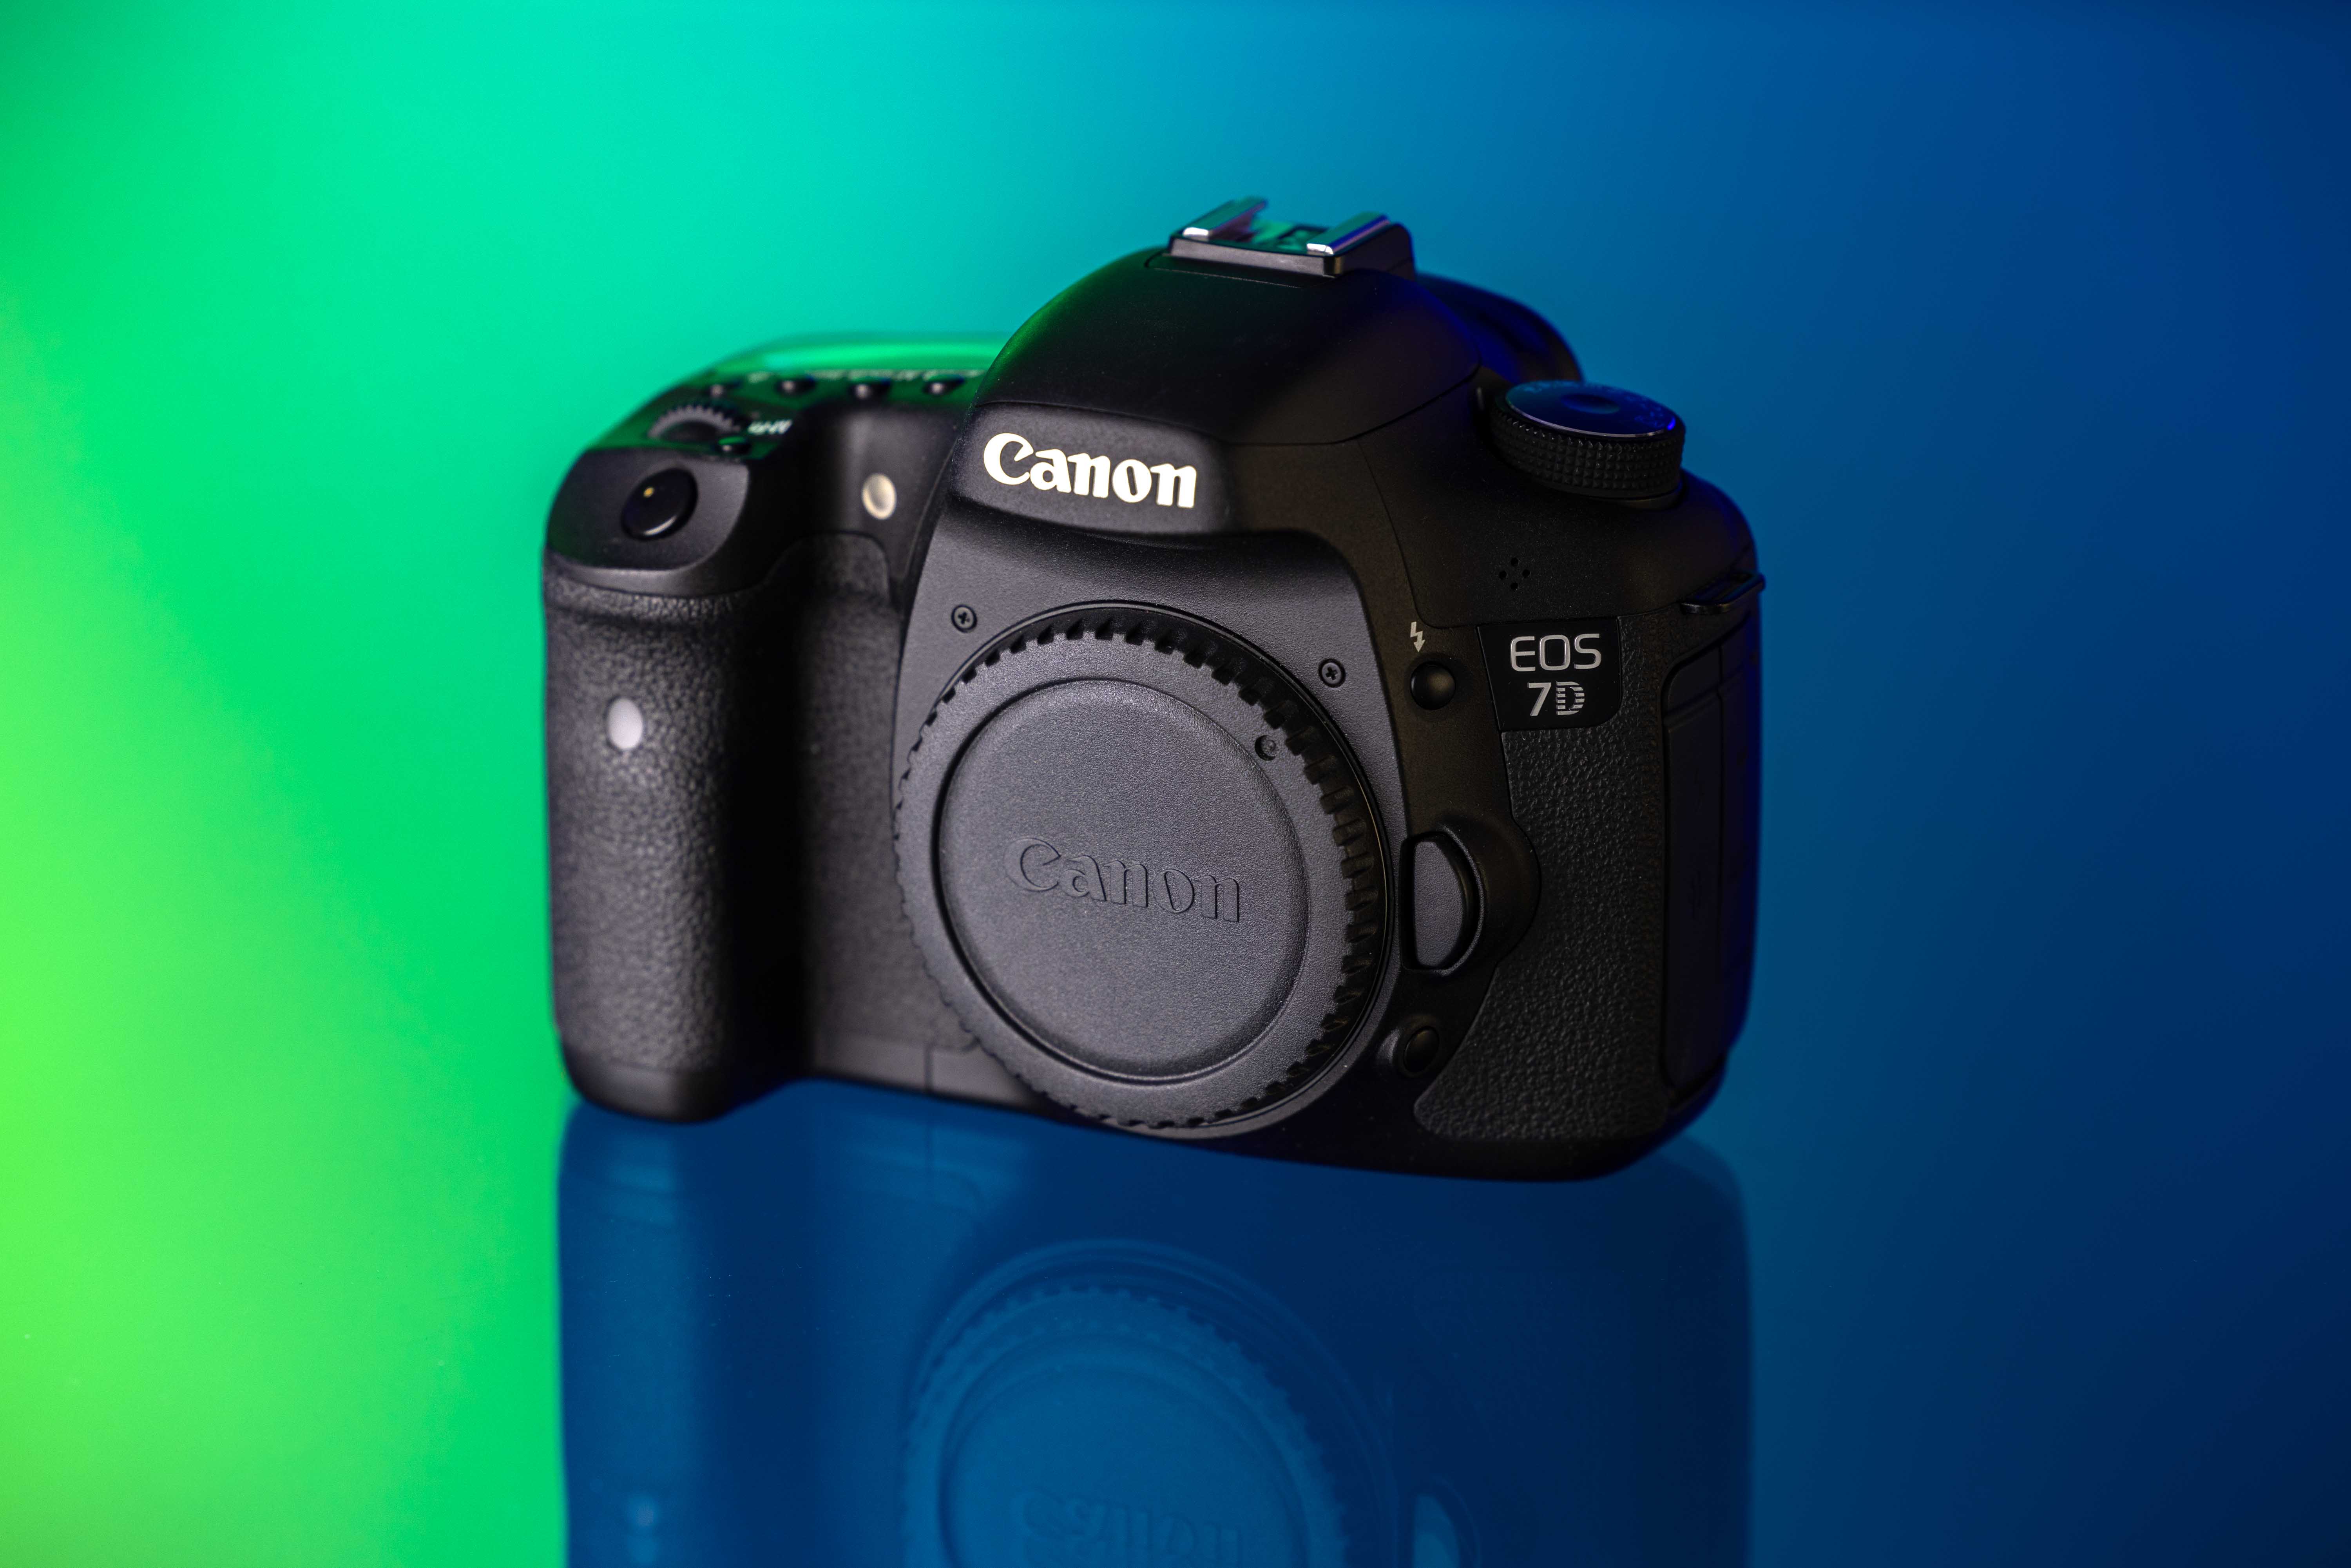
Canon EOS 7D
Then, for intermediate wildlife photographers, we’d suggest going for a mirrorless camera. If you prefer Canon, try the Canon EOS R7 with the Canon RF 100-500mm f/4.5-7.1L IS or 100-400mm f/5.6-8 IS USM. Or, the full-frame Nikon Z7 or Nikon Z7 II with the Nikon Z 100-400mm f/4.5-5.6 VR S.
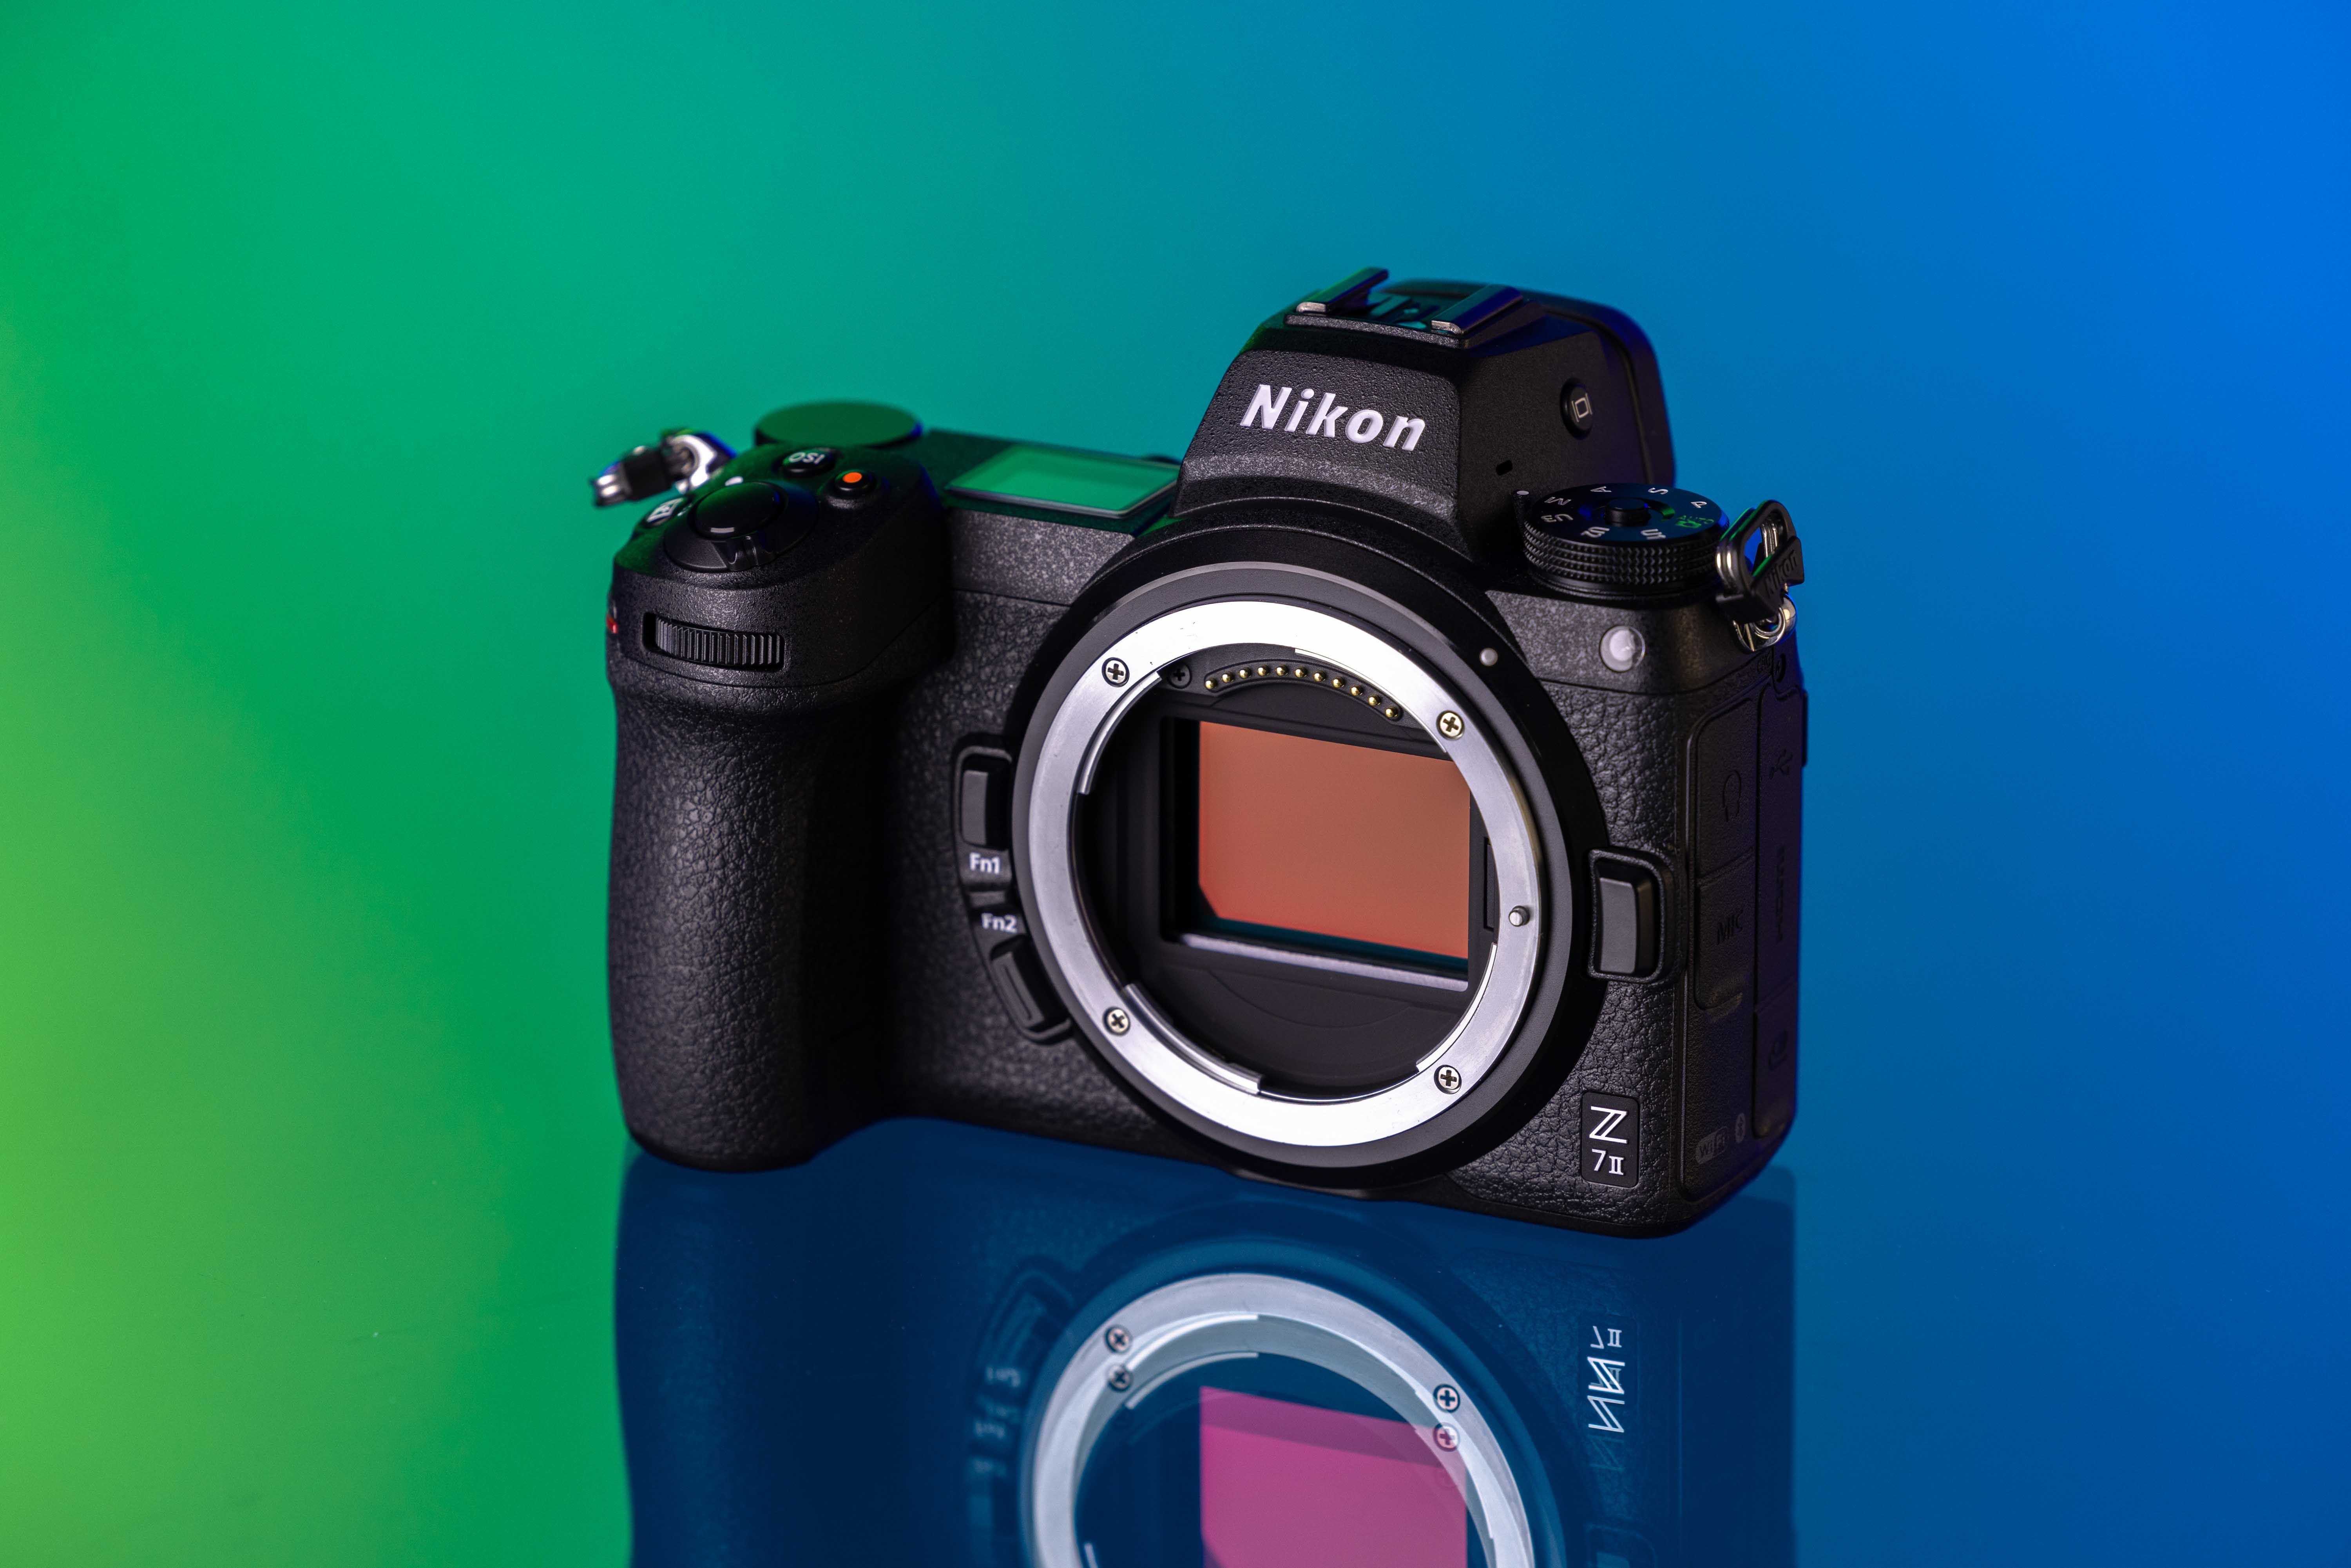
Nikon Z7 II
Alternatively, you could try the APS-C Fujifilm X-T3 and Fujifilm XF 150-600mm f/5.6-8 R LM OIS WR or the full-frame Sony A7 III and Sony FE 100-400mm f/4.5-5.6 GM OSS or 200-600mm f/5.6-6.3 G OSS. Learn more about these lenses as Ester Turri reviews the Sony 100-400mm f/4.5-5.6 GM OSS and Rachel Sarah reviews the Sony 200-600mm f/5.6-6.3 G OSS.
Next, when you’re ready to make the leap and become a professional wildlife photographer, it’s worth investing in the flagship full-frame mirrorless Sony A1, paired with the Sony FE 400mm f/2.8 GM OSS and 600mm f/4 GM OSS. For more, read Mark Rowe & Sophie Green's Sony 400mm f/2.8 GM OSS review and Jason Fenton's Sony A1 review.
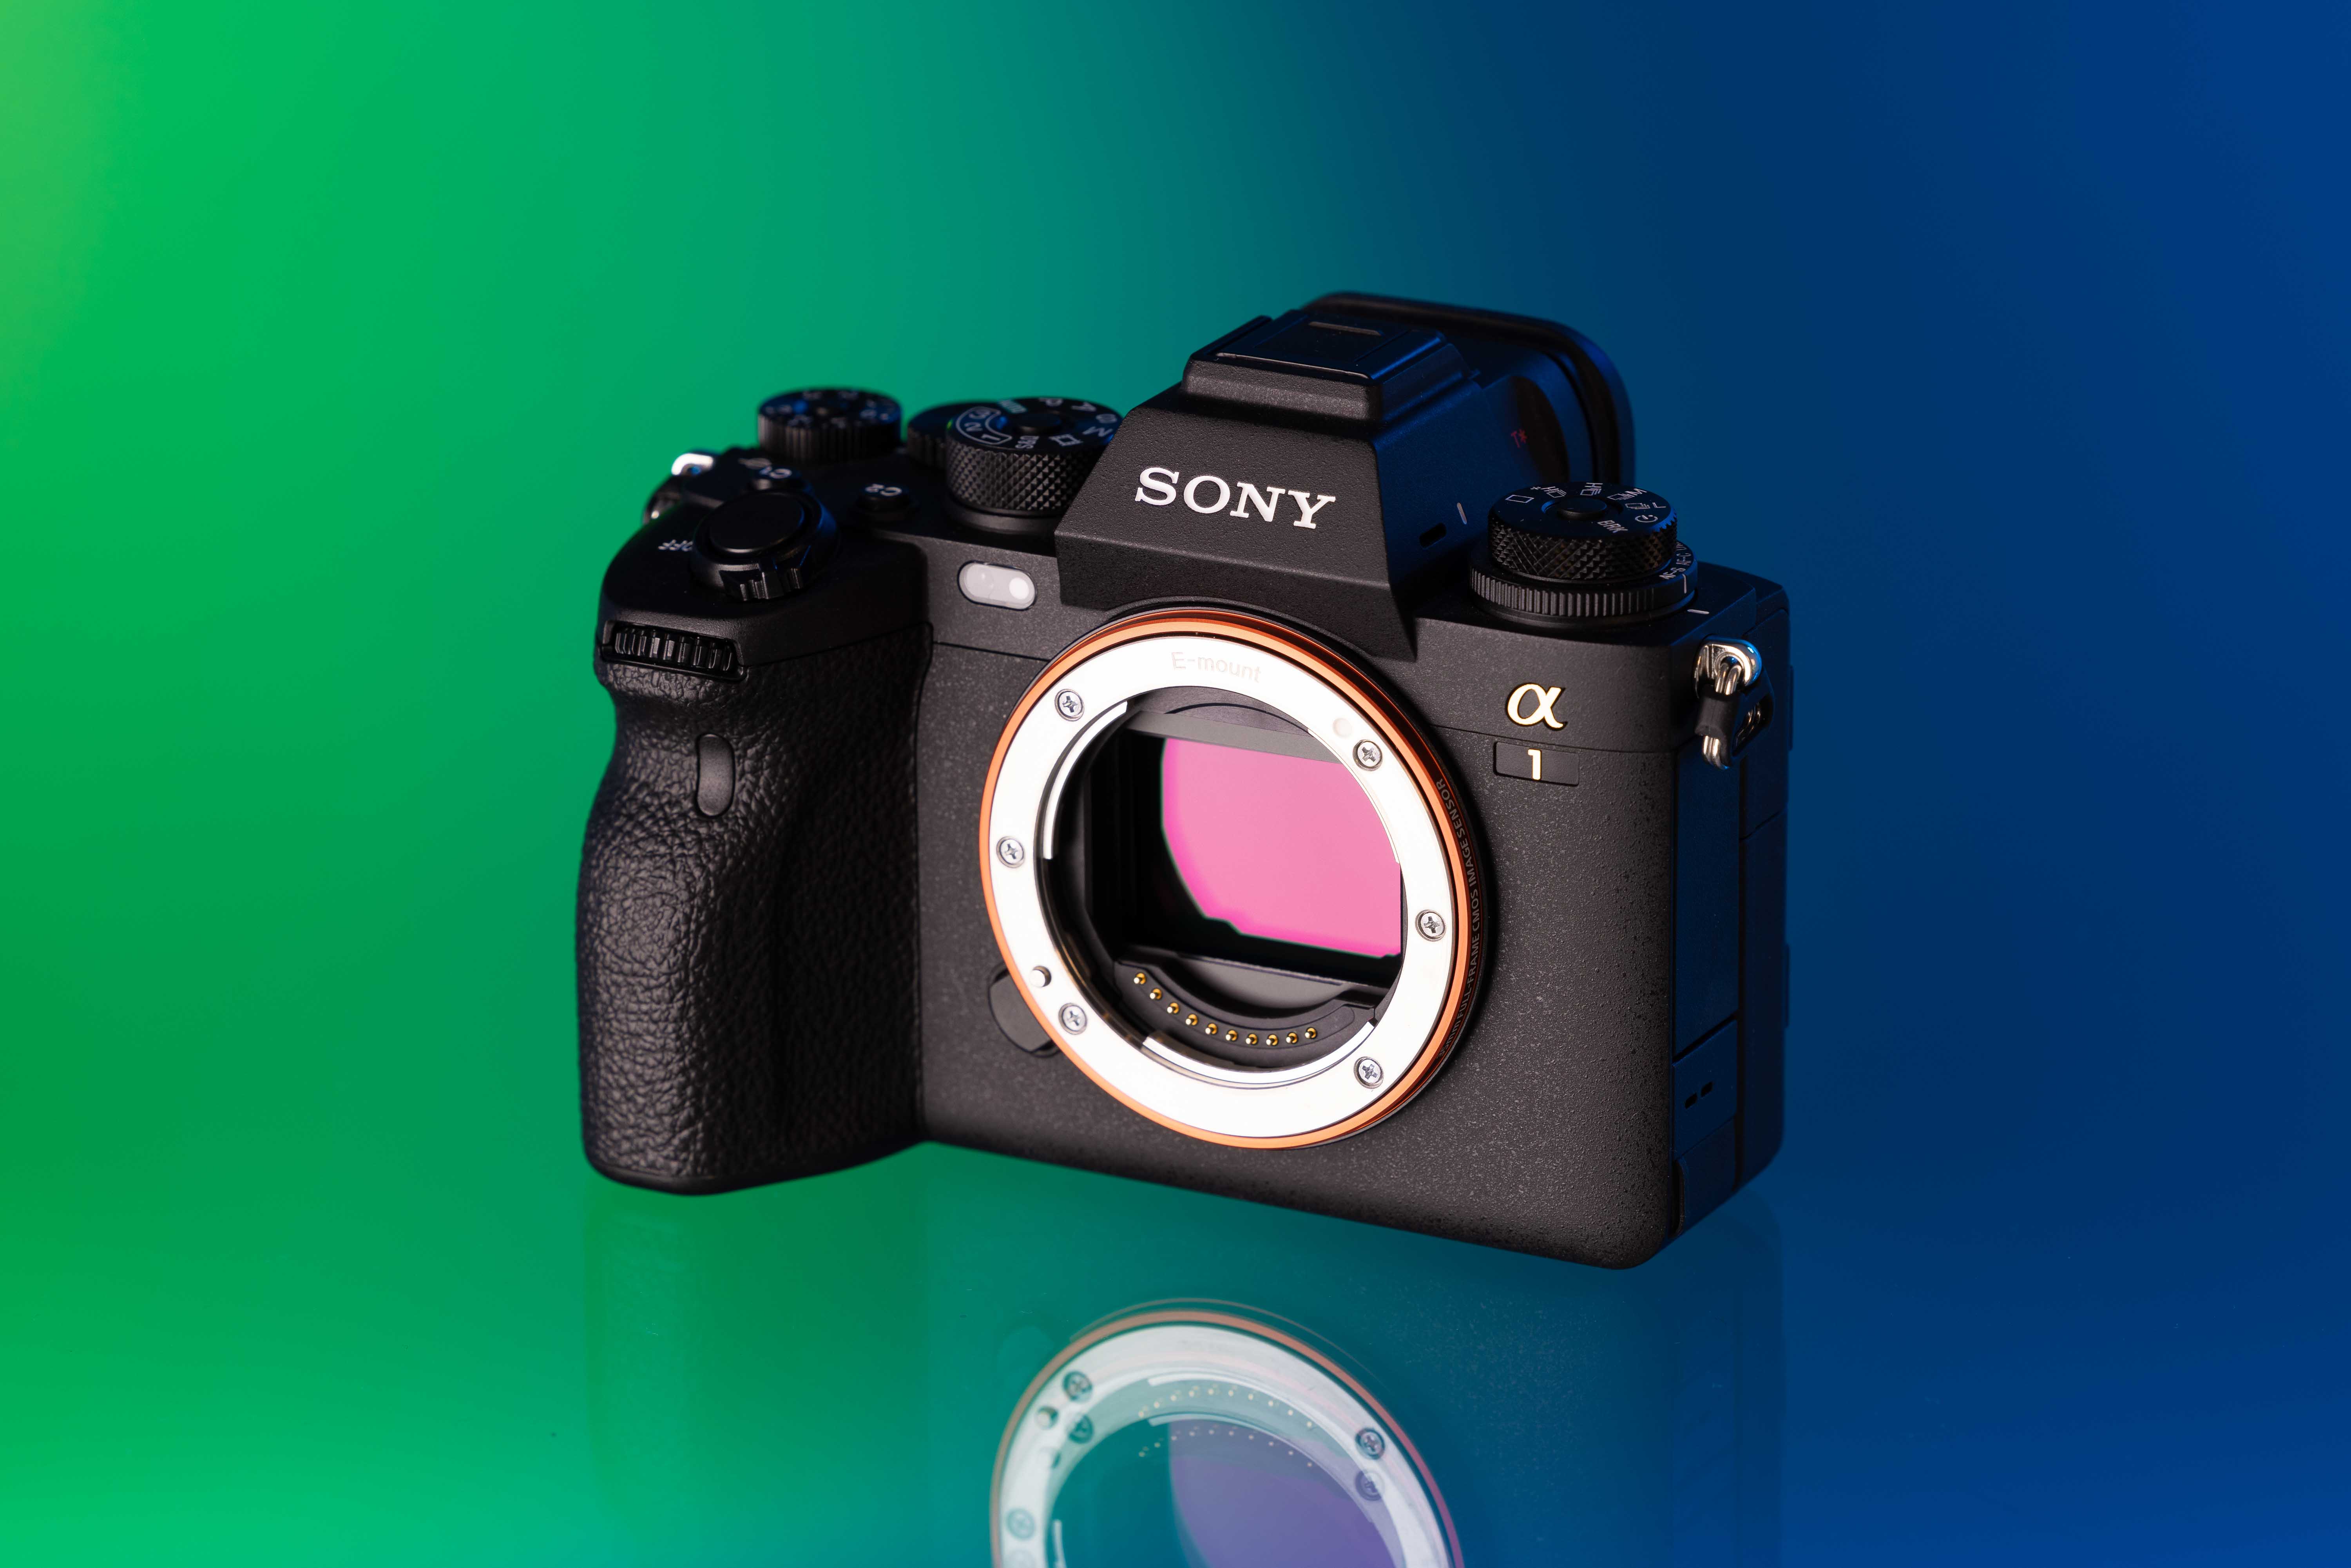
Used Sony A1
Or, you could choose the Canon EOS R3 with the Canon RF 600mm f/4 L IS, 800mm f/11 IS STM and 1200mm f/8 L IS. Another great pro-level option is the Nikon Z9 with the Nikon Z 400mm f/4.5 VR S, 600mm f/4 TC VR S and 800mm f/6.3 VR S.

In the Field: Canon EOS R5 for Wildlife & Bird Photography
Having worked on the BBC’s Earth, Springwatch and The One Show, wildlife filmmaker and TV presenter Hannah Stitfall reviews the Canon EOS R5 in northern Sweden.
In the Field: Nikon Z9 | Moving to Mirrorless for Wildlife
Conservation biologist and wildlife photographer Lara Jackson reviews the Nikon Z9 after using the Panasonic DMC-FZ330 and Canon EOS 750D.
What camera gear do I need for wildlife videography or filmmaking?
Wildlife videography and filmmaking have many of the same technical requirements as wildlife photography—but with perhaps a few more variables to consider, especially as you develop your skills and techniques.
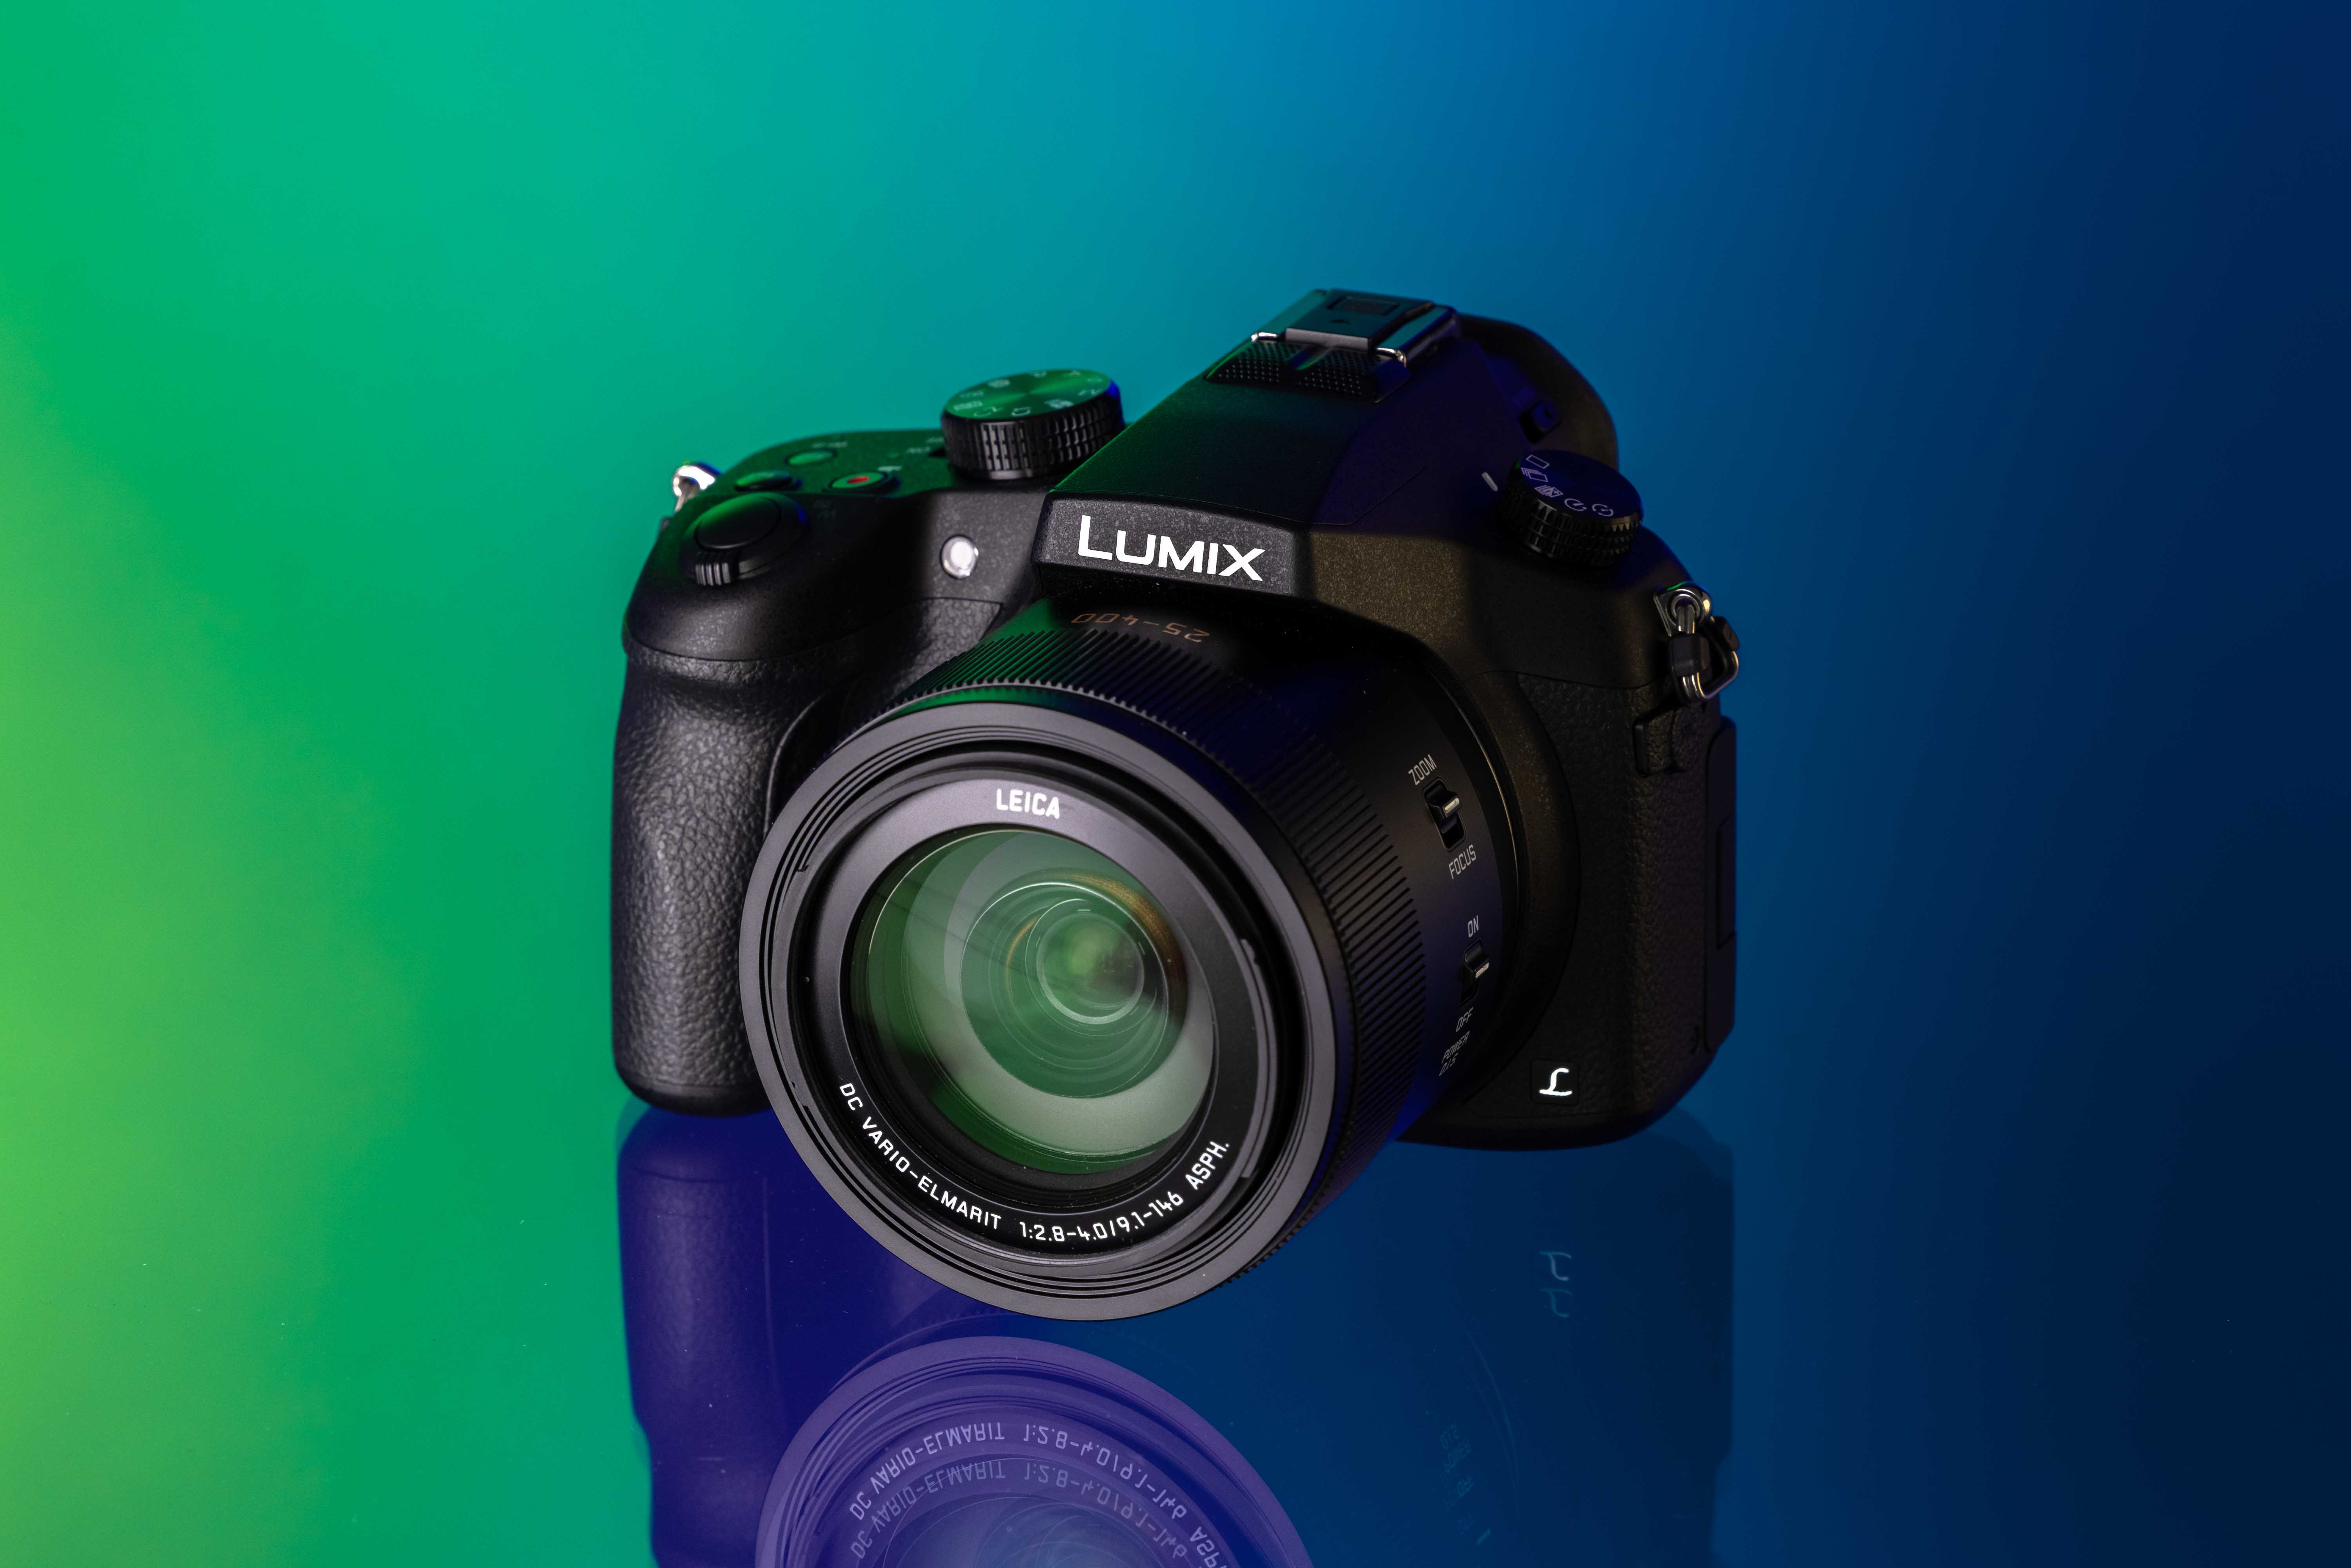
Wildlife videography beginners could consider the 4K Panasonic DMC-FZ1000, which has a built-in Leica 25-400mm f/2.8-4.0 zoom lens, or the Panasonic DMC-FZ2000, which has an increased reach of 24-480mm. Alternatively, there’s the mirrorless Sony A6100 and the Sony E 55-210mm f/4.5-6.3 OSS.
Panasonic Lumix DMC-FZ1000
For intermediate wildlife videographers, the Nikon P1000 offers excellent value—and reach—for your money, with an equivalent reach of 3,000mm. Otherwise, the Micro Four Thirds Olympus OM-D E-M1X and the Olympus M.Zuiko Digital ED 75-300mm f/4.8-6.7 II will offer more flexibility and better image quality.
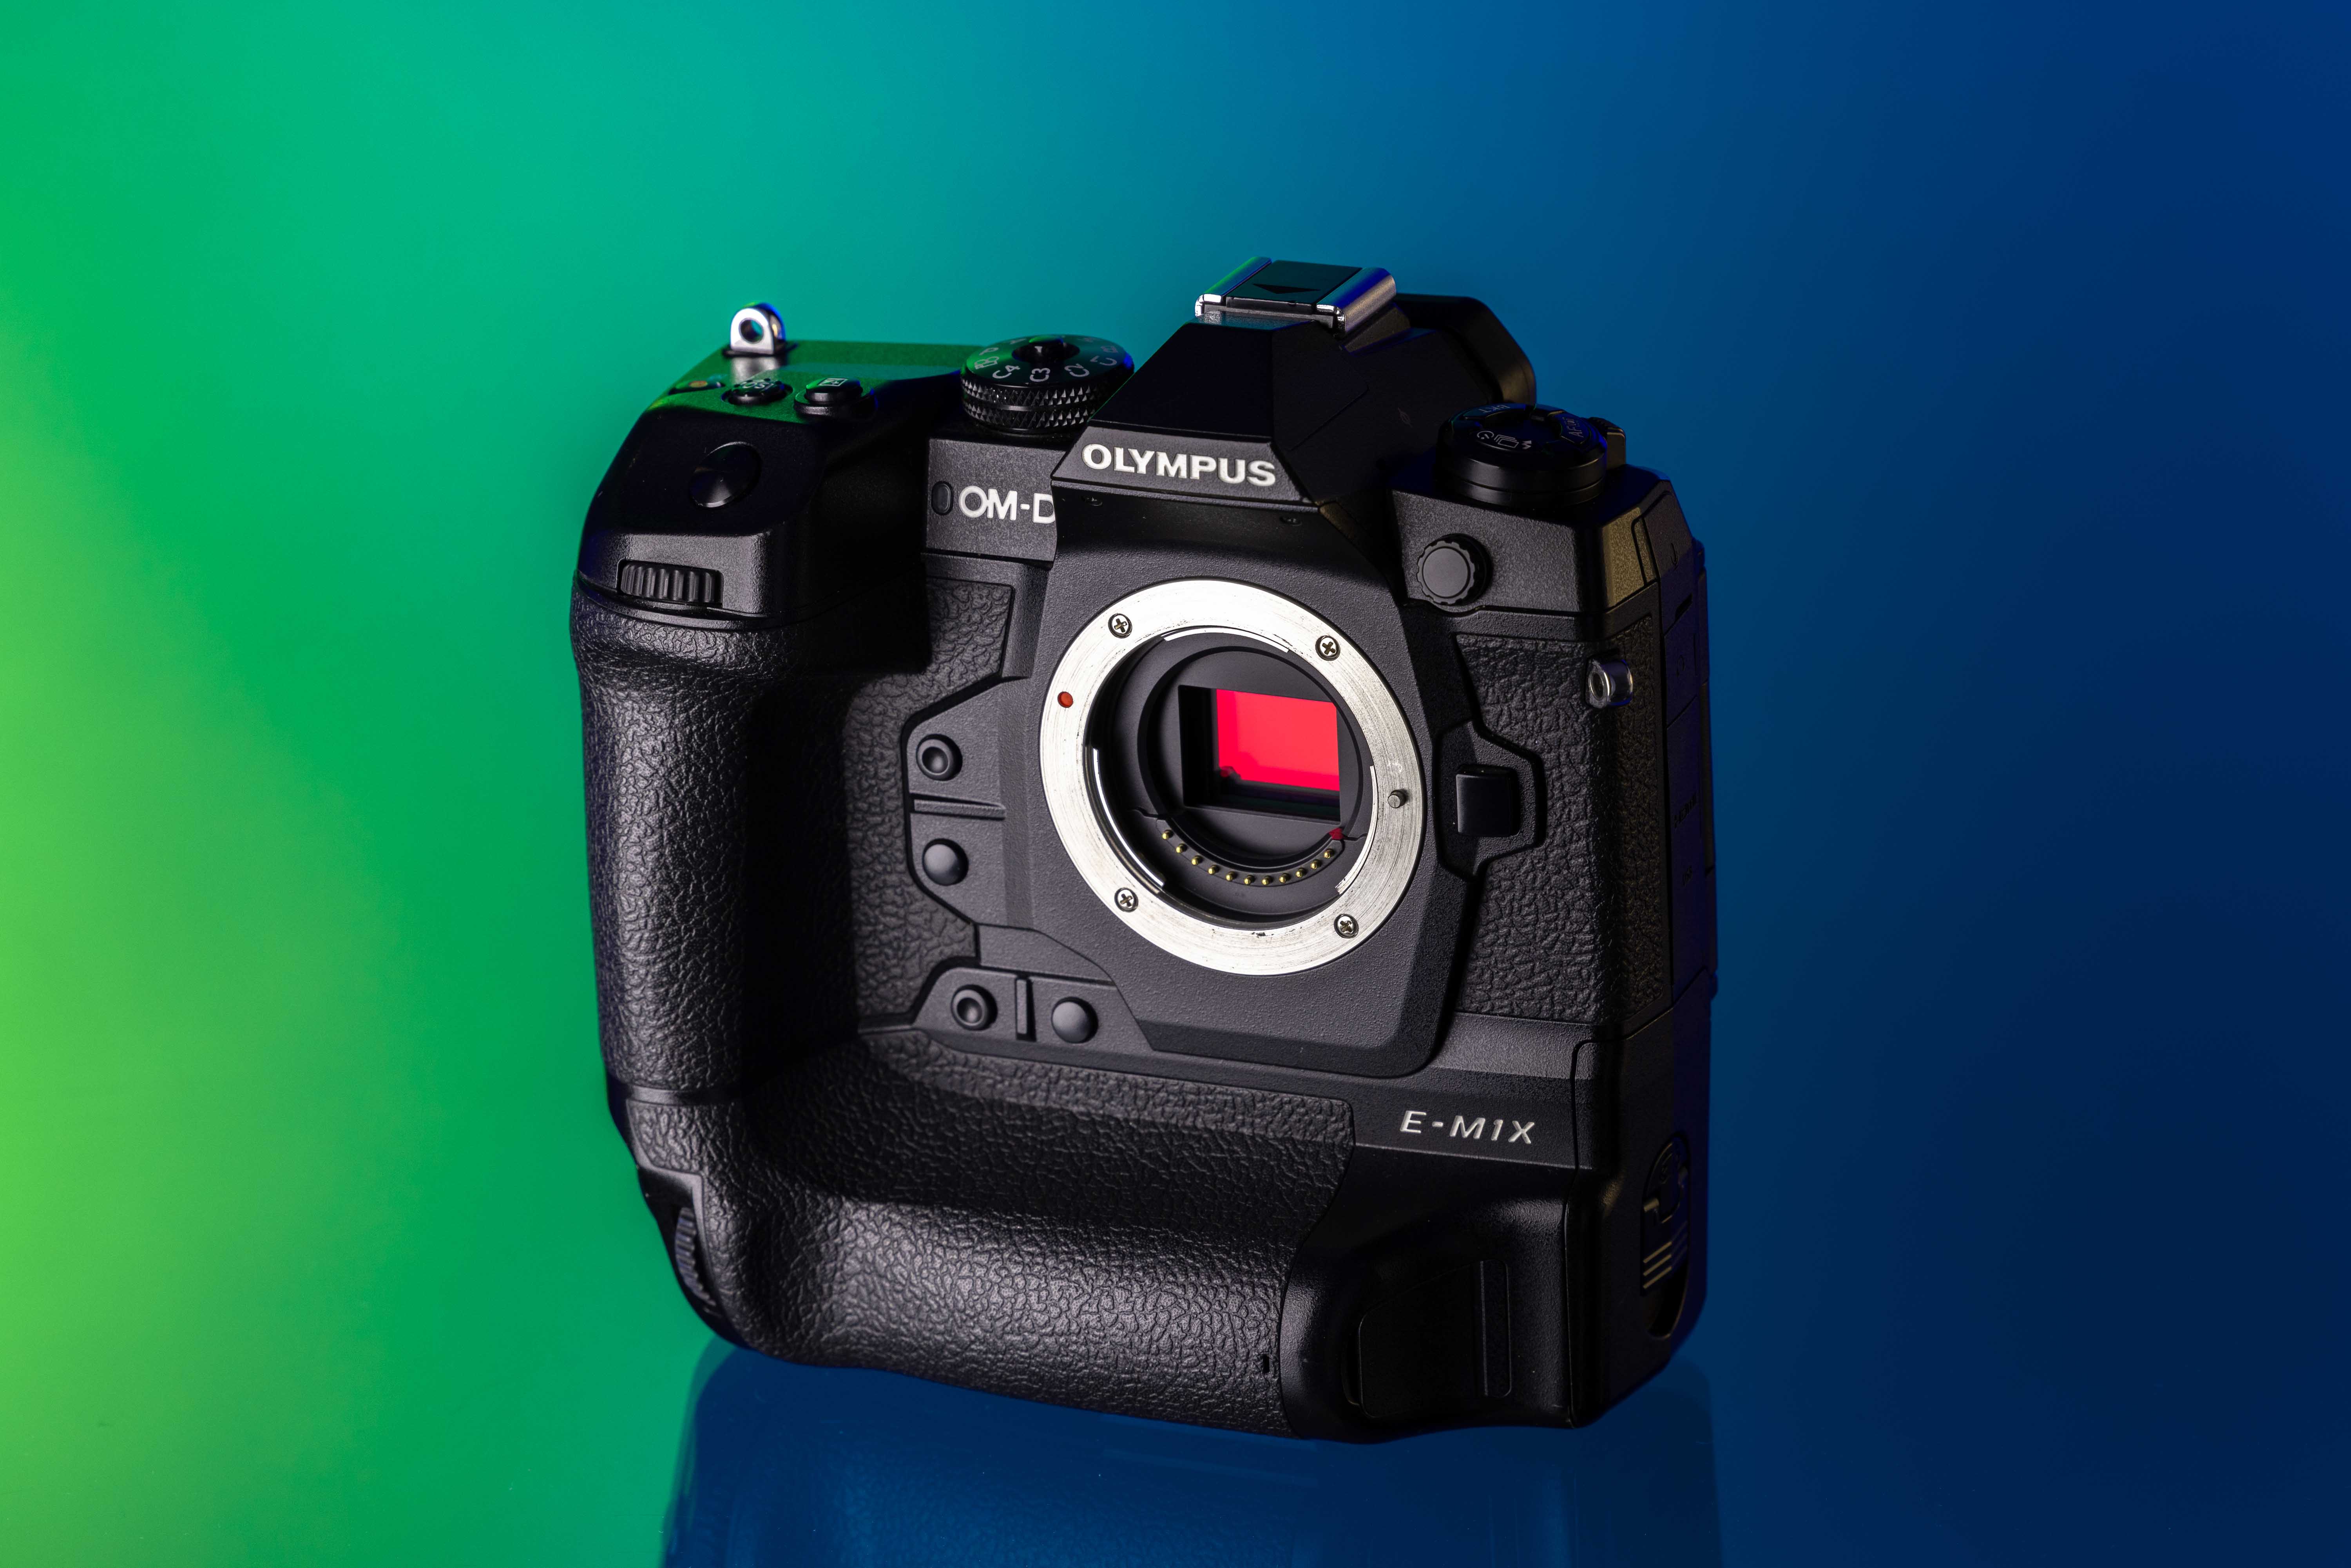
Olympus OM-D E-M1X
Pro wildlife videographers can’t go wrong with the industry-standard Sony PXW-FS7 II and Sony FE 100-400mm f/4.5-5.6 GM OSS.
If you want to capture video and stills, then you could choose the Fujifilm X-H2S, the Canon EOS R5 or the Nikon Z9 with the Fujifilm XF 70-300mm f/4-5.6 R LM OIS WR, the Canon RF 100-500mm f/4.5-7.1L IS or the Nikon Z 70-200mm f/2.8 VR S.
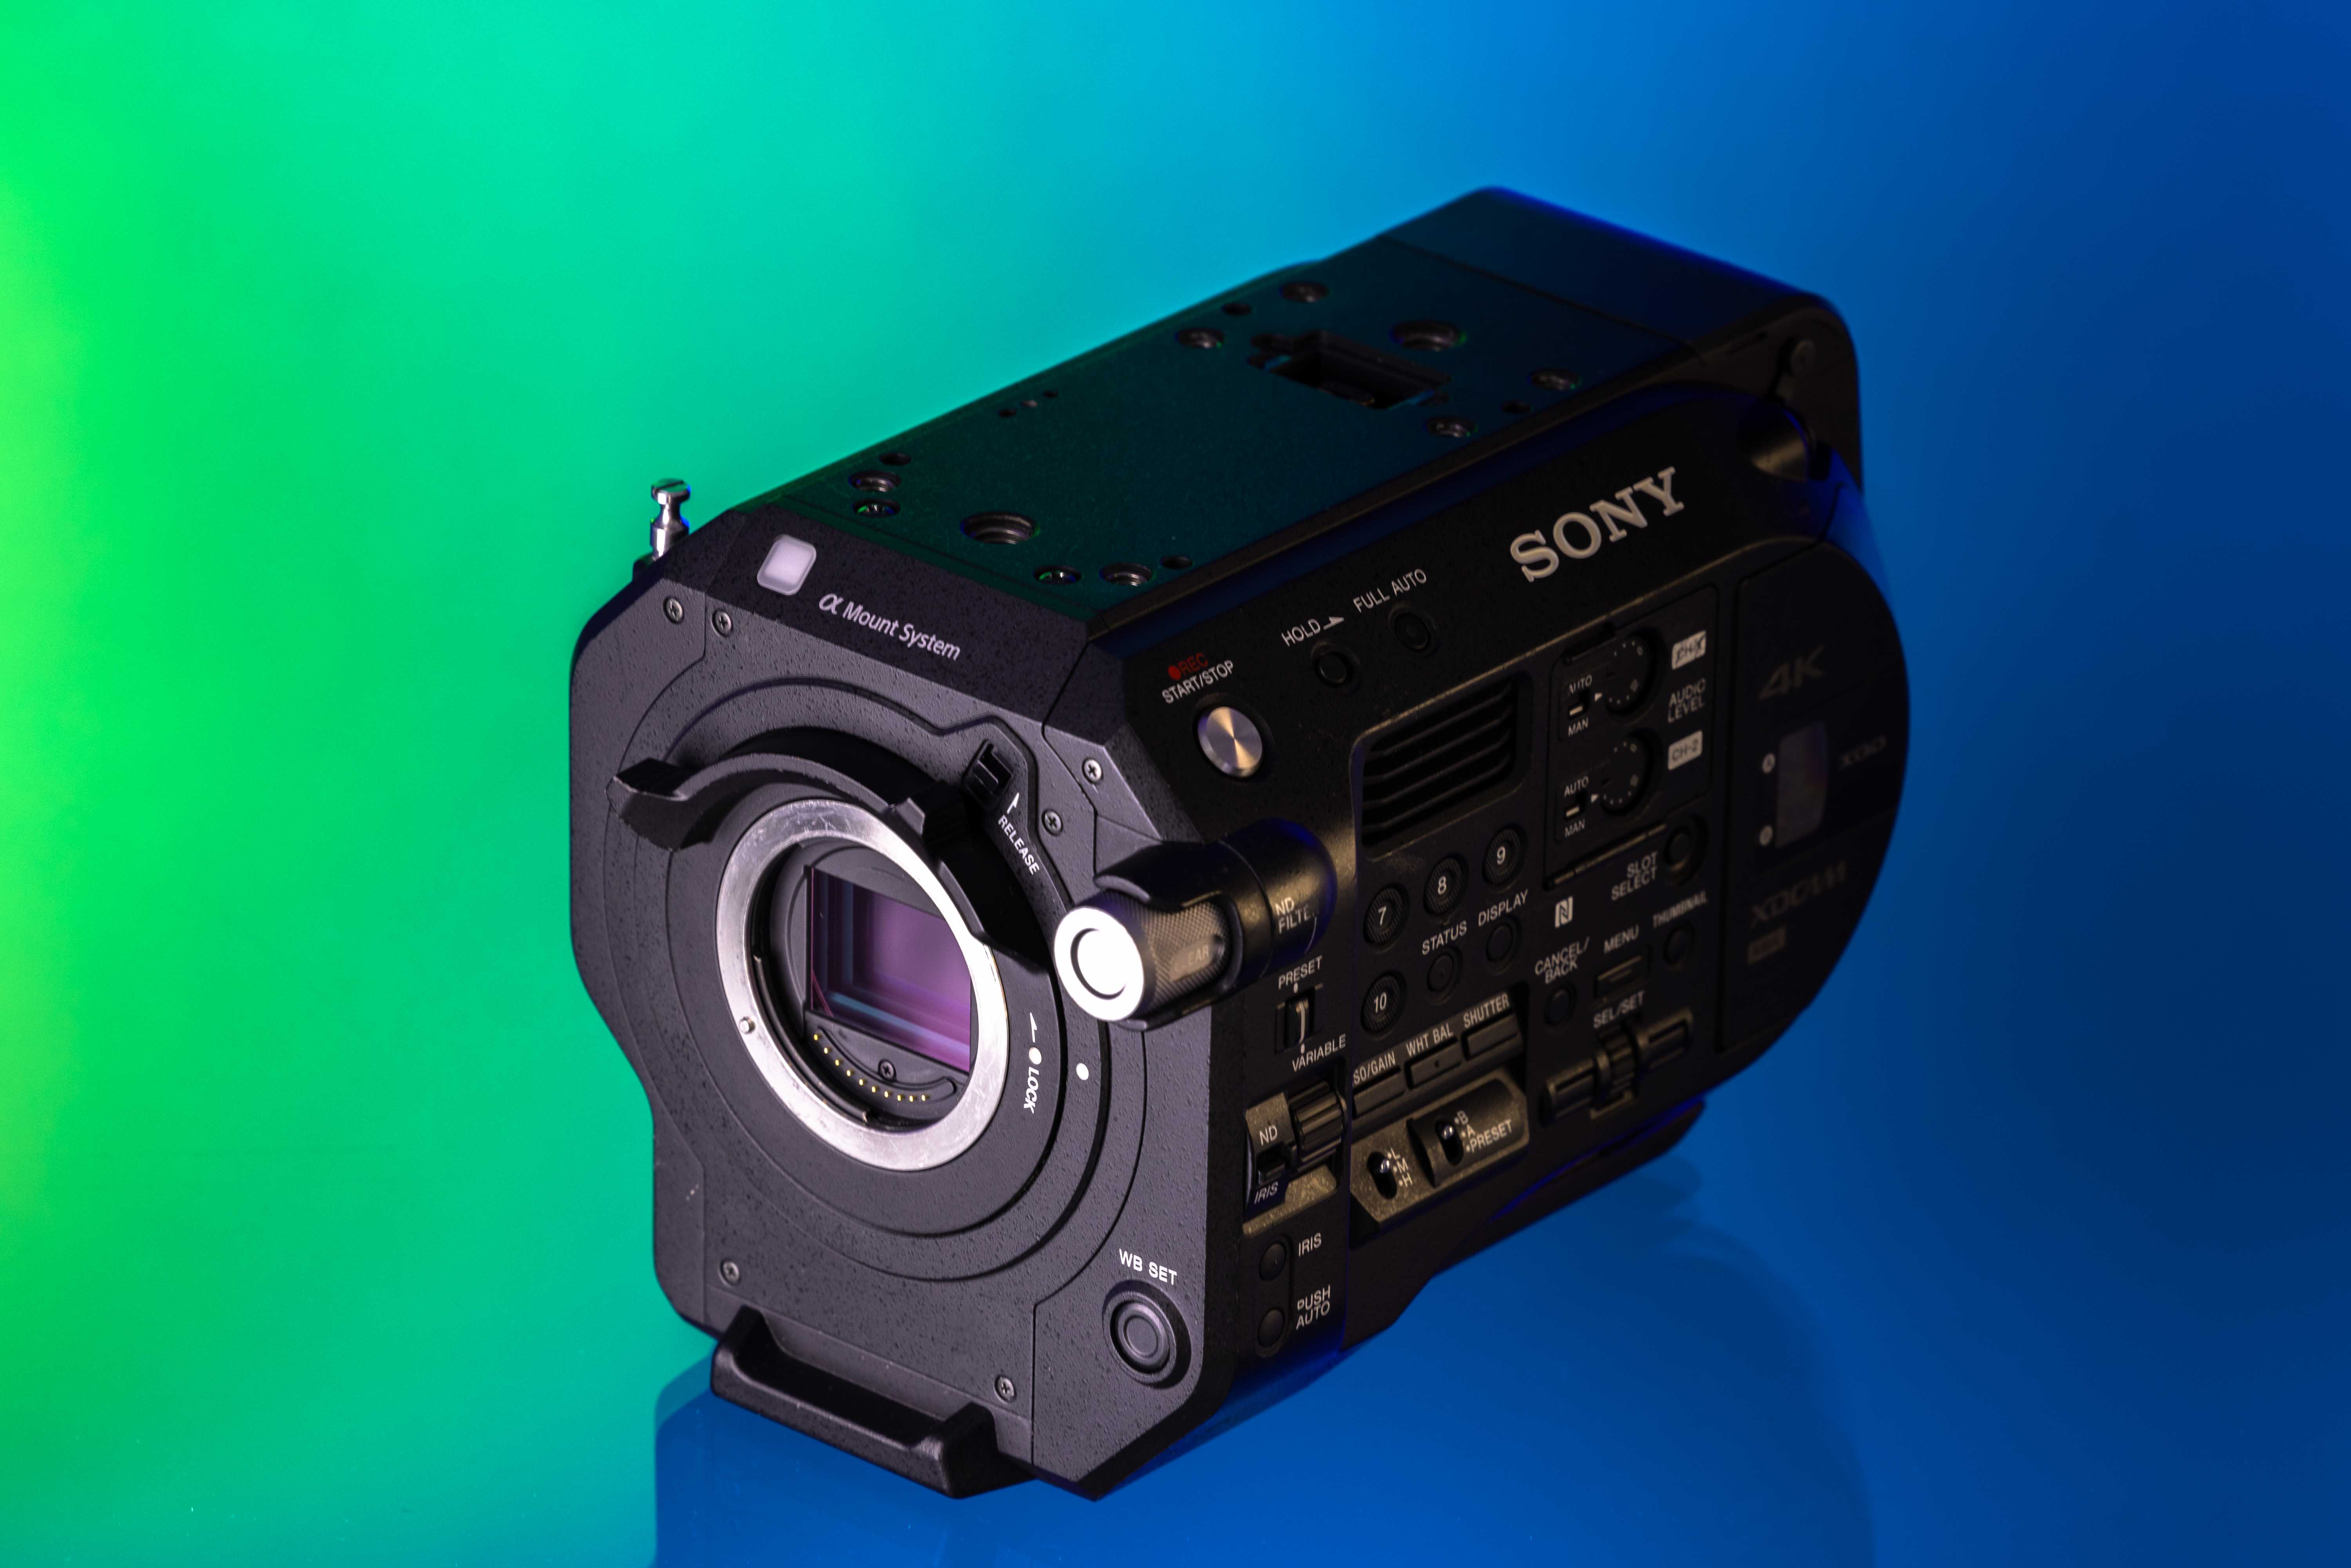
Sony PXW-FS7 II
Get inspired
Now you have the knowledge and the camera equipment, check out these interviews for some extra motivation.
MPB Meets: Wildlife Photographer Mateusz Piesiak
Our interview with wildlife photographer Mateusz Piesiak, Siena International Photo Award winner, on his camera gear and advice for creating wildlife photography.
MPB Meets: Wildlife Photographer Sasan Amir
In our interview with wildlife photographer Sasan Amir, featured in National Geographic and BBC Earth, Sasan discusses his kit choices, creative workflow and advice for beginners.
MPB Meets: BAFTA-nominated Wildlife Cinematographer Alex Vail
Our interview with Alex Vail, who has worked on iconic wildlife documentaries including Frozen Planet II, Blue Planet II, and Seven Worlds, One Planet.
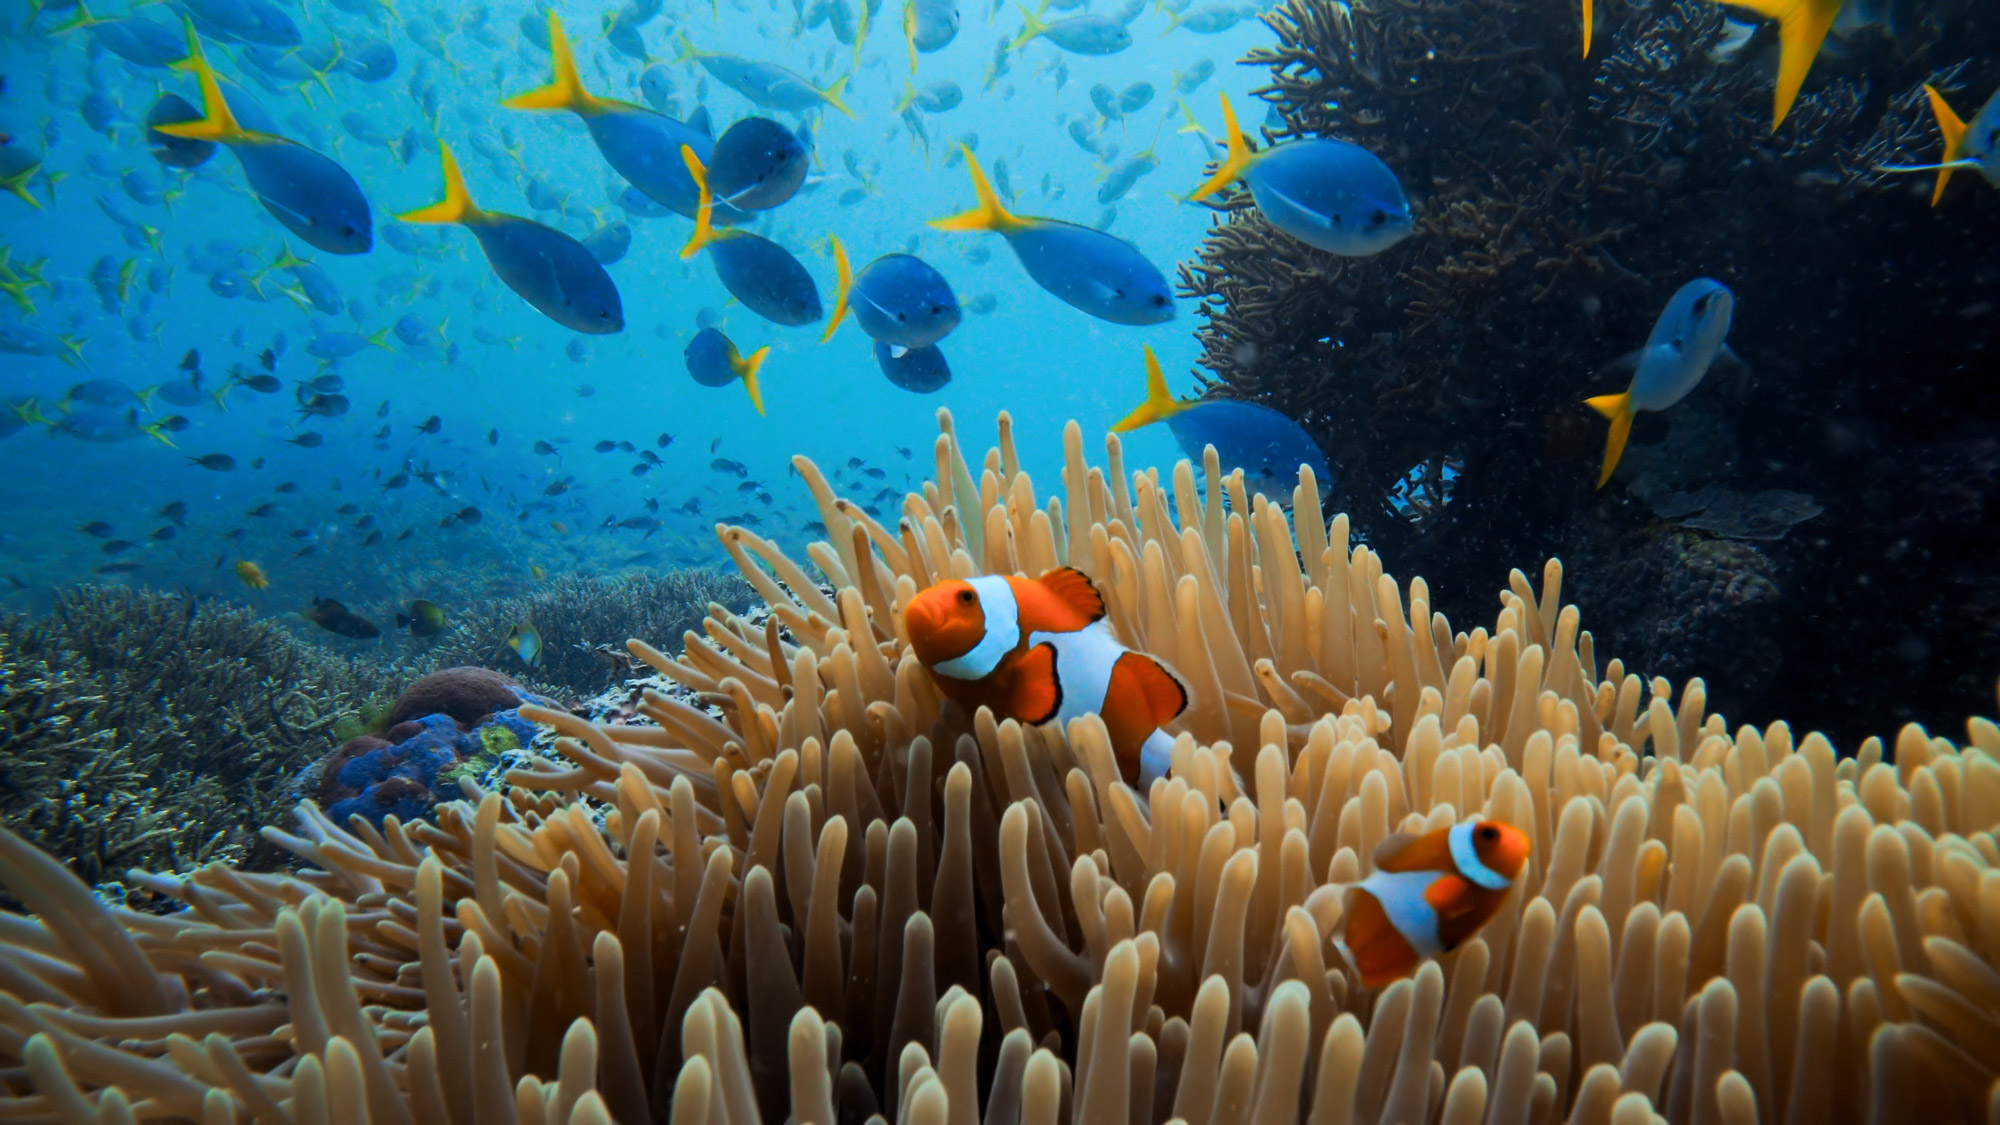
MPB Meets: Marine Wildlife Photographer Steve Truluck
Our interview with Steve Truluck, the subject of the short film Truluck, who shares his journey to becoming a marine wildlife photographer.
Thank you for reading the MPB Guide to Wildlife Photography and Videography, our comprehensive look at how to create wildlife imagery, camera recommendations, advice and interviews with experts.
Looking for more wildlife content?

Selected: Top Camera Gear for Wildlife Photography
Check out the best camera gear for wildlife photography, with options for any budget and level of expertise.
Selected: Top Video Camera Gear for Wildlife Filmmaking
Discover MPB’s recommended camera gear for wildlife video beginners, intermediates and pros.
Advice: Top 10 Tips for Professional Wildlife Photography
Check out Richard Peters' pro wildlife photography advice.
You can sell or trade your camera kit to MPB. Get a free instant quote, free insured shipping to MPB, and get paid within days.