
Photographing a solar eclipse requires lots of preparation: you need to gear up correctly, take certain safety precautions and plan your shoot well.
In this guide, we'll help you prepare for a special photoshoot like this, with tips on what to bring, how to photograph the eclipse and what mistakes to avoid. Plus, we'll share the experience of Justin Patricolo, our MPB videographer in New York, who shot the 2024 solar eclipse from the Big Apple.
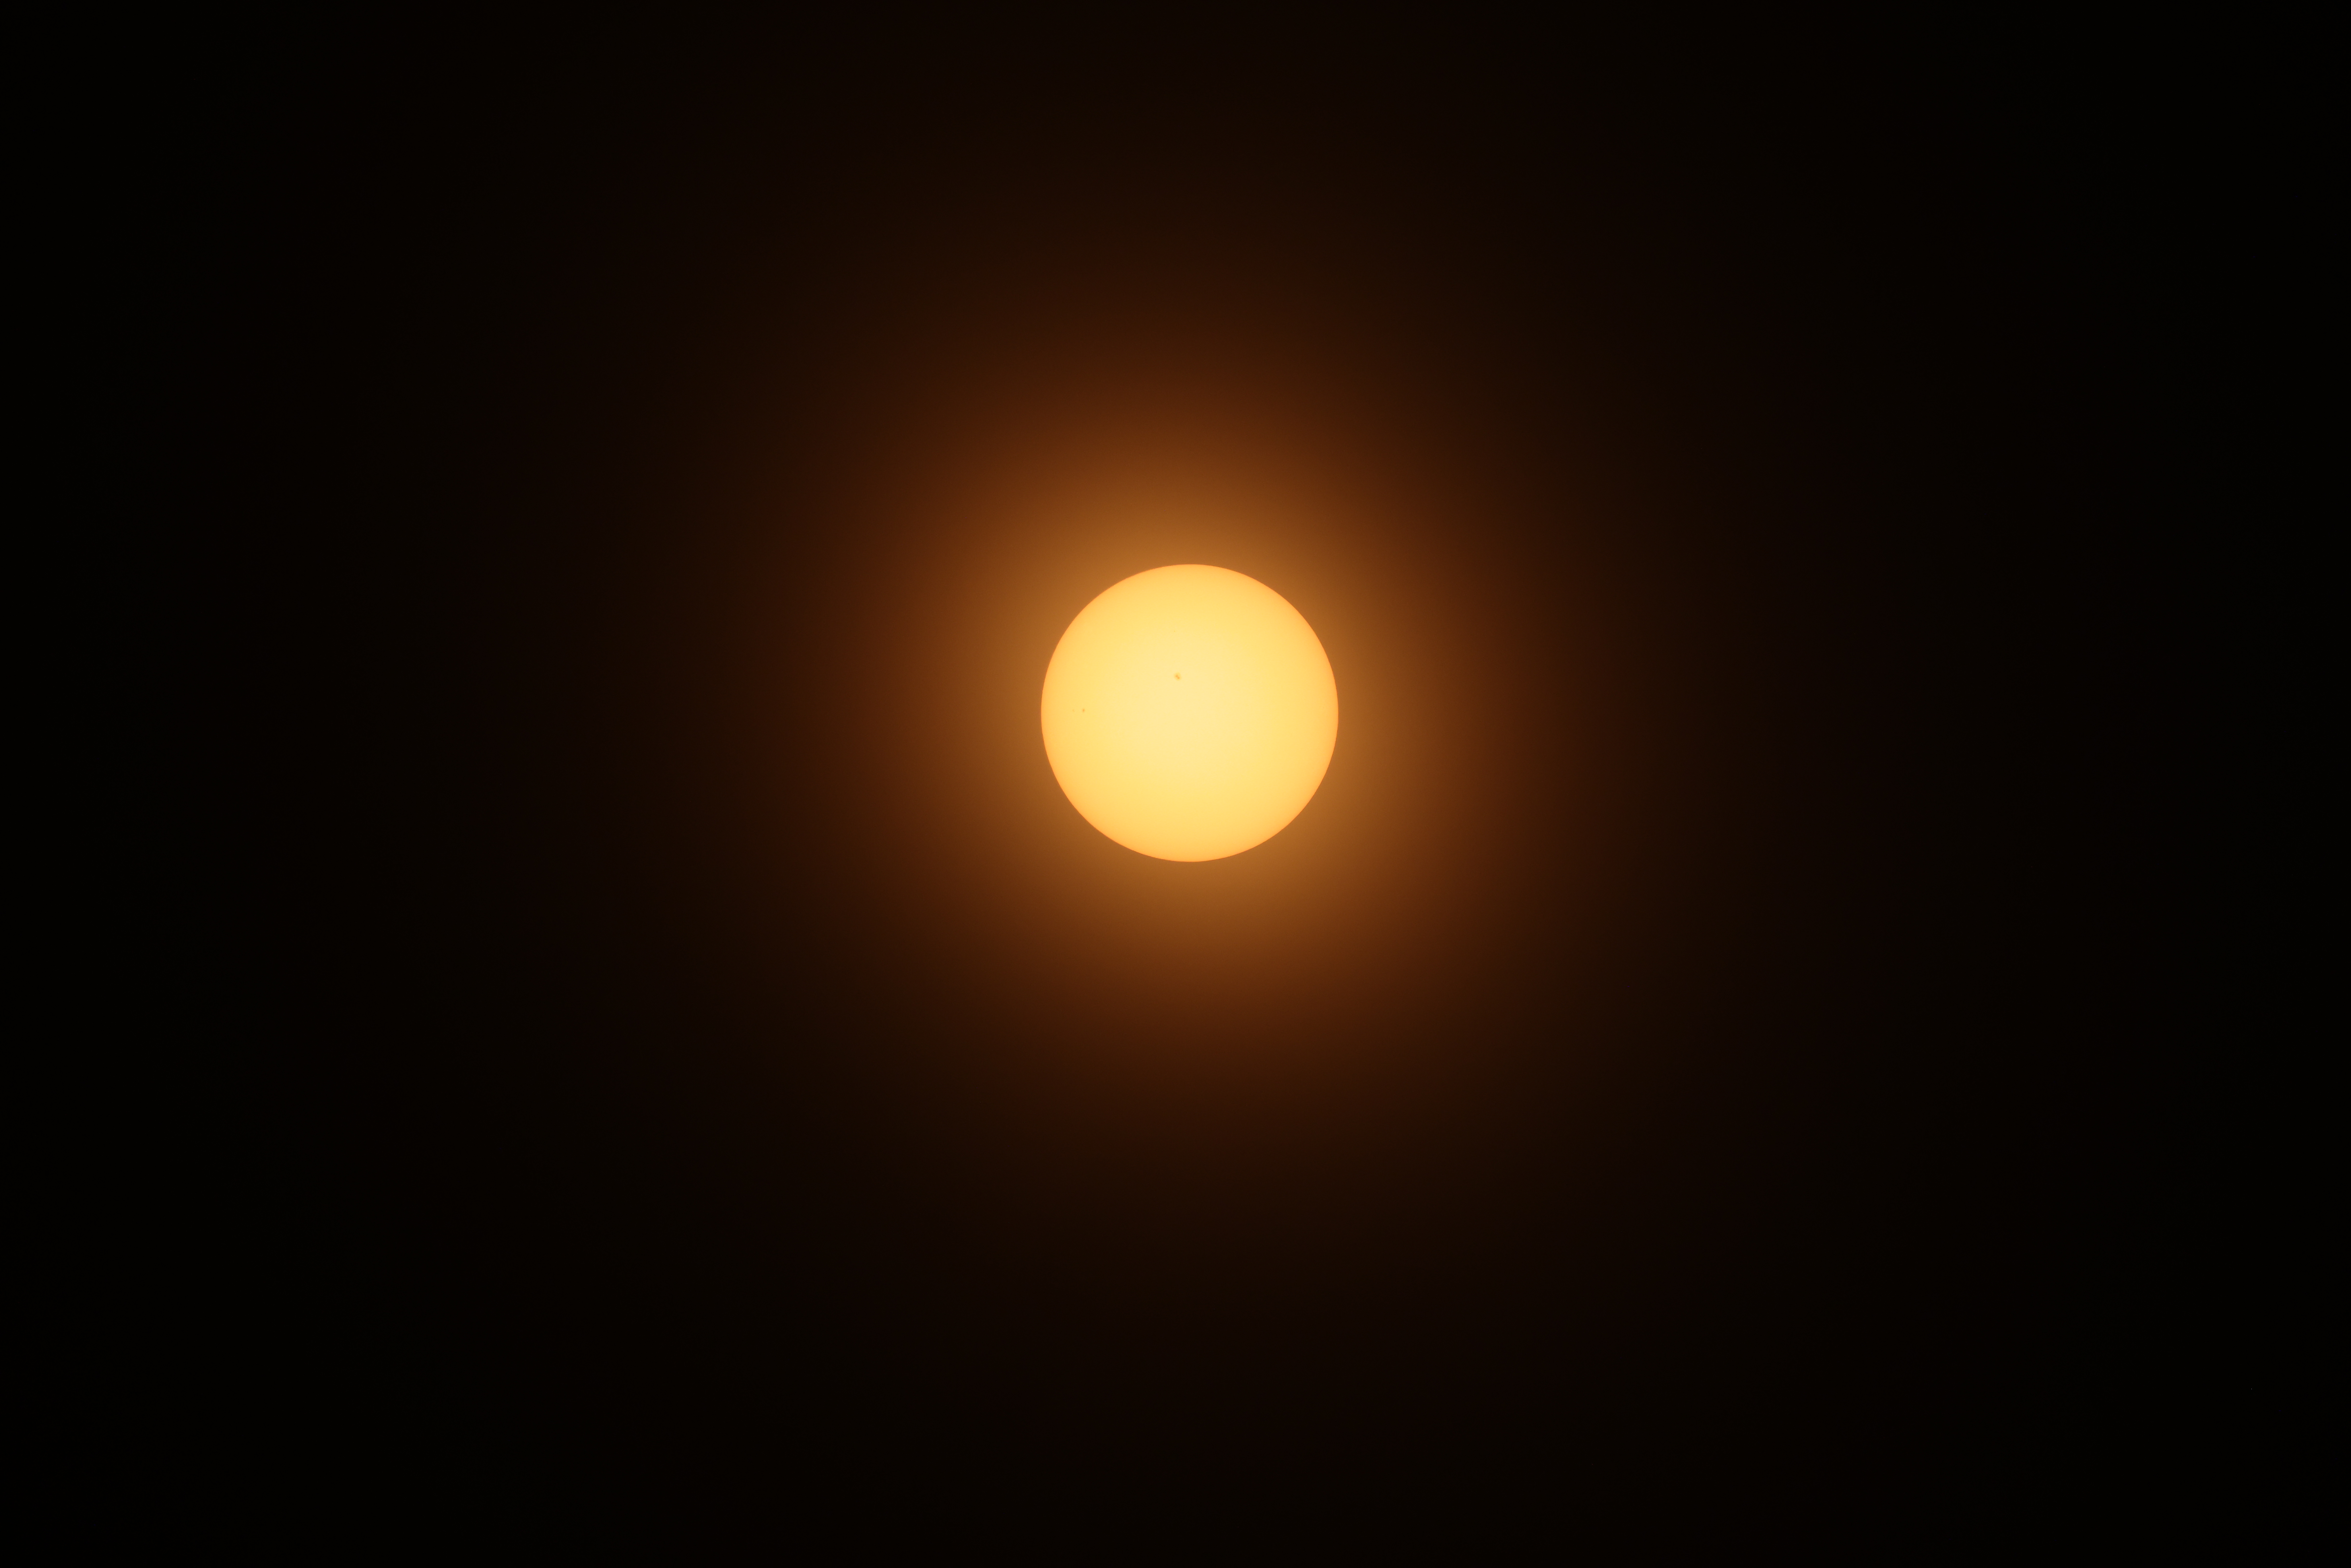
Justin Patricolo | Canon EOS R5 | Canon RF 100-500mm f/4.5-7.1L IS USM | f/7.1 | 1/125
What you need to know before photographing a solar eclipse
First things first, here are some quick tips we'll delve into later, in case you're reading this article on location.
Protect your eyes: you can only look directly at the sun using approved glasses.
Protect your camera gear: to photograph a solar eclipse, you'll need a solar filter placed in front of your lens to protect the sensor and ensure proper exposure.
Camera, lens, filter, tripod: ideally, use a camera with manual controls and an articulating screen to avoid looking directly through the viewfinder if it's a DSLR, a telephoto or telezoom lens, a solar filter and a stable tripod.
Where to take your photos: Find a spot with a wide, clear view of the sky, especially toward the horizon where the sun will be. Planning your shot will be just as important as having the right gear.
Composition: learn about the eclipse phases to plan your shoot effectively, decide what story you want to tell and look for elements that add context to your images.
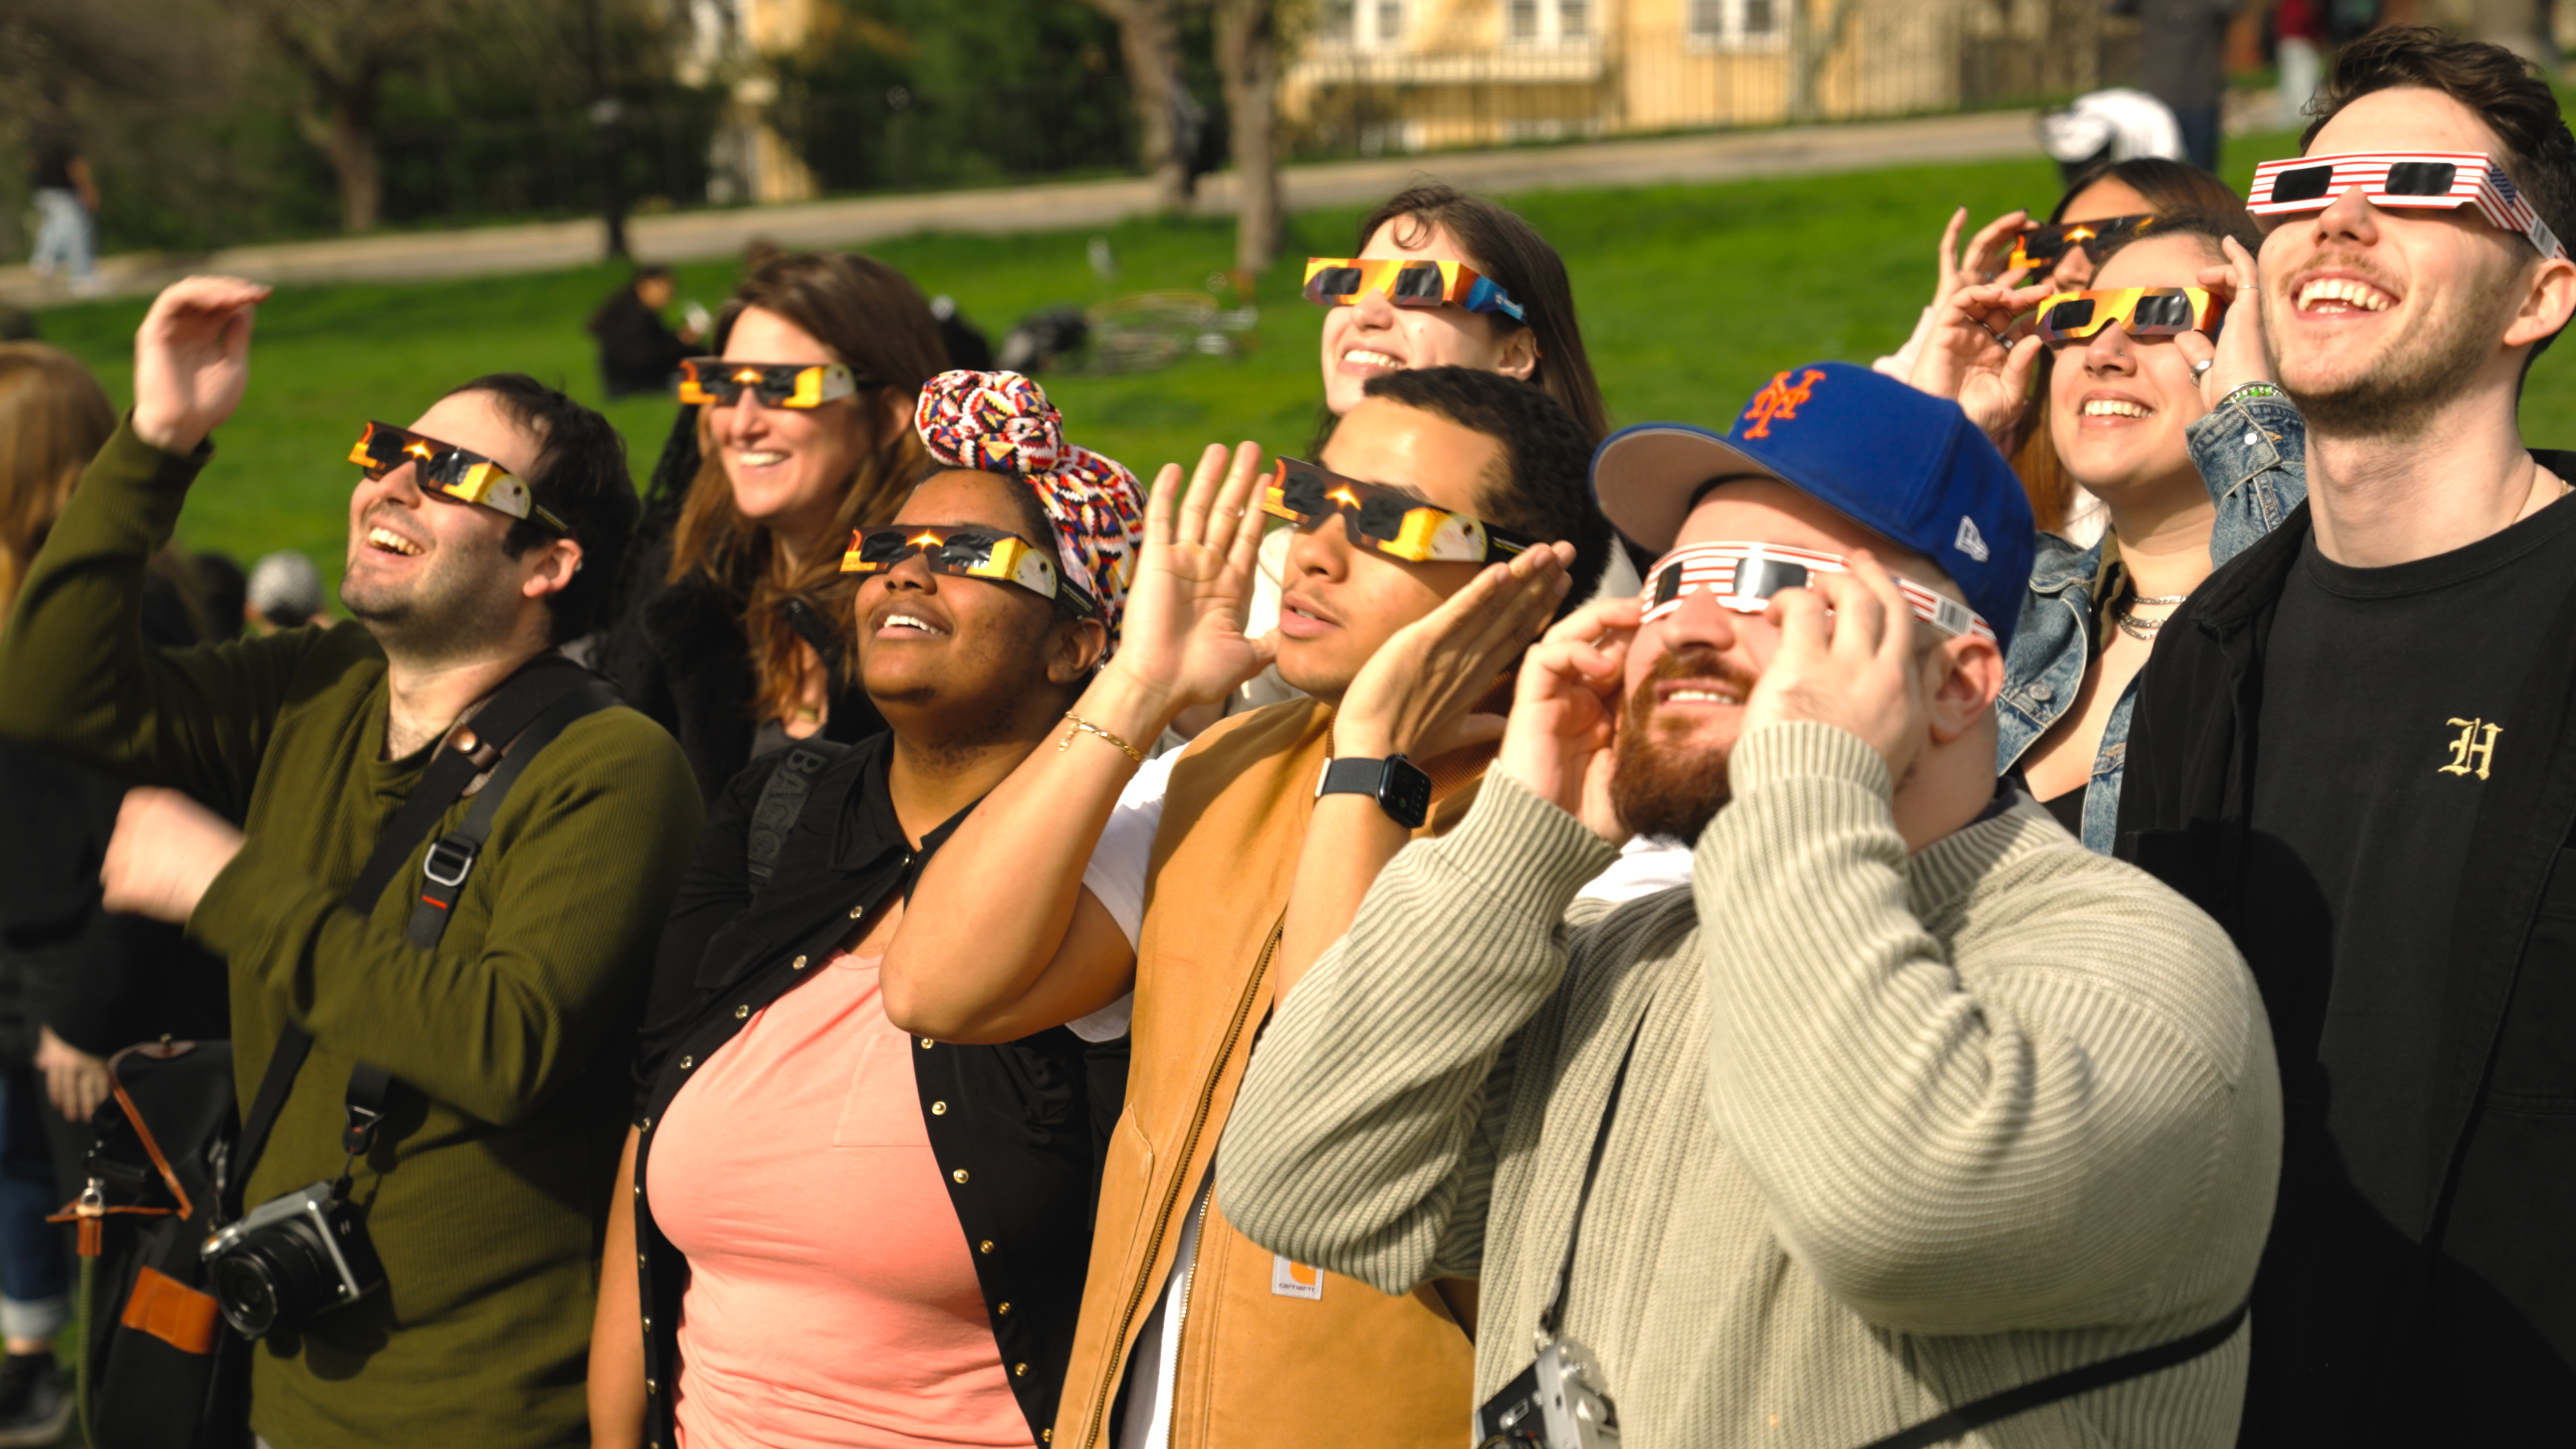
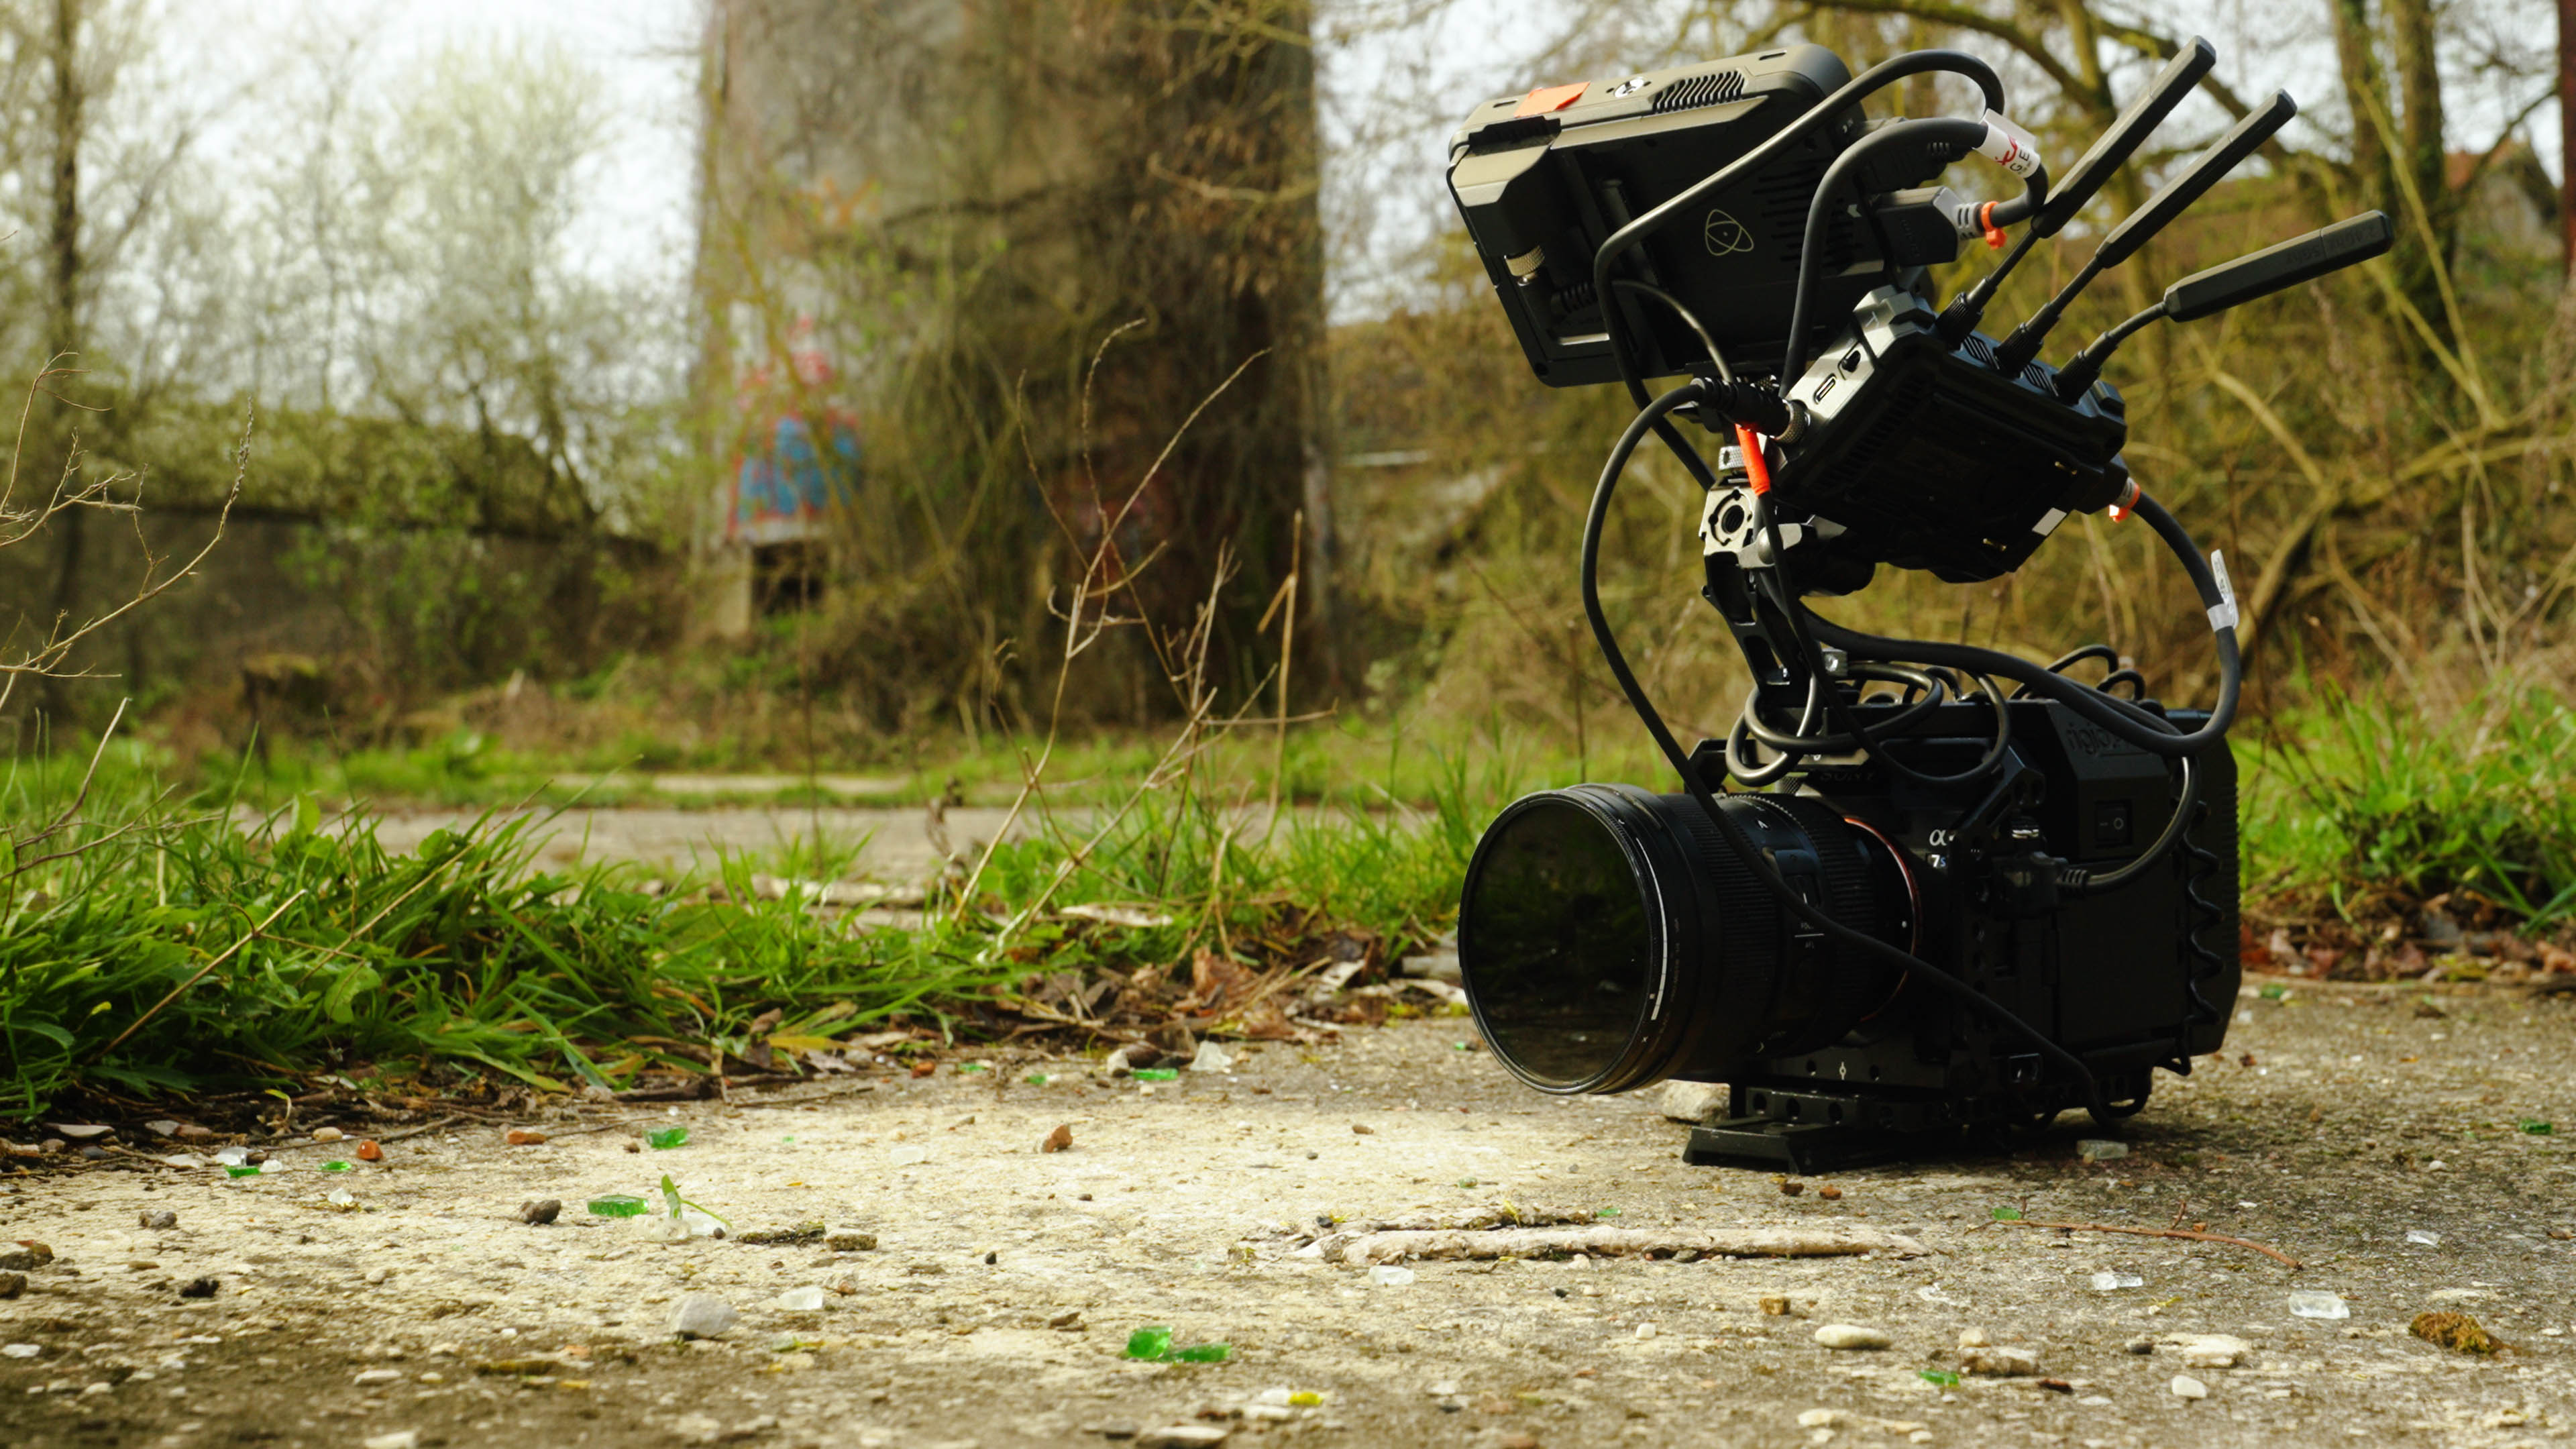
Justin Patricolo | Sony FX3 | Sony FE 24-70 mm f/2.8 GM | f/2.8 | 1/50 | ISO 800
What is a solar eclipse and why is it difficult to photograph?
A solar eclipse occurs when the Moon passes between the Earth and the Sun, obscuring the solar disc either totally or partially from our perspective. There are three main types of solar eclipses: total, annular and partial.
Photographing a solar eclipse presents a technical challenge even for experienced photographers due to the contrast of light and the brief window to capture the eclipse's totality. These demand control over manual mode, an understanding of exposure and clarity on what to do during each phase.
What’s more, unlike lunar eclipses, you shouldn't look directly at a solar eclipse or take photos without proper protection. Doing so can damage both your eyes and your camera's sensor, which is why you need to use specific solar filters to photograph this spectacular astronomical phenomenon.
If you're still getting to grips with astrophotography, our beginner's guide to astrophotography can help you better understand how to prepare for a shoot.
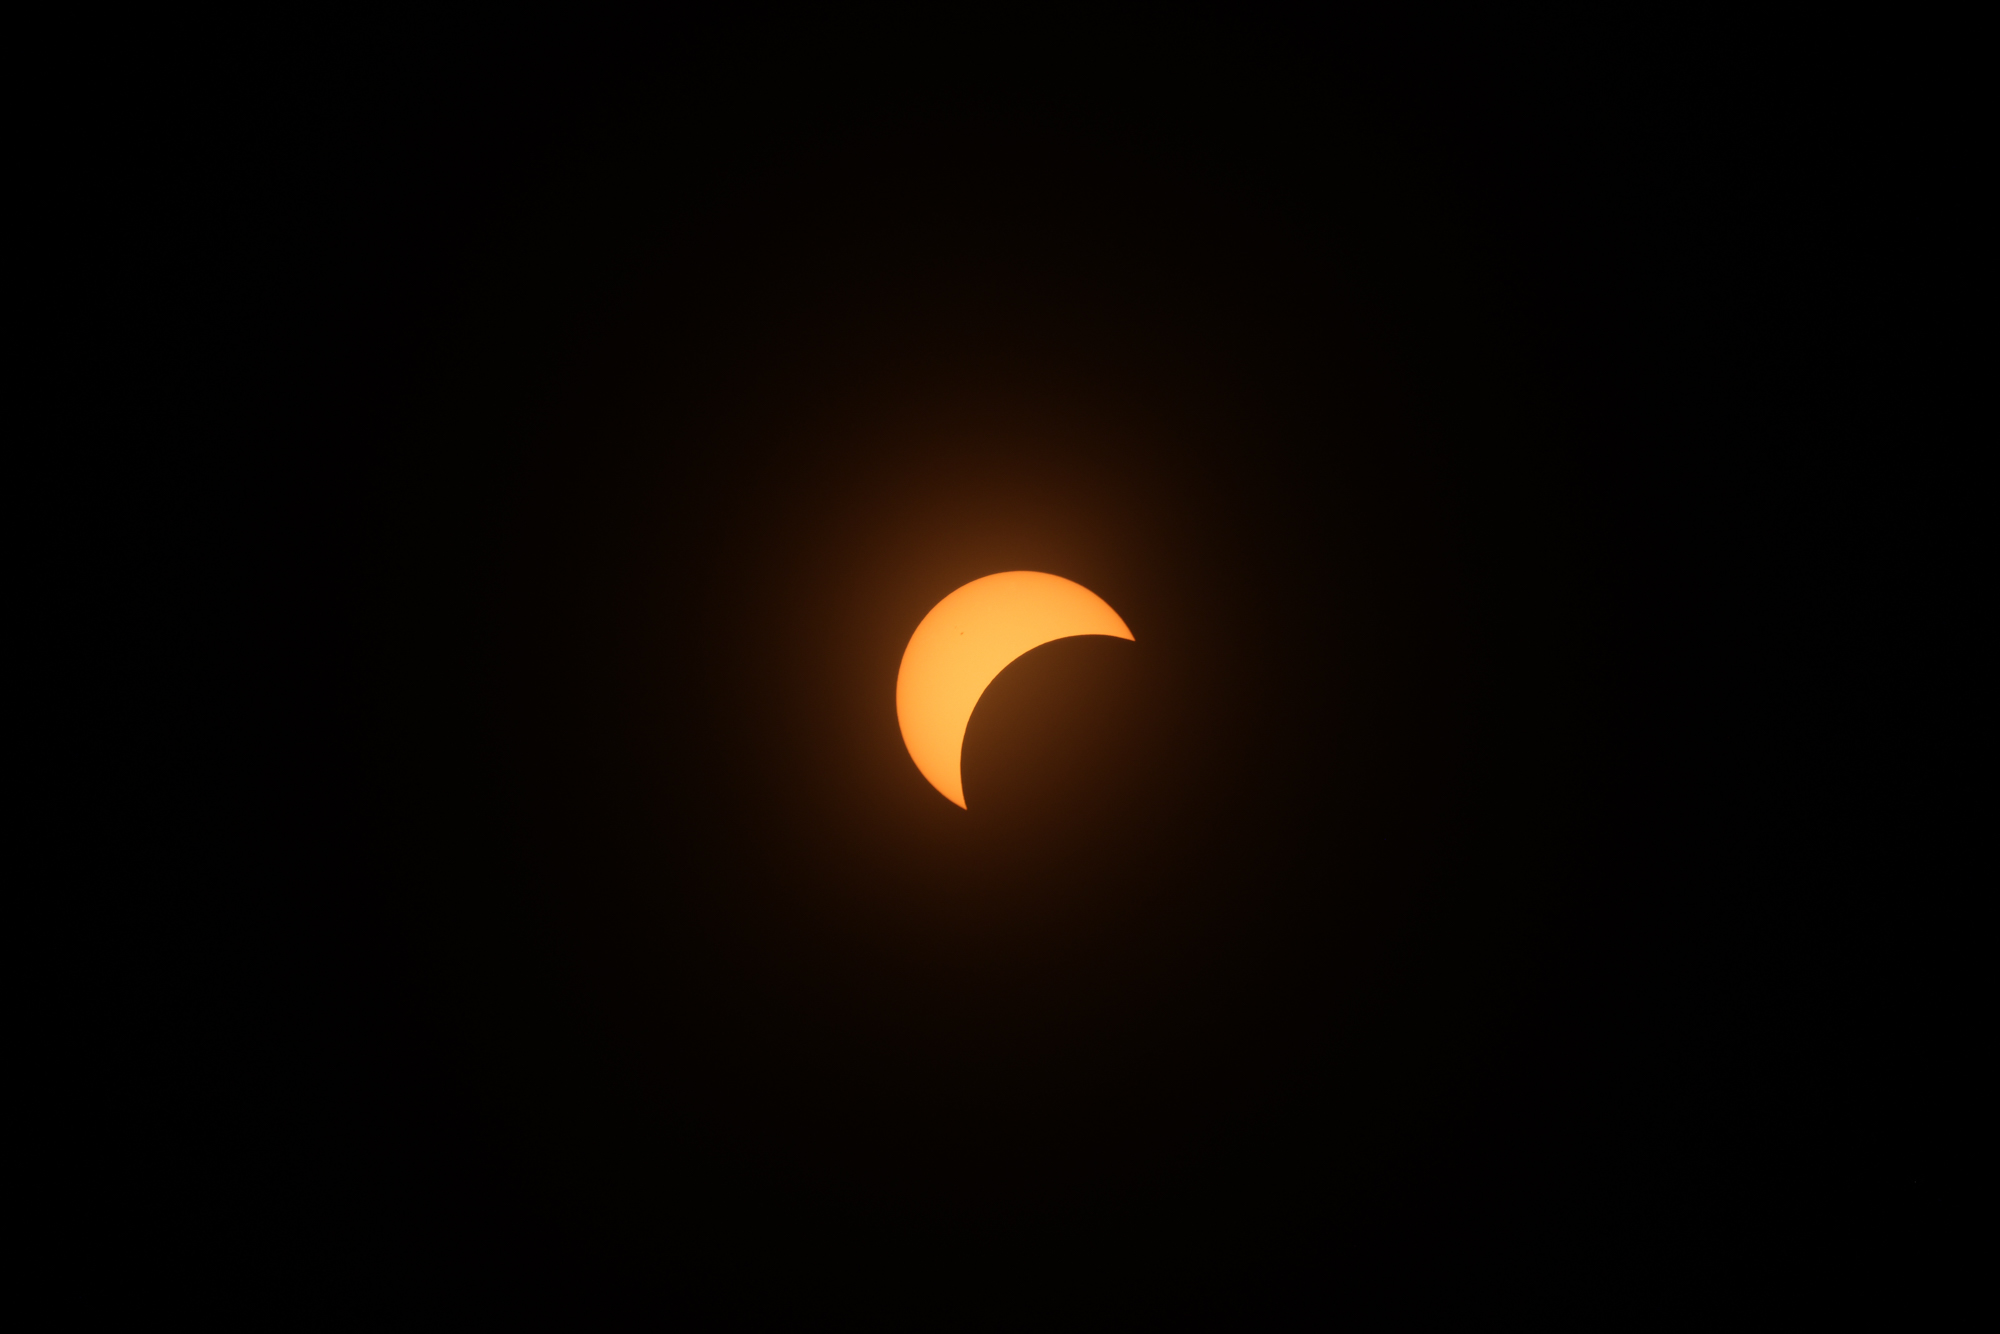
Justin Patricolo | Canon EOS R5 | Canon RF 100-500mm f/4.5-7.1L IS USM | f/7.1 | 1/125 | ISO 800
Phases of a solar eclipse and the photos you can capture during each
Understanding the phases of the eclipse will help you plan what photos you want to achieve and when you'll need to adjust your gear.
First contact: the Moon visually begins to overlap the Sun. You can start photographing the eclipse's progression with a telephoto lens and a suitable solar filter.
Partial phase: the Moon gradually covers an increasing portion of the Sun. This is a good time to create a sequence of multiple images from the same frame or to look for crescent-shaped shadows cast on the ground.
Baily's Beads and diamond ring: just before totality, sunlight filters through the irregular lunar limb, creating small, bright points of light. When only one intense flash remains, the 'diamond ring' effect occurs. These moments are very brief, so it's best to have everything prepared.
Second contact: marks the beginning of totality. The Moon completely covers the solar disc and the corona starts to become visible. Only then, and if you are within the band of totality, can you remove the solar filter from your lens.
Totality: the solar corona appears and the environment changes in a matter of seconds: the light dims, the temperature can drop and some bright stars may become visible. In addition to the Sun, you can photograph the landscape, the unusual light and people's reactions.
Third contact: this marks the end of totality. The Moon begins to uncover the Sun again, and Baily's beads and the diamond ring may reappear. Replace your filter as soon as sunlight reappears.
Final partial phase and fourth contact: the Moon continues to move until it no longer covers the Sun. You can complete your sequence and photograph the environment as it slowly returns to normal.
Essential camera gear
Here, the lens and accessories you use will make all the difference. So, for the body, you don't need to go for a high-end model like a Sony A1 II, as you can opt for DSLR or mirrorless cameras from various ranges.
If you'd like some suggestions, you could use a pro DSLR like the Nikon D850, or more affordable bodies like the Nikon D7500 or the Canon EOS 250D. As for mirrorless, a pretty pro model would be the Sony A7R V, but depending on your budget, you could also go for a Fujifilm X-T5, or a Sony A6600. All these models share a flip-out screen and more than 24 megapixels. Remember that you cannot look directly through your DSLR camera's viewfinder.
But what really matters when photographing an eclipse are the lenses. A telephoto lens has a long focal length, designed to bring distant subjects closer within the frame. That focal length, measured in millimeters, determines how much the scene is 'magnified': the longer it is, the larger the eclipse will appear in the image. If you want to capture some of your surroundings, in addition to the eclipse (such as the landscape or a building), you can use a 24-70mm or 24-105mm lens. However, if you want the eclipse to dominate the photo, then a zoom lens between 200mm and 800mm will be your best friend.
A good option for Canon is the Canon RF 200-800mm f/6.3-9 IS, if you use Nikon, the Nikon Nikkor Z 180-600mm f/5.6-6.3 VR, or a Tamron SP 150-600mm f/5-6.3 Di VC USD G2 with mounts for Canon and Nikon could work for both brands. If you shoot with Sony, for example, a Sony FE 400-800mm f/6.3-8 G OSS, or a Fujifilm XF 150-600mm f/5.6-8 R LM OIS WR if you shoot with Fujifilm, or you could use a versatile Sigma, like the Sigma 150-600mm f/5-6.3 DG OS HSM EF. If you shoot with Sony and want to explore more options for photographing the sky, you can check out our guide to the best Sony lenses for astrophotography.
What if you have a bridge camera to hand? You could also put it to the test if it has a powerful zoom lens like the Sony RX10 Mark IV IR. You won't get the same results, but you'll be able to make the most of such a powerful zoom. If you want to compare bridge camera models, you can check out our guide to the best bridge cameras.
Another essential item is a tripod. As we've already explained, you'll want to move the camera as little as possible, so a tripod will be your greatest ally for capturing the sunset light, along with the light changes caused by the eclipse. If you don't have one yet, you can find compact used models like the Travel or the Manfrotto Befree Travel.
In addition to the camera body, lens and tripod, you'll need a specific solar filter. We'll look at this in detail below.
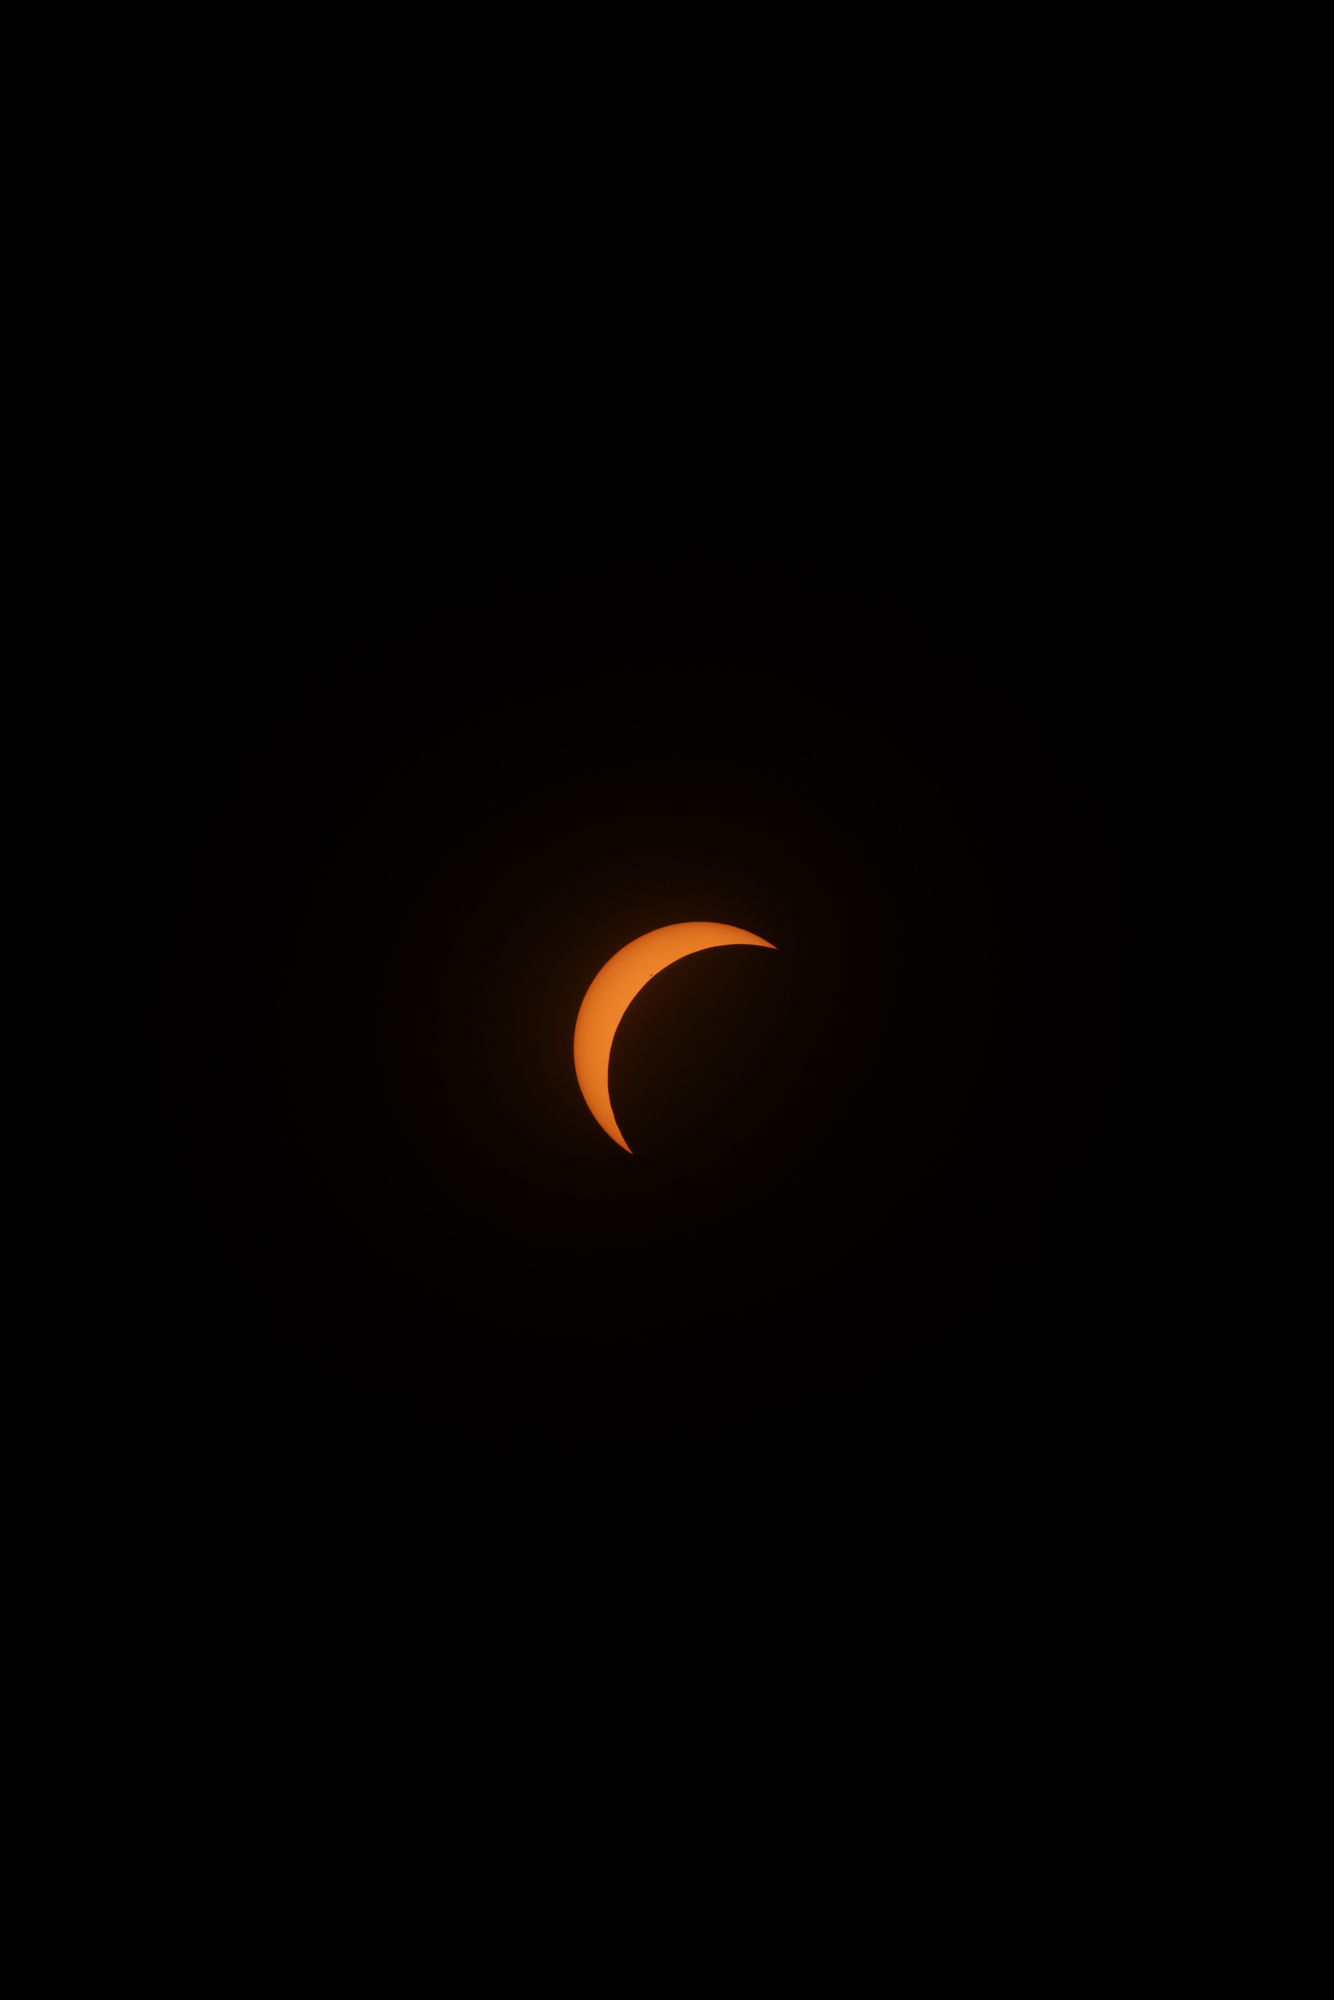
Justin Patricolo | Canon EOS R5 | Canon RF 100-500mm f/4.5-7.1L IS USM | f/7.1 | 1/125 | ISO 800
Solar filters you should use
You'll need to use a specific solar filter in front of your lens. And no, not just any photographic filter will do. There are extreme ND filters for solar photography, such as ND1000000, which you shouldn't confuse with ND filters for landscape photography or long exposure shots. Prices vary, and it's worth considering whether you'll want to use it more than once or if it's a one-off before deciding to invest in one.
If you only want to use it for this eclipse, then you can opt for a more affordable choice. You'll find simpler solar filters with cardboard mounts or mounted solar film. In fact, Justin from MPB used one of these for his photoshoot during the 2024 eclipse in New York with excellent results.
The solar filter must always remain in front of the lens. You should only remove it during totality, when the Moon completely covers the solar disc. This moment lasts only a short time, so it's a good idea to have the timing clear beforehand: remove it only when totality begins and put it back as soon as the first point of sunlight reappears.
What settings to use for photographing and filming a solar eclipse
There's no single perfect combination of settings, as it will depend on the solar filter, light, focal length and camera you're using. As a starting point, work in manual mode, shoot in RAW, and begin with a low ISO, such as ISO 100 or 200. From there, adjust the exposure until the Sun retains detail and doesn't appear blown out.
During his New York shoot, Justin got his best results at f/7, 1/125s and ISO 800 at 500mm. From there, he advises you to adjust the exposure based on what you see on screen: if the sun appears too bright and detail is lost, increase the shutter speed, close the aperture a little more, or lower the ISO; if the image is too dark, do the opposite.
To film a video of the eclipse, Justin would approach it as a time-lapse. He’d use a camera like the Sony FX3, capable of shooting for long periods in 4K and S-Log3—a flat color profile that allows more room for grading later. The approach would be similar to the photos: a long lens, a solar filter and the camera recording throughout the eclipse to speed up the footage in post-production.
The trickiest part is exposure. In a video, you have less flexibility with shutter speed, as it usually needs to match your frames per second. If you’re shooting at 24 fps, Justin would work around 1/48s or 1/50s, or with a 180° shutter angle (if the camera allows this setting). To compensate for that speed, he’d close the aperture more, probably between f/11 and f/16, or adjust the ISO depending on the light. This way, he could maintain a balanced exposure throughout the eclipse and then create the time-lapse in editing.
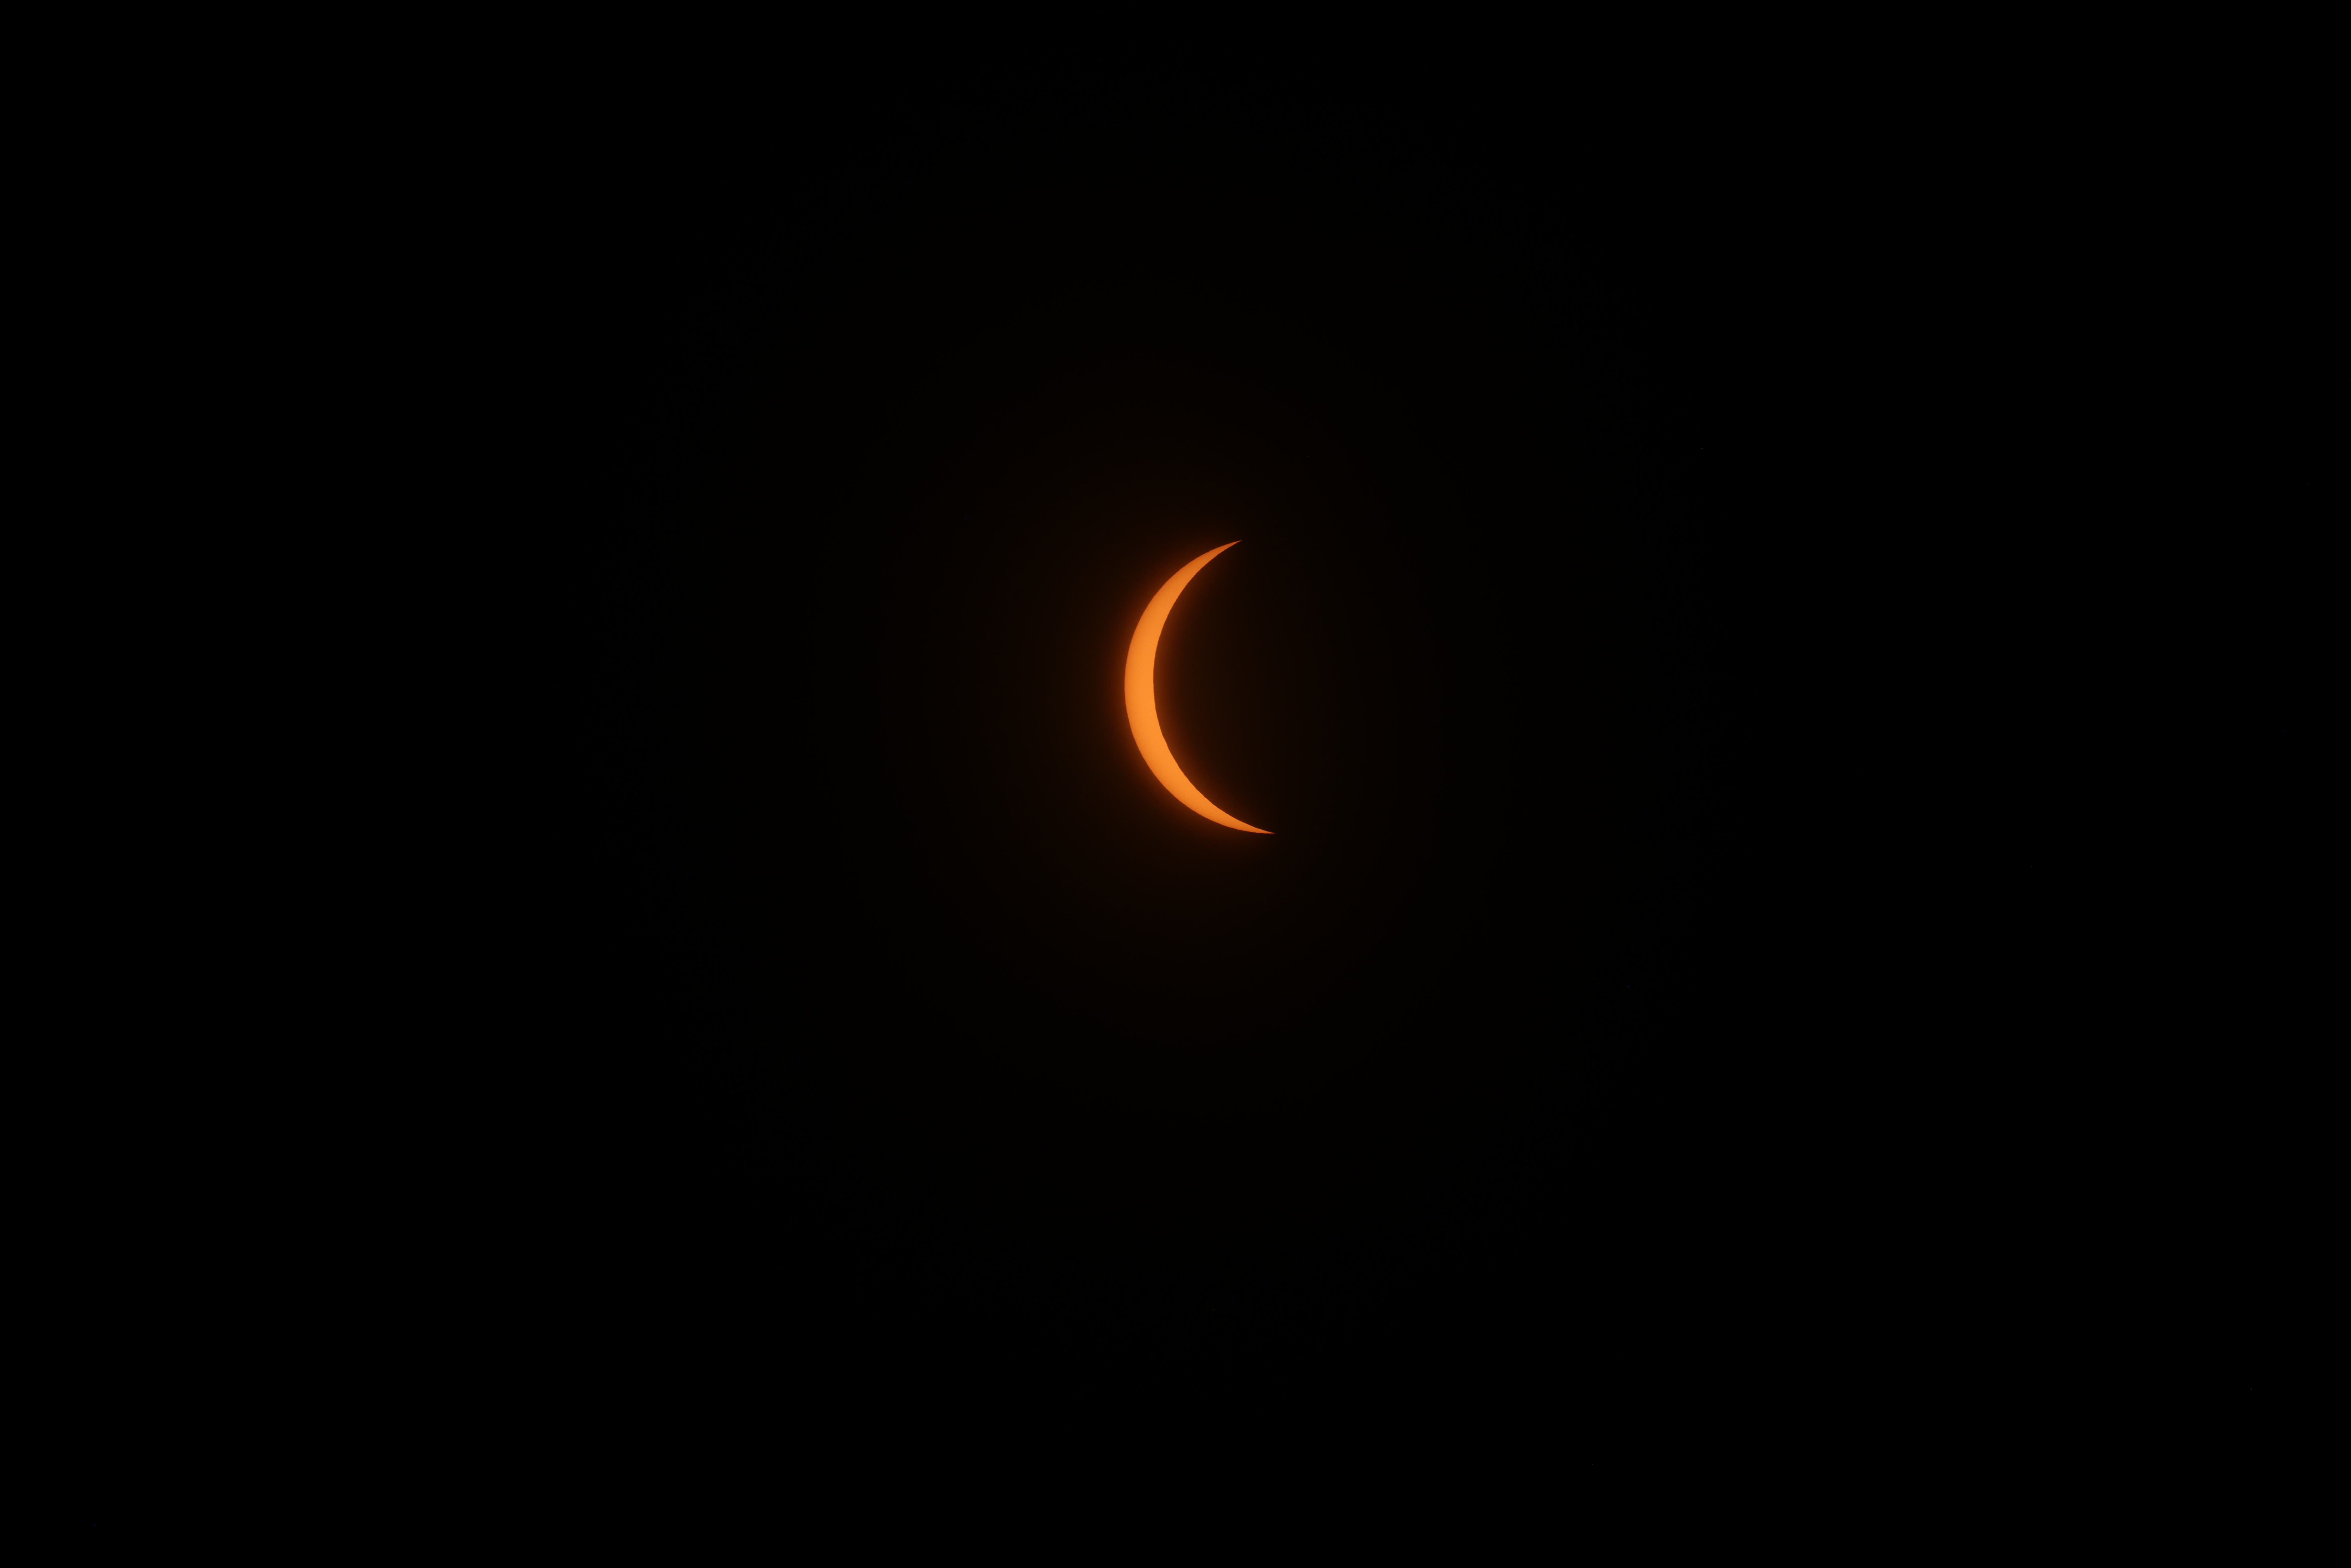
Justin Patricolo | Canon EOS R5 | Canon RF 100-500 mm f/4.5-7.1L IS USM | f/7.1 | 1/80 | ISO 800
Example: how the New York solar eclipse was photographed
Justin told us how he carried out his 2024 solar eclipse photoshoot in New York. His tips will help you prepare for the next solar eclipse.
Justin used a Canon EOS R5 with a Canon RF 100-500mm f/4.5-7.1L IS. If you work with Canon and want to compare more options for astrophotography, our Canon EF lens guide can give you more ideas for future shoots. As for the filter, Justin picked up an inexpensive solar filter online. This was a filter with a cardboard body, but with a specific lens for photographing eclipses. He attached it to the lens with tape to ensure it stayed put during the shoot and it didn't give him any problems. He then attached the camera to the tripod to ensure the camera and framing remained stable.
In this video, you can see how he set up his gear and the final result:
https://youtu.be/jSQIp2xmx0E?feature=sharerel=0The combination yielded excellent results, as seen in the video, although Justin wished he’d used a longer focal length. With something around 700-800mm, he could have filled the frame more, gotten closer to the details of the sun and cropped with more freedom afterwards. However, the R5’s 45 megapixels gave him plenty of scope to work on the image in editing. That resolution made all the difference.
For his best images, he worked with f/7, 1/125s and ISO 800, although he also varied between 1/100s and 1/250s and between ISO 500 and 800, depending on the shot. As we’ve seen, it’s not a universal recipe, but it is a good example of how he balanced aperture, shutter speed and ISO during the session.
During the session, they also tried shooting a video, although he recommends not trying to cover everything if it's your first time photographing an eclipse. Video demands more control than still photography, so it might make more sense to secure good images first before complicating things with a time-lapse.
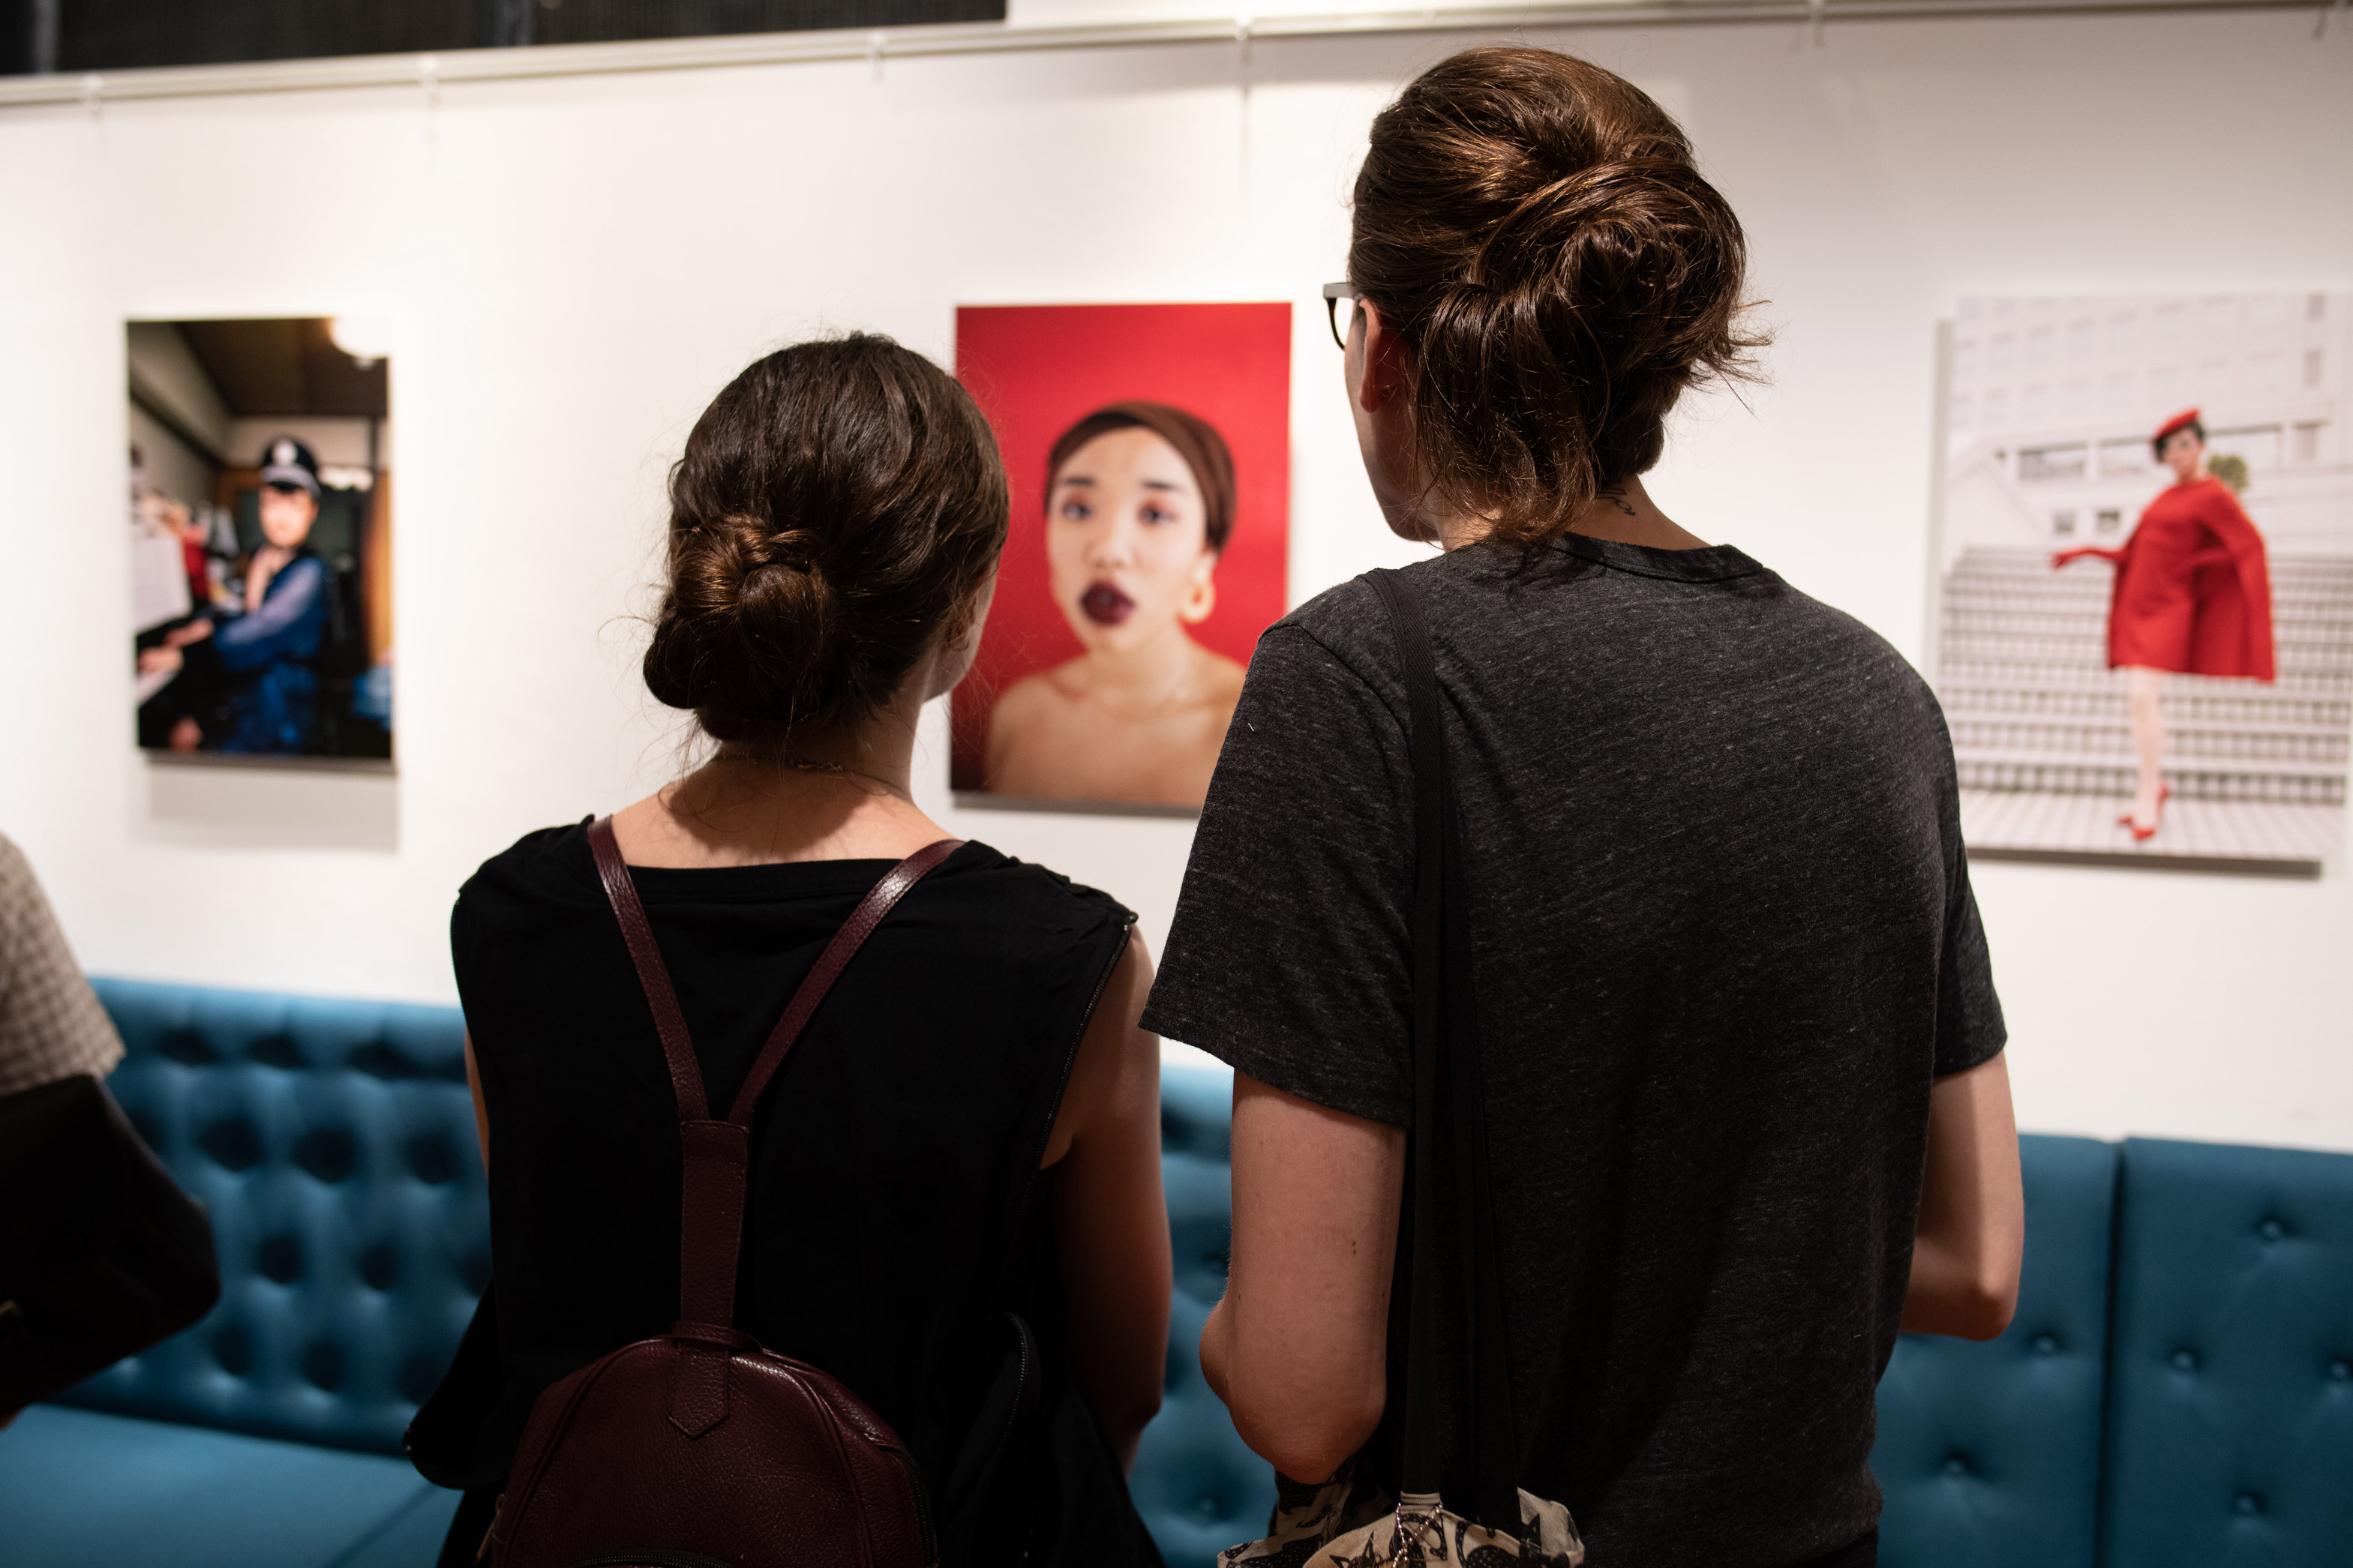
Beyond the photo of the Sun, Justin also captured everything happening around him: people looking at the sky, tripods in the park and that strange light of the moment. Ultimately, an image that tells the story of the experience can be just as powerful as a technically perfect photo of the eclipse.
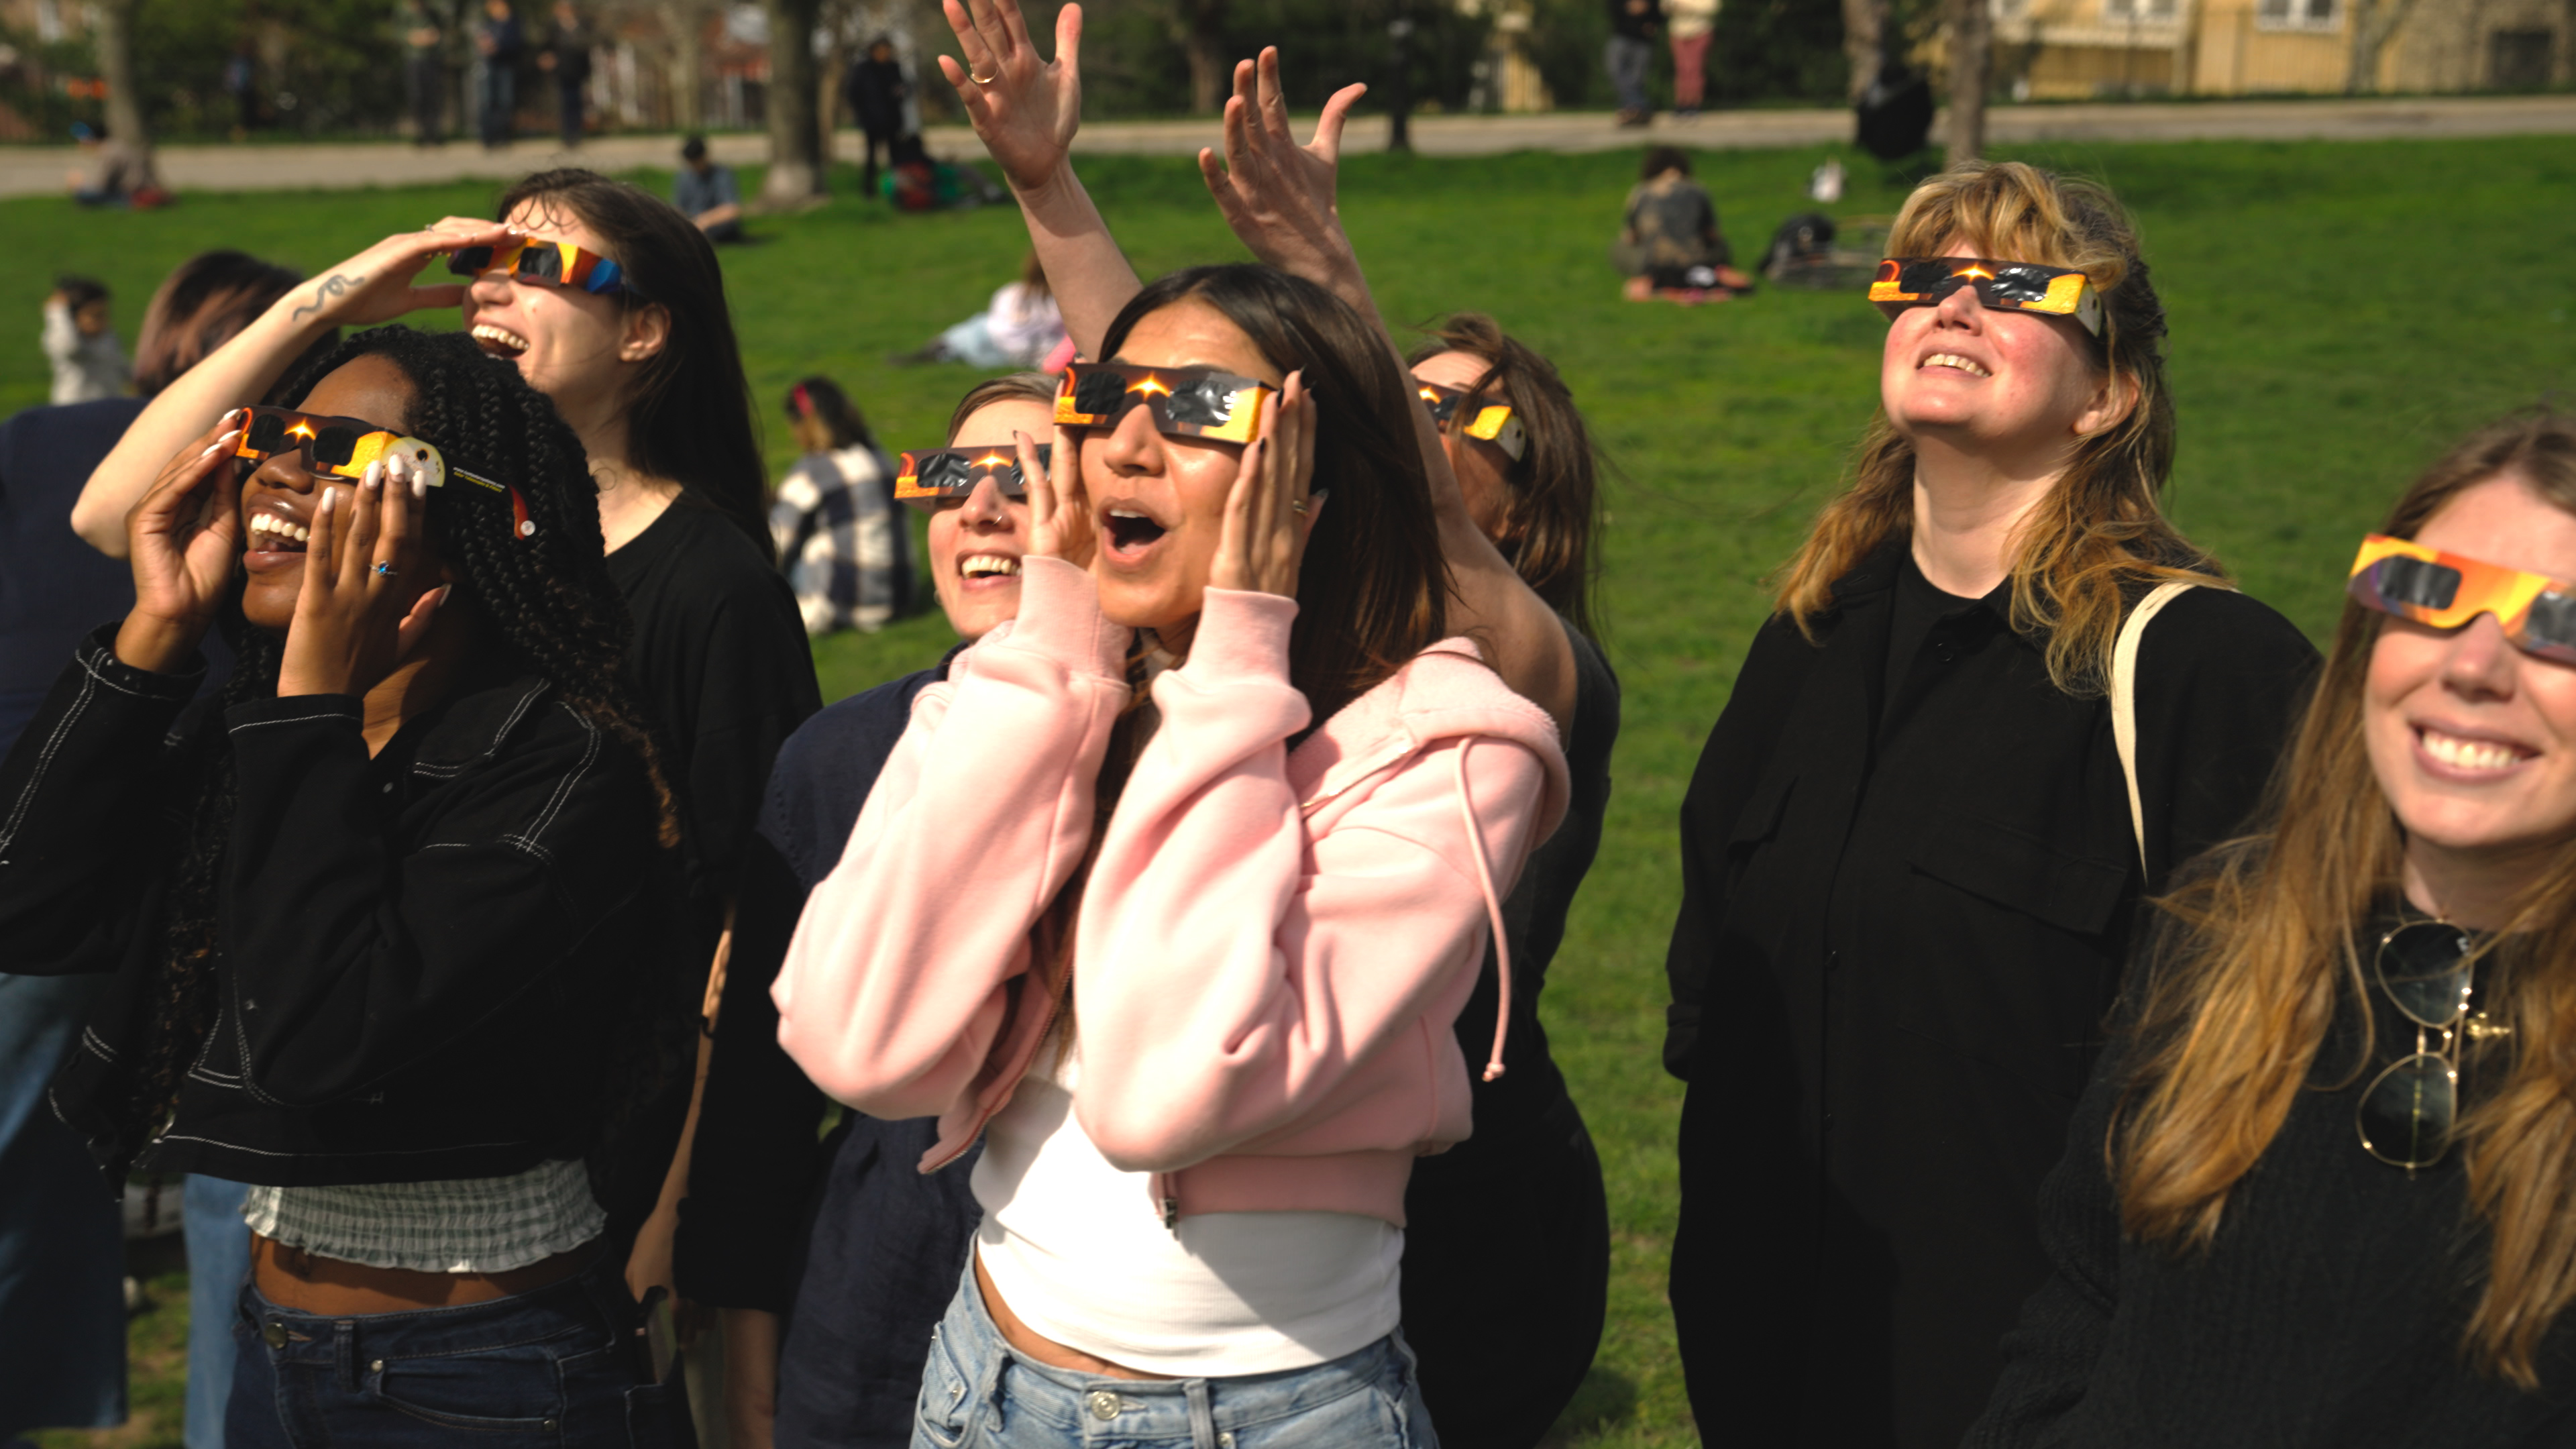
Justin Patricolo | Sony FX3 | Sony FE 24-70 mm f/2.8 GM | f/2.8 | 1/50 | ISO 800
Frequently Asked Questions
What is a solar eclipse?
This is when the Moon passes between the Earth and the Sun, totally or partially obscuring the solar disc from Earth's perspective.
When is the next solar eclipse?
The next solar eclipse visible in the United States will be on August 2, 2027. It will be seen as a partial eclipse in northern Maine, while a total eclipse will be visible from Spain, northern Africa and the Middle East. This eclipse, called "the eclipse of the century" by many, will have over six minutes of totality in parts of Egypt.
How to photograph a solar eclipse for the first time?
Plan where you want to take your photos, use a camera with manual controls, a specific front solar filter for eclipses and work with a tripod.
What filter do I need to photograph a solar eclipse?
You need a specific solar filter placed in front of your lens. This could be a front-mounted solar filter, a properly fitted solar film, or an extreme ND filter designed for photographing the Sun.
Can I use my camera's viewfinder to photograph a solar eclipse?
If you're using a DSLR, avoid looking through the optical viewfinder when the camera is pointed at the sun. It's safer to work with the screen and always use a suitable solar filter in front of the lens. If you're using a mirrorless camera, you can look through the viewfinder. In both cases, use an approved filter.
Read more tips and techniques on the MPB Content Hub.
You can sell or trade your camera gear to MPB. Get a free instant quote, free insured shipping to MPB, and get paid within days.